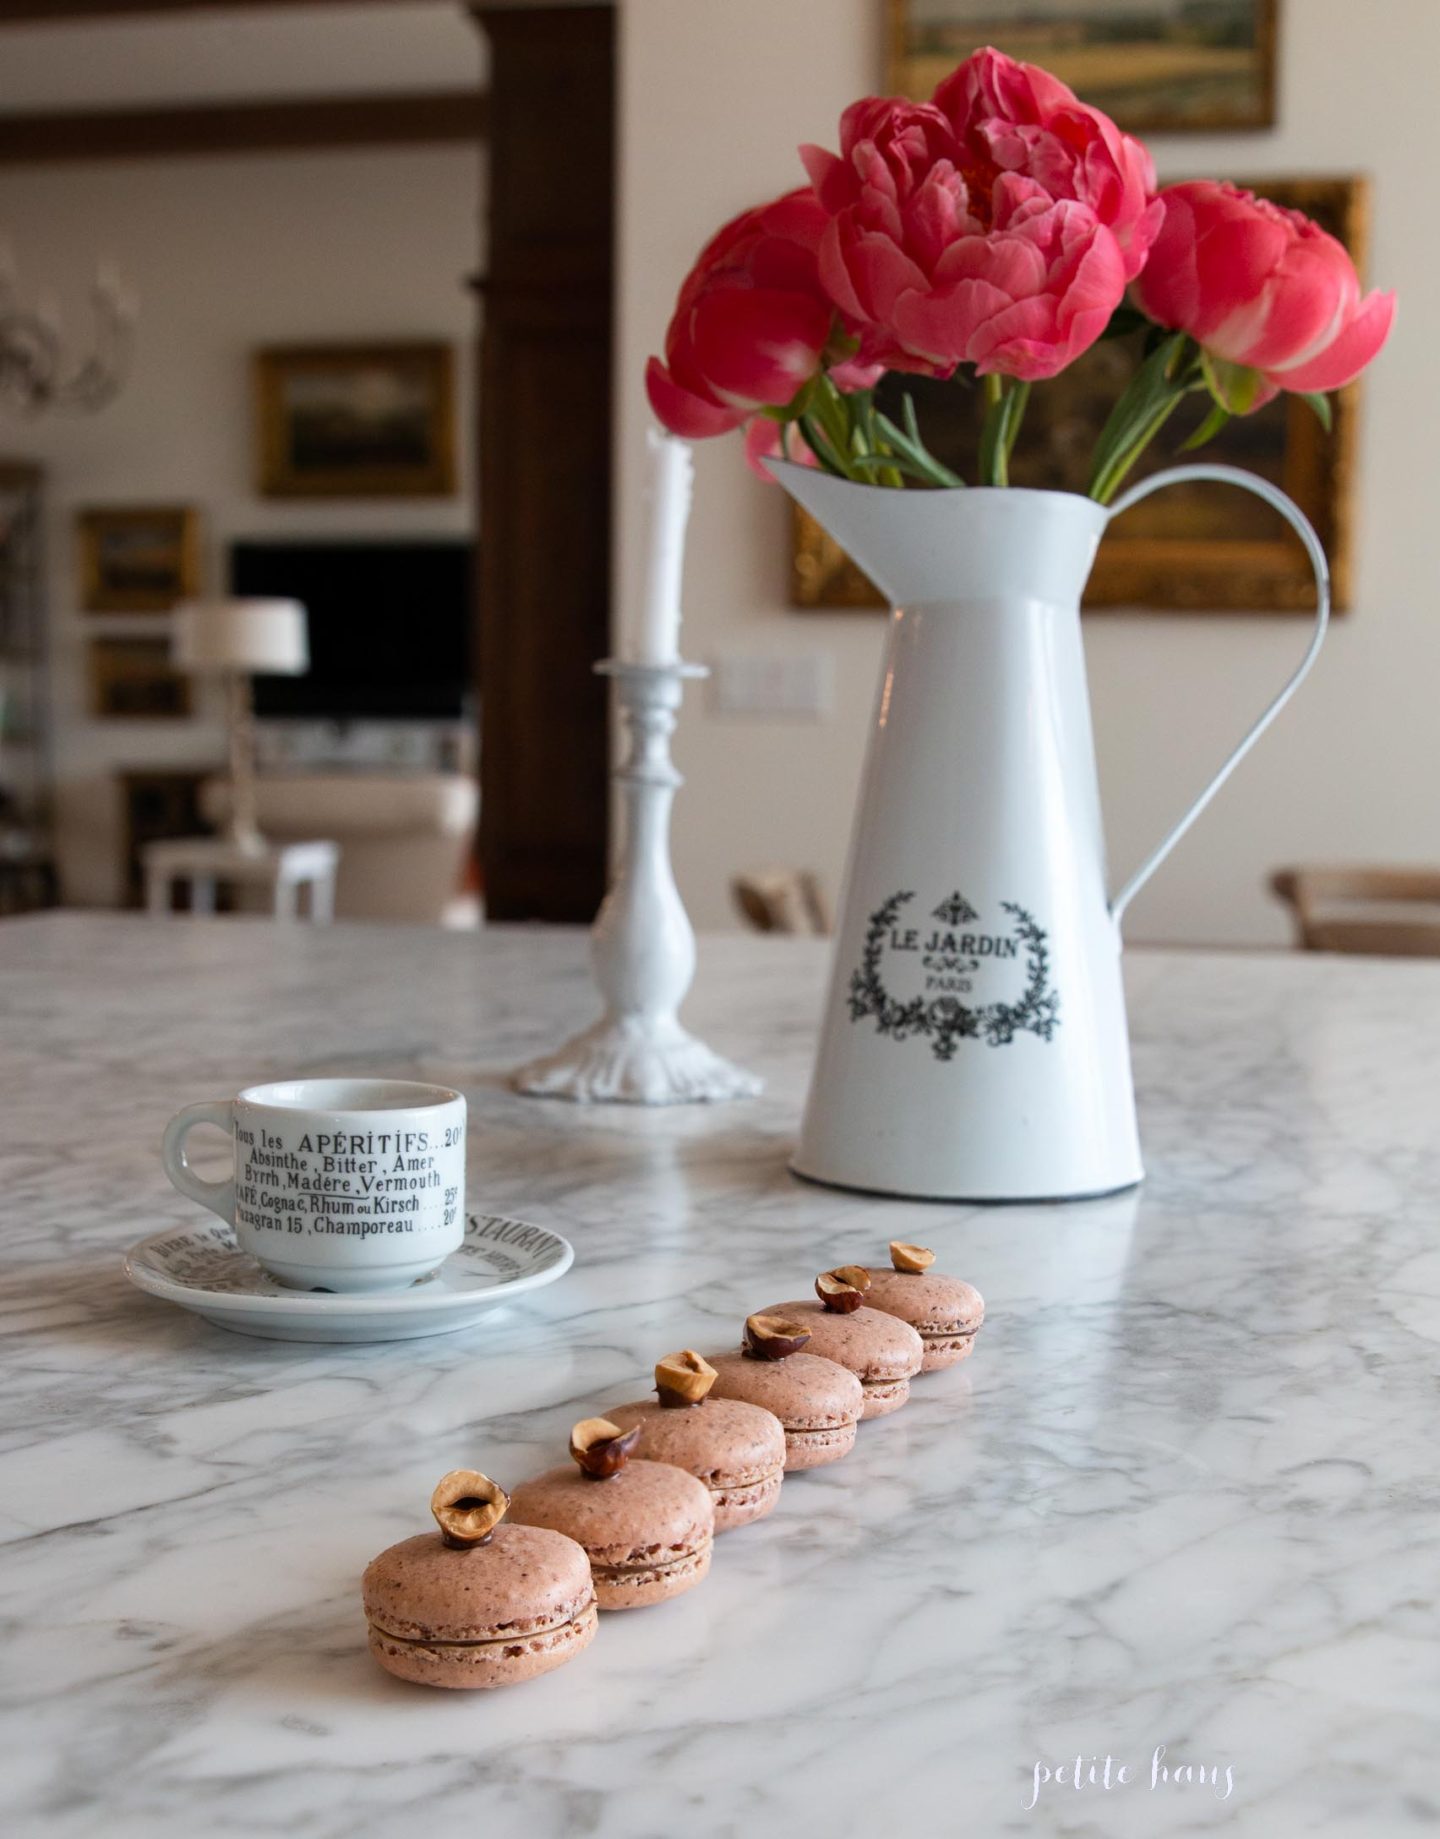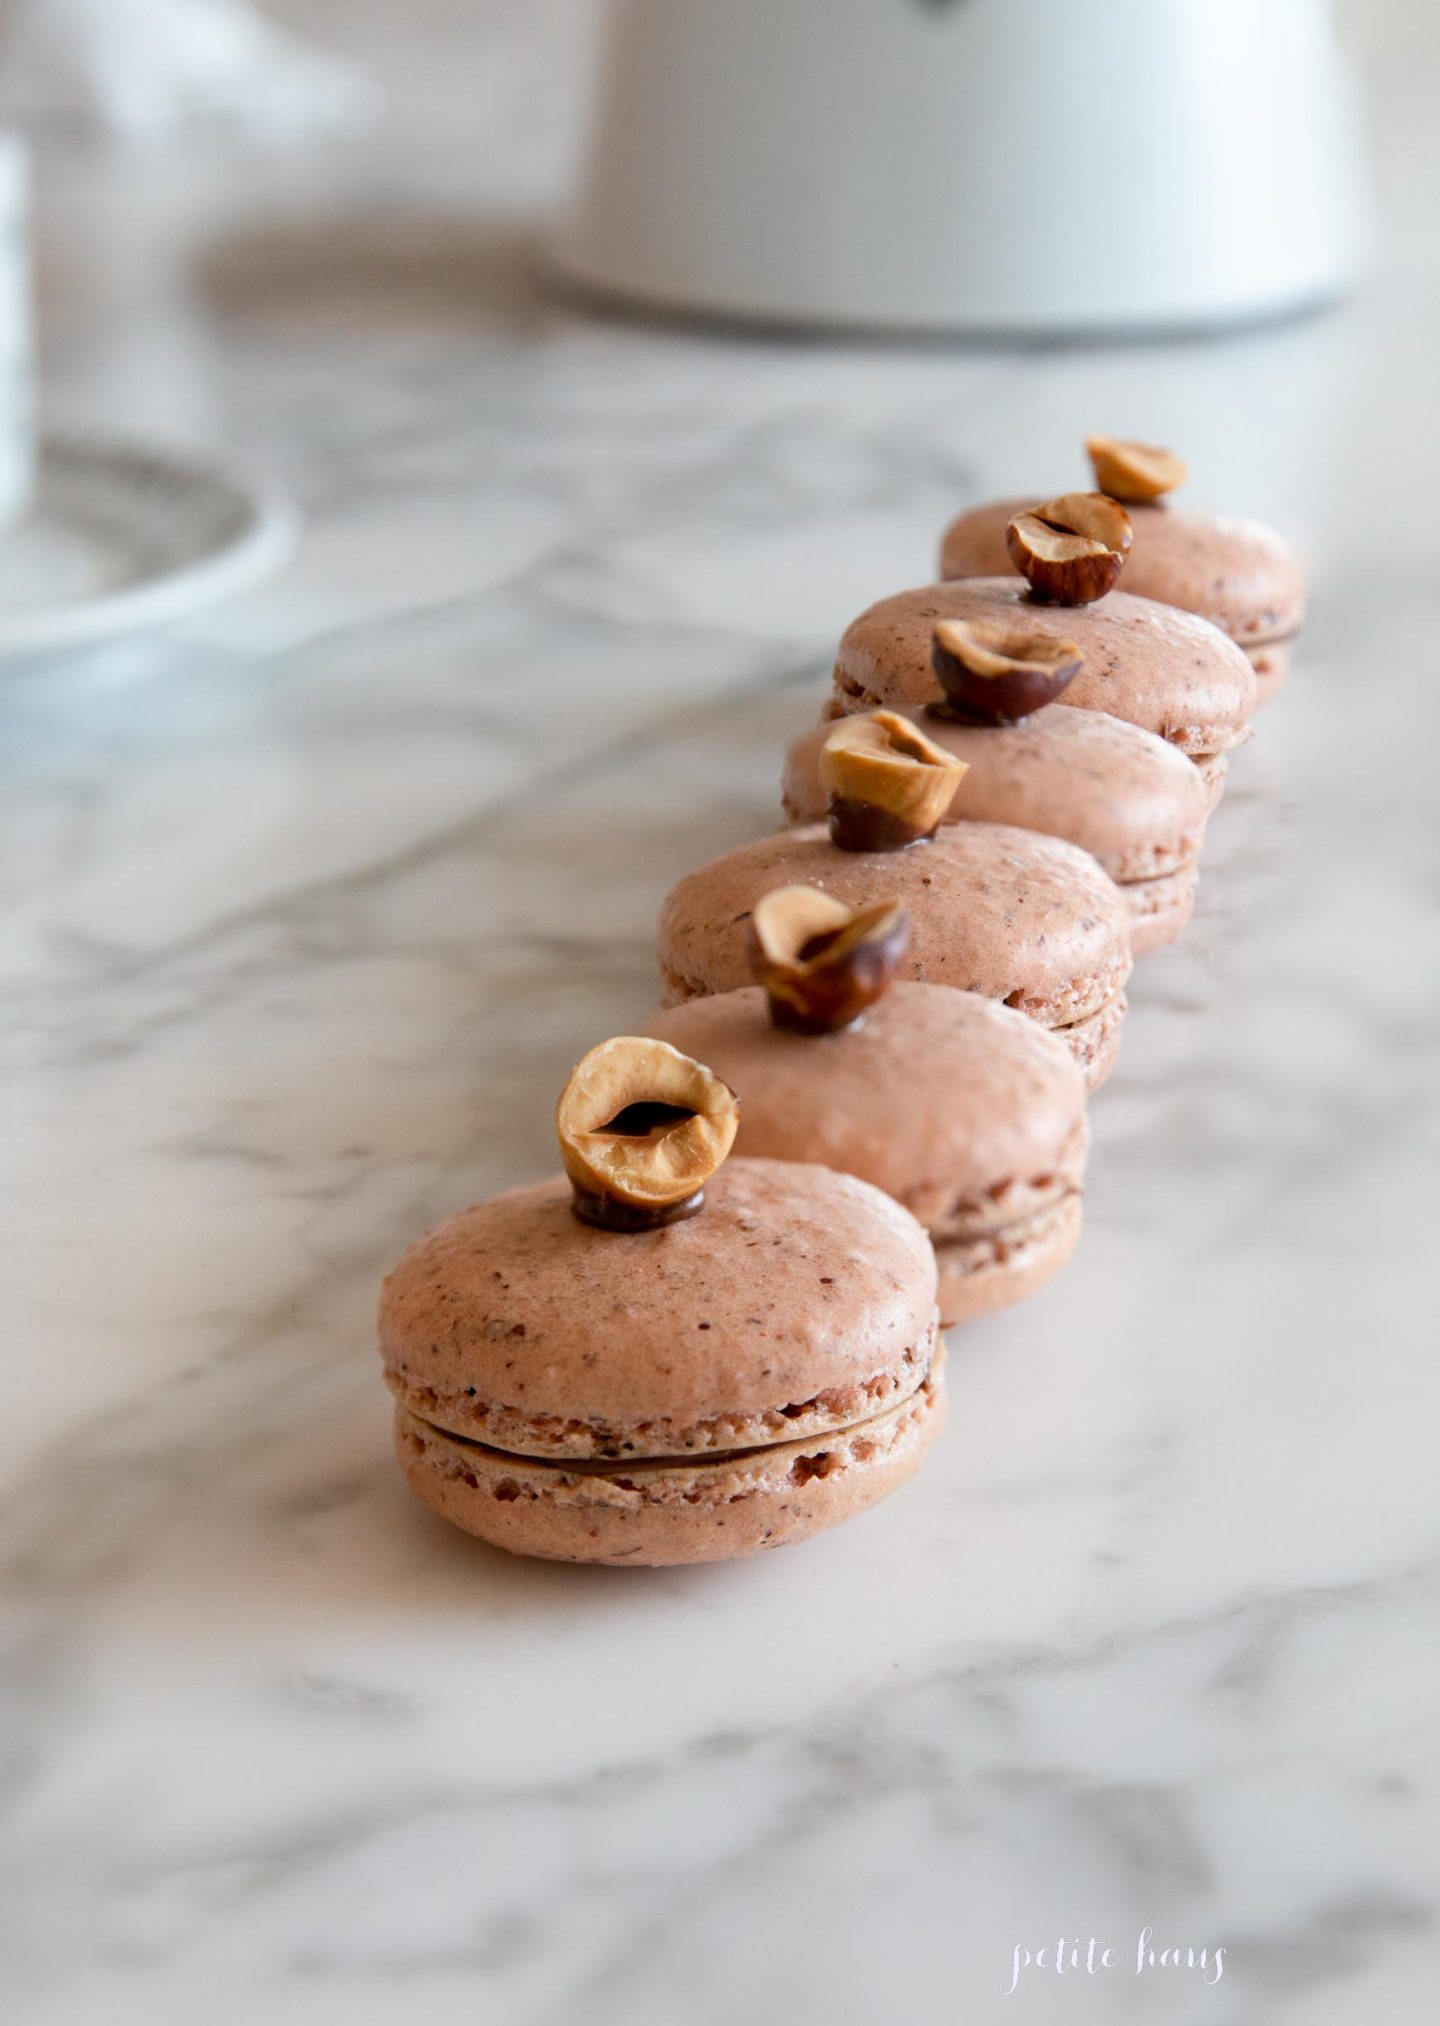
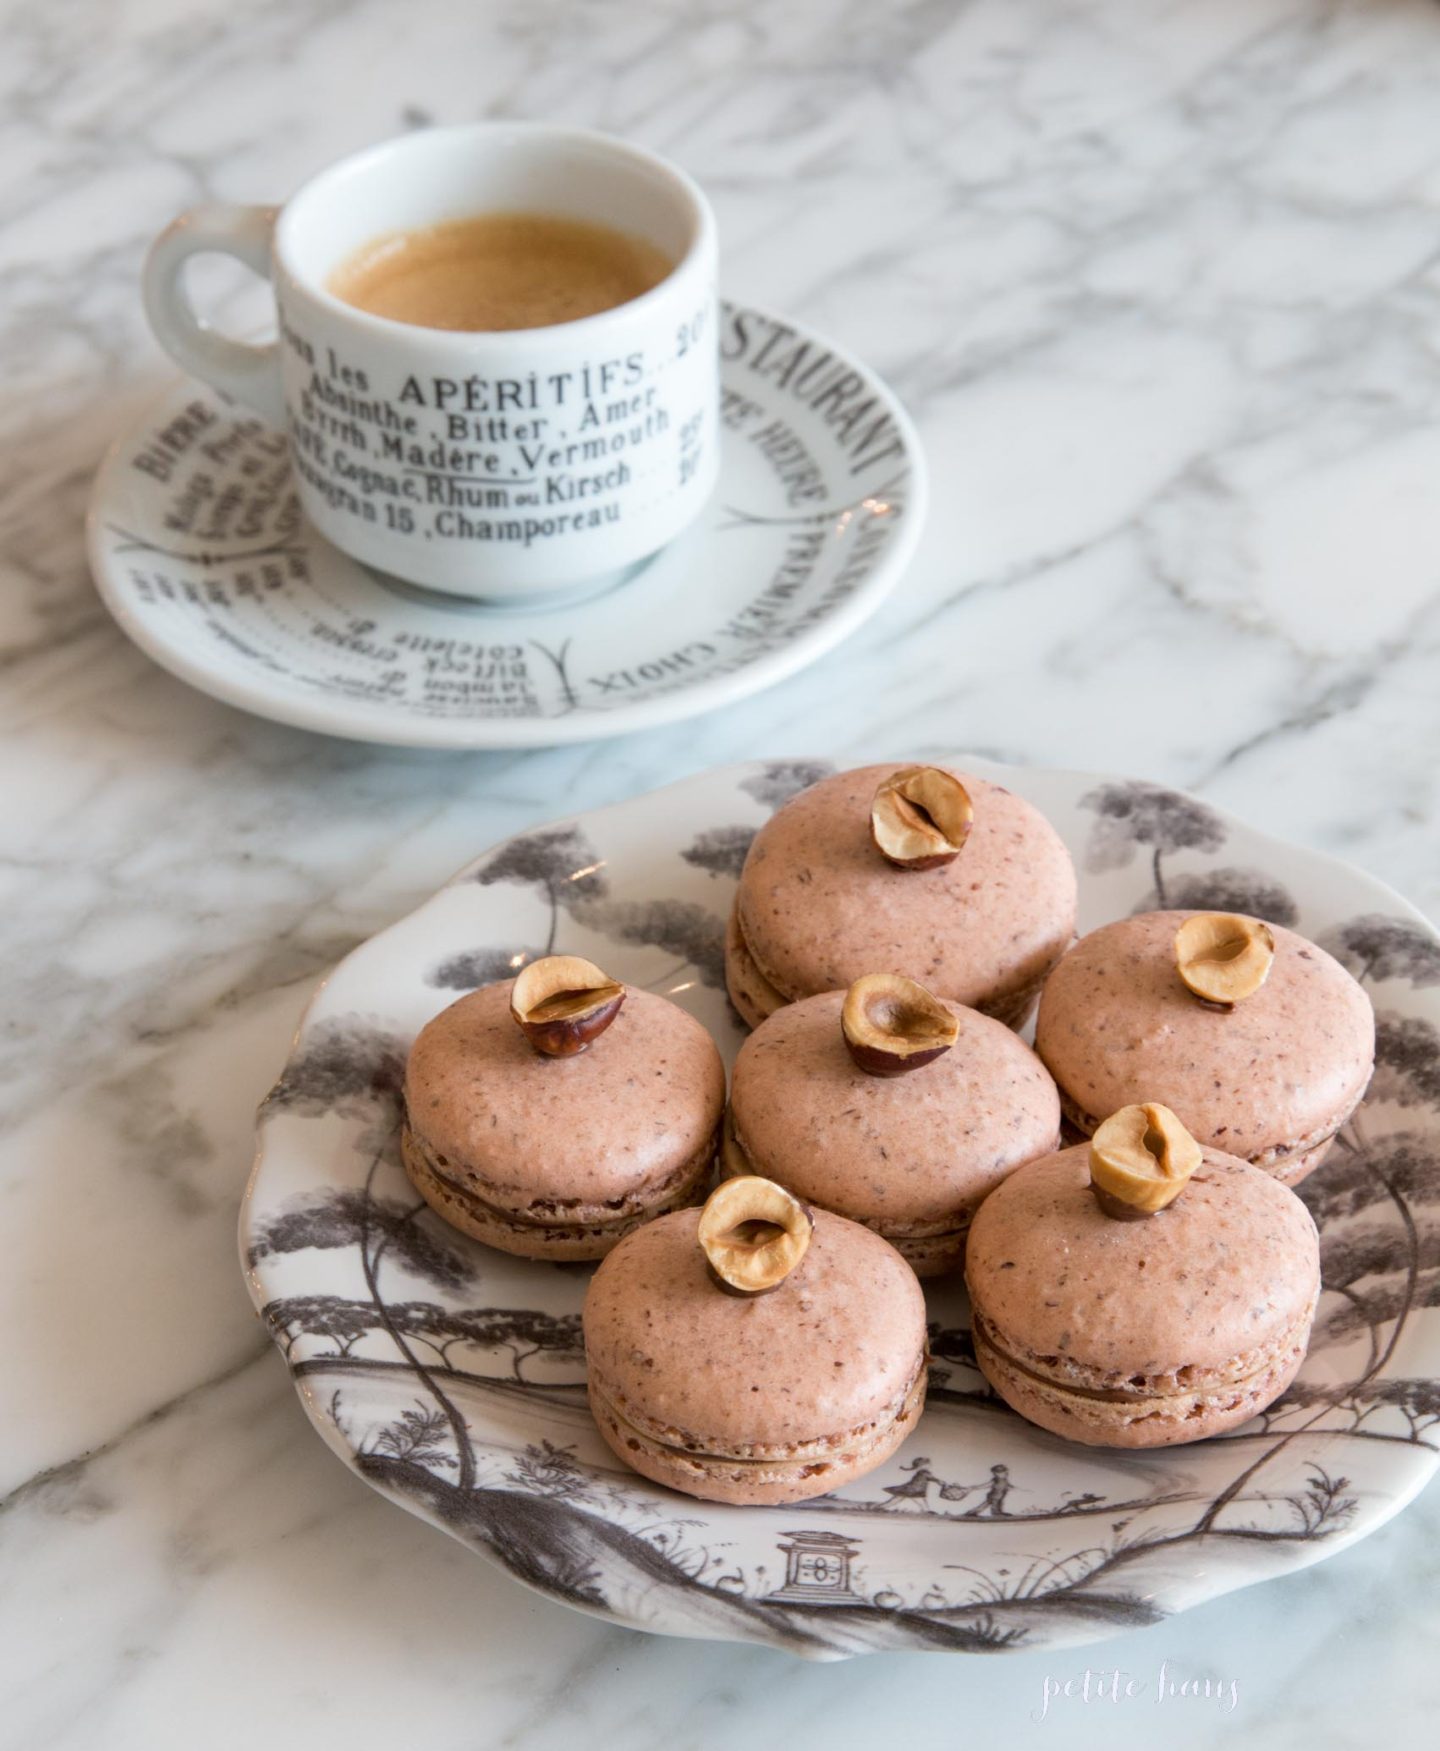
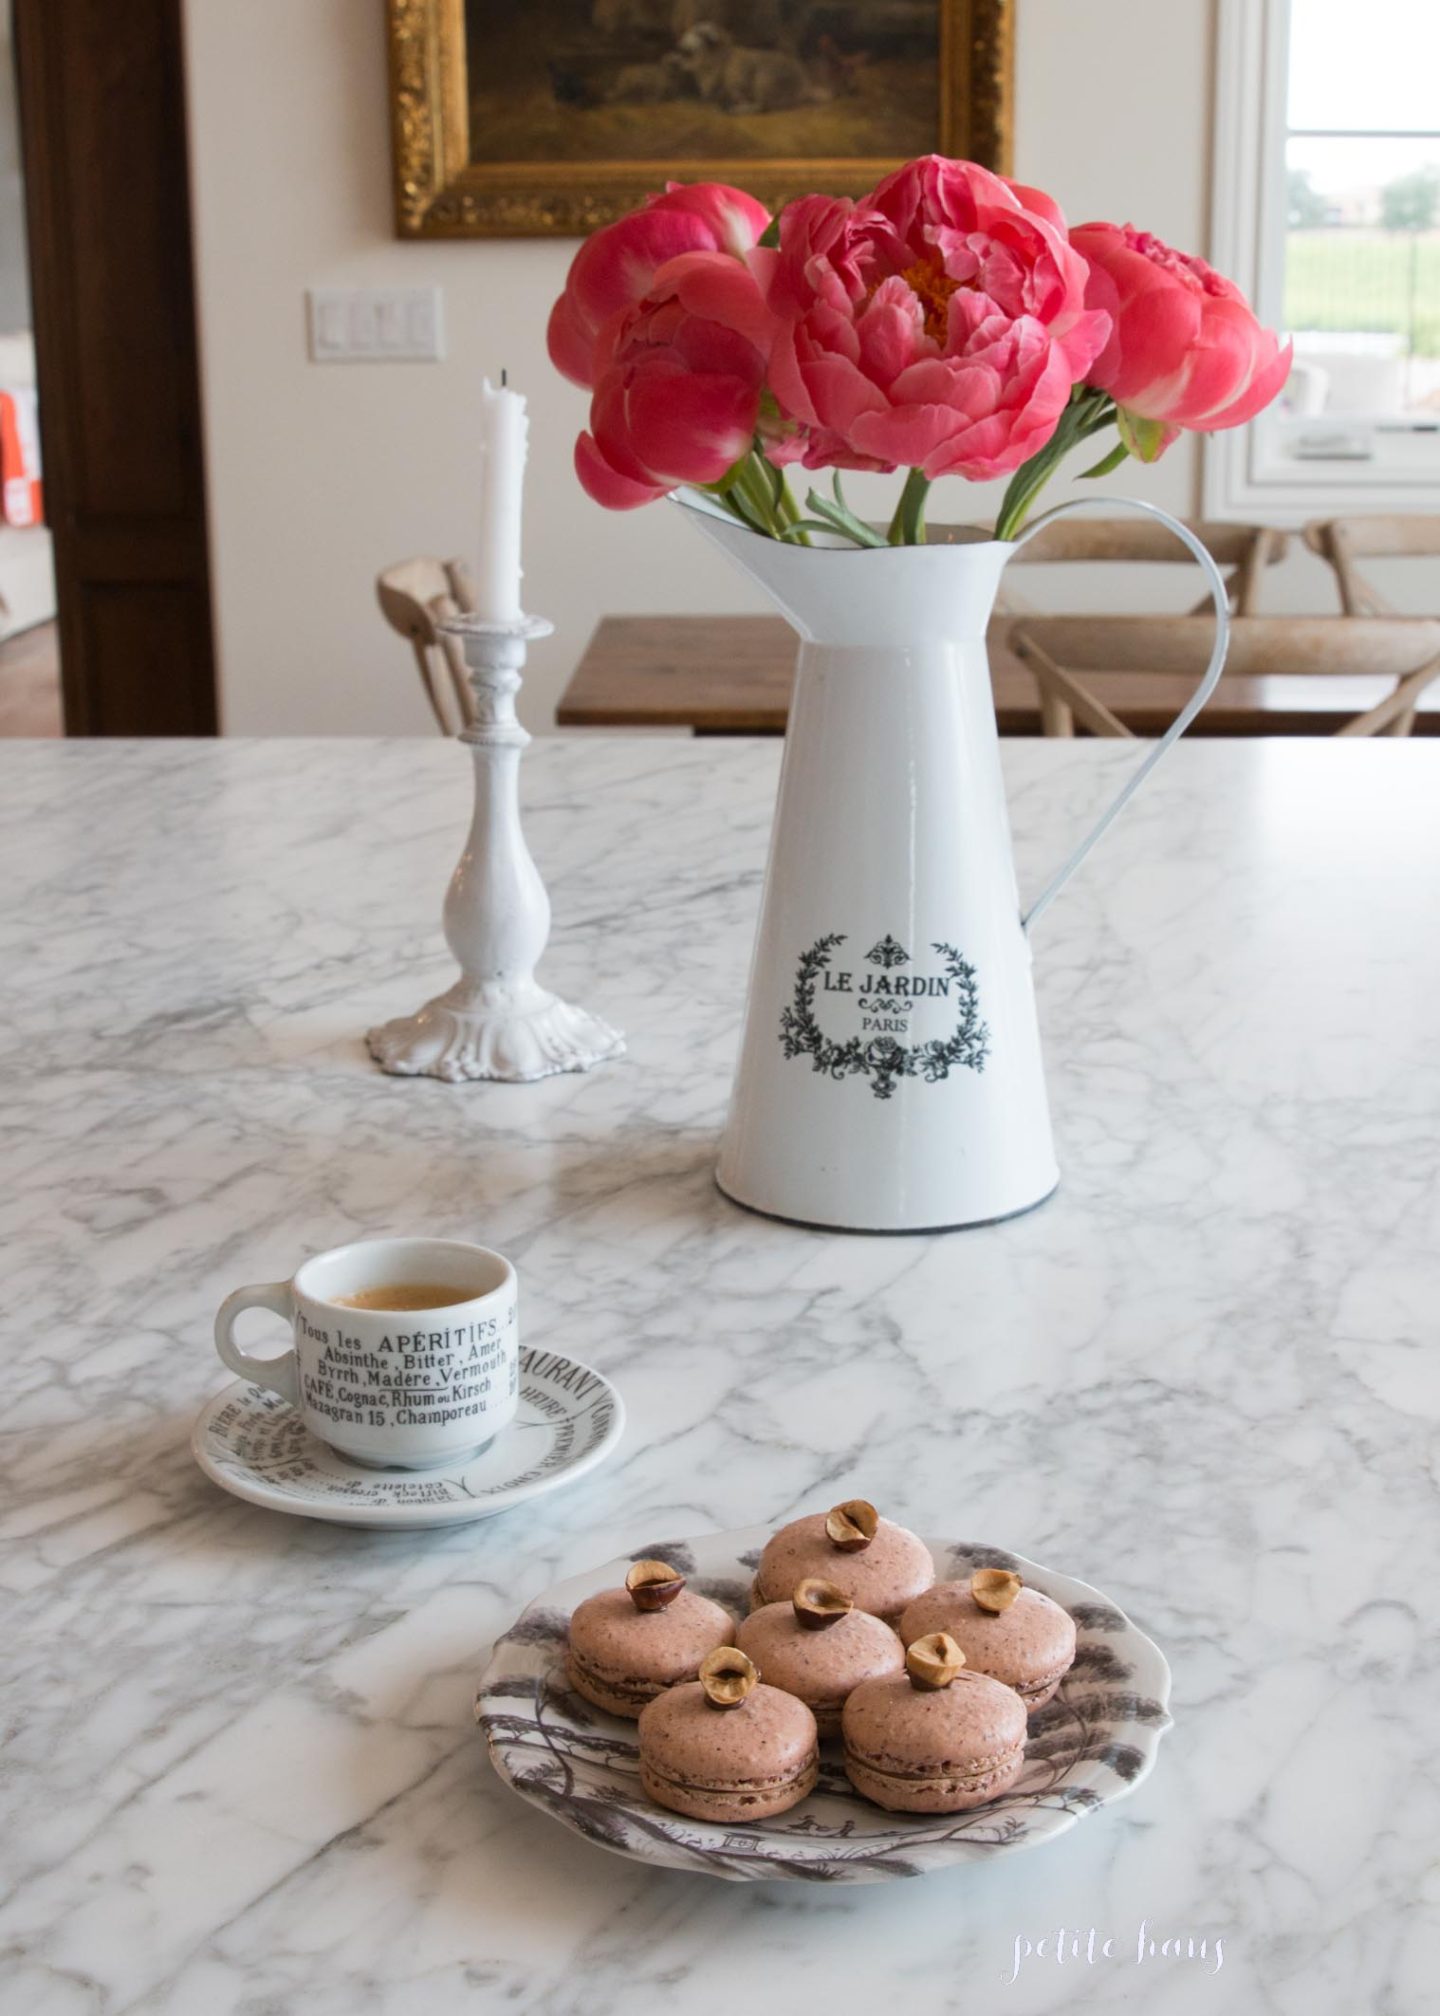
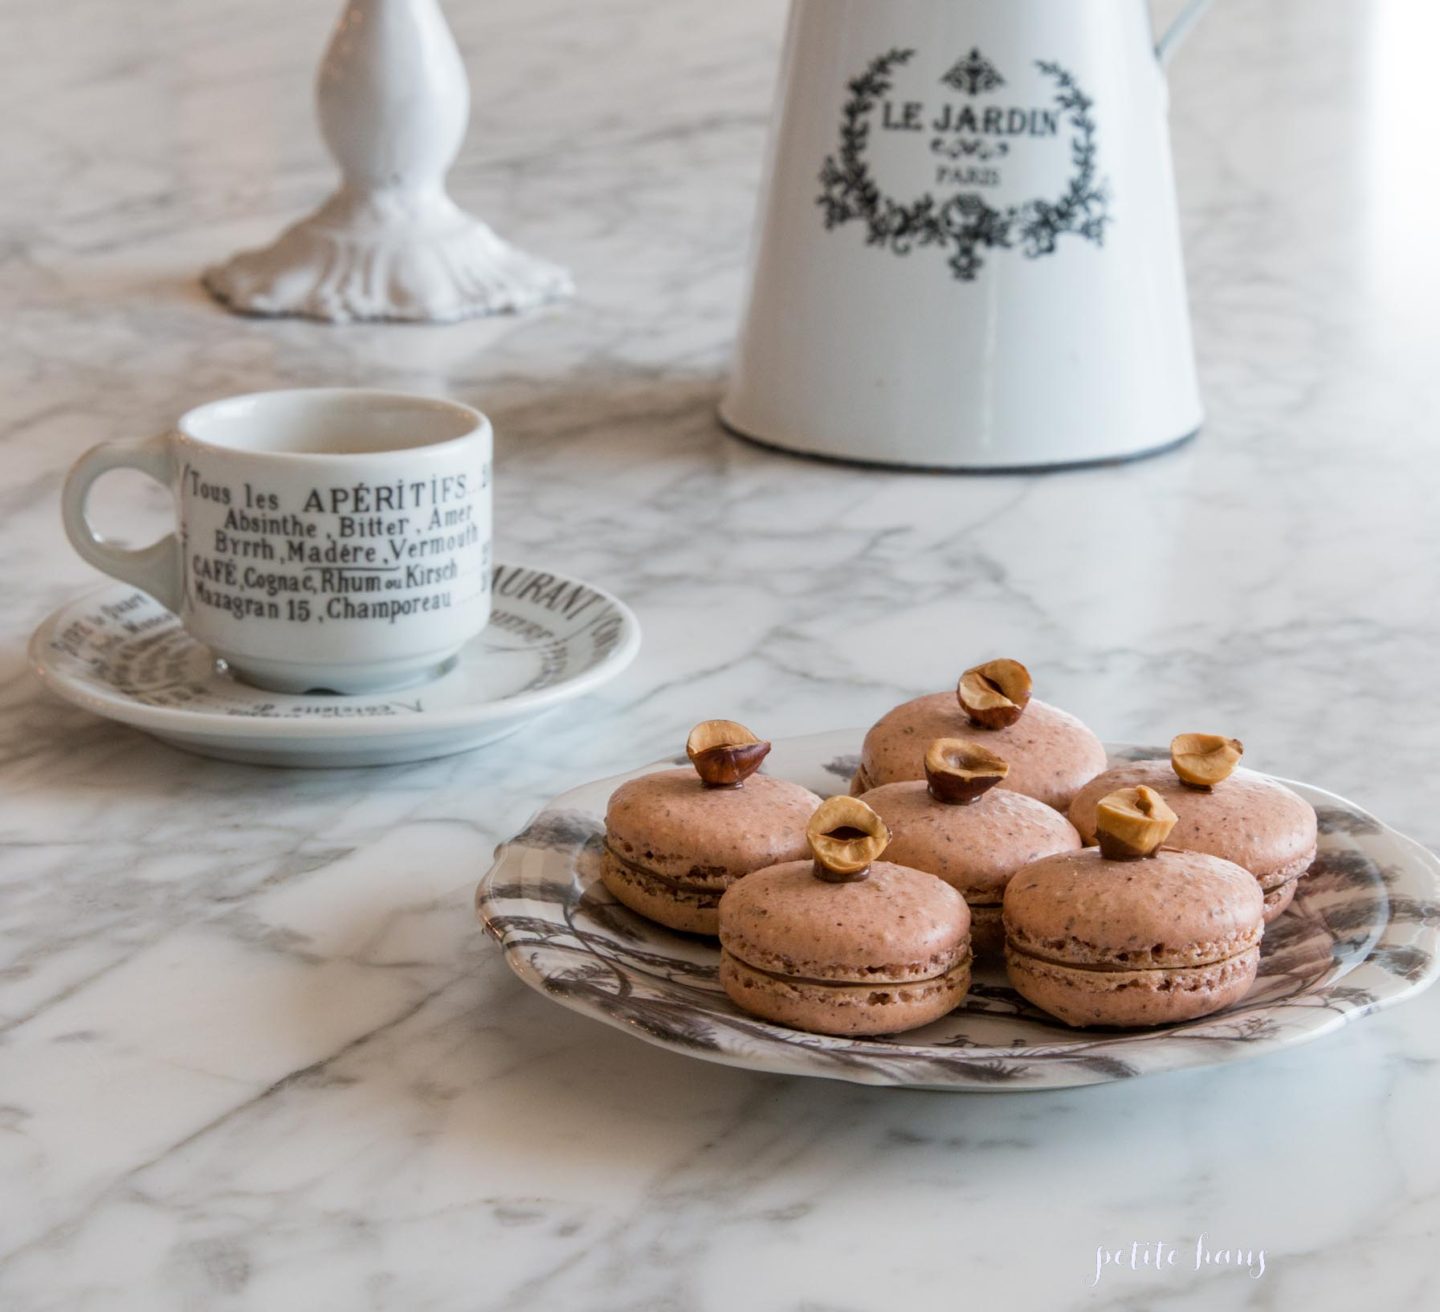
Toasted Hazelnut Chocolate Macarons

We use affiliate links in our posts and our site. This means if you make a purchase using these links, we may earn a small commission. You don’t pay a cent more than you would otherwise! Our full disclosure is available under About.

I was walking through the grocery store recently and I came across hazelnut flour made by Bob’s Red Mill (you can also get it here on Amazon). I thought to myself, HUH. I know *JUST* the thing I am going to make with this.

Traditional macarons call for almond flour, so I did not know how substituting for hazelnut flour would work.  Turns out… works great!
Also, I did another thing new this time.  While at Trader Joe’s, I found 100% liquid egg whites and gave them a try. Oh my! What a time saver!! The macarons turned out just the same! I am so pleased! If you are going to use a different brand other than Trader Joe’s, you need to make sure it is only 100% egg white and nothing else.

Materials needed: (affiliate links are used for your convenience)

    • silicone spatula
    • electric mixer (your hand will get tired whipping the meringue, I use this professional one in cherry red, but this model is wonderful too and perfect for those who don’t need THE BIG mixer! )
    • a food scale (yes, you need this. I use this one)
    • a piping tip and piping bag (I like the ateco #806, I use these tips and piping bag)
    • Food coloring (the gels or dry powder works best, not the liquid store stuff)
    • A macaron template
    • food processor (I use this one)

Macarons Recipe

275g hazelnut flour

250g powdered sugar

210g egg whites

210g granulated sugar

1.  Mix almond meal and the powdered sugar in a food processor. Be careful not to grind too long, otherwise it will form a paste.

2. Sift the almonds and powdered sugar. Set aside.

3. Weigh out granulated sugar.

4. Weigh the egg whites.  Beat them slowly on a low speed until foamy. SLOWLY add the granulated sugar to the egg whites as you beat.  Once all mixed, increase speed to medium and beat until a firm meringue forms.  You want a firm meringue with glossy peaks but not stiff peaks.  They should defy gravity and remain in the bowl if you turn it upside down.  If you tilt your bowl to the side and they are sliding out, keep beating.

5. Add the food coloring gel and mix.

6. Then fold in 1/3rd of the almond/sugar mixture into the meringue with a silicone spatula.  Once combined, add another third of the almond mixture. Add last bit.  This batter requires more deflation during this step since it creates such a poofy meringue.

7. Add the batter to a piping bag.  Pipe in rows using your template onto parchment paper.

8. Pick up the pan and beat until the counter.  The cookies need to rest on the counter between 30-60 minutes.  They are ready to go in the oven when they are dry to touch (the shell shouldn’t stick to your finger)

9.  Set the oven to 300F.

10. Bake the cookies for 13-15 minutes, one sheet at a time. They are done when they look kind of matte and seem firm when you lightly tap on them.  You can always rescue a slightly overcooked one with the maturation process that comes later, but you cannot rescue an undercooked one!!

11. Remove from paper once completely cool. If they stick to the paper, they aren’t cool yet. Or you undercooked them.

Toasted Hazelnuts

Preheat oven to 300F.  Place hazelnuts on a baking sheet.  Bake for about 15 minutes, or until browned.  Half way during baking, stir them.  Once they are cooling, use a towel and rub the skins off of them.

Filling

Use Nutella.

Assembly

1. Once the cookies are cool, add a dollop of your nutella to one cookie and spread with a small knife, spoon, or icing spatula.  Don’t push too hard when spreading, otherwise you will break them!

2.  Place the other cookie to your filling, press gently, and slightly twist the two together. Then, dip a hazelnut in the Nutella and place on top.

3. Once all assembled, put them in an airtight container and let them mature (yes, that’s the scientific word for this process) in the refrigerator for 24-48 hours.

Now, these cookies won’t be bad if you eat them immediately, they will just be amazing if you wait a day.  The theory is that the juices from the filling soak back into the cookie to make an AMAZING cookie.
Follow:

French Strawberry Pistachio Macaron Cake

We use affiliate links in our posts and our site. This means if you make a purchase using these links, we may earn a small commission. You don’t pay a cent more than you would otherwise! Our full disclosure is available under About.

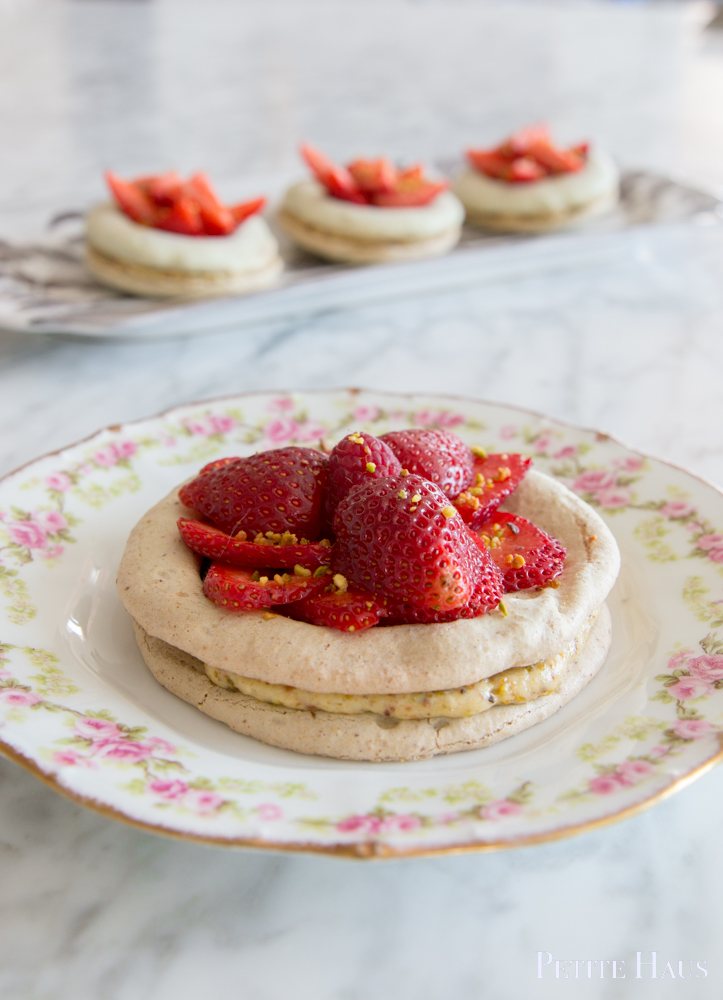
This French strawberry pistachio macaron cake is the perfect Spring/Summer treat!

French Strawberry Pistachio Macaron Recipe

In fact, it is my favorite French dessert I’ve *ever* made. That’s a bold statement for me, lover of croissants and macarons!

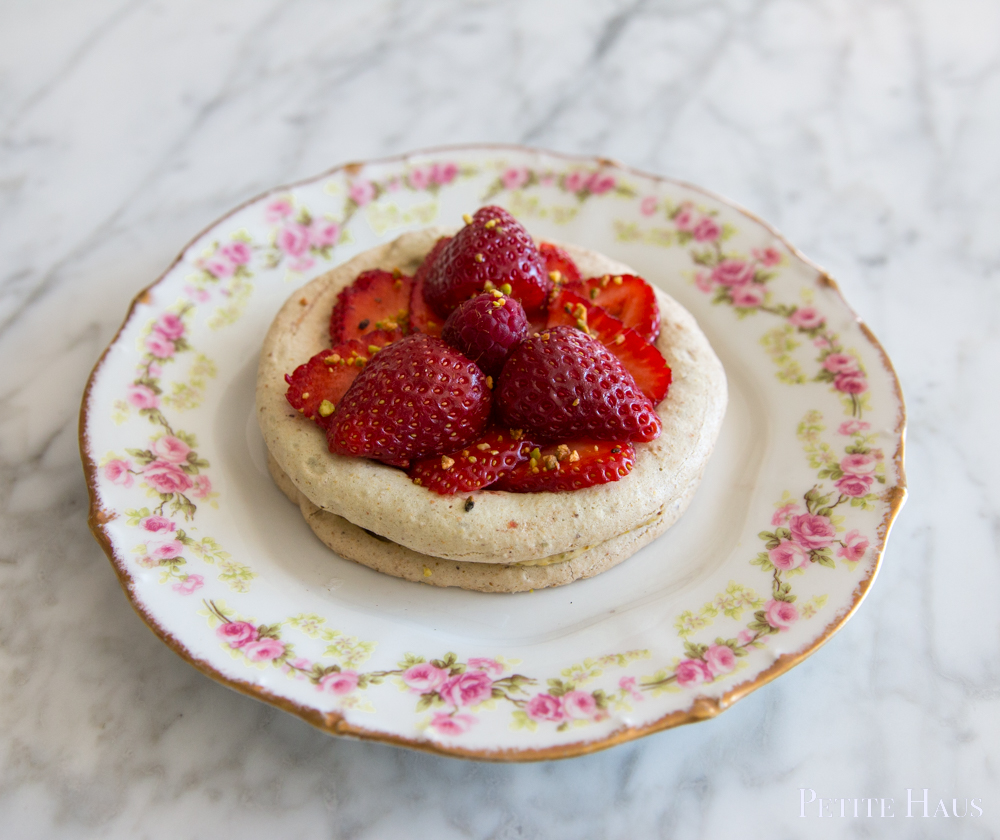
The sweet/tartness of the strawberries goes so well with the pistachios!  I made two different sizes – a larger cake and small individual cakes!

Honestly, when I made these, I thought they were all fails – half of them cracked and seemed overcooked.  But I adjusted the oven temperature and cooking times and the next batch came out pretty well. Just my piping skills need some practice.

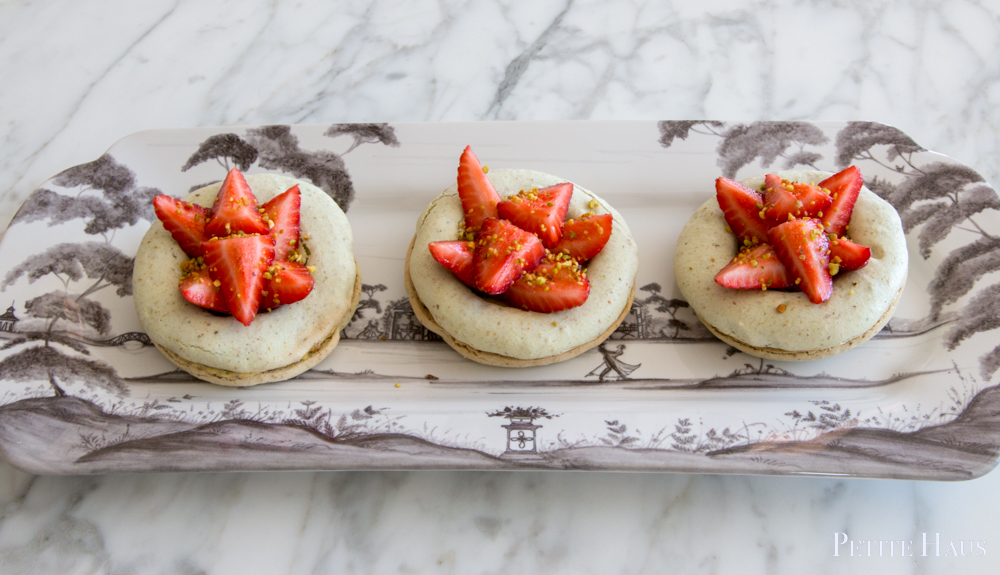
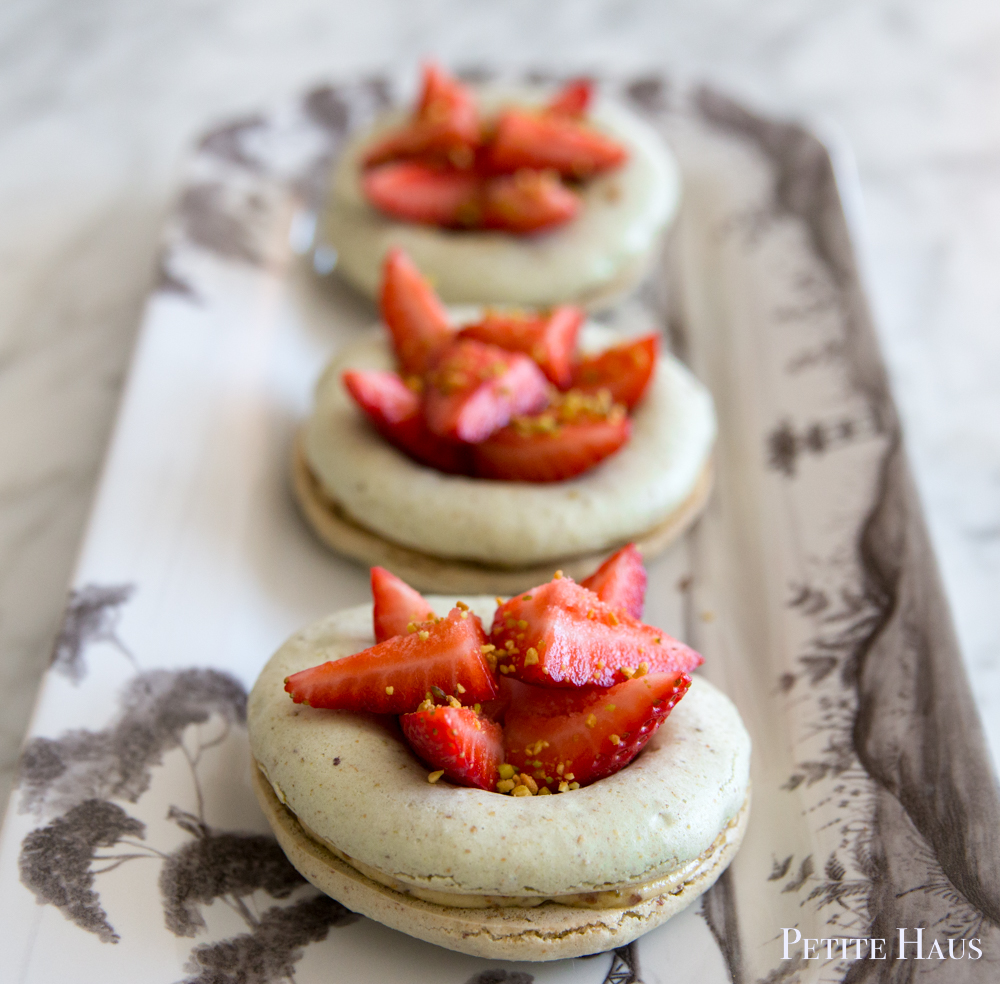
It is a pistachio macaron bottom, a pistachio cream filling, then a pistachio macaron ring which the strawberries sit in.

Adapted from Laduree’s Sucre: The Recipes book, get it here

Materials needed

  • silicone spatula
  • a food scale (yes, you need this. I use this one)
  • a piping tip and piping bag (I like the ateco #806, I use these tips and piping bag)
  • Food coloring (the gels or dry powder works best, not the liquid store stuff)
  • A macaron template
  • food processor (I use this one)

Pistachio Macaron Shell Recipe 

• 200g almond flour

• 75g pistachio flour (step 1)

• 250g powdered sugar

• 210g granulated sugar

• 6 egg whites (room-temperature)

• 1/8 cup chopped pistachios

• food coloring (green is traditional color for this cookie)

1 Grind your unshelled pistachios (salted or unsalted, I prefer the salted) using a food processor. Be careful not to turn it into a paste.

2 Sift almond flour, pistachio flour, and powdered sugar through a fine mesh screen into a bowl.

3 Whisk or using a beater, turn 6 egg whites to a foam.  Slowly add the granulated sugar to the egg whites as you beat.  Whip until the meringue has firm glossy peaks but not super stiff peaks. They should defy gravity and remain in the bowl if you turn it upside down.  If you tilt your bowl to the side and the meringue started to slide, keep beating.

4 Add your food coloring.

5 Then fold in 1/3rd of the almond/pistachio/sugar mixture into the meringue with a silicone spatula.  Once combined, add another third of the almond mixture. Then the last third.

6 Add the batter to the piping bag.  Pipe in rows using your template onto parchment paper.  One pan needs to be rings and the other pan needs to be circles.  You can choose your size – I made 4″ and 6″ cakes.

7 Pick up the pan and beat onto the counter.

8 Preheat oven to 300 degrees.  The cookies need to rest on the counter between 30-60 minutes. They are ready to go into the oven when they are dry to the touch.  The shell shouldn’t stick to your fingers.

9 Bake the cookies for 9-15 minutes, one sheet at a time.  The rings baked for 9 minutes and the bottoms baked for 14-15 minutes. They are done when they look kind of matte and seem firm if you tap on them.  You can always rescue an overcooked cookie with the maturation process that comes later, but you cannot rescue an undercooked one!

10 Remove from the paper once completely cool.  If they stick to the paper, they either aren’t cool yet or you undercooked them.

Pistachio cream filling

  • 6 tbsp (90 g) butter, room temperature
  • 3/4 cup (180 ml) whole milk
  • 2 egg yolks
  • 1/4 cup (50 g) granulated sugar
  • 2 tbsp cornstarch
  • 40 g shelled pistachios, chopped into small pieces
  • 1/4 cup (60 g) pistachio paste  ( I make my own – just place shelled pistachios in the food processor and process away! Then add a few drops of water until it gets to a paste consistency!)
  1. In a saucepan, bring the milk to a simmer.
  2. While milk is heating up, whisk the egg yolks with the sugar. Then whisk in the cornstarch.
  3. Once milk is at a simmer, pour one third of the milk into the egg mixture. Whisk together. Then pour the whole mixture back into the remaining milk on the saucepan and bring the mixture to a boil.  You will be wanting to stir with a whisk the whole time so the egg doesn’t burn (other wise you’ll have scrambled eggs!)
  4. Remove from heat once boiling and cool for 10 minutes. Then whisk in half of the butter.  Then let cool to room temp about 70 degrees. If it is taking a while, put in the fridge to cool.
  5. Once room temp, use a hand mixer and mix until smooth and fluffy.  Then mix in the remaining half of butter and pistachio paste.  Once well mixed, fold in the chopped pistachios.

To assemble

  1. Place the cake bottom upside down (if it is too uneven, just leave the flat side down).  Then using a piping tip, pipe the pistachio cream onto it. Then place the ring on top.
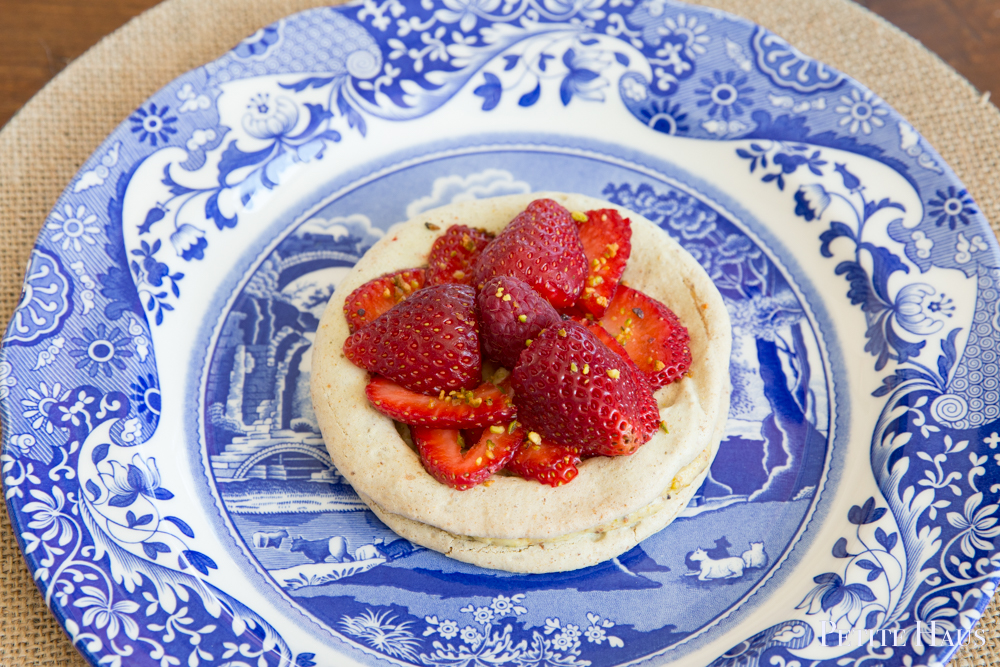
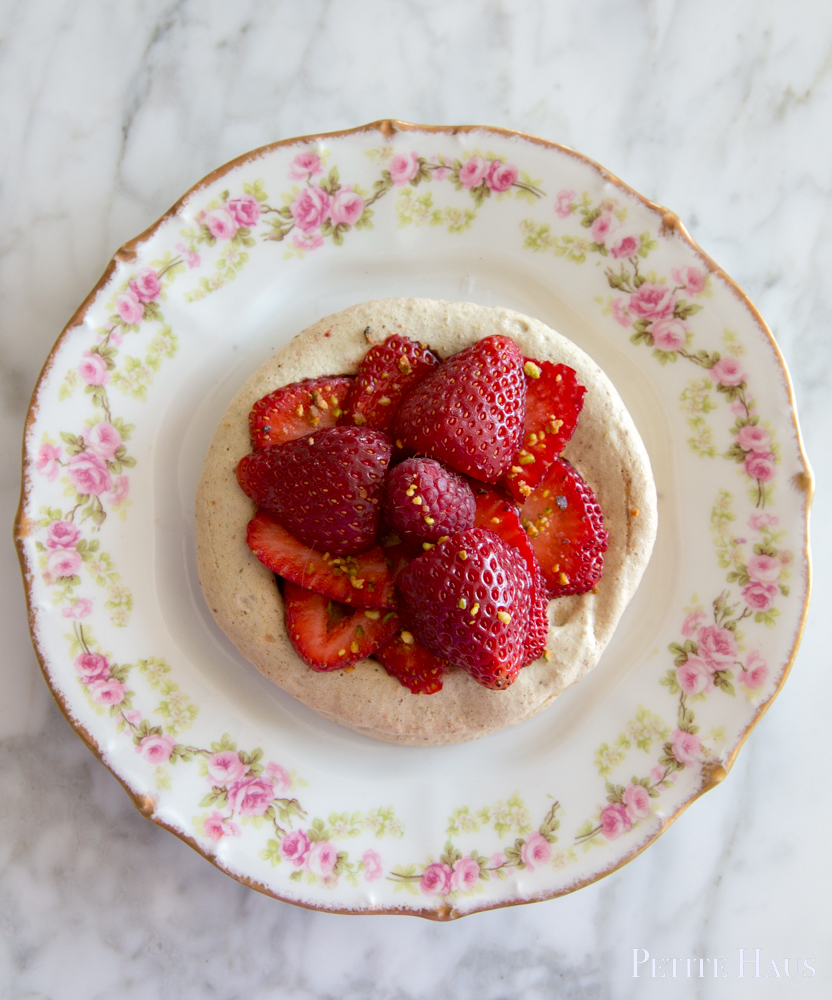
  2. Use chopped strawberries to garnish the top.  Sprinkle a few pieces of chopped pistachios on the strawberries.

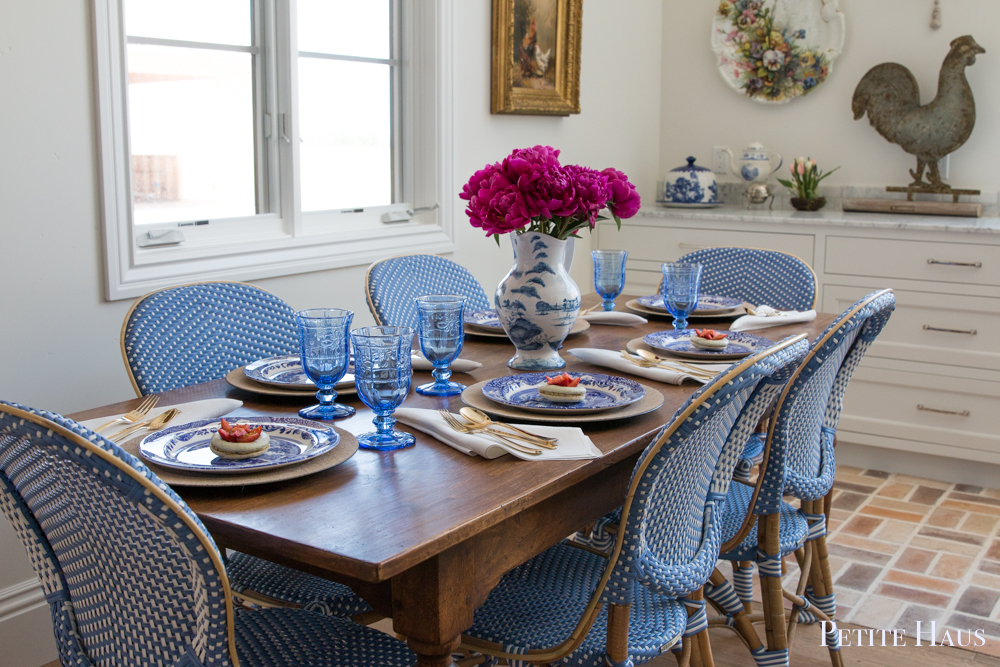
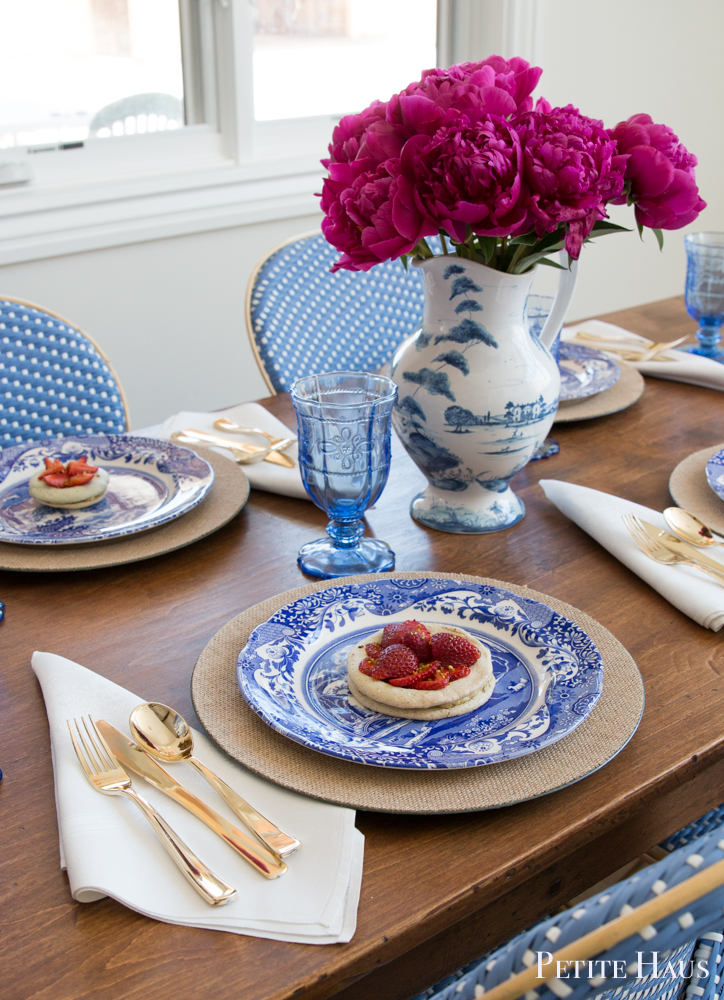
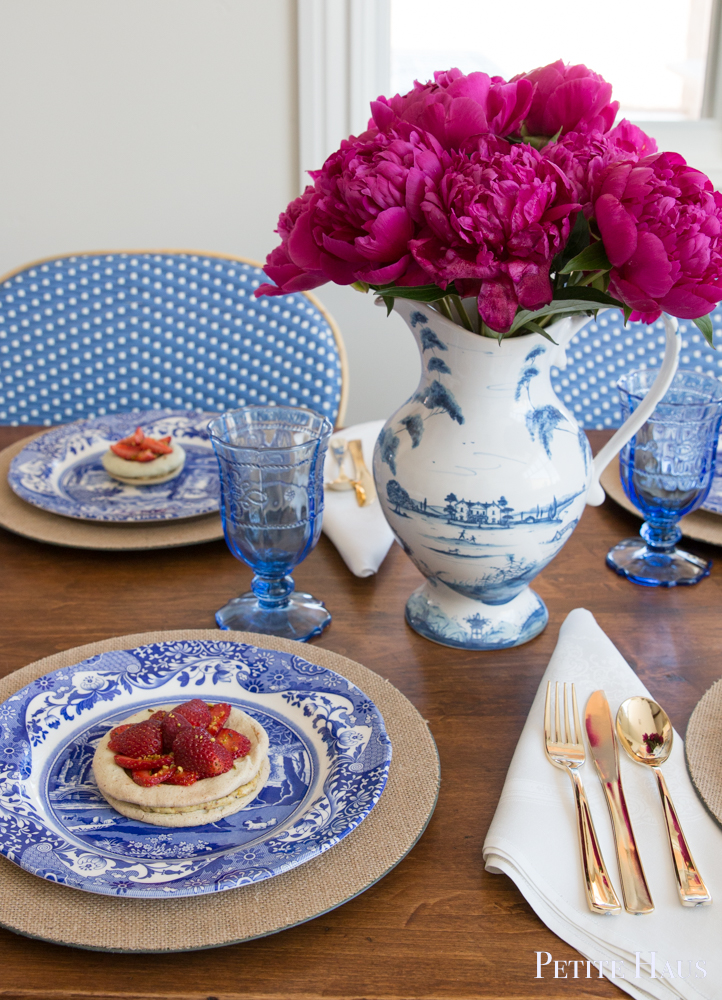
I had set the table this weekend and put these little cakes down on them… they looked so cute I shot some extra pictures! 

The red berries pop against the blue!

I do hope you’ll try the French strawberry pistachio macaron cake! They are so yummy!Have a happy week!

SaveSave

SaveSaveSaveSaveSaveSave

SaveSave

Follow:

Macaron Fails and Troubleshooting

We use affiliate links in our posts and our site. This means if you make a purchase using these links, we may earn a small commission. You don’t pay a cent more than you would otherwise! Our full disclosure is available under About.

I thought I would share about some of my fails of baking macarons.

I have been making macarons for several years and I can tell you that they are a very picky pastry.

Yes, a pastry – this is no cookie!

Recently on the blog, all you see are my pretty macarons – but let me tell you, it doesn’t always turn out as such!

Even from one piped sheet to another, things can change!

One tray will turn out perfectly, the other… who knows what happened! It was from the same batch, after all! 

I do know that frequently my fails have to do with how I folded (aka stirred) the almonds into the meringue. 

I find my first piped batch is often under folded (aka I didn’t stir it enough)… so then I stir a few more times and the consistency becomes perfect. 

Below, an example of underfolded macarons – should have stirred more!! Although, under folded macarons can be saved – just use a knife and either pat down or take the tops of and voila! Your macaron is saved!)

At least though they formed feet. Well, some of them.

Here we are, with the same shell recipe, but with everything done right. Folded perfectly, rested perfectly, cooked perfectly. It’s nice when they turn out perfectly. Although, the ones above do taste the same as the ones below. They just aren’t as pretty!

Here’s another fail below. WHERE ARE THE FEET?? Guess what though, these are not massive fails. They still taste the same. Also, don’t wet your finger and try to dab the pointy part away. Lesson learned.

Let’s assess one of my recent creations that I made this year. I was trying to make a vanilla bean macaron.

Nothing went right.

It was lumpy. I had underfolded it and I knew it. And I kept stirring and stirring and it just didn’t want to deflate.

Then it was also bumpy – the little fine particles didn’t mix together. Sometimes that happens when you don’t sift your ingredients. But I sifted. So I don’t know.

Then, look at the bottom shell. The feet developed on one side… but what happened to the other?? Where’d the feet go?

Just when you think, okay, finally, let’s get to the filling, I can’t screw that up, right? WRONG.

Here I was trying this wonderful vanilla bean white chocolate ganache filling by Pierre Herme.

Vanilla Bean White Chocolate

165g cream

180g white chocolate

3 vanilla bean pods

1. Cut the pods in half and seed them.

2. Bring cream to a boil with the vanilla seeds AND pods in it. Then remove from heat and let rest for 30 minutes.

3. Melt the white chocolate, preferably over a double boiler.

4. Remove pods from cream. Then stir the cream into the white chocolate.

5. Put in the fridge until cool.  

You see, after it’s cool… it’s supposed to be something that is creamy and pipe-able. Clearly, below, it is too runny. 

I don’t know what I did but it is not right.

It tasted ridiculously delicious though. 

But the macarons kept sliding apart when I filled them. That didn’t stop me from eating them… but I had to pull them out of the fridge and eat them immediately otherwise they all slide apart.  That’s why I’m holding one in my hand – it’s because it would slide apart otherwise!

Food Nouveau has a good troubleshooting guide for macarons.

 These pastries are so picky. It can depend on…

perfectly clean bowl for meringue not made of plastic

silpat or parchment paper

age of egg whites (it is said aged egg whites are the best, but I have never had a problem)

temperature of egg whites

consistency of meringue

weight of ingredients

sifted ingredients

type of food coloring used

overfolding/underfolding the almonds into the meringue

resting time

oven temperature

convection bake vs regular bake vs crap oven

and lastly, the humidity. If it’s raining outside, just don’t make them.

Well, I thought you might enjoy seeing behind-the-scenes that not everything is perfect over here even though I make lots of macarons. 

Yet, even though most recently I had a fail, it won’t stop me from trying.

I read in a the Bouchon Bakery book I received for Christmas (thanks guys, you know who you are!) that Thomas Keller states that you should not try to learn a lot of new recipes but instead work on perfecting one.

So that’s what I do.

Oh, did I mention they were gluten free? But diabetics beware.


Follow Peonies and Orange Blossoms on social media:

Follow me behind-the-scenes on my favorite social media, Instagram!

See my latest pins on my most popular social media account, Pinterest.

Follow all of my posts in my favorite blog reader feed Bloglovin.

linking up at:  amaze me monday The Scoop! BNOTP Mon Inspire Me Tuesday  Wow us Wednesdays!Share Your Style Thursday Favorite ThingsHome Sweet Home Feathered Nest Fridays Foodie Friday & Everything Else Best of the Weekend 


Written at http://peoniesandorangeblossoms.blogspot.com

This post may contain affiliate links.

SaveSave

Follow:

How to Make a Macaron Tower

We use affiliate links in our posts and our site. This means if you make a purchase using these links, we may earn a small commission. You don’t pay a cent more than you would otherwise! Our full disclosure is available under About.

I have been wanting to make a macaron tower for a little while, so I set out to create one. It was surprisingly easy!

I was delighted when I saw my finished product – how pretty!

I thought this pretty pink tower was perfect for a Valentine’s Day post.

Finding a cone to as a base for this was not super easy.

I first went to a specialty cake supply store – but they did not have any.  I thought, great, I will just have to make it so they stack up on top of each other without a base. *rolls eyes* like I am skilled enough to do that. Nope I am not.

Then my Mom had the idea to get one of the floral foam cones – so off to Michael’s we went.

And we found one! Or two actually. I bought two sizes but decided to use the smaller one in this post.

Materials Needed

Foam floral cone

parchment paper

toothpicks

macarons

First, pictured below is the foam floral cone that I used.

I wrapped parchment paper around the cone because the foam flakes off.  If you do not intend to eat the macarons off the tower, then you do not need to wrap the cone in parchment paper.

 Here, I cut the paper and taped it to the cone. The paper didn’t hold very well with tape, so eventually I just put a few toothpicks in it to hold it in place.


Next, cut your toothpicks in half.

Then poke one hole into the cone where you want your macaron.  It needs to stick out about halfway – you need enough toothpick sticking out so that it can fully support the macaron otherwise it will fall off.

Then, gently stick the macaron onto the toothpick. *gently*. It does not take much pressure to place it onto the toothpick!

Then, row by row, work your way up until you reach the top!

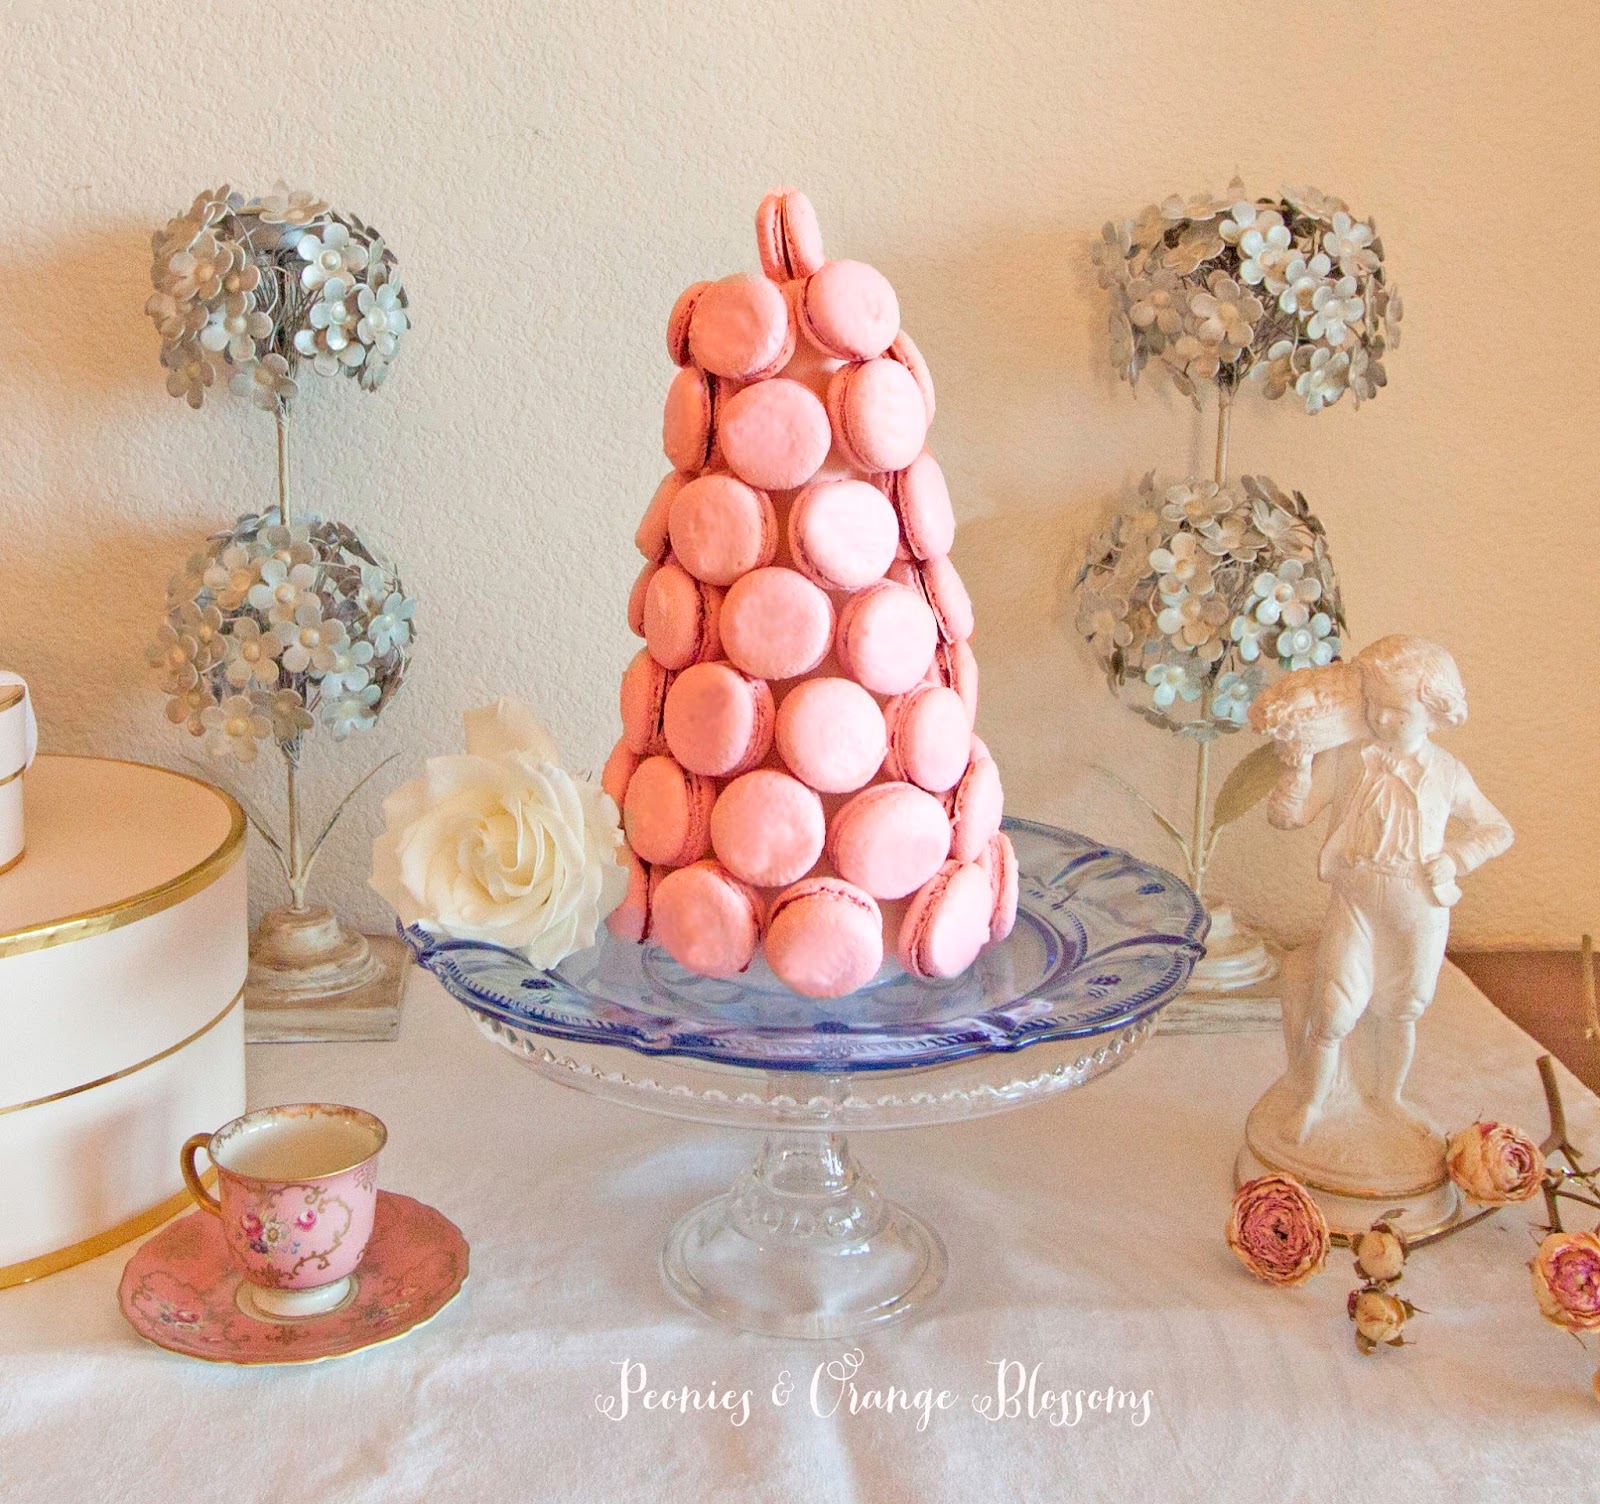
This tower was approximately 4 inches wide at the base by 9 inches tall.

 It took approximately 50 filled cookies to fill this size of cone in the pictures. I estimate, depending in the size of your cookie, it could take 50 +/- 2 cookies.

I used several different sizes of cookies – the largest ones are on the bottom and the smallest ones are at the top. You don’t have to do that… it just had to do with my inconsistent piping and it worked out well in the end!

You could also using frosting to attach the cookies to the foam if you do not have toothpicks. Or you could do both.

I would recommend making this the day of and just before any party you bring it to!

This is *perfect* for bridal showers, tea parties, birthday parties, or fun celebrations! It is a pretty centerpiece! I would love it if you pinned this image.

How to Make a Macaron Tower - a DIY tutorial for French Macaron Towers!
How to Make a Macaron Tower – a DIY tutorial for French Macaron Towers!

Also, if you are not up to making your ownmacarons, you could just get some store bought ones – for instance, the ones from Trader Joe’s in the freezer aisle would be perfect! It would take several boxes but you could do it!

How to Make a Macaron Tower

You might also enjoy these Valentine’s Heart Macarons


SaveSave

Follow:

Chocolate Orange Ganache Macarons

We use affiliate links in our posts and our site. This means if you make a purchase using these links, we may earn a small commission. You don’t pay a cent more than you would otherwise! Our full disclosure is available under About.

If you regularly read my blog, you know that I *love* macarons.  I tried one many years ago and was in love.  Then one day several years ago, my Dad and I decided we were going try to bake them.

Of course we couldn’t just make one, we made a whole day of it…  We made 6 flavors and about 600 macarons.

This post may contain affiliate links. 

chocolate orange ganache macarons recipe

Since then, I have been practicing and baking them with all sorts of different flavors.  Today I present to you the chocolate orange ganache macaron!

You know those little chocolate oranges that you wack on the table to break the orange apart that are popular at Christmas? That is what inspired this flavor!

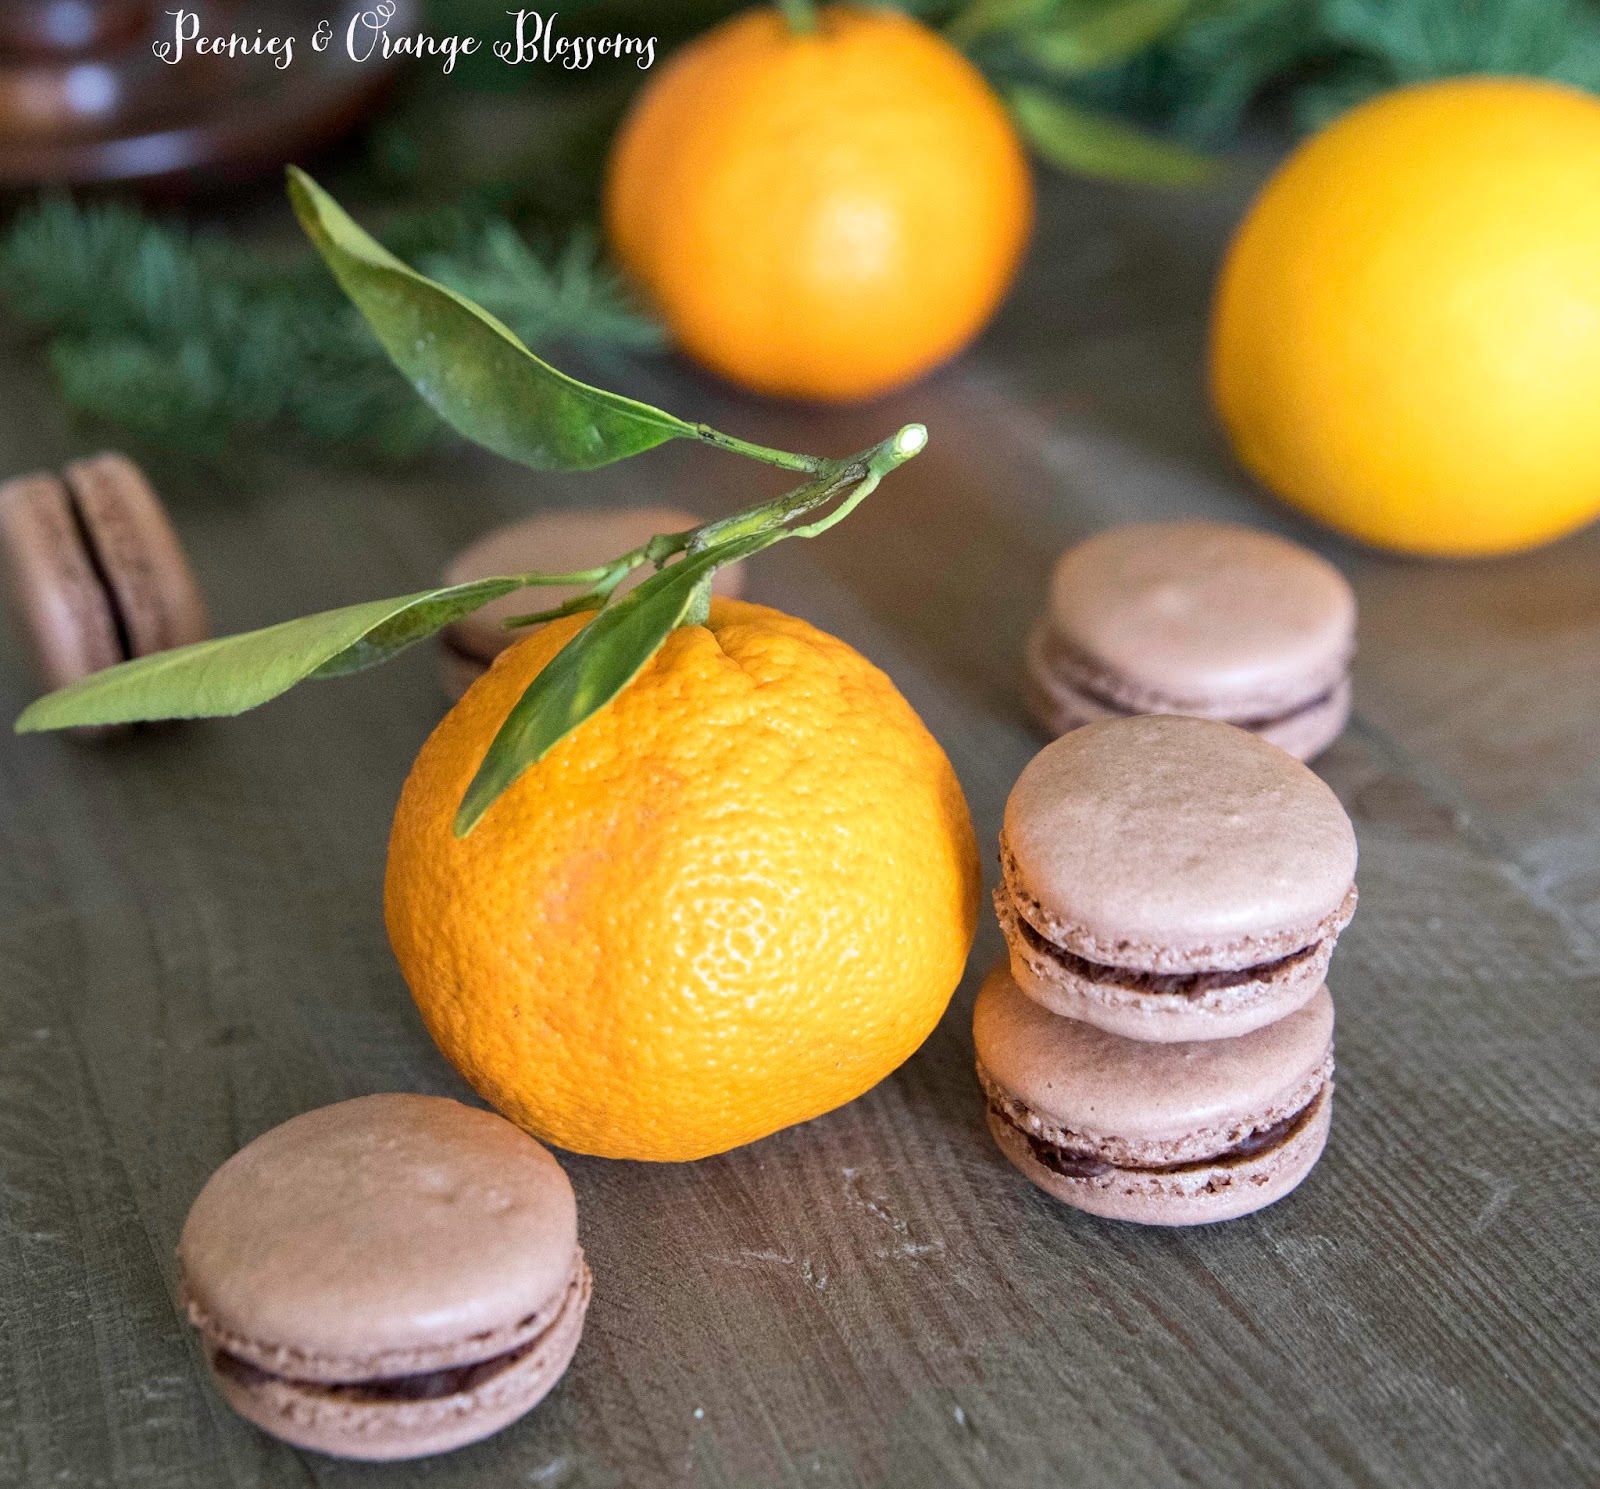
The oranges and satsumas came from my garden… that is what I love about California. The rest of the country is covered in snow and we can walk outside and pick fruit!

(I used oranges for the flavor and satsumas and oranges for the photoshoot)

Chocolate Orange Ganache Macarons

If you’ve never made macarons before, let me tell you, these are very finicky cookies. In fact, the French don’t consider them cookies at all, they are actually considered little pastries (as I was told by a Parisian in one of the patisseries, or rather, scolded, for thinking they were cookies).


Here are a few tips…

Never make them on a rainy day.  They will not turn out.

When you are folding your almond flour into the meringue, you have to get it just right.  The right consistency is like that of molten lava.

You have to have a scale to weigh your ingredients. The tbsp and cups do not work.

You have to be in the right mood. Seriously. If you are stressed, they will not turn out because you will mess something up in the process.

Chocolate Orange Ganache Macarons

Materials needed: (affiliate links are used for your convenience)

    • a food scale (yes, you need this. I use this one)
    • a piping tip and piping bag (I like the ateco #806, I use these tips and piping bag)
    • Food coloring (the gels or dry powder works best, not the liquid store stuff)
    • A macaron template
    • food processor (I use this one)

Chocolate Macaron Shells (get the printable recipe HERE)

260g almond flour

250g powdered sugar

15g cocoa powder

210g granulated sugar

210g egg whites
brown food coloring, *optional*

1.  Mix almond meal, cocoa powder, and the powdered sugar in a food processor. Be careful not to grind too long, otherwise it will form a paste.

2. Sift the almonds, cocoa powder, and powdered sugar. Set aside.

3. Weigh out granulated sugar.

4. Weigh the egg whites.  Beat them slowly on a low speed until foamy. SLOWLY add the granulated sugar to the egg whites as you beat.  Once all mixed, increase speed to medium and beat until a firm meringue forms.  You want a firm meringue with glossy peaks but not stiff peaks.  They should defy gravity and remain in the bowl if you turn it upside down.  If you tilt your bowl to the side and they are sliding out, keep beating.

5. Add the food coloring gel and mix.  To make mine a richer brown color, I used “chocolate brown” food coloring.

6. Then fold in 1/3rd of the almond/sugar mixture into the meringue with a silicone spatula.  Once combined, add another third of the almond mixture. Add last bit.  This batter requires more deflation during this step since it creates such a poofy meringue.

7. Add the batter to a piping bag.  Pipe in rows using your template onto parchment paper.

8. Pick up the pan and beat until the counter.  The cookies need to rest on the counter between 30-60 minutes.  They are ready to go in the oven when they are dry to touch (the shell shouldn’t stick to your finger)

9.  Set the oven to 300F.

10. Bake the cookies for 13-15 minutes one sheet at a time. They are done when they look kind of matte and seem firm when you lightly tap on them.  You can always rescue a slightly overcooked one with the maturation process that comes later, but you cannot rescue an undercooked one!!

11.  Remove from paper once completely cool. If they stick they stick to the paper, they aren’t cool yet.


Chocolate Orange Ganache Filling (adopted from this French website)

150g dark chocolate, finely chopped

100g heavy cream

zest of one orange (or clementine/satsuma)

50g of fresh squeezed orange juice


Directions

1. In a small saucepan, heat the cream with the zest of one orange.  Do not let it boil, just when it starts to steam.  Leave it to infuse for 30 minutes.  I turned it off the heat and covered the saucepan while it infused.

2. Place the chopped chocolate in a heatproof bowl.

3. After 30 minutes, bring the cream just to a simmer (just to get the cream hot enough to melt the chocolate)
4. Pour the hot cream over the chocolate. Let it sit for one minute. Then, gently stir the chocolate and cream until the chocolate has melted. Do not whip it, you want to gently stir it as not to add air into the ganache. Next, add the orange juice and gently mix in until combined.
5. Next, pour into a dish and let it sit for at least 30 minutes before placing in your macaron shells. You can store the ganache in the fridge for longer (I do not know how long, probably until the cream expires?)

Assembly
Either pipe or spread the ganache over one macaron shell, then place another on top. Store in an airtight container for 24 hours in the fridge. Take them out of the fridge 2 hours before eating them. Resist the urge to eat them immediately – I promise they will be better on the second day!
*note* You can use either fresh orange, clementine, or satsuma for these cookies – they will all taste good!


Chocolate Orange Ganache Macarons

I thought these were a great alternative to the peppermint chocolate ganache to make for the Christmas holidays as I know there are quite a few peppermint haters.

This is a great website with lots of info on Macaron Troubleshooting!

Chocolate Orange Ganache Macarons

They are really really good.  You can’t eat just one.

SaveSave

Follow:

Peppermint Chocolate Ganache Macarons

We use affiliate links in our posts and our site. This means if you make a purchase using these links, we may earn a small commission. You don’t pay a cent more than you would otherwise! Our full disclosure is available under About.

When I was thinking of what to bake for this year’s holiday dessert, I was actually inspired by Trader Joe’s Candy Cane Jo-Jo’s. Never had them? They are like Oreos but with flakes of candy cane in the filling. So I thought, how I can French-it-up?

And the peppermint chocolate ganache macaron was born.

These are seriously the best macarons I have *ever* made.

Materials needed: (affiliate links are used for your convenience)

    • a food scale (yes, you need this. I use this one)
    • a piping tip and piping bag (I like the ateco #806, I use these tips and piping bag)
    • Food coloring (the gels or dry powder works best, not the liquid store stuff)
    • A macaron template
    • food processor (I use this one)

I also couldn’t stop taking pictures of them.

Peppermint Chocolate Ganache Macarons
Chocolate Macaron Shells (get the printable recipe HERE)

260g almond flour

250g powdered sugar

15g cocoa powder

210g granulated sugar

210g egg whites
brown food coloring, *optional*

1.  Mix almond meal, cocoa powder, and the powdered sugar in a food processor. Be careful not to grind too long, otherwise it will form a paste.

2. Sift the almonds, cocoa powder, and powdered sugar. Set aside.

3. Weigh out granulated sugar.

4. Weigh the egg whites.  Beat them slowly on a low speed until foamy. SLOWLY add the granulated sugar to the egg whites as you beat.  Once all mixed, increase speed to medium and beat until a firm meringue forms.  You want a firm meringue with glossy peaks but not stiff peaks.  They should defy gravity and remain in the bowl if you turn it upside down.  If you tilt your bowl to the side and they are sliding out, keep beating.

5. Add the food coloring gel and mix.  To make mine a richer brown color, I used “chocolate brown” food coloring.

6. Then fold in 1/3rd of the almond/sugar mixture into the meringue with a silicone spatula.  Once combined, add another third of the almond mixture. Add last bit.  This batter requires more deflation during this step since it creates such a poofy meringue.

7. Add the batter to a piping bag.  Pipe in rows using your template onto parchment paper.

8. Pick up the pan and beat until the counter.  The cookies need to rest on the counter between 30-60 minutes.  They are ready to go in the oven when they are dry to touch (the shell shouldn’t stick to your finger)

9.  Set the oven to 300F.

10. Bake the cookies for 13-15 minutes one sheet at a time. They are done when they look kind of matte and seem firm when you lightly tap on them.  You can always rescue a slightly overcooked one with the maturation process that comes later, but you cannot rescue an undercooked one!!

11.  Remove from paper once completely cool. If they stick they stick to the paper, they aren’t cool yet.


Peppermint Chocolate Ganache
1 cup heavy cream
9 ounces dark chocolate chips (or bittersweet chocolate, chopped)
1 tbsp unsalted butter
3/4 tsp – 1 tsp peppermint extract
1/4 tsp salt
crushed candy canes in a separate bowl

  1. In a sauce pan, bring the cream to a simmer over medium heat (the purpose of this is to get the cream hot enough to melt the chocolate!)
  2. Place the chocolate in a heatproof bowl.  Pour the hot cream over the chocolate and let sit for a minute.
  3. Add the peppermint, salt, and butter. Whisk until glossy and smooth. (If you like your ganache more pepperminty, add 1 tsp, if less, then add 3/4 tsp)
  4. Cover in plastic wrap and chill for about an hour  (If you chill it too long until it is hard, that’s okay, just use a spoon to whip it up and it will get soft again!)
  5. Once chilled, scoop the ganache into a piping bag with a round tip.  Pipe on one of side for the macaron at the edge.  Place the other macaron shell on, sandwiching the ganache in the center.
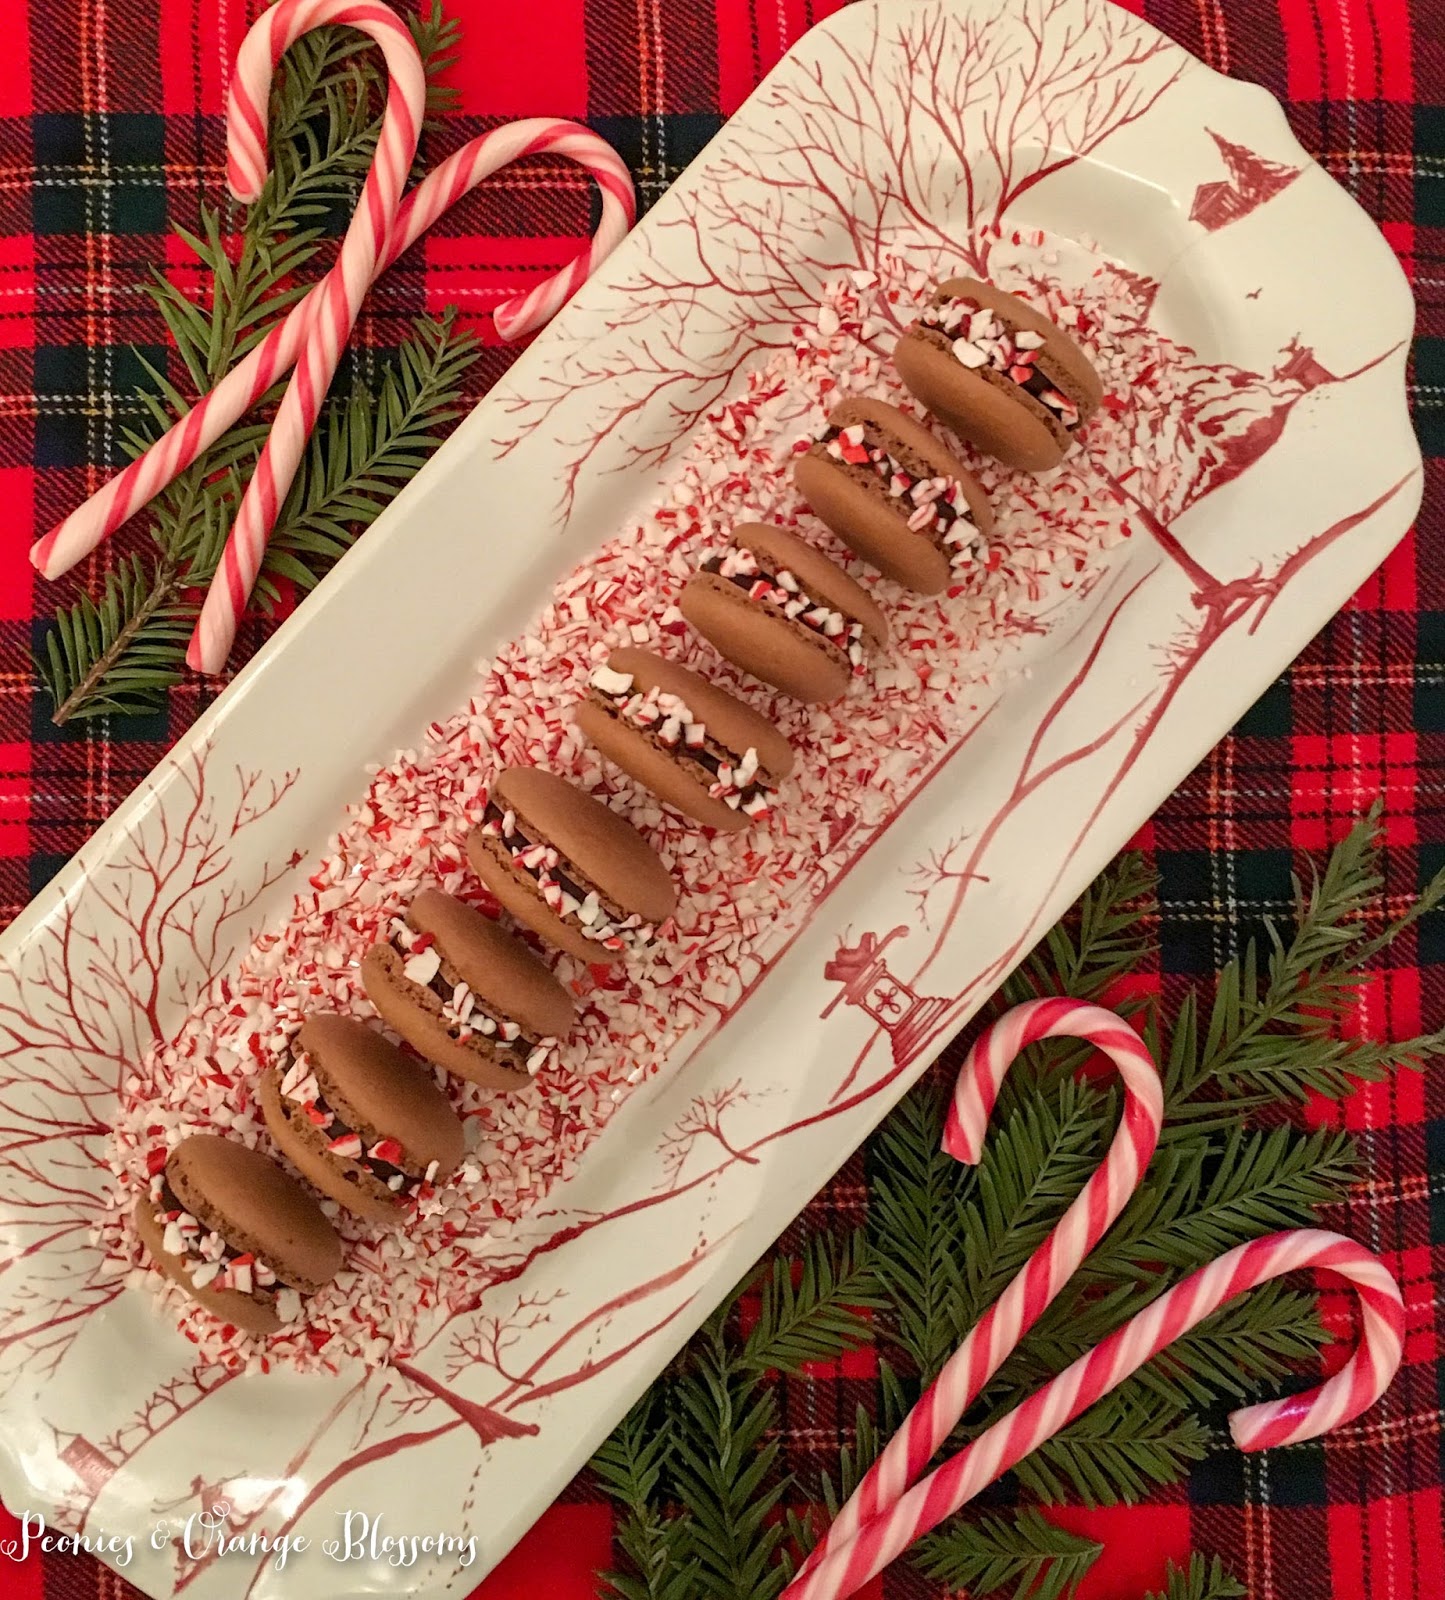
  6. Roll the macaron in the crushed candy canes in the bowl so that they stick to the ganache!
  7. Store in an airtight container and refrigerate! These taste best served the next day, so resist the urge and let them rest overnight! They will keep for several days in the fridge in an airtight container.

I feel like I could sell these they were so good!


I’ve included some outtakes from this photoshoot.  Chloé the cat decided to do some photobombing and I thought I’d share…

***Jaws Theme Music Starts***


Why yes, I’l take a lick of the candy cane…

She left… then came back for another round. “What?” she says??

Shop my Baking Favorites:


I may earn a small commission if you purchase with these links

no products

SaveSave

SaveSave

Follow:

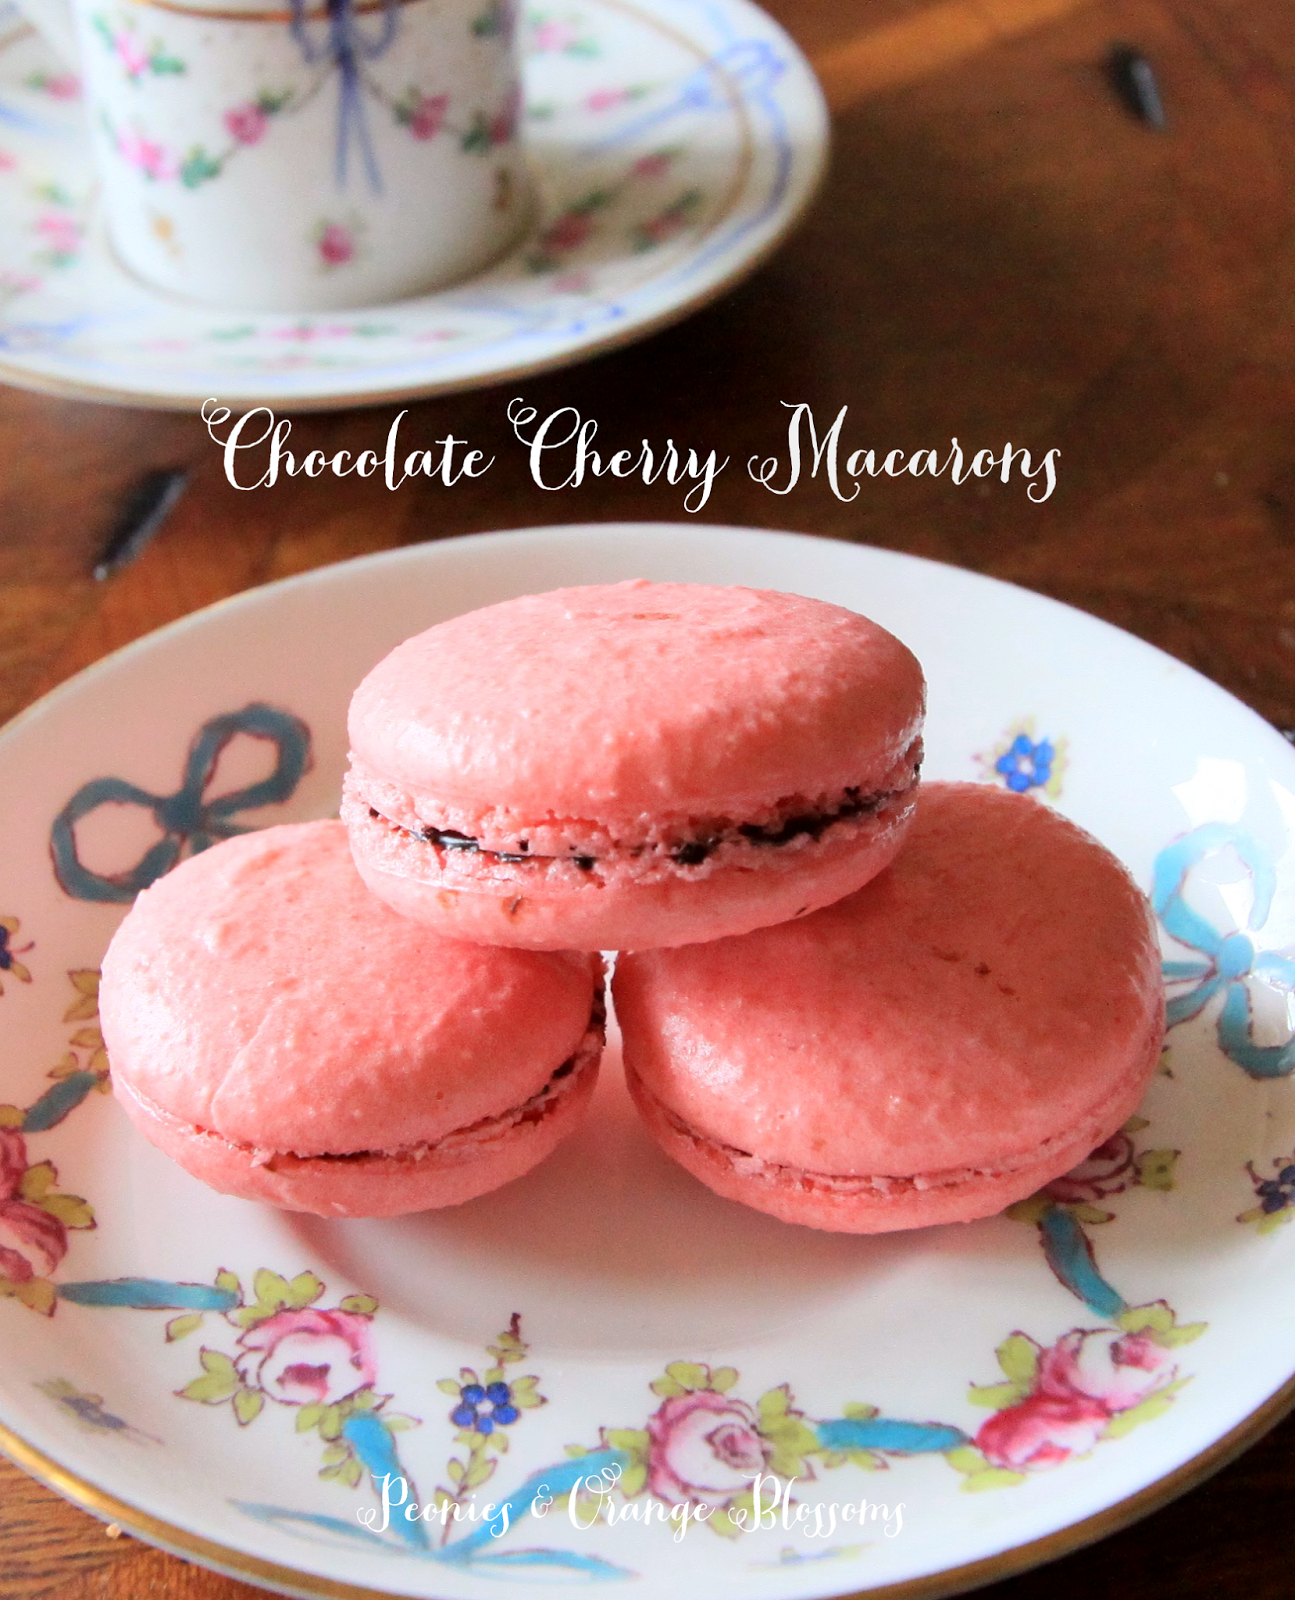
Chocolate Cherry Macarons

We use affiliate links in our posts and our site. This means if you make a purchase using these links, we may earn a small commission. You don’t pay a cent more than you would otherwise! Our full disclosure is available under About.

Cherries are my favorite fruit and I love chocolate and macarons, so I thought, why not make a chocolate cherry macaron??? So the Chocolate cherry macaron was made and quickly gobbled up!
This post may contain affiliate links. 

Chocolate Cherry Macaron Recipe

Materials needed: (affiliate links are used for your convenience)

    • a food scale (yes, you need this. I use this one)
    • a piping tip and piping bag (I like the ateco #806, I use these tips and piping bag)
    • Food coloring (the gels or dry powder works best, not the liquid store stuff)
    • A macaron template
    • food processor (I use this one)

Chocolate Cherry Macaron Recipe

Laduree Macaron shell Recipe (from Ladurée Macarons)

275g ground almonds

  250g powdered sugar

210g egg whites

210g granulated sugar

1.  Mix almond meal and the powdered sugar in a food processor. Be careful not to grind too long, otherwise it will form a paste.

2. Sift the almonds and powdered sugar. Set aside.

3. Weigh out granulated sugar.

4. Weigh the egg whites.  Beat them slowly on a low speed until foamy. SLOWLY add the granulated sugar to the egg whites as you beat.  Once all mixed, increase speed to medium and beat until a firm meringue forms.  You want a firm meringue with glossy peaks but not stiff peaks.  They should defy gravity and remain in the bowl if you turn it upside down.  If you tilt your bowl to the side and they are sliding out, keep beating.

5. Add the food coloring gel and mix.
6. Then fold in 1/3rd of the almond/sugar mixture into the meringue with a silicone spatula.  Once combined, add another third of the almond mixture. Add last bit.  This batter requires more deflation during this step since it creates such a poofy meringue.

7. Add the batter to a piping bag. . Pipe in rows using your template onto parchment paper.

8. Pick up the pan and beat until the counter.  The cookies need to rest on the counter between 30-60 minutes.  They are ready to go in the oven when they are dry to touch (the shell shouldn’t stick to your finger)

9.  Set the oven to 300F.

10. Bake the cookies for 13-15 minutes one sheet at a time. They are done when they look kind of matte and seem firm when you lightly tap on them.  You can always rescue a slightly overcooked one with the maturation process that comes later, but you cannot rescue an undercooked one!!

11.  Remove from paper once completely cool. If they stick they stick to the paper, they aren’t cool yet. Or you undercooked them.

Chocolate Cherry Filling

8 oz. semi-sweet chocolate, either finely chopped or chips.

8 oz. heavy cream

3 tbsp kirsch

1. In a medium bowl place the chopped chocolate. Bring heavy cream to a boil; pour over the chocolate and let sit for about 1 minute.  Then slowly whisk to combine, trying not to incorporate a lot of air when whisking.

2. Stir in the kirsch syrup.

3. Let ganache chill in refrigerator until set.

To fill the macarons, spread a little bit of ganache on one side of the shell, then gently press the second shell together.  Allow to sit overnight in an airtight container in the refrigerator.  This is a key part!!  I promise if you wait to eat them until the next day they will taste fabulous!

Want to know a secret, I confess, I did *not* make the filling in this recipe.  I was actually shopping in a trip to Napa and went to one of my favorite gourmet food stores, Olivier, and bought this wonderful Chocolate Cherry sauce.  Yes, I cheated, I know.  It made this process so much easier though!

Chocolate Cherry Macaron Recipe

SaveSave

Follow:

Raspberry Chocolate Hazelnut Macaron Recipe

We use affiliate links in our posts and our site. This means if you make a purchase using these links, we may earn a small commission. You don’t pay a cent more than you would otherwise! Our full disclosure is available under About.

I’m back with another macaron recipe! These ones were super good!  I like to use the French macaron method, as I think it is easier.

This post may contain affiliate links. 

Raspberry Chocolate Hazelnut macaron recipe!

If you like raspberries and nutella you will like these!!  Yes, the filling has nutella. I didn’t make my own chocolate hazelnut ganache, I got lazy. Sorry.  These cookies are time consuming enough to make!  I love making them though… they are really quite pretty and you can show off to your friends and family!

Materials needed: (affiliate links are used for your convenience)

    • a food scale (yes, you need this. I use this one)
    • a piping tip and piping bag (I like the ateco #806, I use these tips and piping bag)
    • Food coloring (the gels or dry powder works best, not the liquid store stuff)
    • A macaron template
    • food processor (I use this one)

Laduree Macarons Recipe

275g ground almonds

250g powdered sugar

210g egg whites

210g granulated sugar


1.  Mix almond meal and the powdered sugar in a food processor. Be careful not to grind too long, otherwise it will form a paste.


2. Sift the almonds and powdered sugar. Set aside.


3. Weigh out granulated sugar.


4. Weigh the egg whites.  Beat them slowly on a low speed until foamy. SLOWLY add the granulated sugar to the egg whites as you beat.  Once all mixed, increase speed to medium and beat until a firm meringue forms.  You want a firm meringue with glossy peaks but not stiff peaks.  They should defy gravity and remain in the bowl if you turn it upside down.  If you tilt your bowl to the side and they are sliding out, keep beating.


5. Add the food coloring gel and mix.


6. Then fold in 1/3rd of the almond/sugar mixture into the meringue with a silicone spatula.  Once combined, add another third of the almond mixture. Add last bit.  This batter requires more deflation during this step since it creates such a poofy meringue.


7. Add the batter to a piping bag.  Pipe in rows using your template onto parchment paper.


8. Pick up the pan and beat until the counter.  The cookies need to rest on the counter between 30-60 minutes.  They are ready to go in the oven when they are dry to touch (the shell shouldn’t stick to your finger)


9.  Set the oven to 300F.


10. Bake the cookies for 13-15 minutes, one sheet at a time. They are done when they look kind of matte and seem firm when you lightly tap on them.  You can always rescue a slightly overcooked one with the maturation process that comes later, but you cannot rescue an undercooked one!!


11. Remove from paper once completely cool. If they stick to the paper, they aren’t cool yet. Or you undercooked them.


Raspberry Chocolate Hazelnut macaron recipe!

Filling – for Raspberry Chocolate Macarons

Ingredients:

  • Seedless raspberry jam (For these macarons, the easiest way for the filling is to buy seedless raspberry jam.  I know, it’s cheating! If you really wanted to be fancy, you could make your own.)
  • Nutella

1. Once the cookies are cool, add a dollop of your nutella to one cookie and spread with a small knife, spoon, or icing spatula.  Then add a dollop of raspberry jam.  Don’t push too hard when spreading, otherwise you will break them!

2.  Place the other cookie to your filling, press gently, and slightly twist the two together.

3. Once all assembled, put them in an airtight container and let them mature (yes, that’s the scientific word for this process) in the refrigerator for 24-48 hours.

Now, these cookies won’t be bad if you eat them immediately, they will just be amazing if you wait a day.  The theory is that the juices from the filling soak back into the cookie to make an AMAZING cookie.
Raspberry Chocolate Hazelnut macaron recipe!

Have you made macarons?? Let me know about your experience!

SaveSave

Follow:

Valentine Heart Macarons – Rose Raspberry Macaron Recipe!

We use affiliate links in our posts and our site. This means if you make a purchase using these links, we may earn a small commission. You don’t pay a cent more than you would otherwise! Our full disclosure is available under About.

I’m really excited about today’s post.  As you know, I LOVE macarons.  I have a wonderful recipe book from Laduree I received as a present one year. The book is seriously so cute but it is full of wonderful recipes.


I wanted to try the Rose Raspberry Macarons!  It took some planning on my part – I ordered rose water from amazon ahead of time.  Let me tell you though – not only do they look cute but they taste good!!

I was a little worried how they would taste with the rose – as sometimes things with rose in them taste too much like I’m eating the flower, but these ones are nice.

Printable recipe here

Materials needed

•silicone spatula

•parchment paper or silpat

•electric mixer (or strong arms!)

•a food scale

•a piping tip and piping bag (I like the tip ateco #806)

•Food coloring (gel or dry powder works best, not the liquid grocery store stuff)

•a macaron template, use the heart one here 


Laduree Macarons Recipe 

275g ground almonds

250g powdered sugar

210g egg whites

210g granulated sugar


1.  Mix almond meal and the powdered sugar in a food processor. Be careful not to grind too long, otherwise it will form a paste.

2. Sift the almonds and powdered sugar. Set aside.

3. Weigh out granulated sugar.

4. Weigh the egg whites.  Beat them slowly on a low speed until foamy. SLOWLY add the granulated sugar to the egg whites as you beat.  Once all mixed, increase speed to medium and beat until a firm meringue forms.  You want a firm meringue with glossy peaks but not stiff peaks.  They should defy gravity and remain in the bowl if you turn it upside down.  If you tilt your bowl to the side and they are sliding out, keep beating.

5. Add the food coloring gel and mix.

6. Then fold in 1/3rd of the almond/sugar mixture into the meringue with a silicone spatula.  Once combined, add another third of the almond mixture. Add last bit.  This batter requires more deflation during this step since it creates such a poofy meringue.

7. Add the batter to a piping bag.  Pipe in rows using your template onto parchment paper. You can download  the heart template I created here.

8. Pick up the pan and beat until the counter.  The cookies need to rest on the counter between 30-60 minutes.  They are ready to go in the oven when they are dry to touch (the shell shouldn’t stick to your finger)

9.  Set the oven to 300F.

10. Bake the cookies for 13-15 minutes, one sheet at a time. They are done when they look kind of matte and seem firm when you lightly tap on them.  You can always rescue a slightly overcooked one with the maturation process that comes later, but you cannot rescue an undercooked one!!

11. Remove from paper once completely cool. If they stick to the paper, they aren’t cool yet. Or you undercooked them.

Rose Cream Filling

Ingredients

  • 1 cup (200g) granulated sugar
  • 3 1/2 tsp (50g) water
  • 3 large (75g) egg yolks
  • 9oz (250g) softened unsalted butter
  • 2 tsp rosewater

Directions

  1. Place the sugar and water in a small saucepan, and stir until sugar dissolves. Then bring to a boil. Cook until temperature of the syrup is 250F.
  2. Fit your mixer with the whisk and whisk the egg yolks.  Then, with the mixer running on low speed, slowly pour the hot sugar mix into the bowl.
  3. Increase the speed and beat vigorously until temp of the next mixture is 104F.
  4. Gradually add the butter in pieces.
  5. Continue beating until the mixture is cool, smooth, and creamy.
  6. Add the rosewater and stir to combine

Raspberry Filling

  • Buy your favorite OTC raspberry jam – seedless tastes much better!  Or you can make your own.

Assembly of the macarons

  1. Spoon a little bit of raspberry jam onto each macaron (or pipe it on if you’re feeling fancy).
  2. On the other side of the macaron, smear some rose cream (or pipe it on, if you’re feeling fancy).
  3. Place each side of the shell together.
  4. Refrigerate the macarons for a minimum of 12 hours before serving in an air-tight container. They taste MUCH better if you do this!

Recipe adapted from Laduree’s Macaron cookbook.

SaveSave

Follow:

Pumpkin Cheesecake aka Pumpkin Pie Macarons

We use affiliate links in our posts and our site. This means if you make a purchase using these links, we may earn a small commission. You don’t pay a cent more than you would otherwise! Our full disclosure is available under About.

It is now NOVEMBER which means… baking time for everyone! I’ve updated the blog a bit to make it more festive for Thanksgiving. On the sidebar on the right are some recipes I’ve used in the past for Thanksgiving!
So, it’s time to go to the kitchen and start creating, we have Thanksgiving coming up!!  I have created a pumpkin cheesecake macaron recipe which I think it is pretty good! If you like macarons and you like pumpkin pie, then try this out! This could pass off as a pumpkin pie macaron recipe too. But since it has cream cheese in it, I’m going with Pumpkin Cheesecake!
This post may contain affiliate links.

After trying a bunch of different filling recipes from various sources, I came up with my own cheesecake pumpkin pie filling.

Pumpkin Pie Macaron Recipeprintable version here

Materials needed: (affiliate links are used for your convenience)

    • a food scale (yes, you need this. I use this one)
    • a piping tip and piping bag (I like the ateco #806, I use these tips and piping bag)
    • Food coloring (the gels or dry powder works best, not the liquid store stuff)
    • A macaron template
    • food processor (I use this one)

Macarons Recipe – adapted from Laduree

275g ground almonds

250g powdered sugar

210g egg whites

210g granulated sugar

1/2 tsp pumpkin pie spice


1.  Mix almond meal and the powdered sugar in a food processor. Be careful not to grind too long, otherwise it will form a paste.

2. Sift the almonds, pumpkin pie spice, and powdered sugar. Set aside.

3. Weigh out granulated sugar.

4. Weigh the egg whites.  Beat them slowly on a low speed until foamy. SLOWLY add the granulated sugar to the egg whites as you beat.  Once all mixed, increase speed to medium and beat until a firm meringue forms.  You want a firm meringue with glossy peaks but not stiff peaks.  They should defy gravity and remain in the bowl if you turn it upside down.  If you tilt your bowl to the side and they are sliding out, keep beating.

5. Add the food coloring gel and mix.

6. Then fold in 1/3rd of the almond/sugar mixture into the meringue with a silicone spatula.  Once combined, add another third of the almond mixture. Add last bit.  This batter requires more deflation during this step since it creates such a poofy meringue.

7. Add the batter to a piping bag.  Pipe in rows using your template onto parchment paper.

8. Pick up the pan and beat until the counter.  The cookies need to rest on the counter between 30-60 minutes.  They are ready to go in the oven when they are dry to touch (the shell shouldn’t stick to your finger)

9.  Set the oven to 300F.

10. Bake the cookies for 13-15 minutes, one sheet at a time. They are done when they look kind of matte and seem firm when you lightly tap on them.  You can always rescue a slightly overcooked one with the maturation process that comes later, but you cannot rescue an undercooked one!!

11. Remove from paper once completely cool. If they stick to the paper, they aren’t cool yet. Or you undercooked them.


Pumpkin Pie Filling

4 ounces cream cheese

1/4 cup pumpkin puree

1/4 tsp (heaping) pumpkin pie spice

1/4 cup granulated sugar


1. In a mixing bowl, add all of the above ingredients together.  Mix together until it is a nice creamy mixture.

2. Pipe or spread the filling onto one macaron shell, then make a sandwich with the other. Done!


Recommend putting them in an airtight container and enjoying the next day… macarons always taste better on day 2! They will keep in the fridge for several days.


SaveSave

Follow:

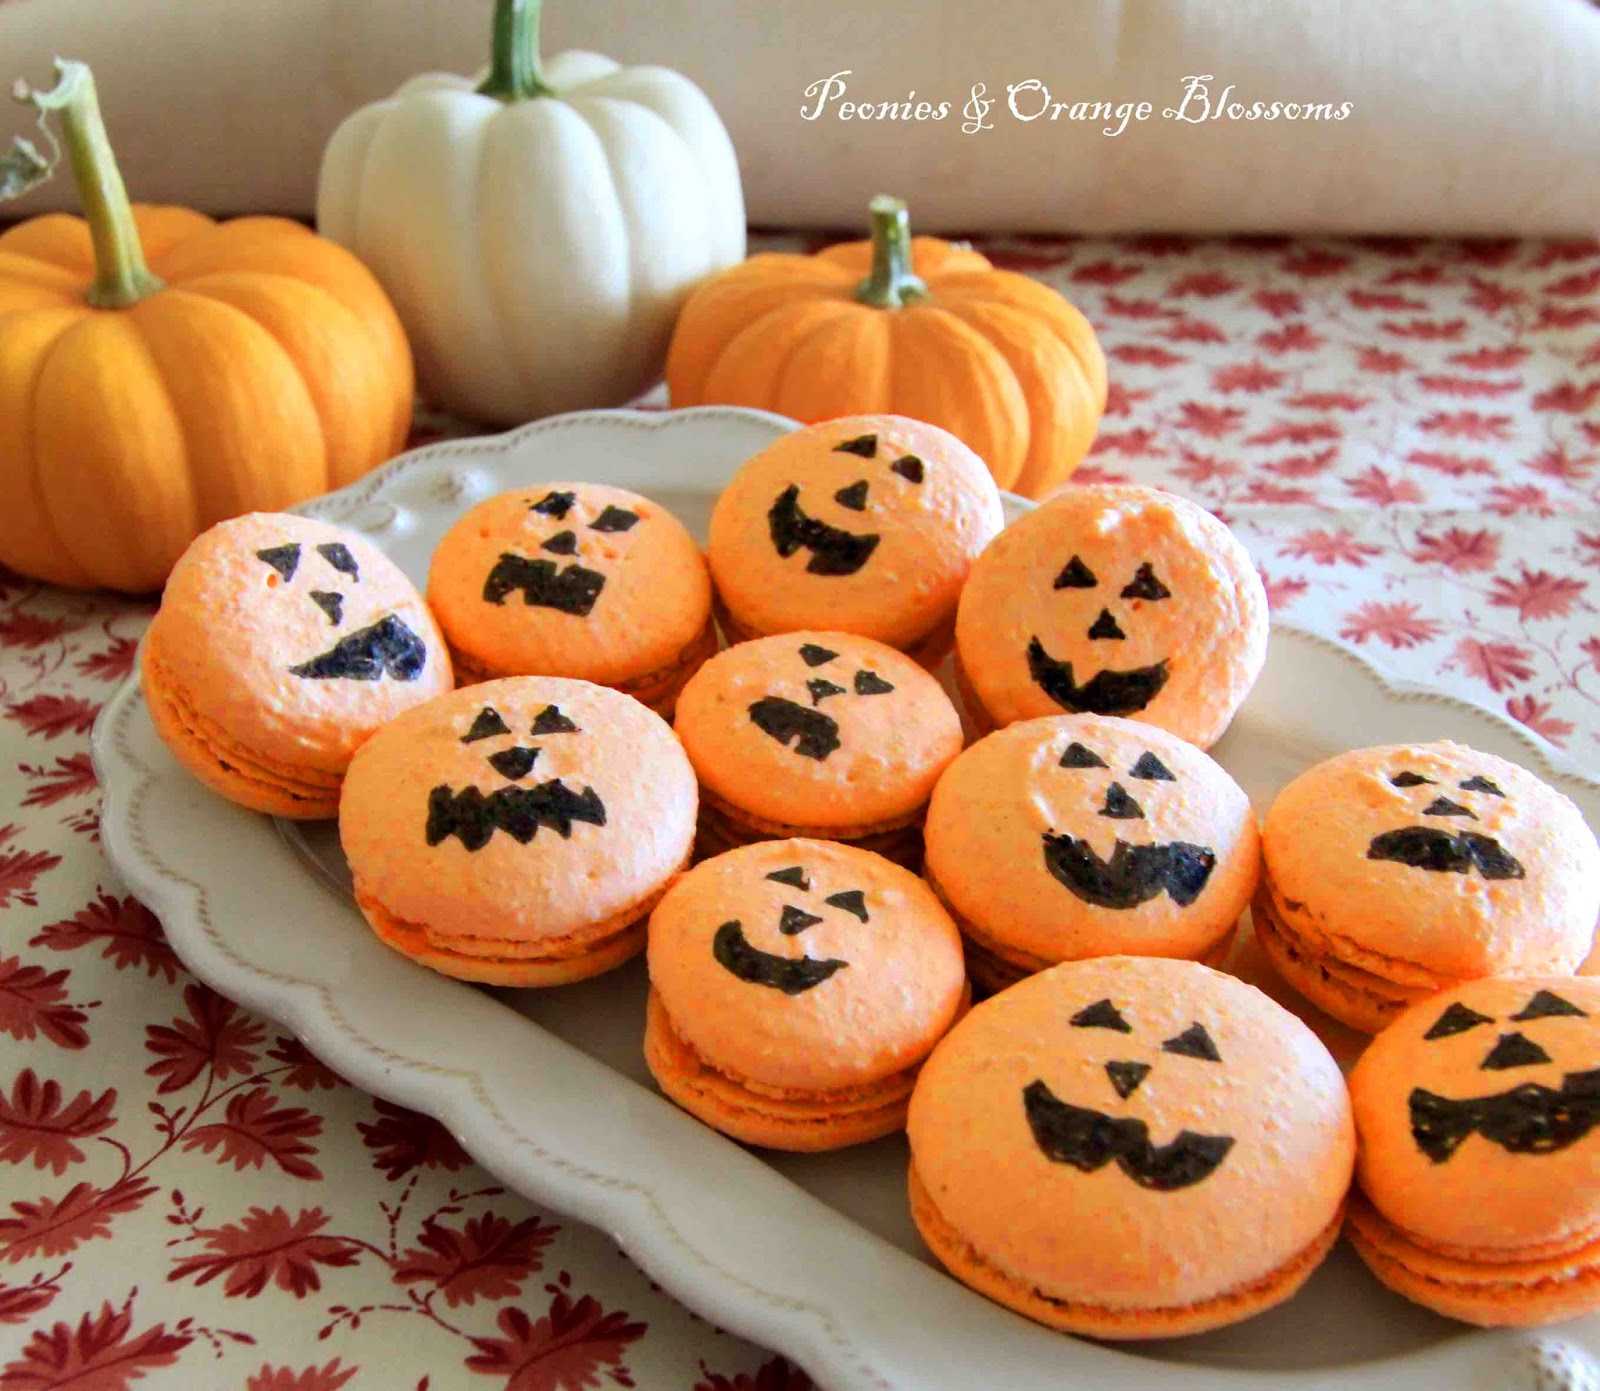
Pumpkin Spice Macaron Recipe

We use affiliate links in our posts and our site. This means if you make a purchase using these links, we may earn a small commission. You don’t pay a cent more than you would otherwise! Our full disclosure is available under About.

If you are a usual follower on my blog, then you’ll know that I love to bake (and eat) macarons.  If you are just arriving here for pumpkin week, I’ll explain my love for macarons: I discovered that I needed to learn how to bake these treats when I found out the cost of them in the store – normally about $2 each. When you love macarons like I do, it can be quite the costly investment to satiate your hunger for them!

This post may contain affiliate links. 

pumpkin spice macarons

I was inspired by the pumpkin macarons in the Williams Sonoma catalog:

But at $40 for a box of 12, I thought to myself… I can make those! So I did. They obviously used a black airbrush to get the pumpkin faces onto their macarons; I used a black food marker.

Materials needed: (affiliate links are used for your convenience)

    • a food scale (yes, you need this. I use this one)
    • a piping tip and piping bag (I like the ateco #806, I use these tips and piping bag)
    • Food coloring (the gels or dry powder works best, not the liquid store stuff)
    • A macaron template
    • food processor (I use this one)

PRINTABLE RECIPE HERE

Macarons Recipe – adapted from Laduree

275g ground almonds

250g powdered sugar

210g egg whites

210g granulated sugar

1/2 tsp pumpkin pie spice


1.  Mix almond meal and the powdered sugar in a food processor. Be careful not to grind too long, otherwise it will form a paste.

2. Sift the almonds, pumpkin pie spice, and powdered sugar. Set aside. (I admit I did not do this step this time and that is why mine are a little bumpy!)

3. Weigh out granulated sugar.

4. Weigh the egg whites.  Beat them slowly on a low speed until foamy. SLOWLY add the granulated sugar to the egg whites as you beat.  Once all mixed, increase speed to medium and beat until a firm meringue forms.  You want a firm meringue with glossy peaks but not stiff peaks.  They should defy gravity and remain in the bowl if you turn it upside down.  If you tilt your bowl to the side and they are sliding out, keep beating.

5. Add the food coloring gel and mix.

6. Then fold in 1/3rd of the almond/sugar mixture into the meringue with a silicone spatula.  Once combined, add another third of the almond mixture. Add last bit.  This batter requires more deflation during this step since it creates such a poofy meringue.

7. Add the batter to a piping bag.  Pipe in rows using your template onto parchment paper.

8. Pick up the pan and beat until the counter.  The cookies need to rest on the counter between 30-60 minutes.  They are ready to go in the oven when they are dry to touch (the shell shouldn’t stick to your finger)

9.  Set the oven to 300F.

10. Bake the cookies for 13-15 minutes, one sheet at a time. They are done when they look kind of matte and seem firm when you lightly tap on them.  You can always rescue a slightly overcooked one with the maturation process that comes later, but you cannot rescue an undercooked one!!

11. Remove from paper once completely cool. If they stick to the paper, they aren’t cool yet. Or you undercooked them.

Pumpkin Spice Filling – adapted from Sweet and Savory by Shinee

•3 tbsp unsalted butter, softened

•1 cup powdered sugar

•1 tbsp pure pumpkin puree (not pumpkin pie filling!)

•1 tsp heavy cream

•1/8 tsp salt

•1/8 tsp ground cinnamon

•1/8 tsp pumpkin pie spice


1Cream the butter using a wire mixer on your mixing machine. Cream until light and fluffy.

2Add all of the other ingredients. Beat until well combined.

3Pipe or spread your filling onto the macaron shells!


HINTS! The macarons taste better if enjoyed the next day. Spread your filling onto the shells, then store in an air tight container in the fridge overnight. You can store in an airtight container in the fridge for up to 4 days. You can store in an airtight container in the freezer for several months (HINT HINT bake some now for Thanksgiving later!)

Have you tried the Williams Sonoma pumpkin macarons?


SaveSave

Follow:

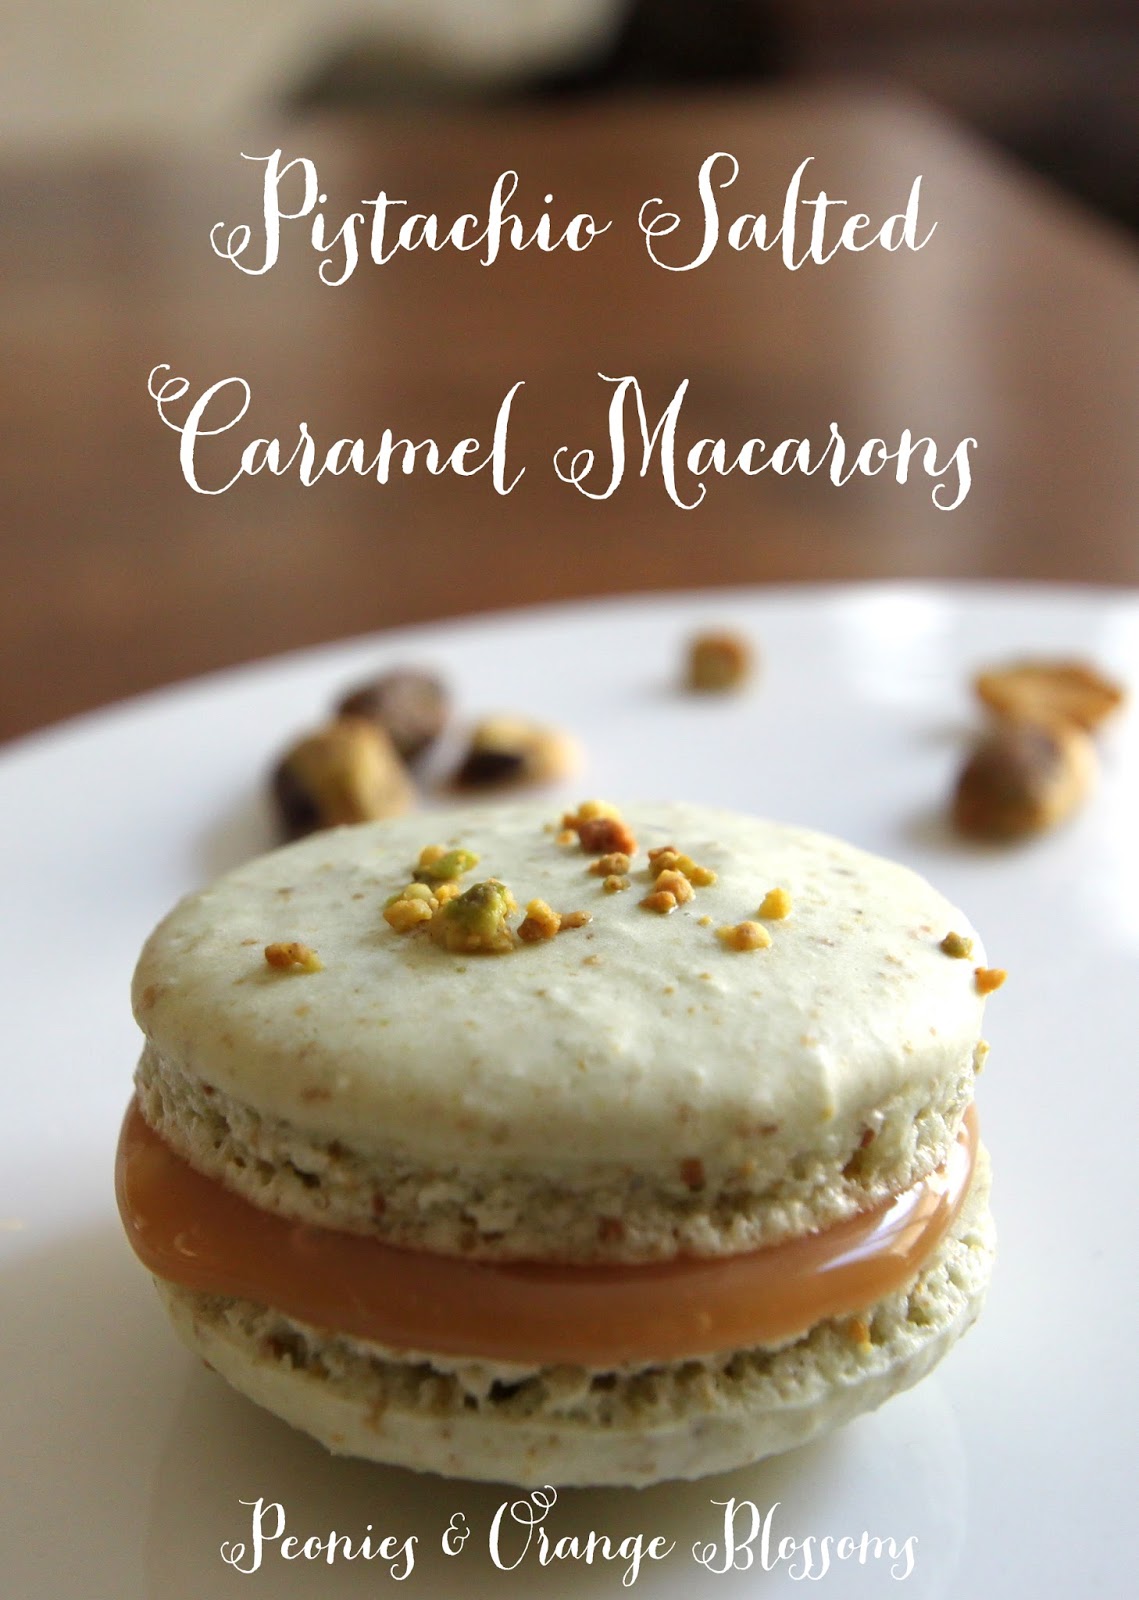
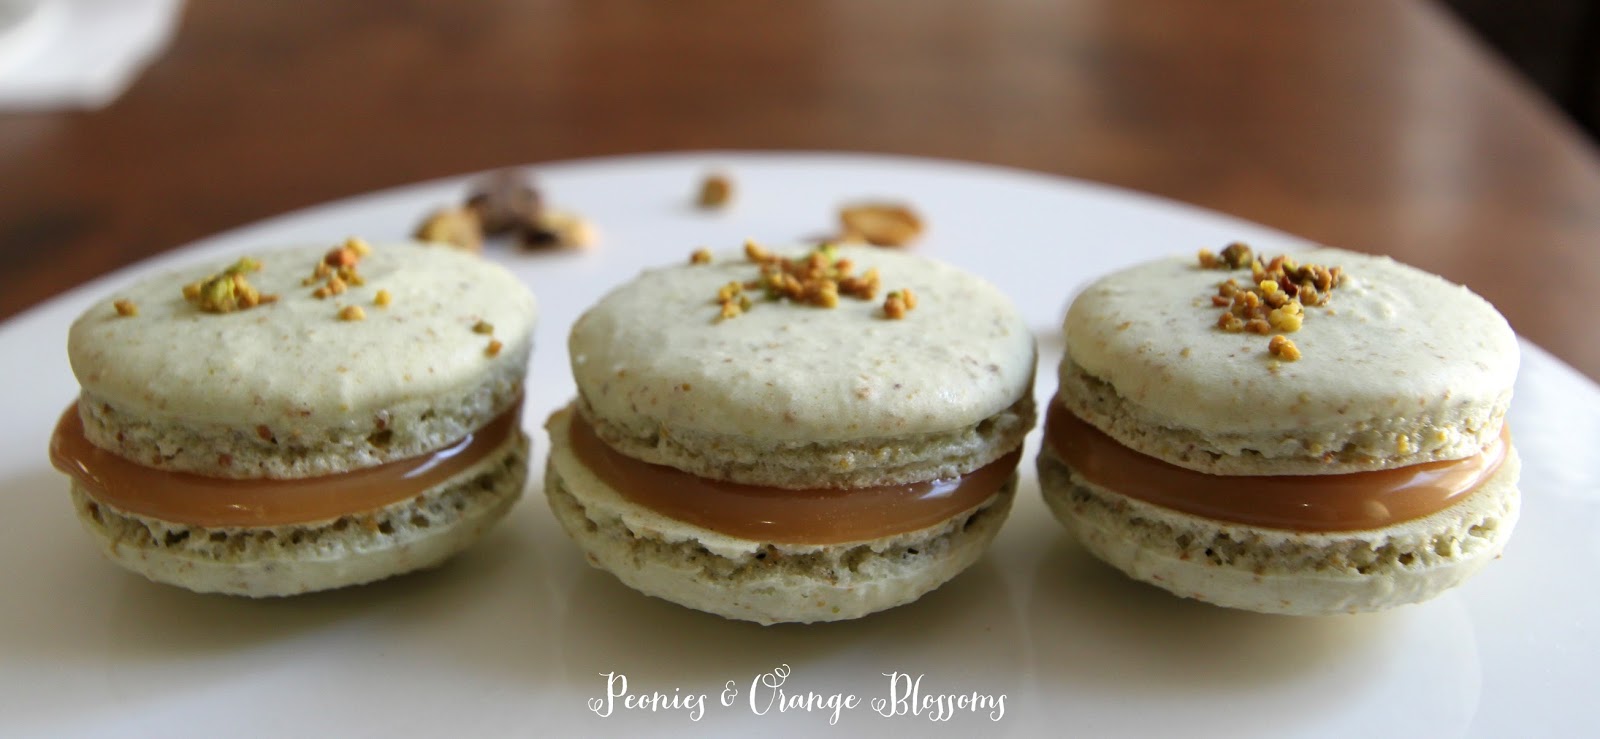
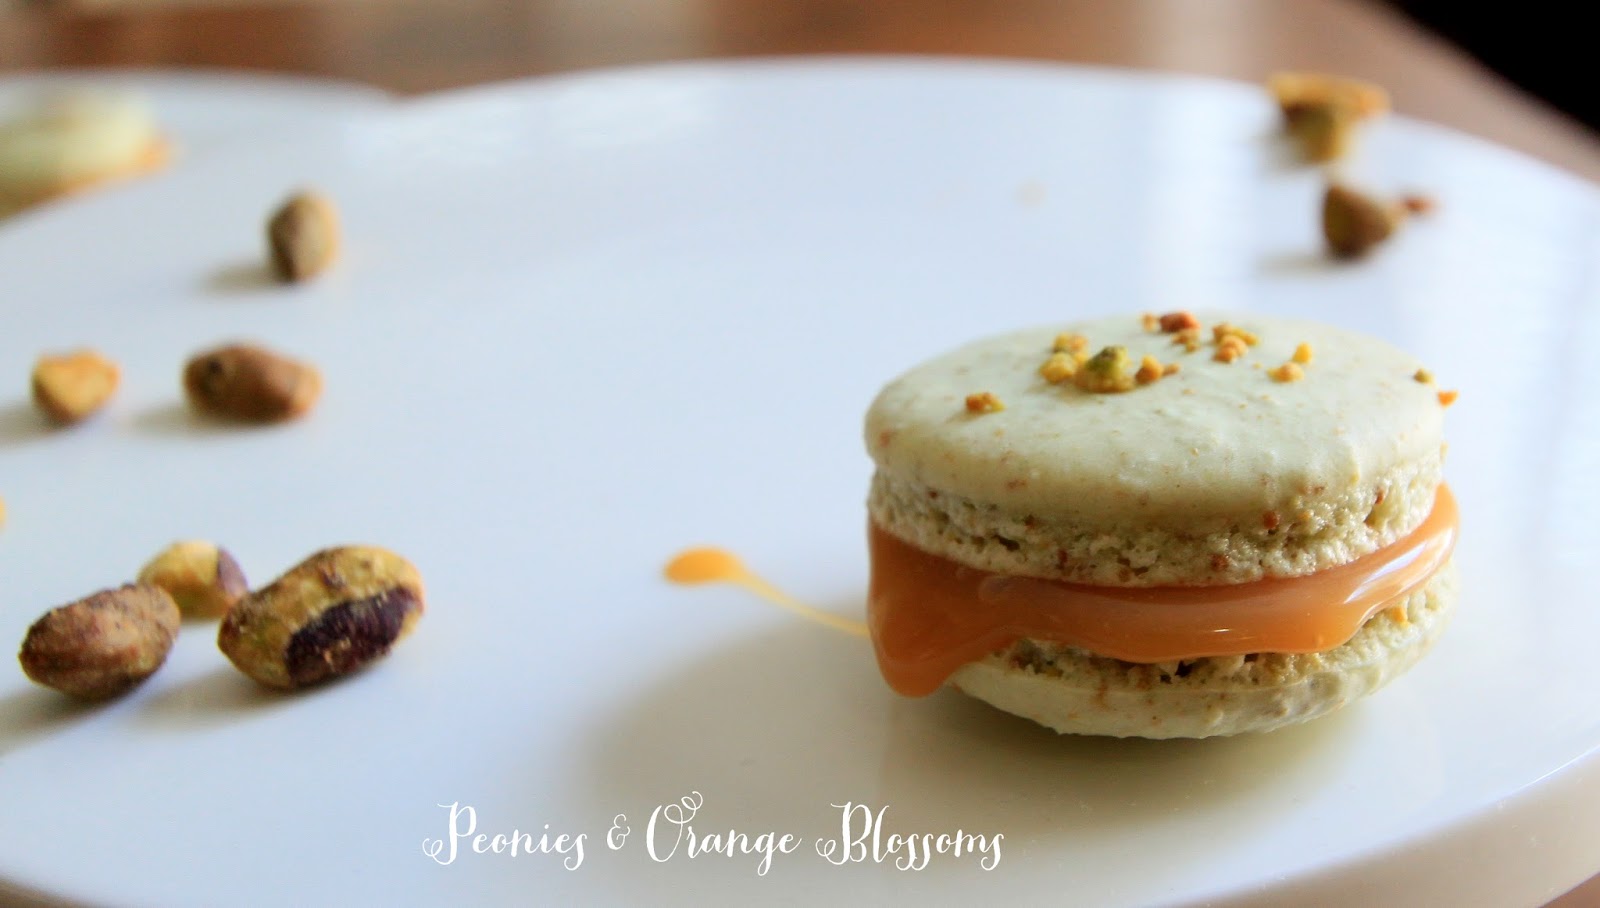
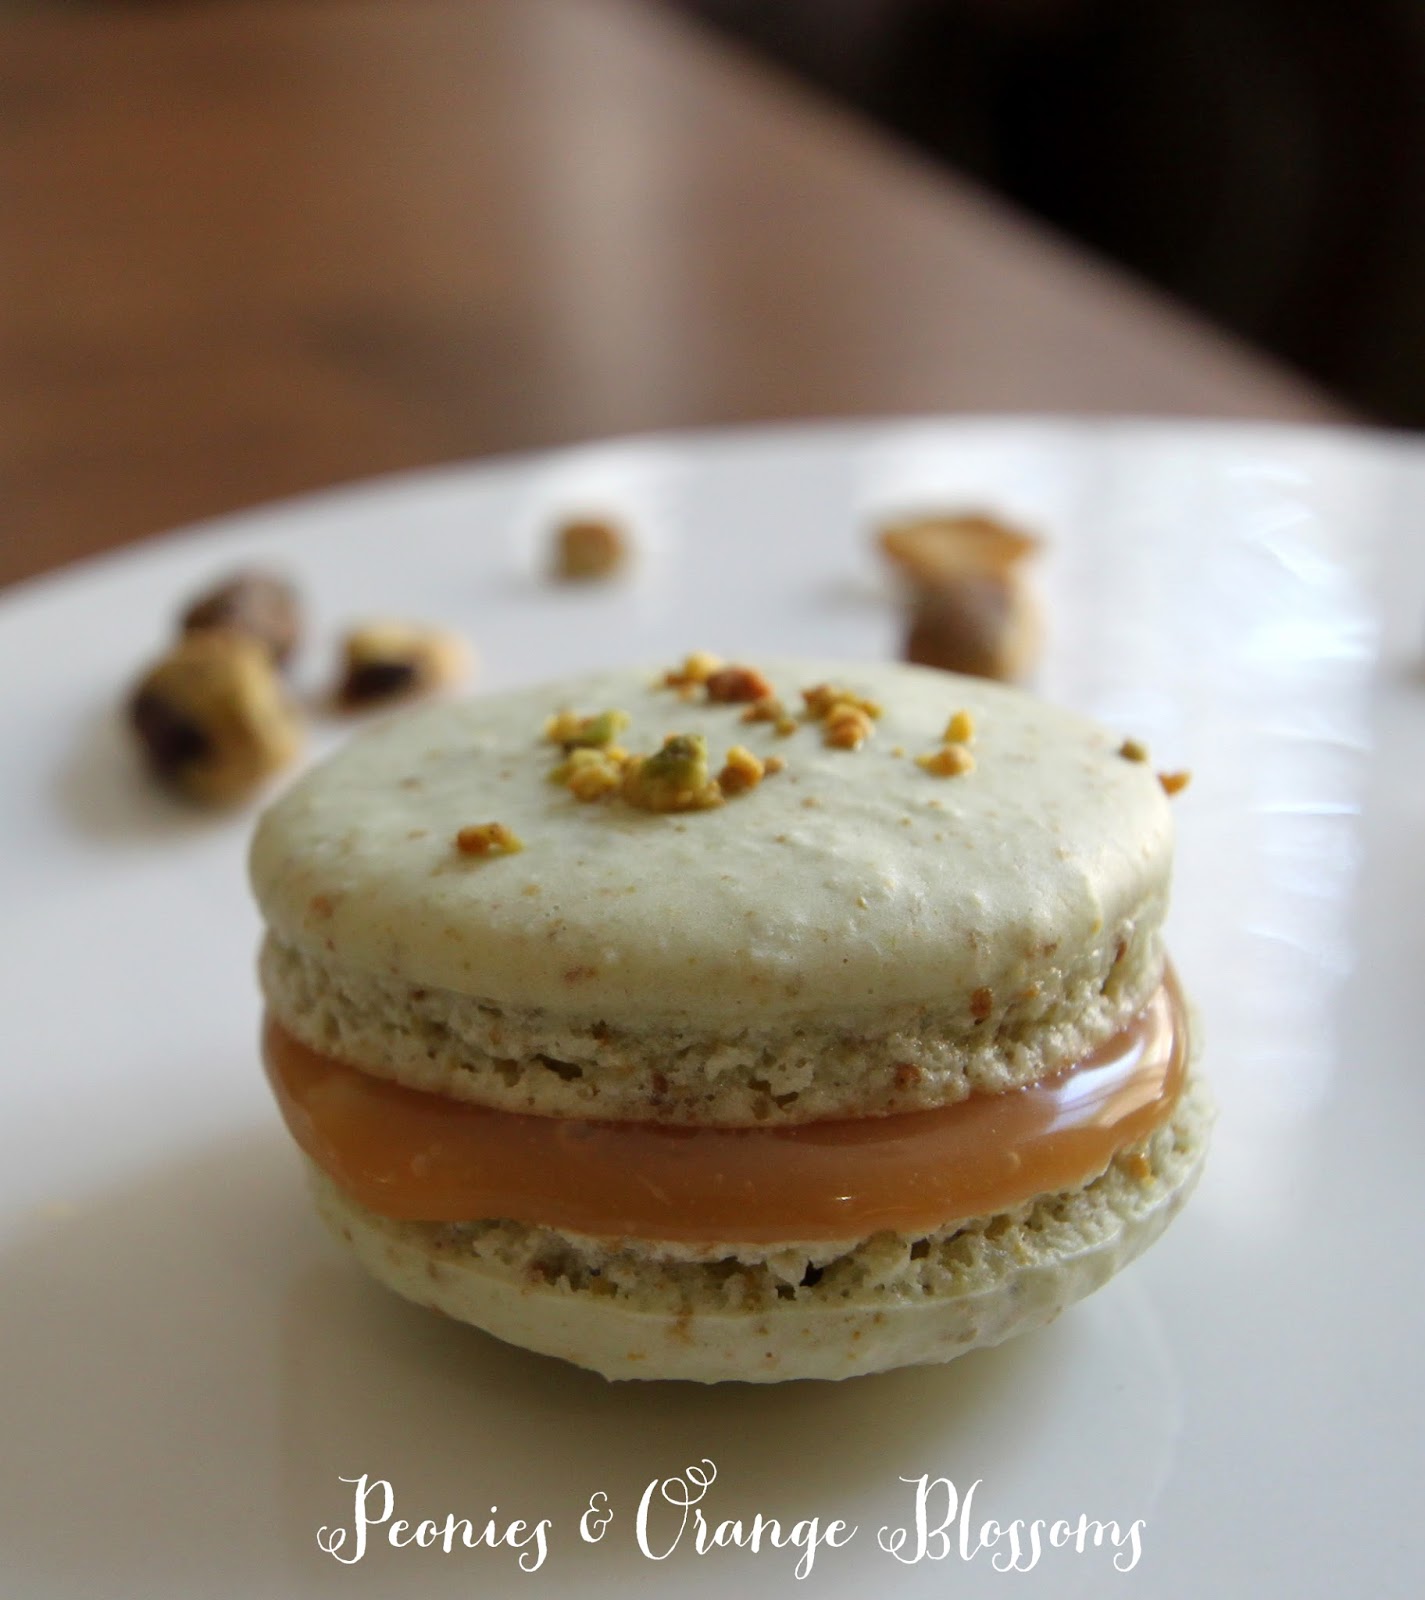
Pistachio Salted Caramel Macaron Recipe

We use affiliate links in our posts and our site. This means if you make a purchase using these links, we may earn a small commission. You don’t pay a cent more than you would otherwise! Our full disclosure is available under About.

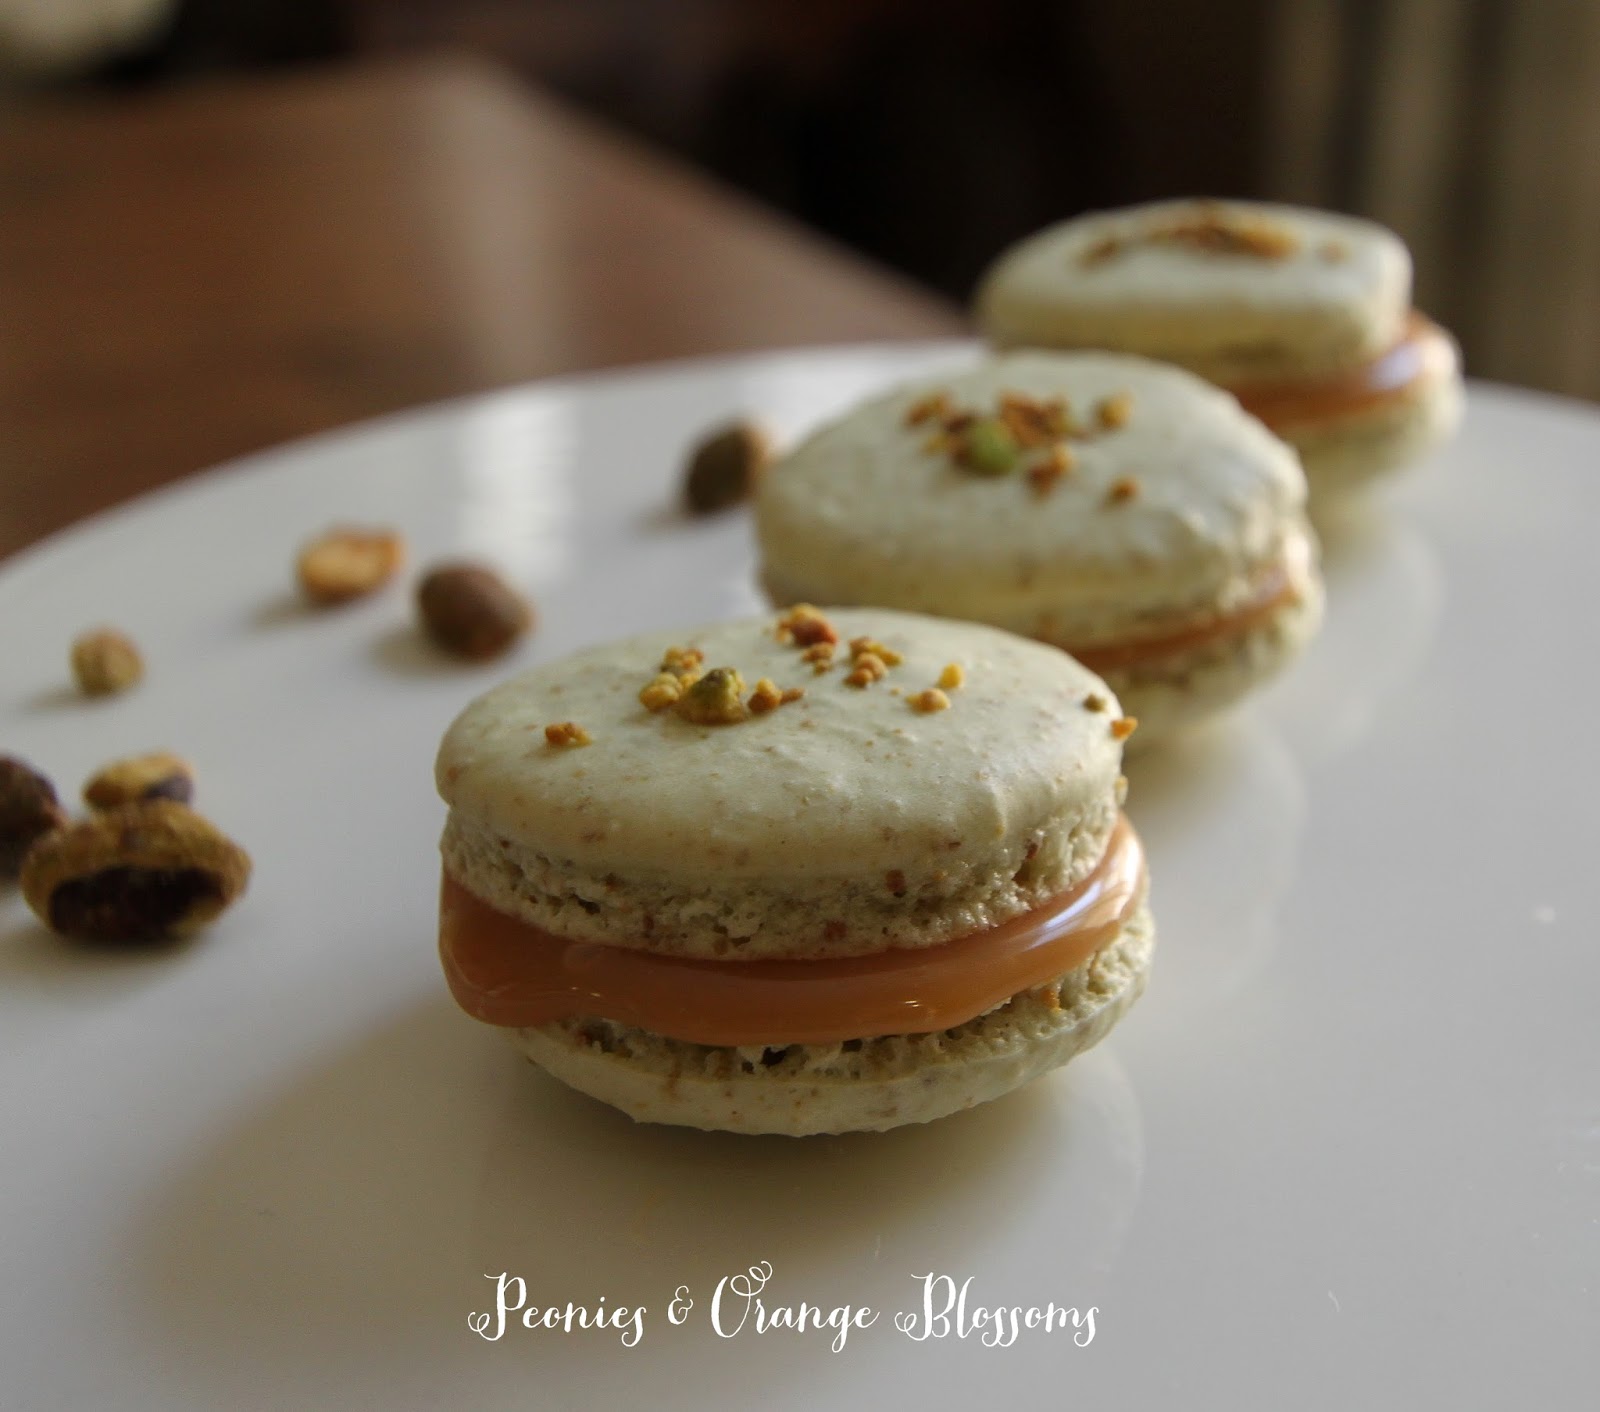
I have been busying baking macarons and I thought, why don’t I combine two of my favorites: Pistachio & Salted Caramel?  So I did.  And it was good.
This post may contain affiliate links. 

Pistachio Salted Caramel Macarons

Don’t they look good??  The caramel is oozing out of the cookies and just begging to be eaten!

Pistachio Salted Caramel Macarons

Pistachio Salted Caramel Macarons (Get the printable recipe here)

Materials needed: (affiliate links are used for your convenience)

    • a food scale (yes, you need this. I use this one)
    • a piping tip and piping bag (I like the ateco #806, I use these tips and piping bag)
    • Food coloring (the gels or dry powder works best, not the liquid store stuff)
    • A macaron template
    • food processor (I use this one)

Pistachio Macaron Shell Recipe

• 200g almond flour

• 75g pistachio flour (step 1)

• 250g powdered sugar

• 210g granulated sugar

• 6 egg whites (room-temperature)

• 1/8 cup chopped pistachios

• food coloring (green is traditional color for this cookie)


1 Grind your unshelled pistachios (salted or unsalted, I prefer the salted) using a food processor. Be careful not to turn it into a paste.

2 Sift almond flour, pistachio flour, and powdered sugar through a fine mesh screen into a bowl.

3 Whisk or using a beater, turn 6 egg whites to a foam.  Slowly add the granulated sugar to the egg whites as you beat.  Whip until the meringue has firm glossy peaks but not super stiff peaks. They should defy gravity and remain in the bowl if you turn it upside down.  If you tilt your bowl to the side and the meringue started to slide, keep beating.

4 Add your food coloring.

5 Then fold in 1/3rd of the almond/pistachio/sugar mixture into the meringue with a silicone spatula.  Once combined, add another third of the almond mixture. Then the last third.

6 Add the batter to the piping bag.  Pipe in rows using your template onto parchment paper.

7 Pick up the pan and beat onto the counter.  Now sprinkle pistachio nuts on half of the cookies as a garnishment.

8 Preheat oven to 300 degrees.  The cookies need to rest on the counter between 30-60 minutes. They are ready to go into the oven when they are dry to the touch.  The shell shouldn’t stick to your fingers.

9 Bake the cookies for 13-15 minutes, one sheet at a time.  They are done when they look kind of matte and seem firm if you tap on them.  You can always rescue an overcooked cookie with the maturation process that comes later, but you cannot rescue an undercooked one!

10 Remove from the paper once completely cool.  If they stick to the paper, they either aren’t cool yet or you undercooked them.

11 Fill the cookies when cool with the filling below.

12 Refrigerate overnight for best results.


Pistachio Salted Caramel Macarons

Salted Caramel Filling Recipe

(makes 1.5 cups of caramel)

1 cup of cream

1.5 cups of granulated sugar

2 tsp coarse salt (or 1tsp for a less salty flavor)

1 cup unsalted butter


Instructions:

1. Chop butter into small cubes and set aside.

2. Pour cream into the pan and add the salt. Bring to a low boil while stirring and remove immediately. Do not scald the cream.

3. Place the sugar into a new pan. Cook over medium hit while stirring constantly.

4. Stir until sugar is melted and has caramelized into a rich color. Remove from heat.  Do not burn the sugar.  If your caramel starts to burn, throw it away. You cannot rescue it.

5. Pour and stir the hot cream into the caramel mixture. BE CAREFUL!!! Add the cream VERY SLOWLY.  The caramel will spit and boil up, so stir while incorporating the cream into the caramel.

6. Let the caramel cool to 115 degrees (about 5 minutes later).

7. Whisk in the cubes of butter into the mixture until melted and mixed.

8. Pour caramel into a shatter proof bowl and refrigerate until cold.


To use the caramel:

1. Remove from the fridge.

2. Whisk the caramel mixture to stiffen to more of a butter/cream consistency. Do not over-whisk as the caramel will separate.  Add the caramel to a shell and twist shell shut to close them together.

3. Once all assembled, put them in an airtight container and let them mature (yes, that’s the scientific word for this process) in the refrigerator for 24-48 hours.


Pistachio Salted Caramel Macarons

Om nom nom! These were good!

Pistachio Salted Caramel Macarons


SaveSave

SaveSave

Follow:

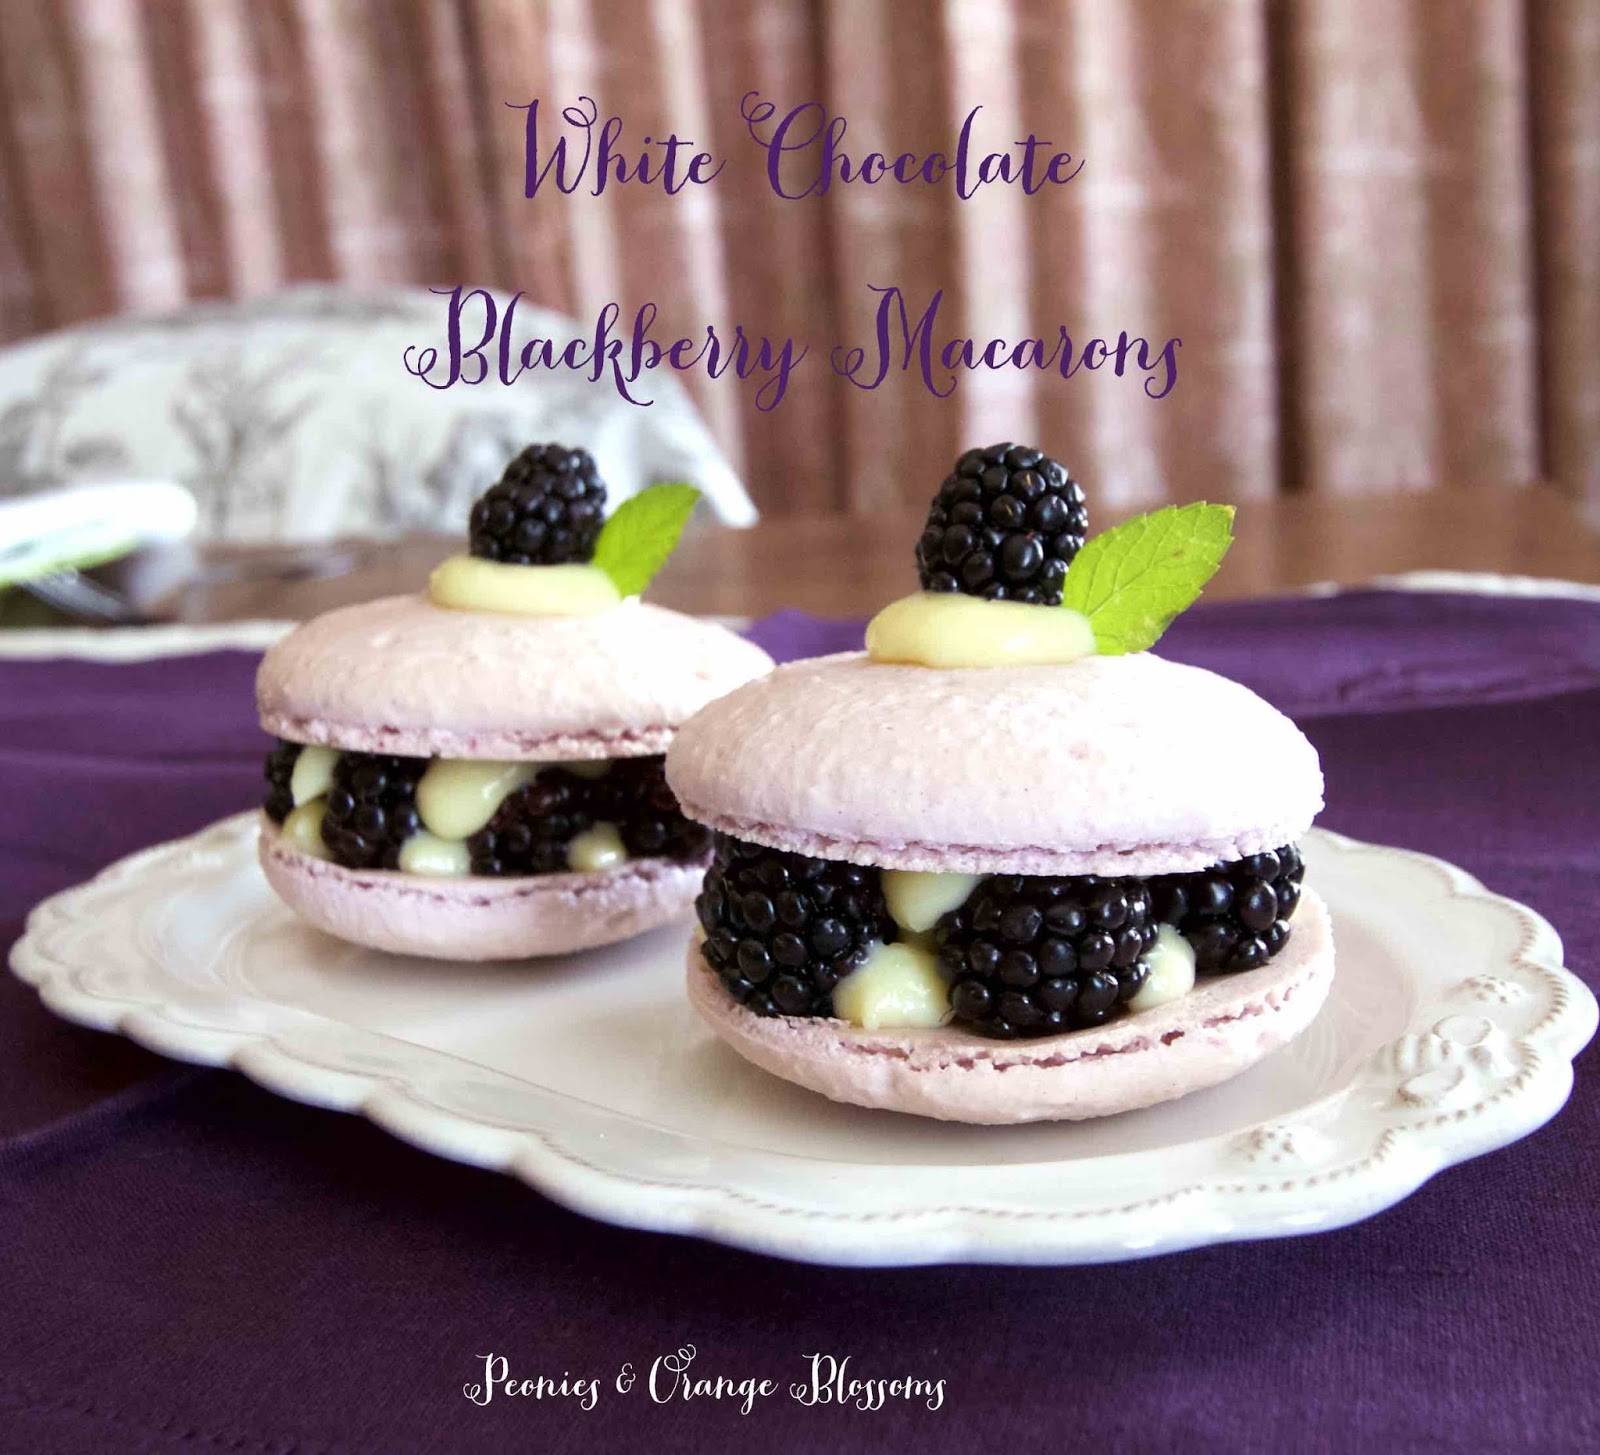
White Chocolate Blackberry Macarons

We use affiliate links in our posts and our site. This means if you make a purchase using these links, we may earn a small commission. You don’t pay a cent more than you would otherwise! Our full disclosure is available under About.

I’ve been back in the kitchen baking again.  You will love what I came up with! I was inspired ball of the pretty french pastries I saw in Paris! White chocolate blackberry macarons!
This post may contain affiliate links.

White Chocolate Blackberry Macarons – printable recipe here

We will need 2 cups of fresh blackberries, but will not use them until the very end.

Materials needed: (affiliate links are used for your convenience)

    • a food scale (yes, you need this. I use this one)
    • a piping tip and piping bag (I like the ateco #806, I use these tips and piping bag)
    • Food coloring (the gels or dry powder works best, not the liquid store stuff)
    • A macaron template
    • food processor (I use this one)


Macaron Shell Recipe (from Laduree)

275g ground almonds

250g powdered sugar

210g egg whites

210g granulated sugar


1.  Mix almond meal and the powdered sugar in a food processor. Be careful not to grind too long, otherwise it will form a paste.

2. Sift the almonds and powdered sugar. Set aside.

3. Weigh out granulated sugar.

4. Weigh the egg whites.  Beat them slowly on a low speed until foamy. SLOWLY add the granulated sugar to the egg whites as you beat.  Once all mixed, increase speed to medium and beat until a firm meringue forms.  You want a firm meringue with glossy peaks but not stiff peaks.  They should defy gravity and remain in the bowl if you turn it upside down.  If you tilt your bowl to the side and they are sliding out, keep beating.

5. Add the food coloring gel and mix.

6. Then fold in 1/3rd of the almond/sugar mixture into the meringue with a silicone spatula.  Once combined, add another third of the almond mixture. Add last bit.  This batter requires more deflation during this step since it creates such a poofy meringue.

7. Add the batter to a piping bag.  Pipe in rows using your template onto parchment paper.  These macarons are a bit bigger than your usual macarons – 7cm in diameter.  To make my template I found a round glass that measured 7cm and drew around it.

8. Pick up the pan and beat until the counter.  The cookies need to rest on the counter between 30-60 minutes.  They are ready to go in the oven when they are dry to touch (the shell shouldn’t stick to your finger)

9.  Set the oven to 300F.

10. Bake the cookies for 15-20 minutes, one sheet at a time. They are done when they look kind of matte and seem firm when you lightly tap on them.  You can always rescue a slightly overcooked one with the maturation process that comes later, but you cannot rescue an undercooked one!!   The cooking time really depends on your oven.

11. Remove from paper once completely cool. If they stick to the paper, they aren’t cool yet. Or you undercooked them.

miam miam

White Chocolate Cream Filling

  • 1 large egg + 1 egg yolk
  • 85g granulated sugar (about 1/4 cup + 2tbsp)
  • 1 cup milk (doesn’t matter whole milk vs nonfat, I used 1%)
  • 29g cornstarch (3tbsp)
  • 119g white chocolate (4ounces)
  • 28g butter (2tbsp)
  1. Beat the egg, egg yolk, and the 1/4 cup of sugar together in a mixer until pale yellow and thick. This takes about 4 minutes.
  2. Add the cornstarch, mix on medium-low until mixed in.
  3. Mix the milk and the remaining 2 tbsp of sugar on a saucier pan over heat.  Bring it to a boil.
  4. Once boiling, pour half of the milk slowly into the egg mixture and whisk constantly.
  5. Then pour the entire mixture back into the remaining milk in the saucepan.  Bring up to a boil to thicken on low.
  6. You must whisk continuously to make sure that it doesn’t burn on the bottom, This takes several minutes.  If it burns, you must throw away and start over.
  7. The pastry cream will suddenly thicken.  Once it thickens, add the white chocolate and mix together thoroughly until chocolate is melted.  Remember we are only melting the chocolate, not cooking it!
  8. Put a piece of saran wrap directly onto the surface of your cream and place it in the refrigerator.  Let cool for 1-2 hours before using.


Assembling the macarons!


On one shell, form a ring of blackberries on the edge.  Using a piping bag, pipe the white chocolate cream into the center of the blackberry ring.Then put another macaron shell on top to make a sandwich.  For looks, pipe a little dollop around each blackberry so it appears to be sandwiched between white chocolate cream.

For garnish, pipe a little dollop of cream on top, add a blackberry, and sprig of fresh mint. Voila! You, too, are a pastry chef!

Below is a picture of what I mean by putting the blackberries on the edge and adding the cream to the center.  As you can see, my recipe was inspired by a raspberry rose version I had in Paris.  Except… I never saw a blackberry one there! So I came up with my own!

this is what I mean by putting a ring of berries on the edge and piping cream into the center!

These were really very good.  I struggled with piping the larger 7cm macaron shells. The oven here is super crappy, in fact, we are getting a new one. I had the oven set at 300 and it ranged from 250-350F!  You just have to practice. I had some trays of flops… and some trays of nice ones!  I am very happy that these turned up with feet and I got the perfect flat top too!


SaveSave

Follow:

Pistachio Macaron Recipe Version 2

We use affiliate links in our posts and our site. This means if you make a purchase using these links, we may earn a small commission. You don’t pay a cent more than you would otherwise! Our full disclosure is available under About.

As you may or may not know, I have a recipe on this site for pistachio macarons.  I went back a year later to try to make those macarons, and I realized that I don’t have a candy thermometer.  So when I tried to make the filling, it was a fail. And then another fail.  So I searched high and low and came up with another pistachio filling recipe that I love.  AND no candy thermometer is needed!  I wrote this post a little bit ago, but decided to share it now while I’m buying myself time while I am busy with the move!
This post may contain affiliate links.

This new recipe tastes exactly like the other one.  It uses the same recipe for the shells.  The only thing that changed is my filling.

Pistachio Macaron Recipe Version 2 – printable version here

Materials needed: (affiliate links are used for your convenience)

    • a food scale (yes, you need this. I use this one)
    • a piping tip and piping bag (I like the ateco #806, I use these tips and piping bag)
    • Food coloring (the gels or dry powder works best, not the liquid store stuff)
    • A macaron template
    • food processor (I use this one)

Pistachio Macaron Shell Recipe

• 200g almond flour

• 75g pistachio flour (step 1)

• 250g powdered sugar

• 210g granulated sugar

• 6 egg whites (room-temperature)

• 1/8 cup chopped pistachios

• food coloring (green is traditional color for this cookie)


1 Grind your unshelled pistachios (salted or unsalted, I prefer the salted) using a food processor. Be careful not to turn it into a paste.

2 Sift almond flour, pistachio flour, and powdered sugar through a fine mesh screen into a bowl.

3 Whisk or using a beater, turn 6 egg whites to a foam.  Slowly add the granulated sugar to the egg whites as you beat.  Whip until the meringue has firm glossy peaks but not super stiff peaks. They should defy gravity and remain in the bowl if you turn it upside down.  If you tilt your bowl to the side and the meringue started to slide, keep beating.

4 Add your food coloring.

5 Then fold in 1/3rd of the almond/pistachio/sugar mixture into the meringue with a silicone spatula.  Once combined, add another third of the almond mixture. Then the last third.

6 Add the batter to the piping bag.  Pipe in rows using your template onto parchment paper.

7 Pick up the pan and beat onto the counter.  Now sprinkle pistachio nuts on half of the cookies as a garnishment.

8 Preheat oven to 300 degrees.  The cookies need to rest on the counter between 30-60 minutes. They are ready to go into the oven when they are dry to the touch.  The shell shouldn’t stick to your fingers.

9 Bake the cookies for 13-15 minutes, one sheet at a time.  They are done when they look kind of matte and seem firm if you tap on them.  You can always rescue an overcooked cookie with the maturation process that comes later, but you cannot rescue an undercooked one!

10 Remove from the paper once completely cool.  If they stick to the paper, they either aren’t cool yet or you undercooked them.


For the pistachio buttercream:

•75g butter, at room temperature

•75g powdered sugar

•50g finely ground pistachios (just grind some up in the food processor)

•1/4 teaspoon vanilla extract (optional)

•1 tablespoon whipping cream


Preparing the pistachio buttercream:

1Cream together the butter and icing sugar on low speed using the paddle attachment, if you’re using a stand mixer. Or mix by hand.

2Add the ground pistachios and beat on medium speed for approx. three minutes.

3Pour in the whipping cream and beat for one minute on medium speed.

4       Optional, add the vanilla and then mix together.  (I added only a few drops, as this enhanced the taste a little).

5      Add the buttercream to a piping bag, and pipe the buttercream onto the shells that do not have the extra pistachio sprinkled on top.

6      Store overnight in an airtight container in the refrigerator.  They taste better the next day, promise!


Don’t these macarons look pretty?  When I look at my old ones I get so embarrassed by them.  Granted, they tasted exactly the same. But still! They didn’t have perfectly little flat tops and didn’t all have nice little feet!


If you look below, this is how the macarons should look when you lift them up from the silpat or parchment paper… perfectly flat feet.  If they are sticking to the paper or silpat, let them cool a little bit longer and they will lift right up!

Don’t worry about yours if they don’t turn out perfect the first time you make them.  Mine obviously didn’t look perfect if you look at my old recipe, but they still tasted really good!

Some tips:
If they are puffy like little ice cream cones when you pipe them (like my old recipe, you can see the pictures of them) you need to do some more folding.  They need to be a little bit runnier.  That way when you pipe them they’ll spread out.  However, if you fold them too much, they will be too runny and will be ruined.  It’s an art.  I’ve been practicing for a while.  With time, you’ll learn. Just don’t give up. Giving up is for quitters and we don’t quit!

I will say, even when I make the macarons.  My first tray I pipe is always a little bit poofier than the last tray I pipe.  By the time I get to the last tray, I’ve stirred the batter a few more times and gravity has started to work on deflating the meringue some.  Just things I’ve noticed as I’ve been making these for a while.


I was having fun taking food pictures with my camera… an old grimey baking sheet makes a nice food backdrop.


SaveSave

SaveSave

Follow:

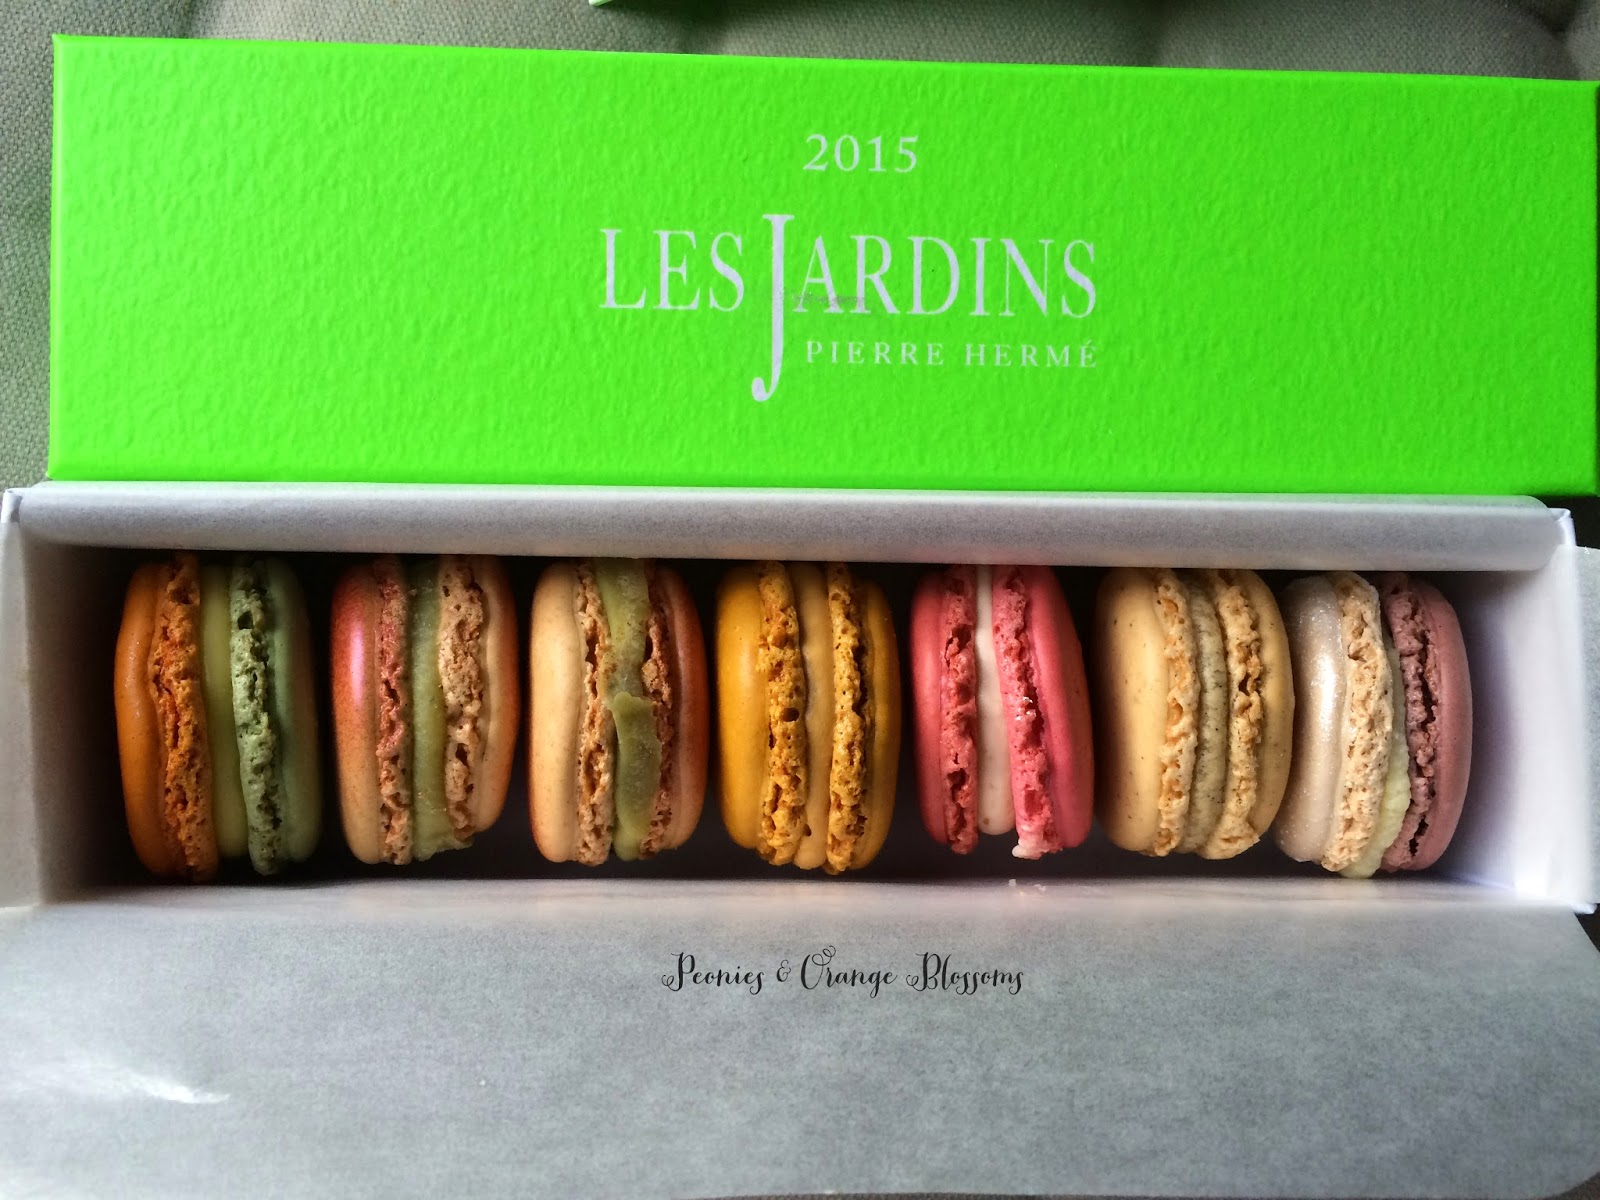
Pierre Herme Macarons Review

We use affiliate links in our posts and our site. This means if you make a purchase using these links, we may earn a small commission. You don’t pay a cent more than you would otherwise! Our full disclosure is available under About.

As you all know, I have a love for macarons.  Naturally, on my trip to Paris, one of my main missions was macaron tasting.

Before I left, I read loads and loads of reviews of Pierre Hermé macarons and pastries.  Imagine my excitement when I finally made it to the patisserie!

a review of Pierre Hermé

When you walk into the store, you are greeted with a sight of this…

French Macarons

and this… ooh, la la!  There were a lot more pretty pastries at the counter but they only allowed us to take pics of the macarons.


We were on a mission: try as many macarons as possible!

French Macarons

In fact, we *may* have gone there a few times and tried different flavors…

french macarons

Before I start reviewing each individual macaron flavor, I NEED to talk about the best pastry I’ve ever had. EVER. #bestpastryever.

See this below. Yeah, that croissant. Yeah yeah, it looks like a croissant with bacon sprinkled on it. This is NO ordinary croissant.  It is the ROSE ISPAHAN CROISSANT!!! (yes I’m yelling with excitement!)

So what is it?  It is a buttery croissant that is perfectly baked with a crunchy outside and a buttery inside. The outside is covered in a rose-flavored almond cream with candied rose petals sprinkled on top.  The inside is filled with a raspberry flavored litchi pate.

Before I went I wasn’t *too* excited about this croissant.  I don’t like rose flavored stuff and I am not a fan of litchi.  But when I tried it, it was like a little piece of heaven from the pastry gods.  It is really just so good, I can’t sing enough praise.  Here’s a hint: get one before noon because 1. they sell out and 2. the shelf life of a croissant is only 4 hours after it is baked.

the famous Rose Ispahan croissant from Pierre Herme

Ok, moving on to the macarons…  All of his macaron shells are perfectly baked.  They have a smooth top with perfect feet. They have the perfect crunch when you bite into them and then a little chewy in the center.


The Mosaic macaron… 

It is a pistachio, cinnamon, and cherry macaron and I LOVED it.

Mosaic macaron

The “Huile d’Olive a la Mandarine” aka Mandarin Olive Oil Macaron…
This was my favorite macaron.  The flavors were so interesting and really went well together.  I highly recommend trying this one.

Mandarin olive oil macaron

The Infiniment Caramel aka Salted Caramel Macaron…
This macaron was one of my family’s favorite.  The salted caramel was *perfect*.  If you are new to macarons, this one you MUST try.  Or if you’re a macaron mad like myself too.

salted caramel macaron

The infiniment Rose macaron…
this was a rose flavored macaron.  It was okay.  I’m not a huge fan of rose flavored dessert because usually it seems like I’m eating roses. I would skip on this.

rose macaron

The Envie macaron aka vanilla, violet, and blackcurrant…
This macaron was SO GOOD.  I just loved the black currant flavor with the vanilla and violets.  It is an unusual flavor and one you don’t taste very often.  I highly recommend it!

vanilla, violet, and black currant macaron

Infiniment Vanilla macaron…
This vanilla macaron was made with pure vanilla beans.  It was extremely rich in vanilla flavor.  It was the best vanilla flavored macaron I’ve ever had.

vanilla macaron

We also tried the Celeste macaron, which is a passion fruit, rhubarb, and strawberry macaron.  The picture I took of it was really blurry, so there is no picture. As far as the macaron flavor, it wasn’t my favorite.  I didn’t really like the flavor of passion fruit with the almond shell.


Okay, moving away from macarons and onto a last minute decision to try this citron tart!  When you enter the store, there is a whole row of pretty looking pastries, so this lemon tart caught our eye!

This lemon tart was SO delicious.  The lemon flavor was really strong but not in a bad way.  The candied lemon skin on top was really nice.  The crust was good.  Normally I don’t eat tart crust but I did on this one! This was just a really good lemon tart!  I highly recommend trying one!

Pierre Herme Citron tart

Okay, last patisserie we tried was the Rose Raspberry Ispahan Macaron.  It is one of the pastries that Pierre Herme and Laduree are famous for.  It is raspberry macaron with fresh raspberries with rose buttercream inside.  It is a rose petal on top as garnish.

Now, ironically, while this is the prettiest looking of all of these sweets, this one was my least favorite!  It wasn’t BAD, it just… wasn’t as good as everything else!  It sure does look pretty!

the beautiful Raspberry Rose Ispahan Macaron by Pierre Herme

My FINAL review for Pierre Herme:

All of his creations were absolutely delicious.  The macarons were perfection.  His flavors were interesting but really good.  When going to his store, I HIGHLY recommend the rose ispahan croissant, followed by a macaron flavor of your choice.  I’m sure if you chose another patisserie it would likely be delicious as well!  I strongly recommend you stop by his shop if you are in Paris, even if you are only there for a day!

Which macarons are better? Lauder or Pierre Herme? Mystery is answered!
Macarons from Pierre Herme in Paris, go ahead and use this as a cell phone background!!

Now, time to answer the big question…
Which macarons are better, the ones from Pierre Herme or Laduree?
First of all, let’s talk about the shell:  Pierre Herme bakes his macarons using the Italian method while Laduree uses the French method. This website explains the difference.  The end result: both shells taste the same to me.  Every macaron that I tasted from both macaron houses had perfectly made shells with perfect feet.  They know how to make macarons.  The difference comes with the flavors…

The flavors are definitely different at both places.  Pierre Herme makes more intense unusual flavors like… olive oil and mandarin.  As you’re eating Pierre Herme’s macarons, they have more notes to the flavor and are more complex.  Laduree’s flavors tend to have one note to them… but that note is very good.  But when comparing the same flavor, for instance, the salted caramel macaron, it was very good at both places.  So, I would consider it a tie when comparing the same flavor.  If you are looking for more interesting complex flavors, head to Pierre Herme.  If you’re looking for more standard flavors, head to Laduree.

Now, I have to choose a winner.  I really want to say it’s a tie.  Because really, it feels like a tie.  But that’d be lame. I hate ties.  I must choose a winner… so I would say the winner is Laduree.  And this is why I choose them: I thought to myself, if I could only choose one macaron to eat and could only go to one store on a very quick trip to Paris, which one would I choose?  I would choose Laduree’s orange blossom macaron. It is just that good.  But in reality, if I go to Paris again, I would head to both stores multiple times.  However, the rose ispahan croissant at pierre herme is better than any of the macarons. so there.

HELPFUL HINT: I highly recommend bringing plastic utensils with you to Paris so that way you can enjoy your pastries in the park without making a huge mess.

If you’ve missed a Paris trip post, catch them ALL RIGHT HERE !

SaveSave

Follow:

From the Shop

I may earn a small commission if you purchase with these links

Caning Natural Tote Handbag - Universal Thread™
The Hustler High Waist Fray Hem Ankle Bootcut Jeans
Le Panier Pliage Raffia Crossbody Bag
Extra Large Le Pliage Panier Tresse Straw Tote
The Bennet Buttondown Shirt by Maeve
T Monogram Perforated Leather Bucket Bag
Mellow Stud Mule
Le Pliage Marinière Recycled Nylon Canvas Travel Bag
Unseen Sunscreen Broad Spectrum SPF 40 PA+++
Maxine Stripe Cotton Button-Up Shirt
Citizens of Humanity Charlotte High Rise Straight Jeans
Navy Equestrian Traversee M Linen Tote
Cream Carrie Blouse
Ellison Natural
Jolene High Rise Vintage Slim
Citizens of Humanity Blue Jolene Jeans
Charlotte High Rise Straight Jeans
Le Pliage Filet Top Handle Bag
Vintage cotton crewneck T-shirt
Air Heart Sunglasses
Le Pliage Torchon XS Top Handle Bag With Strap
Santorini Raffia Basket Bag
Chuck Taylor® All Star® Lift High Top Platform Sneaker
Please note that I use ShopSense, LIKETOKNOW.it, Shareasale and Amazon affiliate links on this site. This means using them for purchases won’t cost you extra but may earn me a small commission.  Our full disclosure is available for viewing under About in the disclosure policy.
All rights reserved. Our graphics, images and text are all subject to copyright protection.