We use affiliate links in our posts and our site. This means if you make a purchase using these links, we may earn a small commission. You don’t pay a cent more than you would otherwise! Our full disclosure is available under About.
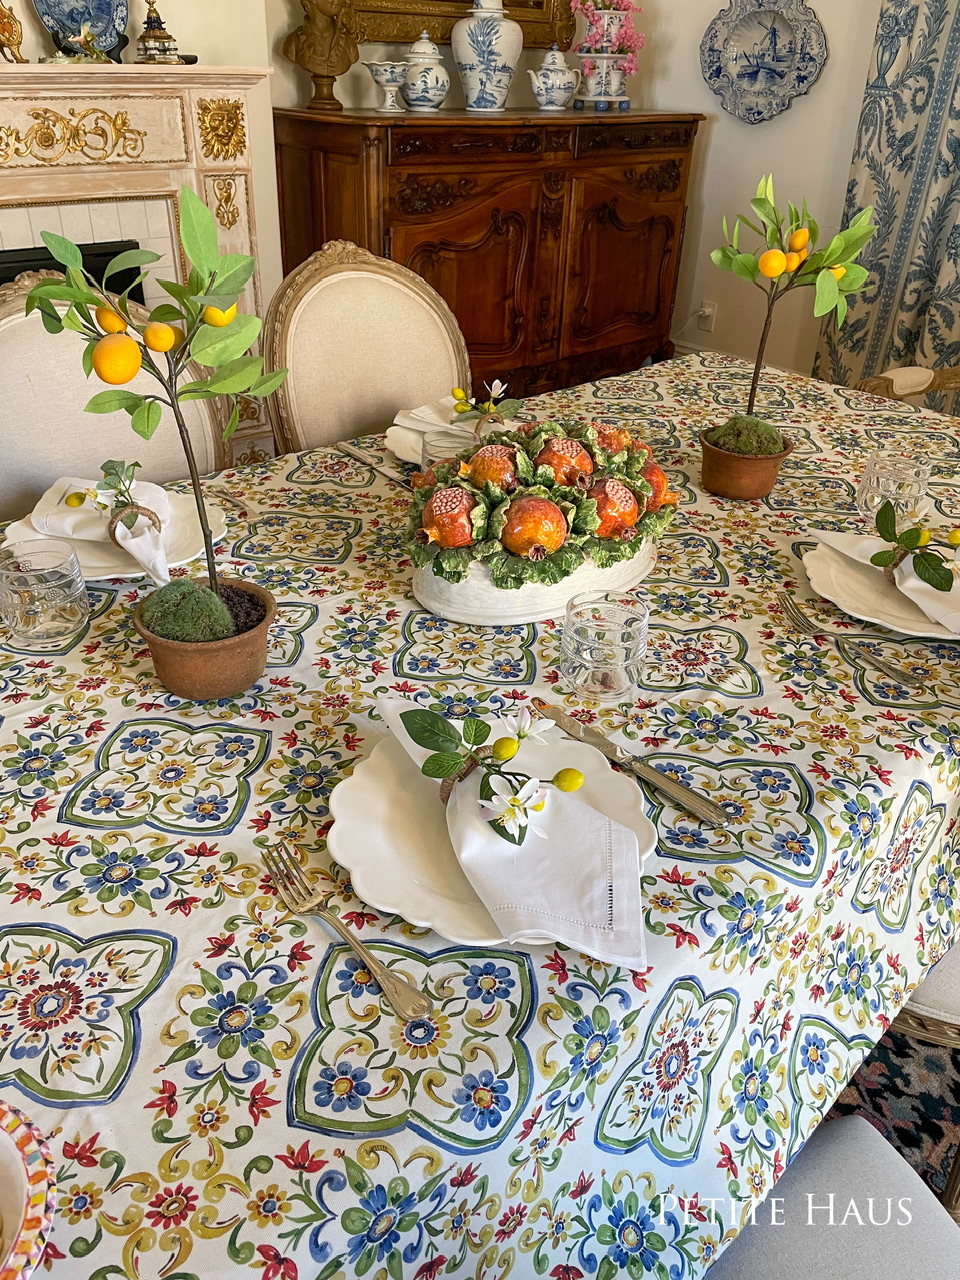
It seems this Summer everyone is in vacationing in Positano. I came up with this little table setting to transport me there — minus the crowds and saving a few dollars.
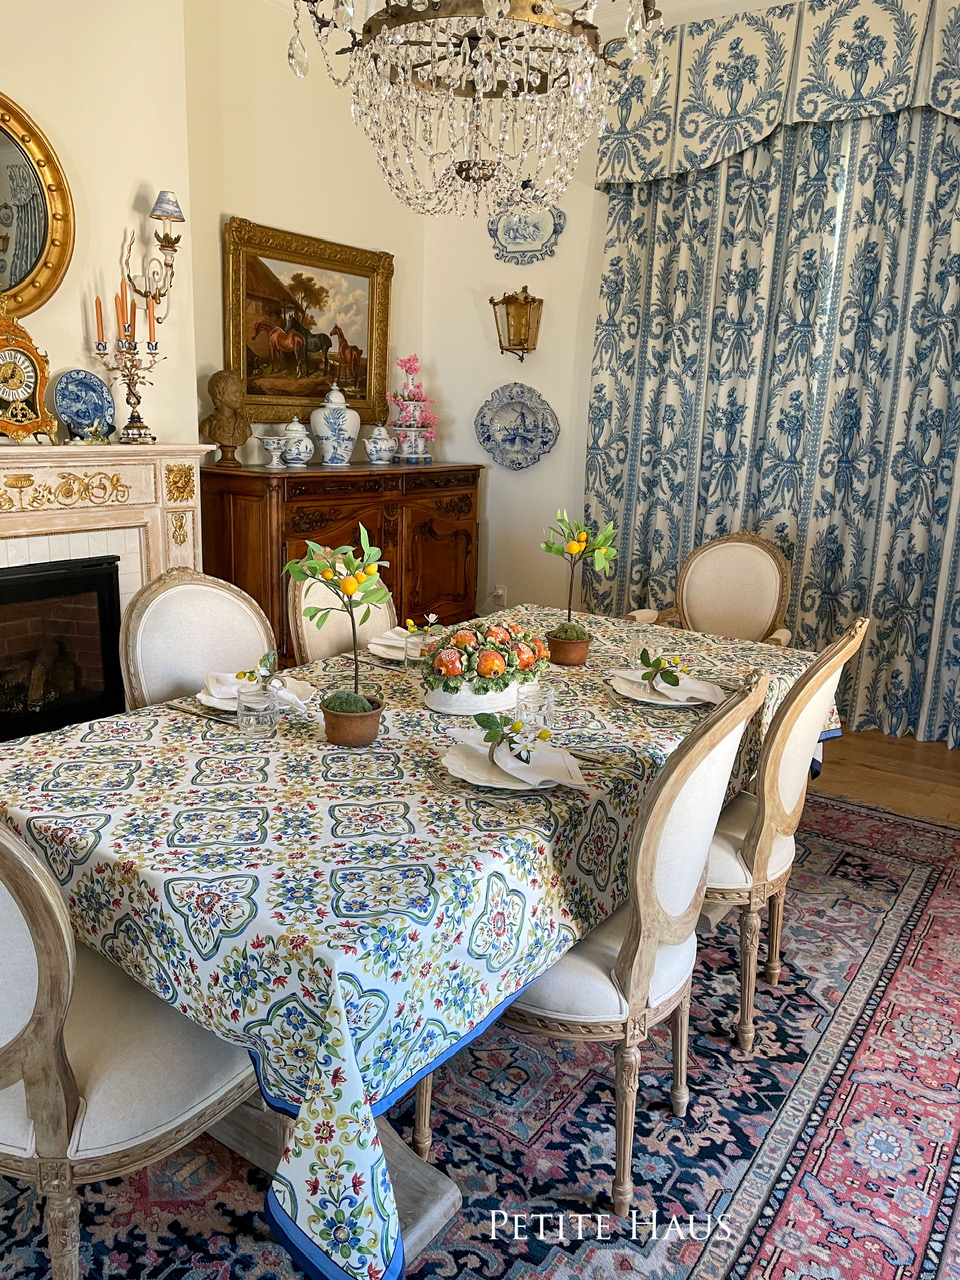
I used my oil table cloth from Williams Sonoma from last year. I paired it with faux lemon trees and a majolica centerpiece. The lemon blossom napkin rings are new, from the “Positano Collection” at Pottery barn but have sold out. I also used my new tumblers from Juliska – they are melamine and are kid and outdoor friendly! I love them!
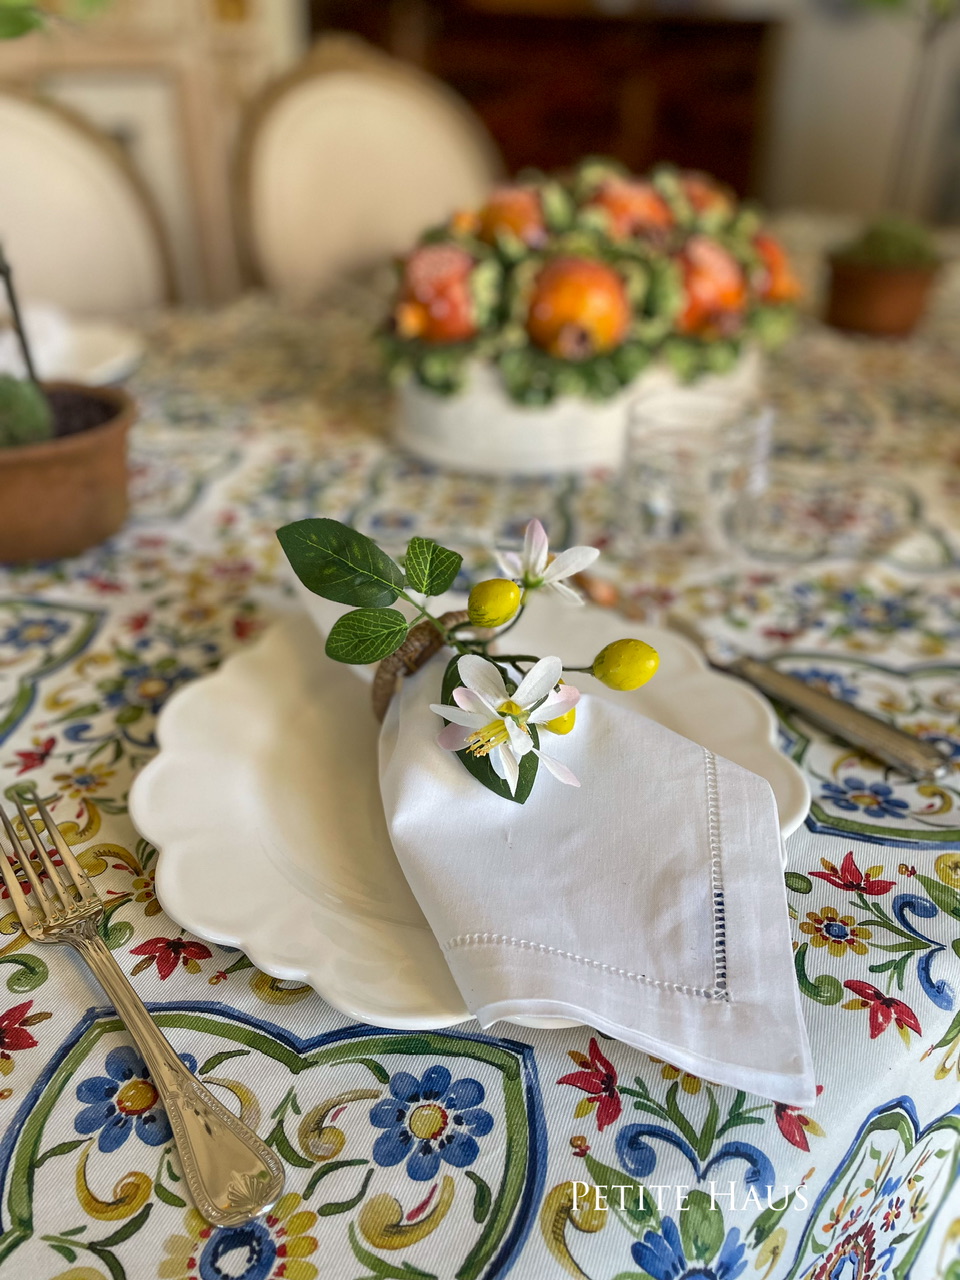
A closer look at my little napkin rings! To give the entire “Positano” feeling, I recommend burning a citron candle as well.
We use affiliate links in our posts and our site. This means if you make a purchase using these links, we may earn a small commission. You don’t pay a cent more than you would otherwise! Our full disclosure is available under About.
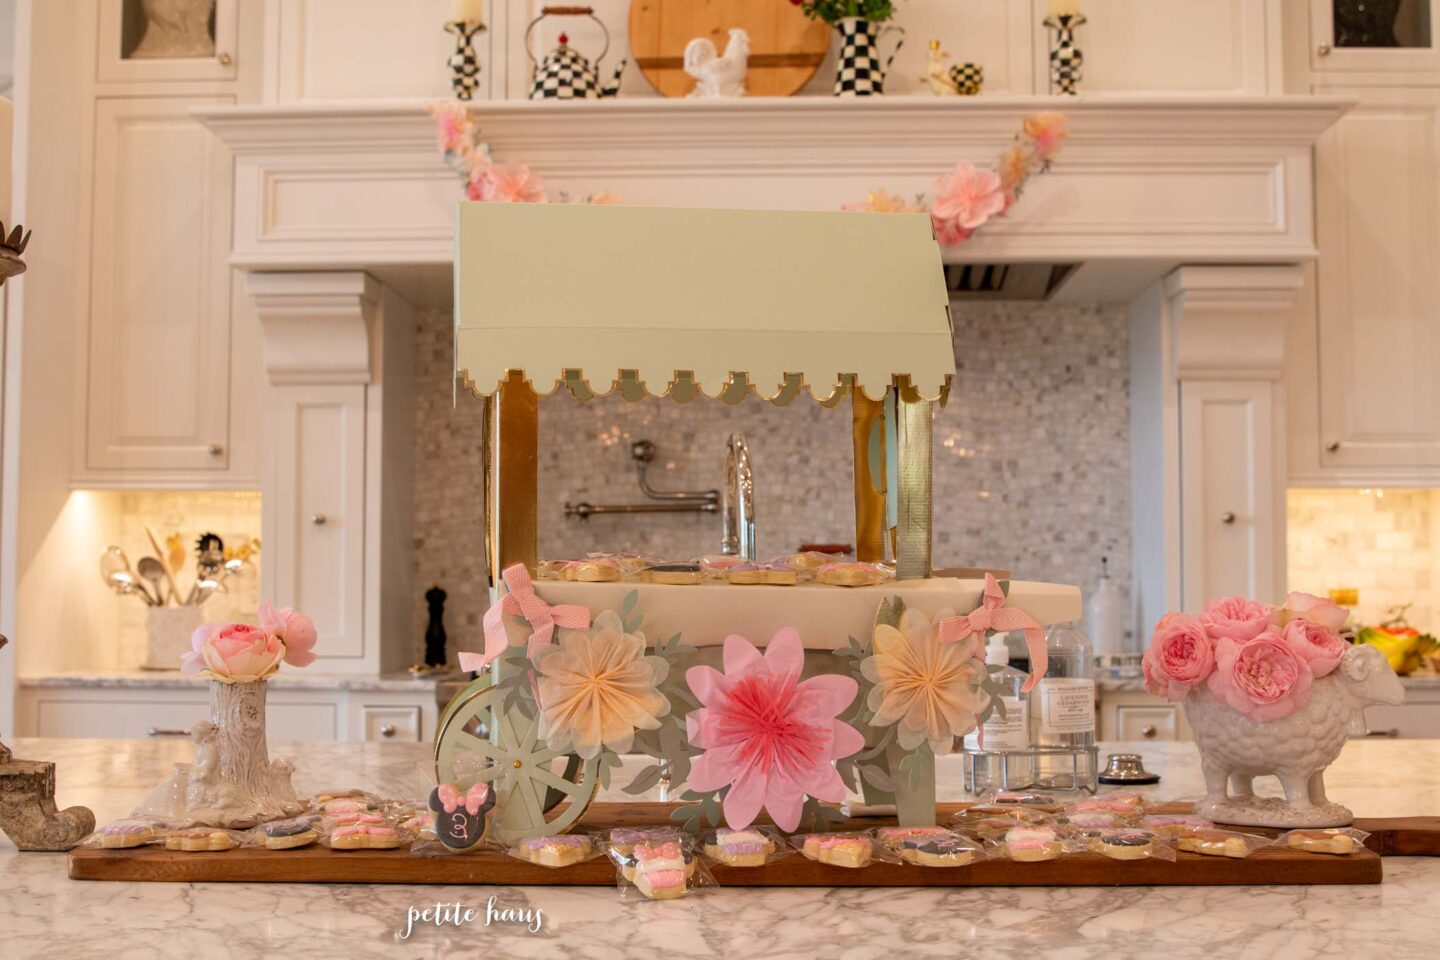
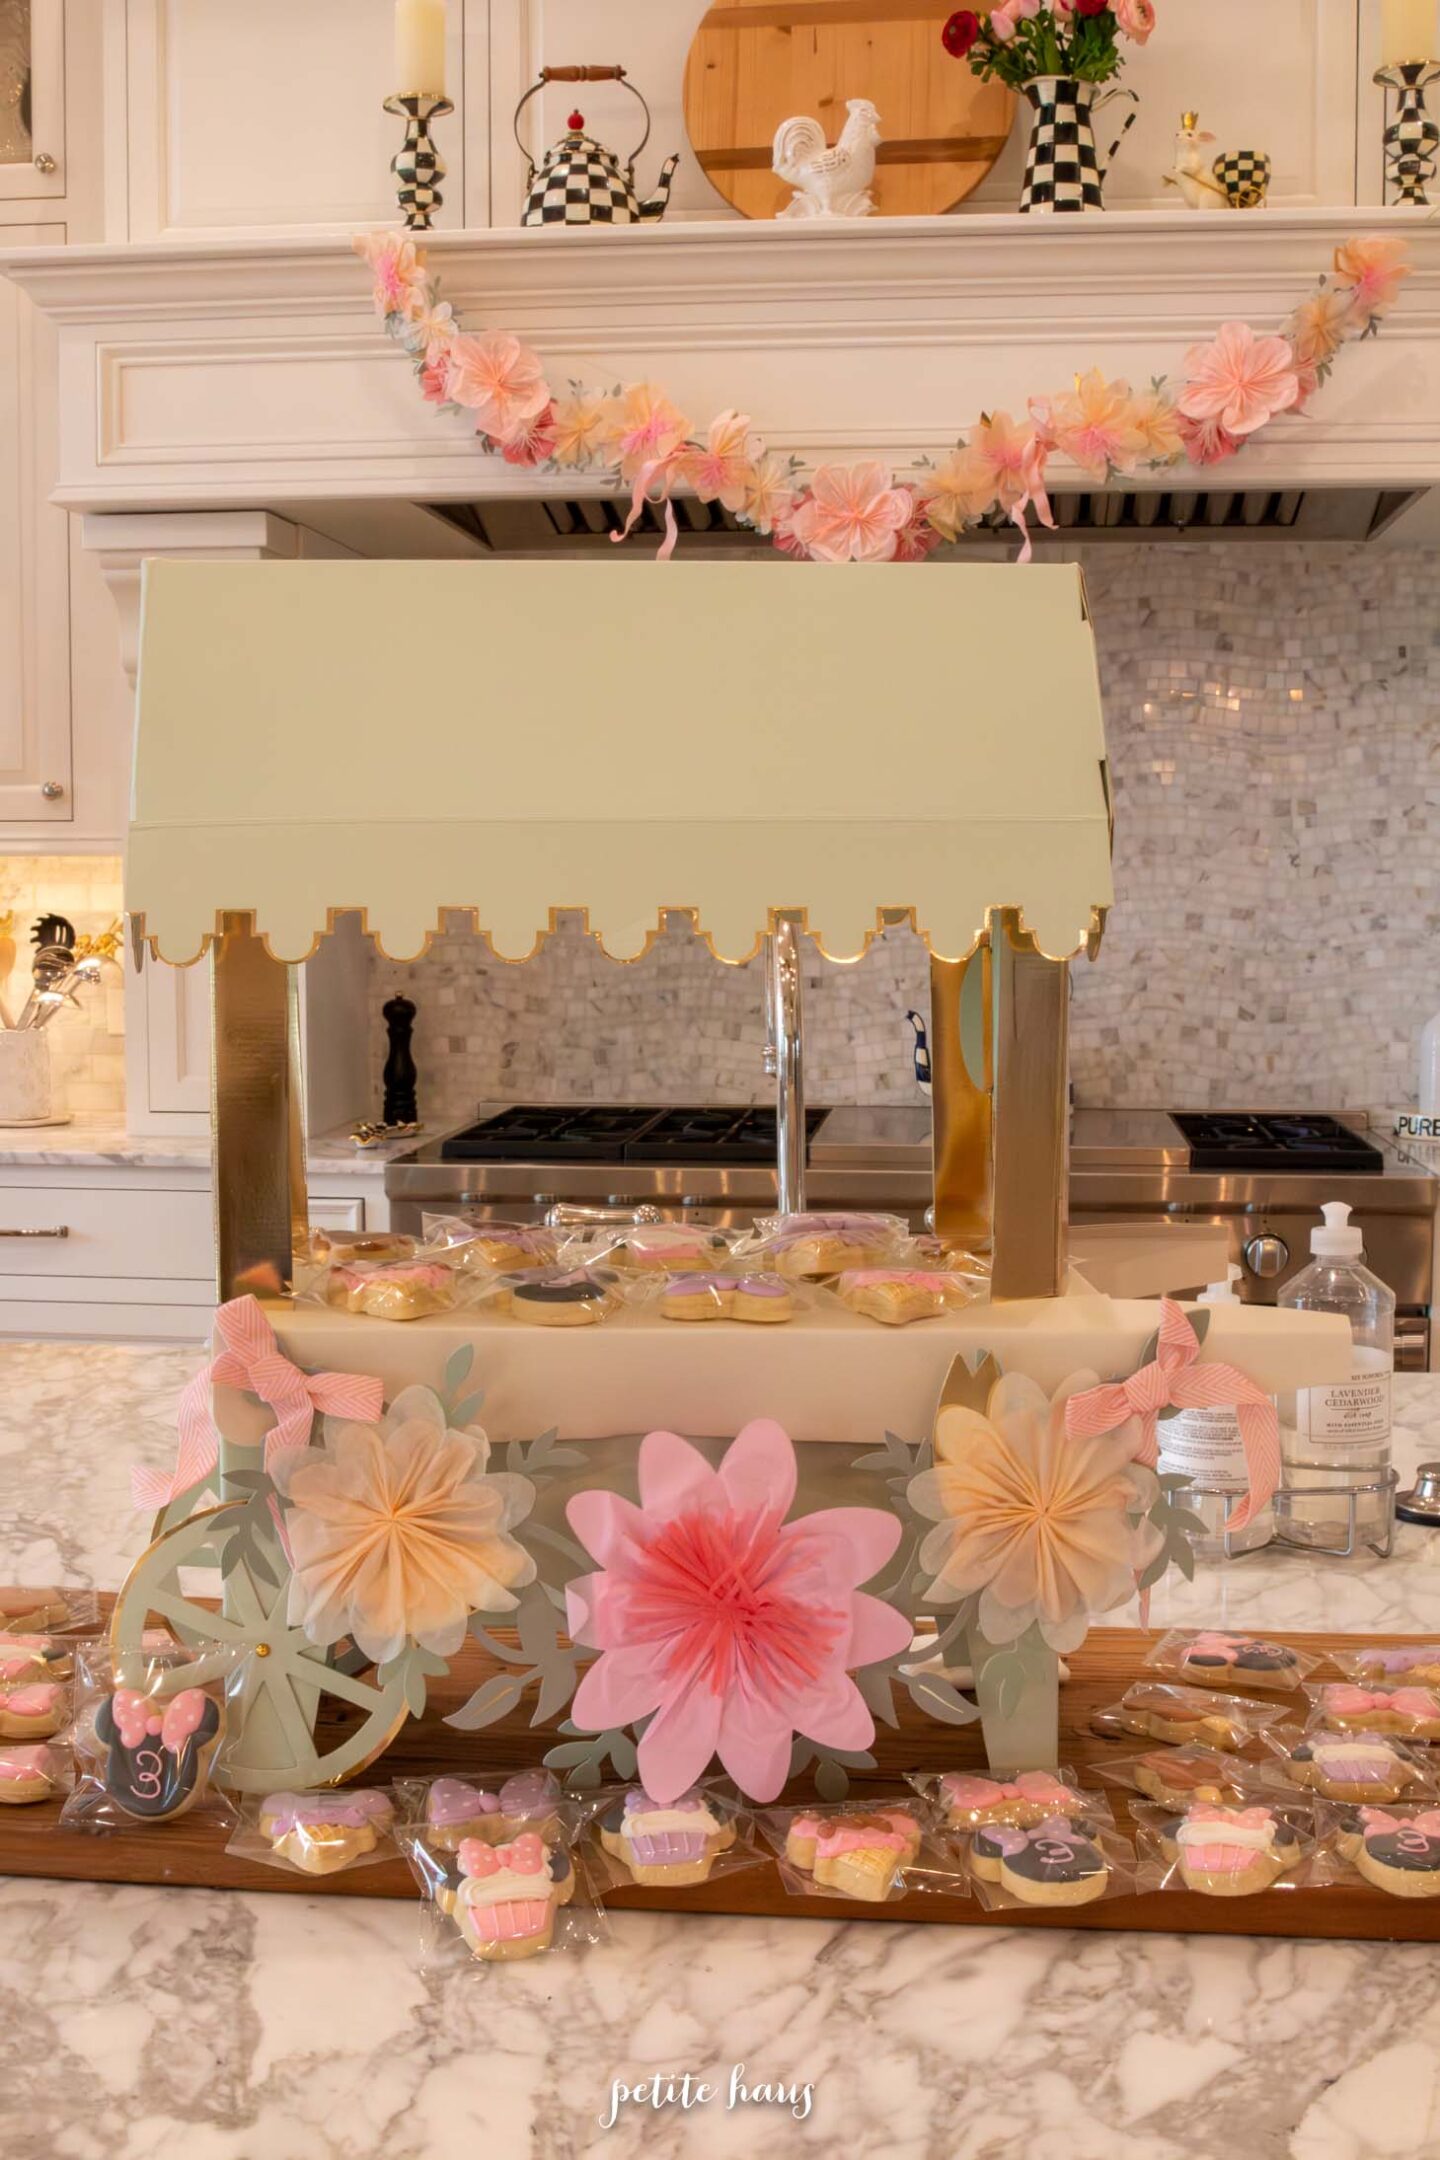
My little girl turned 3 this year and I am sharing her party decor!
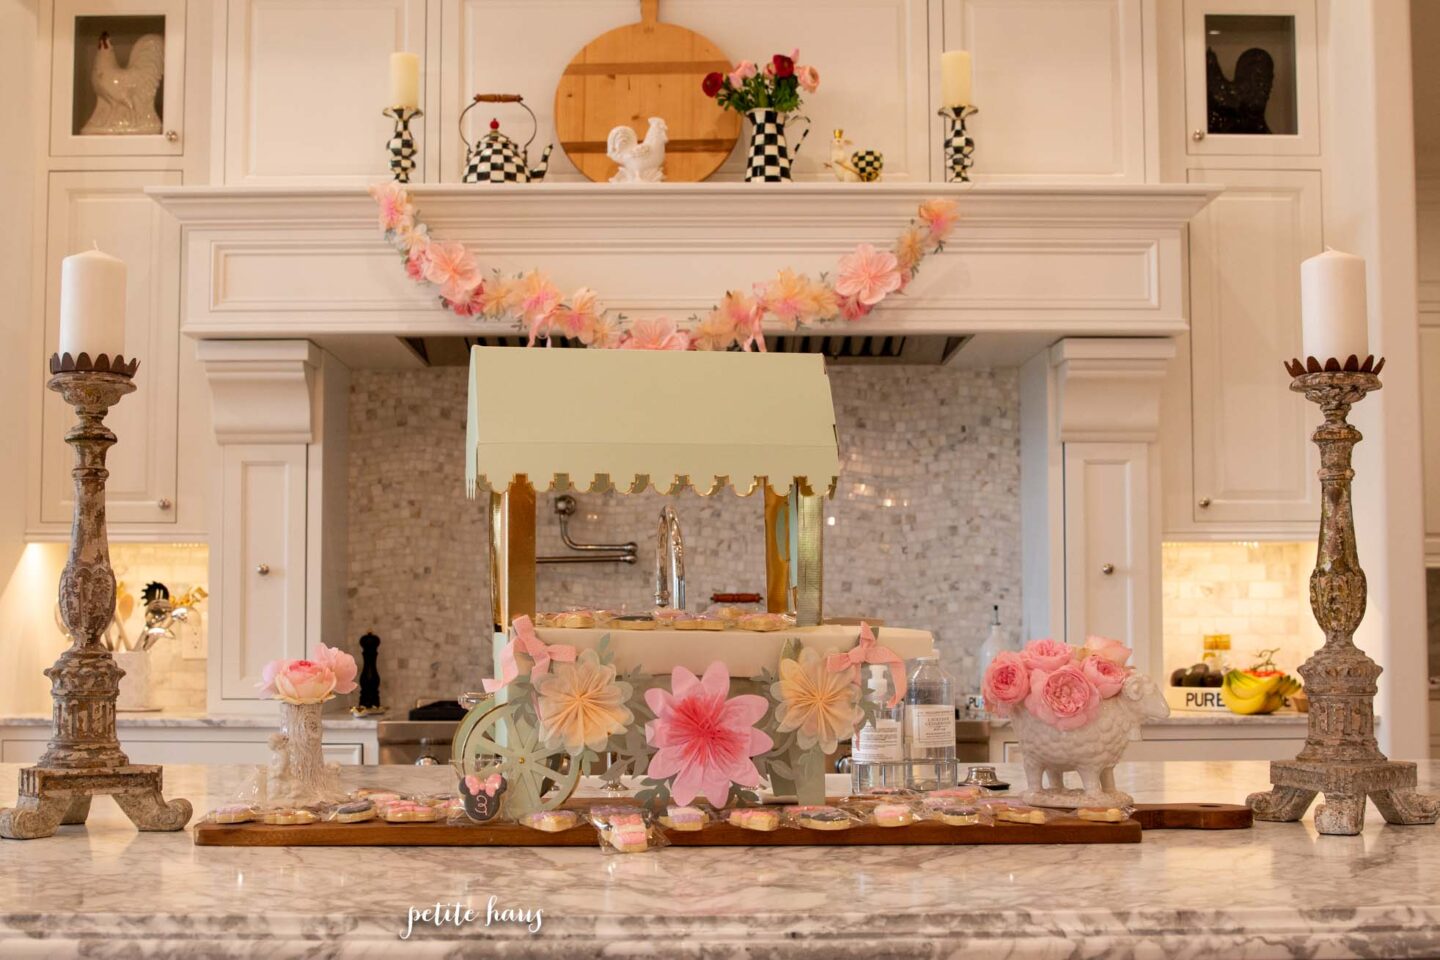
I purchased this Meri Meri x Laduree Macaron cart a few years back as I knew I would use it some day!
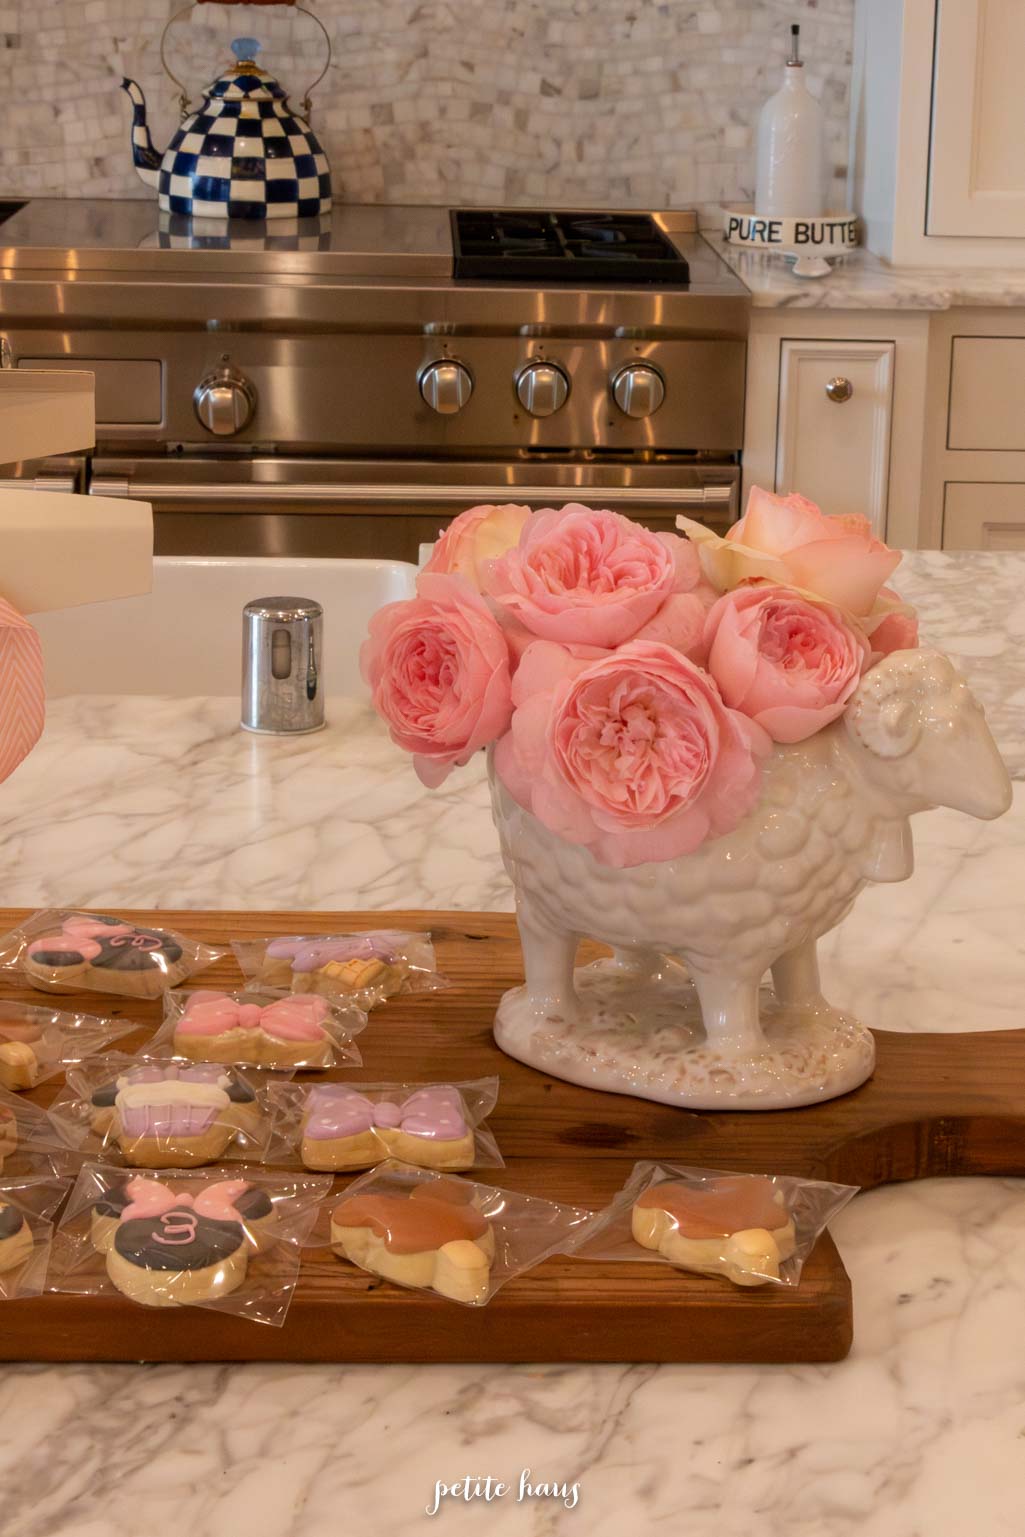
She wanted a Minnie Mouse birthday so we also had some Minnie mouse cookies and balloons (not pictured, as she was running around with them).
The little cart held up well. I am saving it for future parties. It looks like it may be discontinued but there is one retailer I could find. There is a similar ice cream cart that I found by Meri Meri.
I picked roses from the garden. Below the roses are mostly “Queen of Sweden” rose.
If you’re curious though, here are the Minnie Mouse balloons we bought on Amazon. They have lasted ONE MONTH (inflated with helium!) – needless to say, we got our money out of them. I am still waiting for the balloon to come down from the ceiling… maybe next month??
We use affiliate links in our posts and our site. This means if you make a purchase using these links, we may earn a small commission. You don’t pay a cent more than you would otherwise! Our full disclosure is available under About.
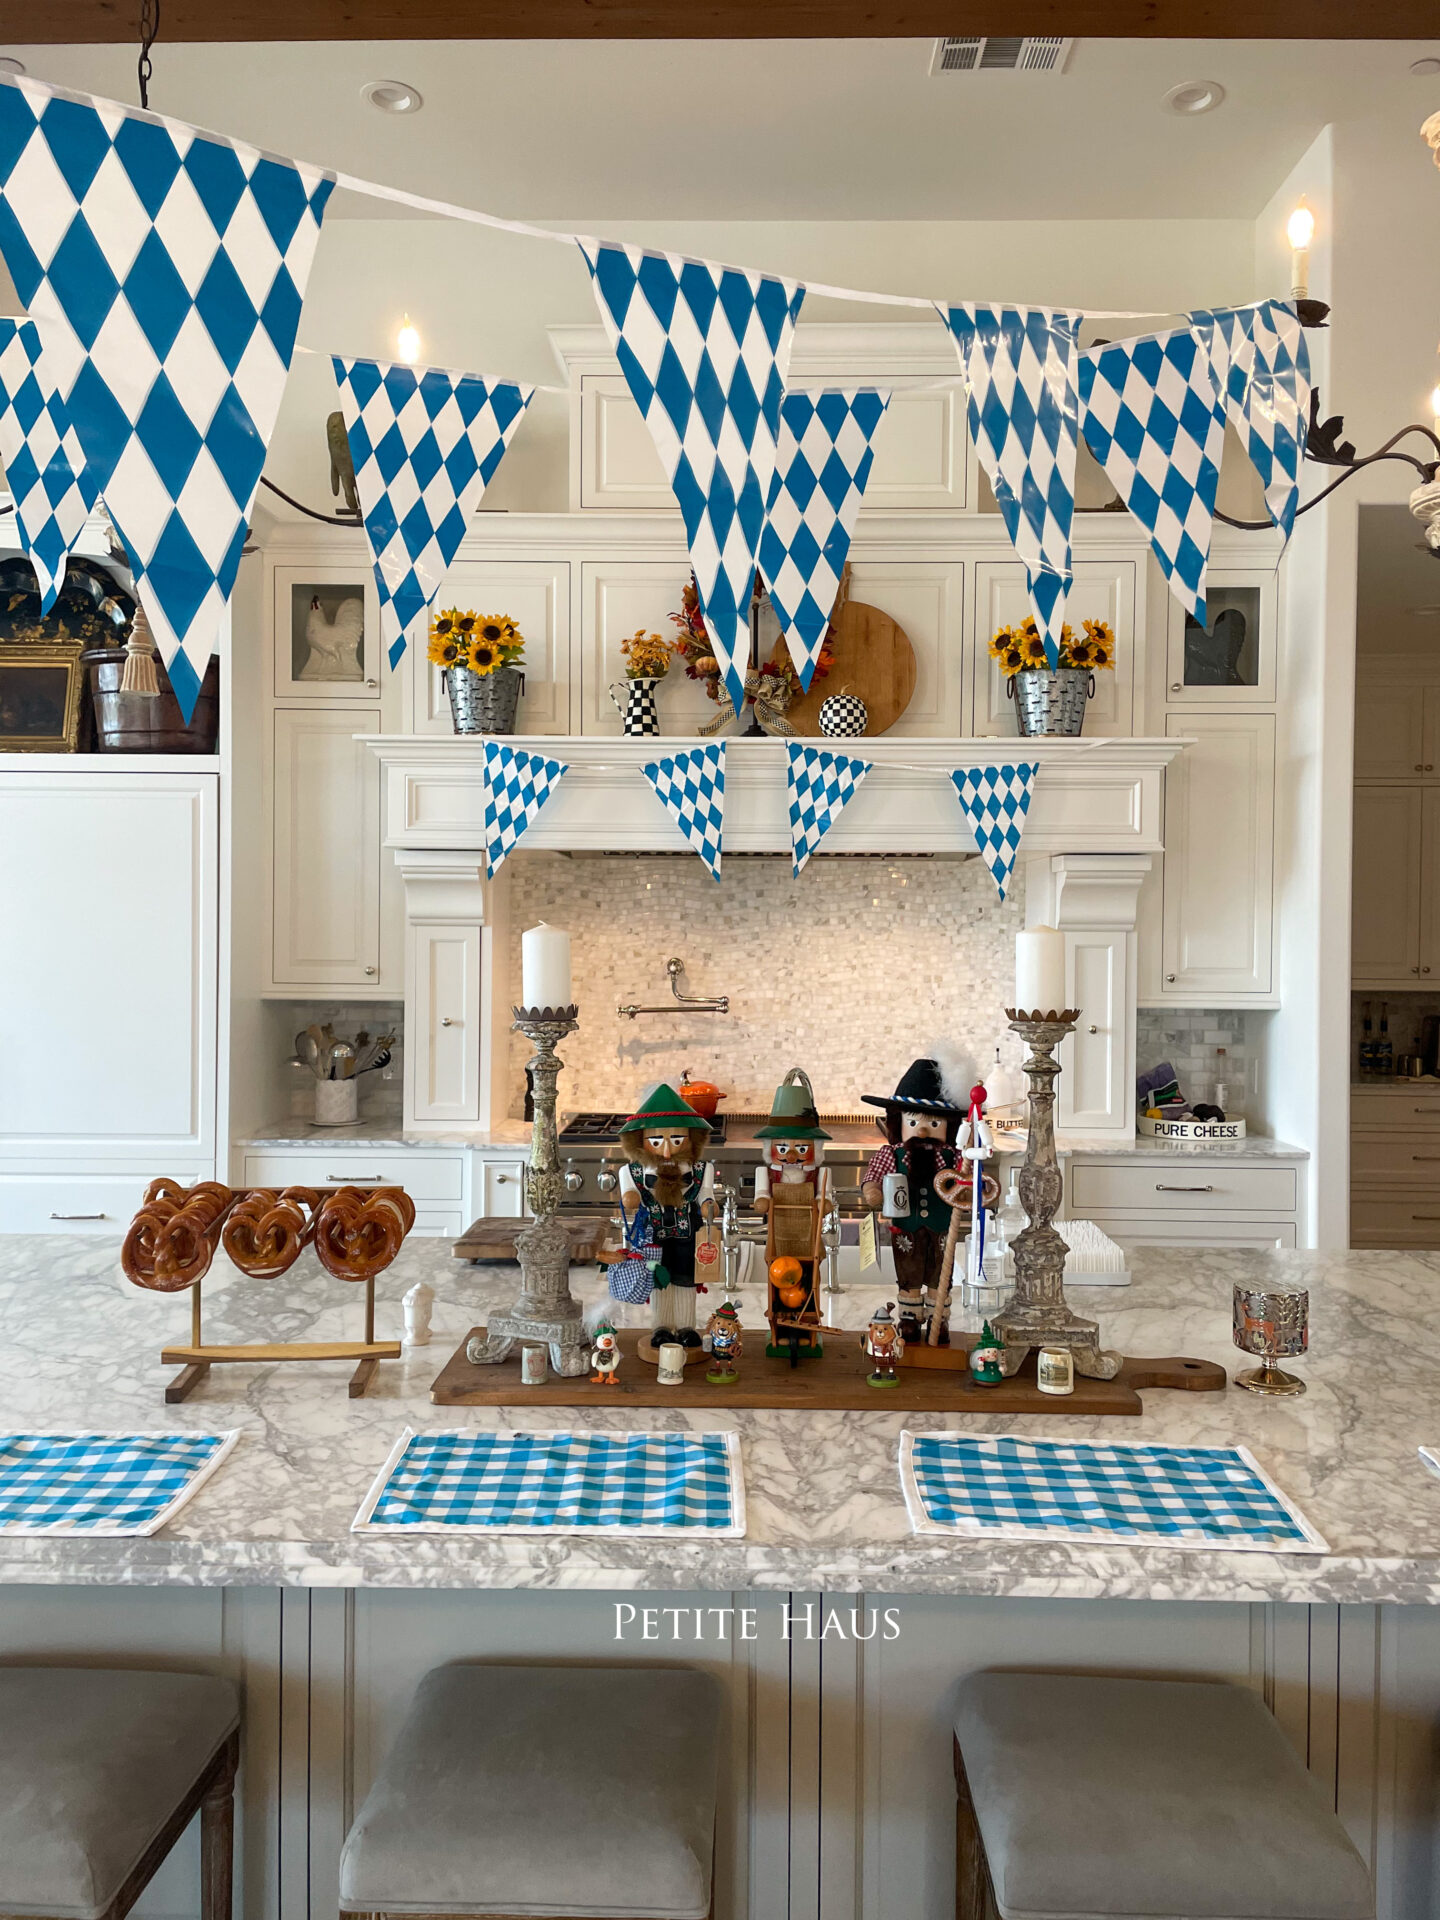
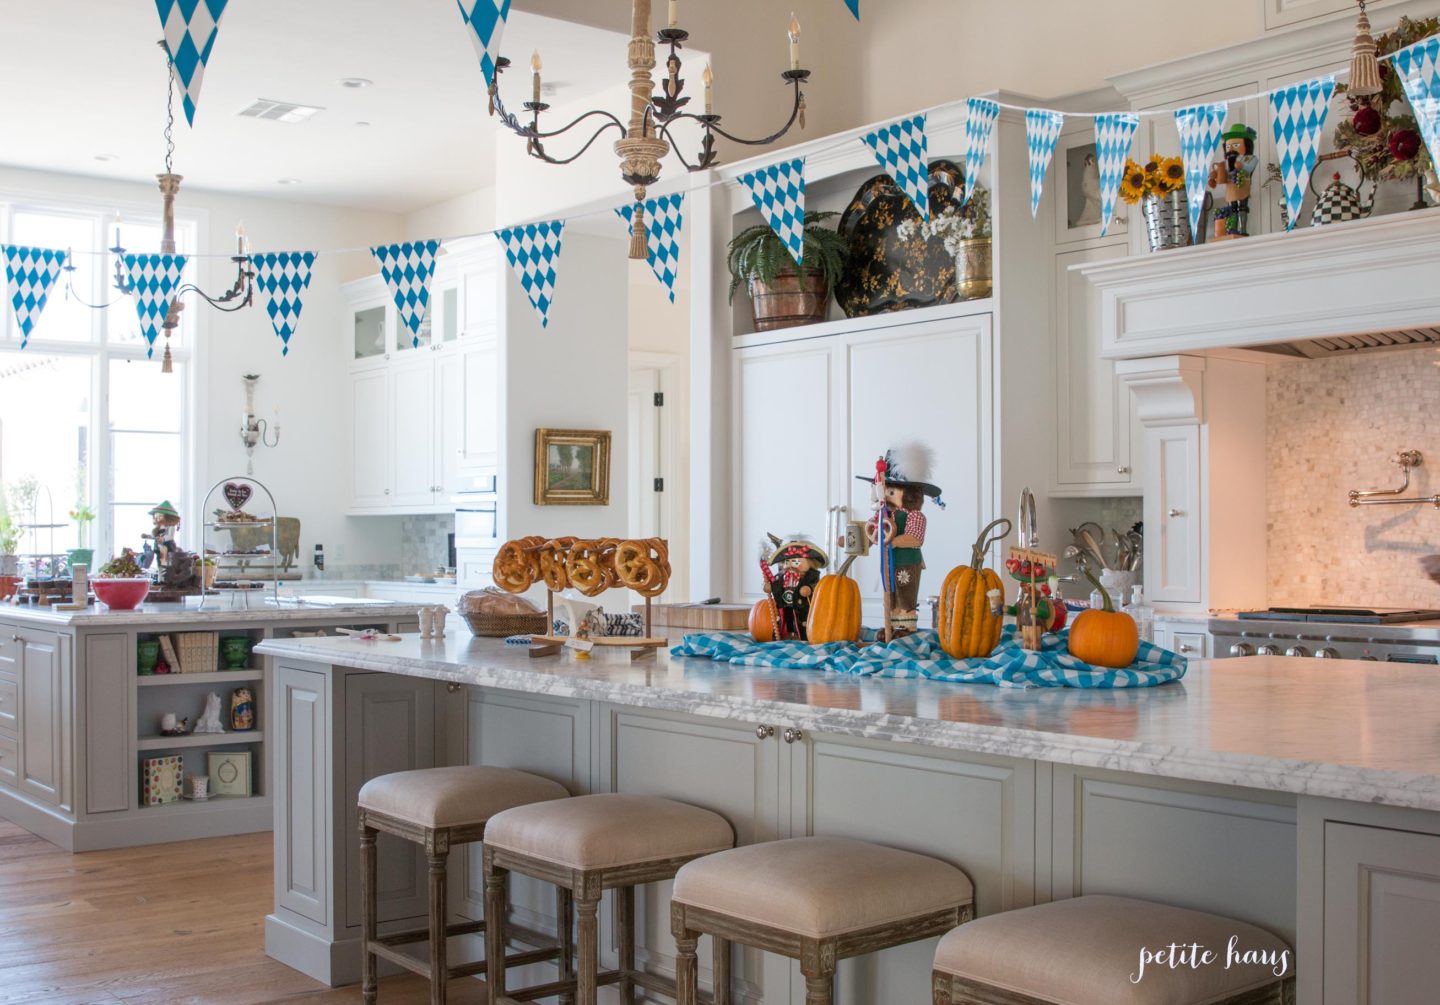
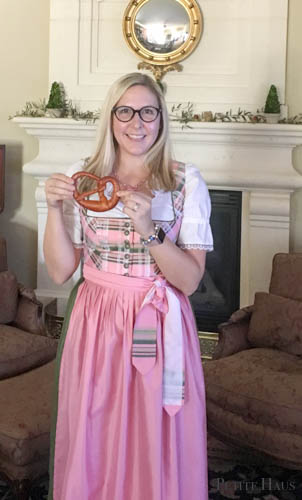
This past month we celebrated Oktoberfest. We usually celebrate Oktoberfest every year. We put on our dirndls and lederhosen, listen to good oompah band music and eat!
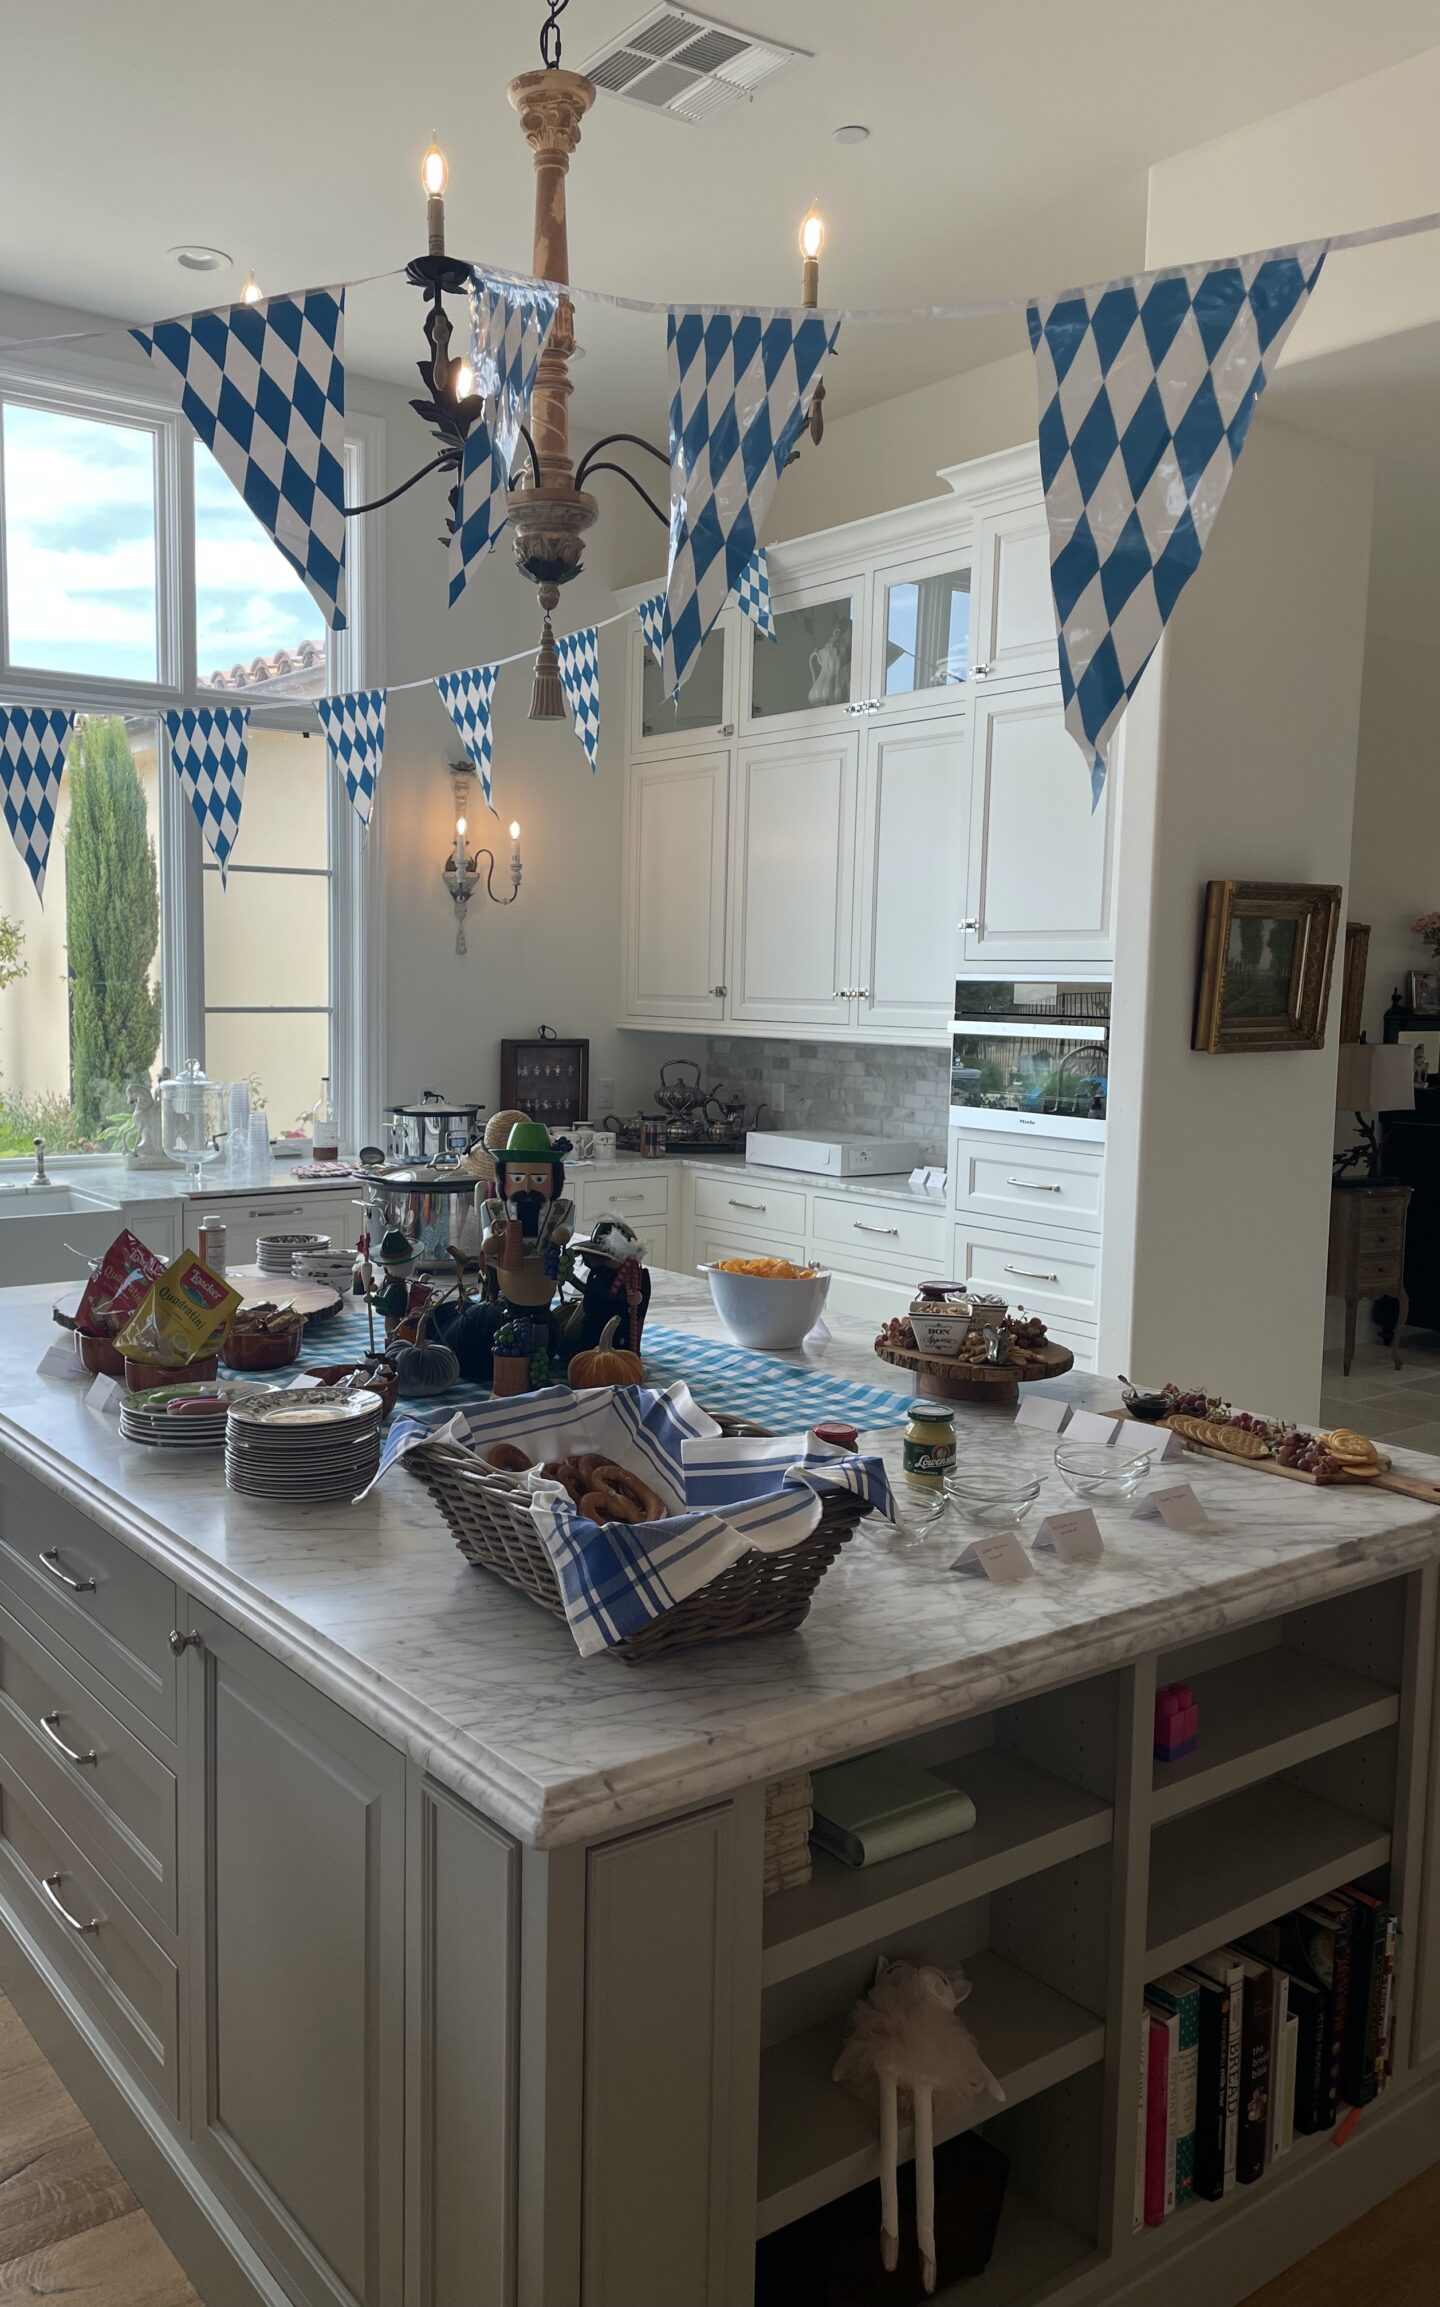
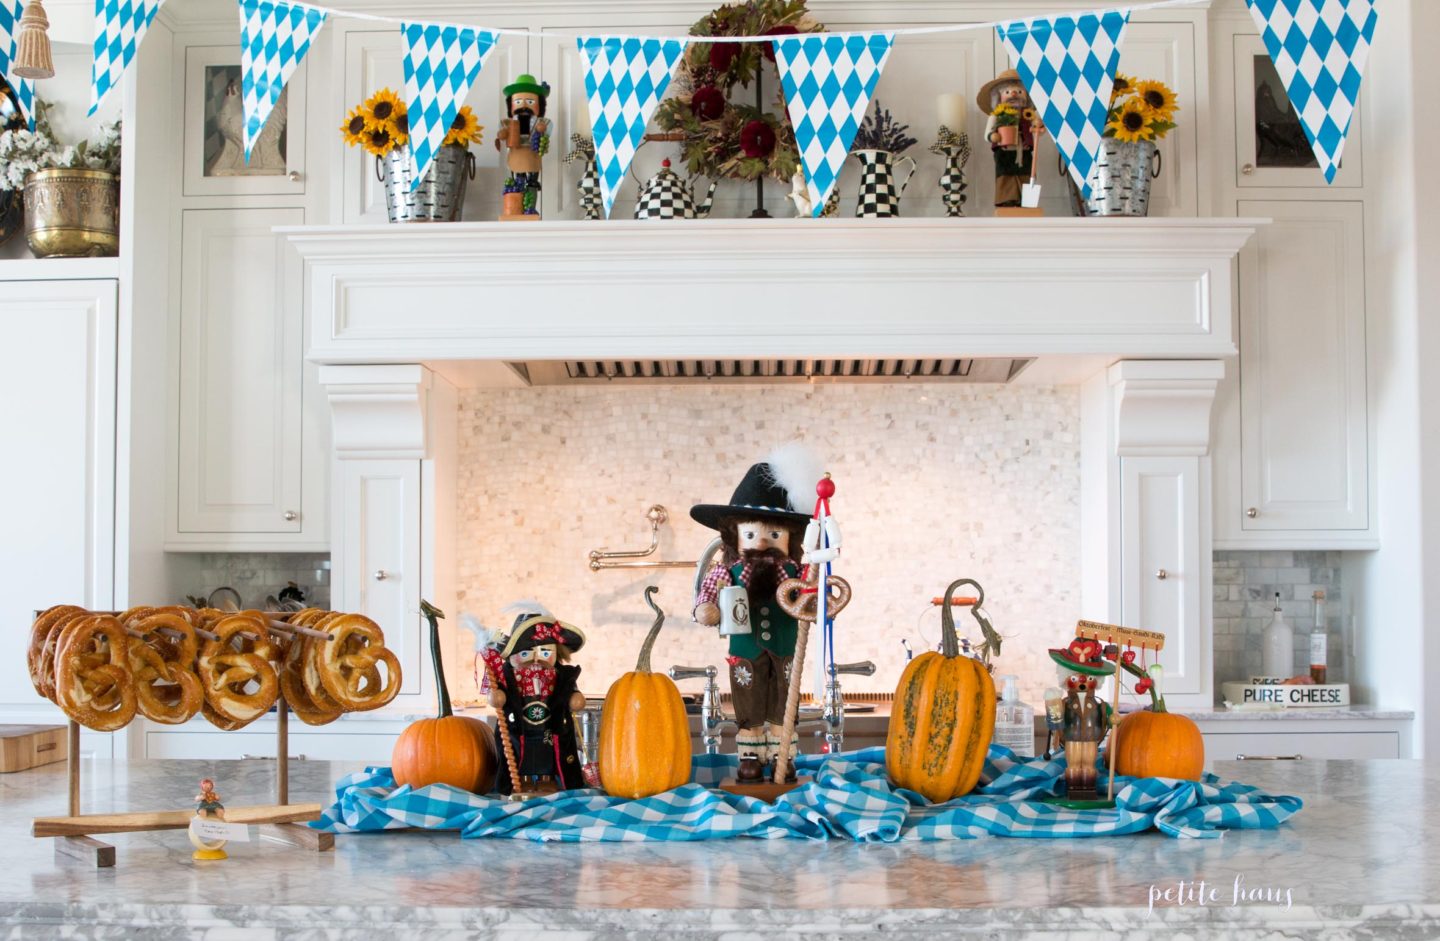
What’s not to like about that? I purchased this banner on Amazon several years ago and it is still holding up!
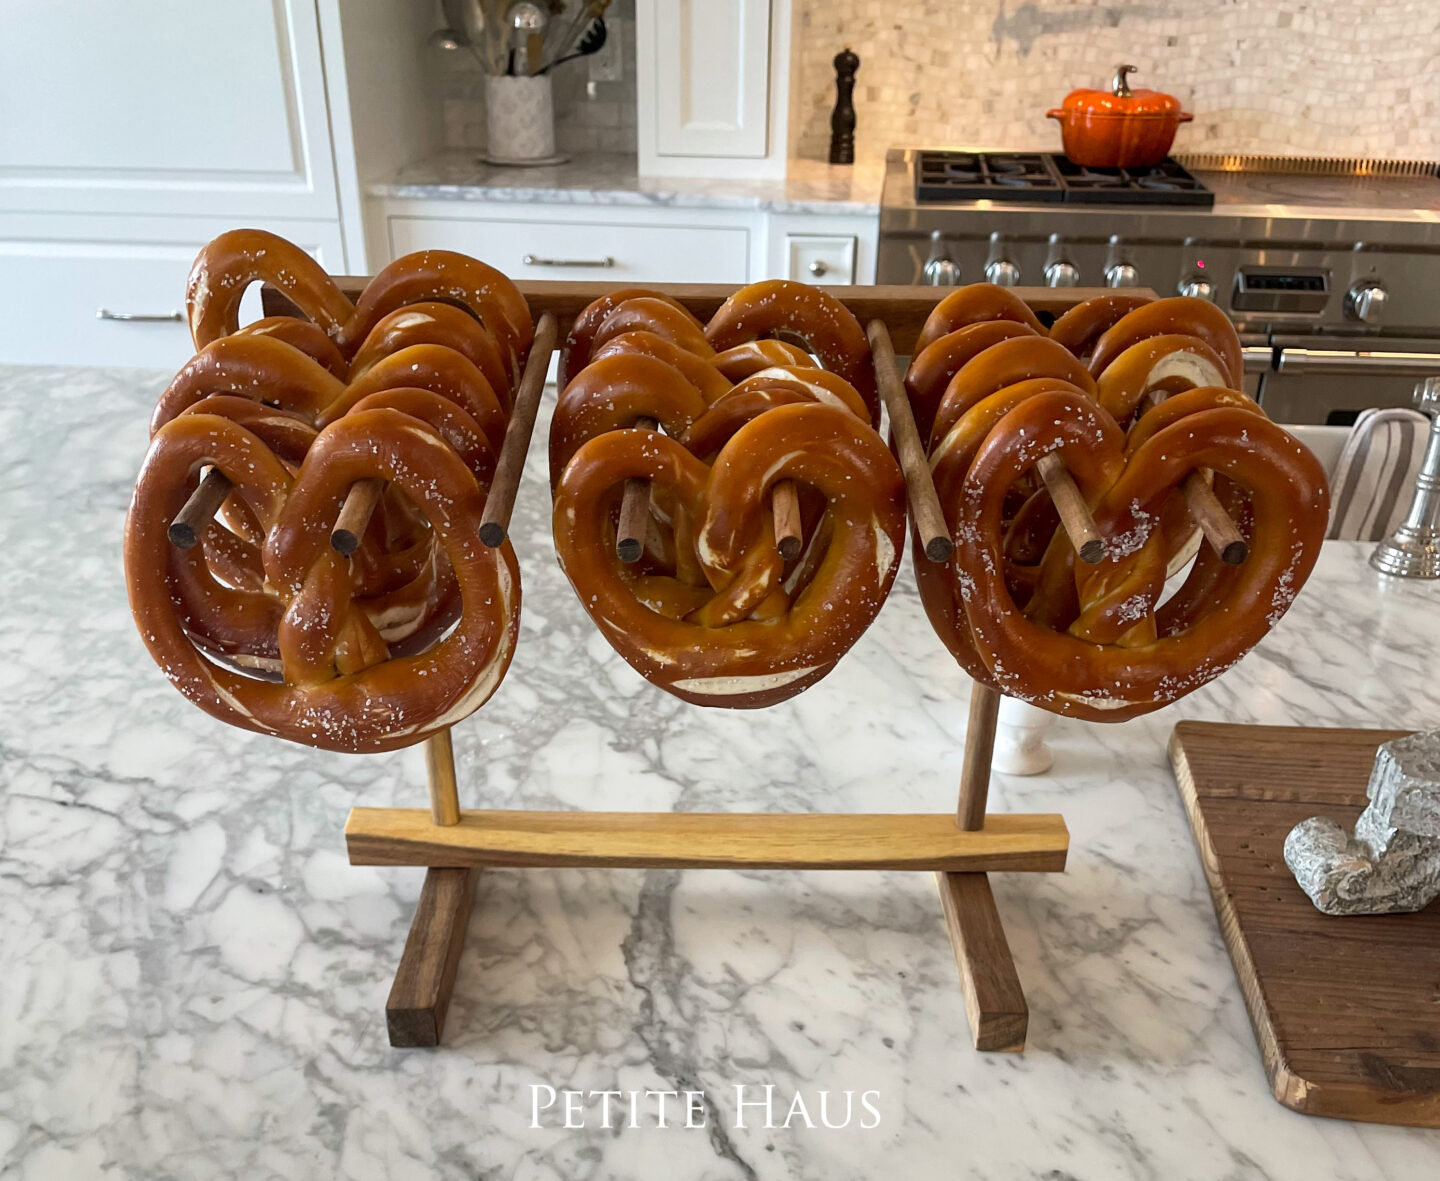
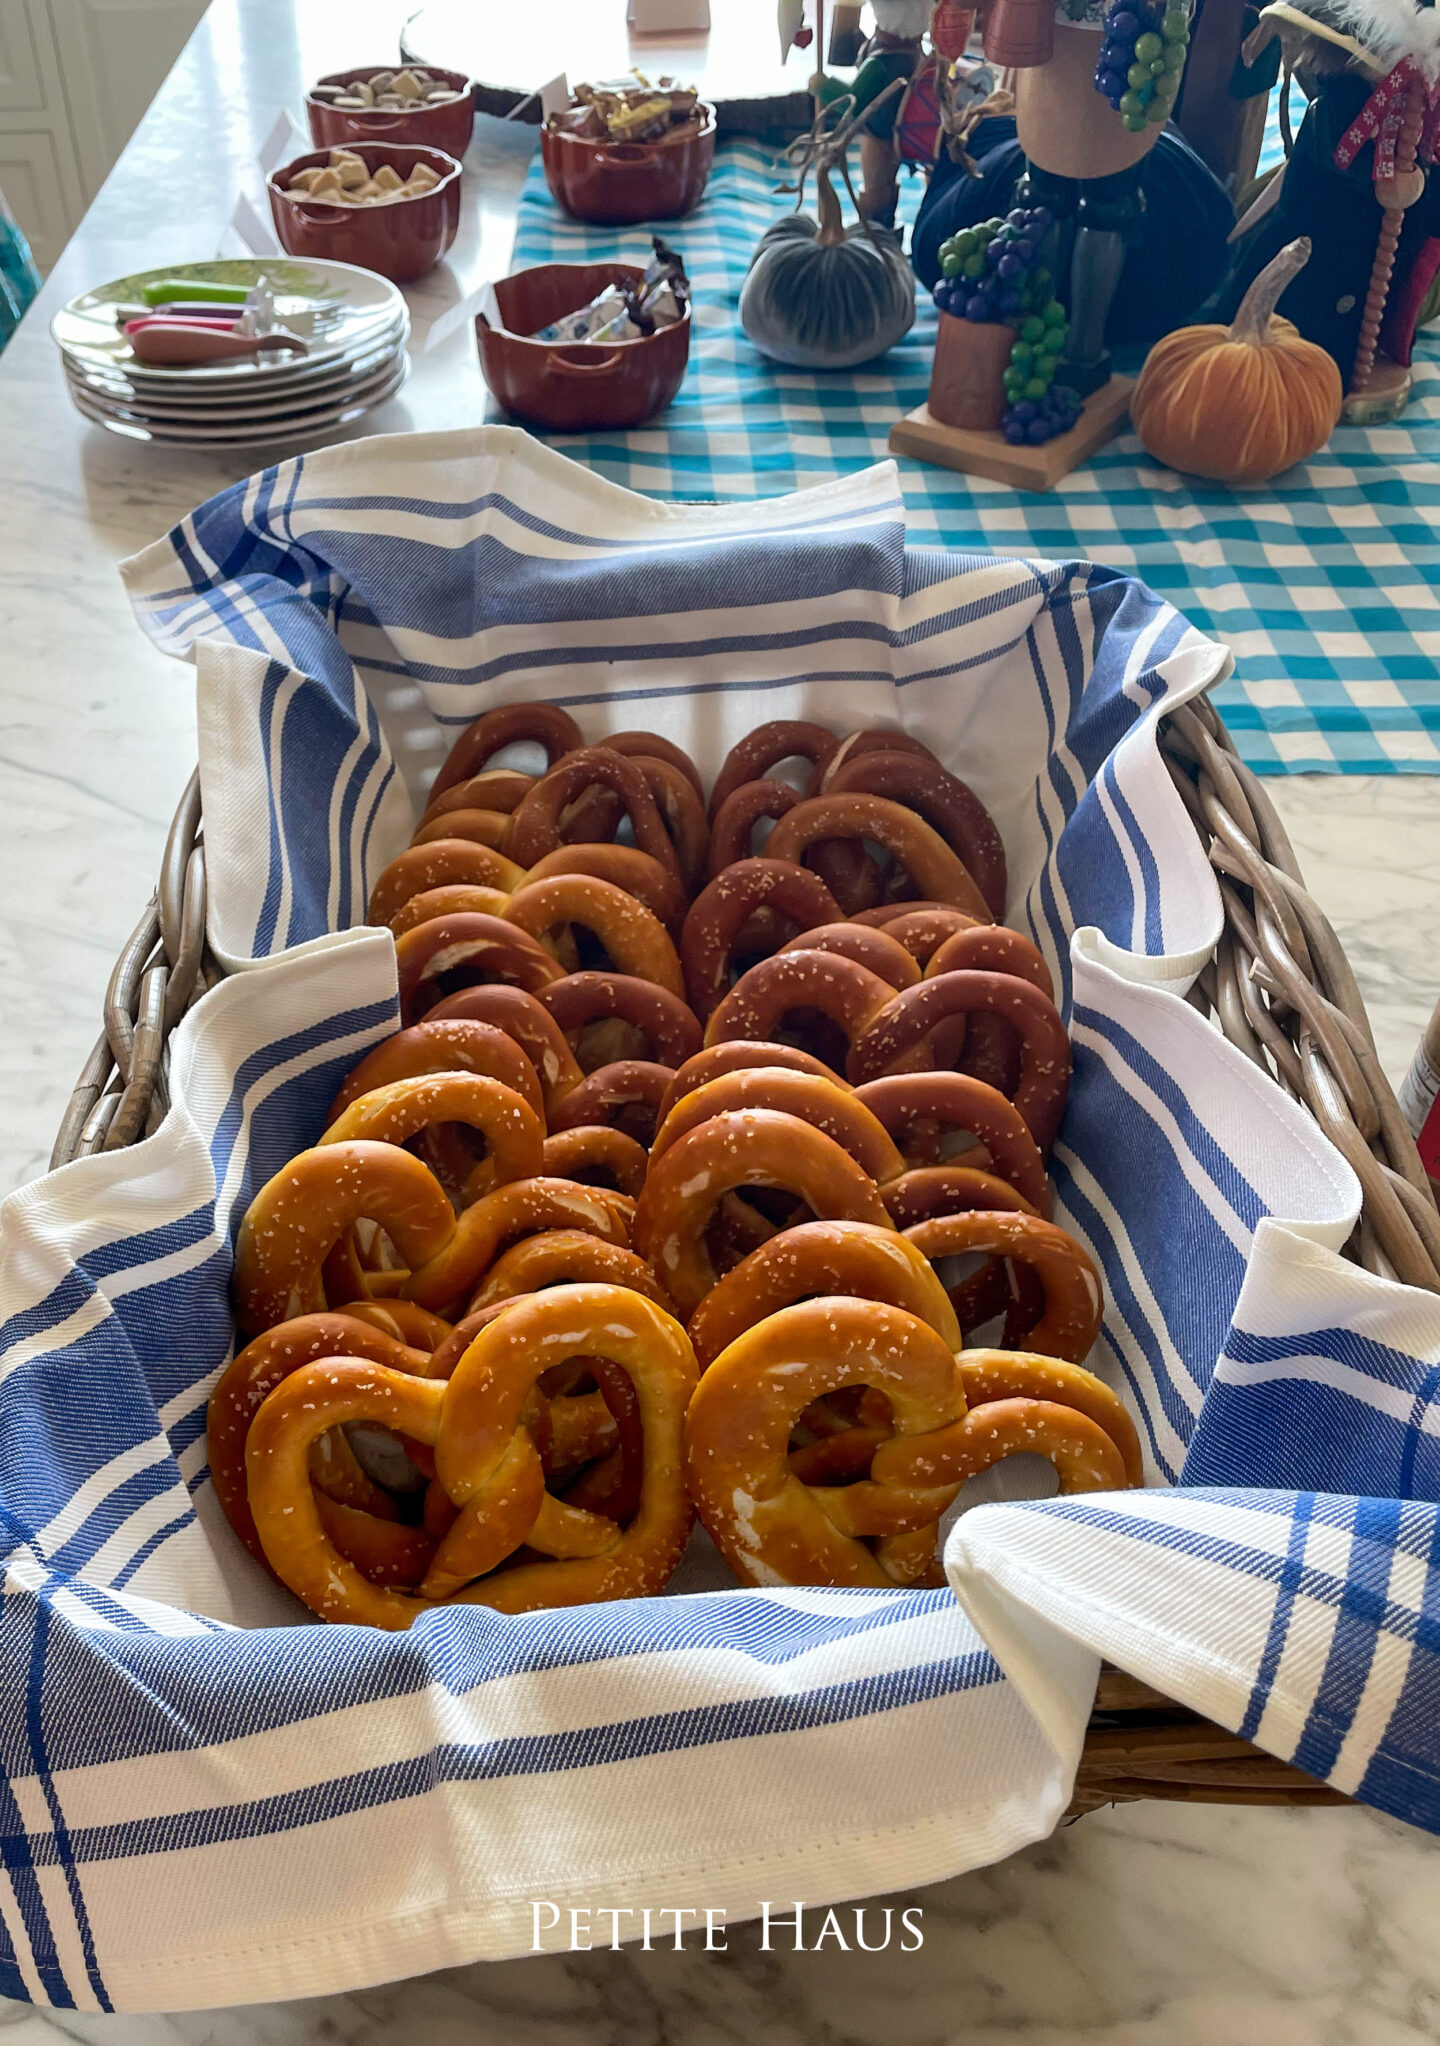
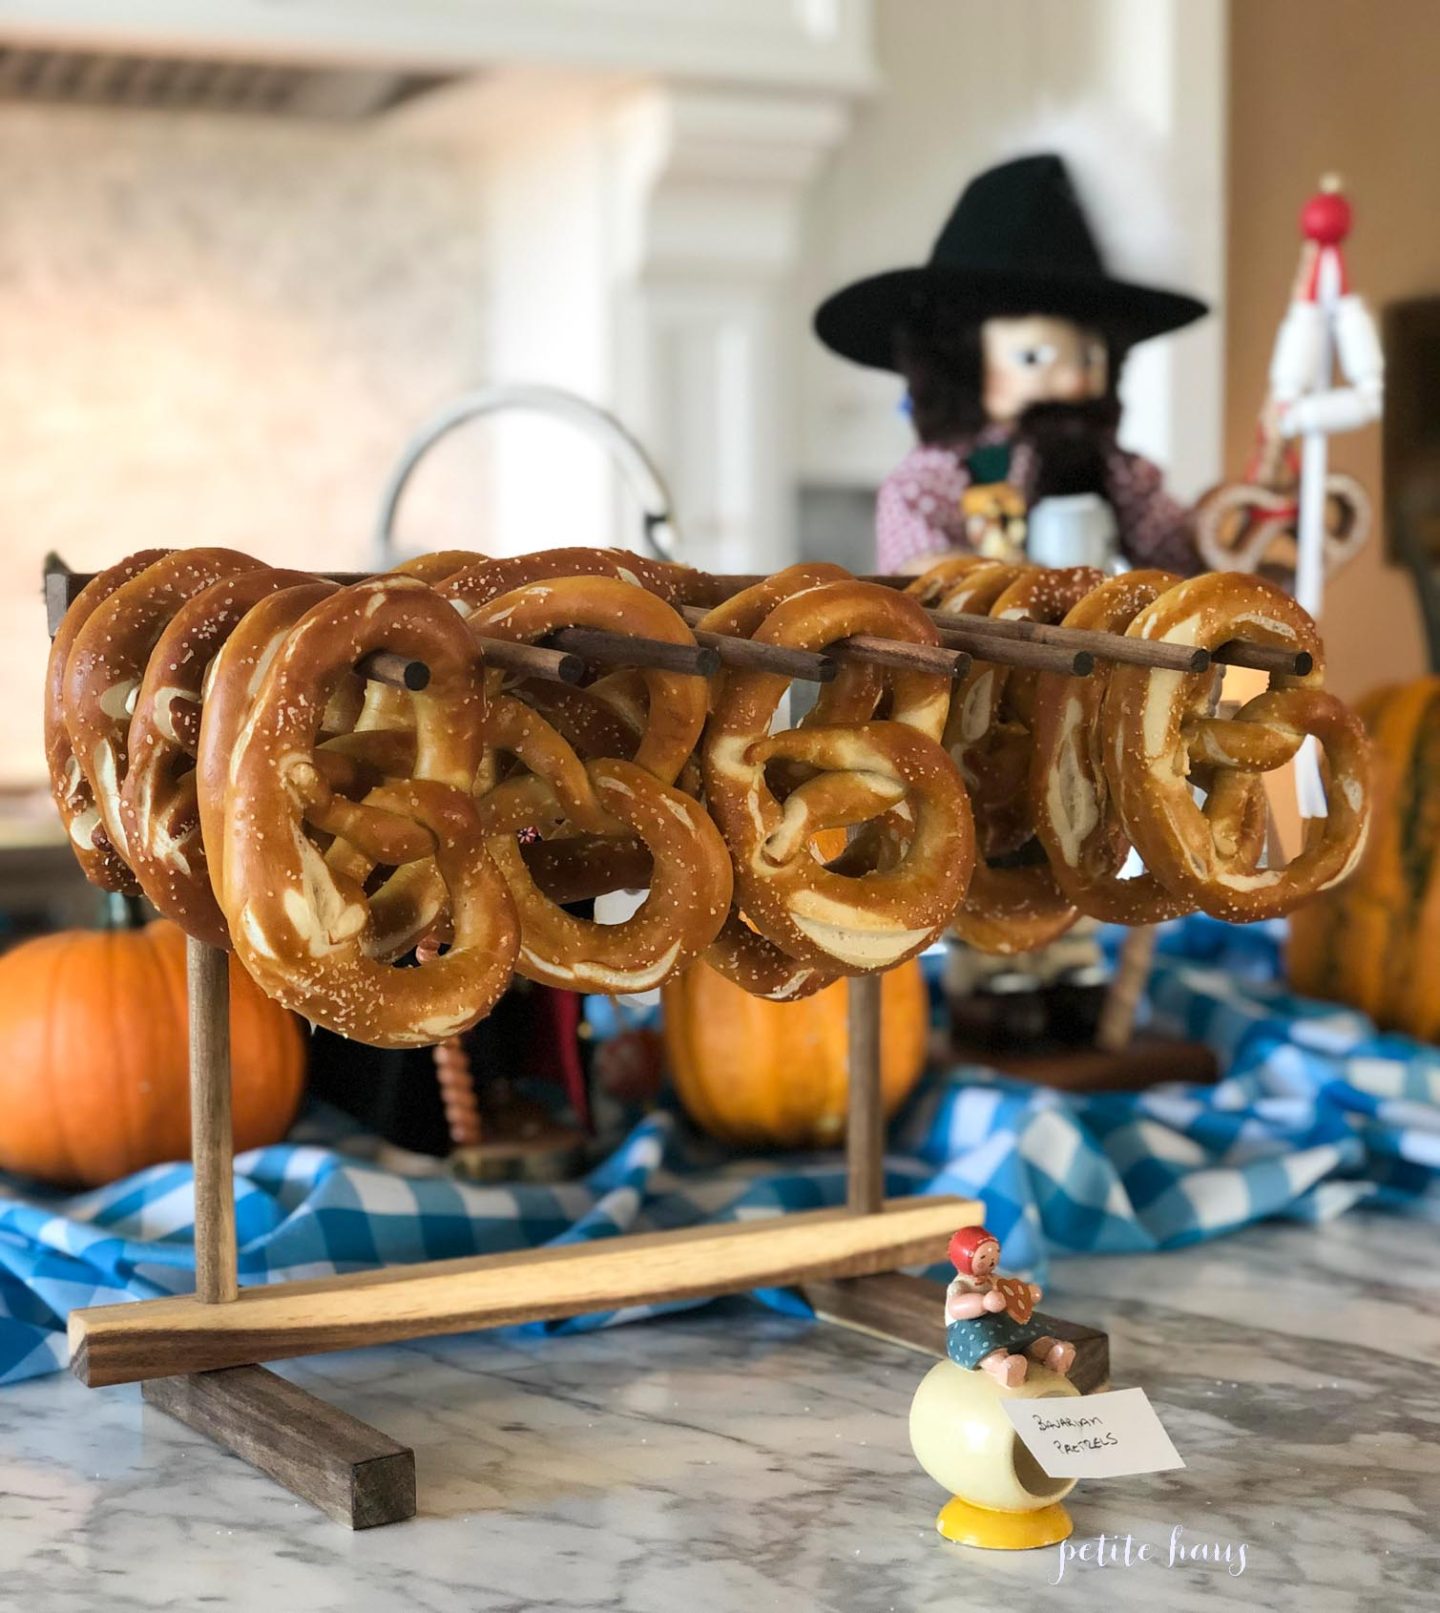
We hand make all of the pretzels!
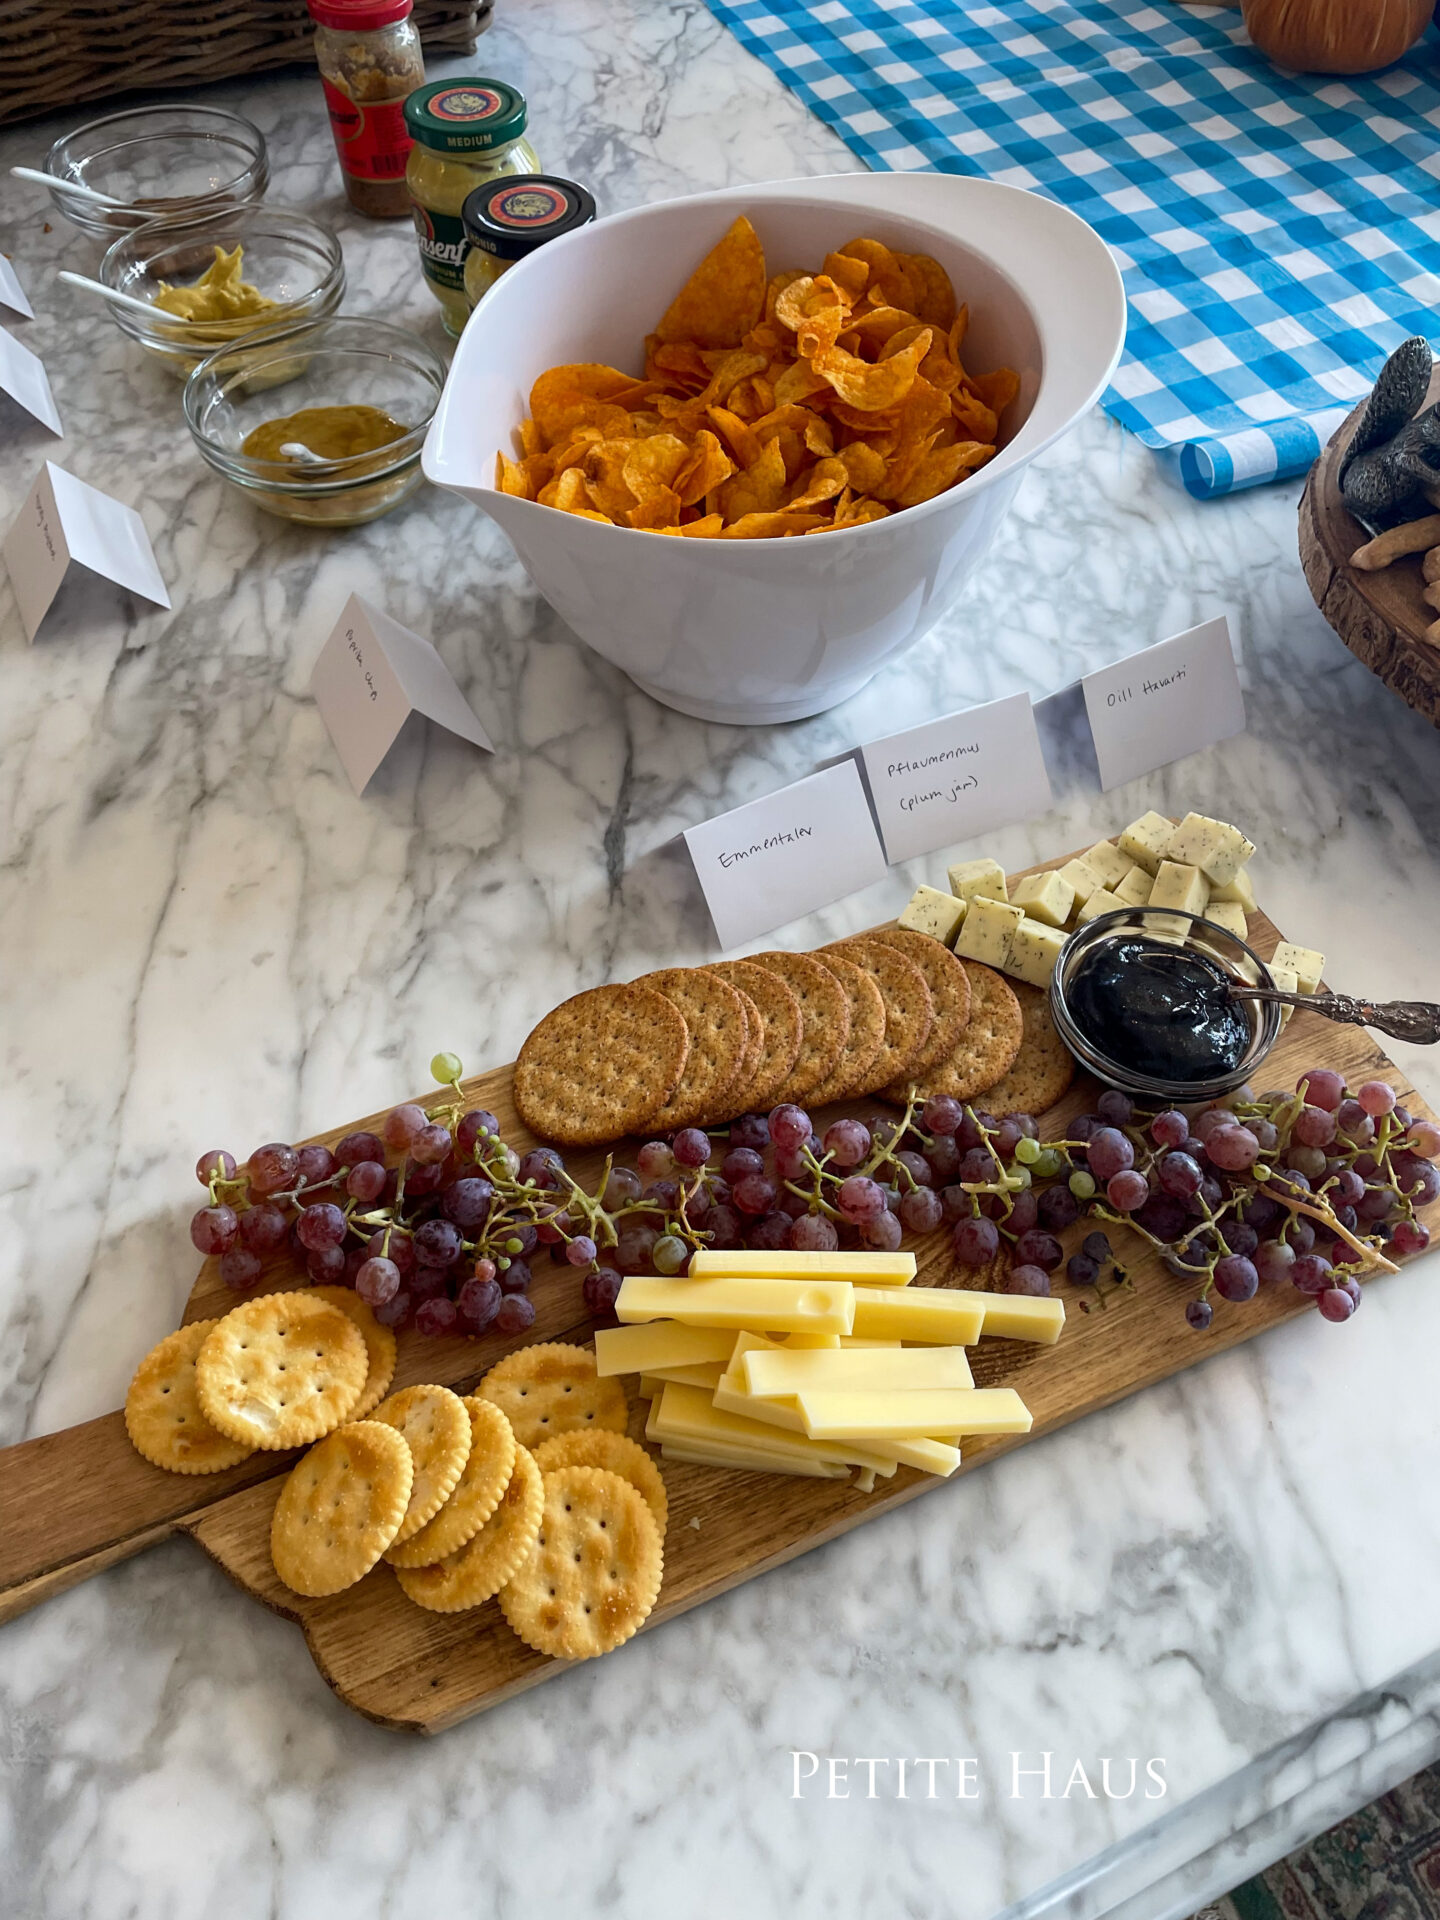
Various mustards, cheese and Paprika chips (from Germany!) are served – in addition to brats, sauerkraut and potatoes, and pumpkin soup.
We use affiliate links in our posts and our site. This means if you make a purchase using these links, we may earn a small commission. You don’t pay a cent more than you would otherwise! Our full disclosure is available under About.
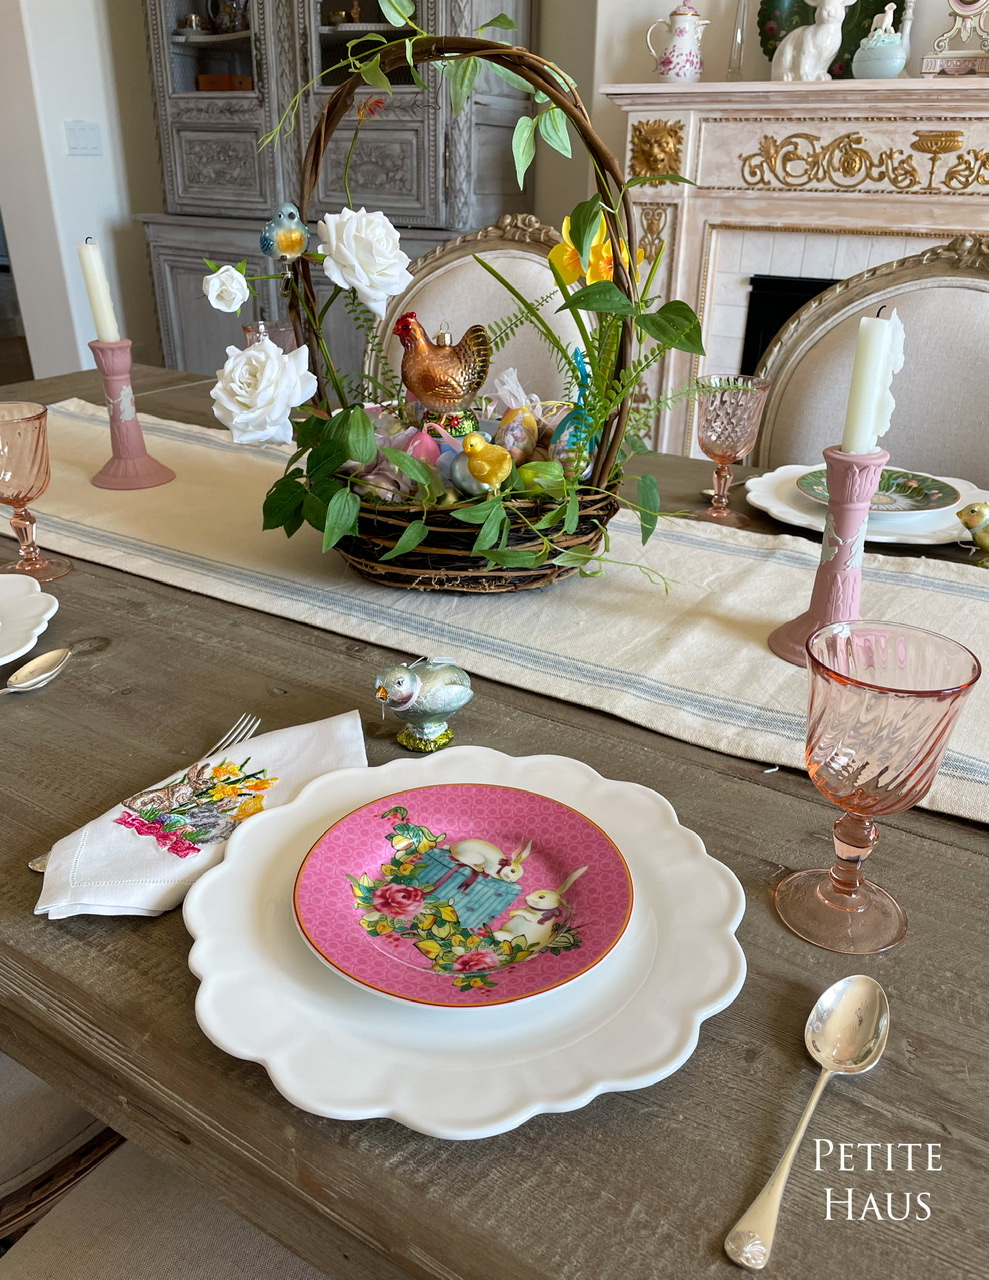
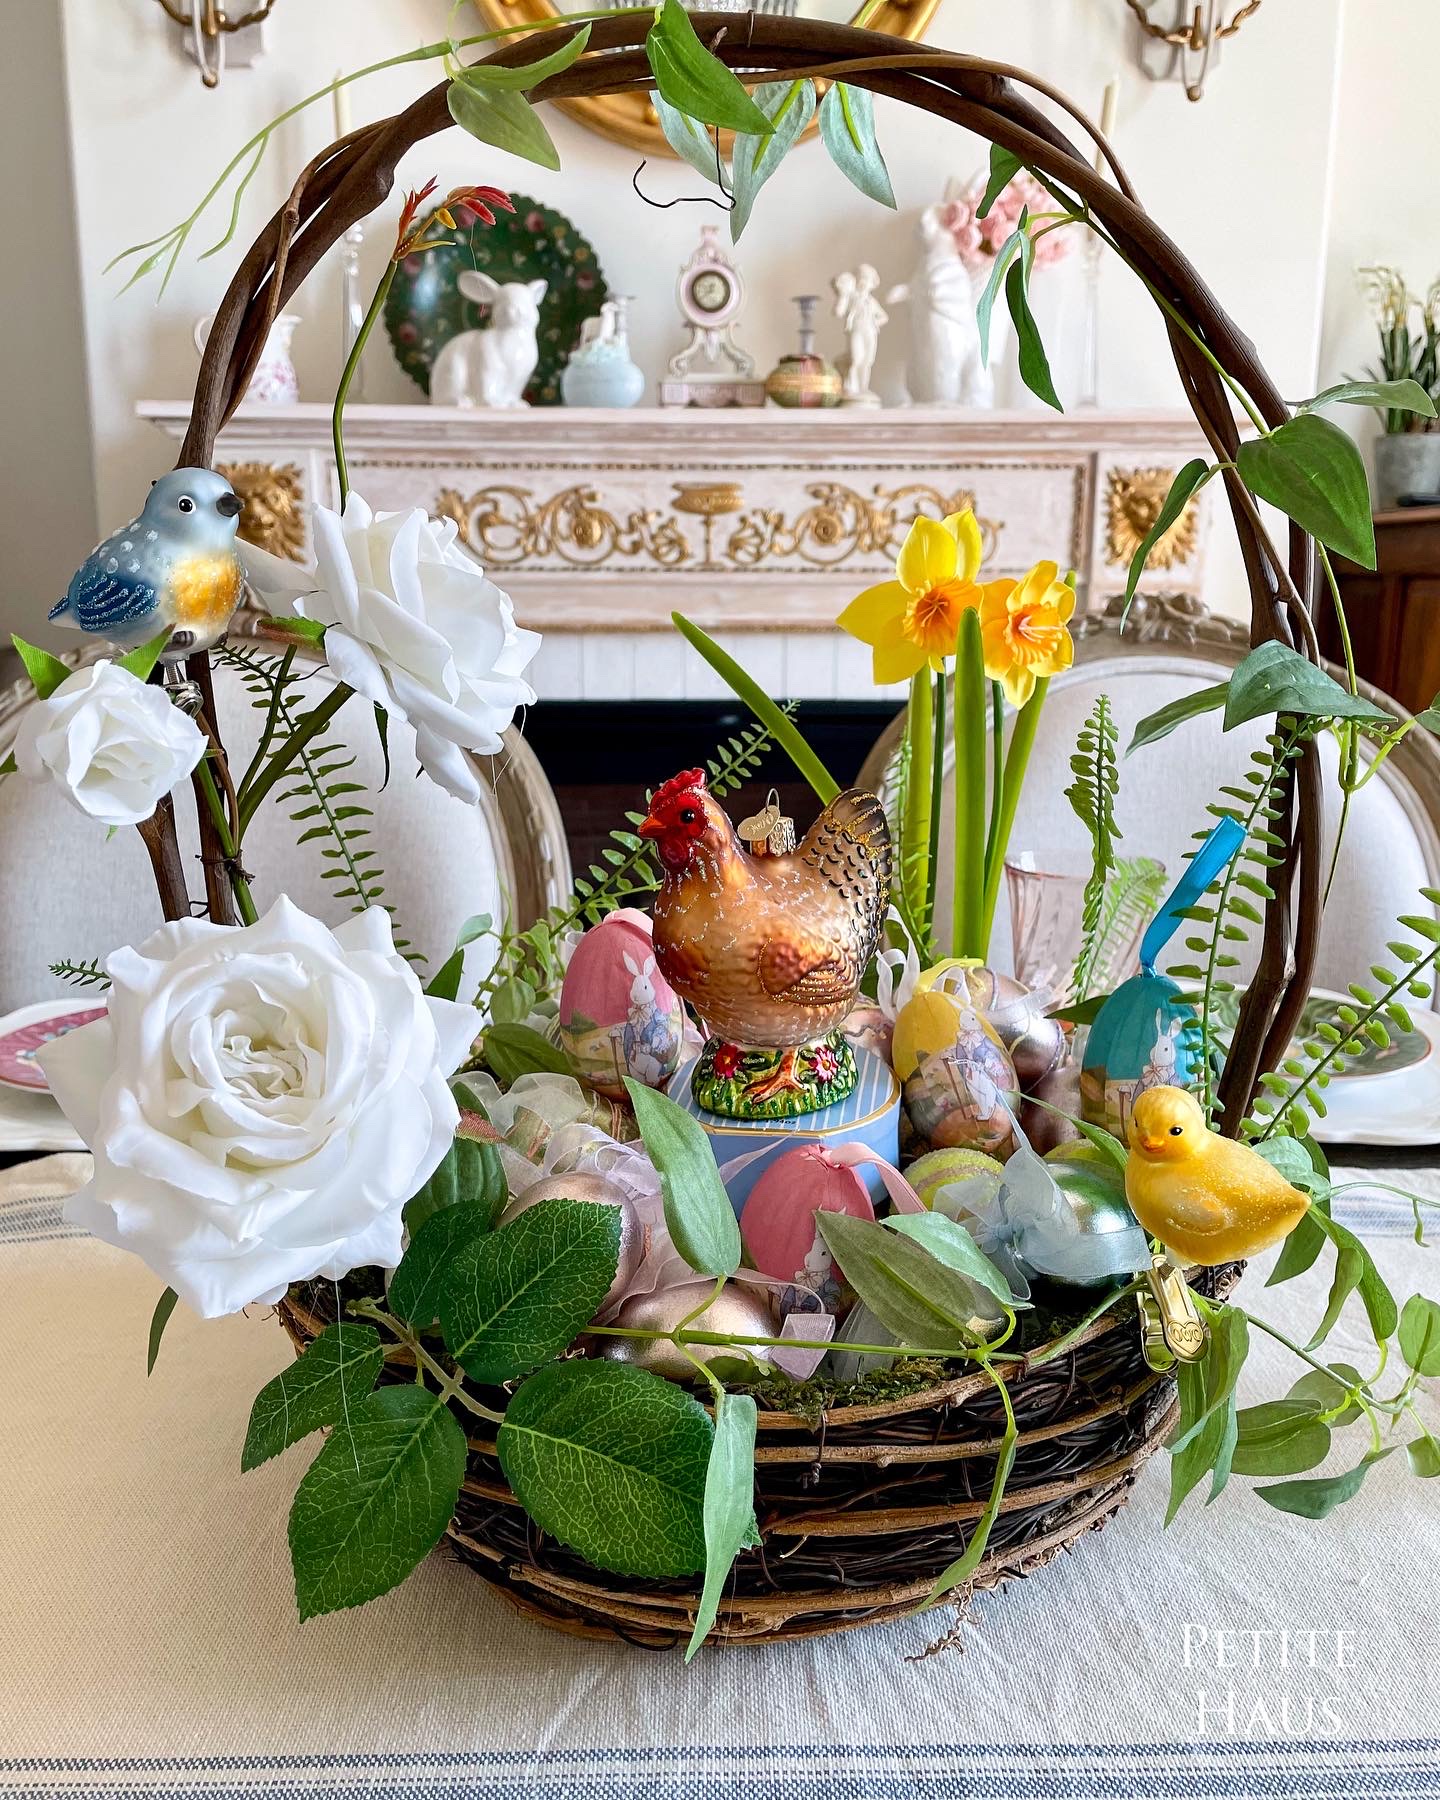
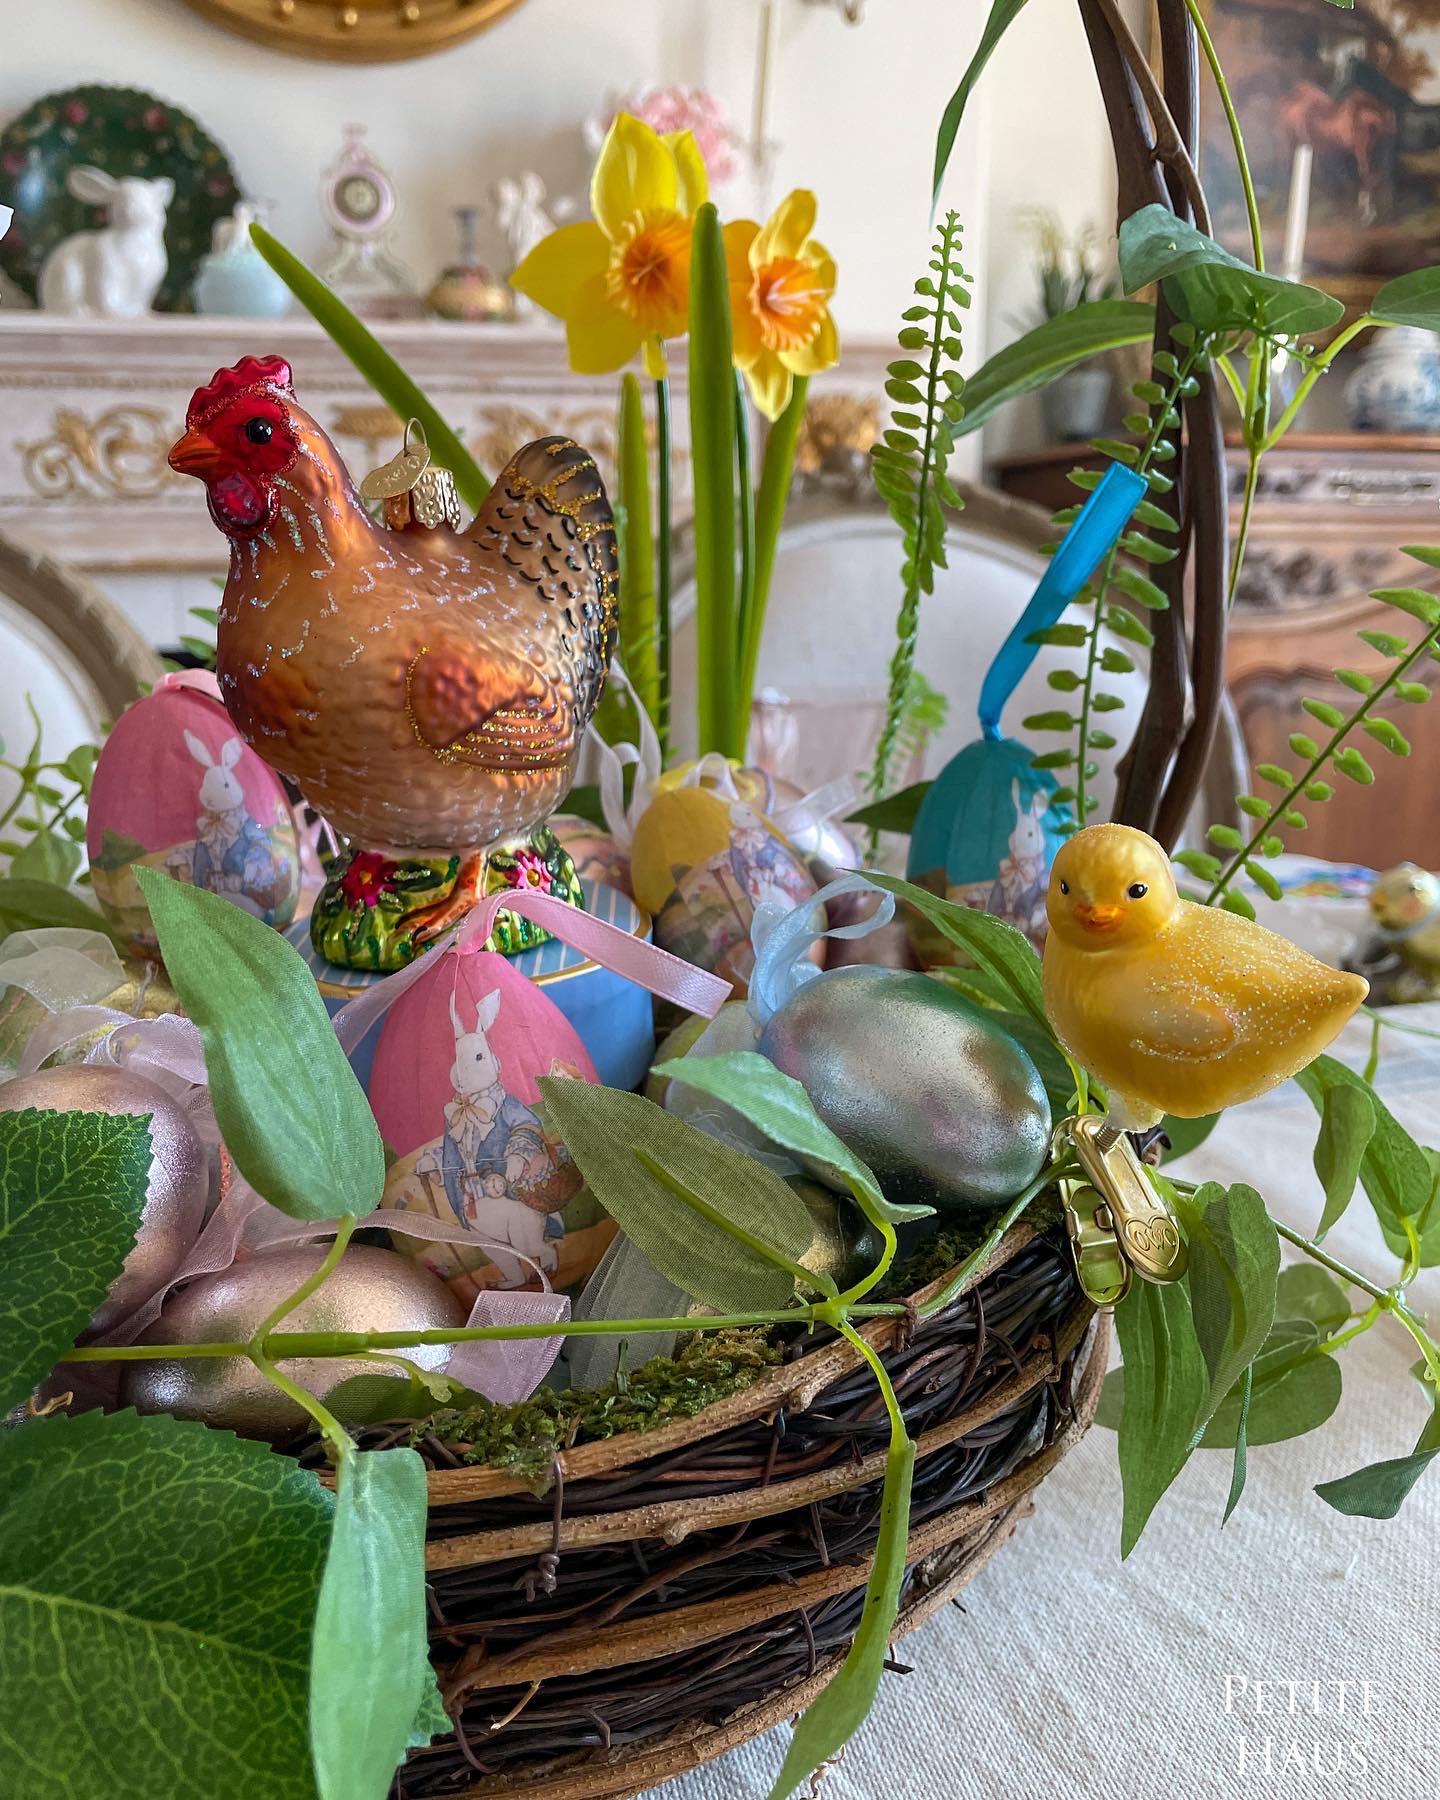
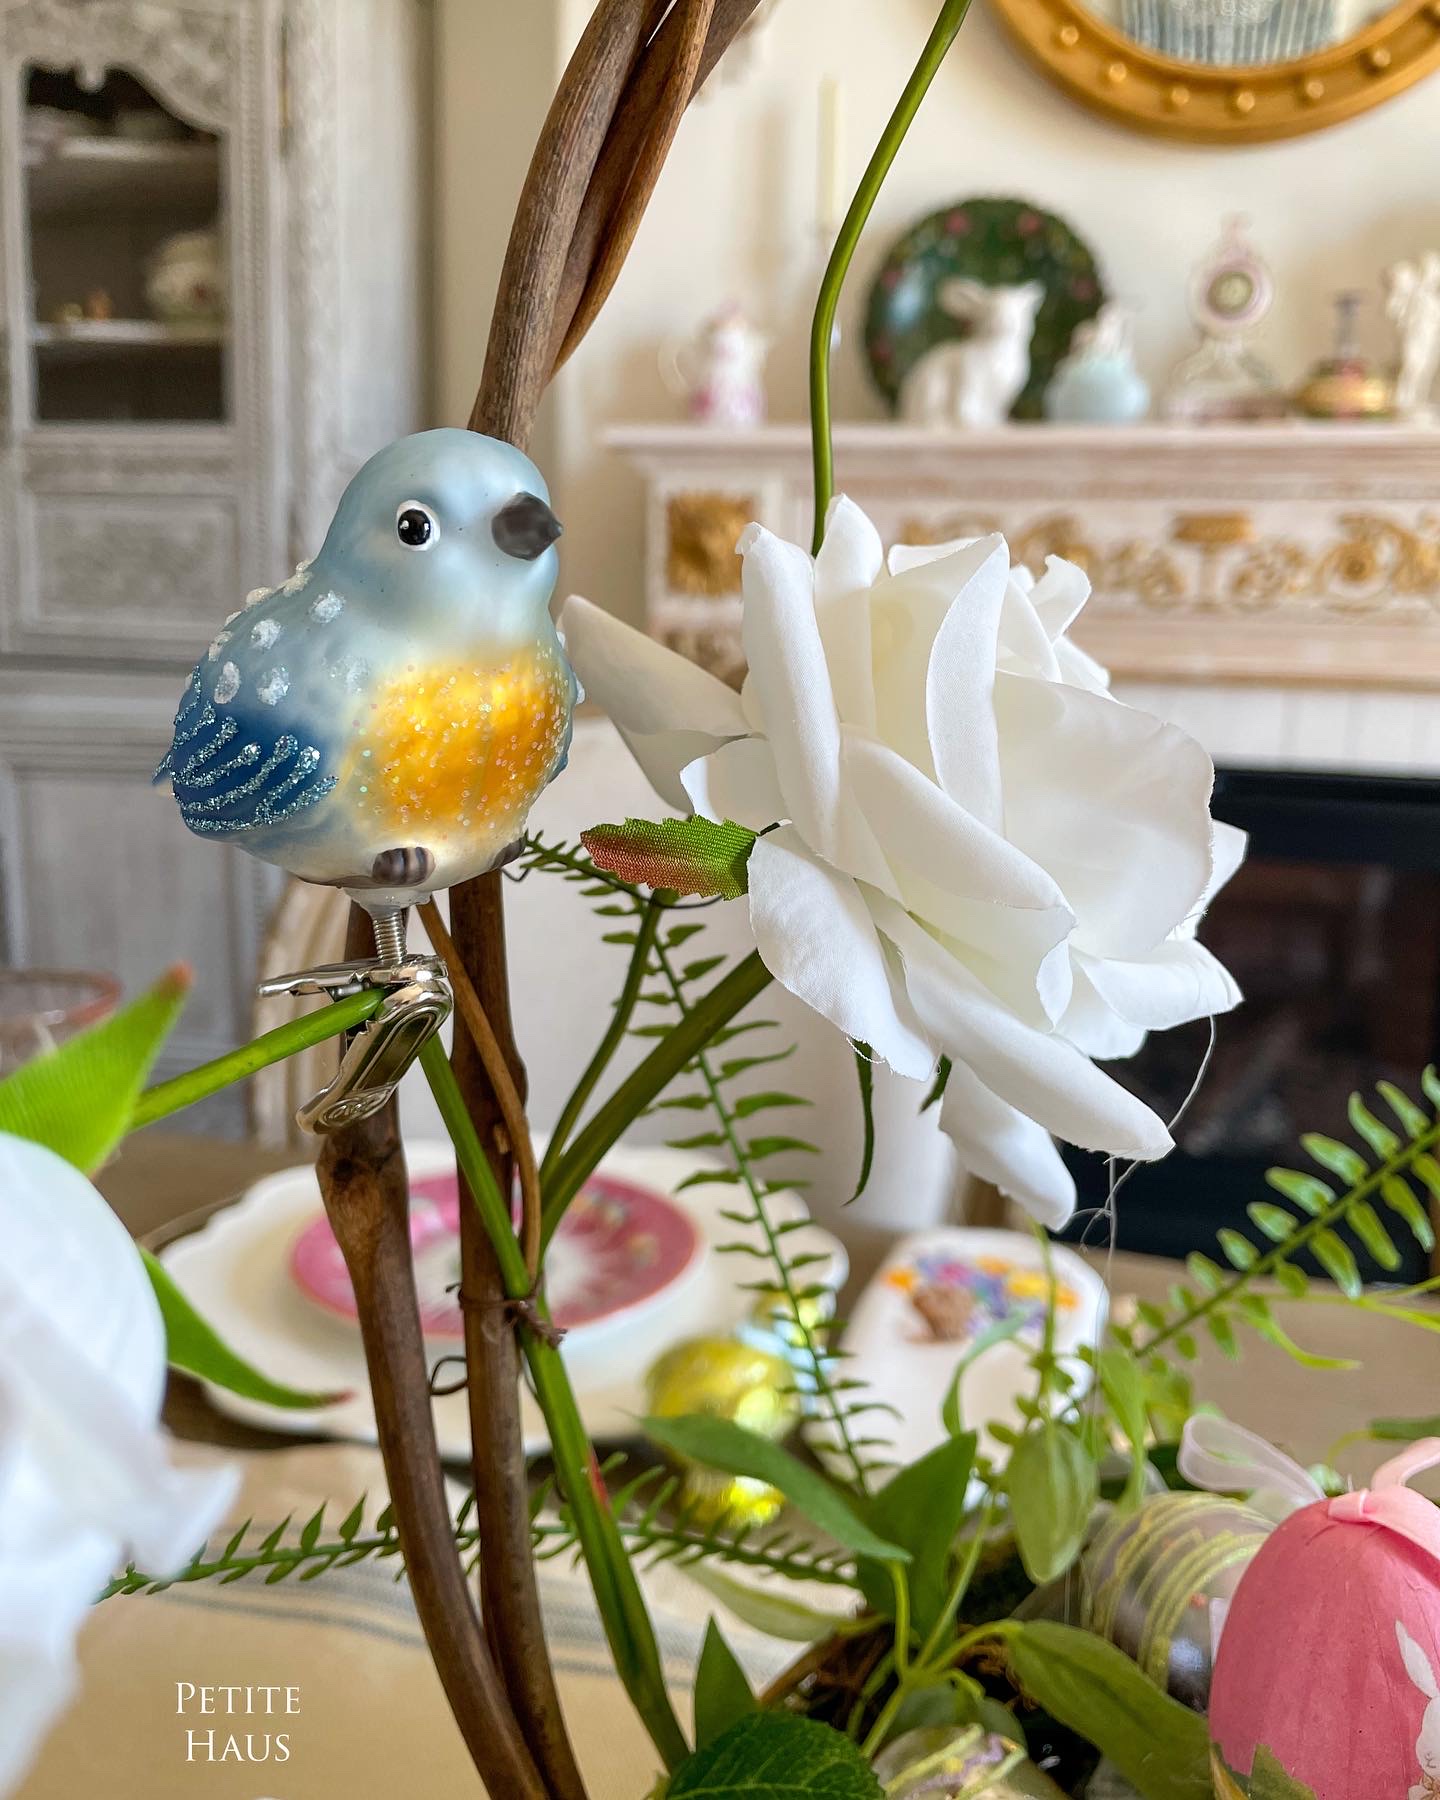
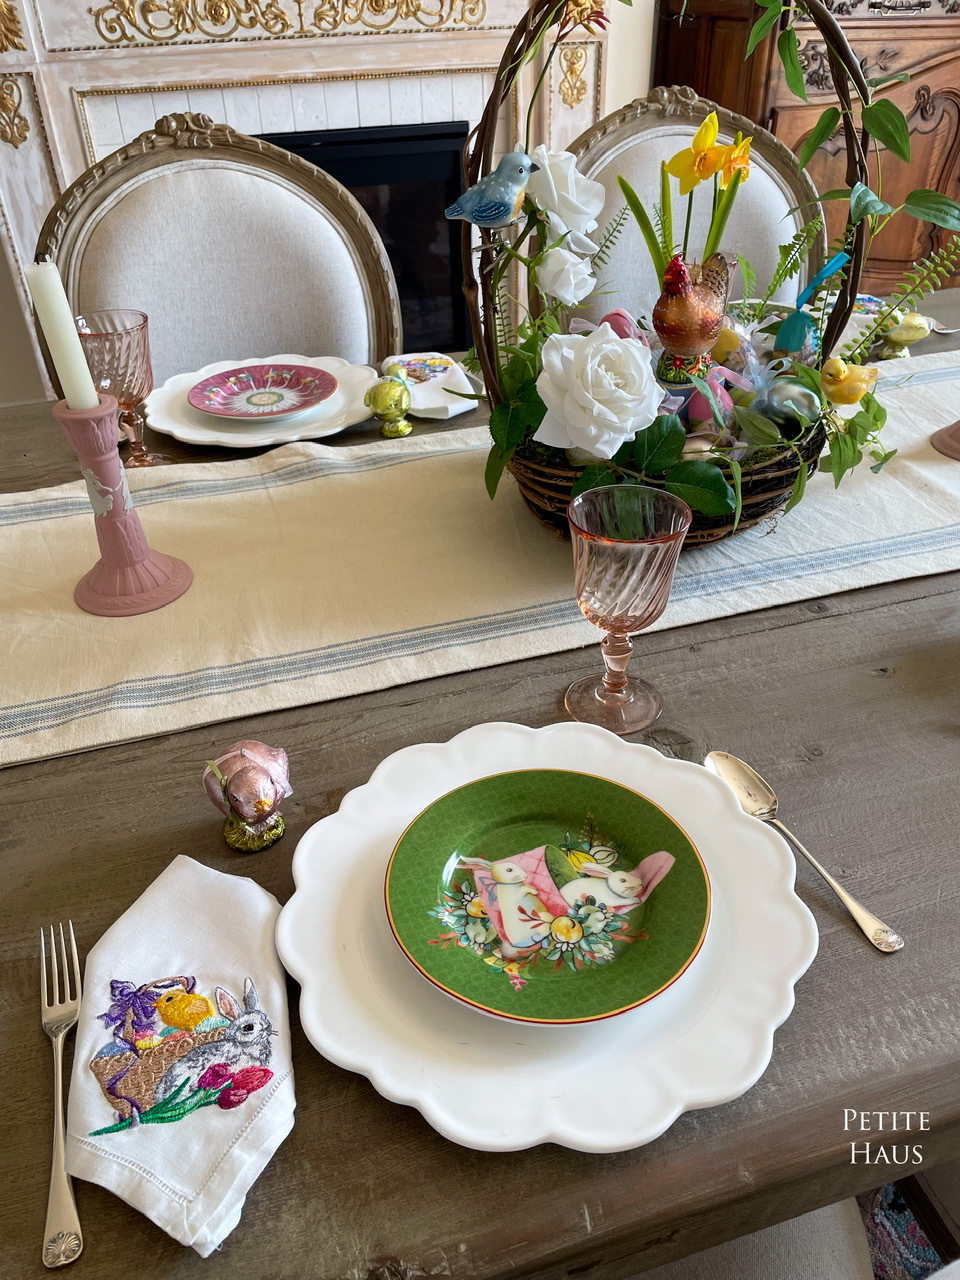
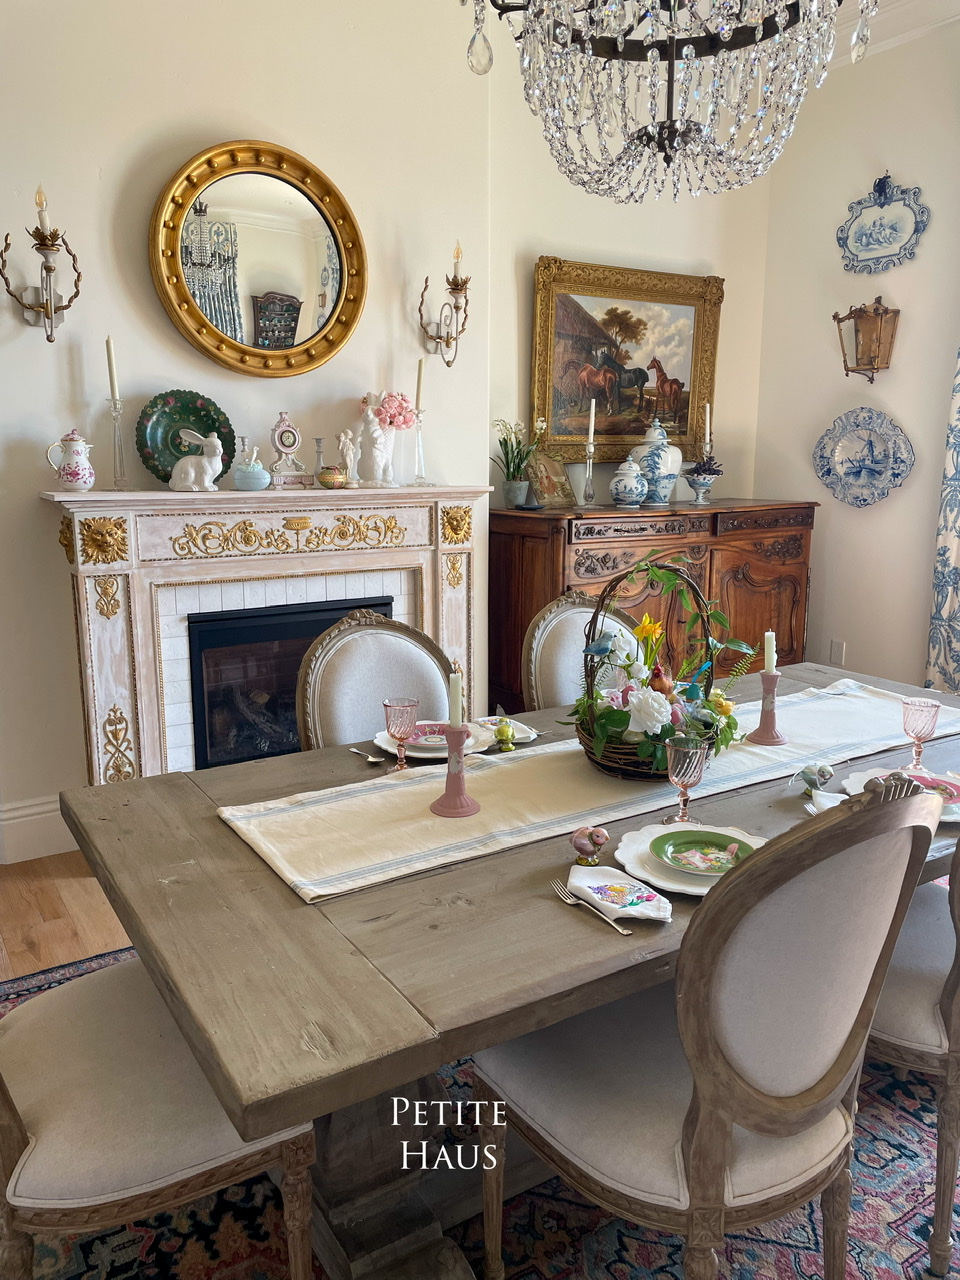
Sponsored post. Easter is just around the corner! Sharing my Easter/Spring table today! I love these cute ornaments which I received from Old World Christmas. I paired them with my new cute appetizer plates (link here).
I attached the ornaments to an Easter basket (from Pottery Barn – no longer available). I filled the center with faux eggs. I like the ornaments with the clips as it made it easy to attach to the basket.
The napkins are home made by my Mom! I like how they are similar to the Easter basket!
Just a look at my Spring dining room! I’ll probably leave this up until the roses all bloom!
I may earn a small commission if you purchase with these links
We use affiliate links in our posts and our site. This means if you make a purchase using these links, we may earn a small commission. You don’t pay a cent more than you would otherwise! Our full disclosure is available under About.
This weekend is the kick-off for Oktoberfest in Germany and we celebrated a weekend early!
Over the past few years we have made it a tradition to throw our own Oktoberfest. This year was our biggest party yet!
First, some quick Oktoberfest FAQ:
What exactly is Oktoberfest? It is a celebration that has been held nearly every year since 1810 in Munich, Germany. It is a 16-day festival that runs from late September into the first weekend in October. It was started on October 12, 1810 to celebrate the marriage of Crown Prince Ludwig to Princess Therese of Saxe-Hildburghausen on the Theresienwiese (Theresa’s Meadow). To this day, the celebrations are still held on the Theresienwiese! In Munich, an average of 6 million people visit during this festival.
Why is it called Oktoberfest when it starts in September? The festival was moved up to enjoy the nicer weather of September.
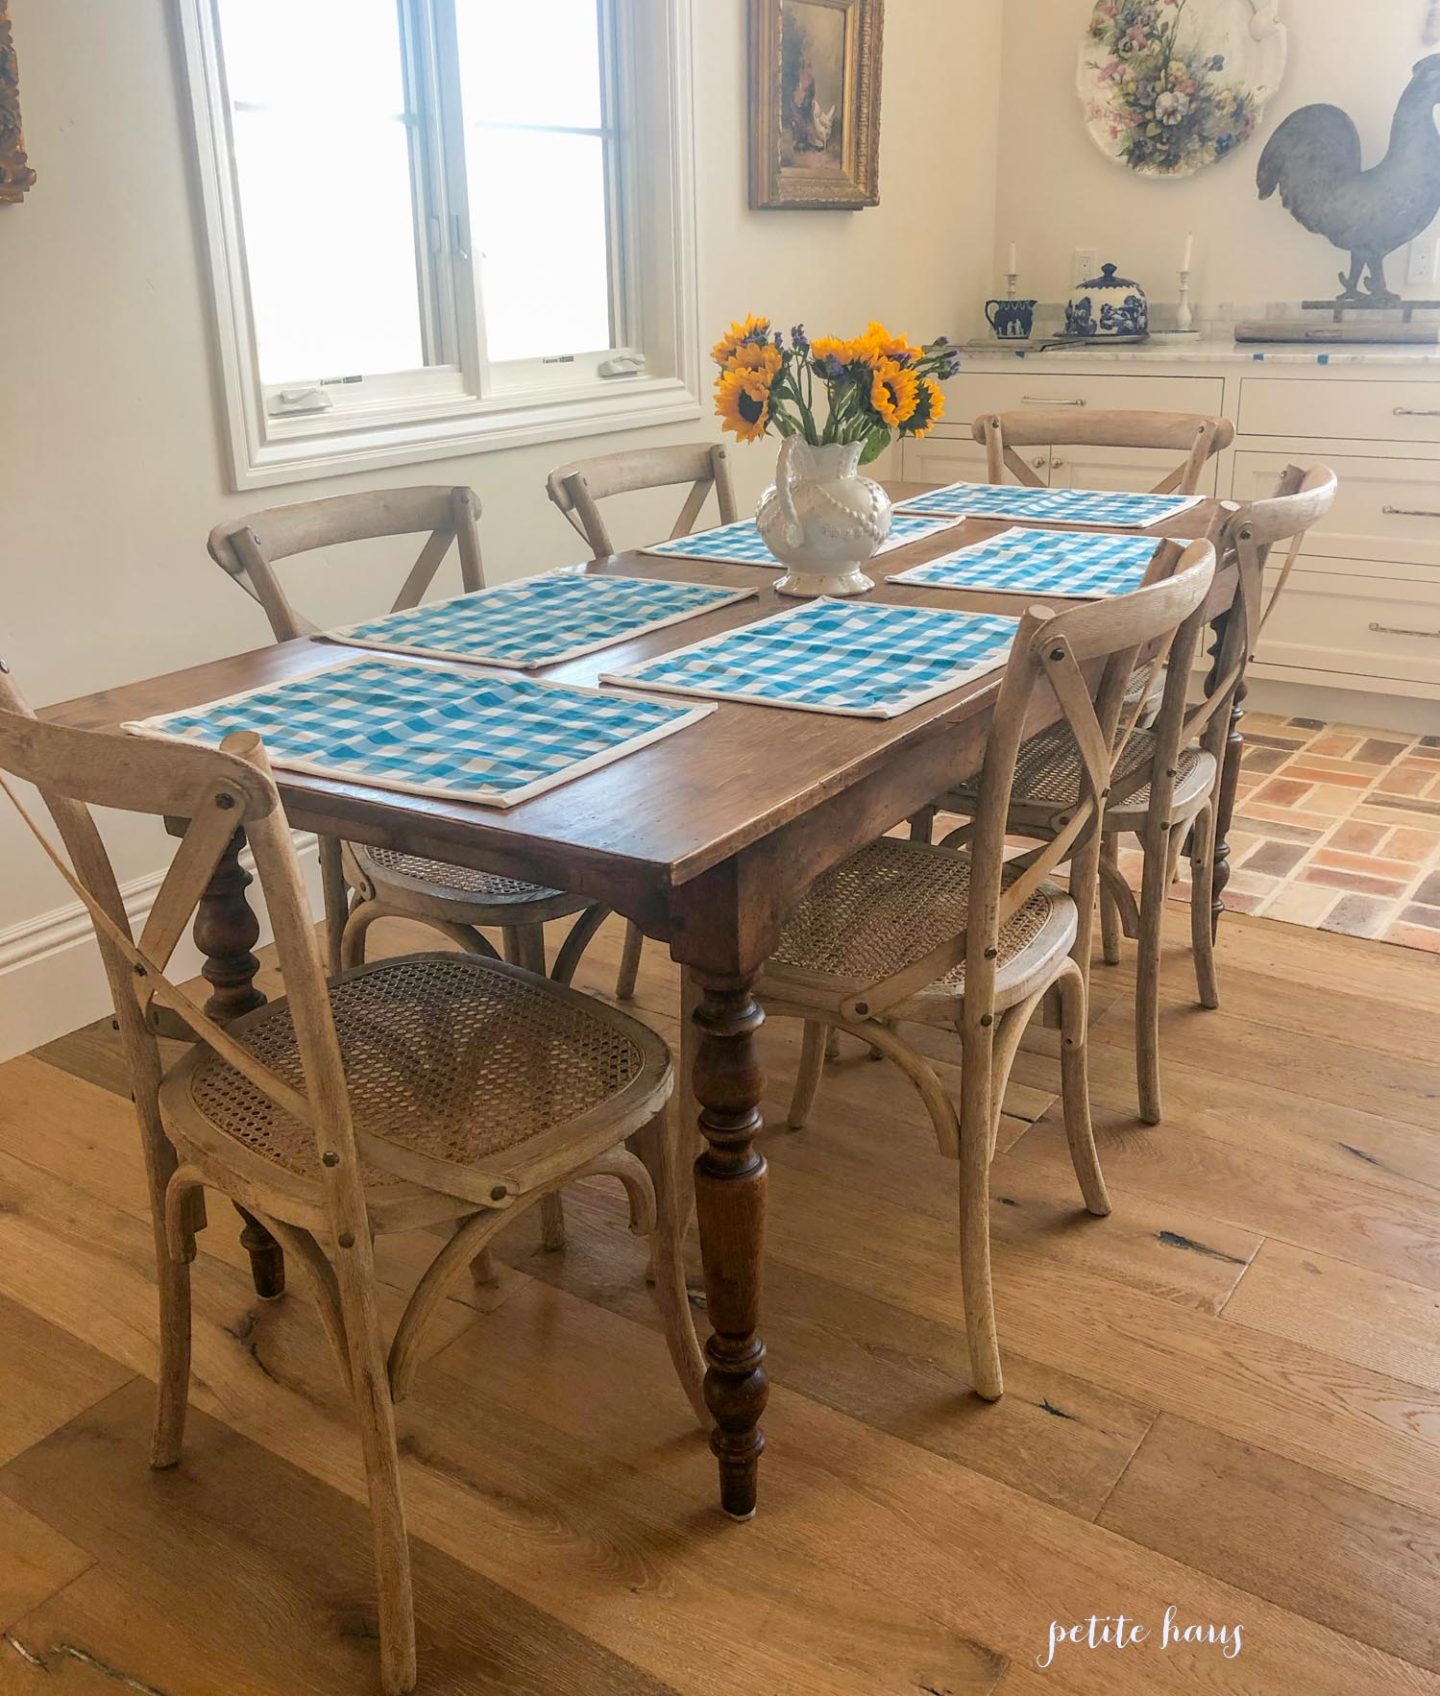
For the table, I used placemats that my mom made some years ago and some fresh sunflowers.
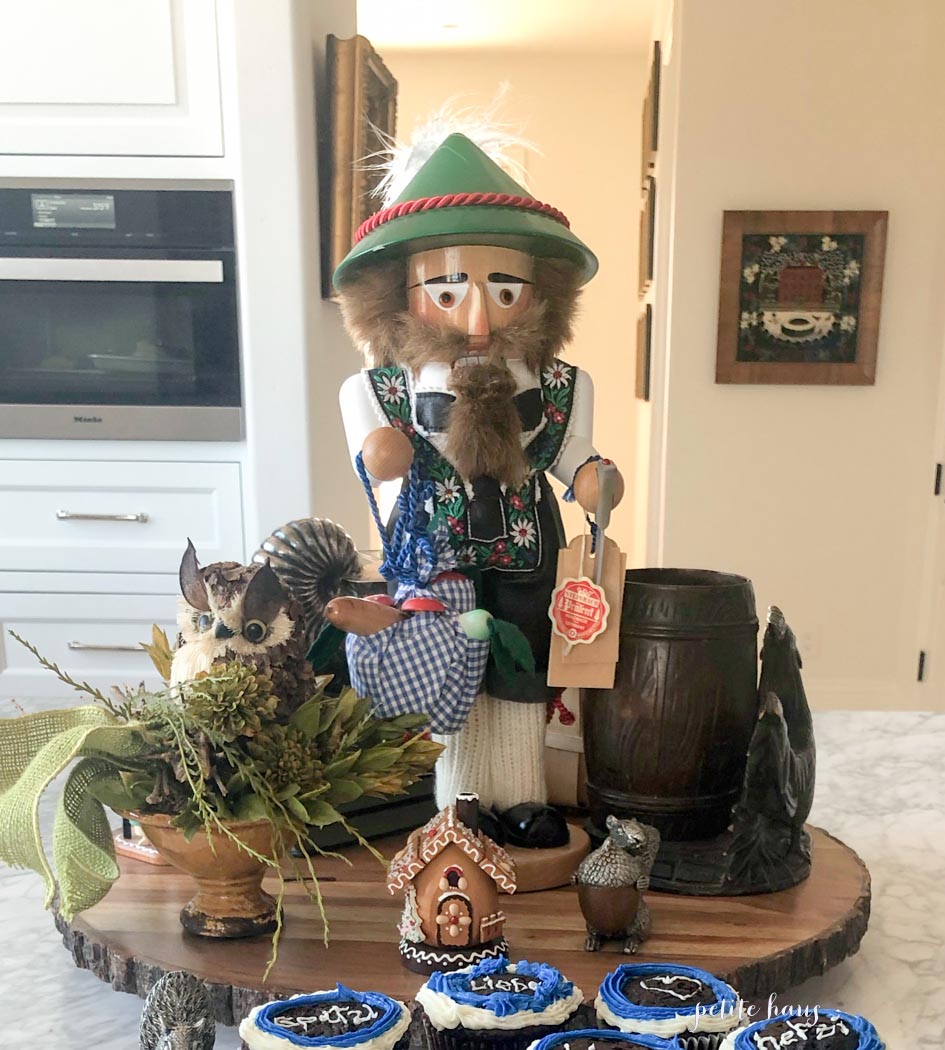
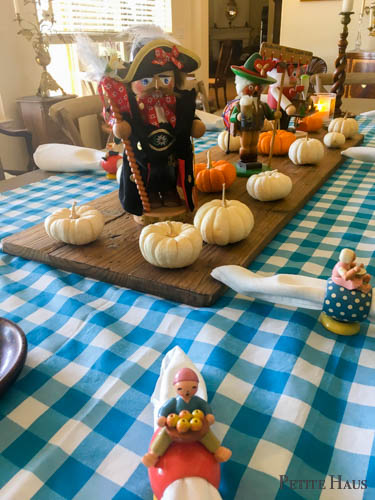
For party decorations, I simply took our nutcrackers out and put them on display. I only displayed the ones in traditional Bavarian/Tirolean costume.
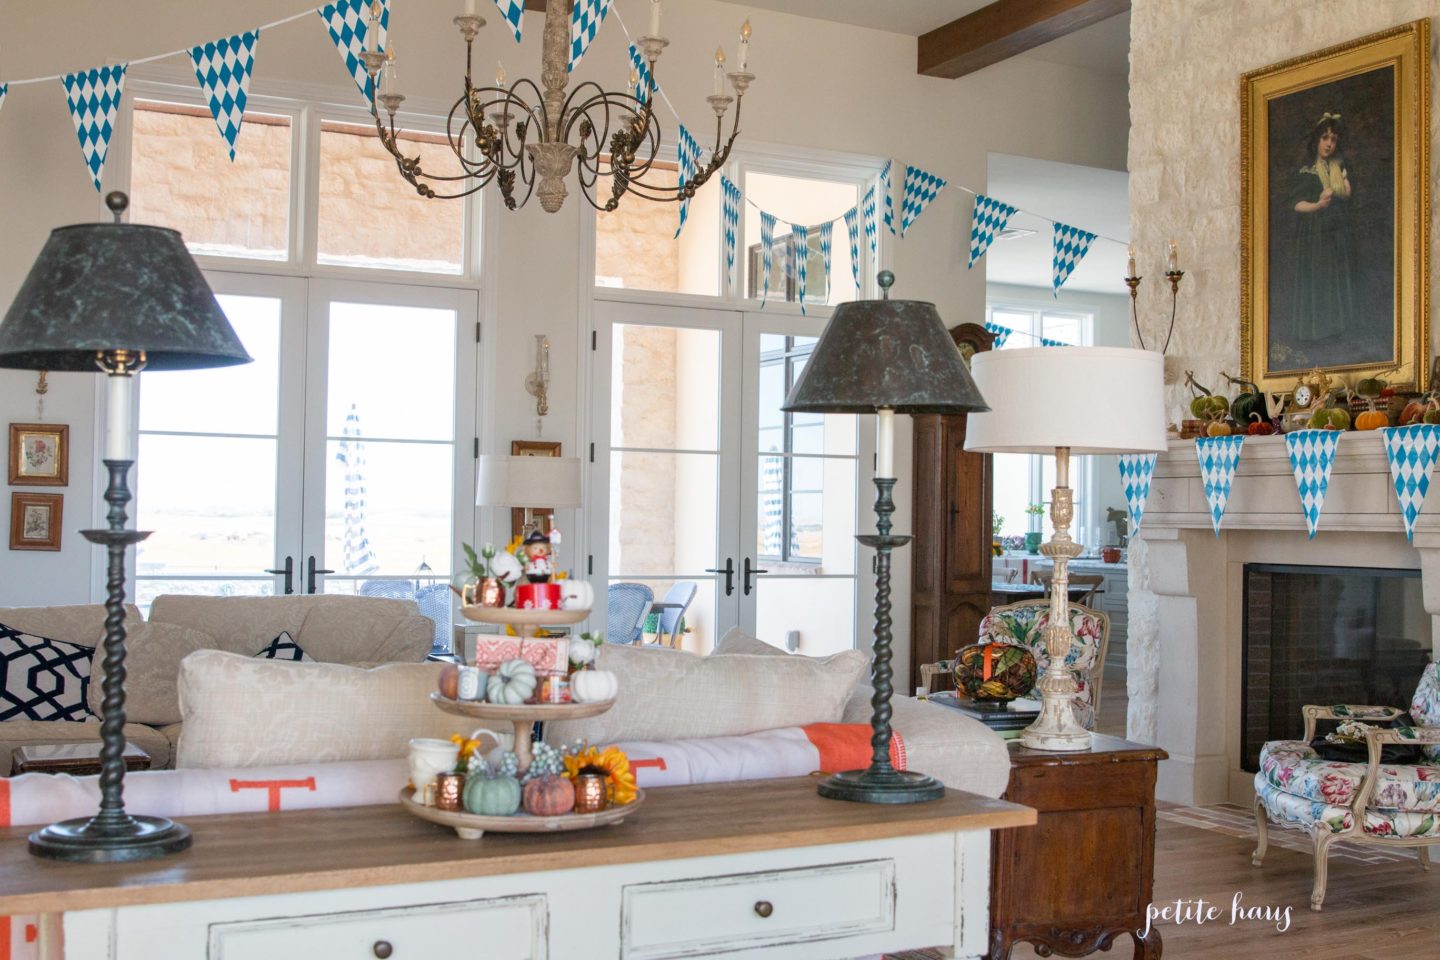
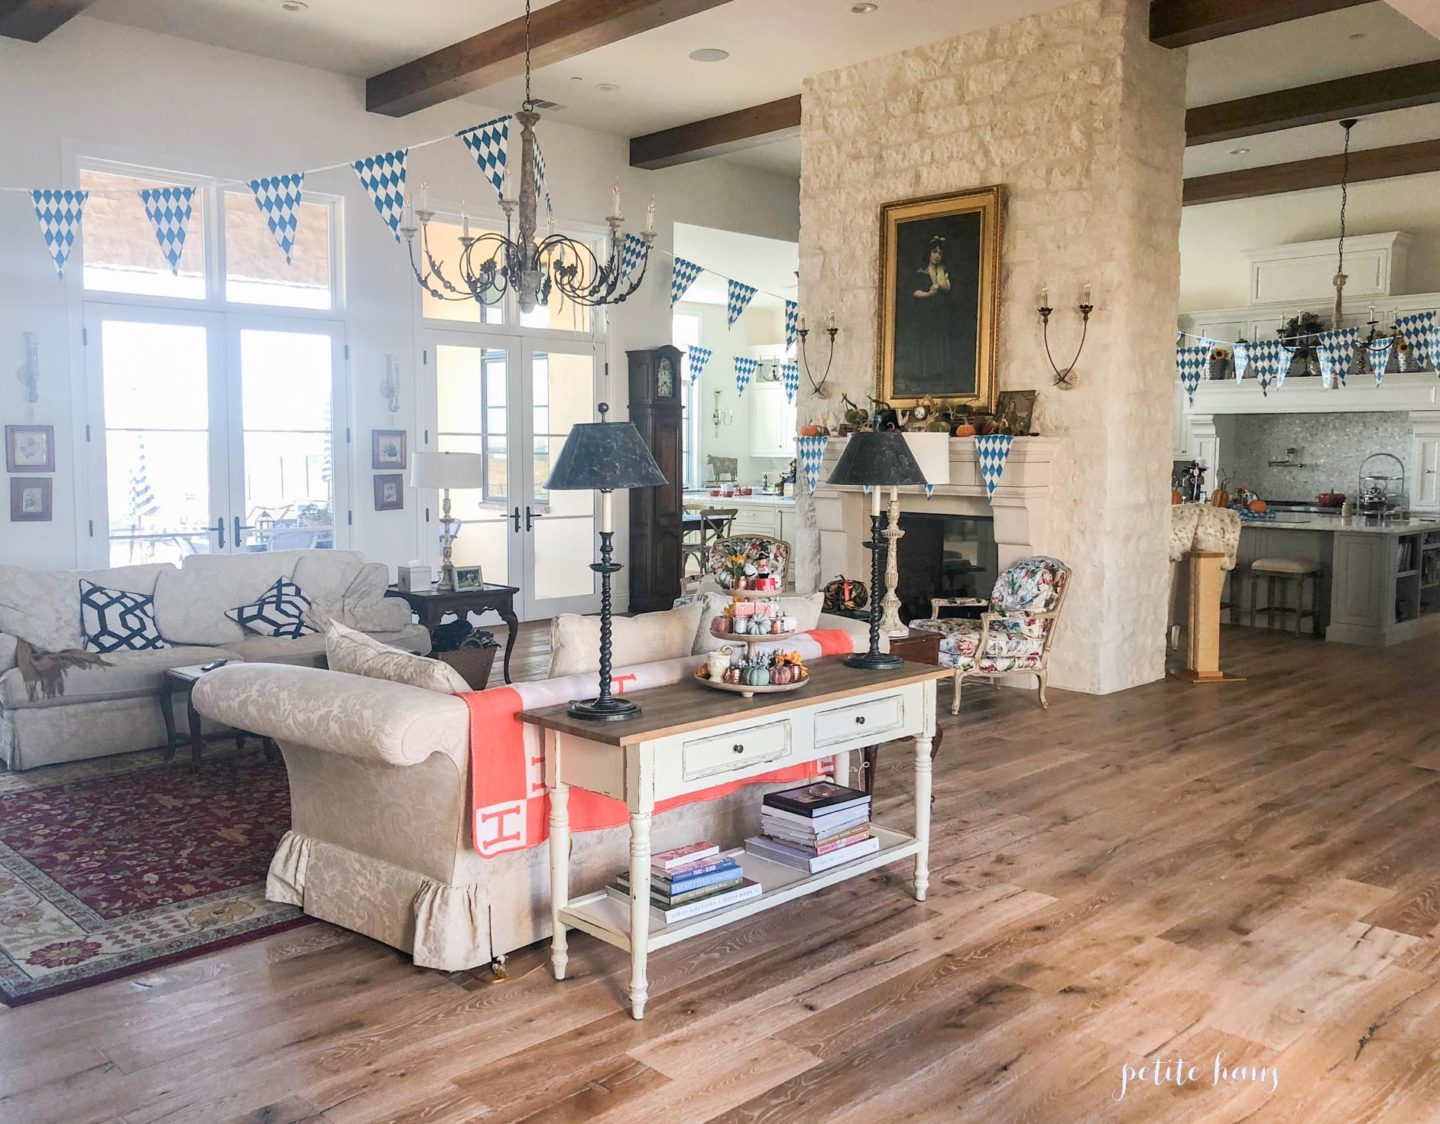
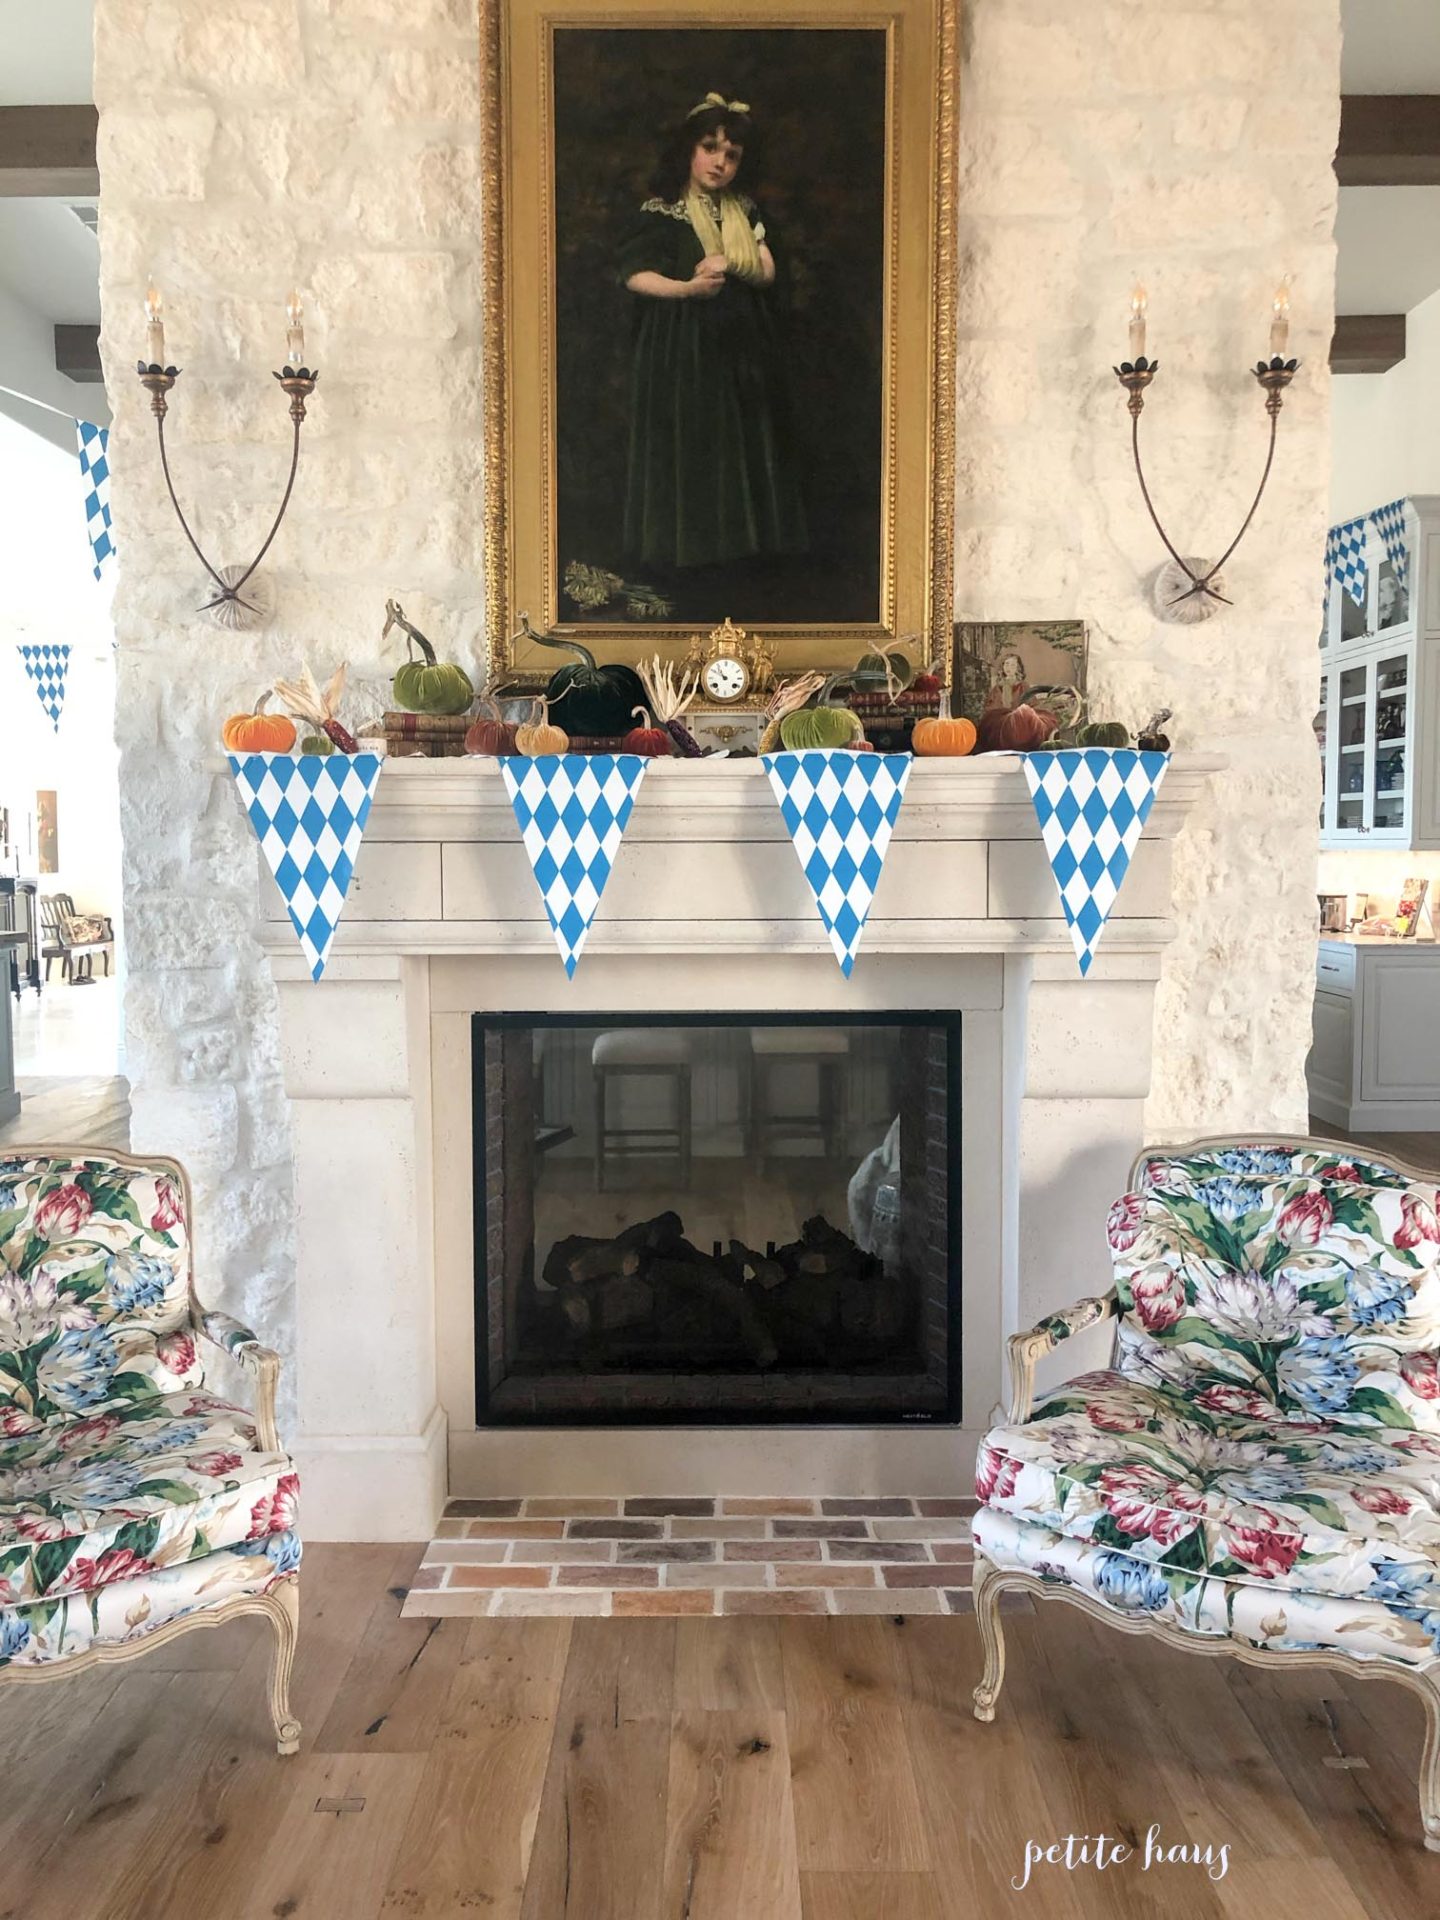
I also purchased a Bavarian flag banner and hung it up high to evoke the feeling of being in a German beer hall. As you can see the banner goes into the kitchen too.
The banner was a happy mistake – I thought I was buying 10 foot banner and instead accidentally purchased a 100 foot banner. Oh well, it worked out in the end!
So, what food did we serve? Well, homemade Bavarian pretzels of course! I used my pasta drying rack to display the freshly baked pretzels.
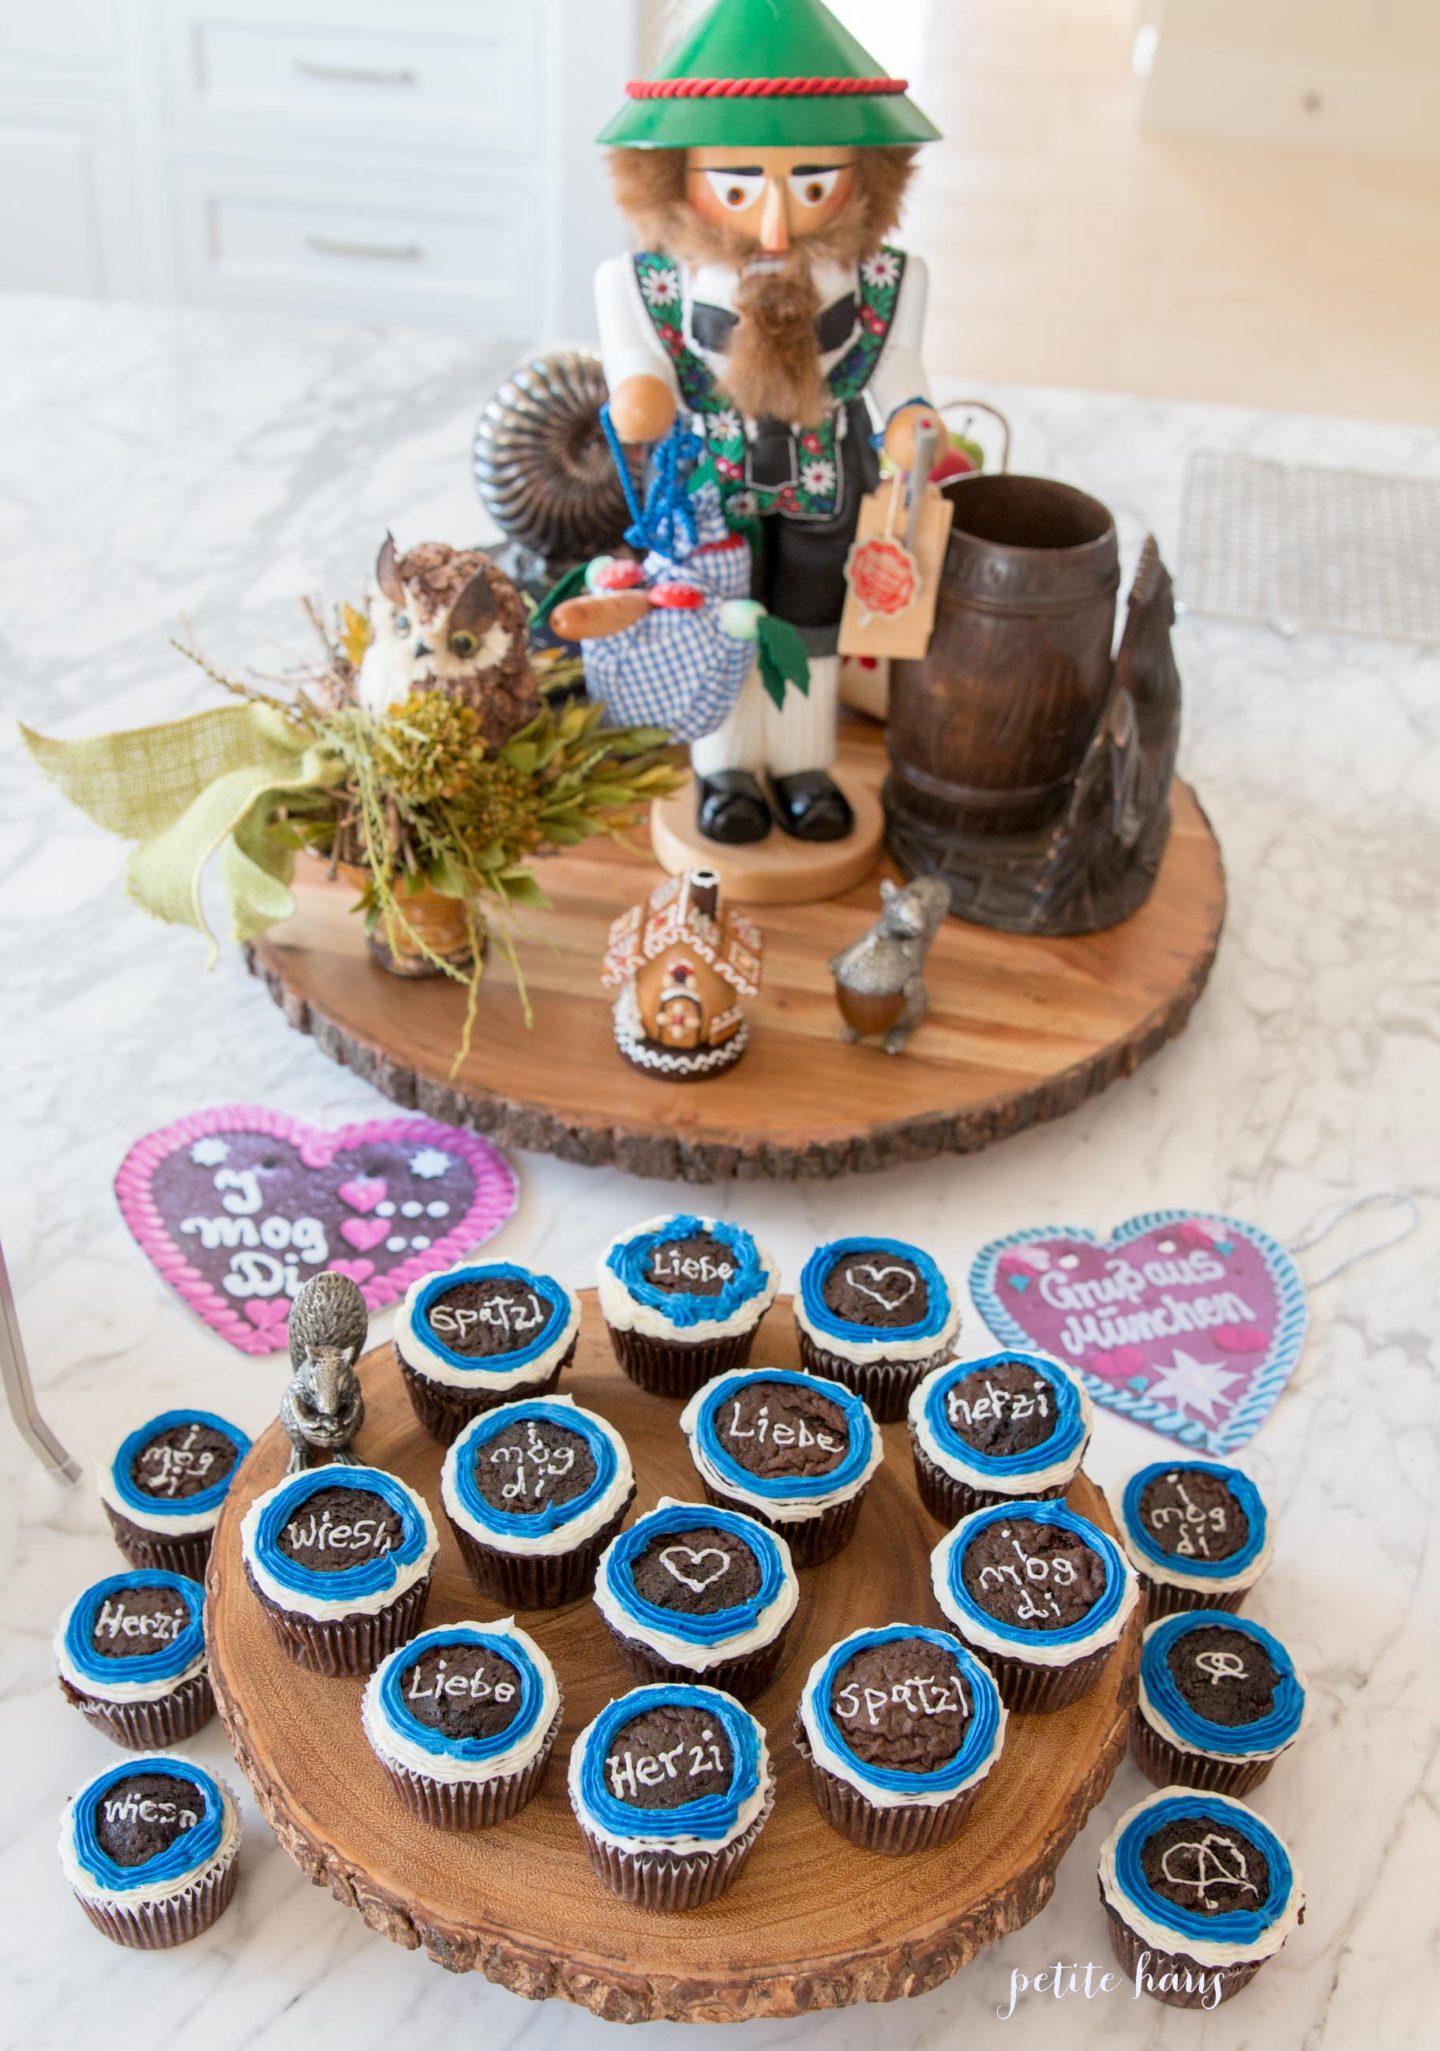
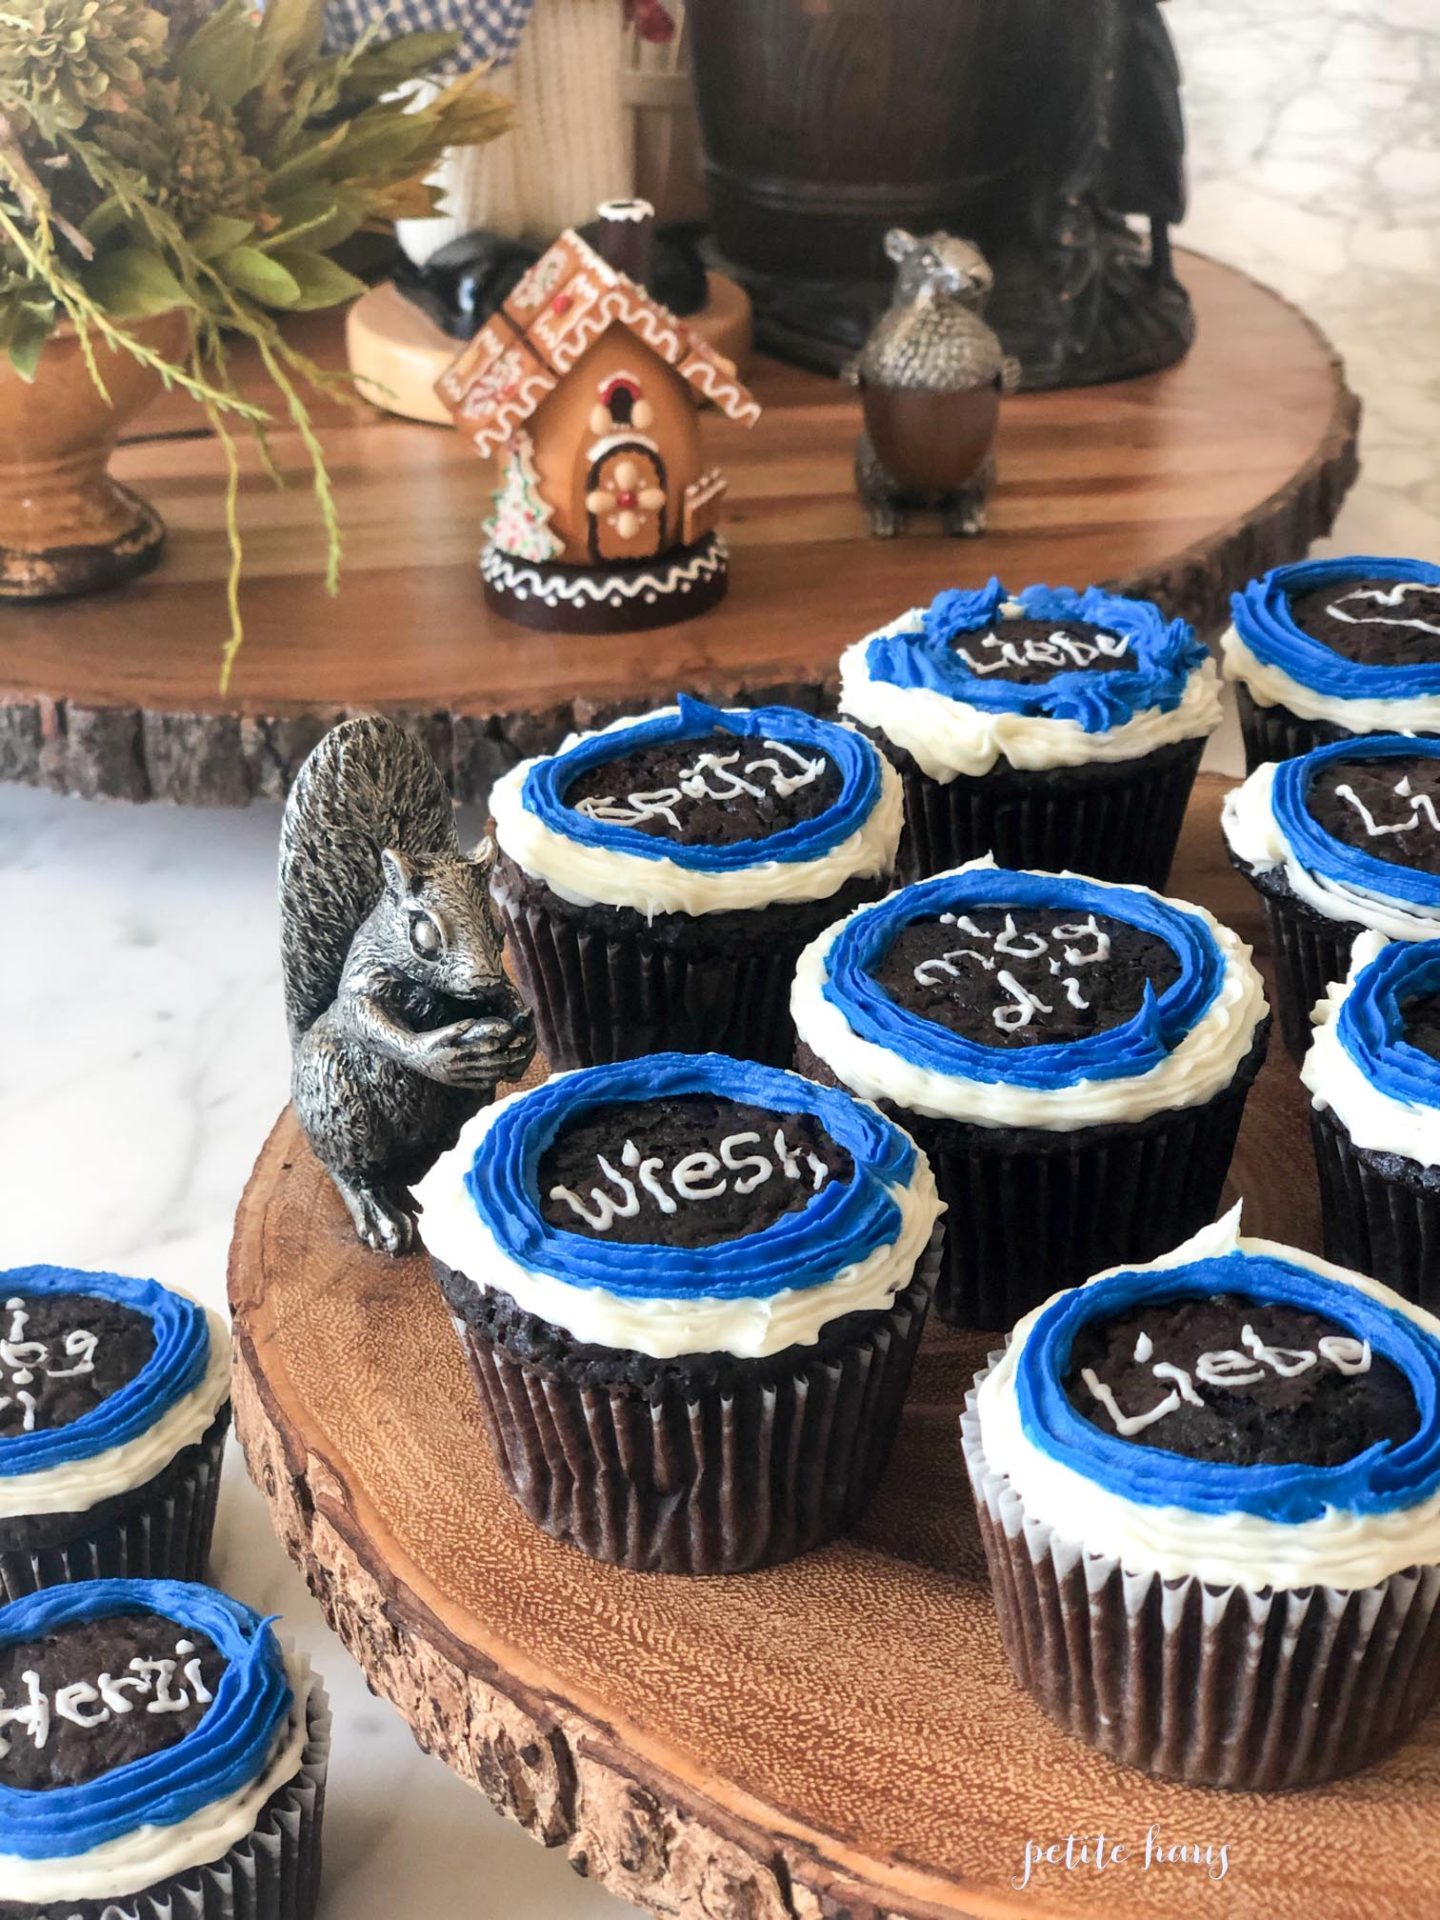
I made chocolate cupcakes decorated in the style of the German gingerbread hearts that are found all over Oktoberfest.
I would have made the hearts, but frankly, they don’t taste good. These chocolate cupcakes were super moist. I just used a chocolate cake mix.
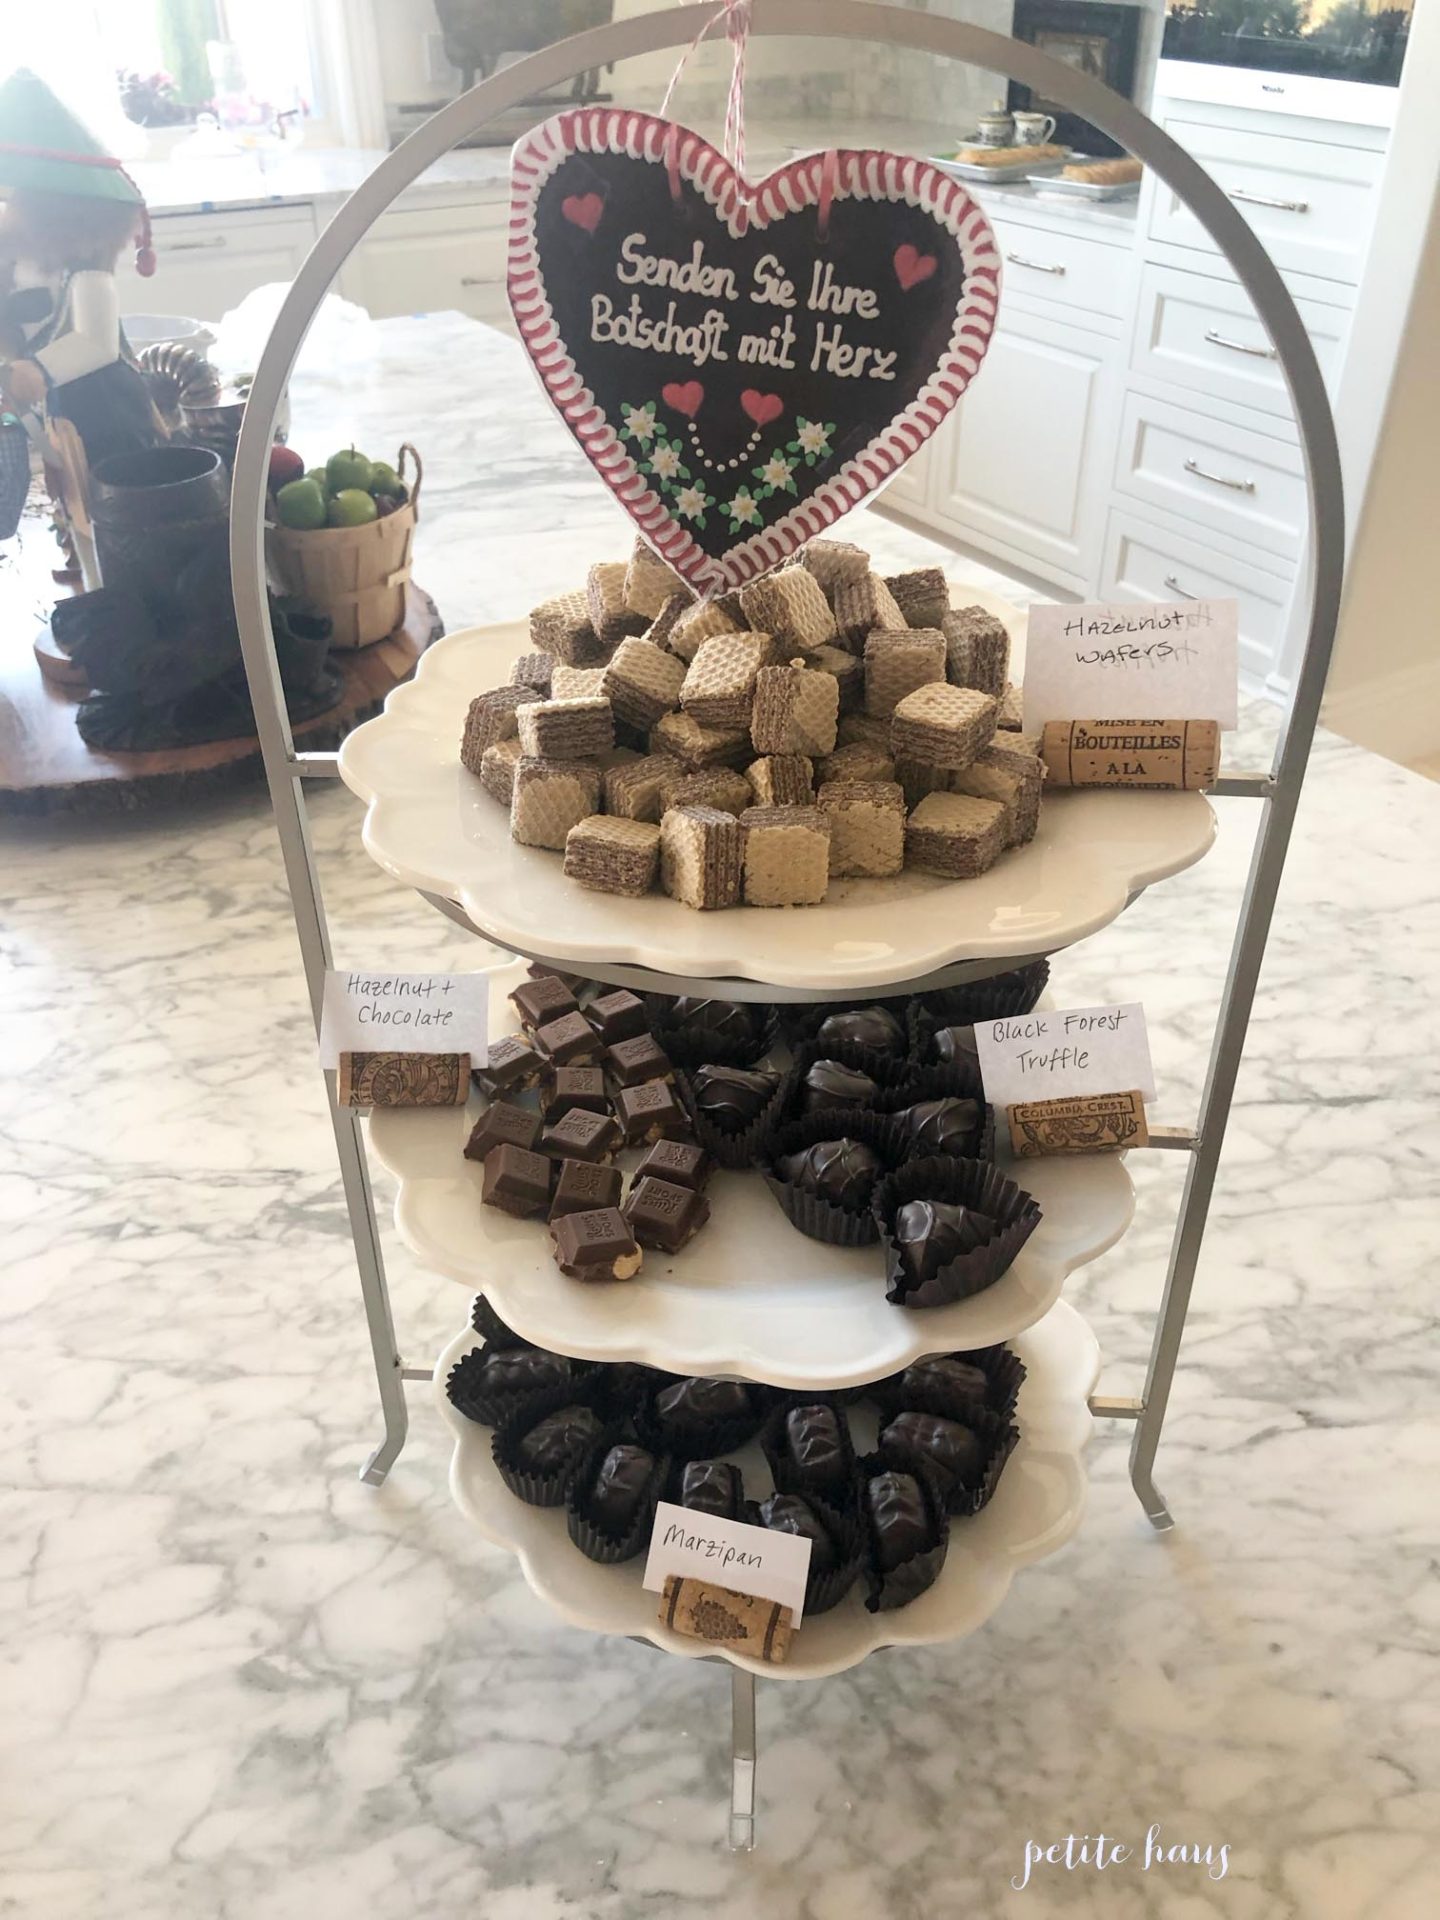
I also had marzipan, the chocolate hazelnut by Ritter Sport, chocolate hazelnut wafers, and black forest truffles.
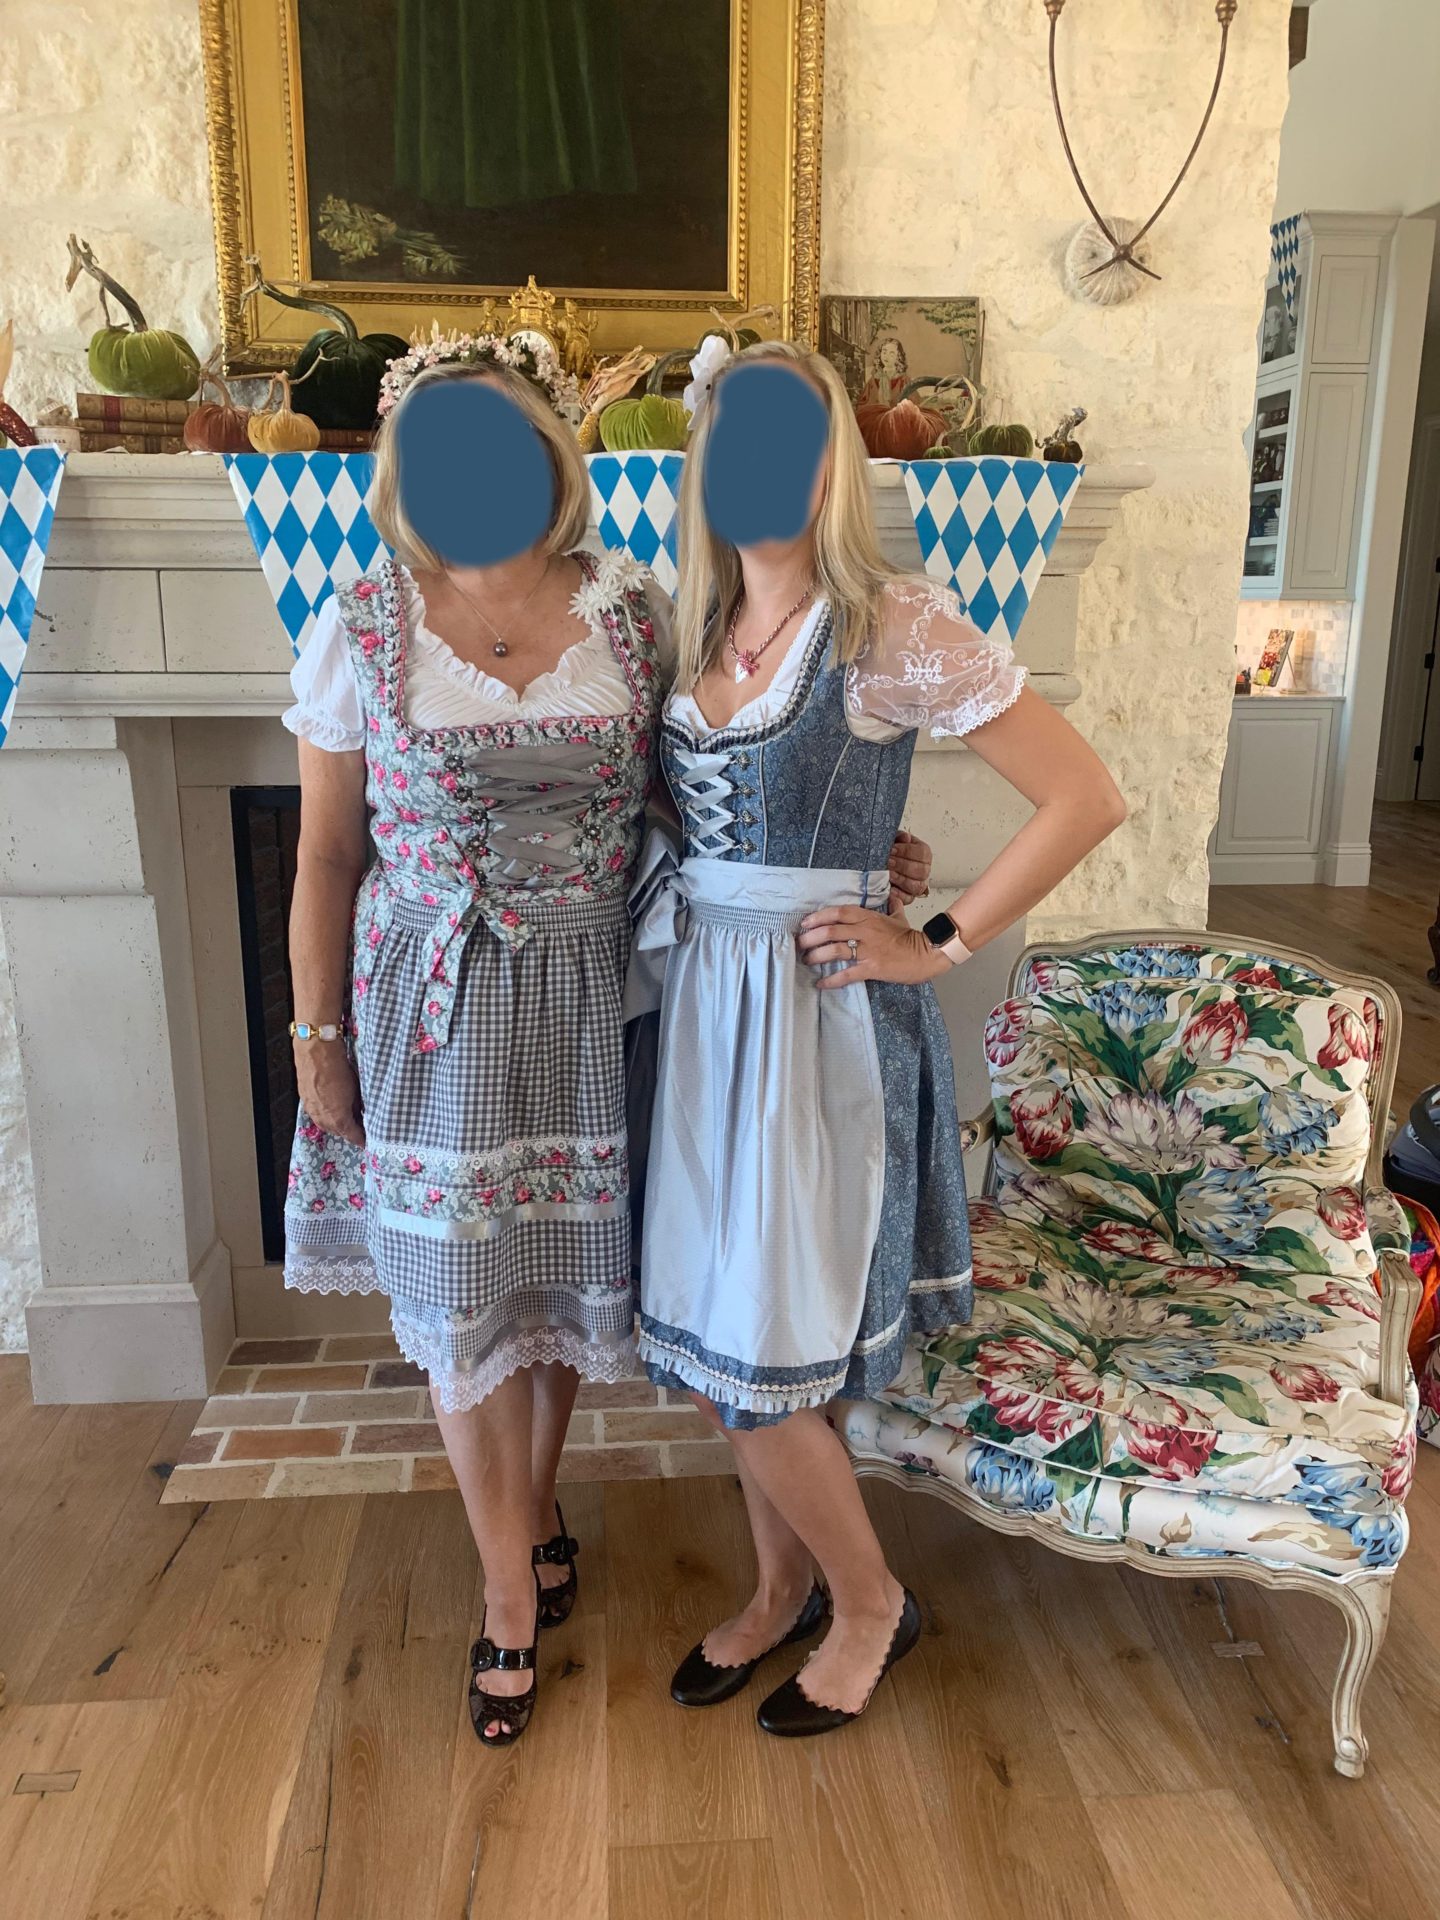
Guests were encouraged to wear their traditional German wear – Dirndls and Lederhosen! (blurred faces for privacy). Here is a post I wrote about what to wear to the Oktoberfest.
The Menu
Bavarian Pretzels with selection of German mustards
Red Cabbage (Rotkohl) – purchased from a specialty grocery store
Bratwurst – purchased from a German speciality store
We use affiliate links in our posts and our site. This means if you make a purchase using these links, we may earn a small commission. You don’t pay a cent more than you would otherwise! Our full disclosure is available under About.
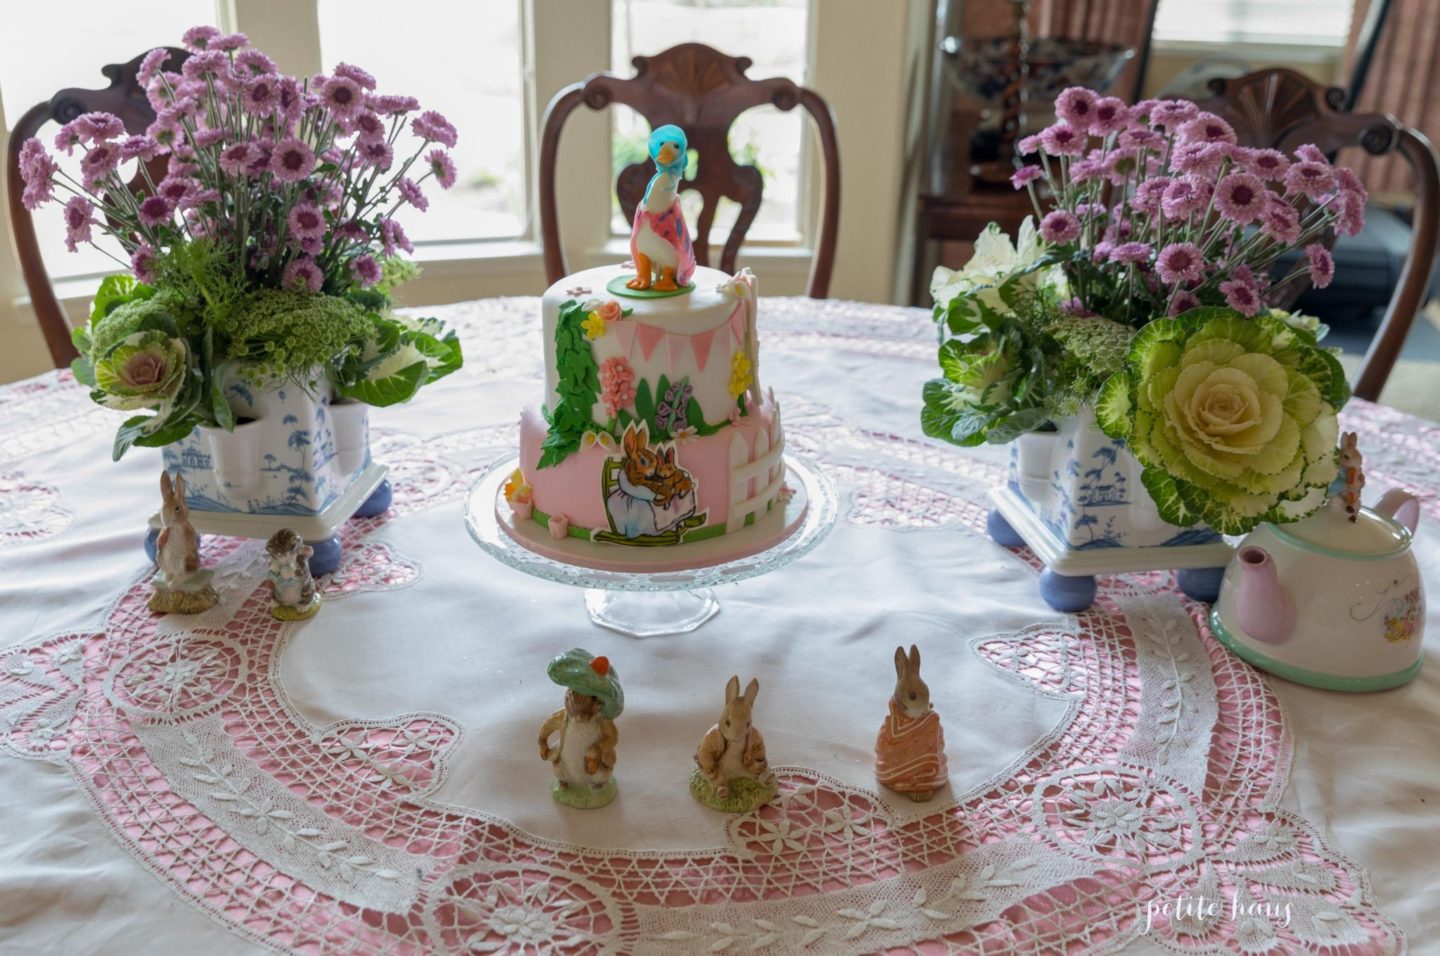
Recently, my Mom hosted a Peter Rabbit Themed Party. It was for my cousin’s baby shower. She decorated the nursery in a Beatrix Potter theme, so the theme was carried out into this baby shower! Although this was a baby shower, this party theme works for birthdays as well!
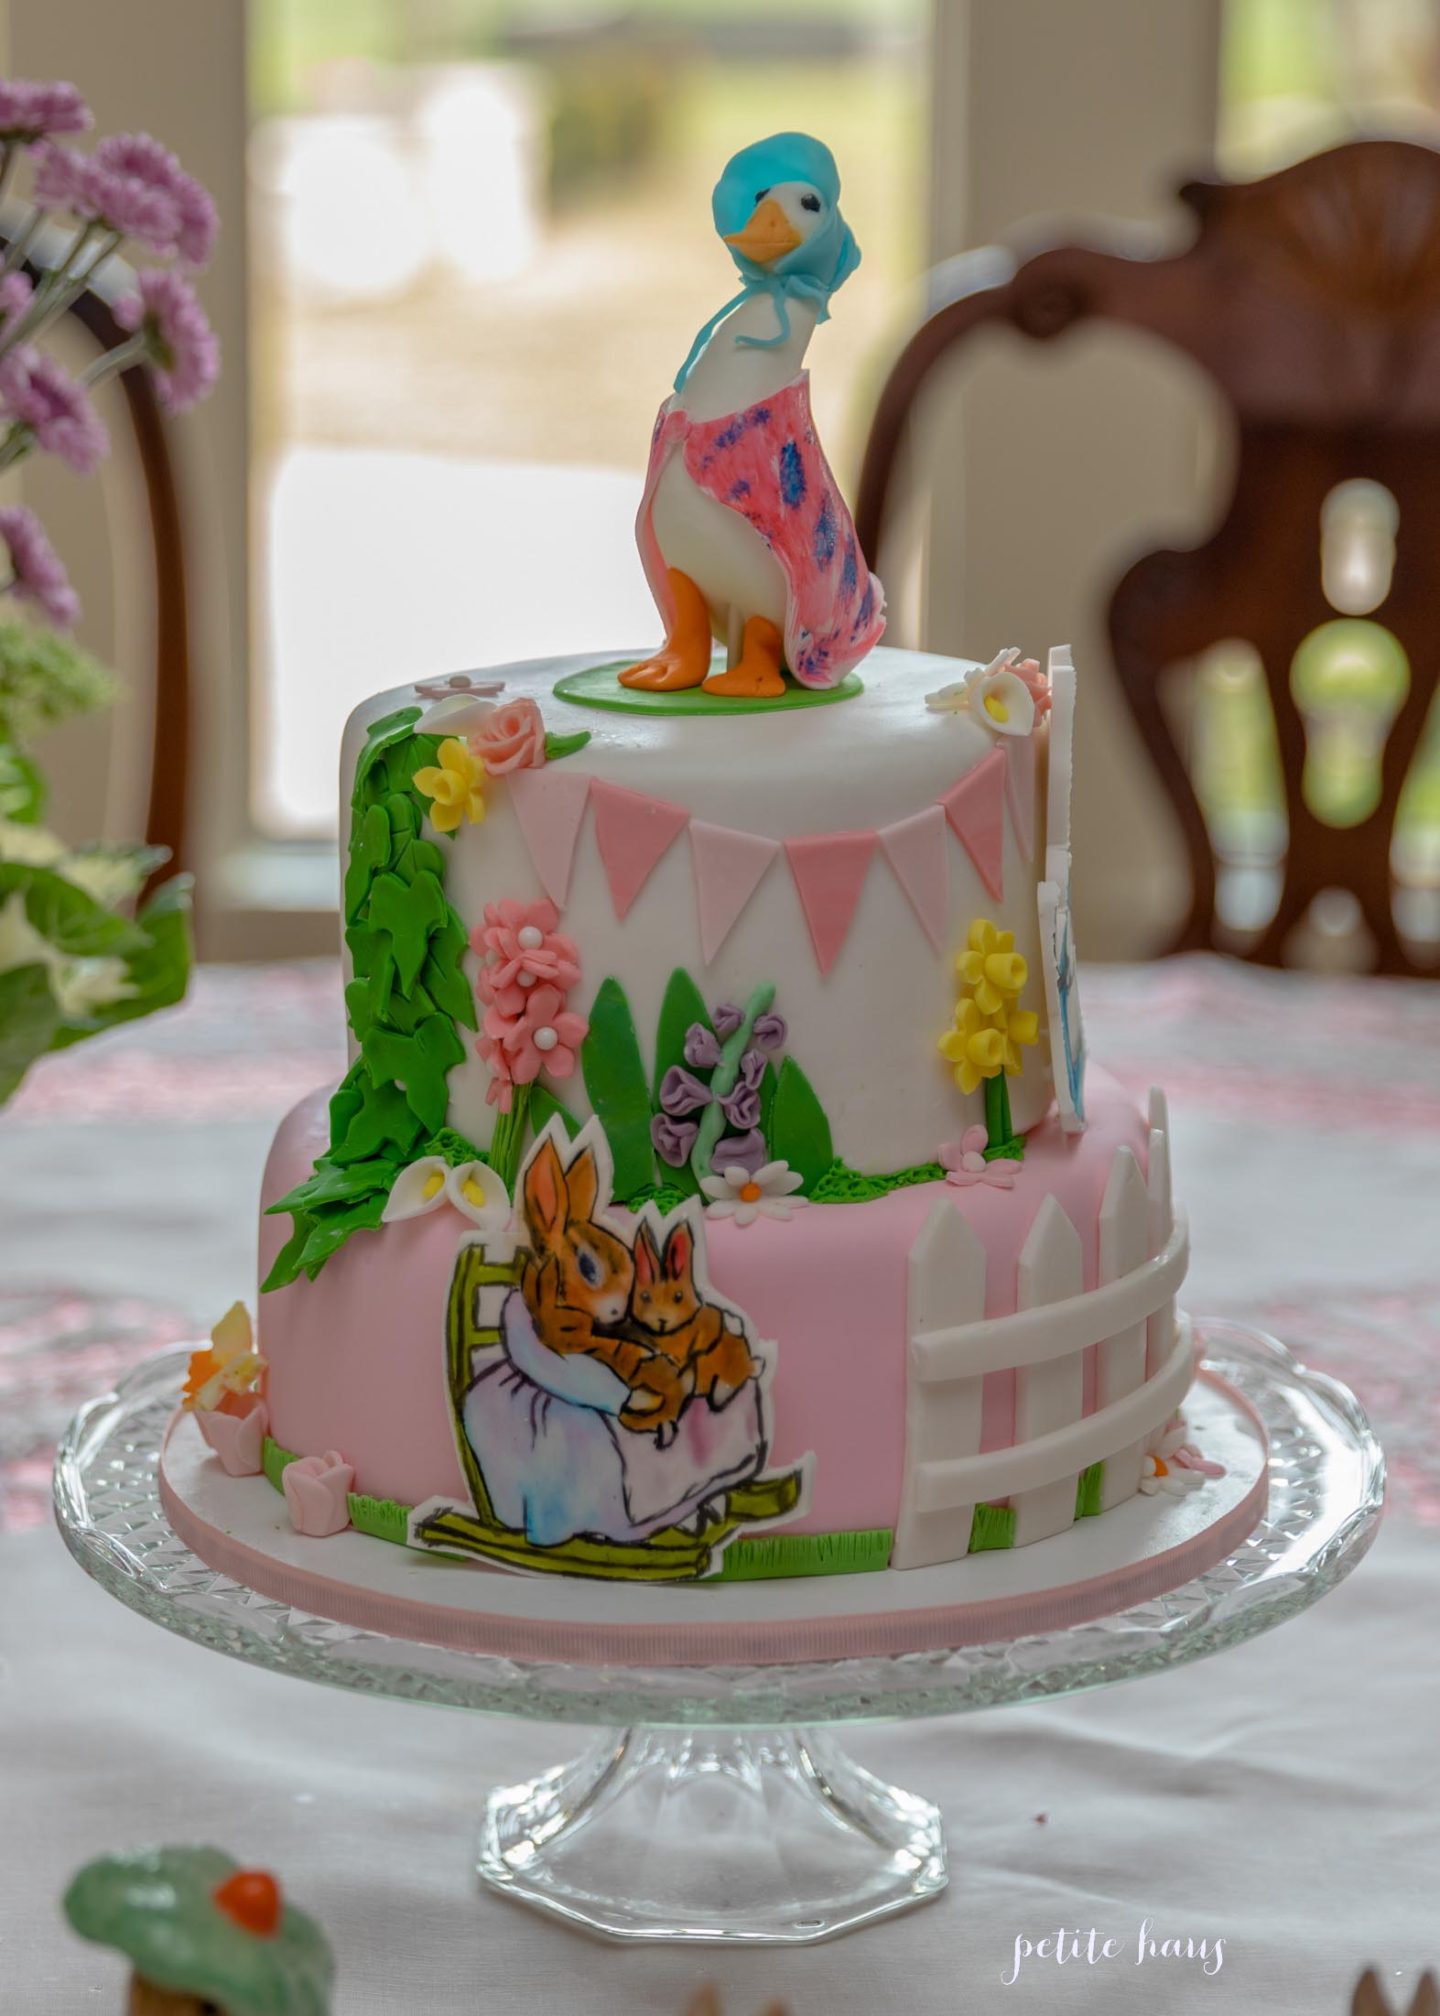
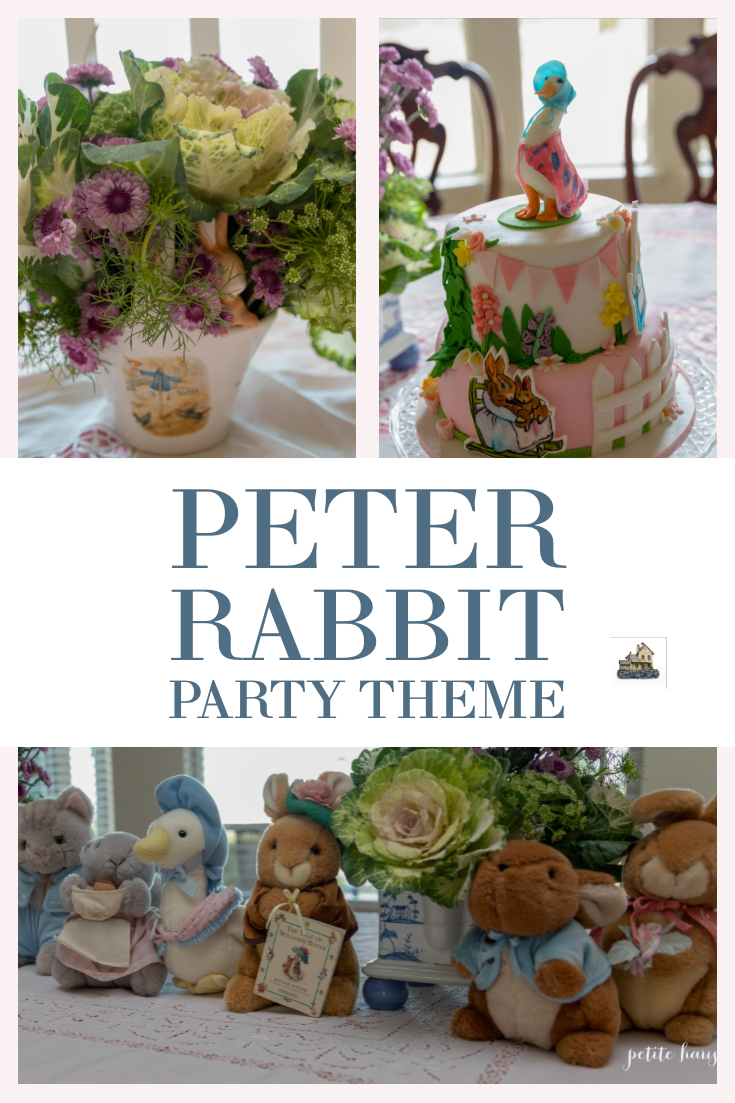
There was a lovely two tiered cake complete with Mother Goose on top!
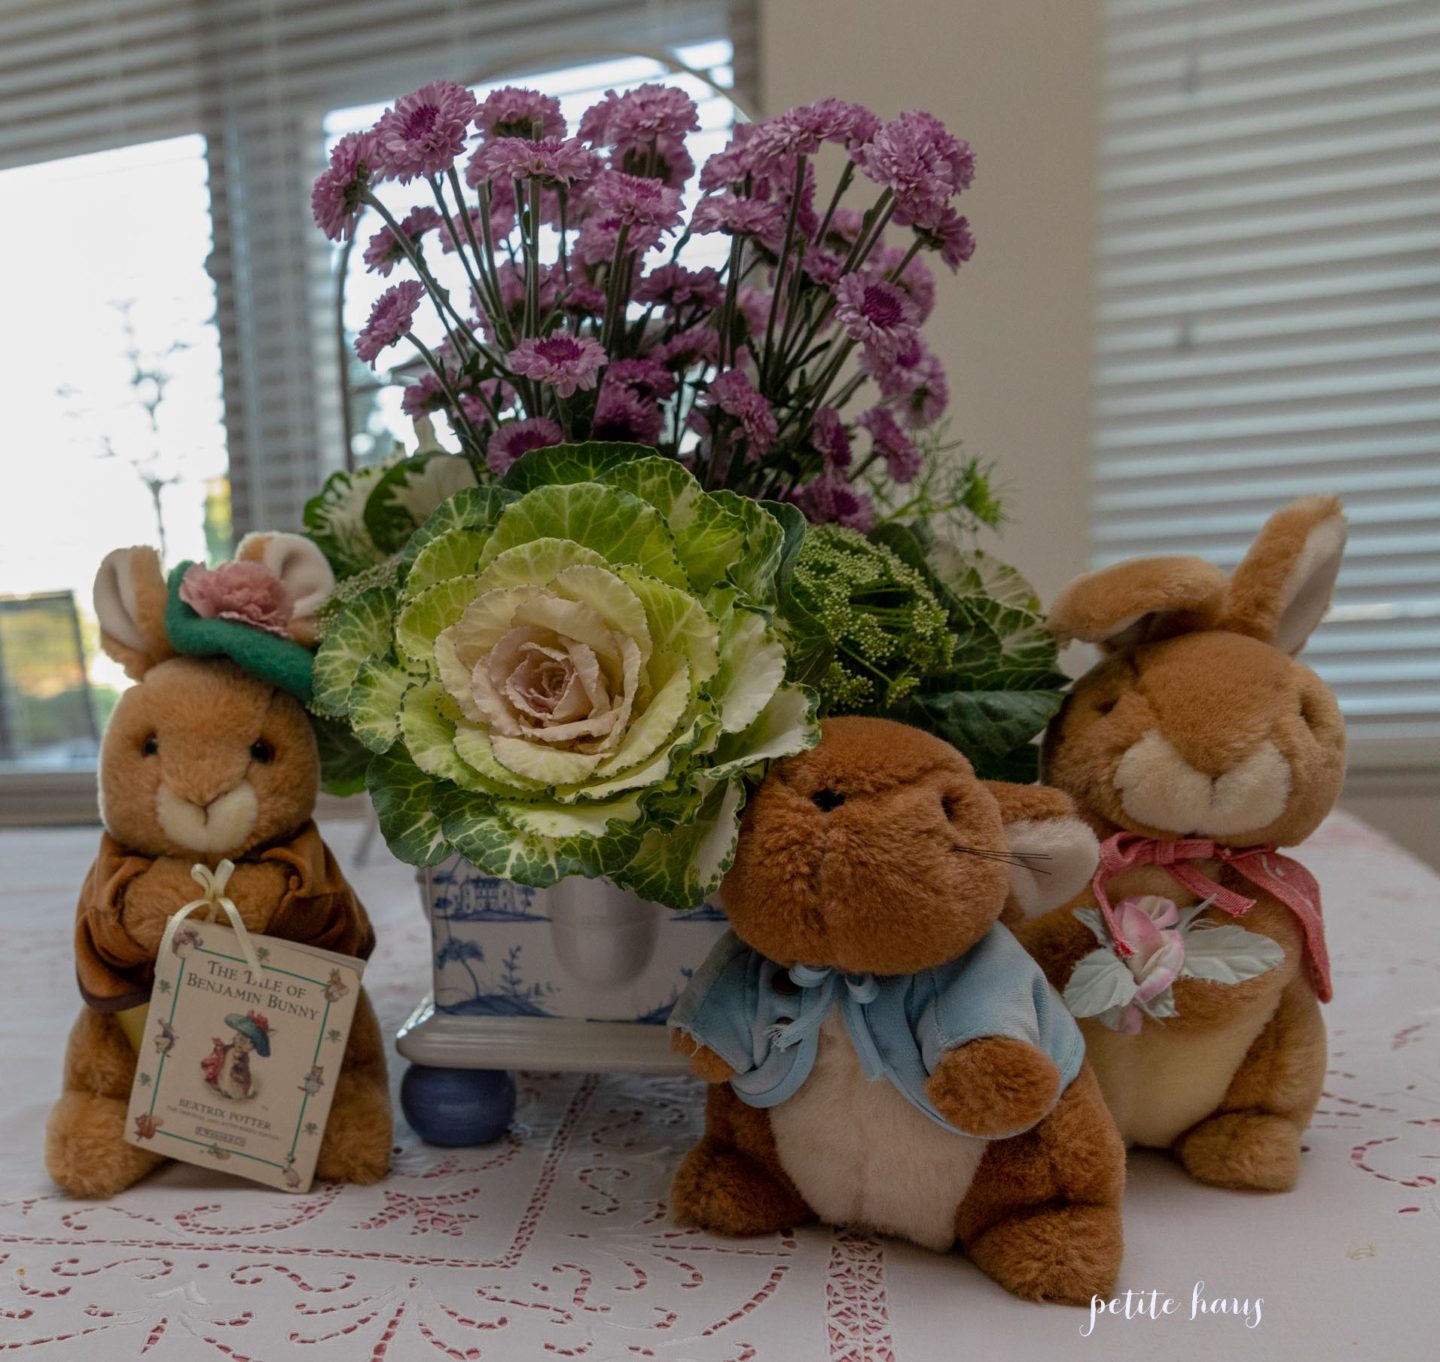
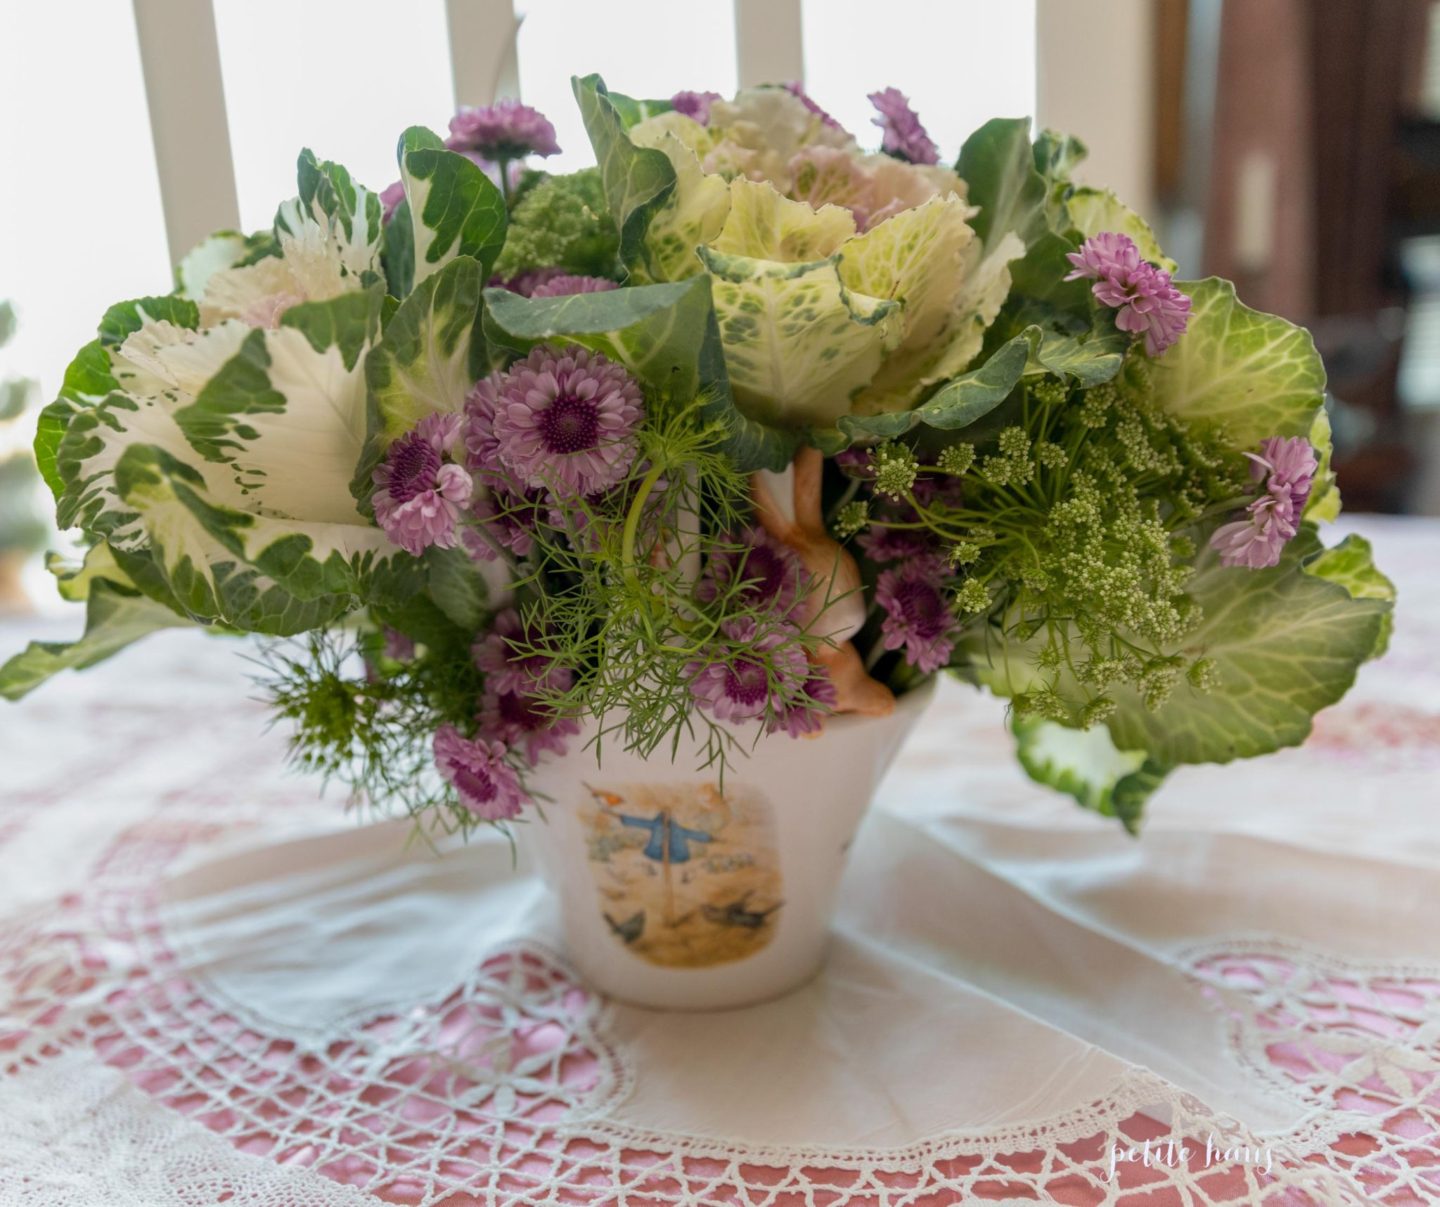
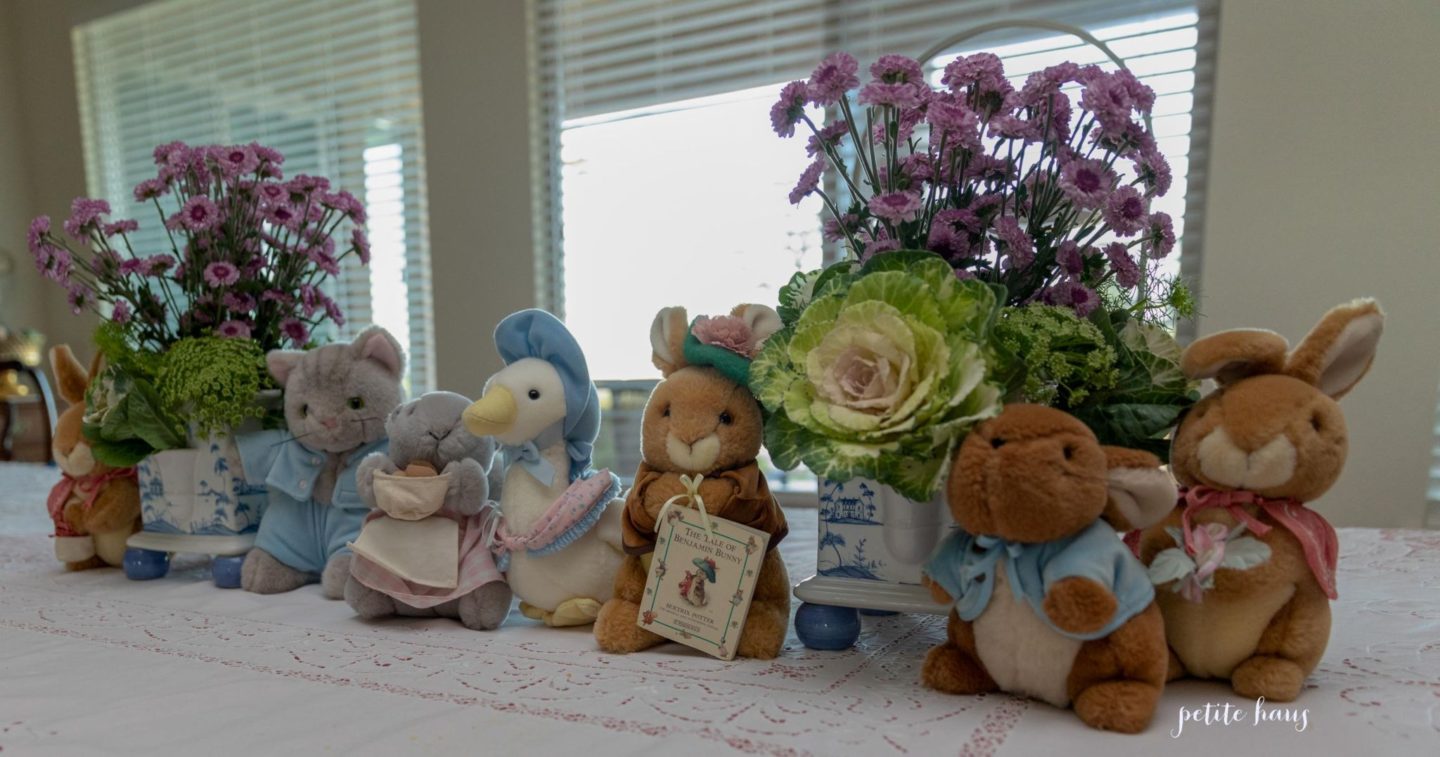
Peter Rabbit and Benjamin Bunny were spotted nearby the “garden” floral arrangement.
The floral arrangements contained lettuce and mums! There are a few other plants but I don’t remember their names. We wanted it to feel like you were hopping into Mr. McGregor’s garden.
Except this time we won’t chase the animals out of the garden!
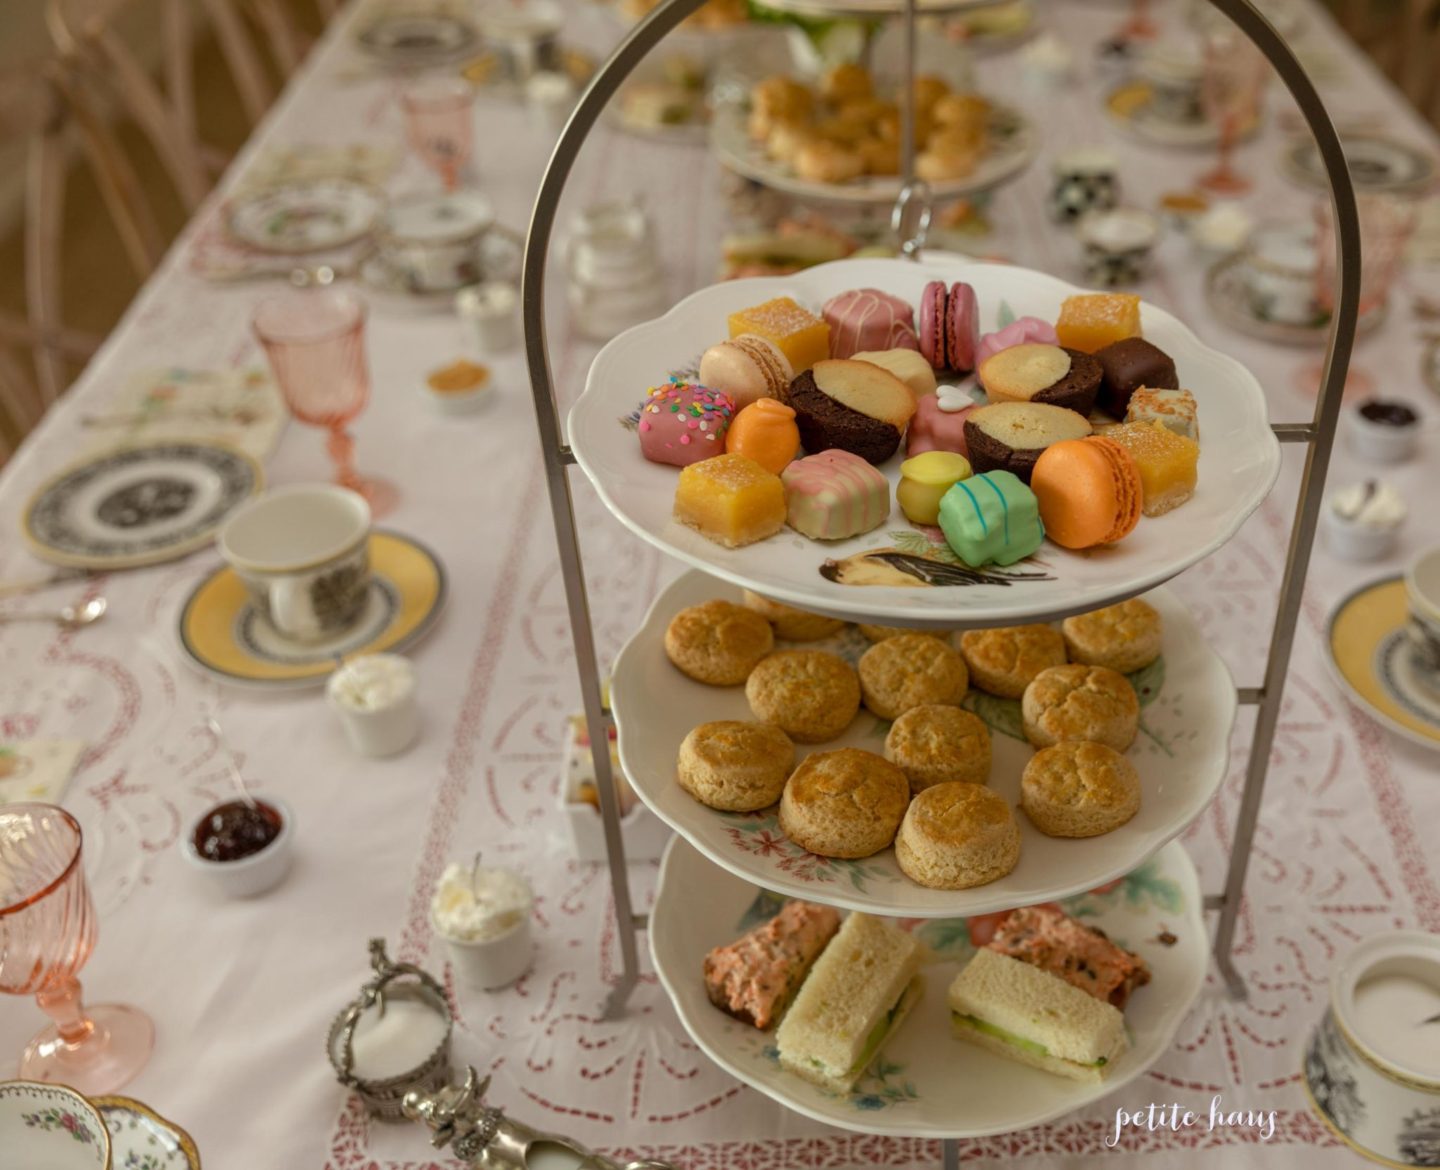
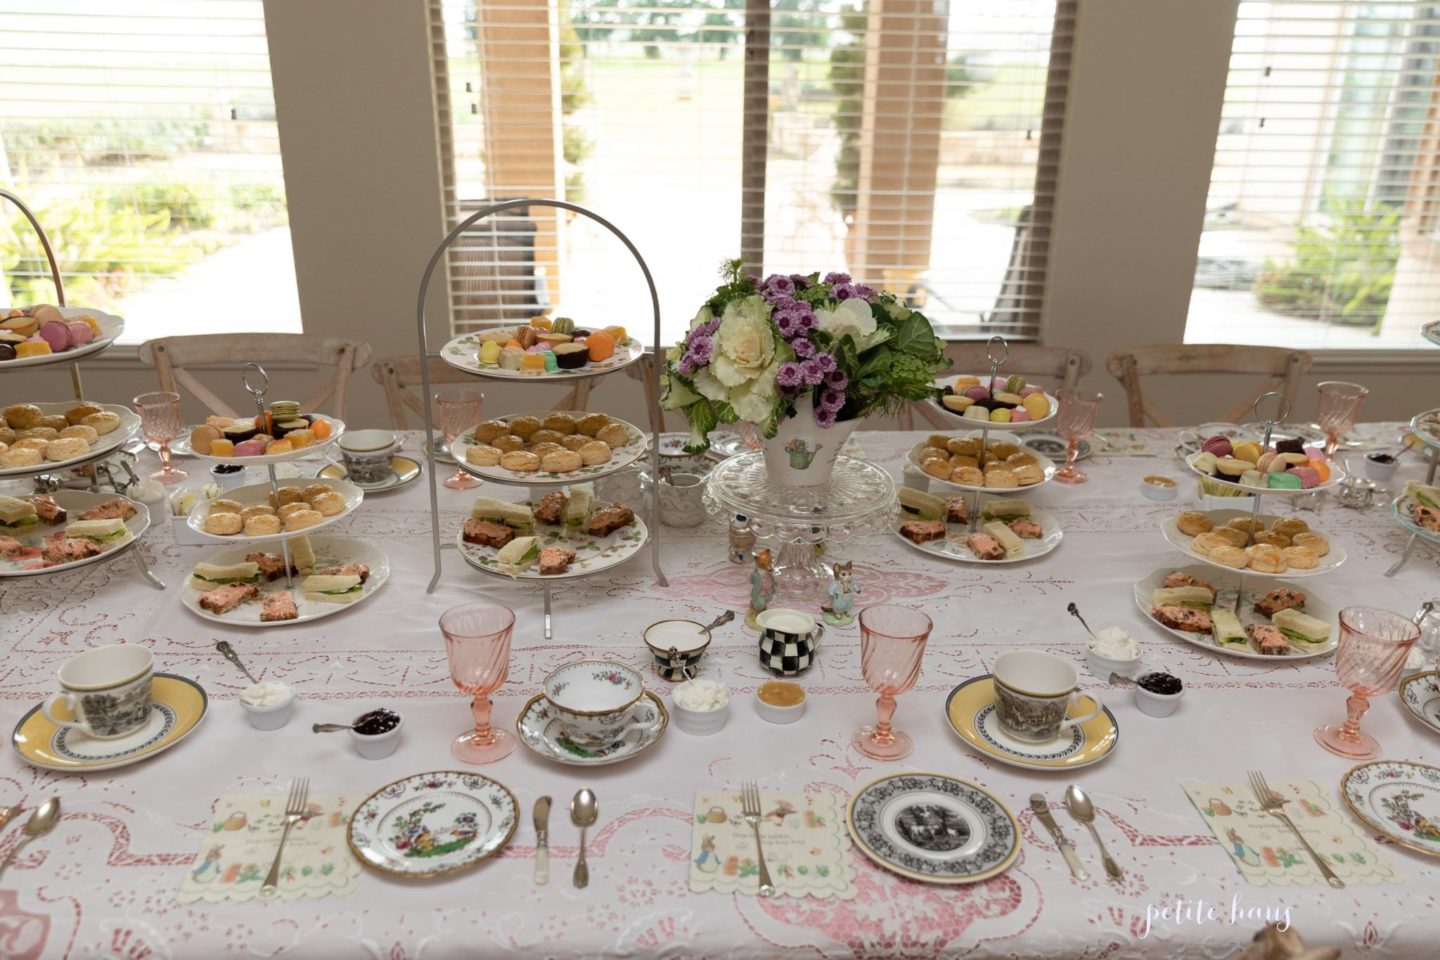
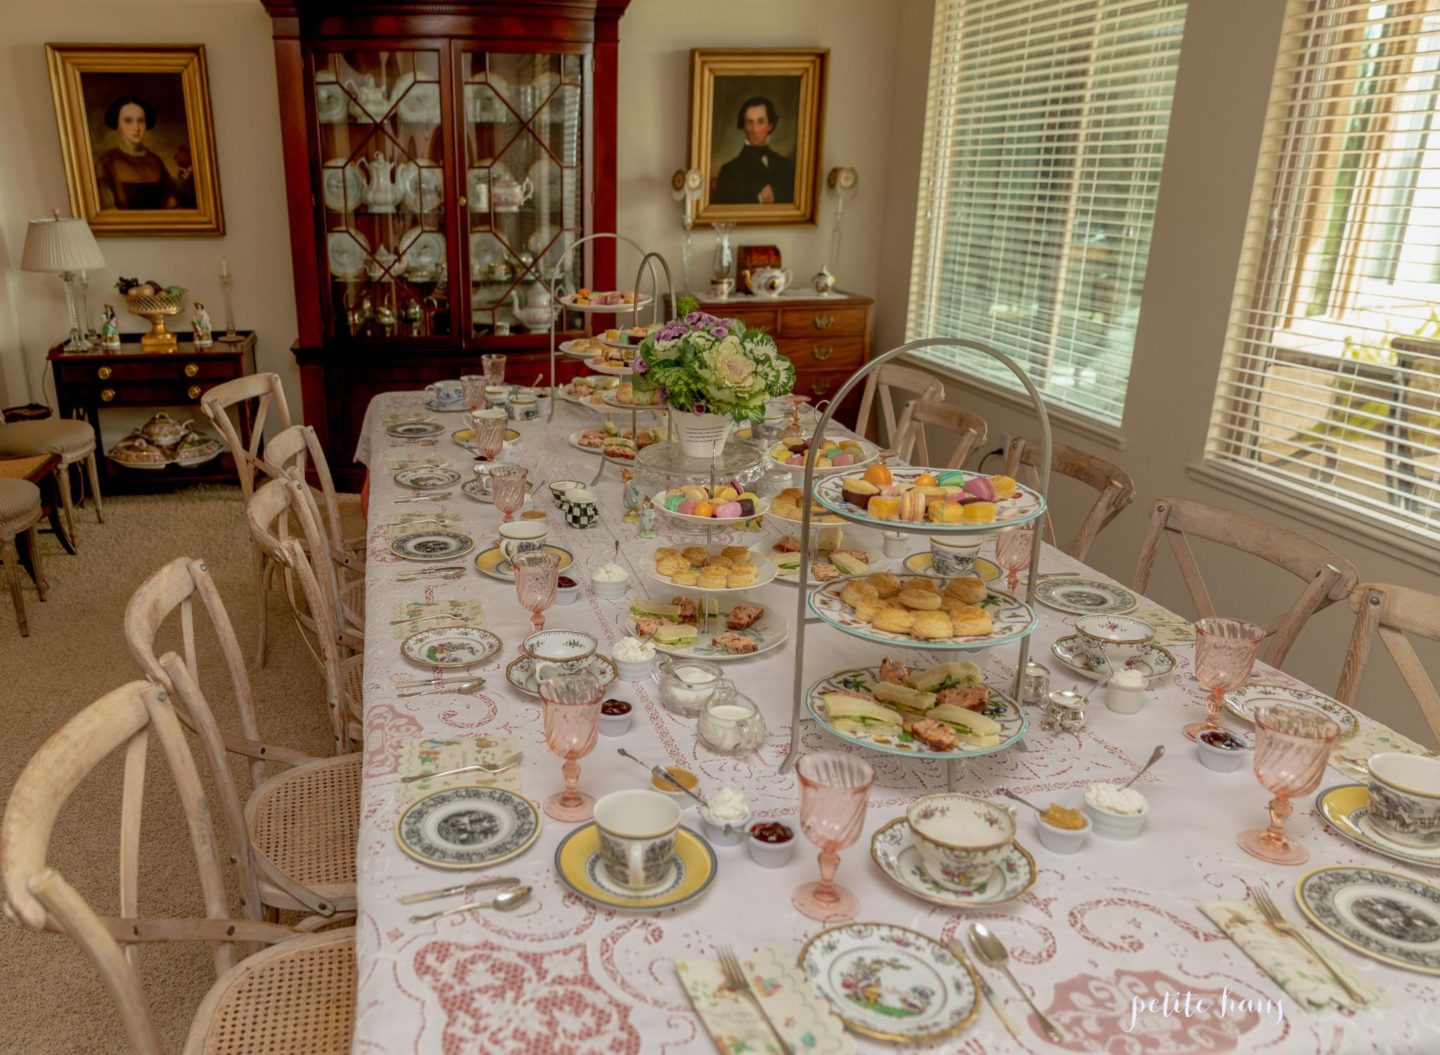
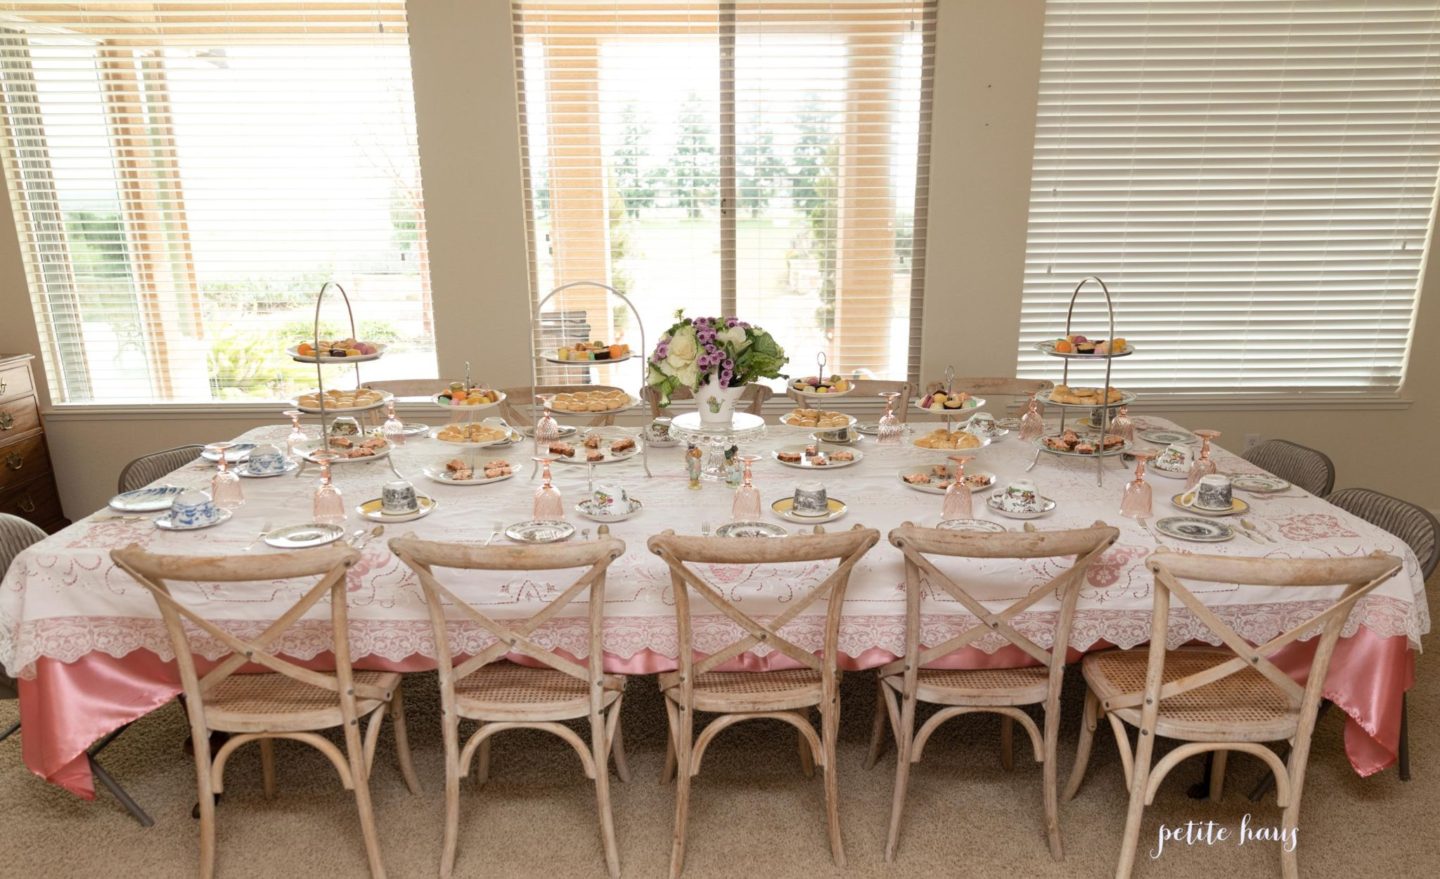
Since Beatrix Potter is from England, the food theme was a traditional English tea party.
The tea sandwiches were made from recipes from The Kitchen is my Playground… our favorite was the vegetable spread tea sandwiches! My mouth is watering thinking of them again. I’ll definitely make them for Easter.
Tea party was complete with homemade fresh scones and petit fours. The petit fours came from Harry and David. Petit fours as it turns out are hard to find!
Another shot of the party! The baby shower was for a girl… if it were a boy, I would have put blue underneath the lace table cloth!
We use affiliate links in our posts and our site. This means if you make a purchase using these links, we may earn a small commission. You don’t pay a cent more than you would otherwise! Our full disclosure is available under About.
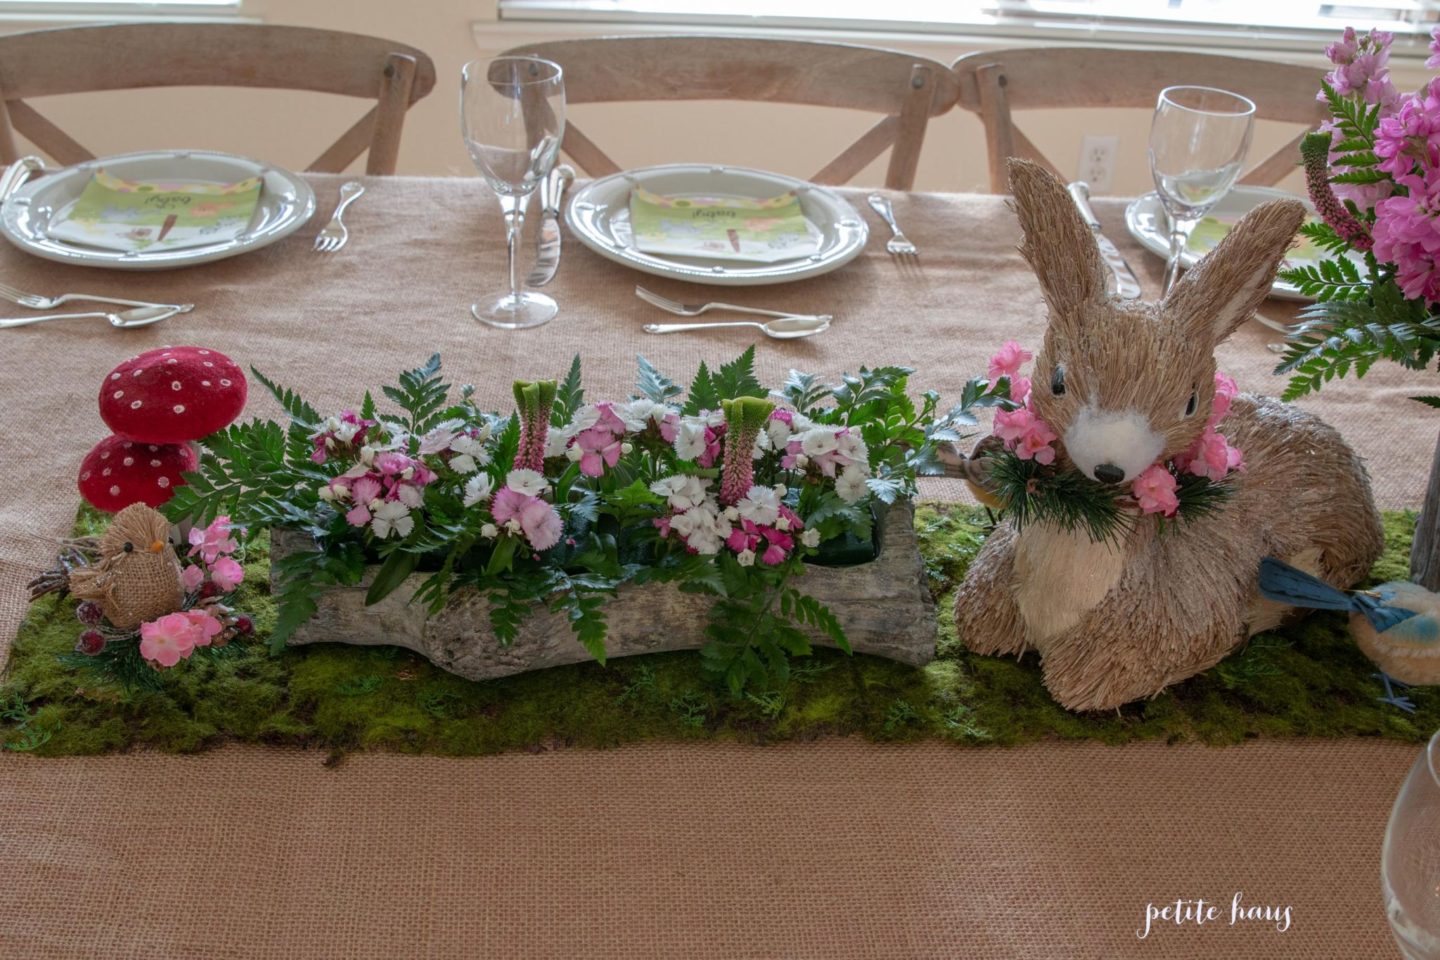
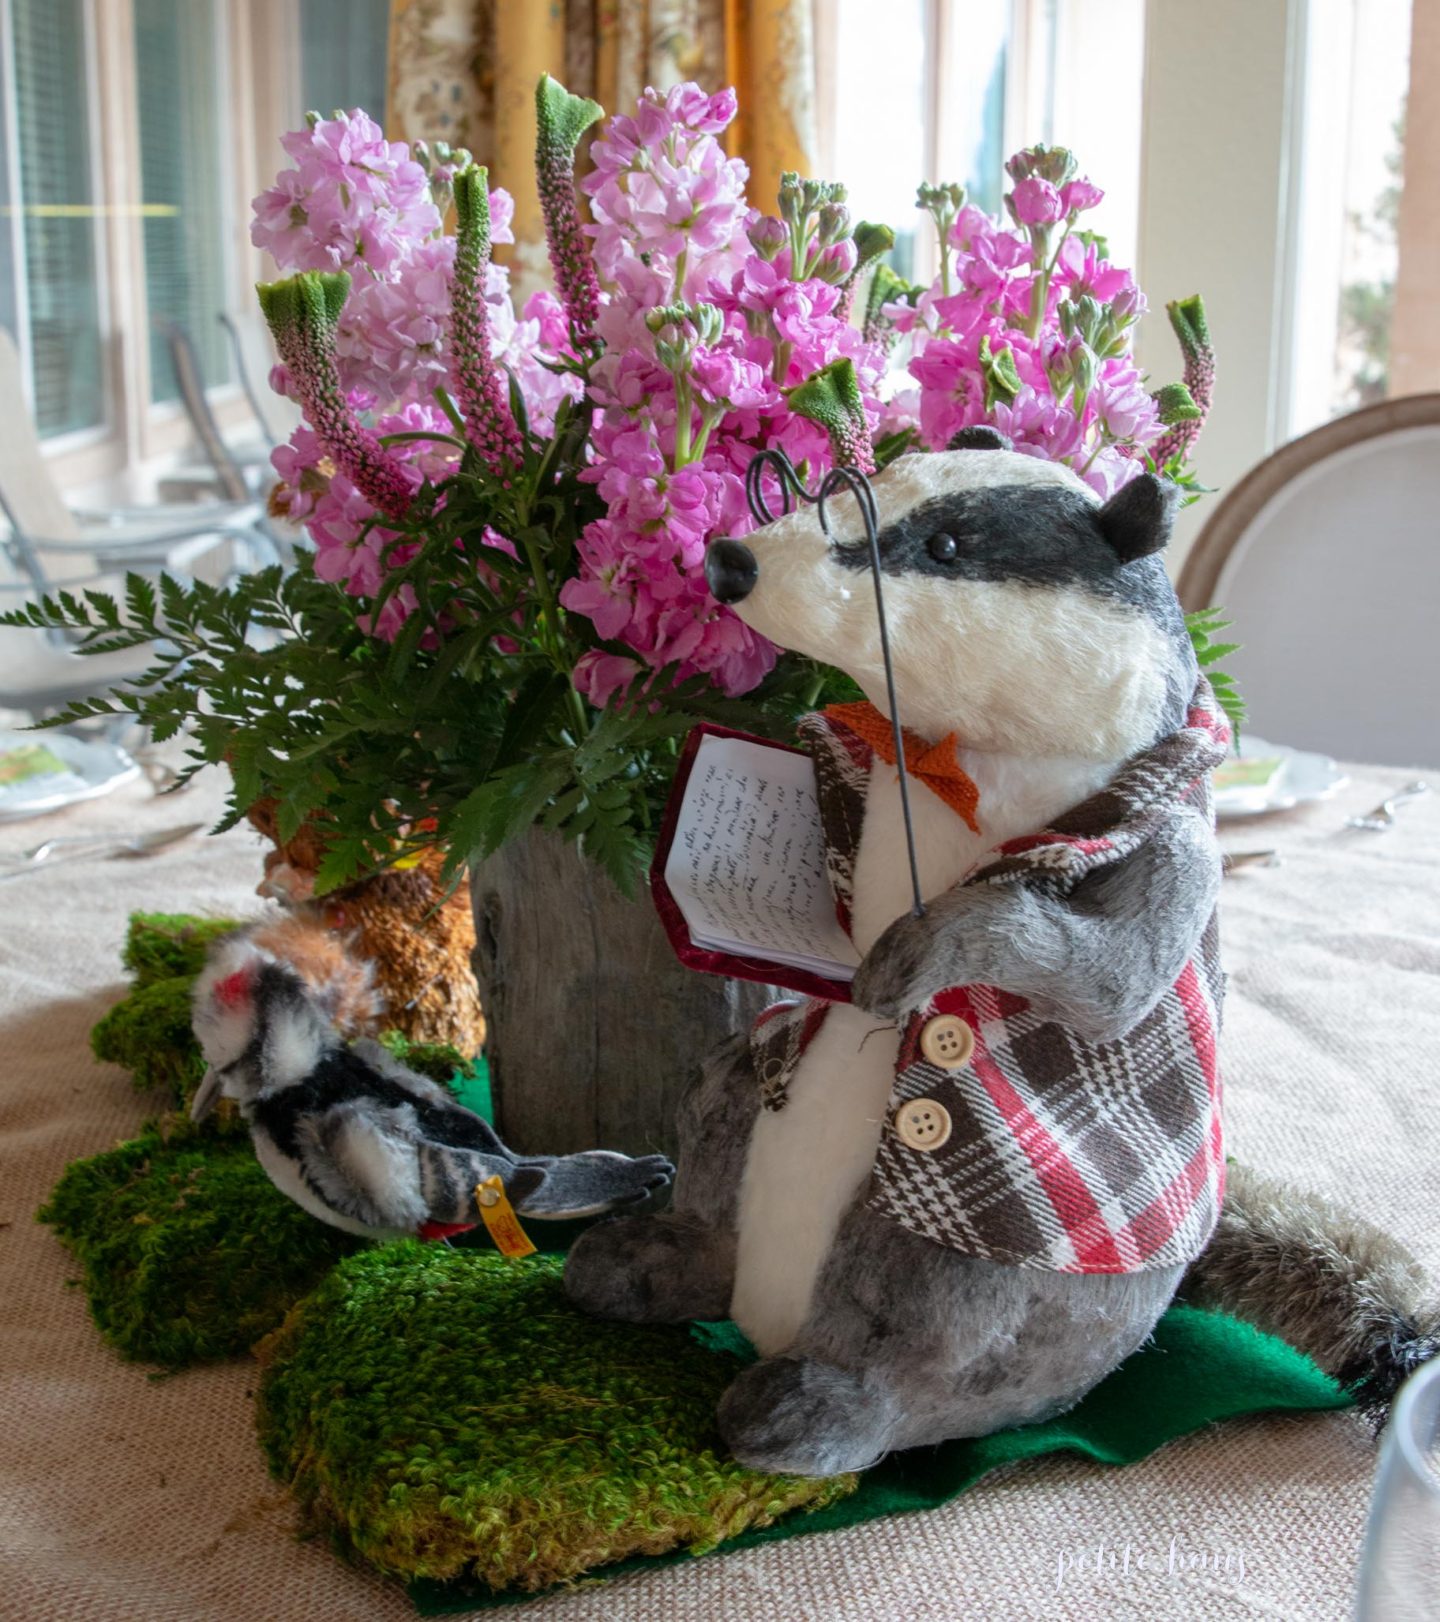
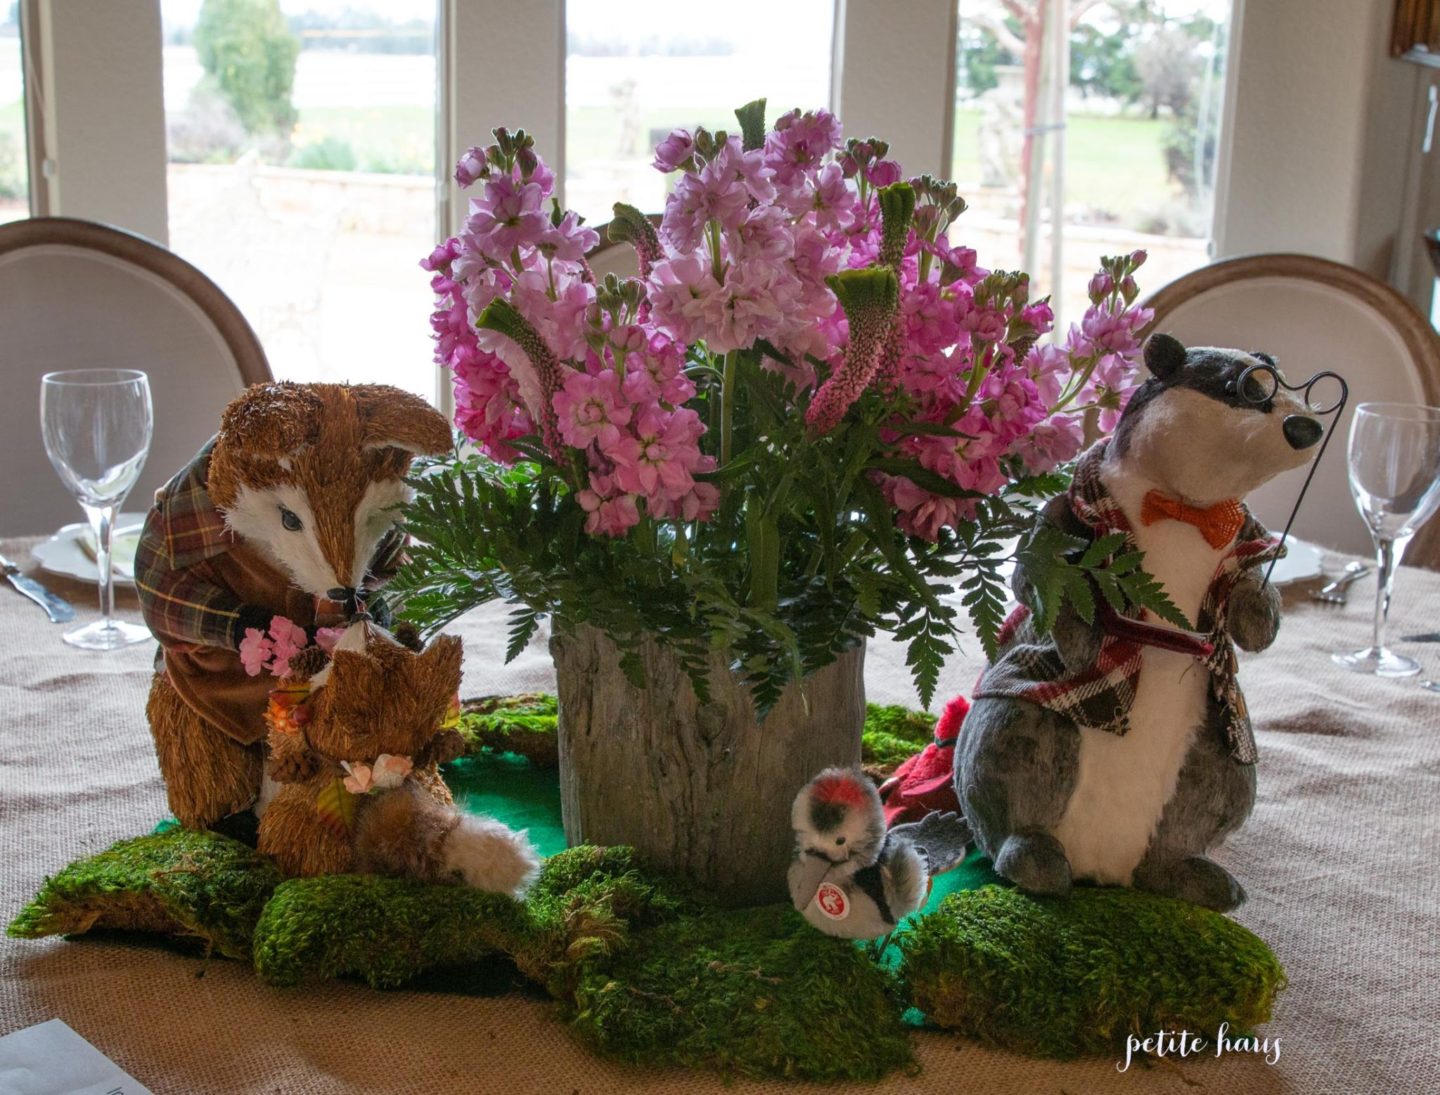
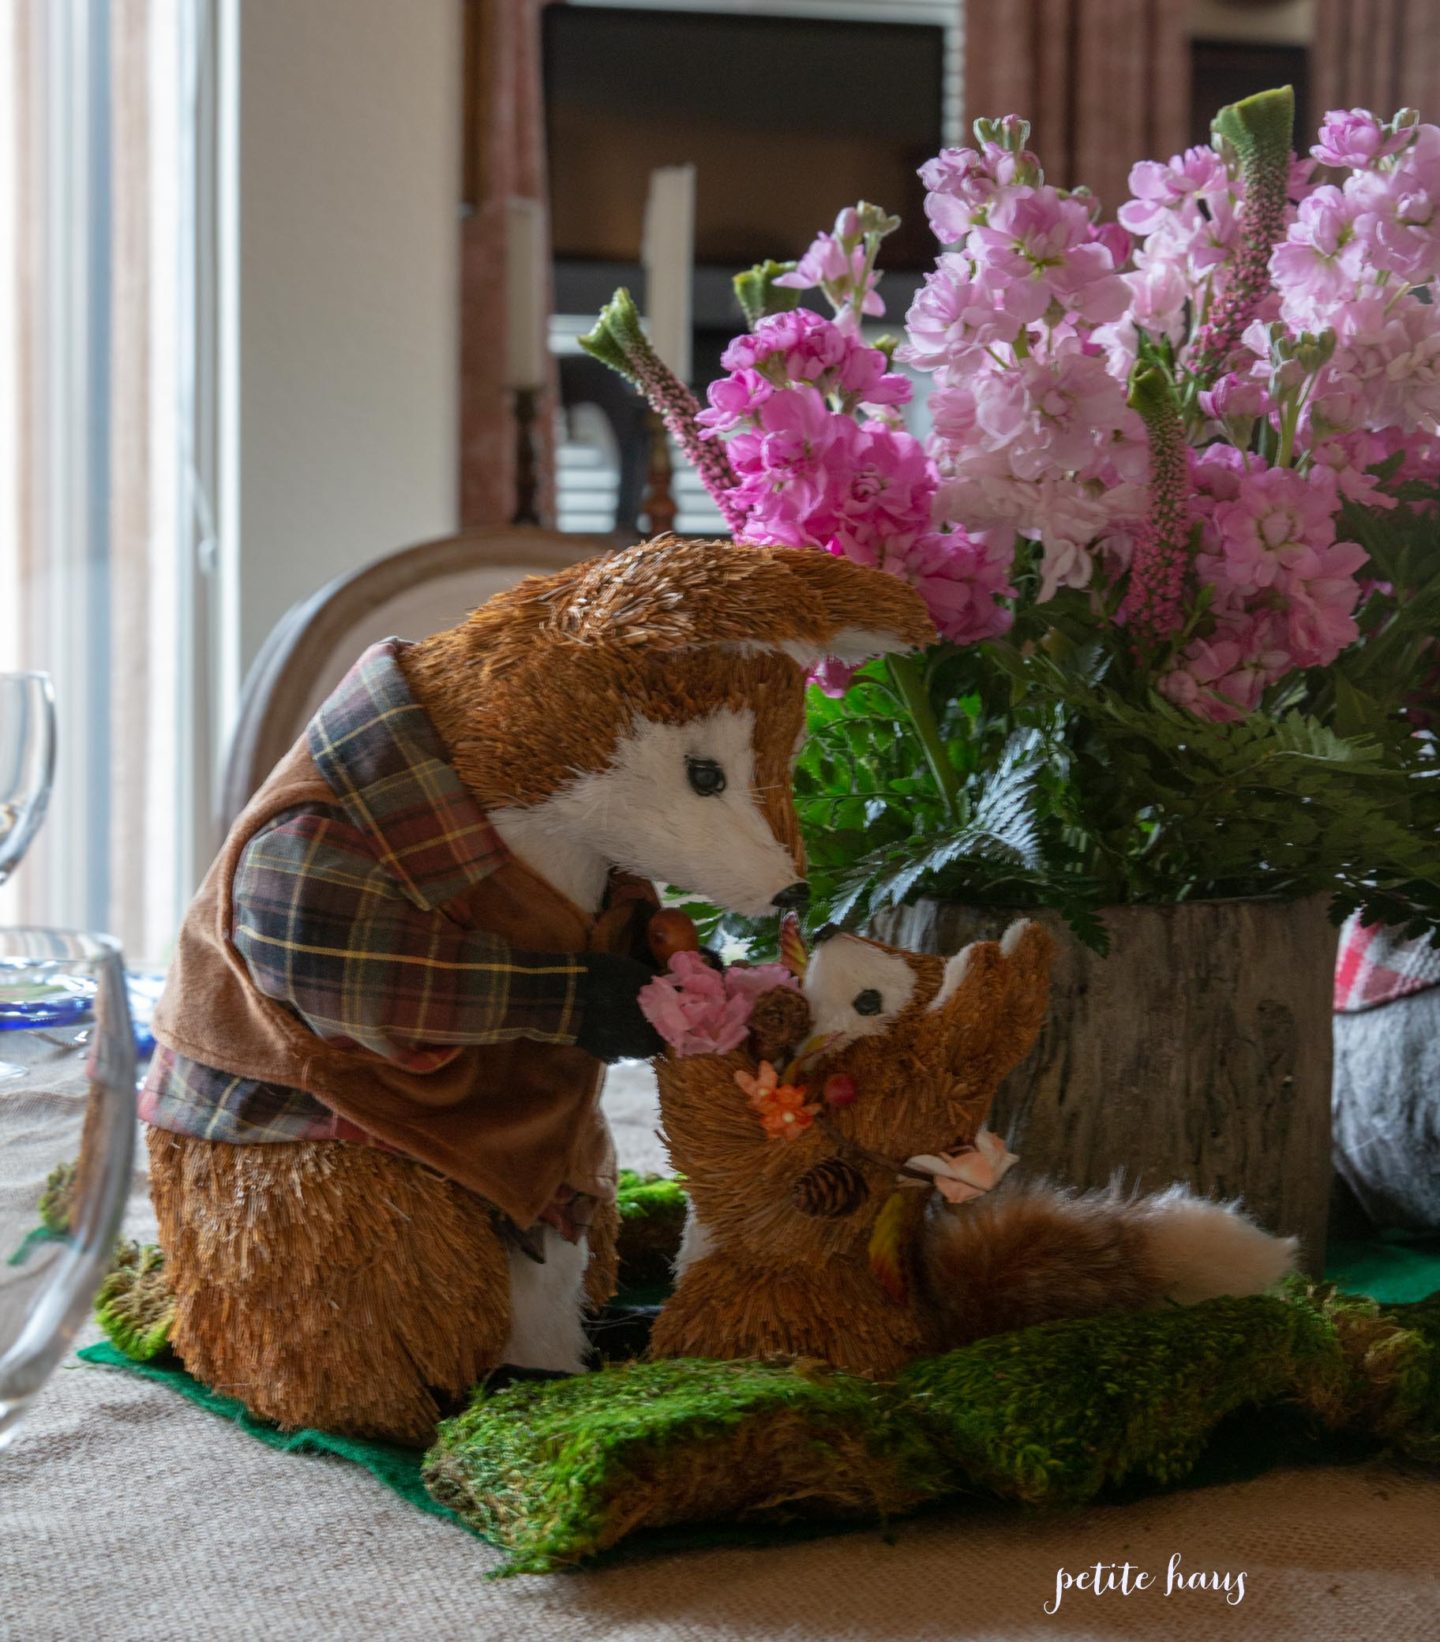
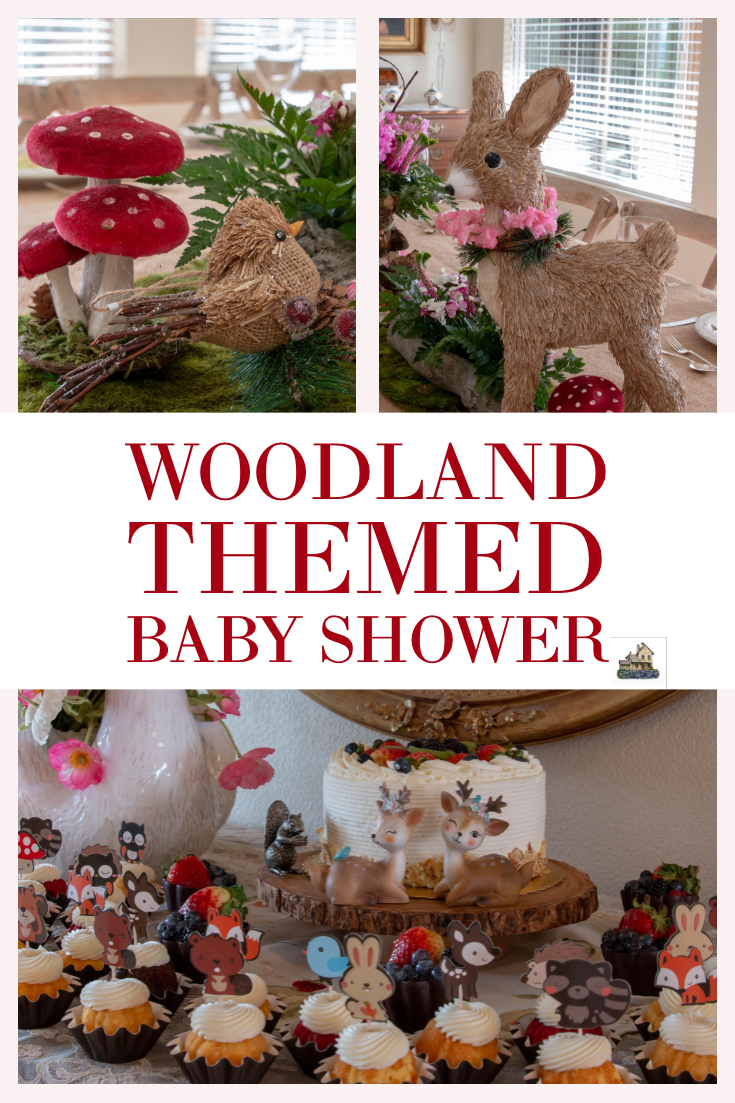
Recently my Mom hosted a baby shower that was Woodland themed! I just had to share some pictures from the shower because it is so cute!
The woodland themed party doesn’t have to be for *just* babies – this would be so cute for birthdays or really any party!
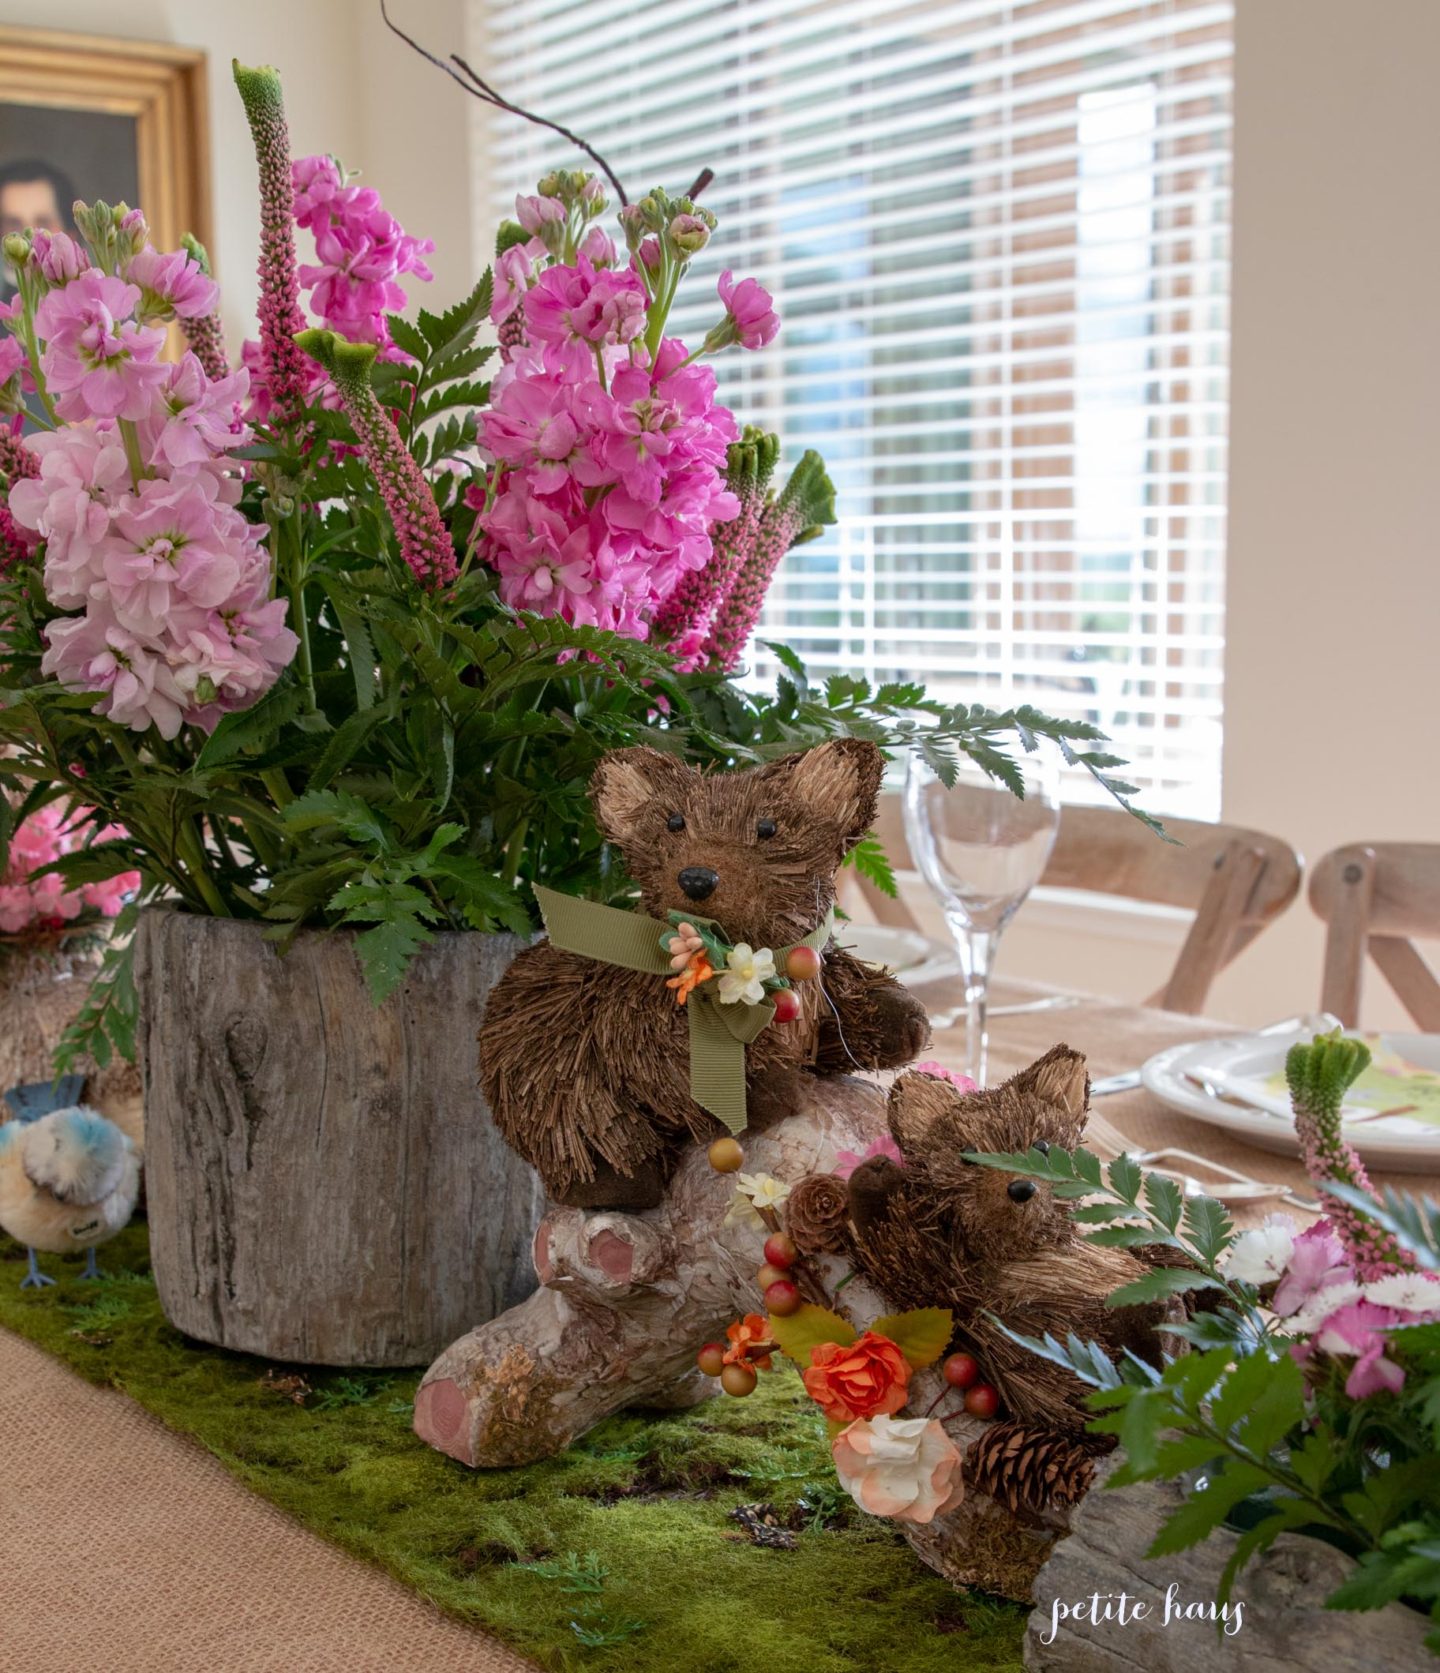
Woodland critters sit on top of a moss runner.
We took the woodland deer from Christmas and put faux flowers around their Christmas collars to dress them up for the party!
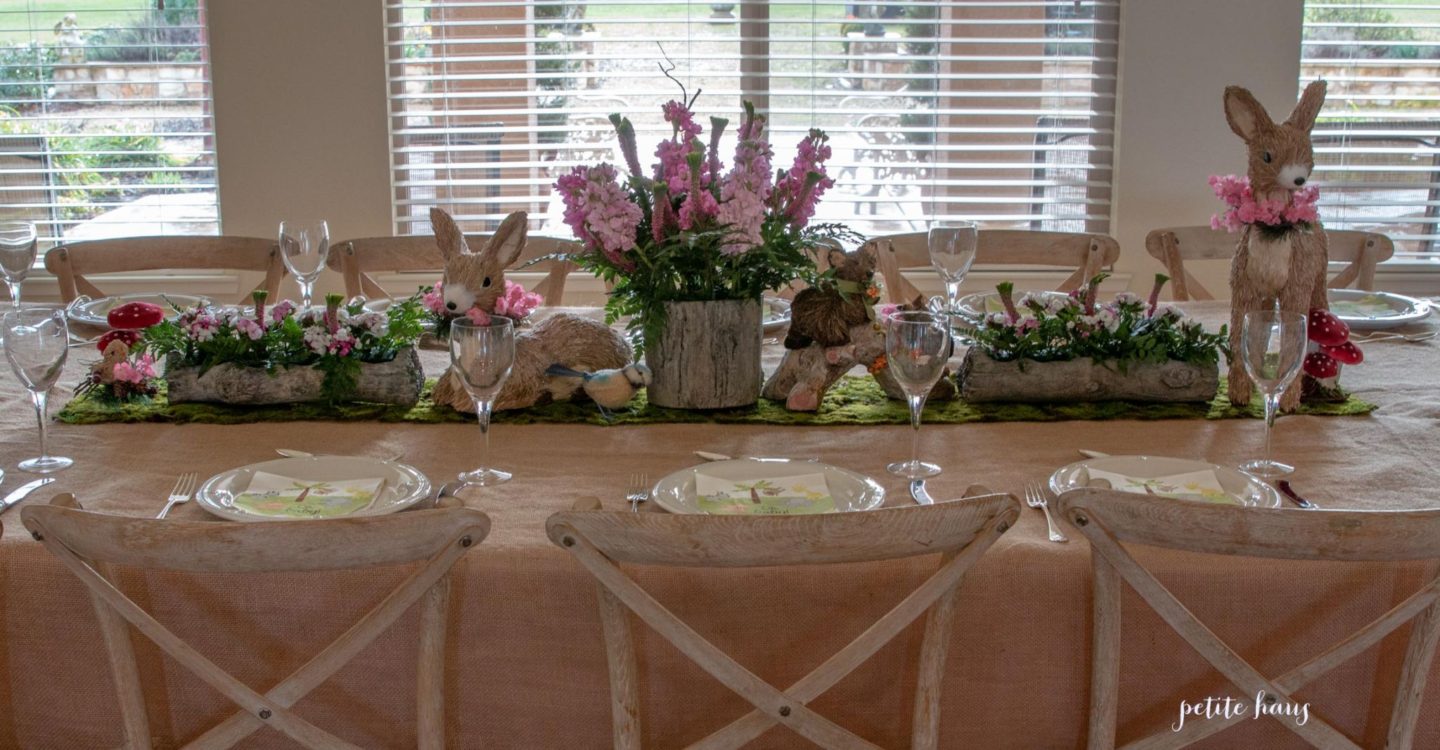
Faux bois vases found at the local floral market were used for the floral arrangements.
Stalks, ferns, and I think they are Celosia were used in the floral arrangements.
Looking at the centerpiece on the other table.
I love all of these woodland creatures!
Moss is sprinkled around the base too. The woodland creatures were a collection from my mom, aunt, and myself!
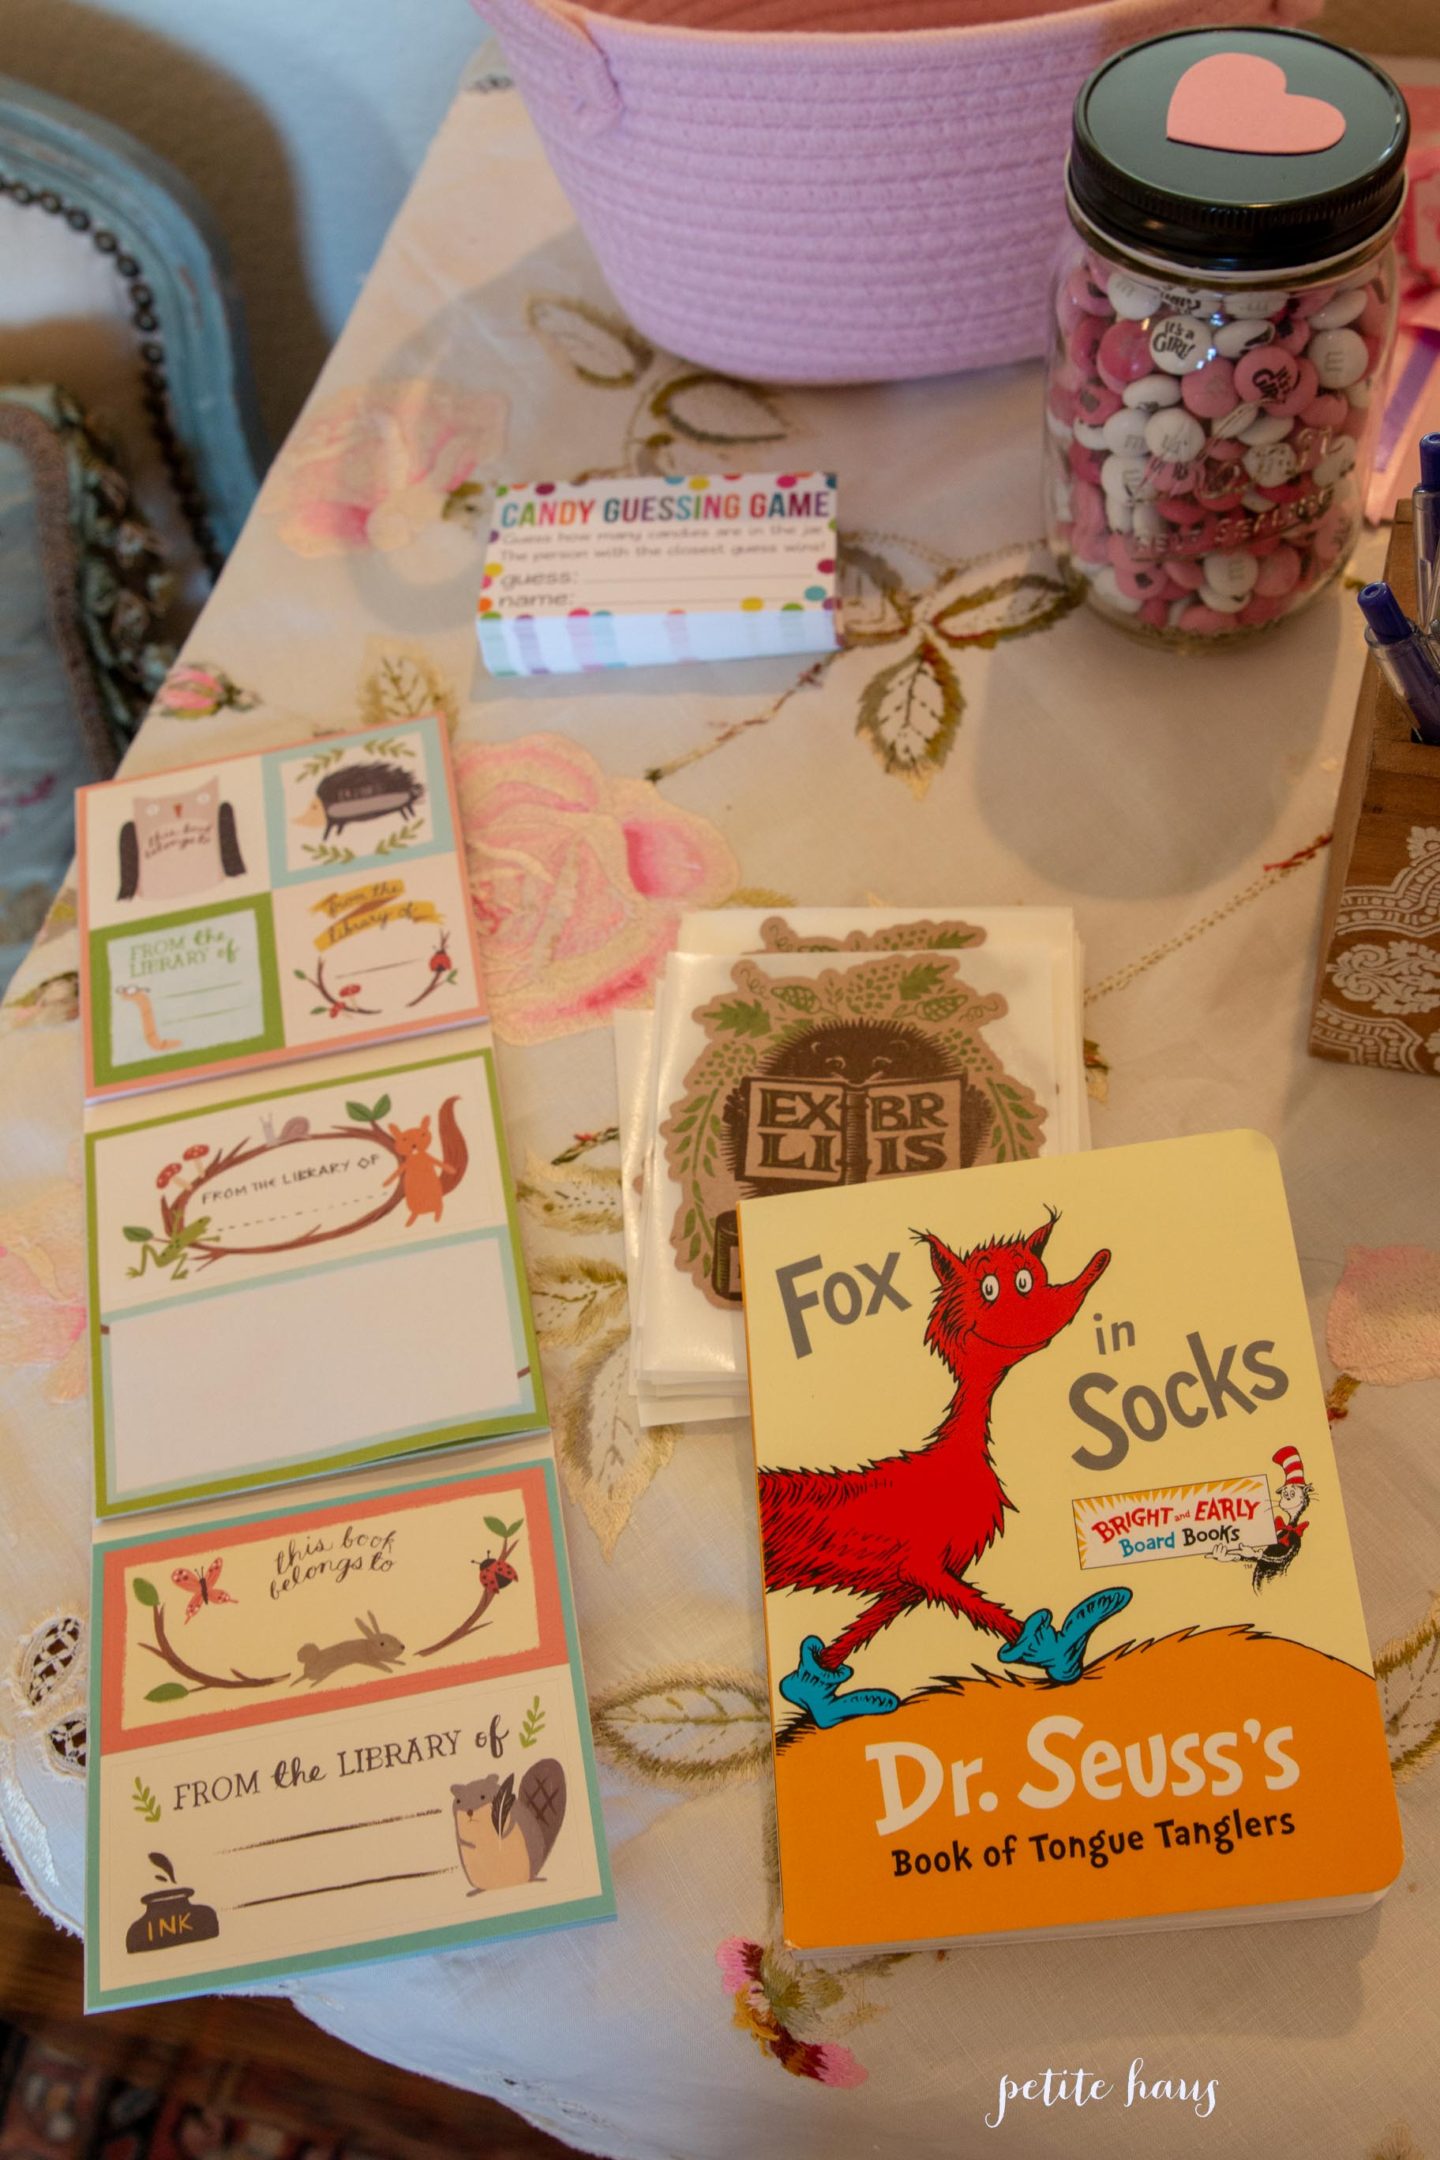
A party idea which I thought was really cute… instead of bringing cards we brought children’s books. Then we signed a bookplate for the baby so she will have a library of books!
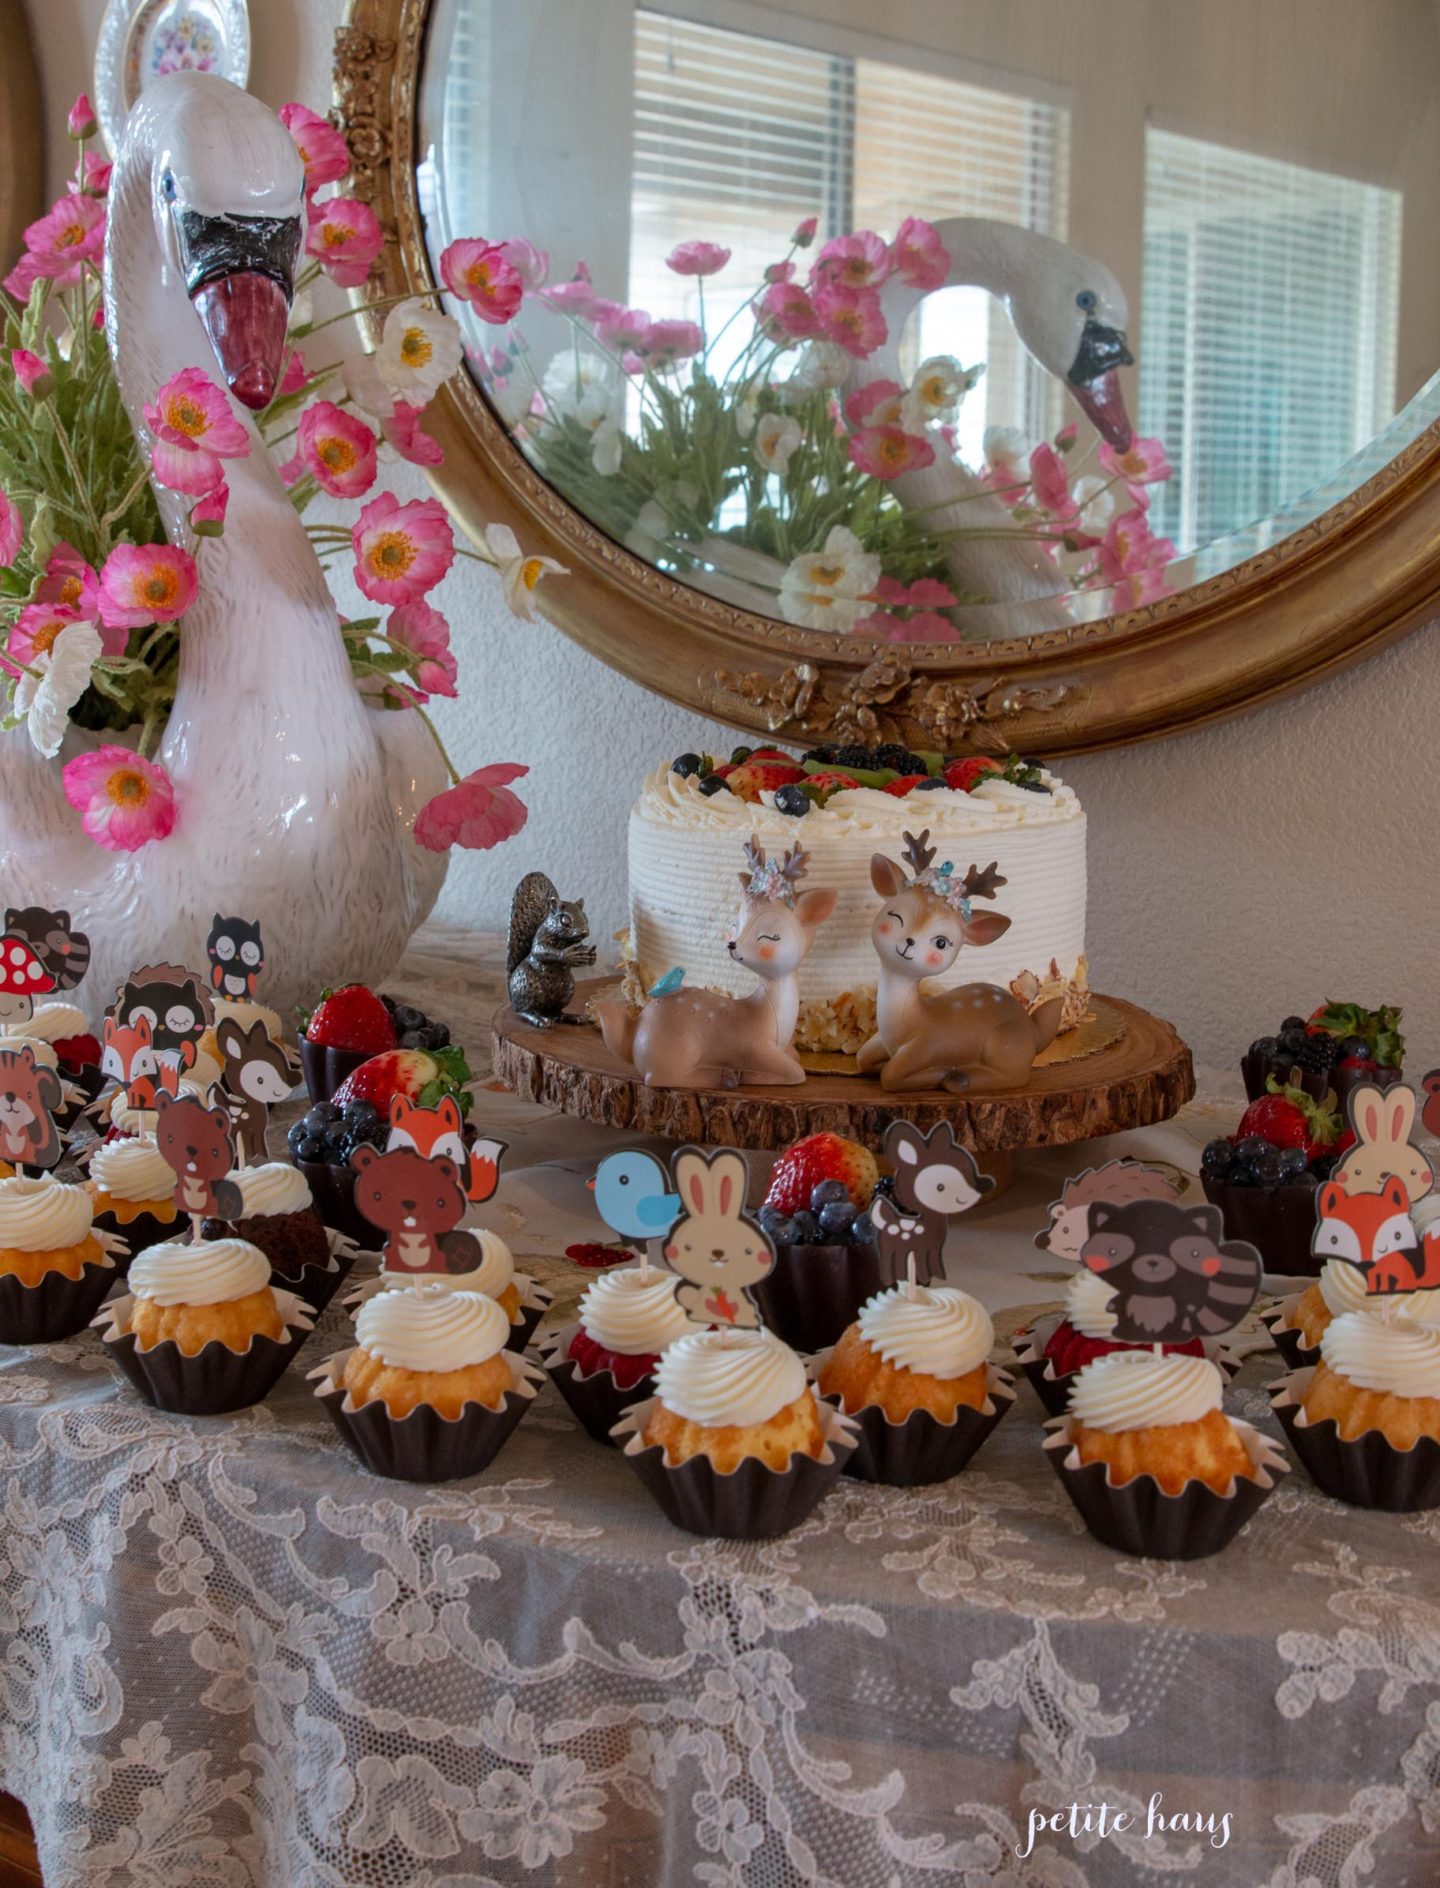
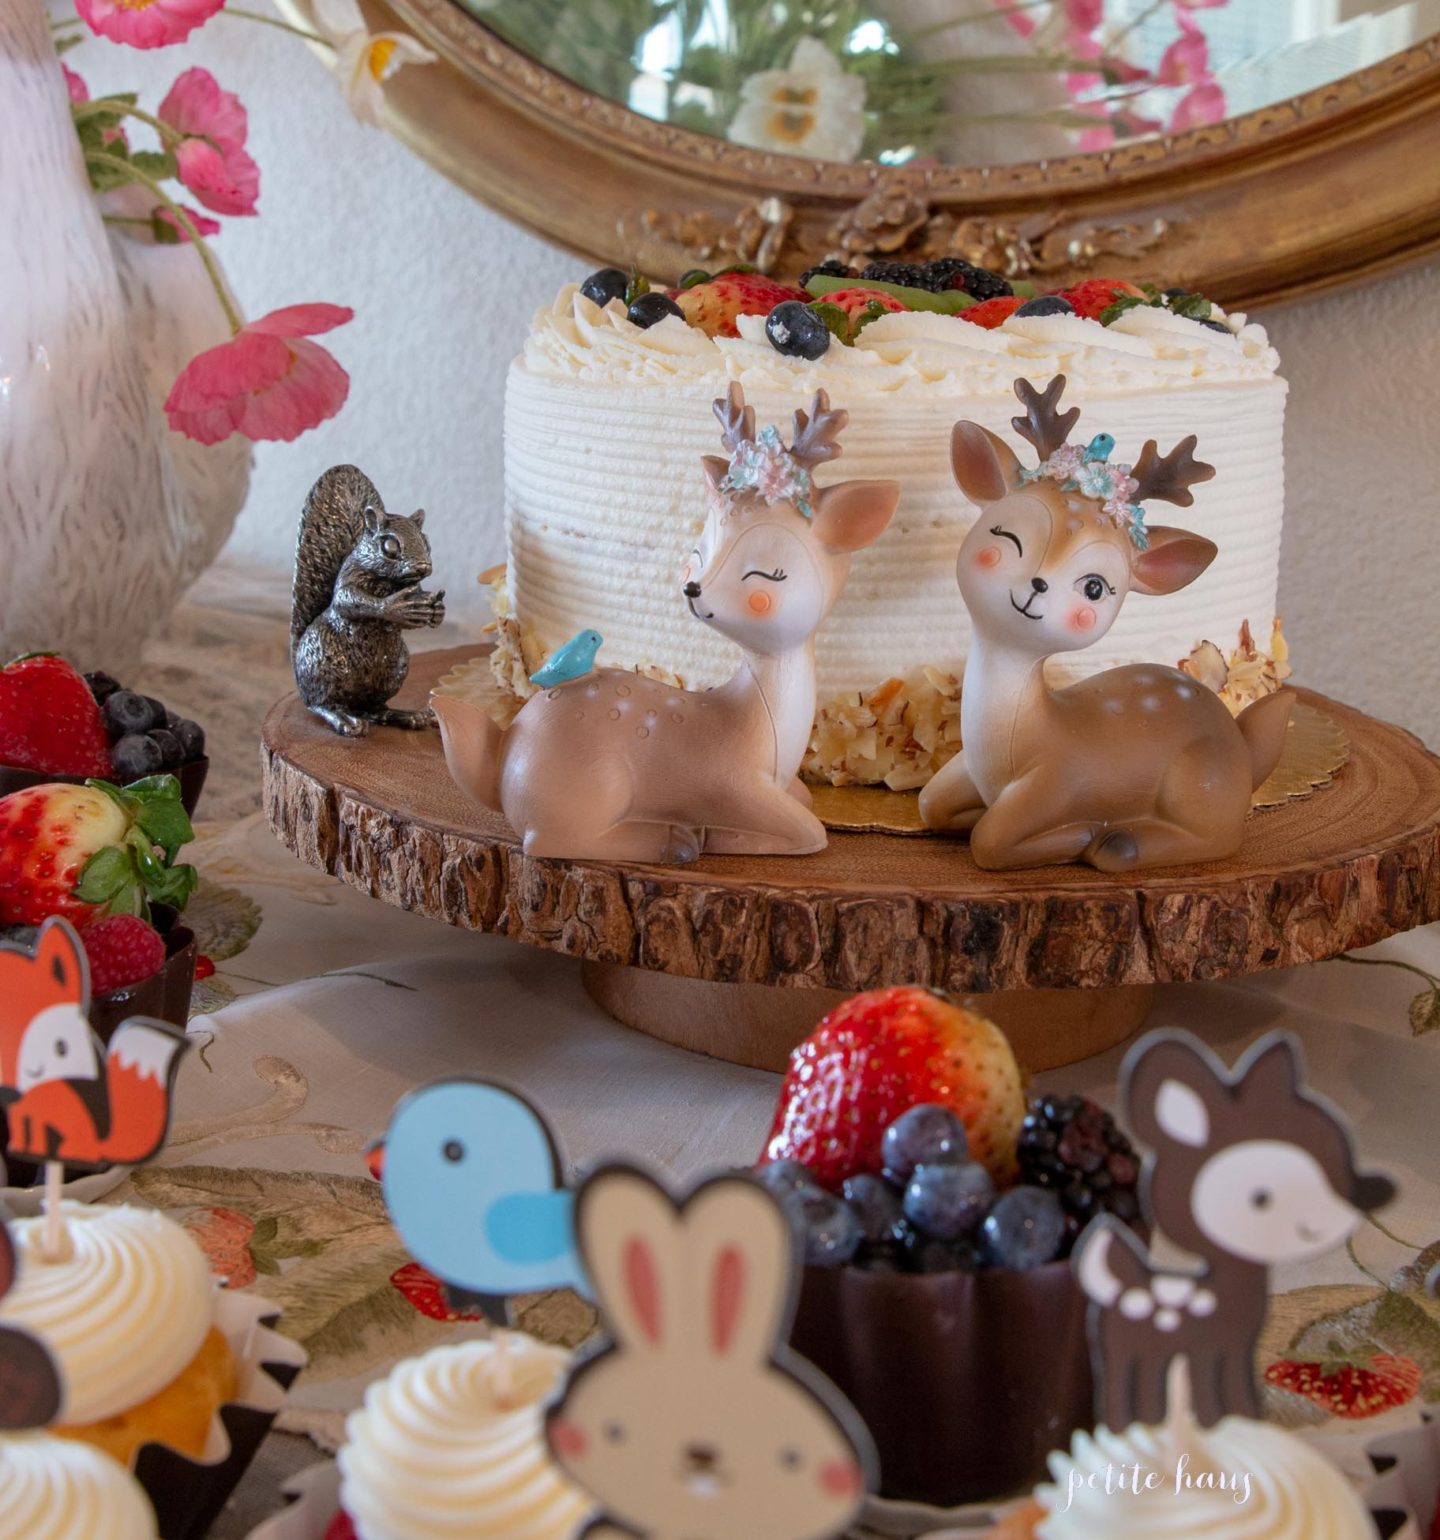
For parties, you don’t have to go fancy with the cake. This cake came from the grocery store (a fruit basket cake, yummm, delicious!!!) Then there are also mini bundt cake bites from Nothing Bundt Cakes.
The cake was displayed on my woodland cheese platter with cute vintage deer used for this adorable theme.
I hope you enjoyed the pictures from the party and took away some ideas for a woodland themed party!
We use affiliate links in our posts and our site. This means if you make a purchase using these links, we may earn a small commission. You don’t pay a cent more than you would otherwise! Our full disclosure is available under About.
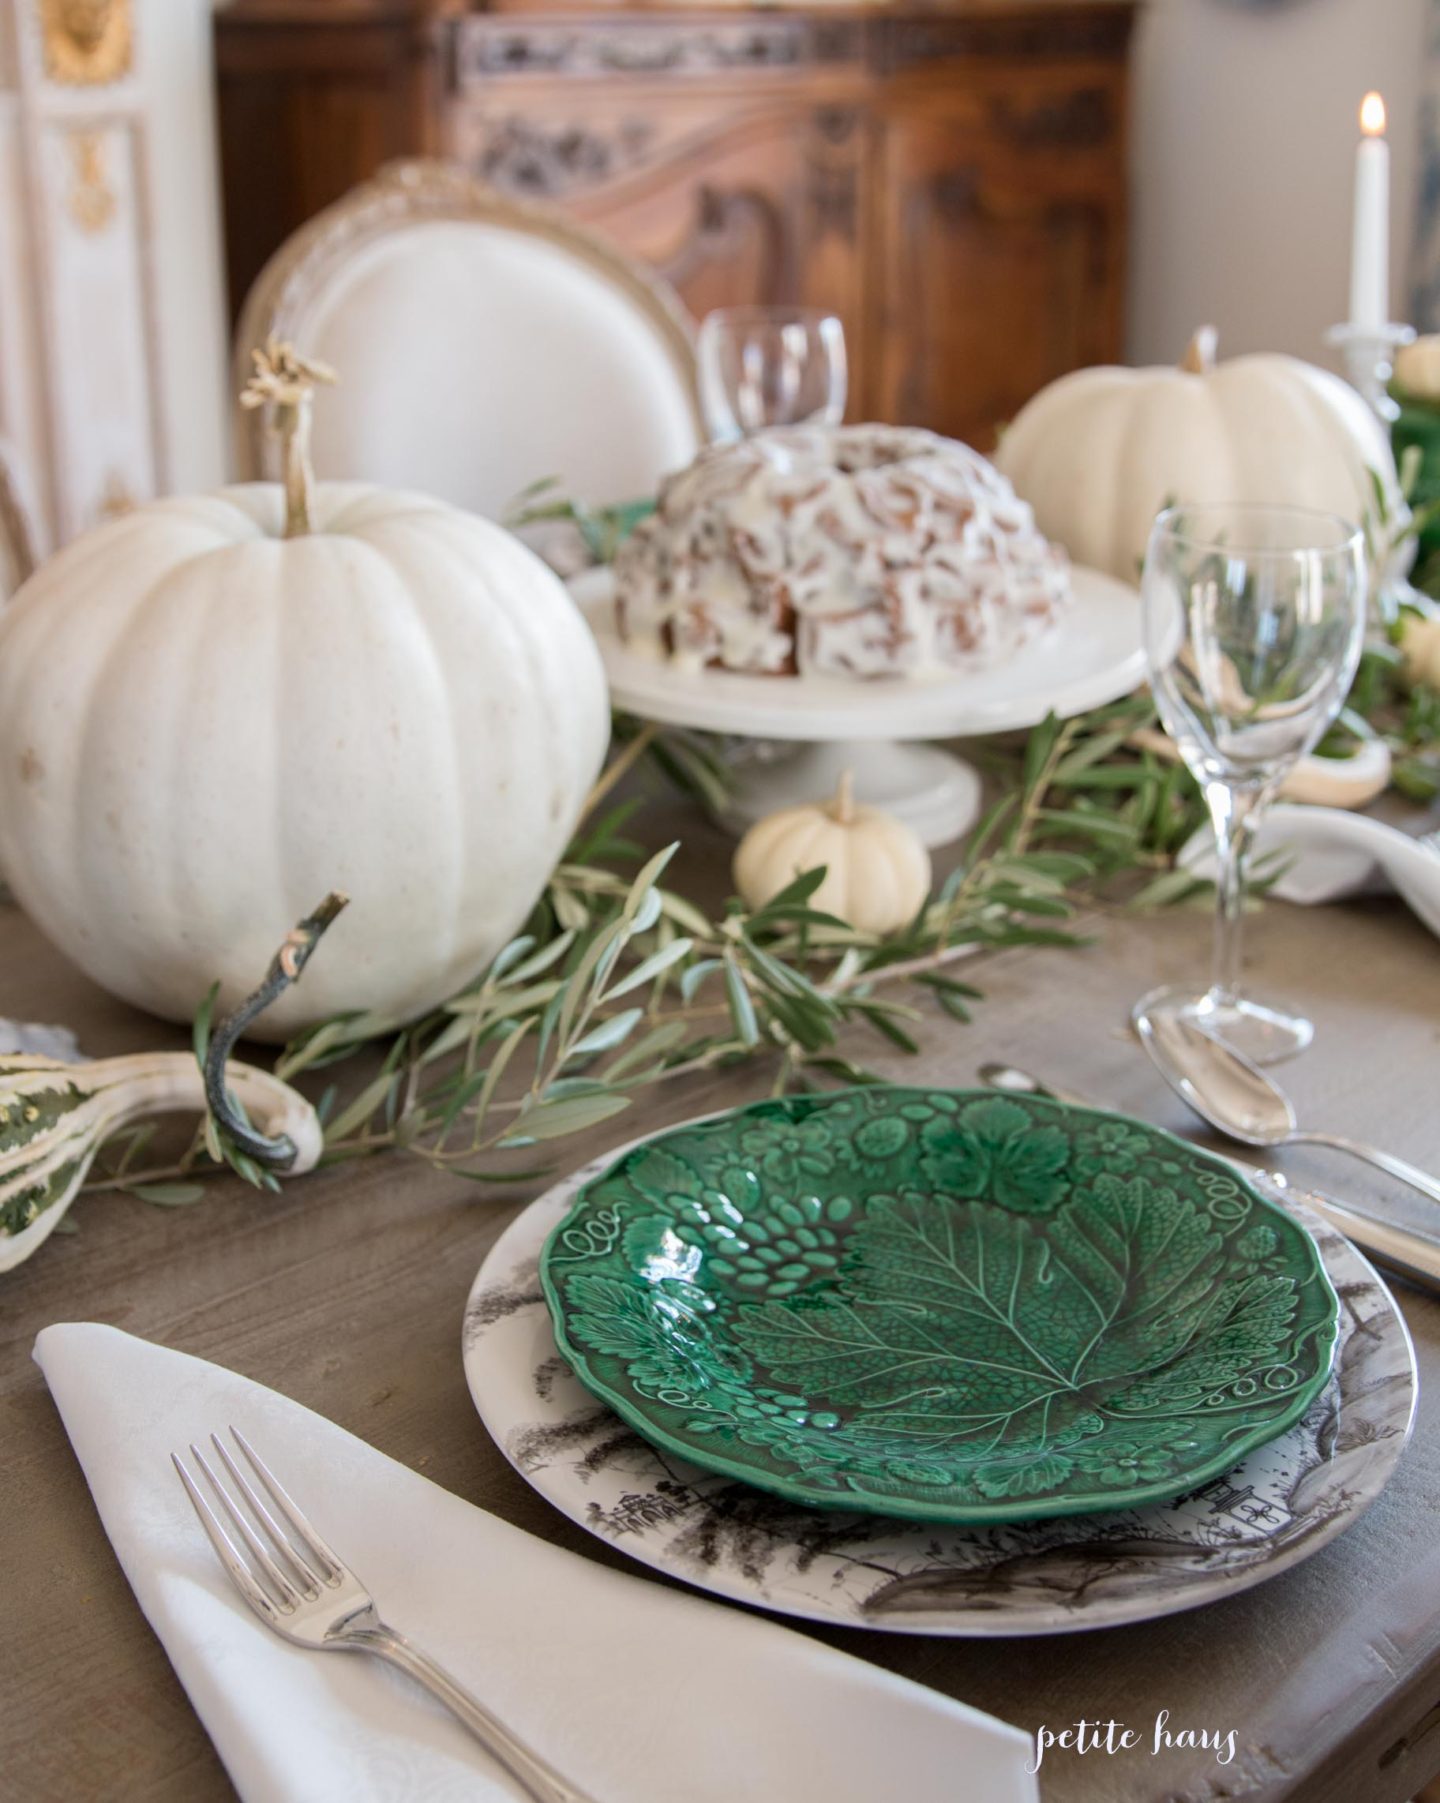
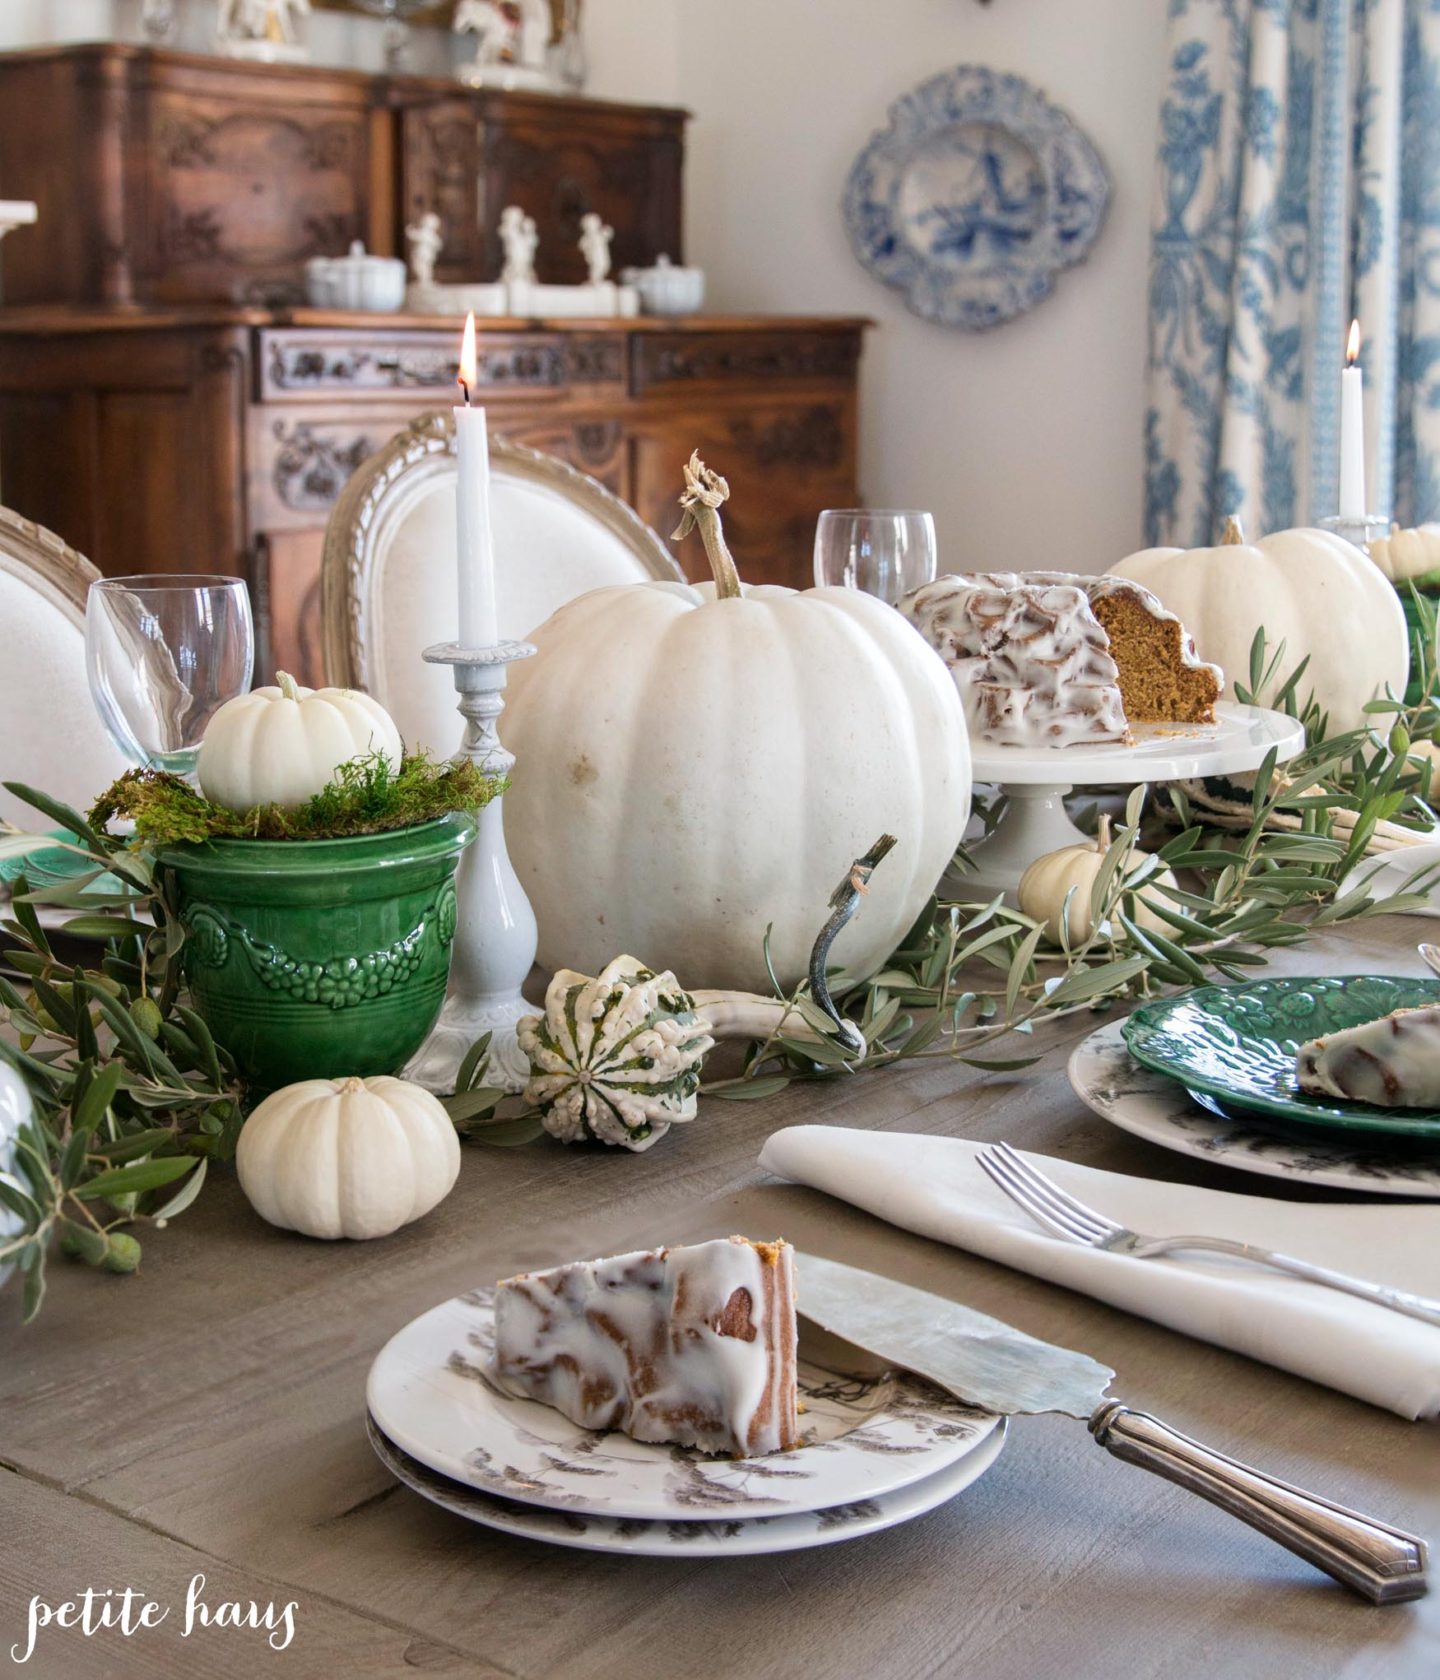
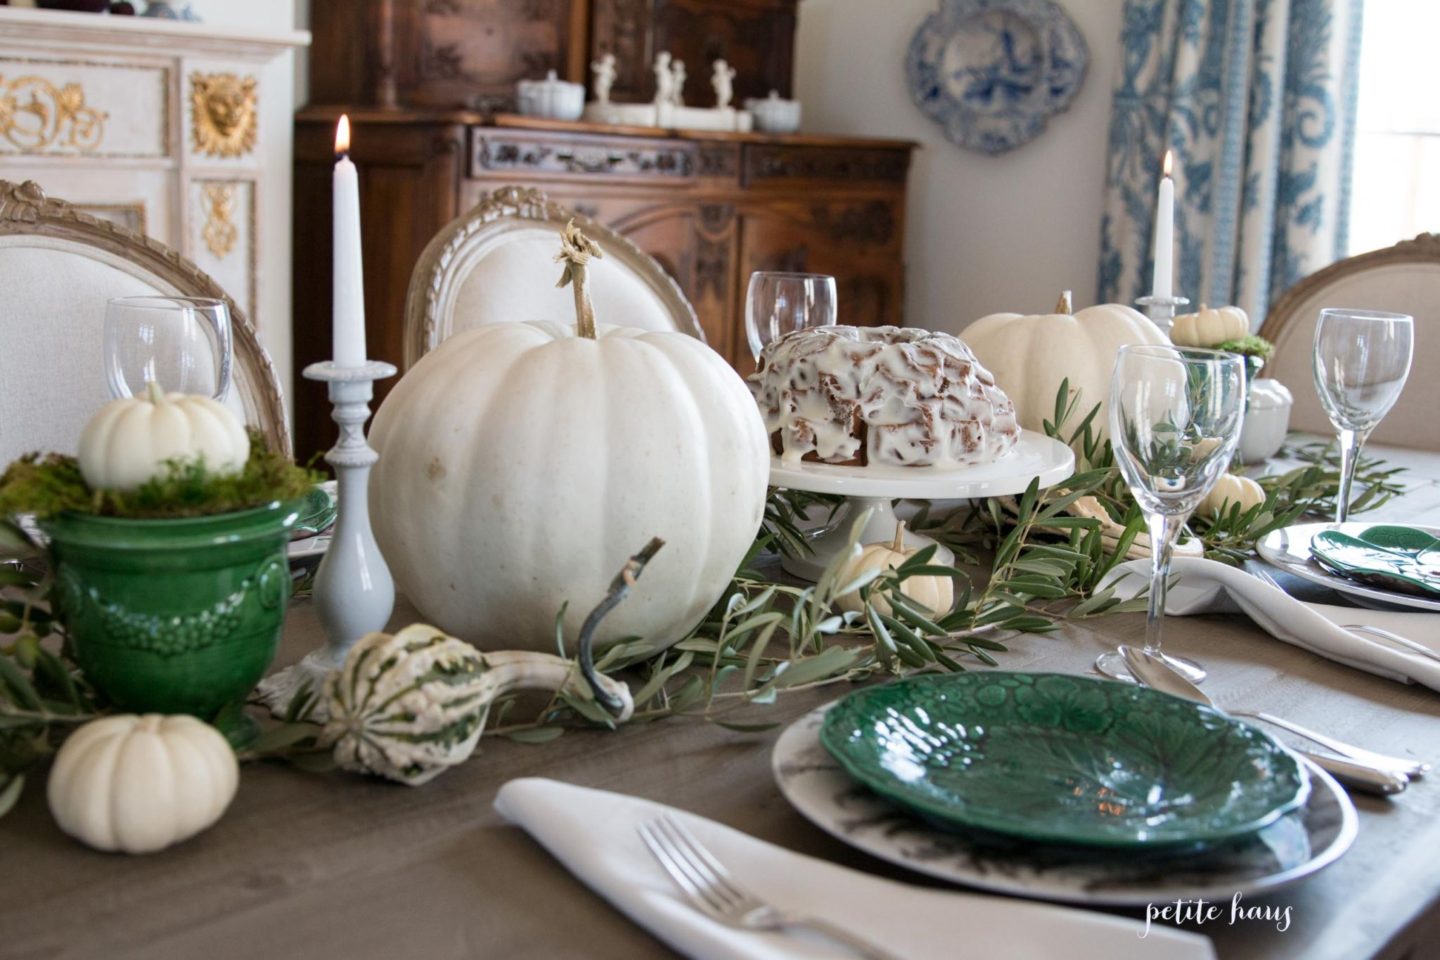
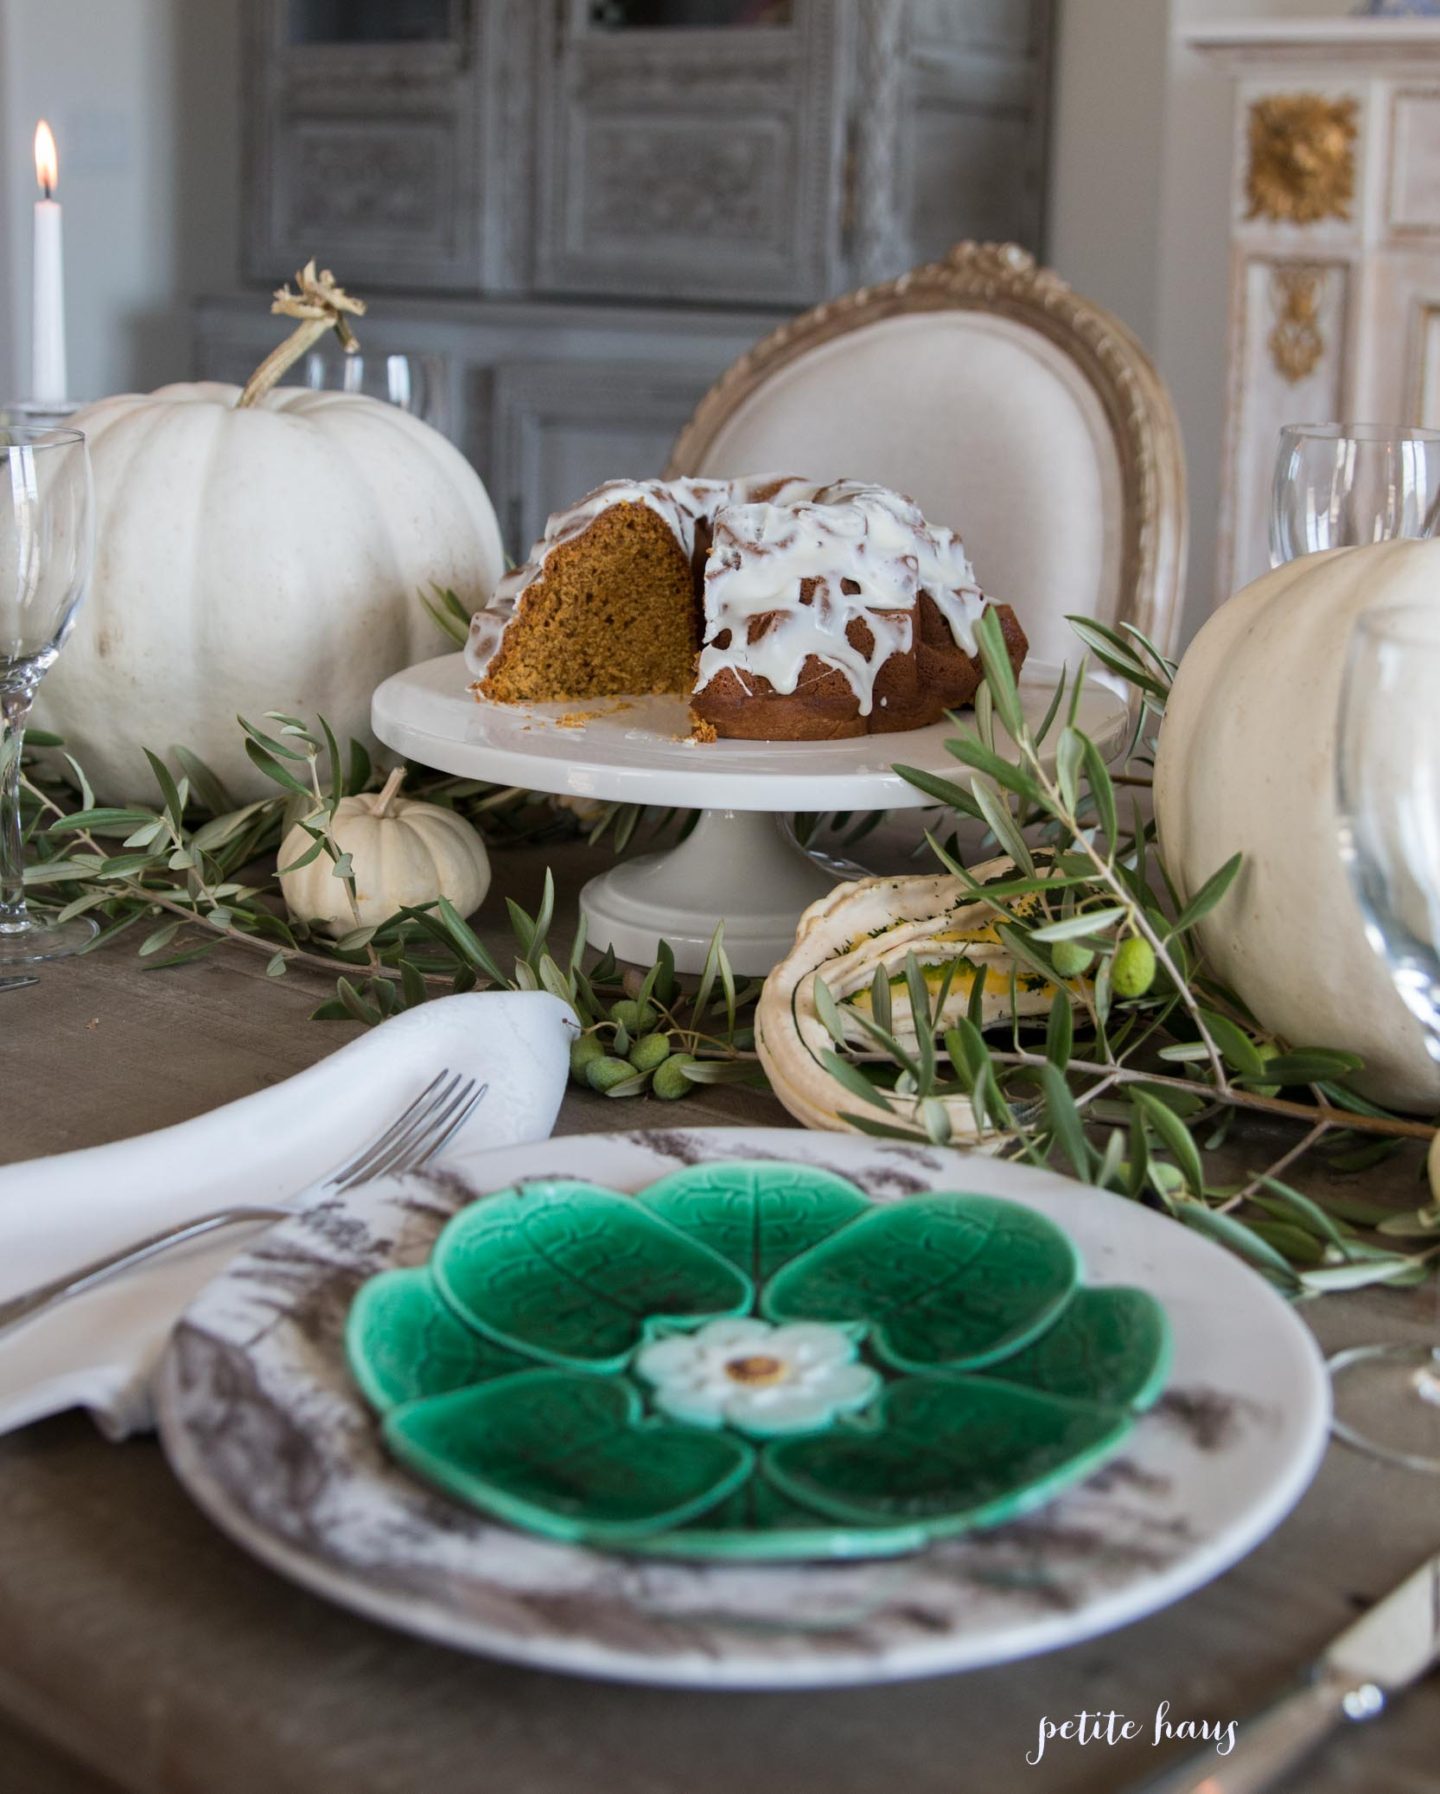
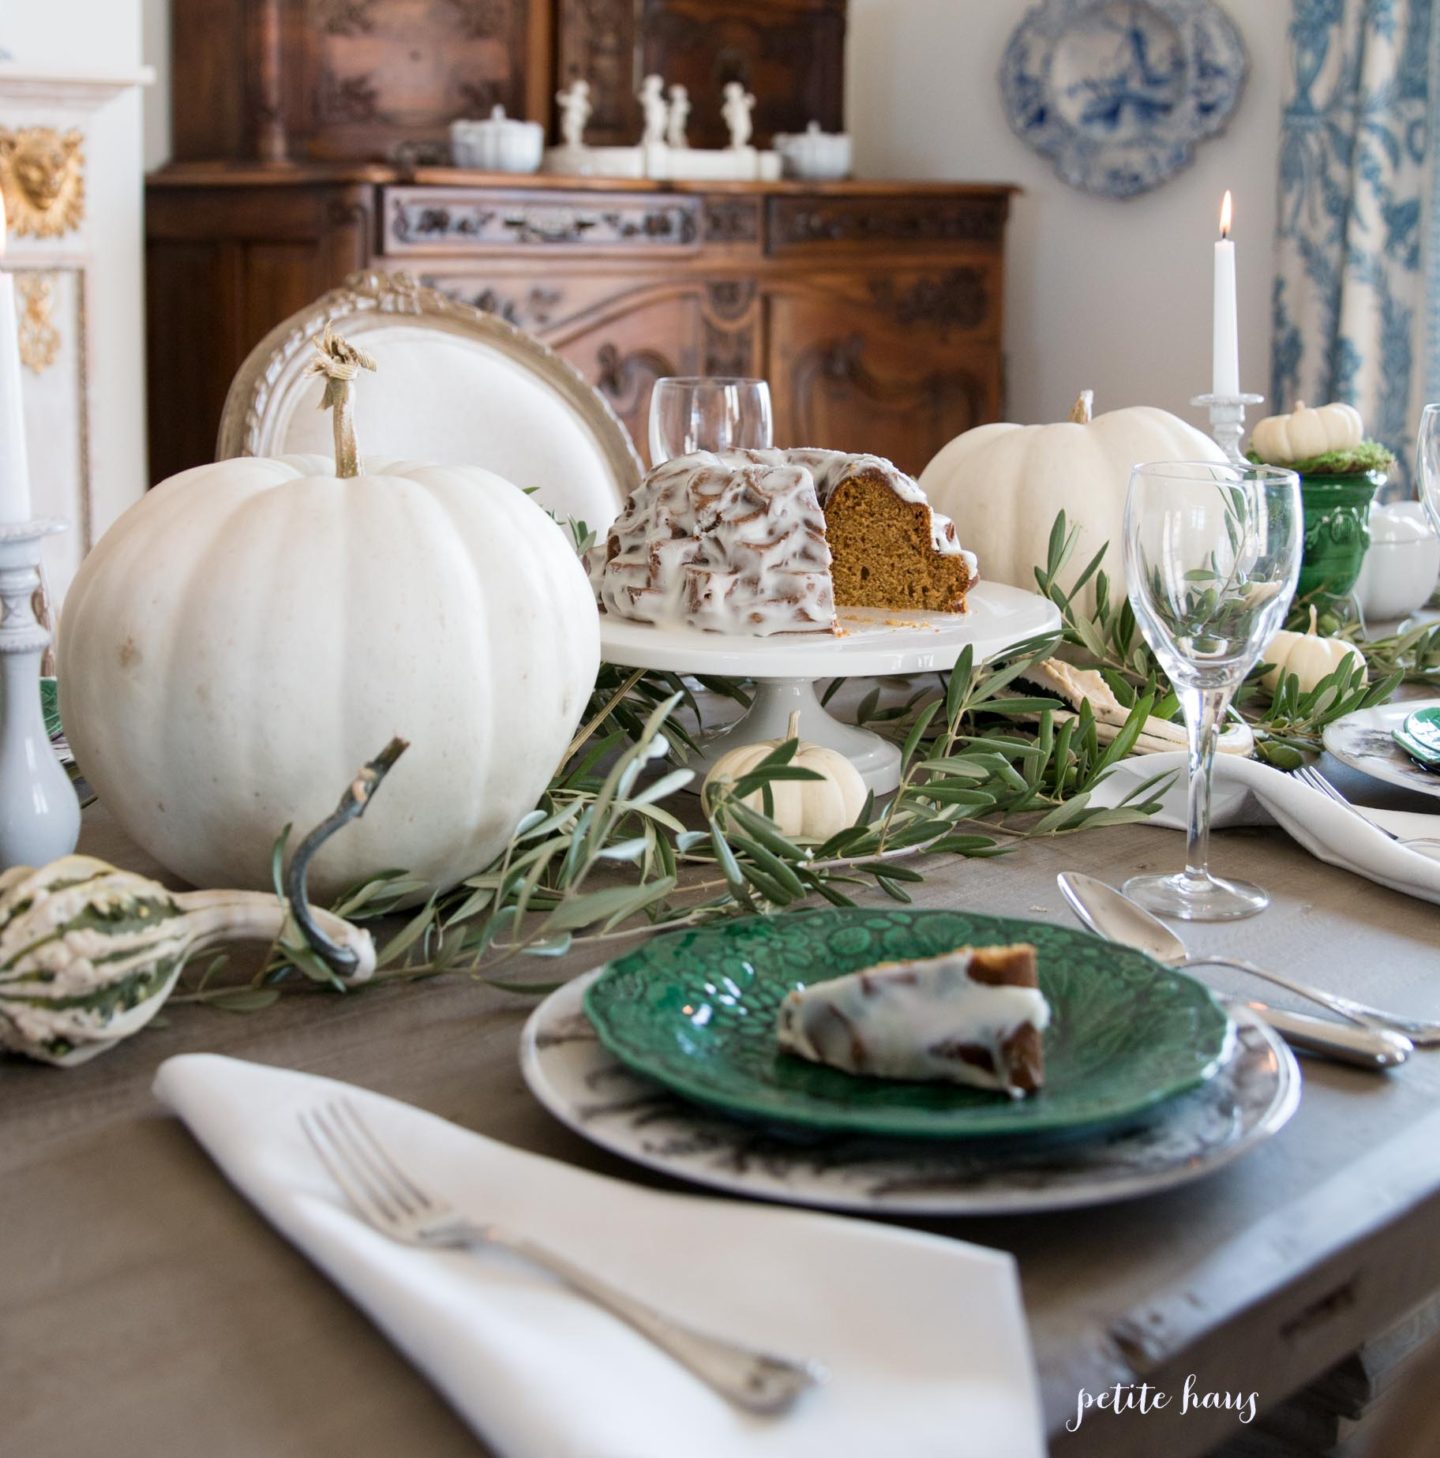
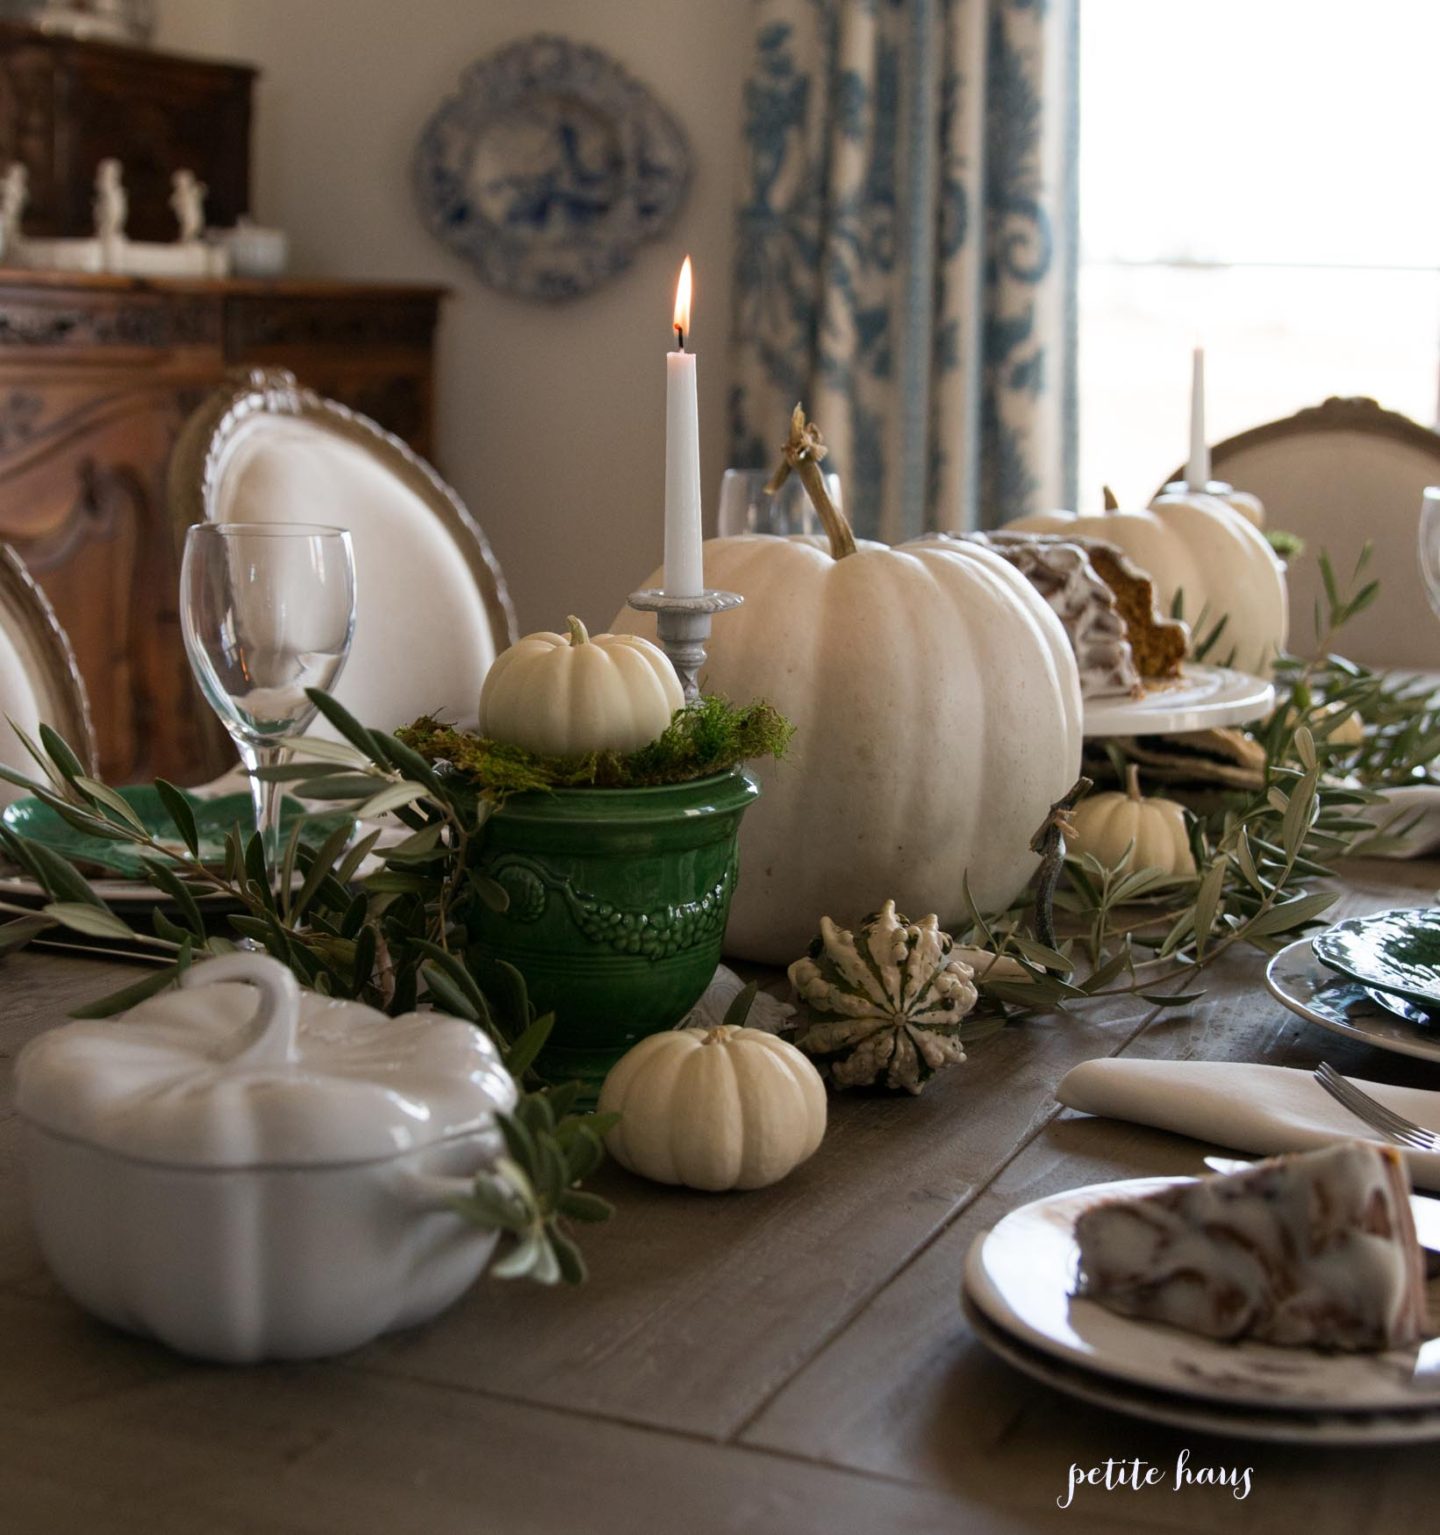
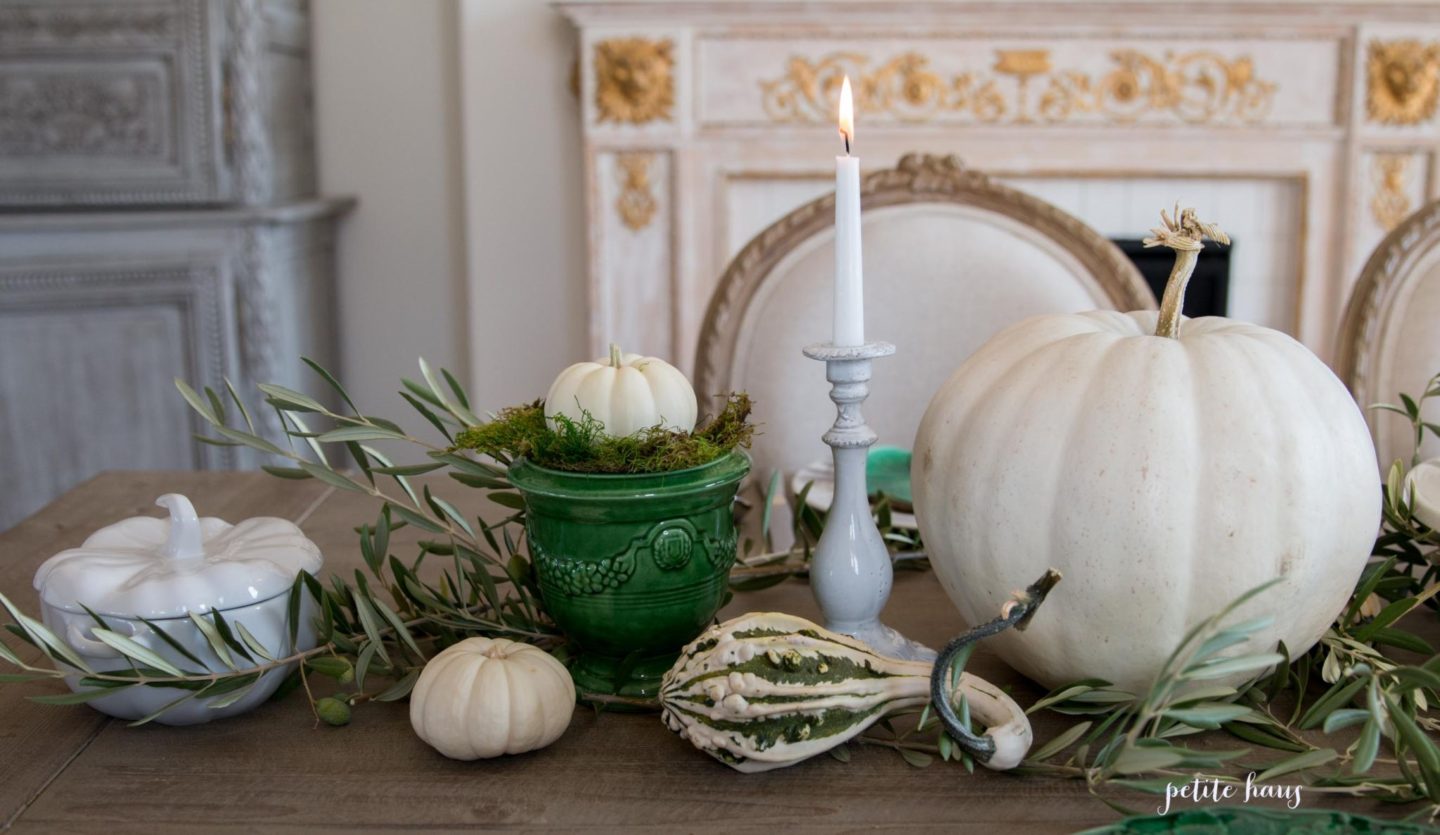
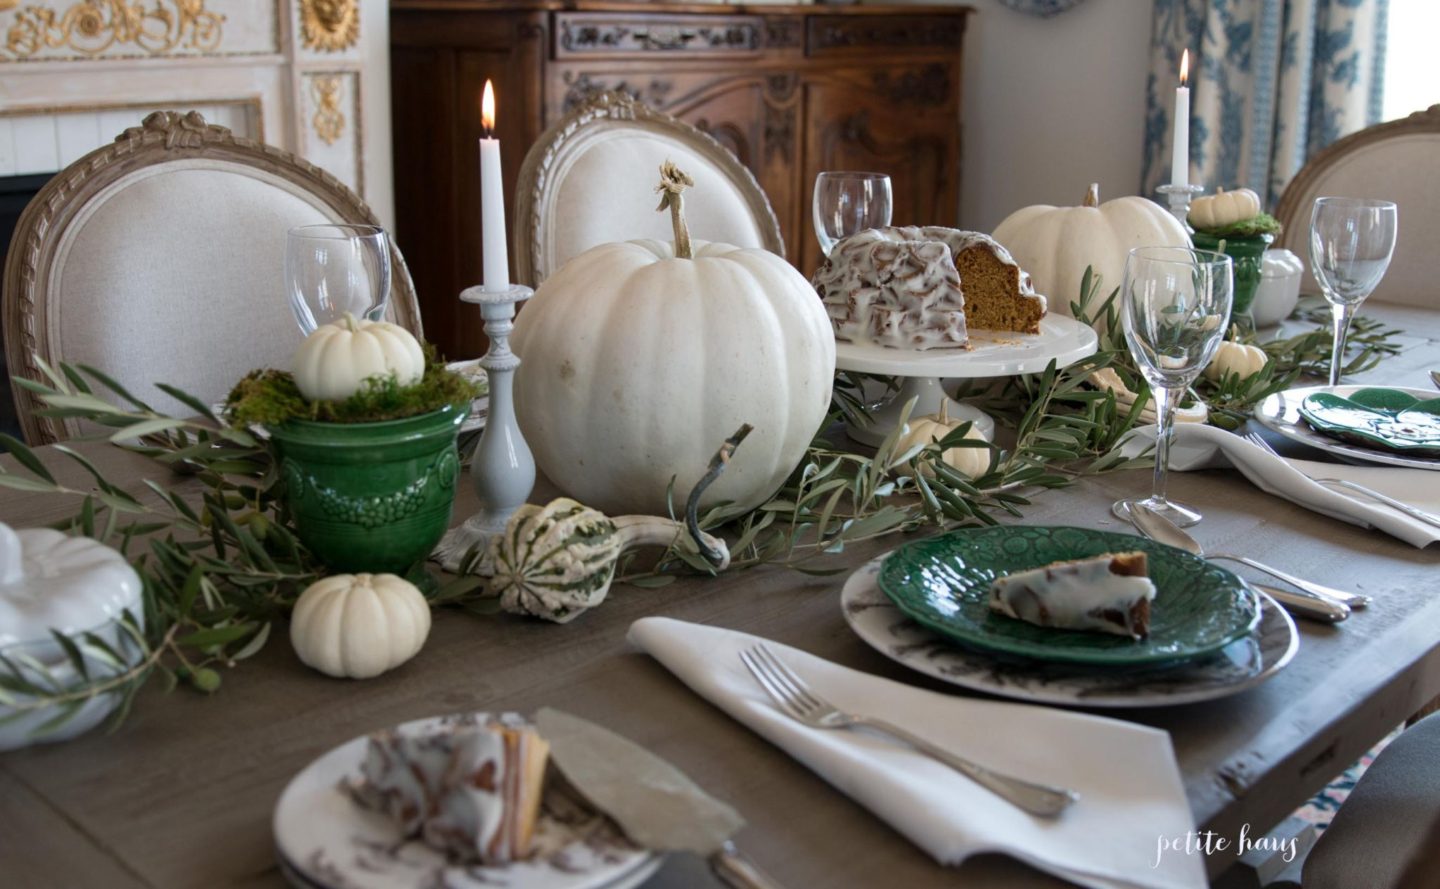
A Thanksgiving Tablescape in nontraditional colors. I know I shared this table earlier this Fall, but I made a few tweaks and a cake! Next week I’m sharing my traditional Thanksgiving table as part of a Thanksgiving table blog hop! It’s fun to compare and contrast the two looks.
If you remember, the table from a few weeks ago had white pumpkin cocottes on top of each place setting. I removed those, added some candles and a cake.
Now you can see what green plates were hiding below – these beautiful majolica plates!
Yes, we eat off of our antique and vintage china, as pictured below. I recommend not using any knives on it so they won’t scratch the dishes!
I love dining by candlelight, especially in the Fall and Winter. I pulled out my new candlesticks for this table!
Now it took me a while to find a candle that actually fit these candlesticks. These candlesticks are made in France, so of course the candles don’t come in standard US sizes. I went to lots of different stores trying to find candles that would fit. I ended up having to cut a larger candlestick to size in order to fit.
To set your Thanksgiving tablescape, you can try some new things: maybe use non traditional colors. Use your antique or vintage china. Dine by candlelight.
We use affiliate links in our posts and our site. This means if you make a purchase using these links, we may earn a small commission. You don’t pay a cent more than you would otherwise! Our full disclosure is available under About.
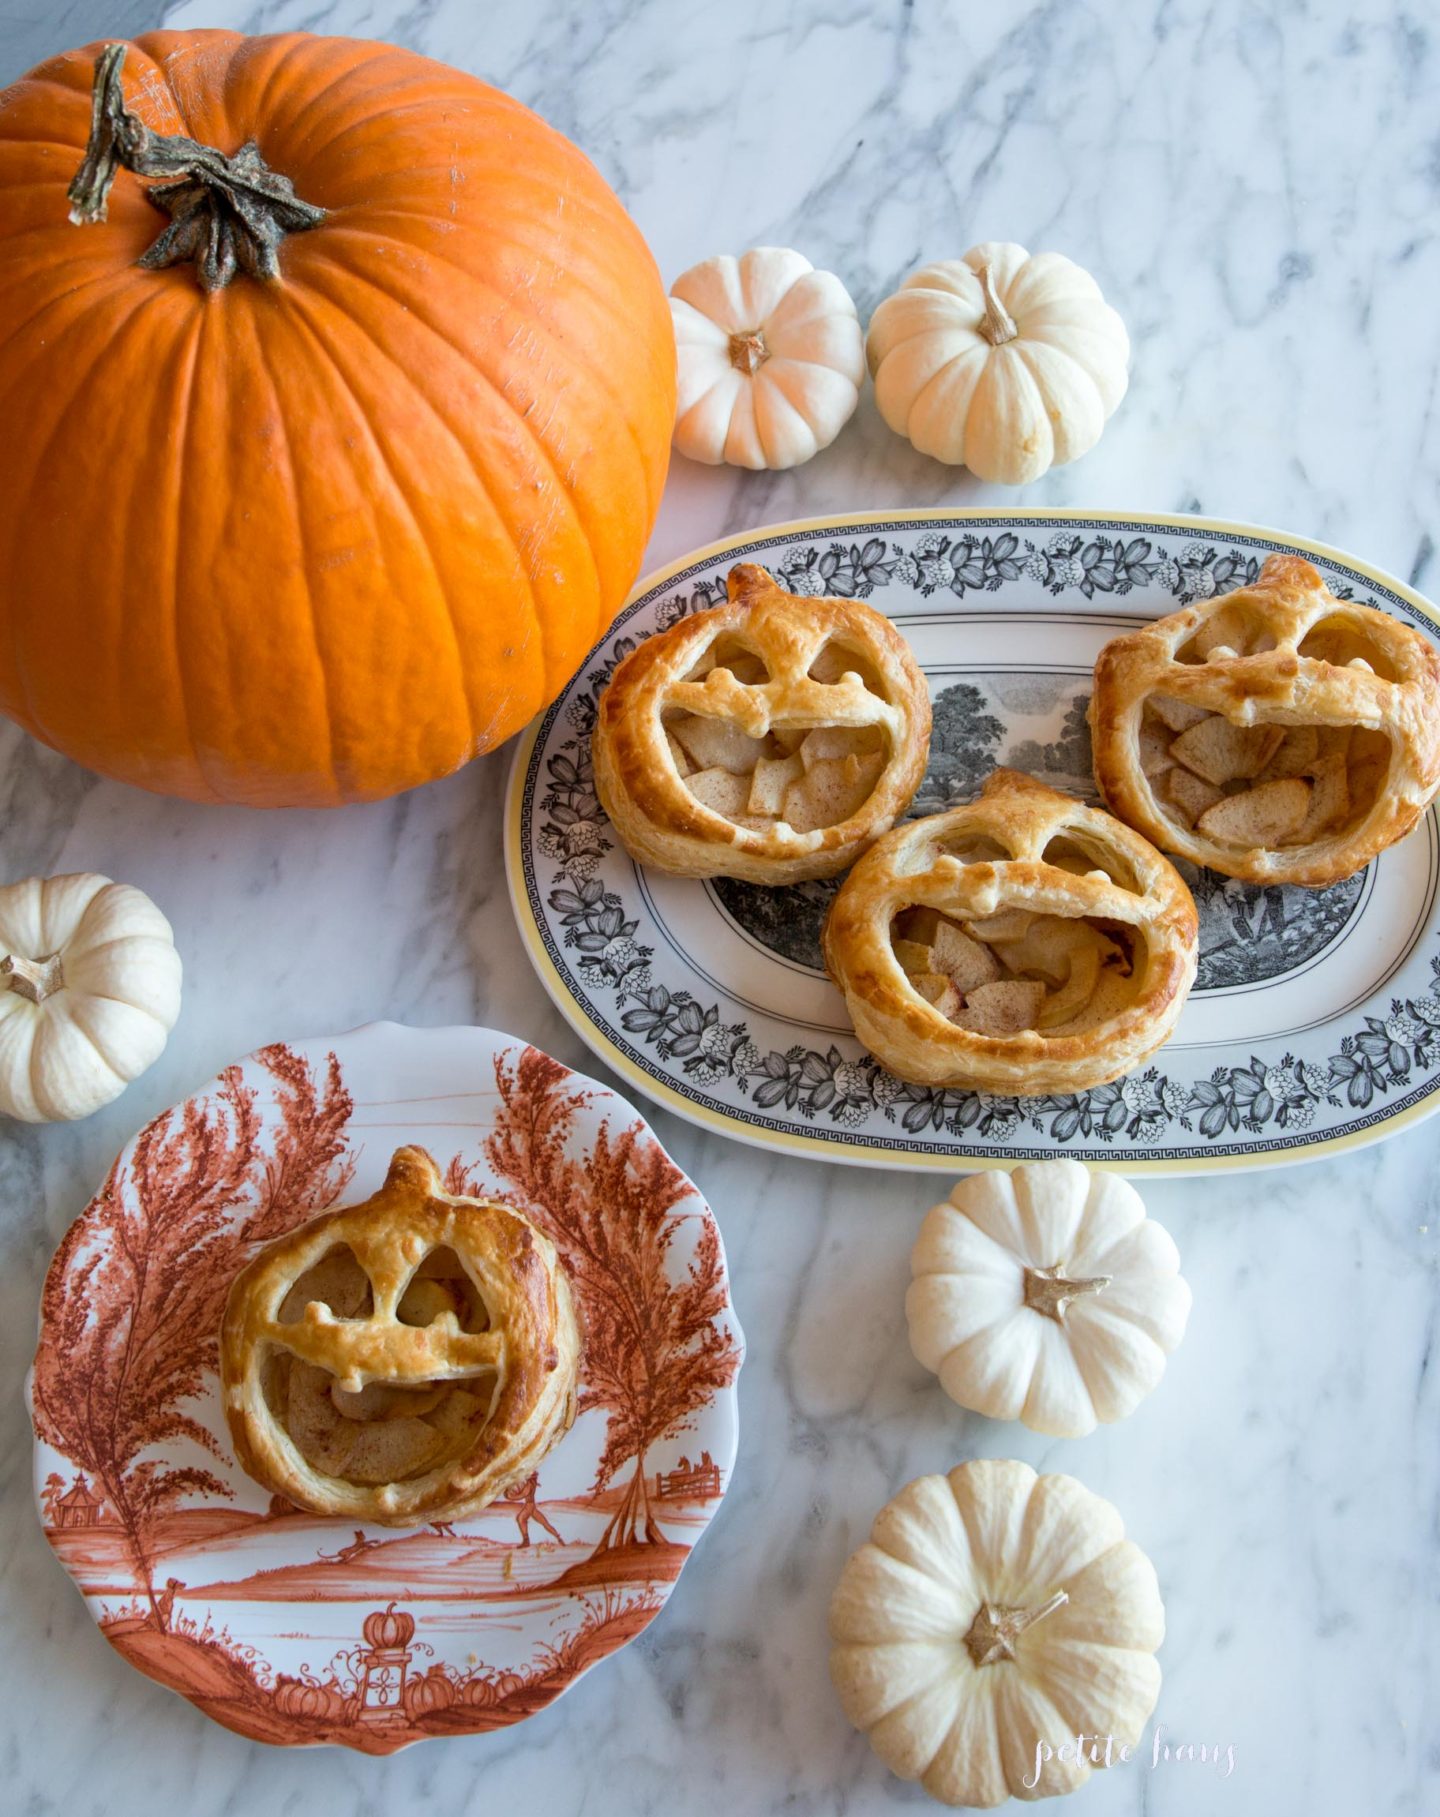
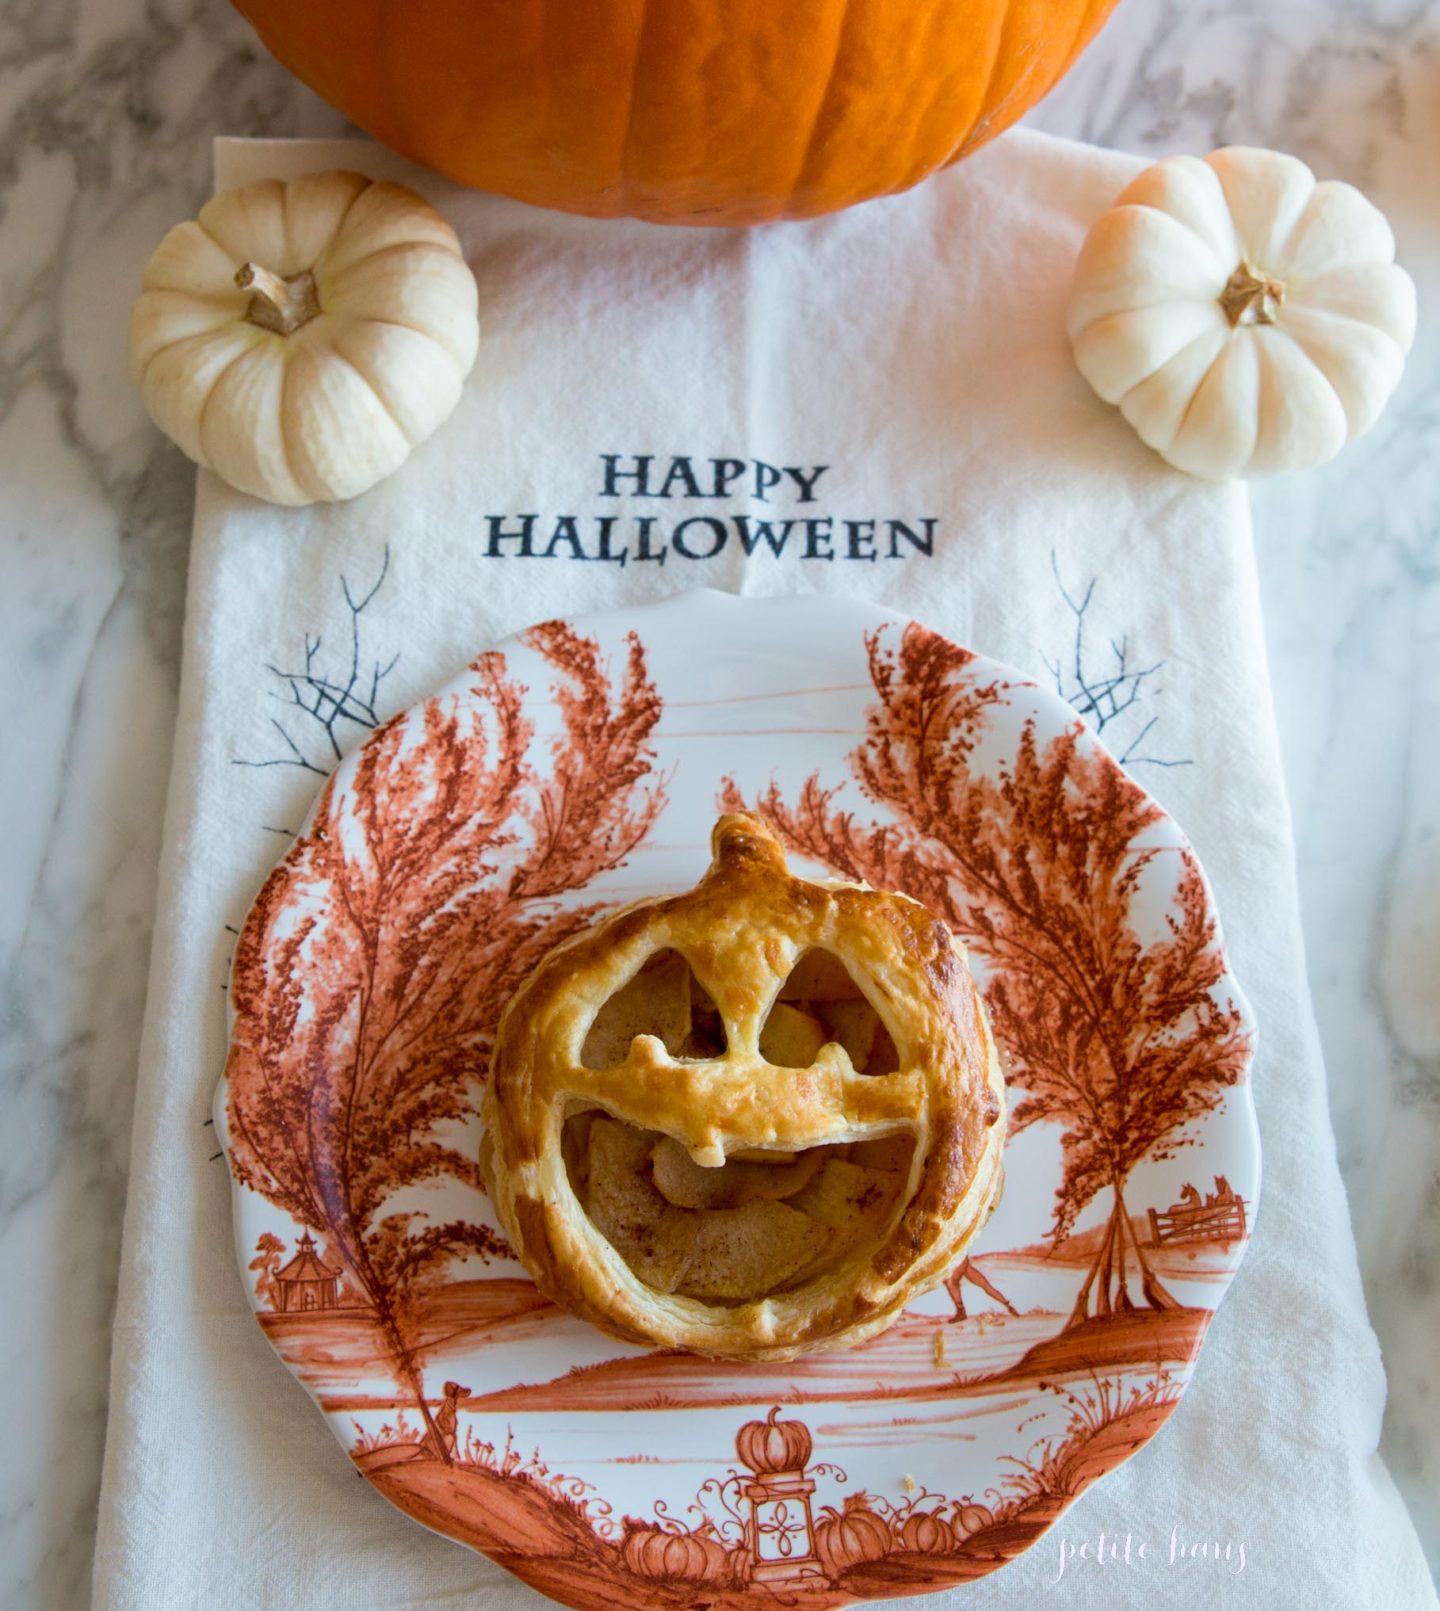
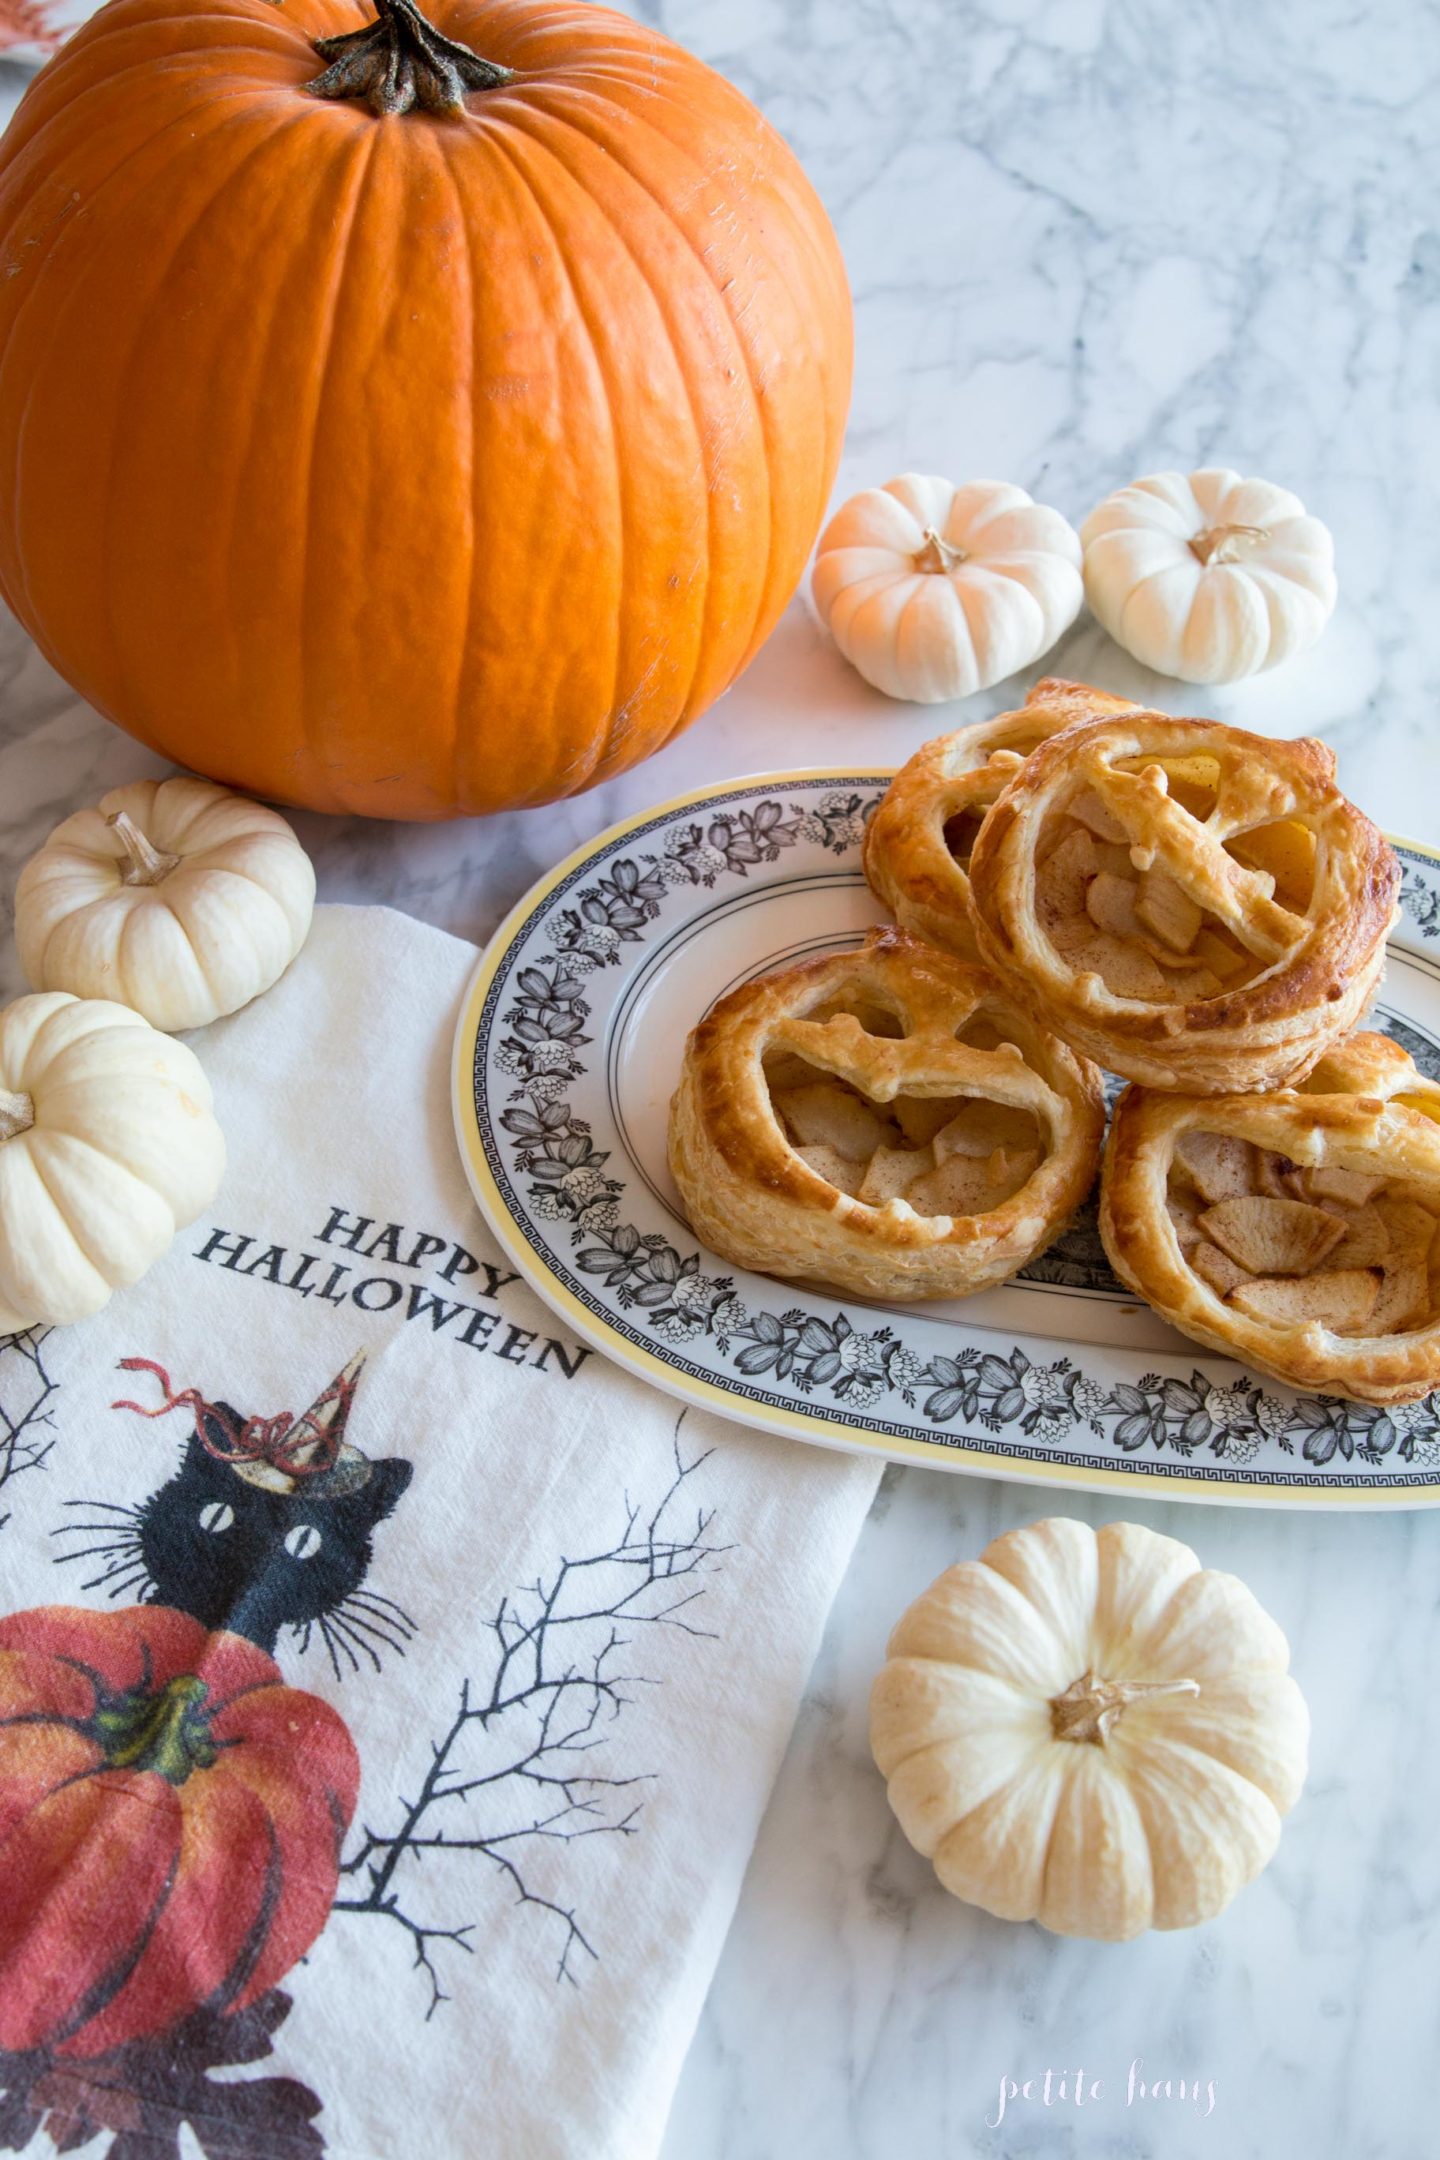
Every year I make a Halloween dessert and this year is no exception!
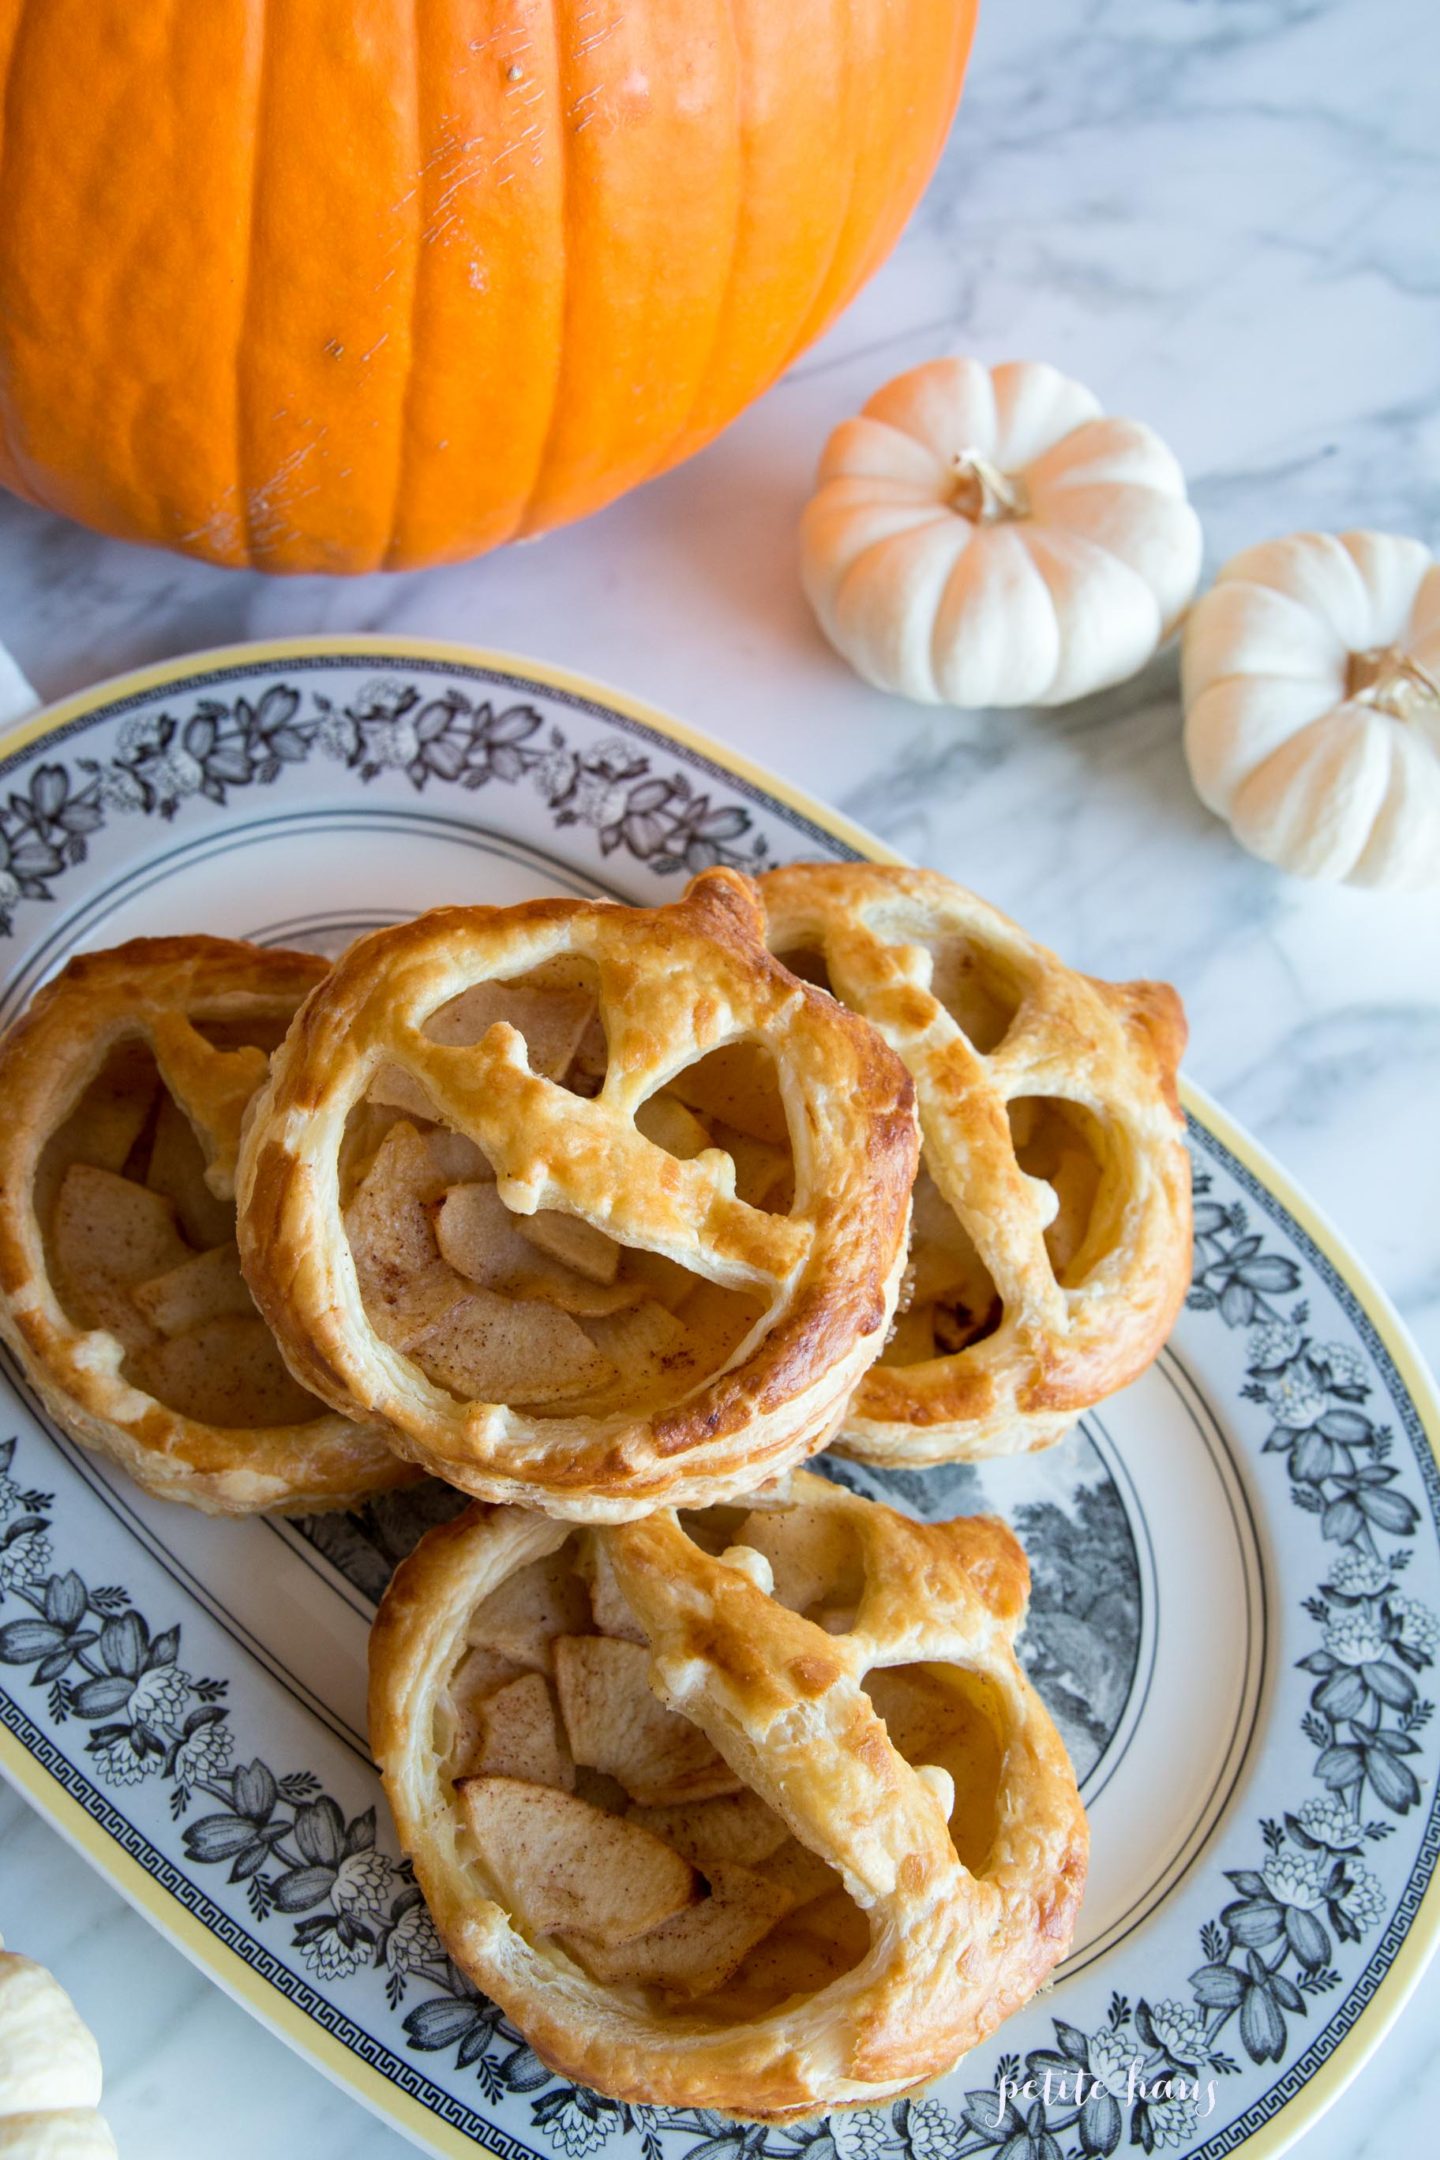
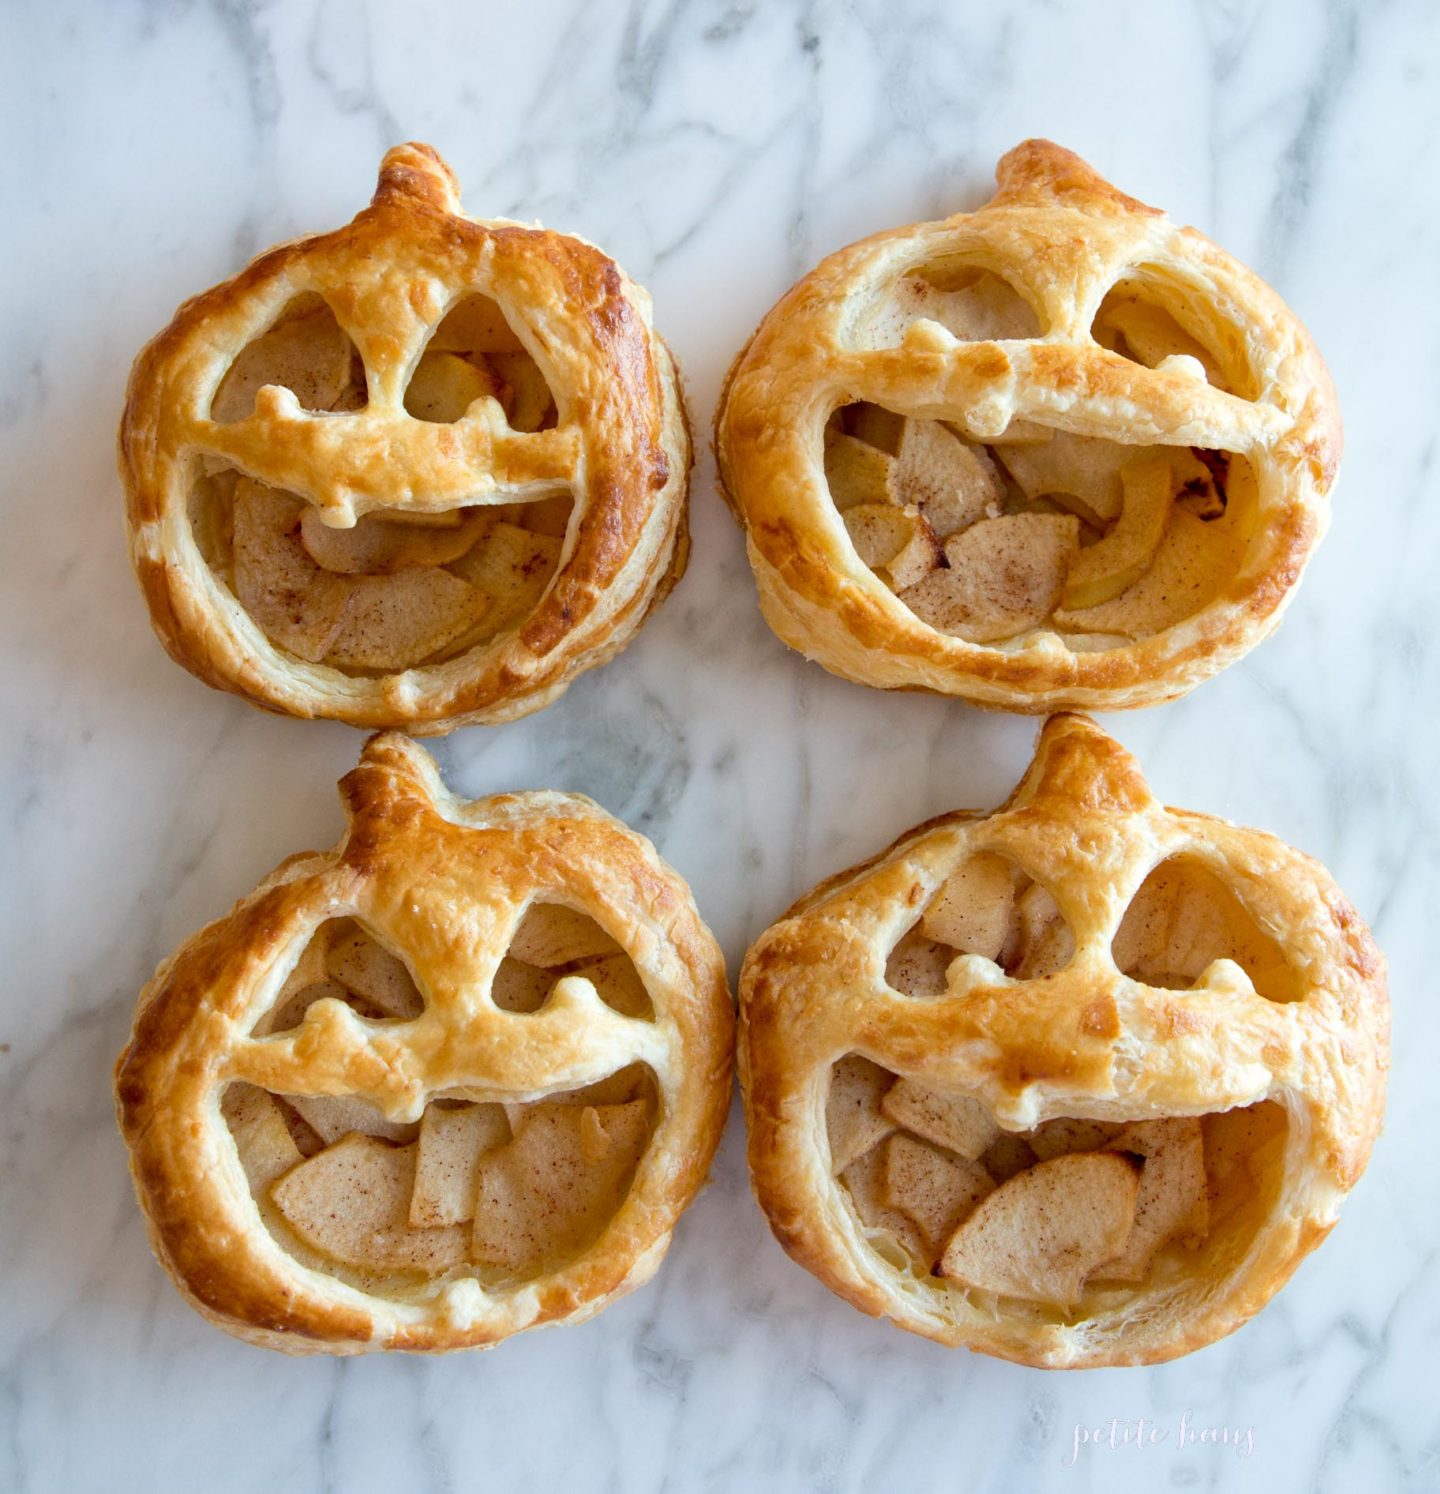
I made these little Jack O Lantern Chausson aux Pommes. Don’t know what a Chausson aux Pommes is? It is a French apple turnover. In fact in France, sometimes I eat a Chausson aux Pommes for breakfast instead of my usual croissant!
For the recipe – this made four but it could have made one or two more as these were pretty big.
1-2 sweet apples, such as honey crisp, gala, fuji but granny smith would probably work too Peeled, cored and think sliced.
1 tbsp unsalted butter
1 heaping tbsp of granulated sugar (use more or less depending on how tart your apple is)
1 dash of nutmeg
1/4 tsp ground cinnamon
2 sheets of frozen puff pastry, thawed
1 egg
1. In a frying pan on medium heat, melt the butter. Then add the apples and cook until softened, about 5.
2. Sprinkle the sugar, cinnamon and nutmeg in the apples and stir, continue cooking for 1 more minute. Remove apple mixture from heat and allow to cool to room temperature.
3. While the apples are cooling, preheat the oven to 400F.
4. Create an egg wash by mixing one egg with 1 tbsp water. Set aside.
5. Roll your puff pastry sheets a little thinner (optional step).
6. Using your pumpkin cookie cutter, cut out the shapes.
7. Now, spoon the cooled apple mixture into each shape. I did a few spoonfuls, but you have to judge based on how big your cookie cutter cutouts are. Don’t put the apples all the way to the edge- leave enough room to create a seal.
8. Using the egg wash, line the edge of each pumpkin cut out. Then press the top part of your cookie cut out on the bottom. Make sure you push down and seal all of the edges. Then brush the egg wash on top.
9. Place on parchment paper or silpat, and then on a baking sheet. Bake in the oven for about 20 minutes until golden brown. Serve warm or cold.
I used Pepperidge Farm’s puff pastry dough, but Trader Joe’s is better and here’s why. The TJ’s dough is made from real butter, PF’s is made from oil.
We use affiliate links in our posts and our site. This means if you make a purchase using these links, we may earn a small commission. You don’t pay a cent more than you would otherwise! Our full disclosure is available under About.
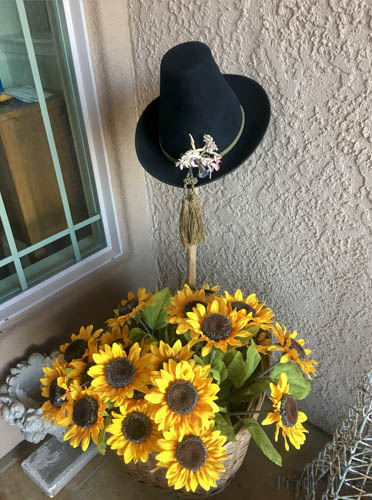
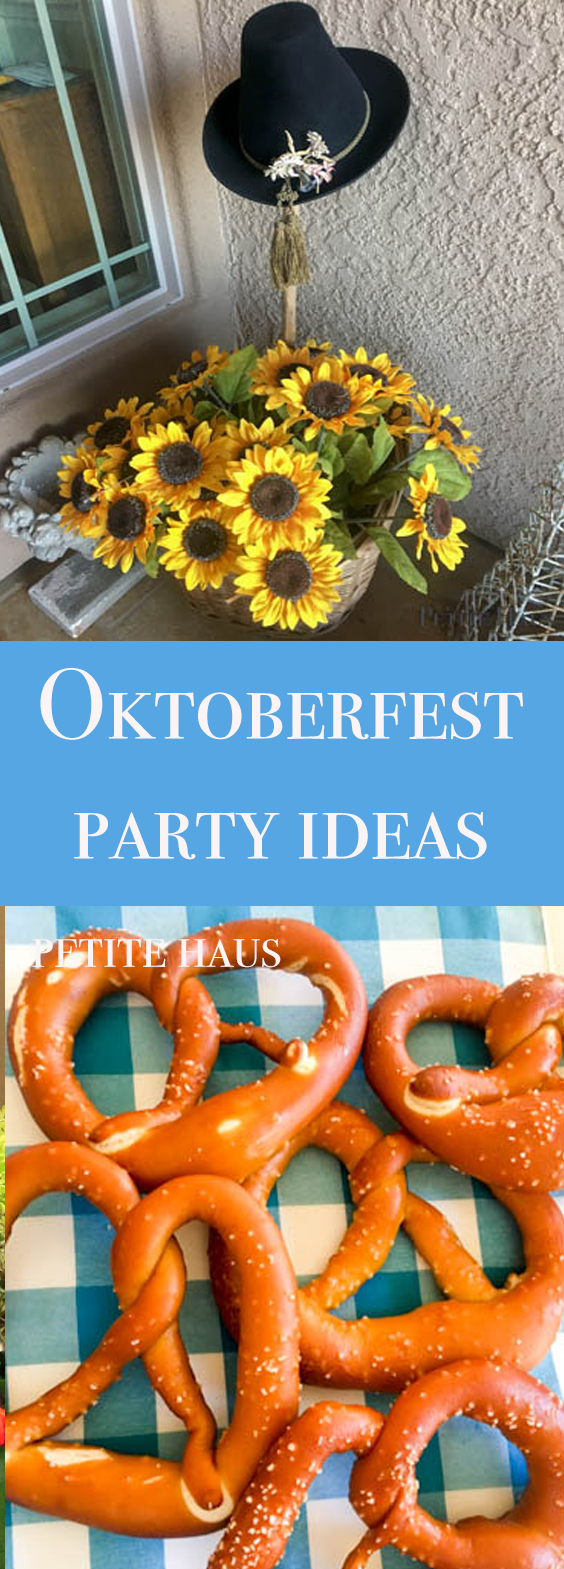
Oktoberfest is just around the corner so I thought I would share our Oktoberfest party from last year that I never blogged about! Below, a vintage Bavarian hat sits on a wheeled market basket.
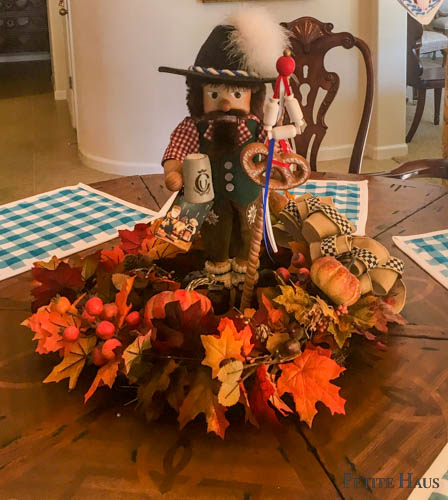
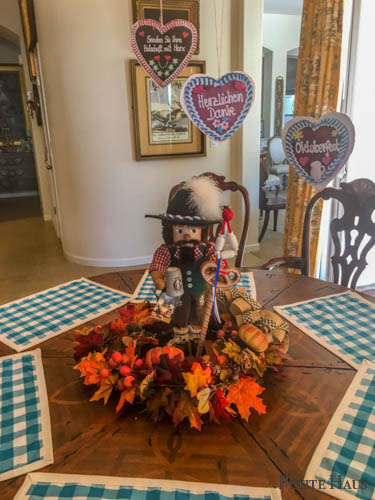
One of the centerpieces on one of the tables is this traditional Bavarian nutcracker! He is surrounded by a wreath I made.
Oktoberfest is held in September ( I know, confusing right?). Here’s a little history: It is a celebration that has been held nearly every year since 1810 in Munich, Germany. It is a 16-day festival that runs from late September into the first weekend in October. It was started on October 12, 1810 to celebrate the marriage of Crown Prince Ludwig to Princess Therese of Saxe-Hildburghausen on the Theresienwiese (Theresa’s Meadow). To this day, the celebrations are still held on the Theresienwiese! In Munich, an average of 6 million people visit during this festival.
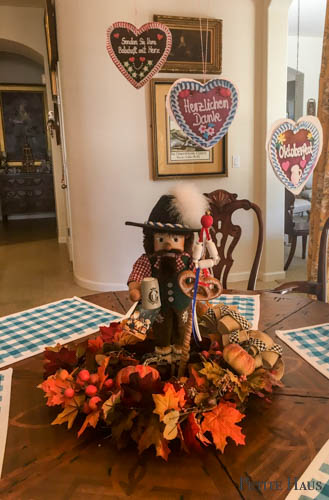
Each year I pull out a few of my Bavarian nutcrackers and use them as decorations for the party. My mom and I made the placemats.
I had printed off these little hearts a few years ago – they are a little worse for wear now. I’ll have to print off new ones next time. I simply taped strings to them, created a little heart sandwich and hung them from the chandelier.
What’s on the menu?? Do you have to ask? Pretzels of course!! These pretzels are homemade and follow a traditional German recipe complete with a lye bath. Yep, lye, and no I’m not lying. You dip your pretzels in lye to crate the beautiful color and traditional taste and outside crunch on them. A baking soda bath will do, but it’s just not the same.
Some were wonkier than others… that’s okay, they all taste the same!
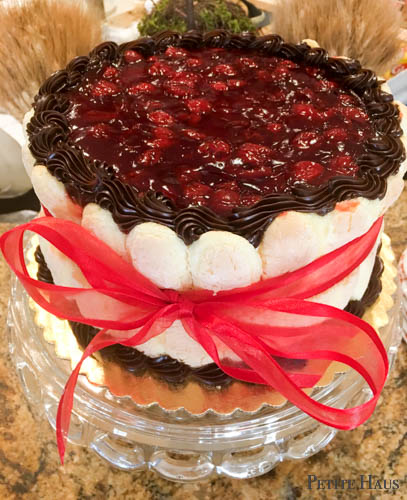
What else did we have? German sauerkraut and potatoes (basically a German hot potato salad). Cucumber salad. Sausage. German red cabbage. German beer, for those that drink. And a Black Forest Cake, no, not German chocolate cake. German chocolate cake isn’t German… but Black Forest Cake is! We’ve had homemade Apple strudel too, get the recipe here.
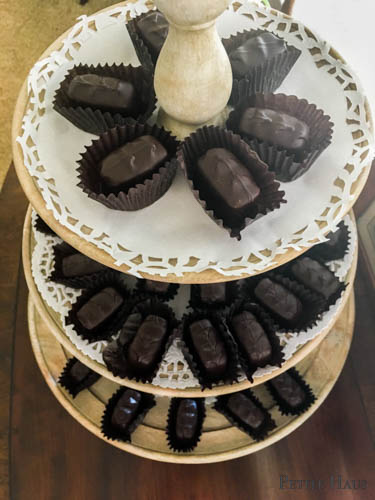
And we had loads of marzipan, as displayed below.
You can have your own Oktoberfest party too just by having some themed food and pull out a nutcracker or too. You don’t have to wear your Lederhosen and Dirndl, unless you want to.
We use affiliate links in our posts and our site. This means if you make a purchase using these links, we may earn a small commission. You don’t pay a cent more than you would otherwise! Our full disclosure is available under About.
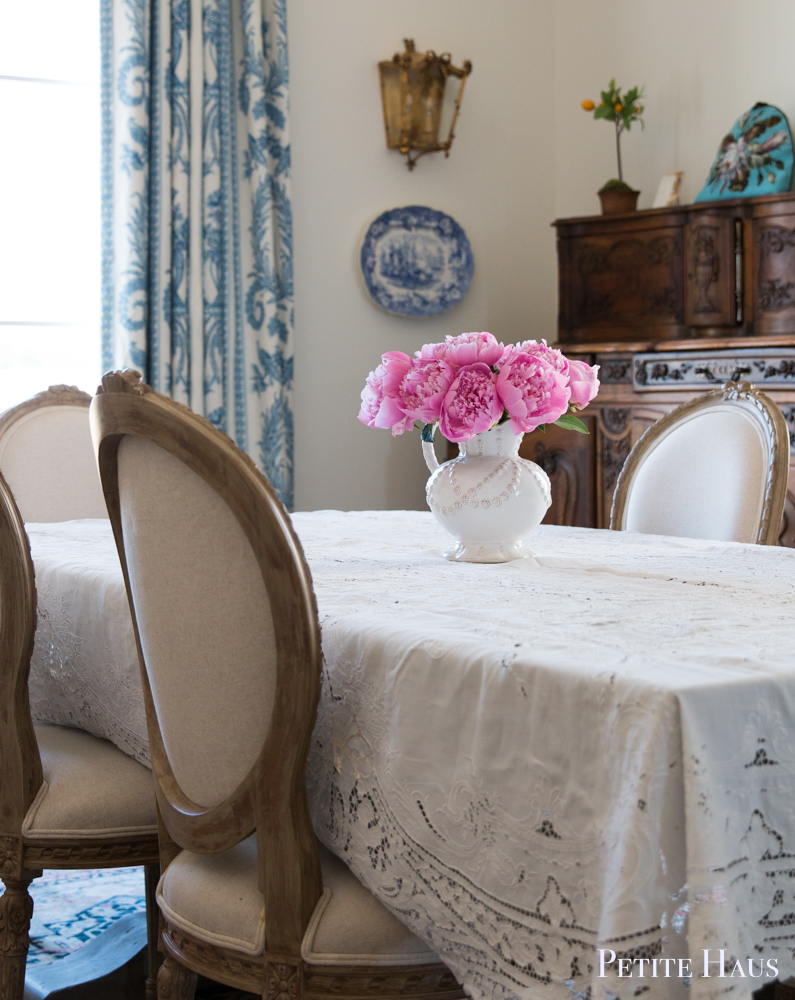
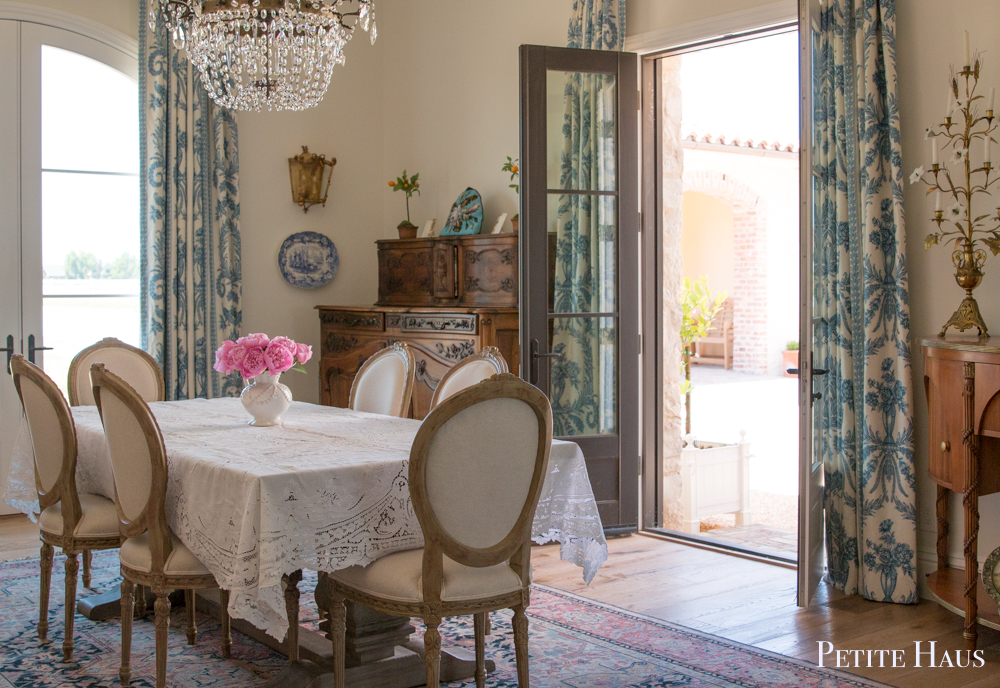
Do you have vintage or antique linen? Now, ask yourself, do I use my antique or vintage linen?
If the answer is “no”, my question is… why not??
Antique linen is extremely durable – it was meant to last a lifetime and to be handed down to the next generation.
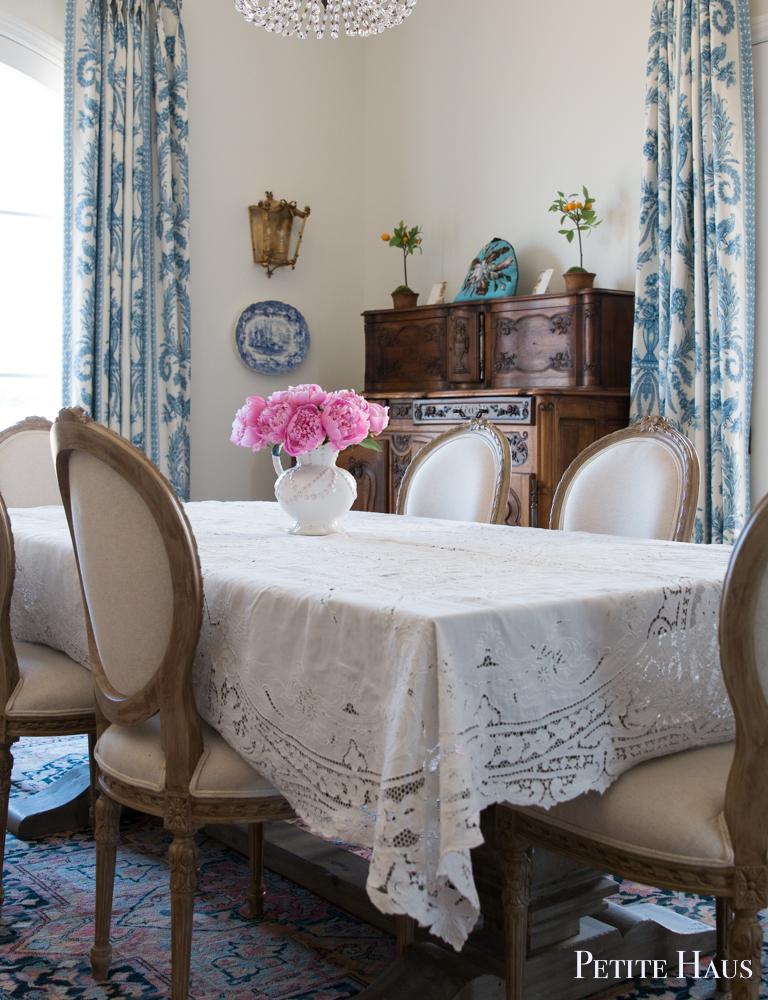
In the dining room, I’ve just left it on the table for my own enjoyment. No parties here, just me, the husband and the cat. Oh dear, that reminds me of a story what I’m calling, The Great Accident. We’re off on a detour.
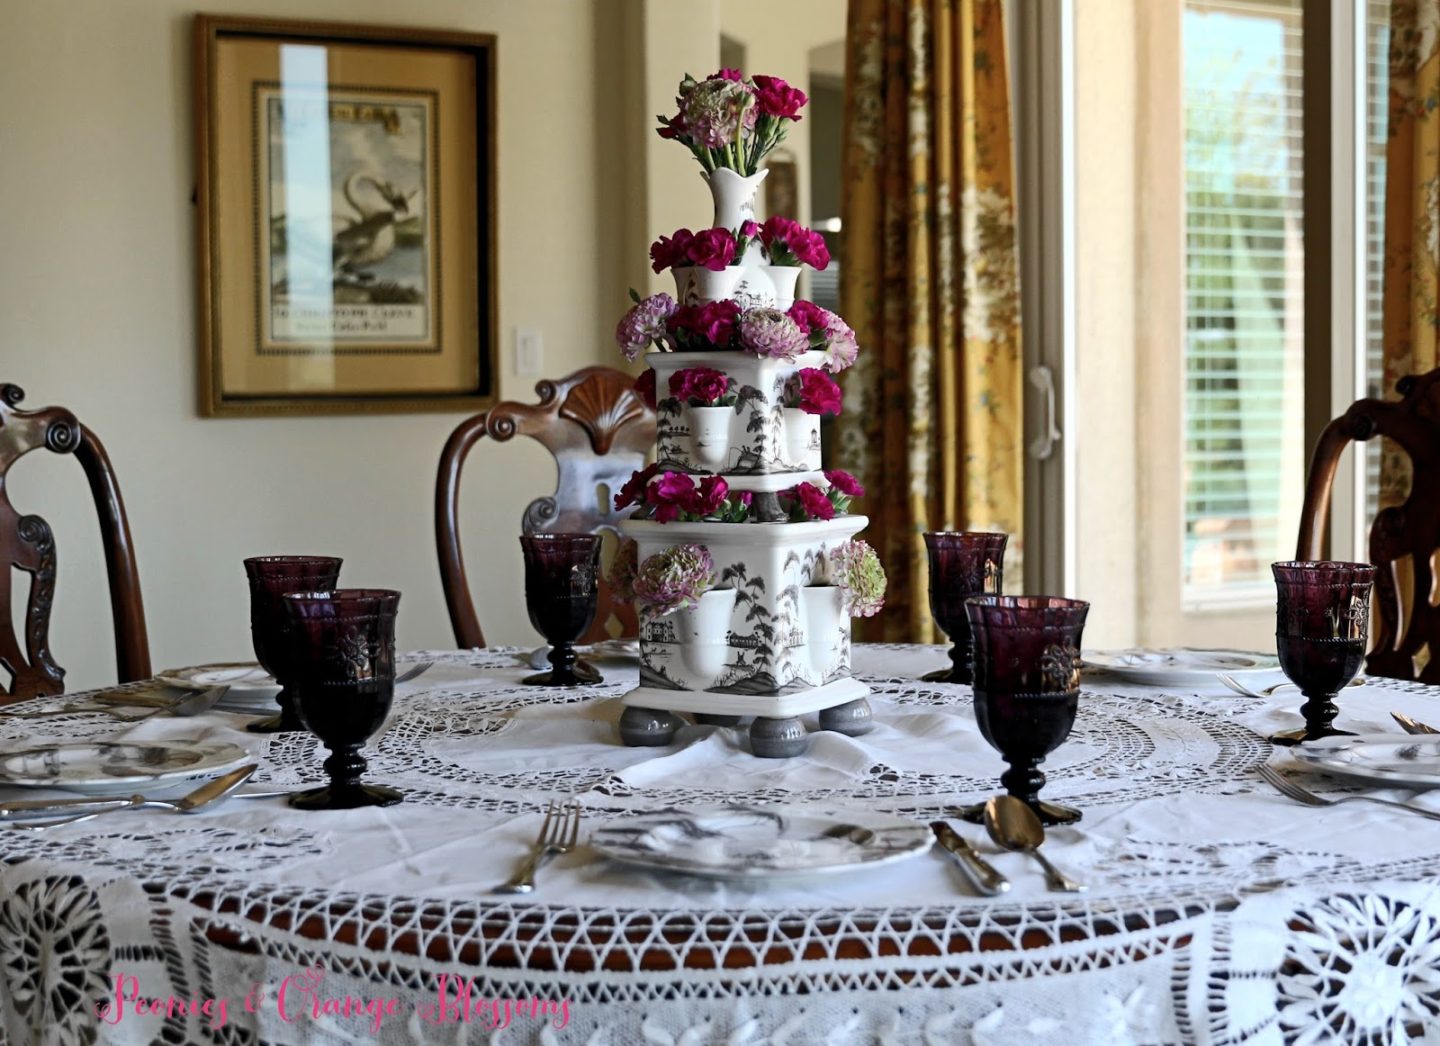
There is a problem with using tablecloths when you have an animal at home. See the table below? One morning my cat decided she was going to sit on the chair and bat at the tablecloth that was dangling down. I had taken this photo the day before the Great Accident. However, her claws got caught in the lace, she got spooked, and she took off… yes, the table was set.
I had taken off the goblets and plates, but my tulipiere remained. When she took off, the tablecloth went flying with her. And so did the tulipiere. My husband knew how much I loved this vase and dove across the room trying to save it – however the vase is in three pieces. So he couldn’t decide which one to catch, and all three went crashing down separately and broke. I was sleeping, and all of the banging woke me up.
I climbed out of bed and came out to see what the ruckus was. There were tulipiere shards everywhere, flowers and water scattered on the ground, a tablecloth with a few new holes, and in the middle of this mess was my husband laying on the ground bleeding from somewhere. The cat… nowhere to be found. My husband didn’t respond to me at first so I started panicking. Then the first thing he says “is the cat okay?” Uh, yes. She is busy pretending she didn’t do this. So, we cleaned up the mess. I did a little home laceration repair with old medical school supplies on my husband’s cut hand, but the vase… broken forever. And discontinued.
About a year later, we were able to find a new tulipiere at a local store, they had still had one in stock despite it being discontinued from Juliska… yes it was pricey, frankly that’s probably why they still had it in stock! But alas, I have my tulipiere and THIS time I don’t leave it on my linens unless we are in the room, otherwise up on the counter it goes! When not in use – in the cabinet, away from the cat!
Okay, back to talking about antique linens. Yes, I know I didn’t iron my tablecloths in these pictures – but I just set them up for me so I don’t care… for a party, fine, I’ll iron them for guests.
Laundry tips for napkins: Don’t do a heavy spin, it leaves creases in the napkins! If you happen to have a mangle, run through at the mangle. If not, iron – sometimes if you have a difficult wrinkle, I recommend getting your piece wet again and ironing it when it is wet!
If your textiles have holes that are unrepairable, repurpose them to make sachets or throw pillows. Also, if you gently tug on a piece and it comes apart in your hand, it has dry rot! It needs to be thrown out.
We use affiliate links in our posts and our site. This means if you make a purchase using these links, we may earn a small commission. You don’t pay a cent more than you would otherwise! Our full disclosure is available under About.
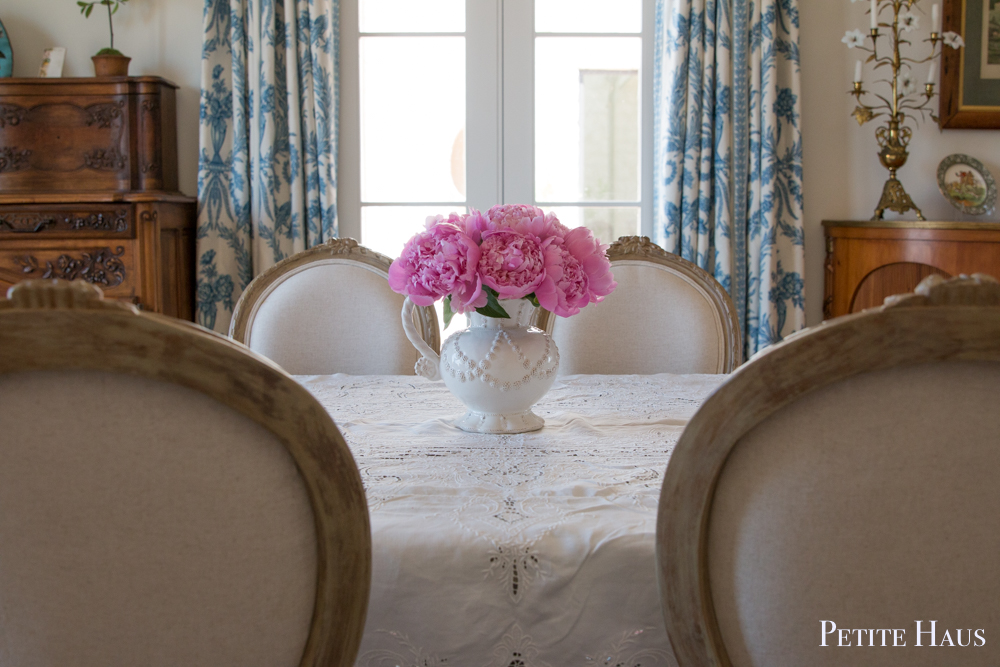
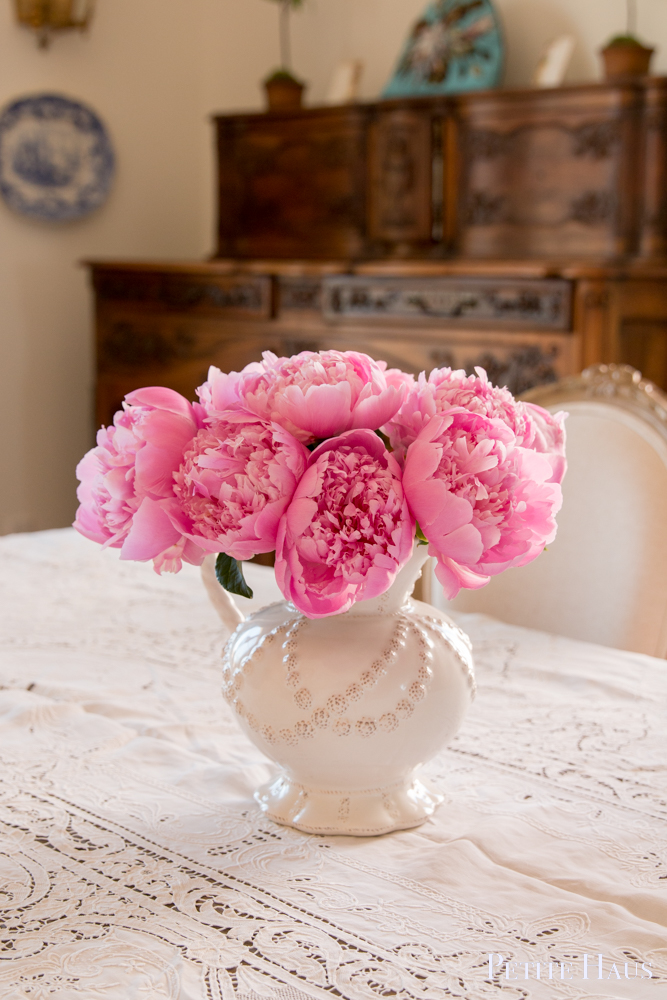
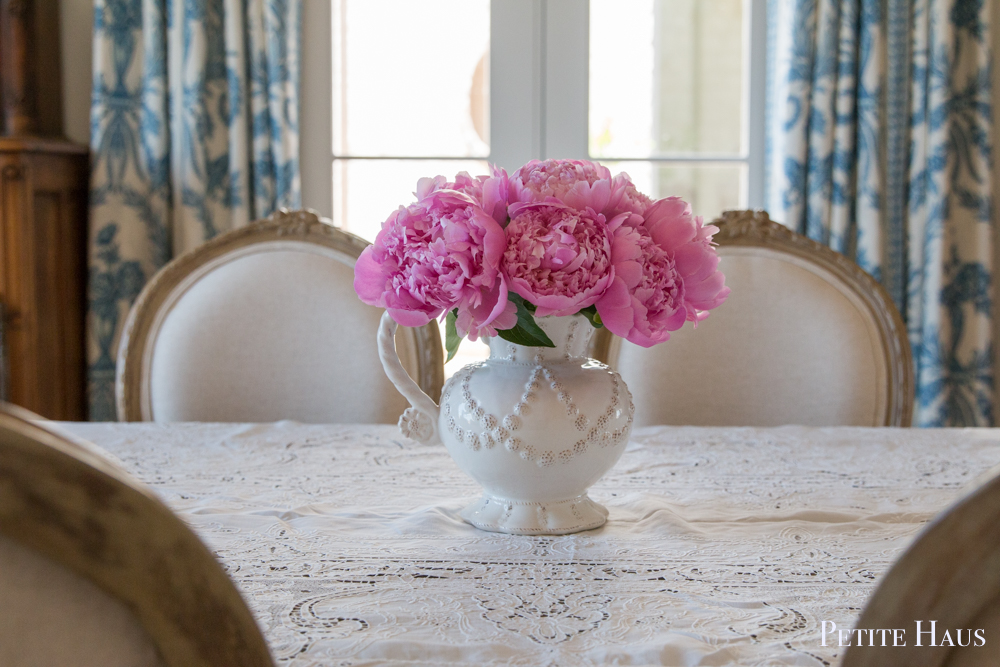
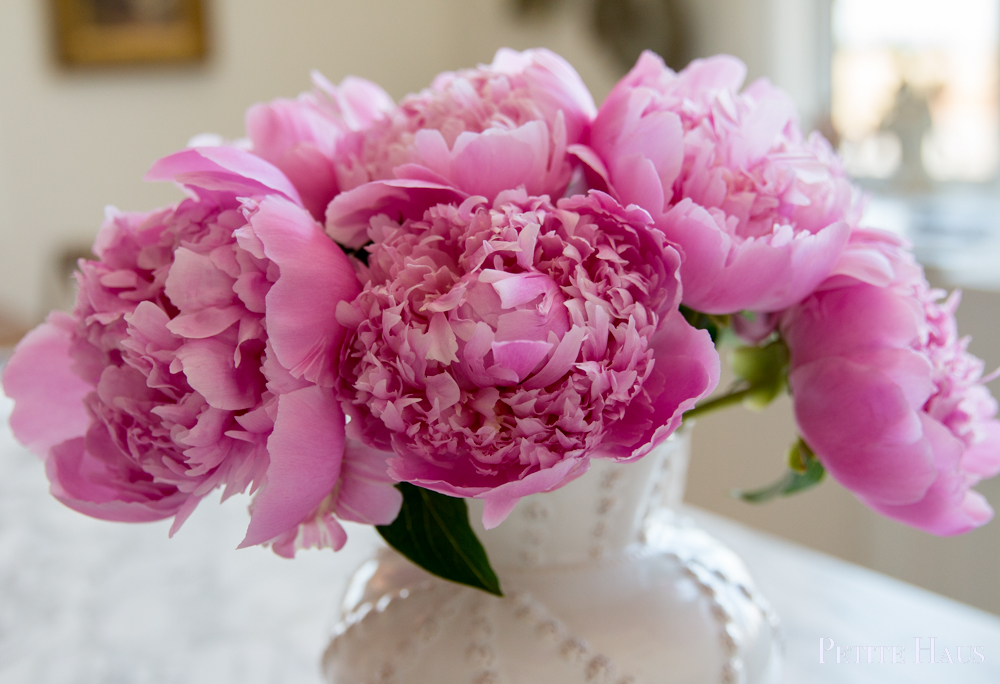
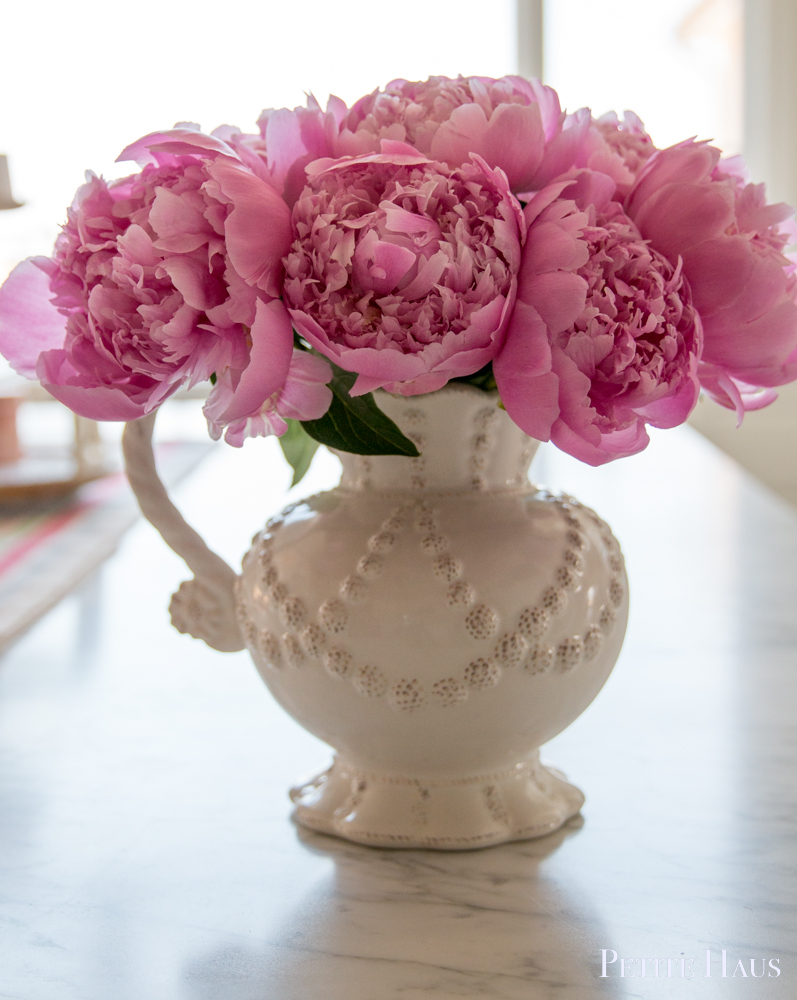
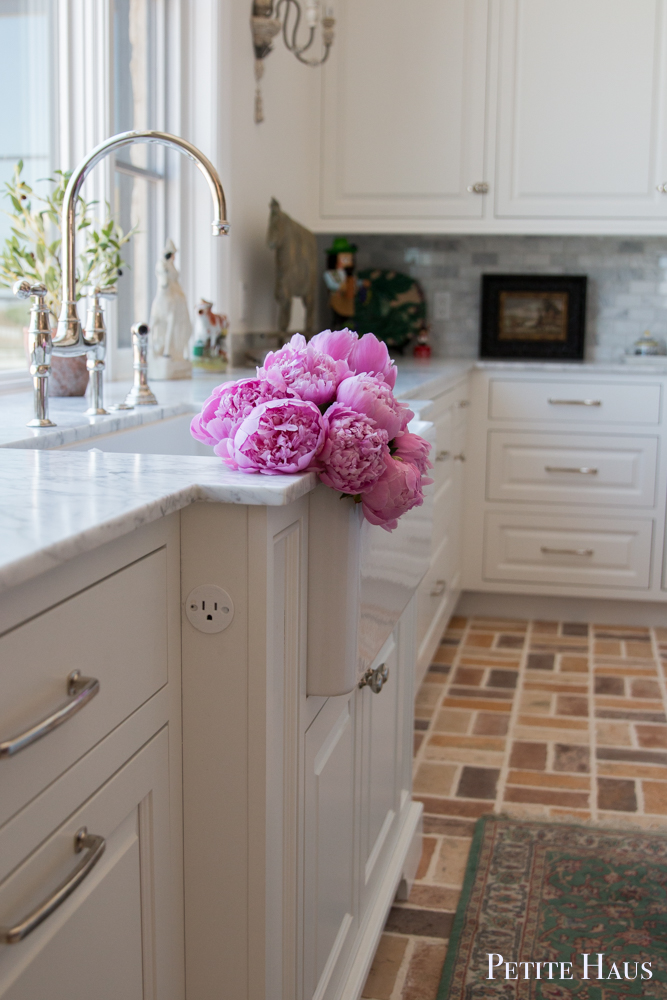
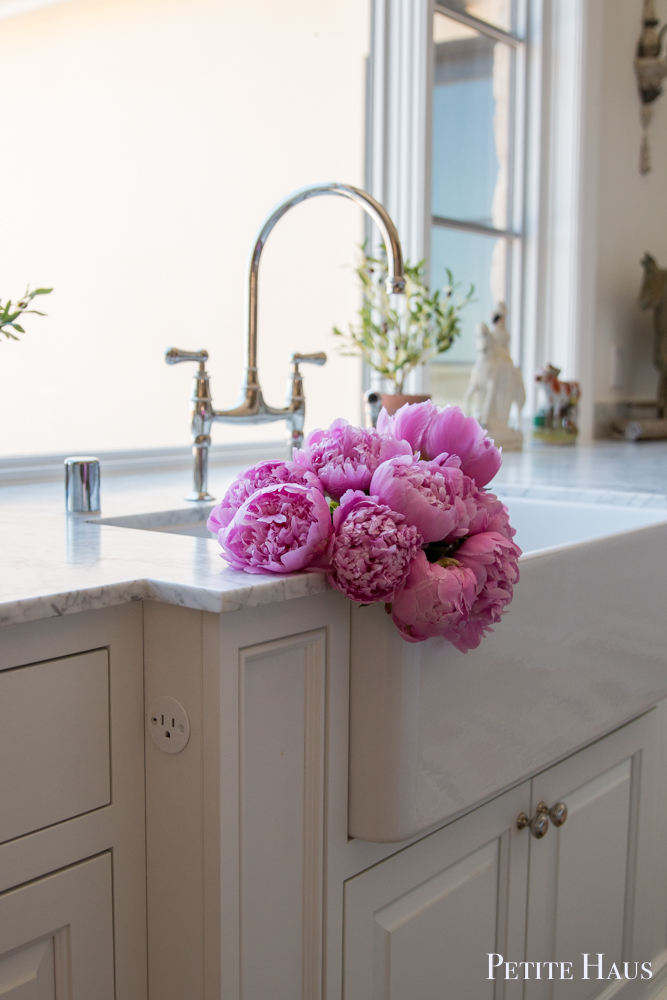
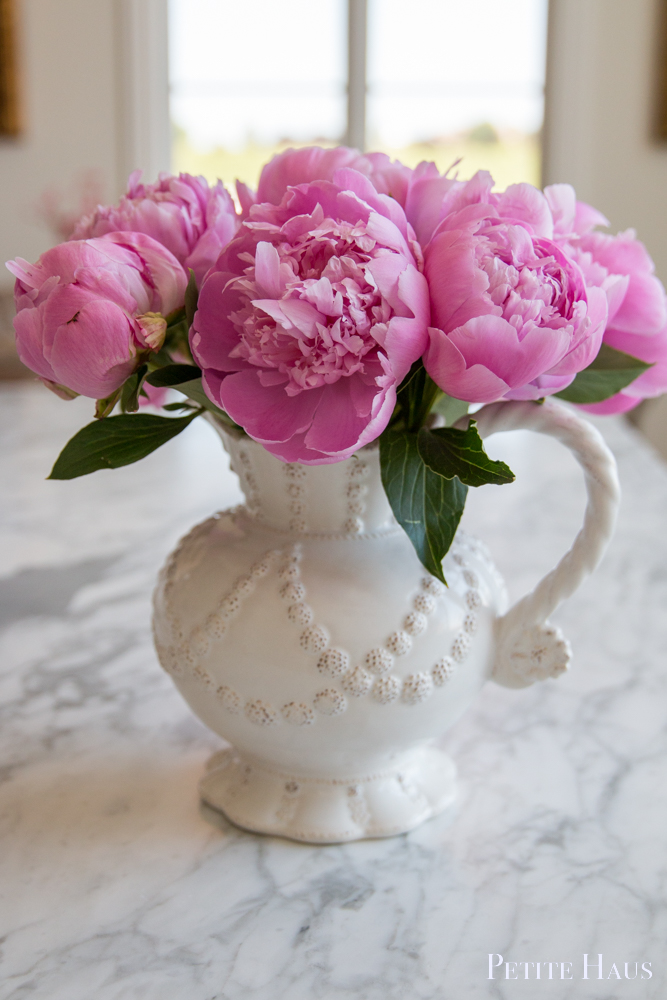
Well, peony season has arrived and I am so thrilled!! I thought I would share the best tips and tricks about cut peony care – how to force them to open, how to care for them, and when to cut them from your own garden!
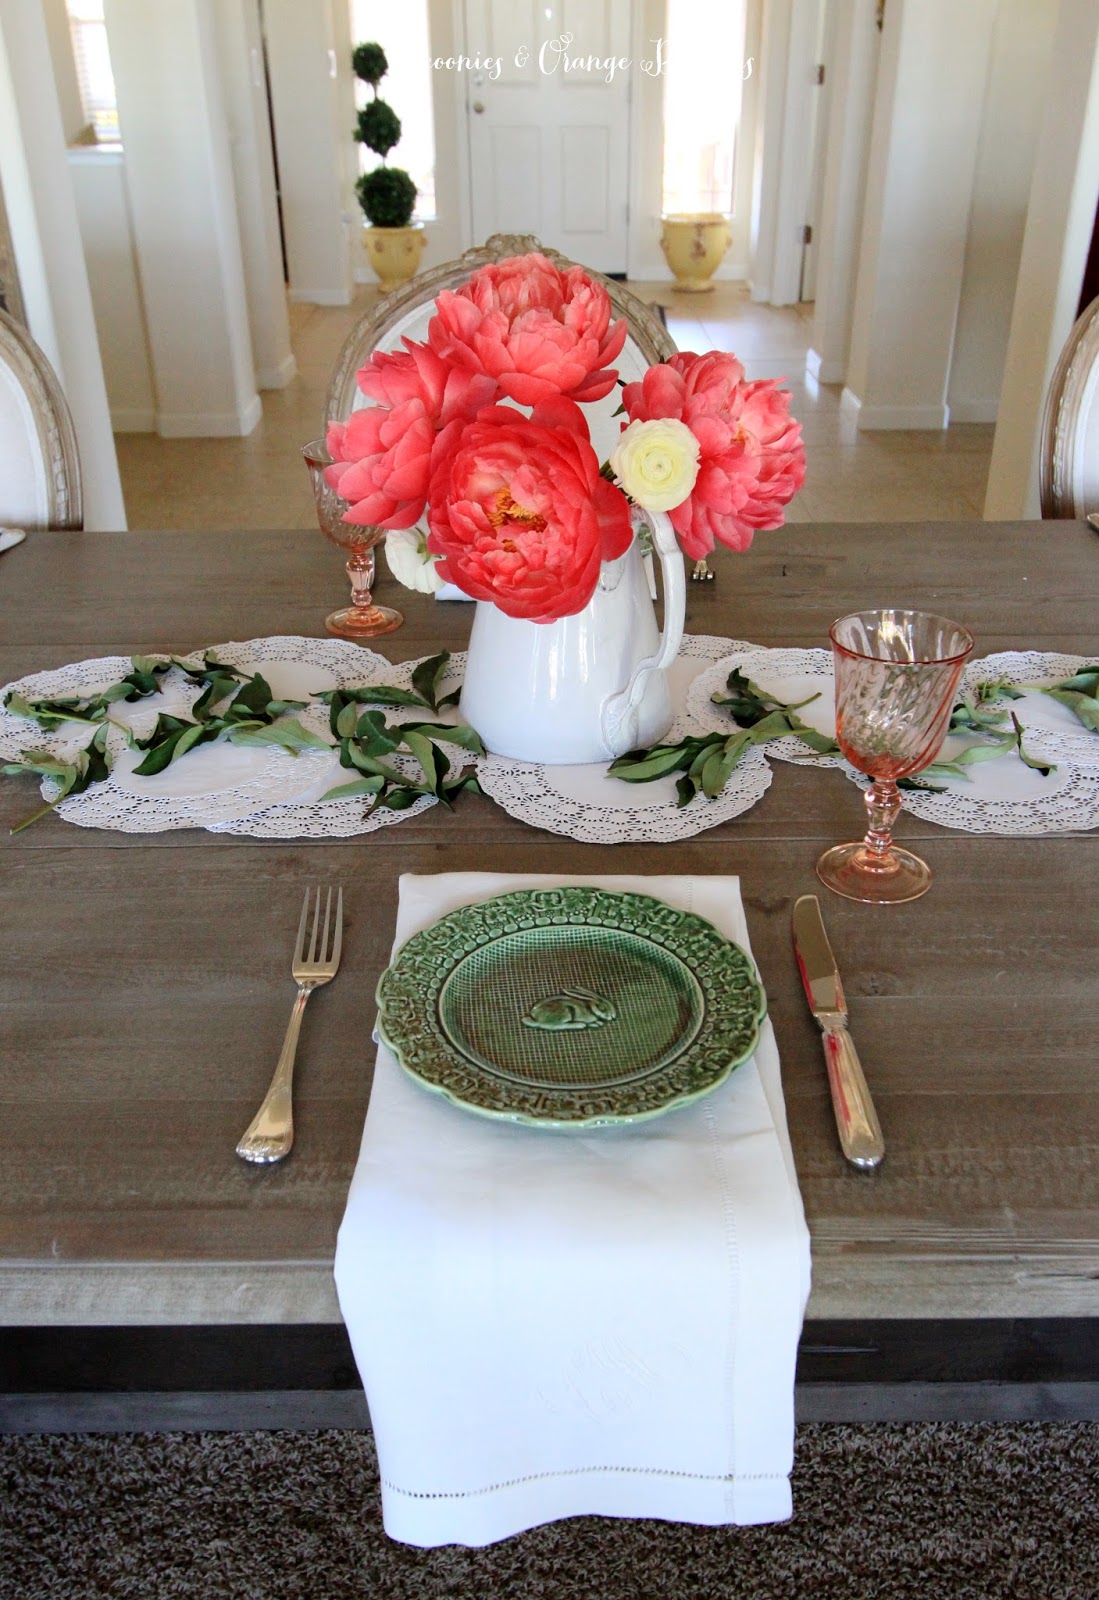
My blog used to be named Peonies and Orange Blossoms, so I think that should indicate to you how much I love peonies. In fact, I got married in May because it is peony season.
Which ones to buy in the store?
Buy the ones that are about golf-ball sized that are still very closed, if you would like them to last their longest.
When do I pick them from my peony plant from my garden?
If you have a new peony plant, it is advised that you do not cut the flowers the first year to let the plant mature.
You will want to cut your buds in the morning while it is still cool. You can cut the bud when it feels like a firm marshmallow, or when the very first petal starts to open. You just gently squeeze the bud in between two fingers to determine if it is ready. If the bud is still rock hard, it is not ready! If you cut it too soon, it will not open!
How do I care for my cut peonies?
Have a vase ready with room temperature water. It is preferred if you have some flower food added to the water. Remember peonies are top heavy so many sure the vase will be able to support them.
Cut them at a sharp angle (45 degrees) and immerse them in room temperature water. Remove all of the leaves that would touch the water.
Check the water level every day because they are heavy water drinkers. Peonies usually open in 2-3 days if you just put them in room temperature water in a place that is receiving normal daylight.
Change the water every other day. Further trimming the stems at a 45 degree angle every other day will also help them last longer.
How to I make them last longer?
Immerse them in cool water. You can add ice cubes to help the water stay cooler.
Store them in a cool, dark place. In fact, if you need them in 2-3 days and not immediately, store them in cool water in the refrigerator.
If you have them in the tight golf-ball stage when you pick them or buy them and aren’t quite ready to use them that day, you can also wrap them in wet newspaper, tie the ends with rubber bands and keep them in the refrigerator. Pull them out when you are ready.
When you bring them home, cut the stems at 45 degree angle and remove almost all of the foliage (and make sure you have remove all of the foliage that will touch the water).
Place them in warm water that has flower food- not scorching hot, but warm.
Place them in a bright sunny location.
Repeat this process about every 4 hours. Obviously when you first cut the stem you want to make sure if you have some extra stem since you may need to cut them several times!
Now, if you need the peonies right NOW or if they are still refusing to open after the above technique, take a vase of clean, warm water and simply submerge the head/bloom under the water. You may need only a few seconds, sometimes a few minutes. Air bubbles will start to come up and that’s how you know water is making its way into the peony bud and should indicate that it’s time to take it out.
Let’s look at some other posts where I’ve used peonies! I *love* peonies!!!
We use affiliate links in our posts and our site. This means if you make a purchase using these links, we may earn a small commission. You don’t pay a cent more than you would otherwise! Our full disclosure is available under About.
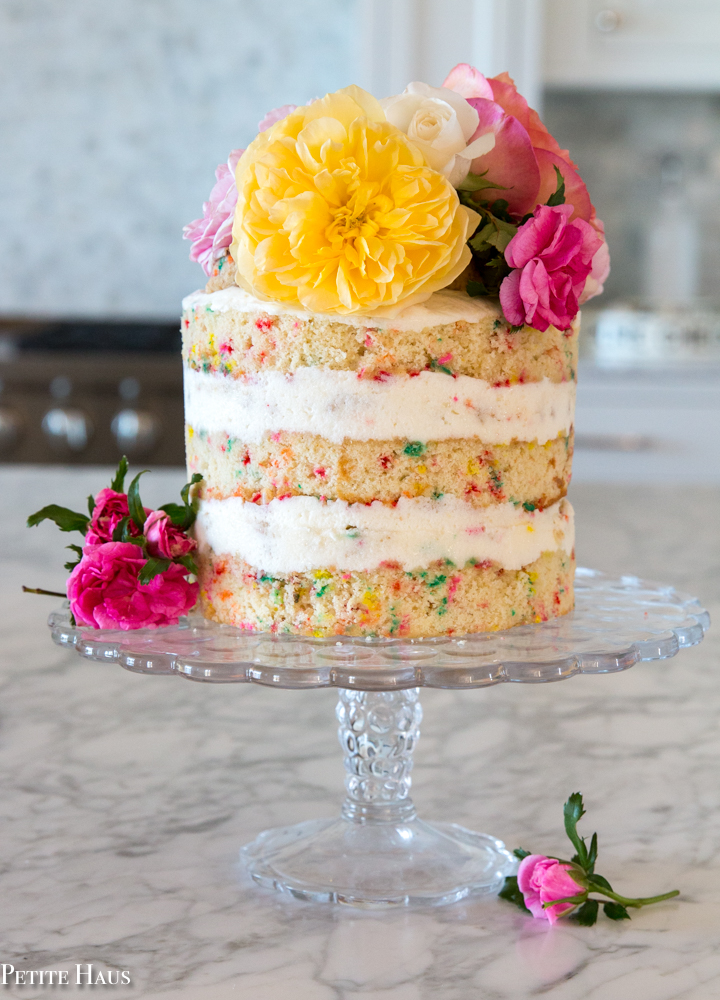
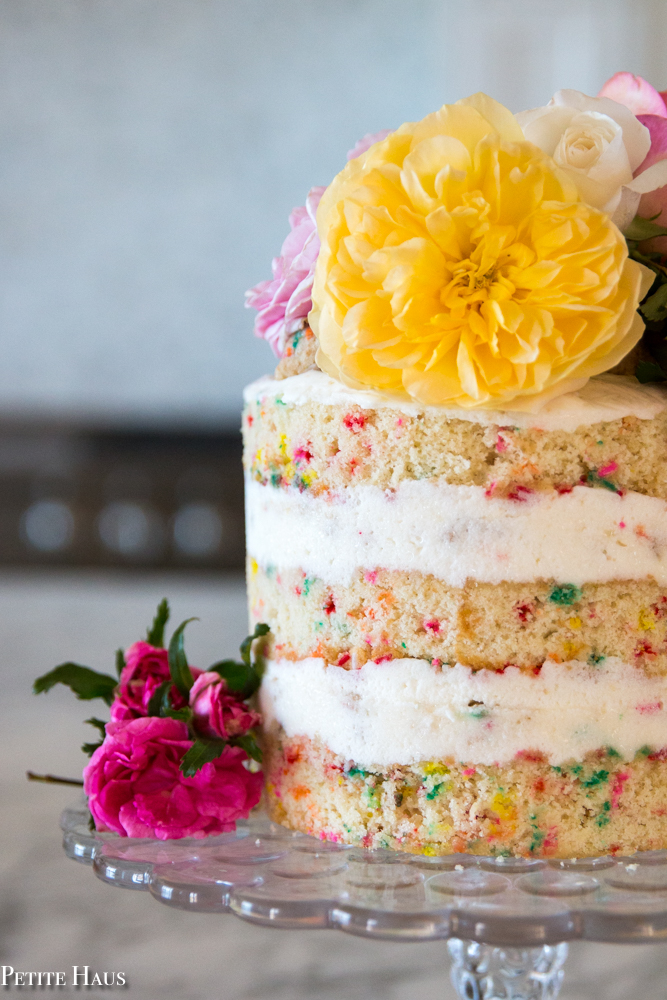
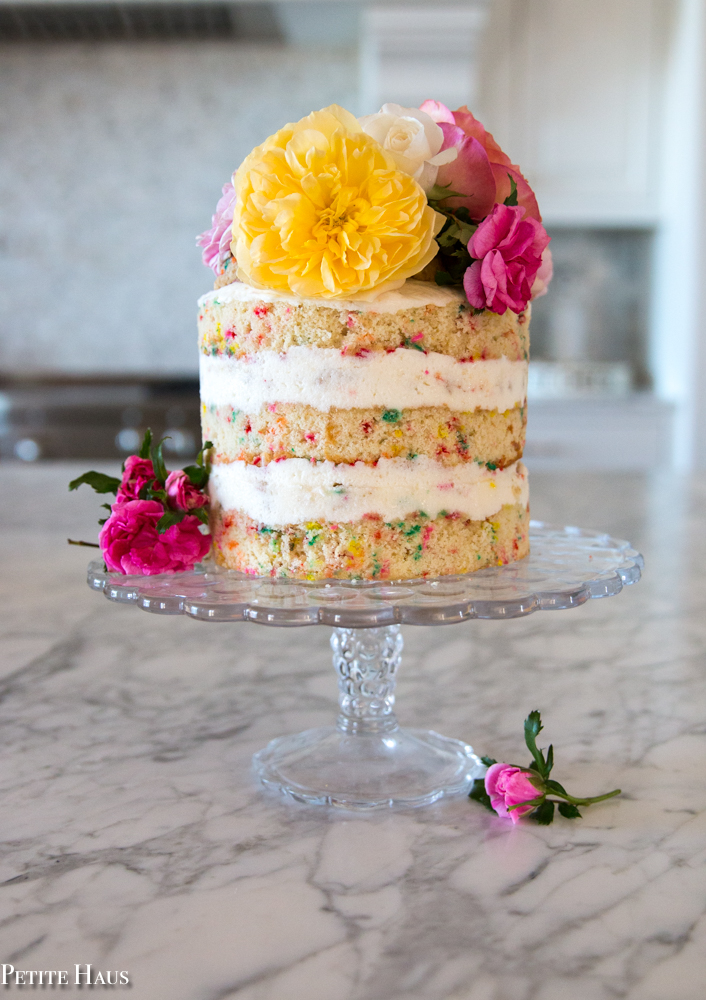
Let’s have a talk about baking cakes, specifically this layered Momofuko birthday cake.
So, how did I come about baking this pretty and scrumptious cake? I was recently watching the Netflix show, Chef’s Table. They came out with a new season of just pastry chefs! I was so excited because I love baking (and not so much cooking!).
The first episode was about Christina Tosi who creaked the Milk Bar empire in NYC. In her show, she was making her famous birthday cake.
I have never baked a layered cake. Never from scratch nor from the box. I have always wanted to bake a layered cake but never had the correct supplies. I knew that if I was going to attempt to make a layered cake that this would be the one! Look at it – the perfect birthday cake! A Funfetti inspired, cream cheese frosted, naked layer cake!
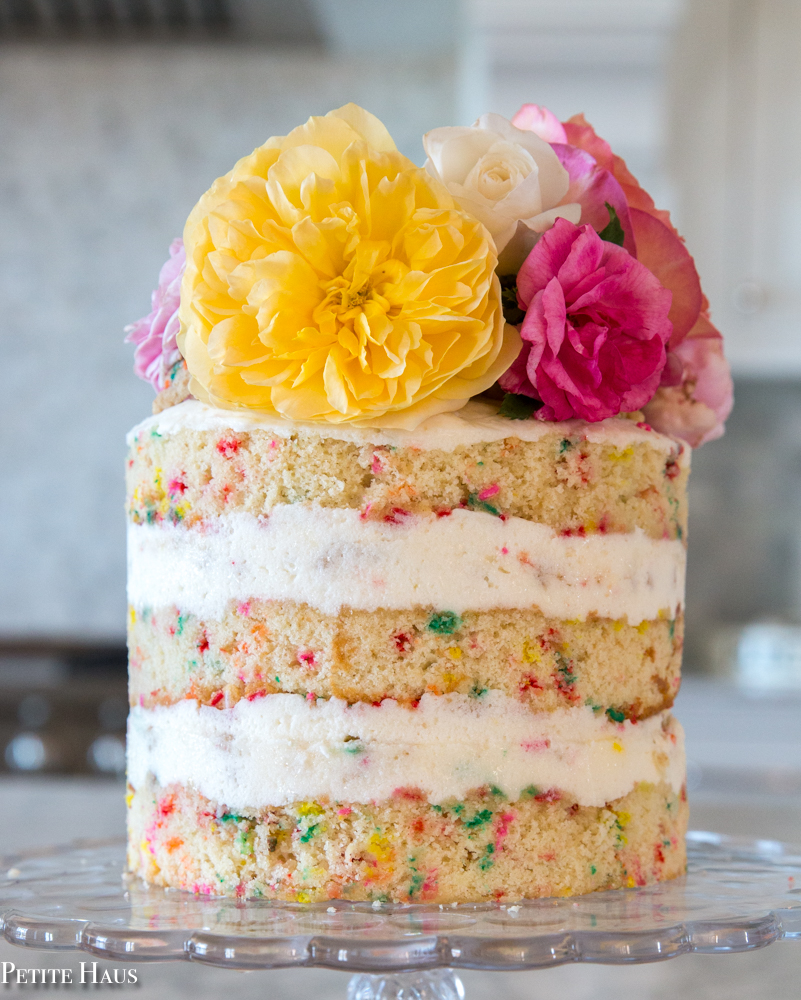
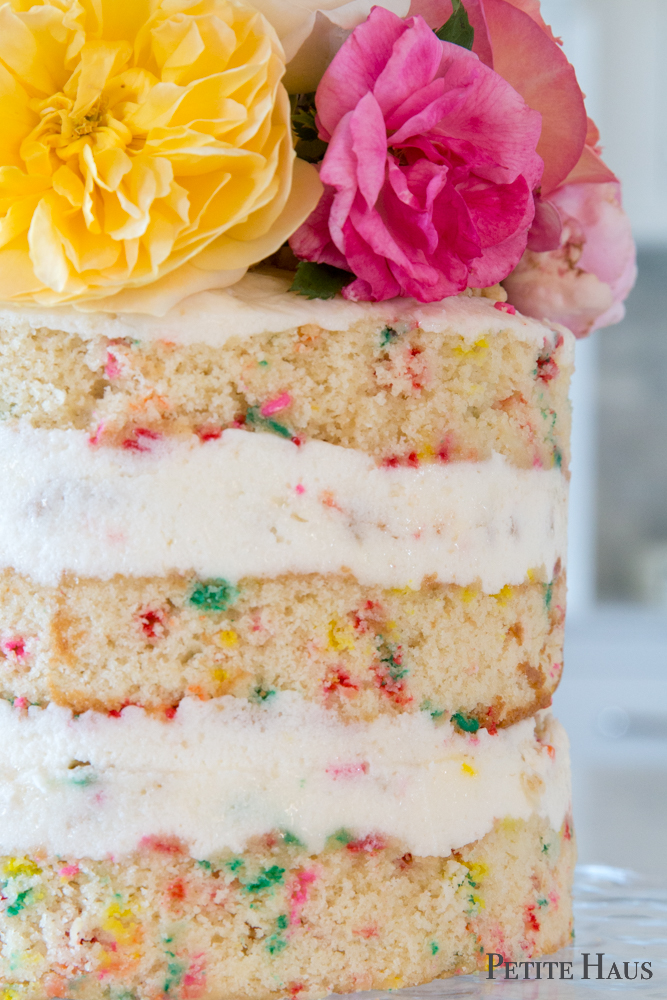
Her cakes are naked cakes, which means they are not frosted on the outside. This is perfect for me – one, because I don’t love frosting (and frankly the reason why I never make cakes nor cupcakes) and two, you don’t have to fret over perfecting your frosting until its smooth on the outside because it doesn’t need it!
So I set out to bake this cake. I purchased her cookbook, Milk. Everywhere that I was reading the reviewers were talking about how “difficult” this cake is. I thought, okay, challenge accepted!
Yes, you need some supplies. Such as a quarter sheet pan. And a 6″ cake ring. And acetate strips. Well, I already had acetate. I need a quarter sheet pan for my little steam oven anyway. And so really all I needed was 6″ cake ring.
You also need several ingredients that are harder to find. You need glucose. I actually just substituted 2 tsp corn syrup instead since it is hard to find. You need grapeseed oil – I have seen it in several stores, so not that hard to find. You need citric acid (which can be found in the canning section of your grocery store). Instead of citric acid I used about 1/4 tsp of fresh squeezed Meyer lemon juice. You need clear vanilla extract – which, by the way, is not vanilla extract but instead clear vanilla flavor! Yes, fake vanilla flavor (that seems to be the secret to creating your own funfetti cake!)
Okay, so you need a few specialty items. Well, fine. In reviews I was reading, people were complaining about needing specialty items. Well, do you want to make a cake that tastes really good or not?
Next, I was reading about how difficult it was because it has four parts to the recipe. The cake. The soak. The frosting. The cookie crumble. Well, break it up into parts!
To make it easier, I would recommend splitting it into two days – bake the cake and the cookie crumble on day 1. On day 2 make the frosting and the milk soak. Then you assemble your cake on day 2. Place it in the freezer overnight (or for up two weeks) as recommended. Then on day 3, take it out several hours before your event. Really, it’s not that difficult to make, especially if you spread it out over a few days.
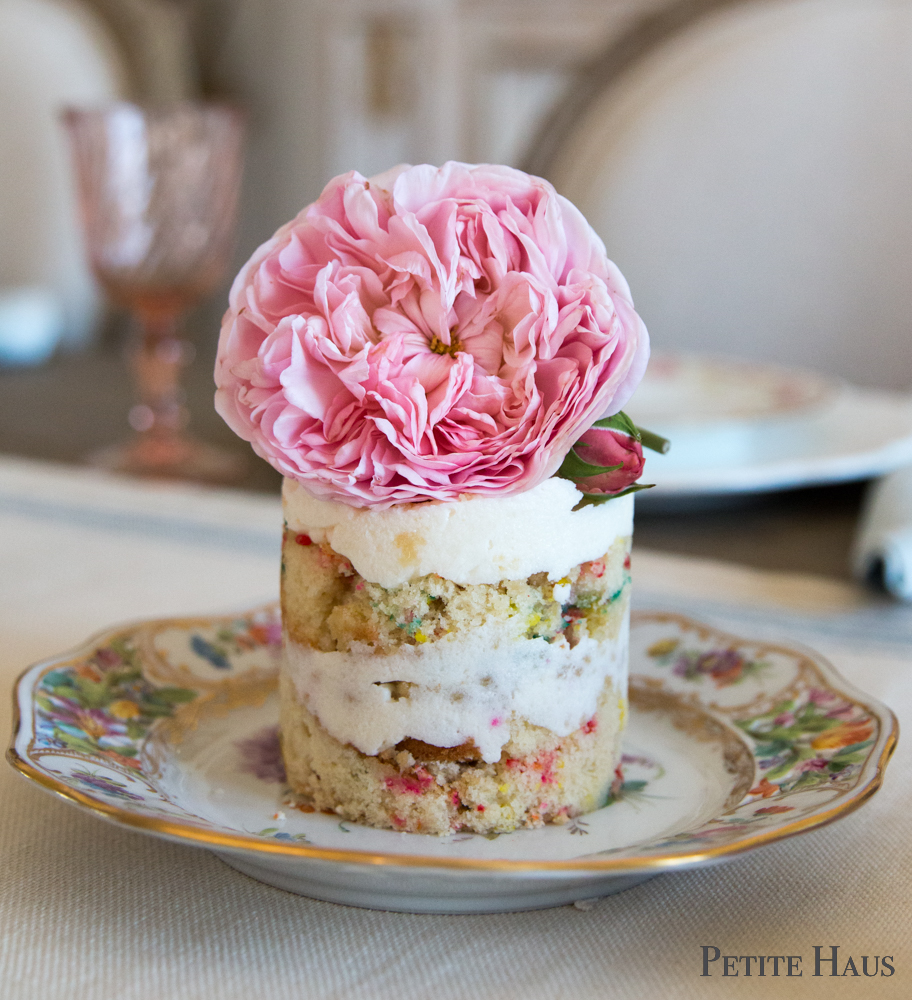
I had a little left over cake so I made a mini 3″ cake too! Isn’t it adorable??
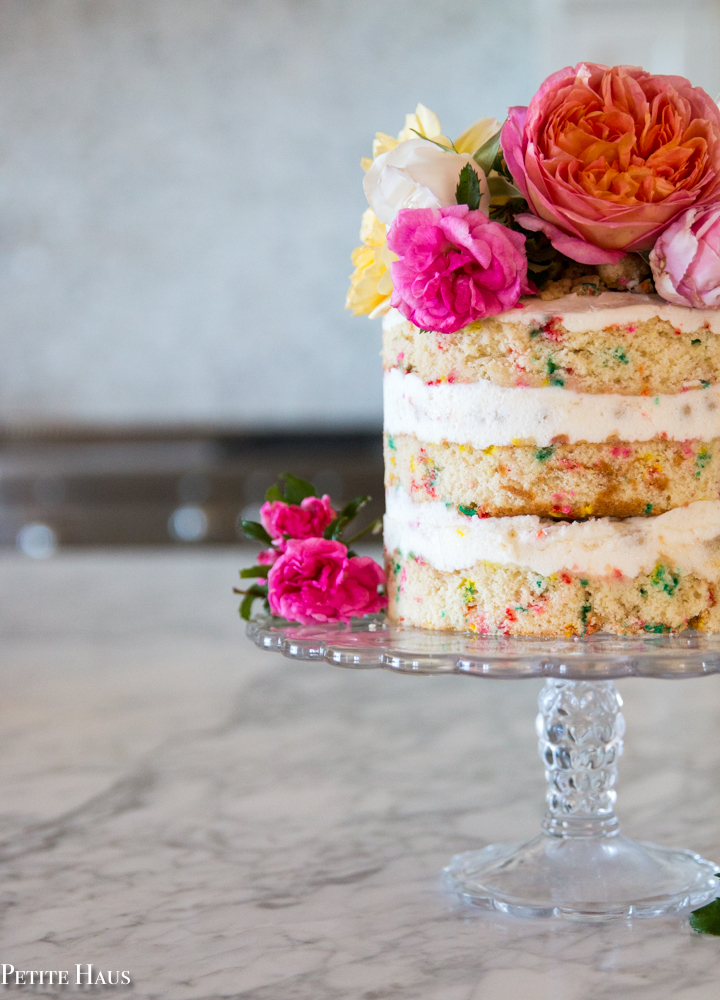
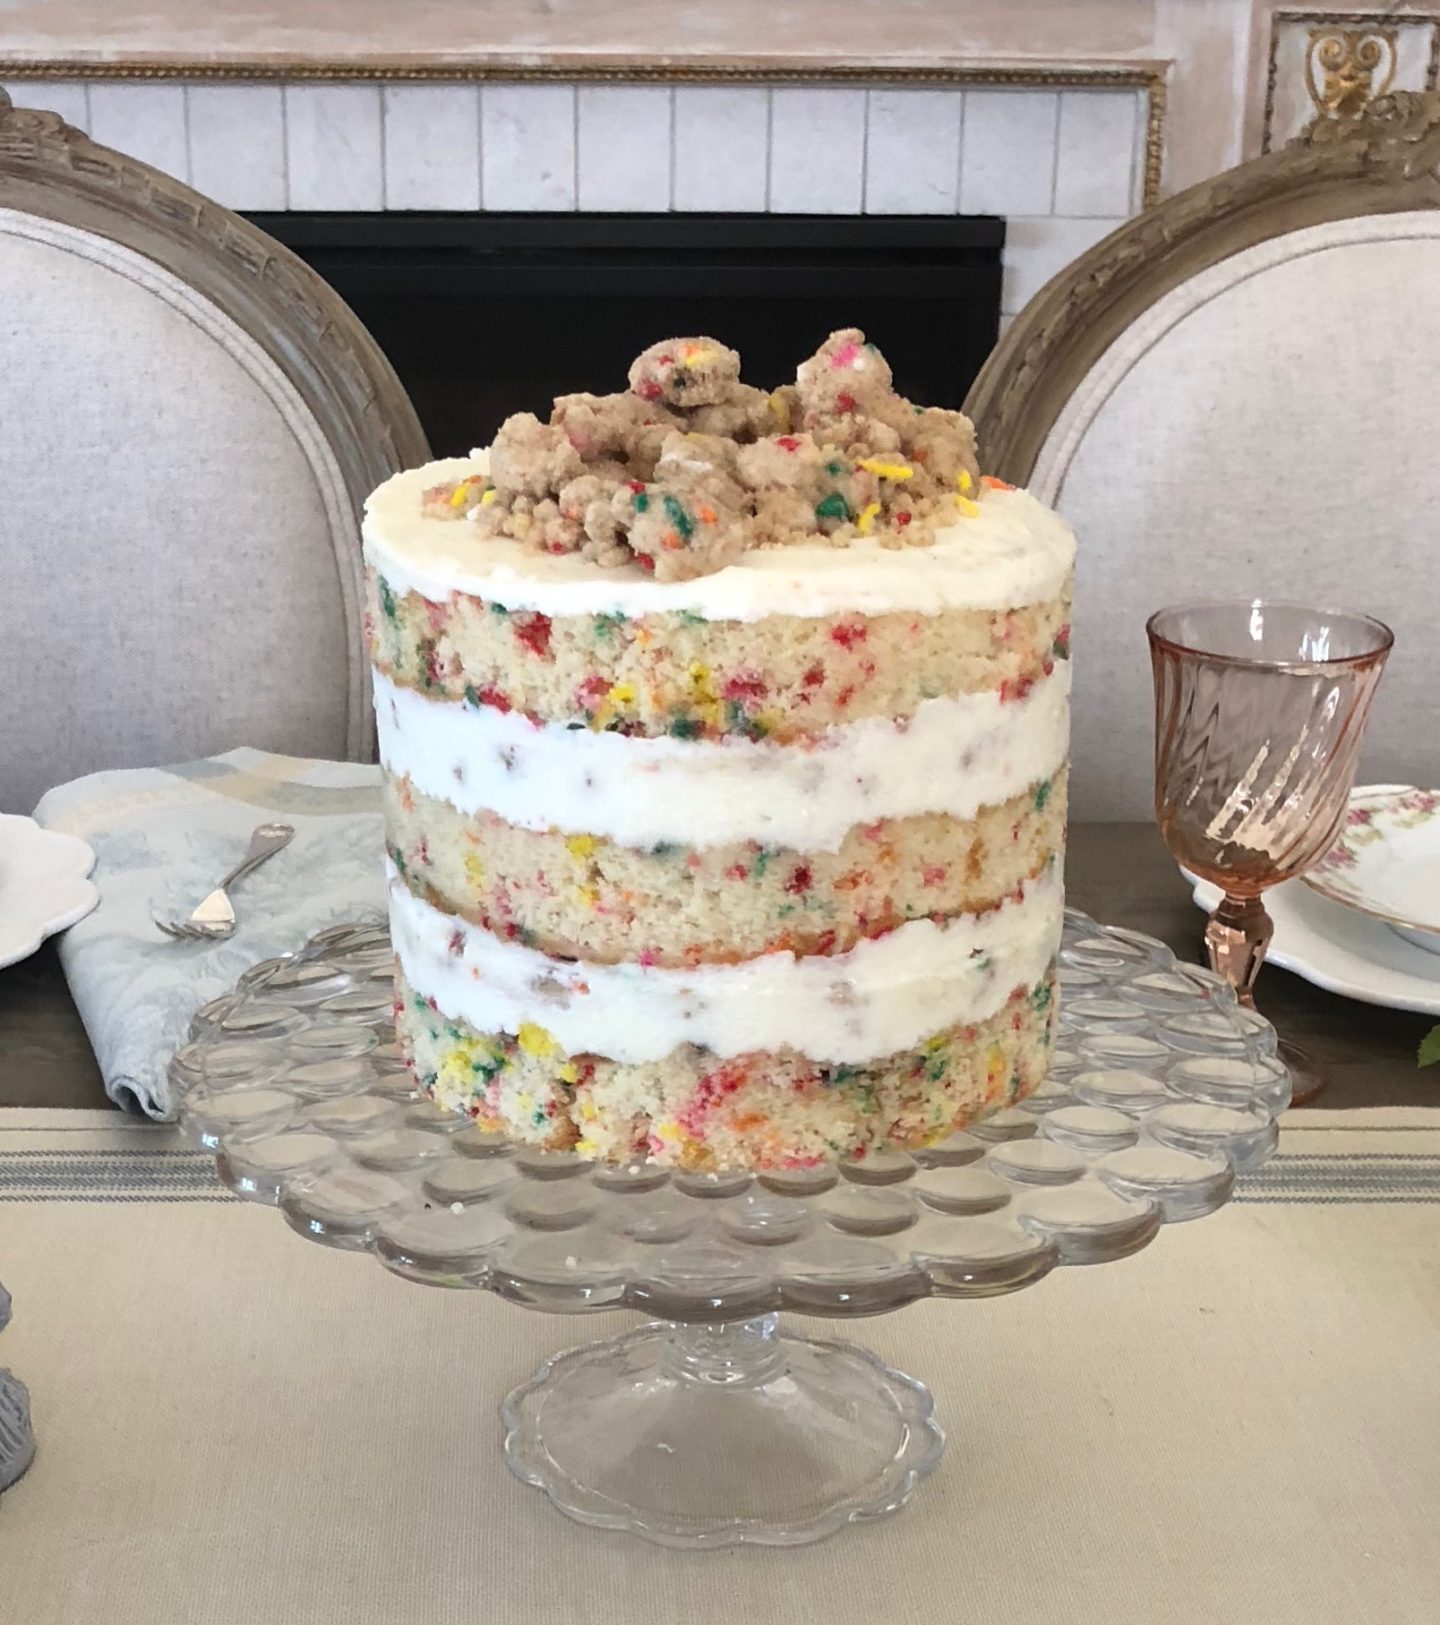
The cake itself is very moist. In between the layers is the cream cheese frosting and cookie crumble. The crumble adds an extra crunch with a hint of salt in this sweet cake. On top of the cake you put the cookie crumble, as pictured below.
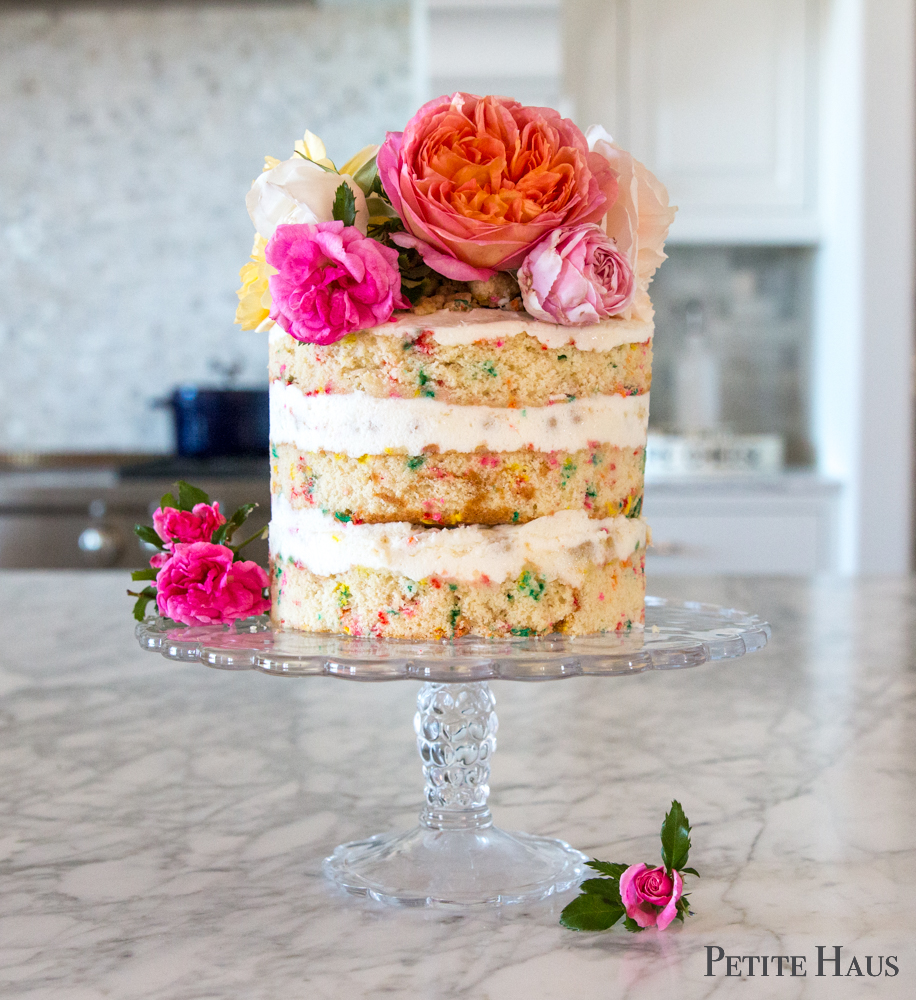
I felt like it needed a little extra impact so picked some I put garden roses on the top. (also, note the differences in the pictures between an iPhone and a DSLR!). Doesn’t it look pretty? Well, it tastes as good as it looks!
My final thoughts – this cake was really tasty! I have never had an American-style cake as good as this one – and seriously, I don’t really like “normal cakes” and I don’t like frosting. This cream cheese frosting was the bomb. The cake was really moist. This is traditional funfetti taken to the next level. If you want to impress your party goers at your next birthday party, serve them this cake. If you can’t make it yourself, Milk does ship nationwide.
Get the cookbook and the recipe for yourself below. I’m so excited to try her other recipes too!
SaveSaveSaveSaveSaveSaveSaveSaveSaveSave
PS – I wasn’t paid to make this cake or review the recipe/cookbook. I just enjoyed it and wanted to share it with you all!
We use affiliate links in our posts and our site. This means if you make a purchase using these links, we may earn a small commission. You don’t pay a cent more than you would otherwise! Our full disclosure is available under About.
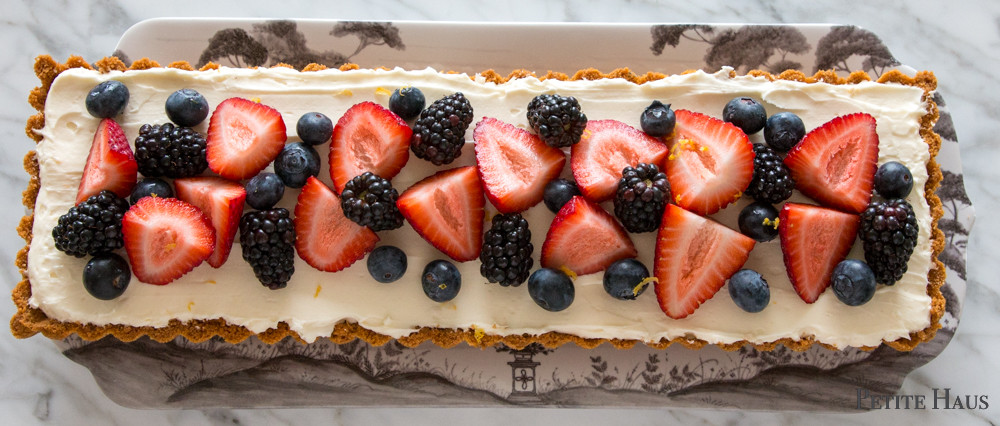
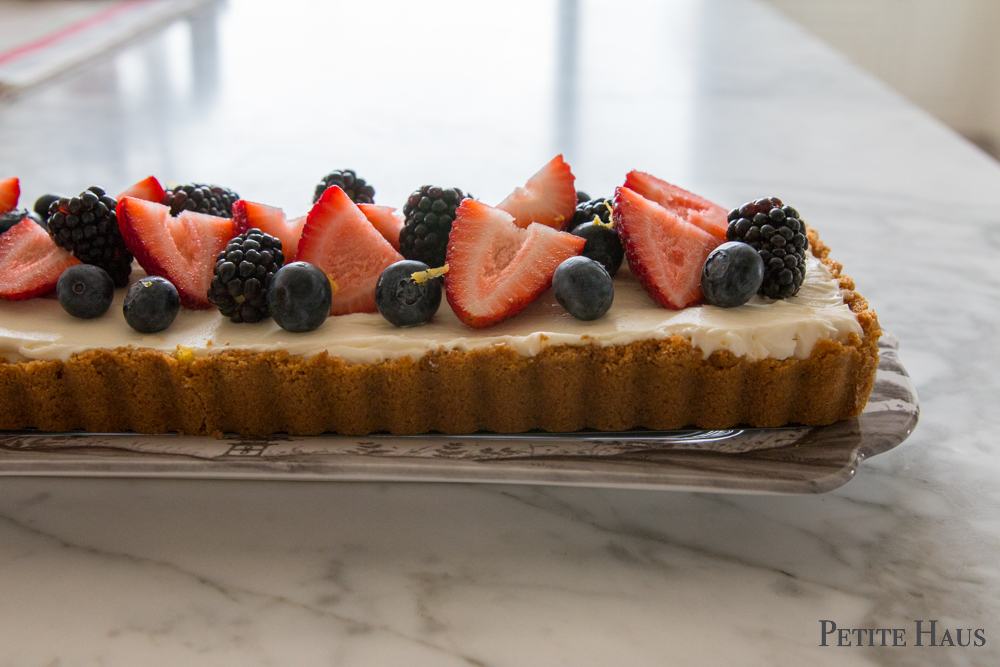
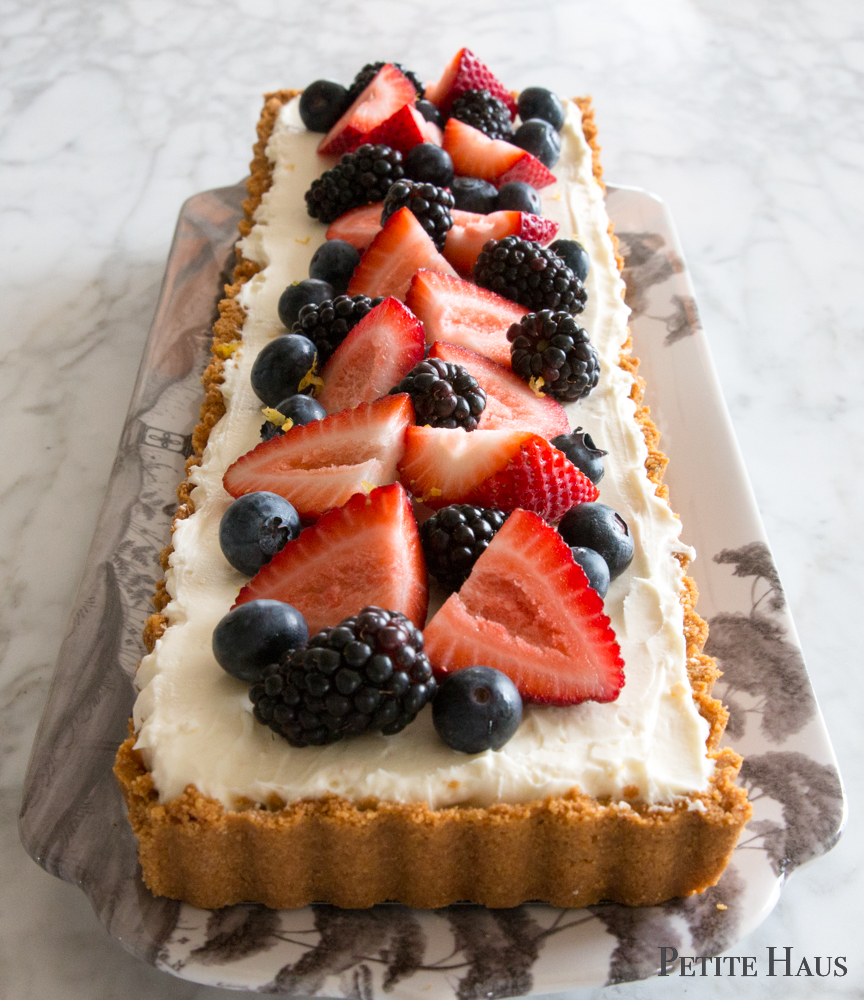
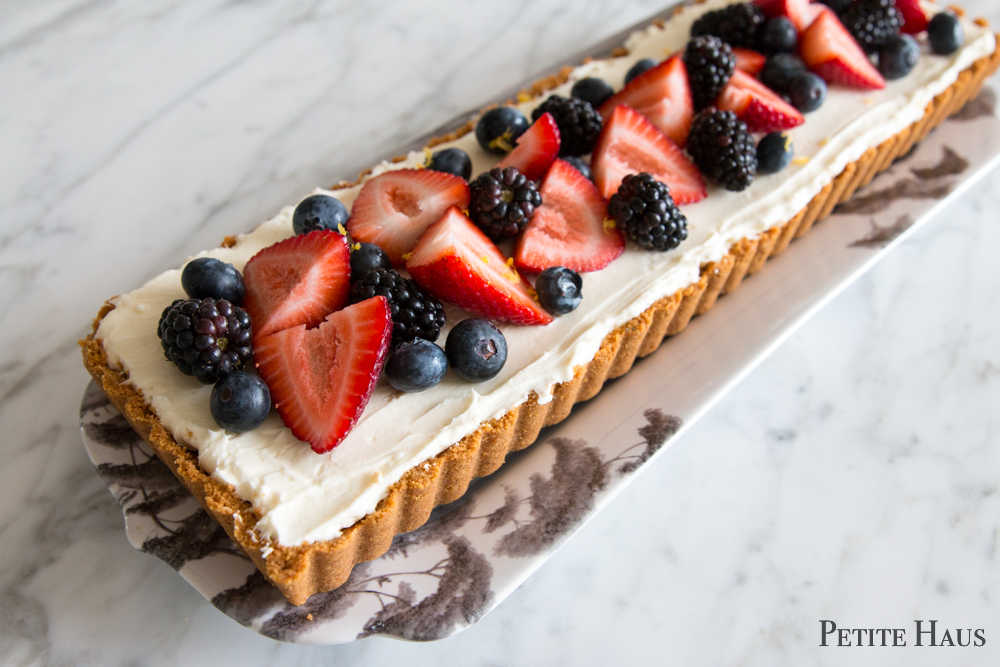
This berry lemon mascarpone tart is perfect for hot days and also for entertaining guests! It is so easy to make!
My cousin’s wife found the recipe and introduced me to it – so far to date, only one person has not liked it! I just had to share it with you all because it is THAT good! Oh, did I mention it was easy to make? I know I did. I just wanted to make sure you knew that.
This tart uses a graham cracker crust – which is appealing to many as opposed to the plain pie/tart dough crusts (confession – I don’t like crust normally and usually just eat the filling, but I did eat this crust!)
use whatever berries look good to you! Takes about 1 pint strawberries, 1 pint other berries.
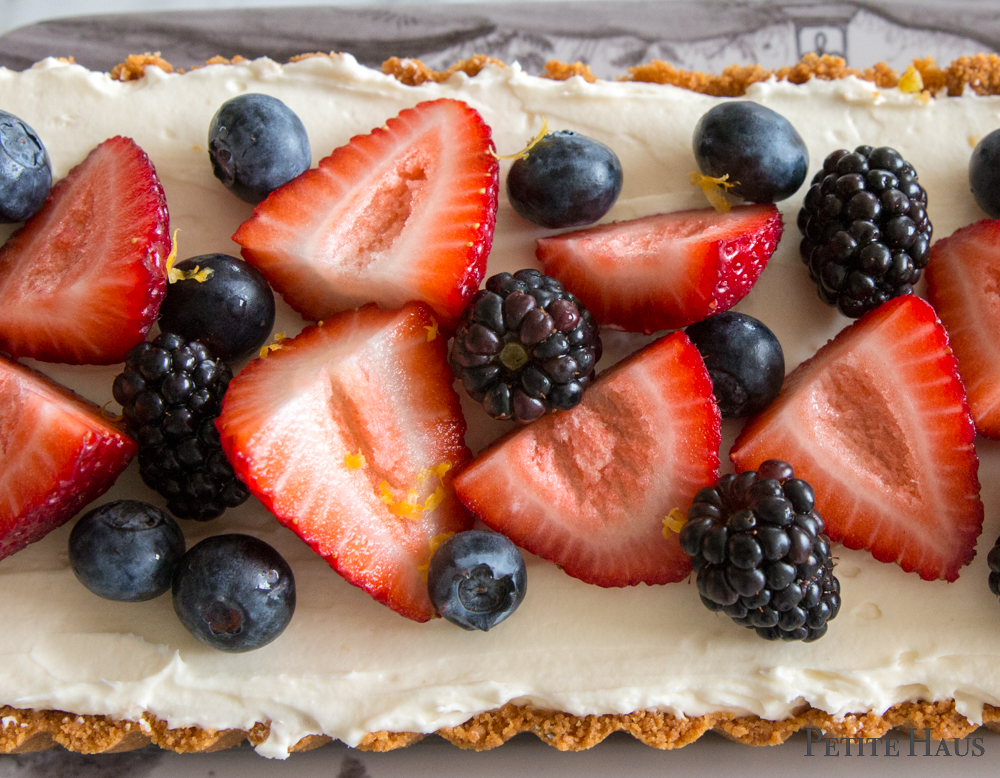
Sprinkle the top with the remaining zest from the other half of the lemon
Garnish with mint leaves
Directions
For the crust: (You can use a rectangular tart pan, square, or round – so long as the bottom is removable!)
Preheat oven to 350F (or 325F convection oven).
Combine crushed graham crackers, salt, sugar and melted butter in a food processor.
Place crumbs into tart pan and evenly spread the crumbs. Press them down to make a compact layer. You want the crust to be about 1/4″ thick – so you may not use all of the crumb mixture.
Bake crust until it’s golden brown and aromatic, approximately 8-10 minutes. Take out from oven and let crust cool completely before filling. You may make it a day ahead of time and keep wrapped up at room temp.
For the filling
Beat the whipping cream and cream cheese together on high speed until soft and creamy, takes a few minutes.
Add the mascarpone cheese and powdered sugar and beat until mixed well.
Add the lemon curd, lemon zest, and lemon juice and mix until just combined.
Scoop the mixture onto the cooled tart crust and level it with a spatula. Hold a little bit back in reserve – that way you can have some to hide some mistakes while spreading (I may have dragged a bunch of graham cracker crumbs onto the filling at one point – but you can’t tell because I saved some filling to I could hide my mistake!)
Chill in refrigerator for about 3 hours (or overnight!).
Place berries and garnish on top just before serving.
Serve chilled (I ate it after it had been out for 1.5 hours – it was still scrumptious! Although I preferred it straight out of the fridge)
This tart can be made a day in advance. Or you can make the crust in advance and the filling the day of your event. It just has to chill a few hours. Add the berries at the last minute – you can do whatever fruit you want. This tart is simply scrumptious! If you want your fruit to look shiny like pastry shops, you can make a simple syrup by taking apricot jam and watering it down- then brush it on the fruit.
This is a great dessert to bring to parties. It is light and refreshing – perfect for the hot Summer months that are coming soon!
We use affiliate links in our posts and our site. This means if you make a purchase using these links, we may earn a small commission. You don’t pay a cent more than you would otherwise! Our full disclosure is available under About.
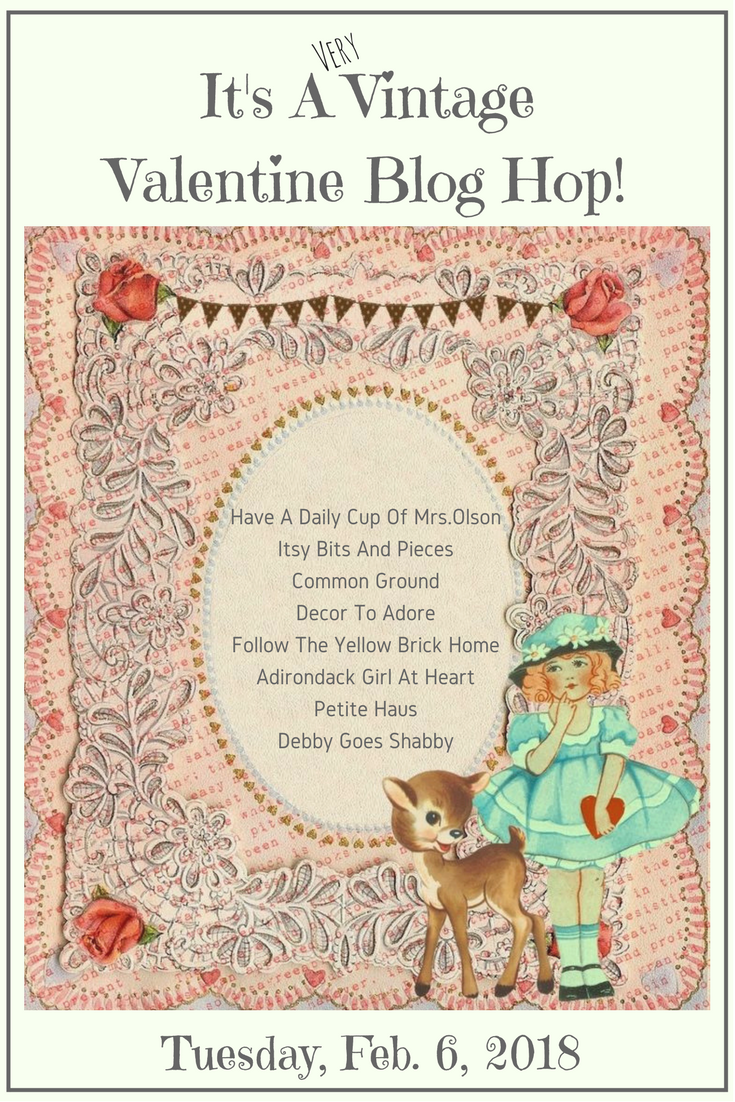
Today I’m so excited to share with you a pretty in pink vintage Valentine’s Day tea party as part of a vintage Valentine’s Day Blog hop!! ! If you are coming over from Adirondack Girl At Heart, welcome!
You can add your Valentine’s Day posts at the end of this post up until Valentine’s Day!! Also, a big thank you to Amber from Follow The Yellow Brick Home for arranging this blog hop!
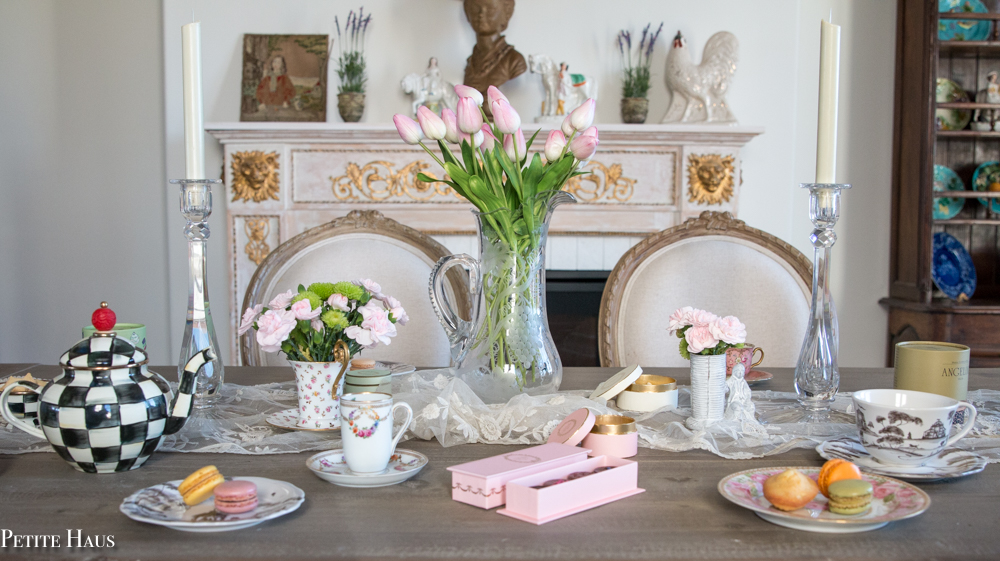
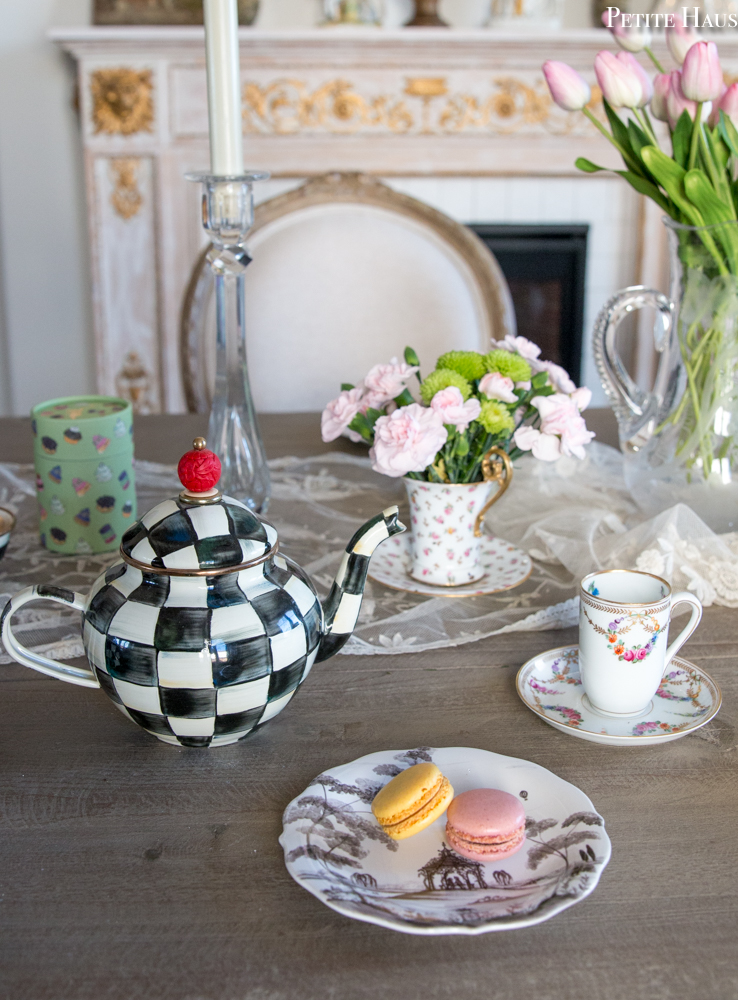
For this tea party, I used my favorite tea pot – this Mackenzie Childs tea pot! I love the black and white check against the pink and green!
I gathered up my vintage tea cups for this tea party. The tea cup with the wreath is actually a chocolate cup – but I don’t care! Tea, chocolate… we can drink what we want from it! The cup is by Dresden.
The black plate on the bottom left is from Juliska and I love that it appears vintage – but it is microwave and dishwasher safe! (similar one here)
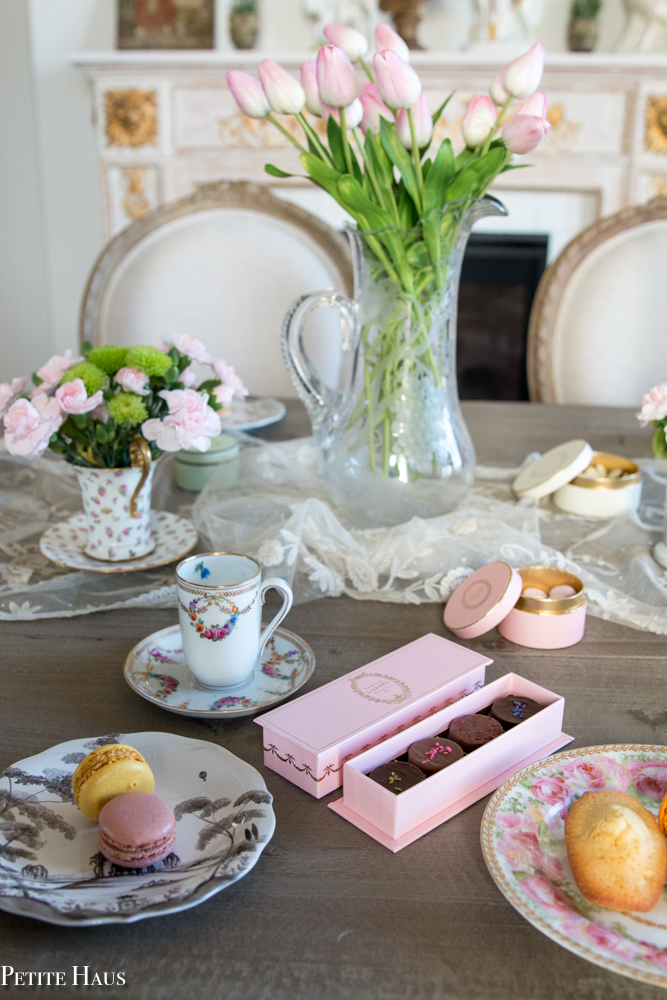
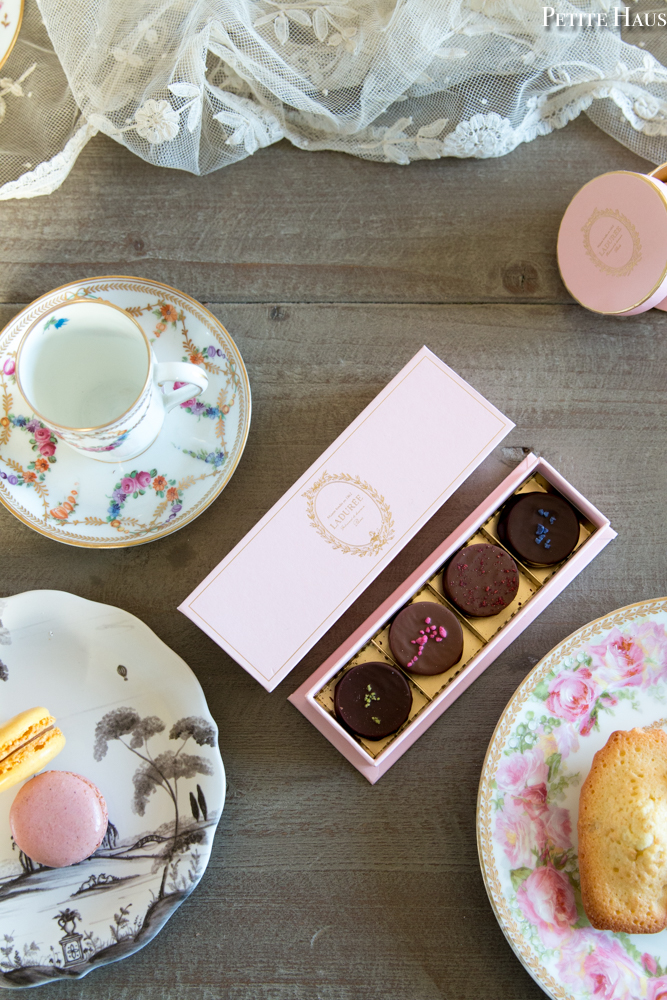
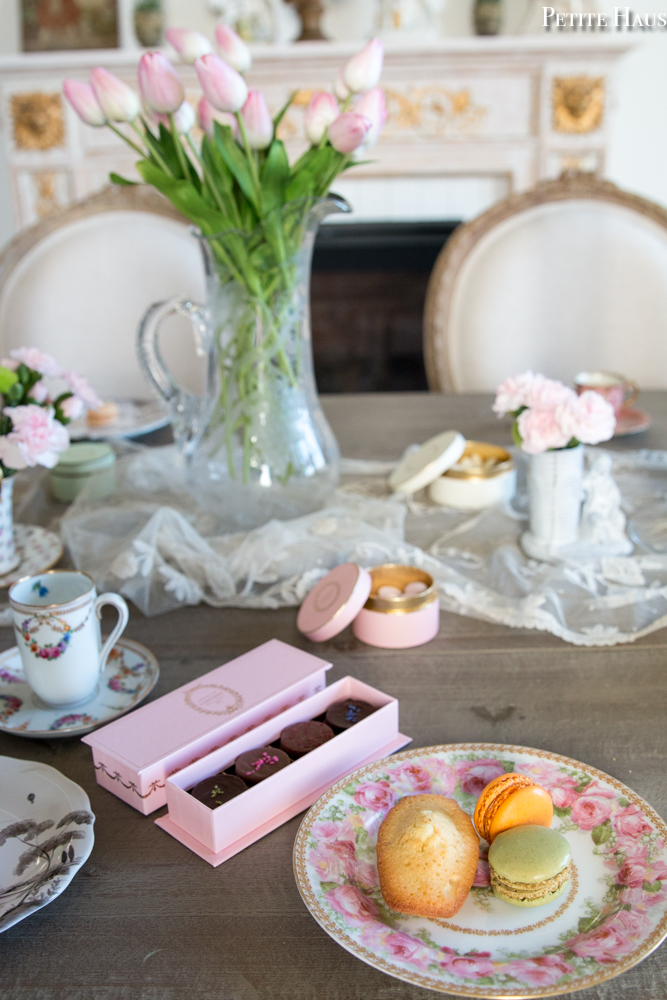
A Valentine’s day tea party would not complete without chocolates! These truffles I purchased solely because I loved the box! haha! The lace runner is antique – keeping with today’s vintage theme!
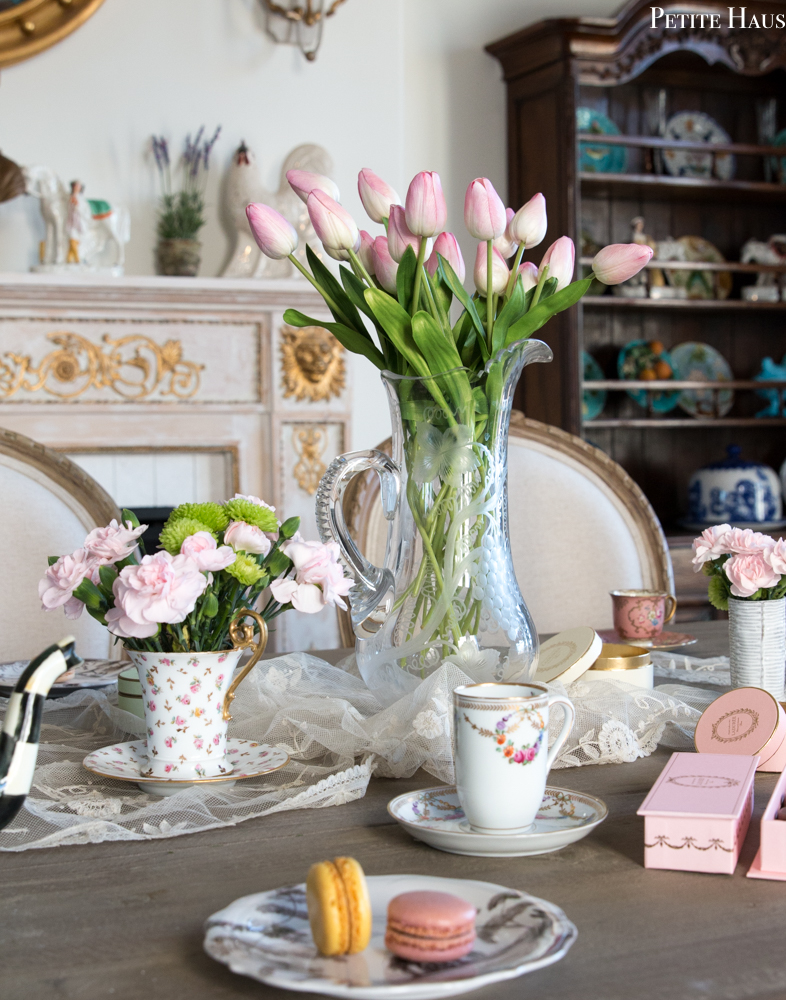
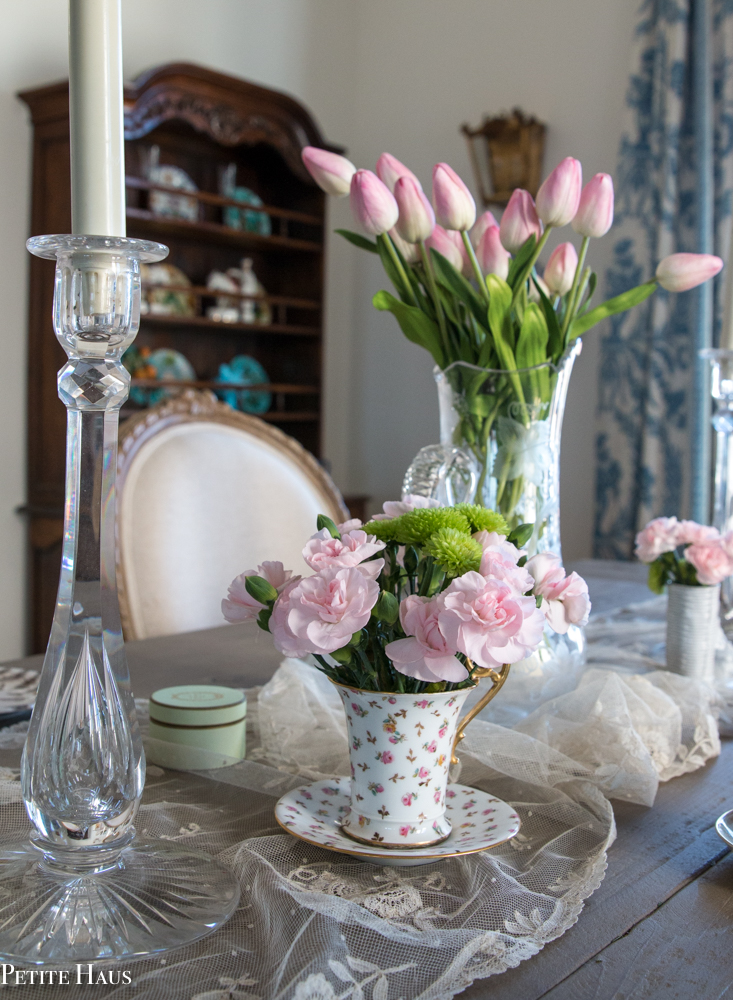
For the centerpiece I used an antique American brilliant cut glass pitcher. Want to know a secret?? The tulips here are actually faux tulips – great for using in cut glass vases because there are no water lines left over that are difficult to scrub out!
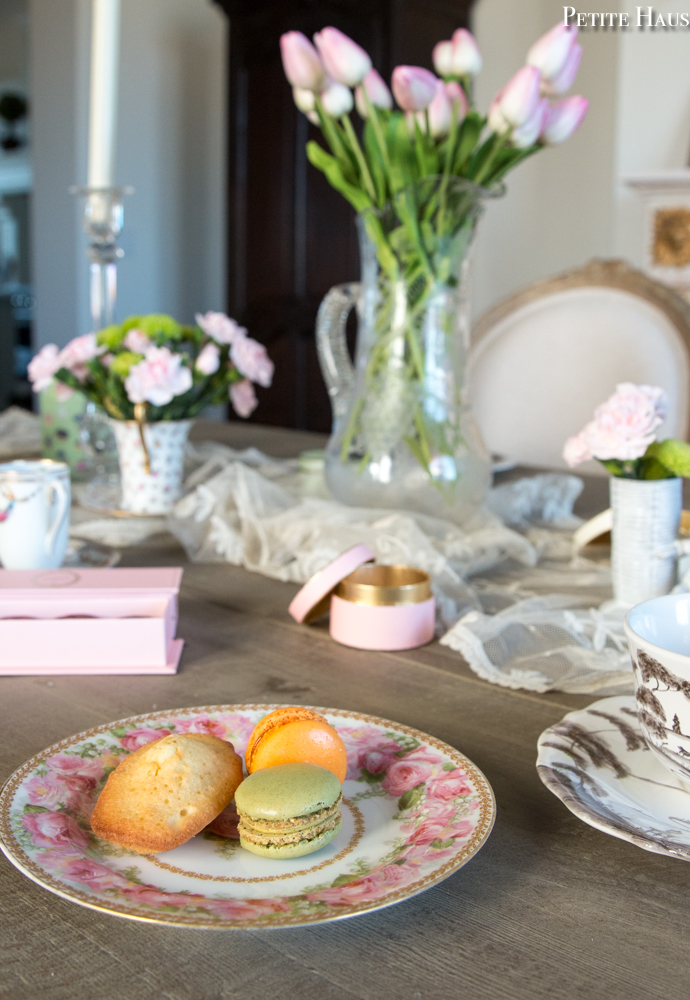
A tea party at Petite Haus would not be complete without macarons and madeleines! When I don’t feel like baking them, I buy the madeleines at Costco and the macarons at Trader Joe’s.
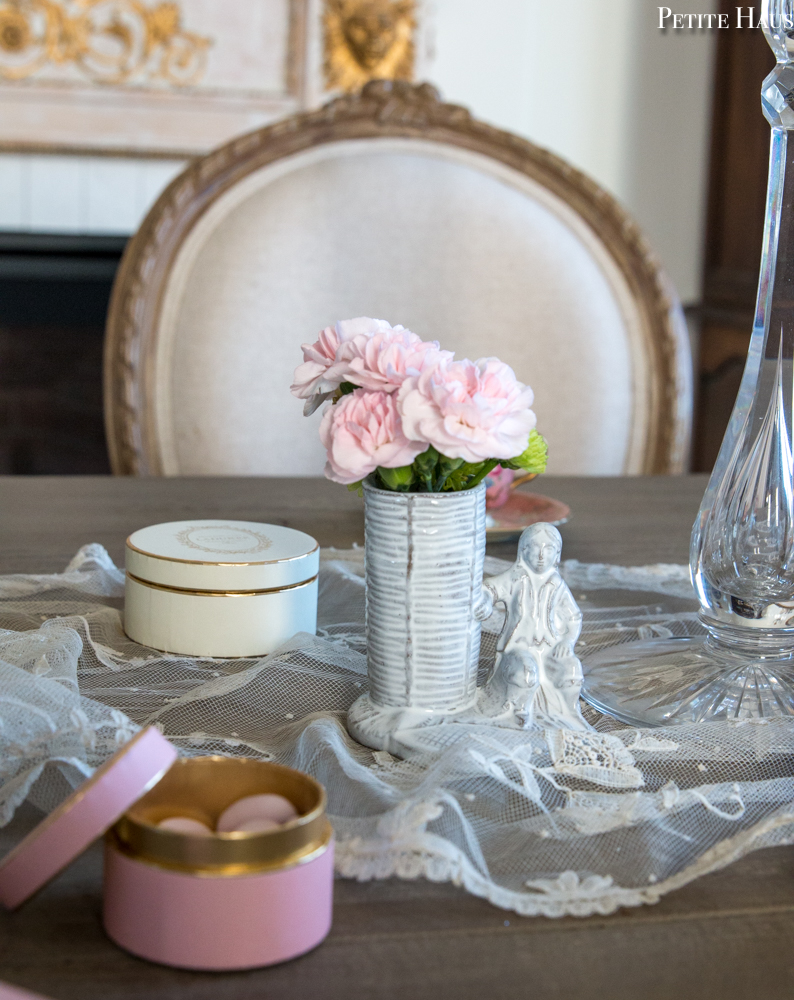
I realized that this little tea party is a great idea for bridal showers. Jordan almonds are in the little pink box below.
Carnations are such a pretty flower with a fresh scent. They last a long time too – great budget option for flowers. I love using vintage tea cups as vases – also a great idea for bridal showers.
One last look at my little tea party. The little pink plate is vintage Limoges. Okay, enough pictures! It’s time to eat!
Thank you so much for visiting my blog today! Grab your cup of tea and head on over to Debby Goes Shabby. Head on over now to see her creative vintage Valentine’s Day ideas! You can also visit all the blogs on the hop today by clicking their links in the list below.
Do you a have any Valentine’s Day themed blog posts to share? We would love for you to come back this evening and join us for the “Share The Love Valentine Link Party!” The party goes live at 5:00 p.m. EST. and will run through Valentine’s Day. See you there!
I may earn a small commission if you purchase with these links
no products
Please note that I use ShopSense, LIKETOKNOW.it, Shareasale and Amazon affiliate links on this site. This means using them for purchases won’t cost you extra but may earn me a small commission. Our full disclosure is available for viewing under About in the disclosure policy.
All rights reserved. Our graphics, images and text are all subject to copyright protection.
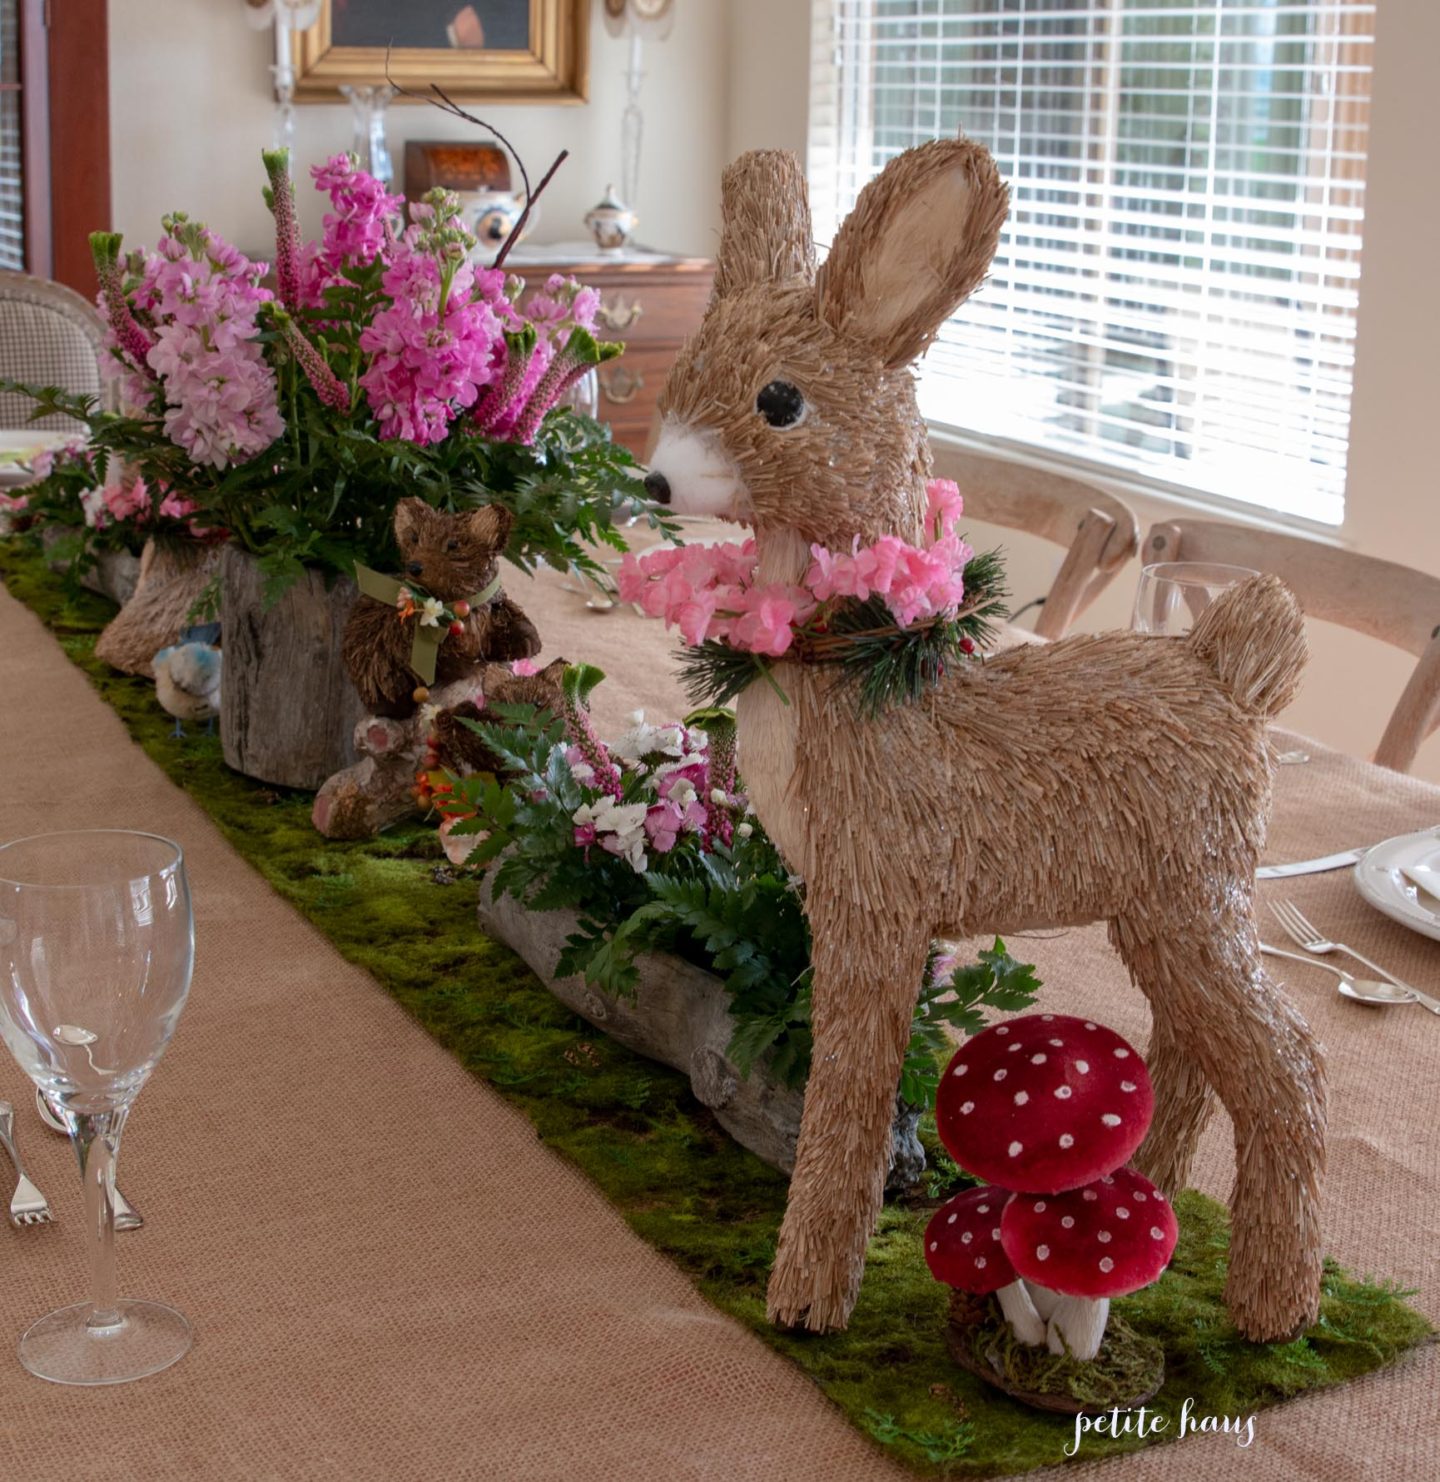
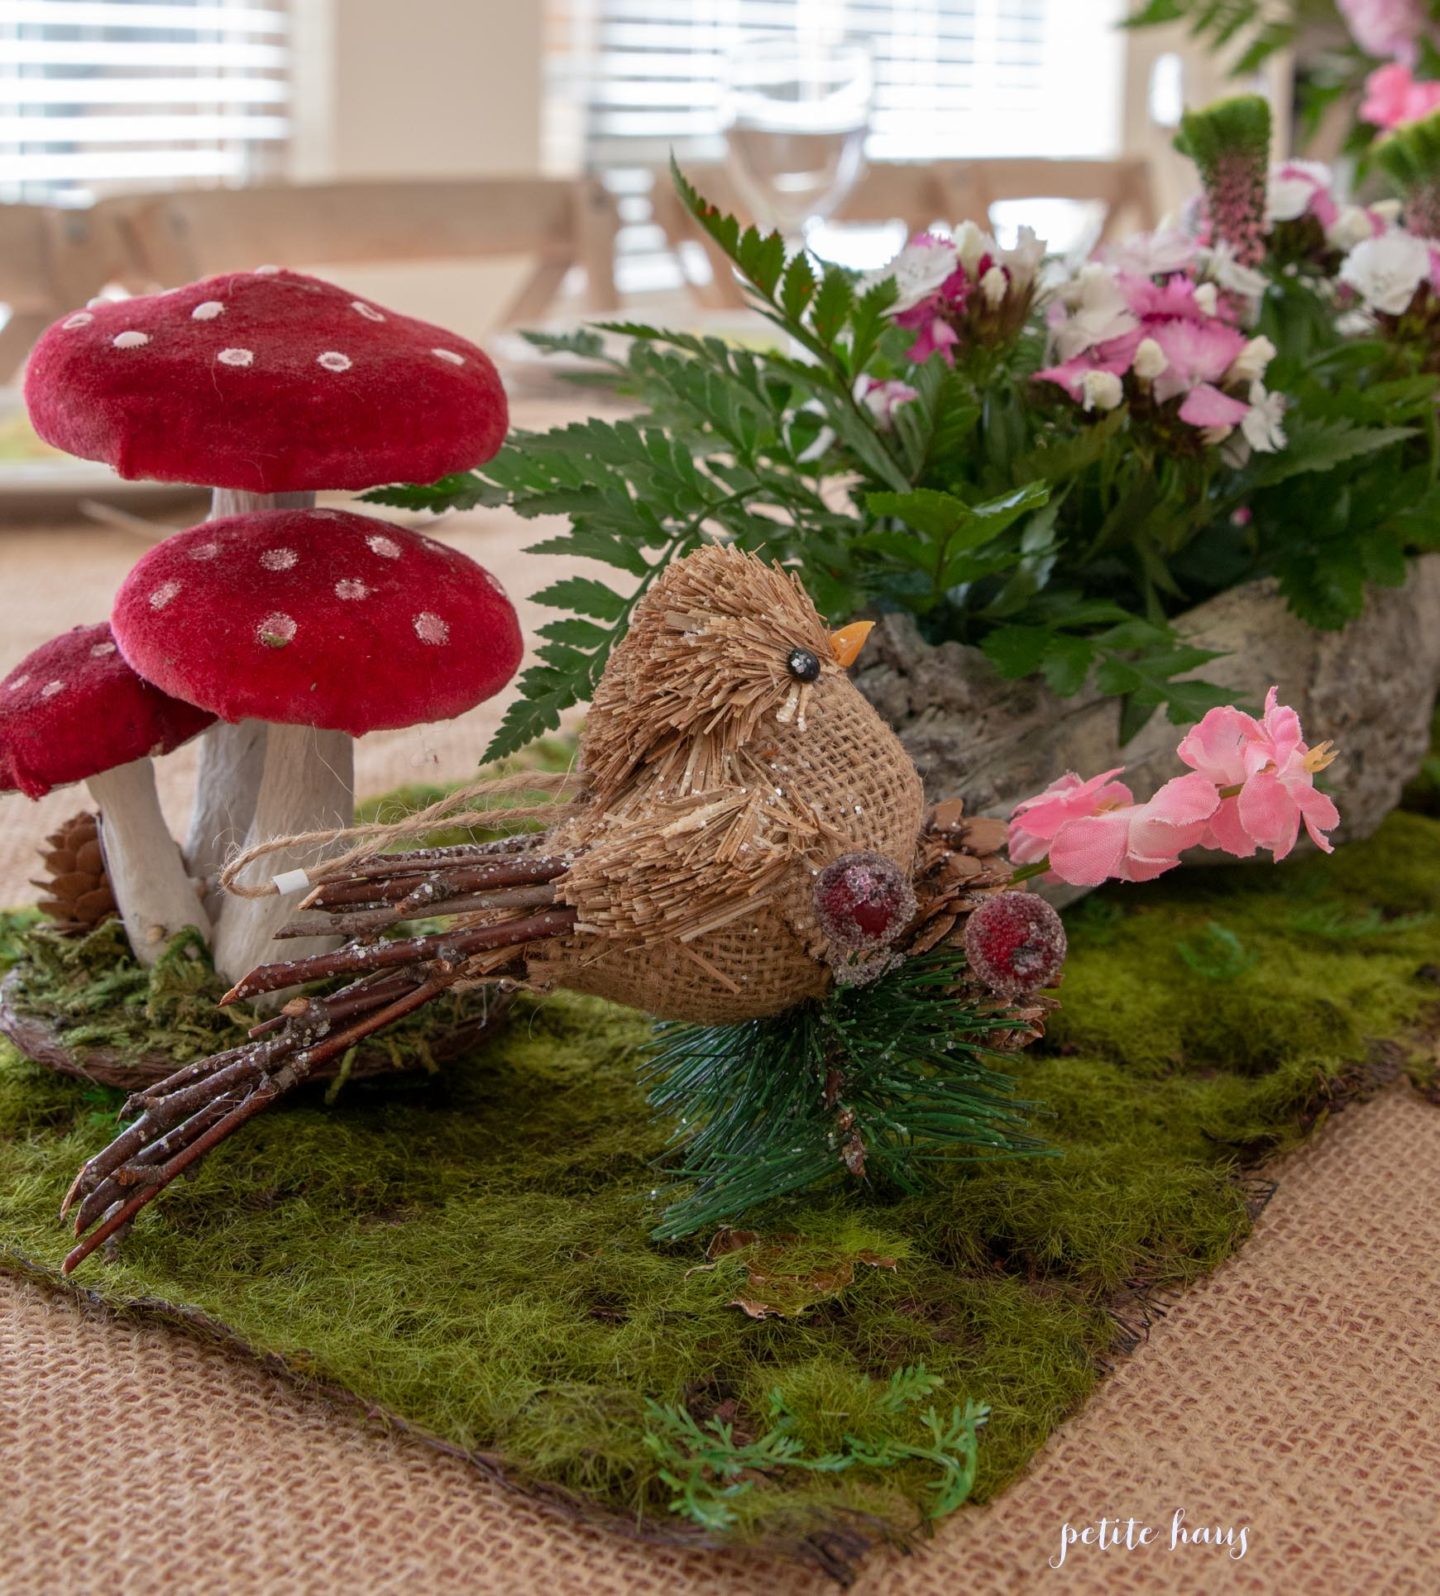 Woodland critters sit on top of a moss runner.
 We took the woodland deer from Christmas and put faux flowers around their Christmas collars to dress them up for the party!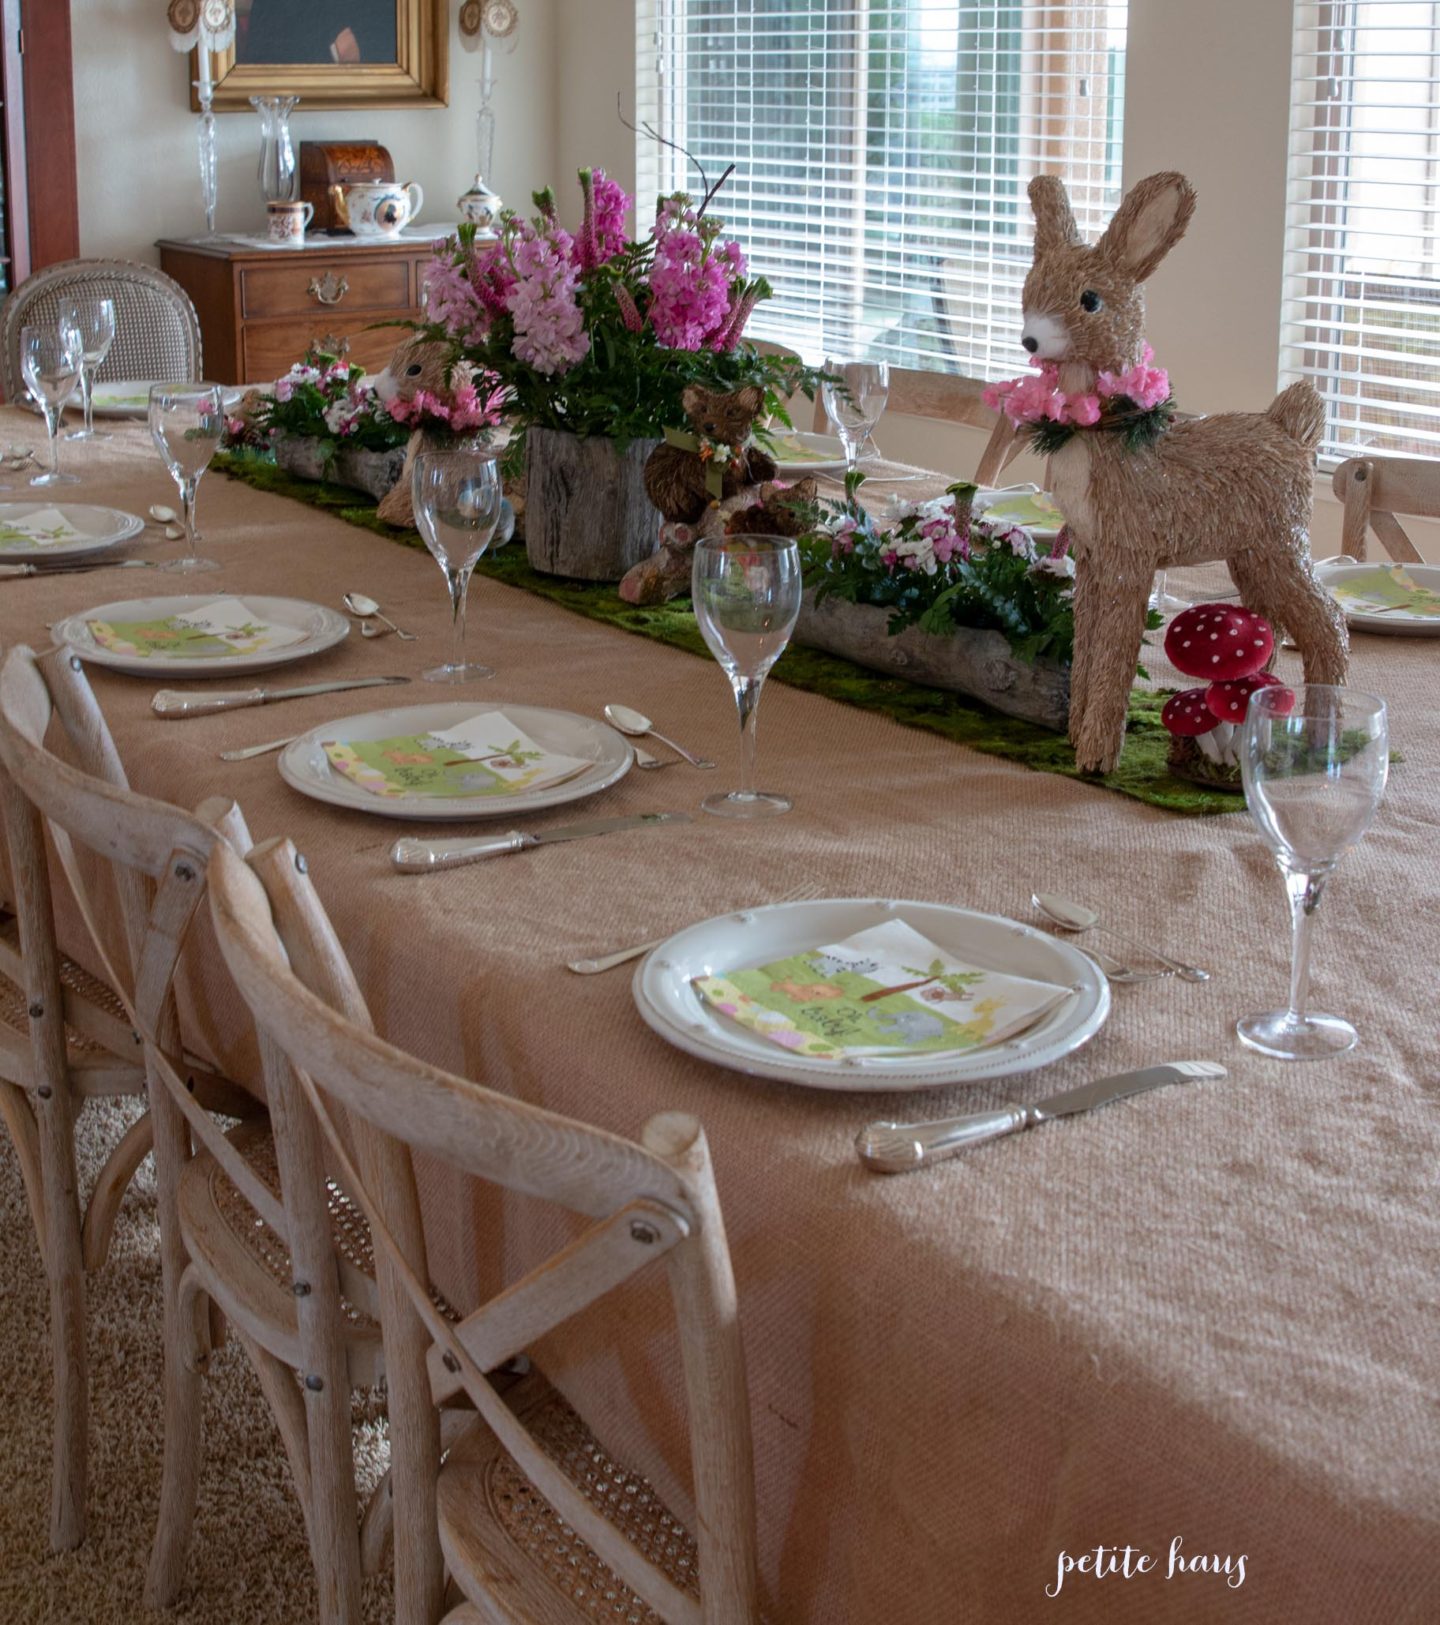
 We use affiliate links in our posts and our site. This means if you make a purchase using these links, we may earn a small commission. You don’t pay a cent more than you would otherwise! Our full disclosure is available under About.


 We use affiliate links in our posts and our site. This means if you make a purchase using these links, we may earn a small commission. You don’t pay a cent more than you would otherwise! Our full disclosure is available under About.
 We use affiliate links in our posts and our site. This means if you make a purchase using these links, we may earn a small commission. You don’t pay a cent more than you would otherwise! Our full disclosure is available under About.