google.com, pub-5426958118371358, DIRECT, f08c47fec0942fa0

How to Create a Crepe Bar

How to Create a Crepe BarWe use affiliate links in our posts and our site. This means if you make a purchase using these links, we may earn a small commission. You don’t pay a cent more than you would otherwise! Our full disclosure is available under About.

I absolutely love crepes and thought I would share my favorite recipe for making crepes and filling ideas for creating a crepe bar!
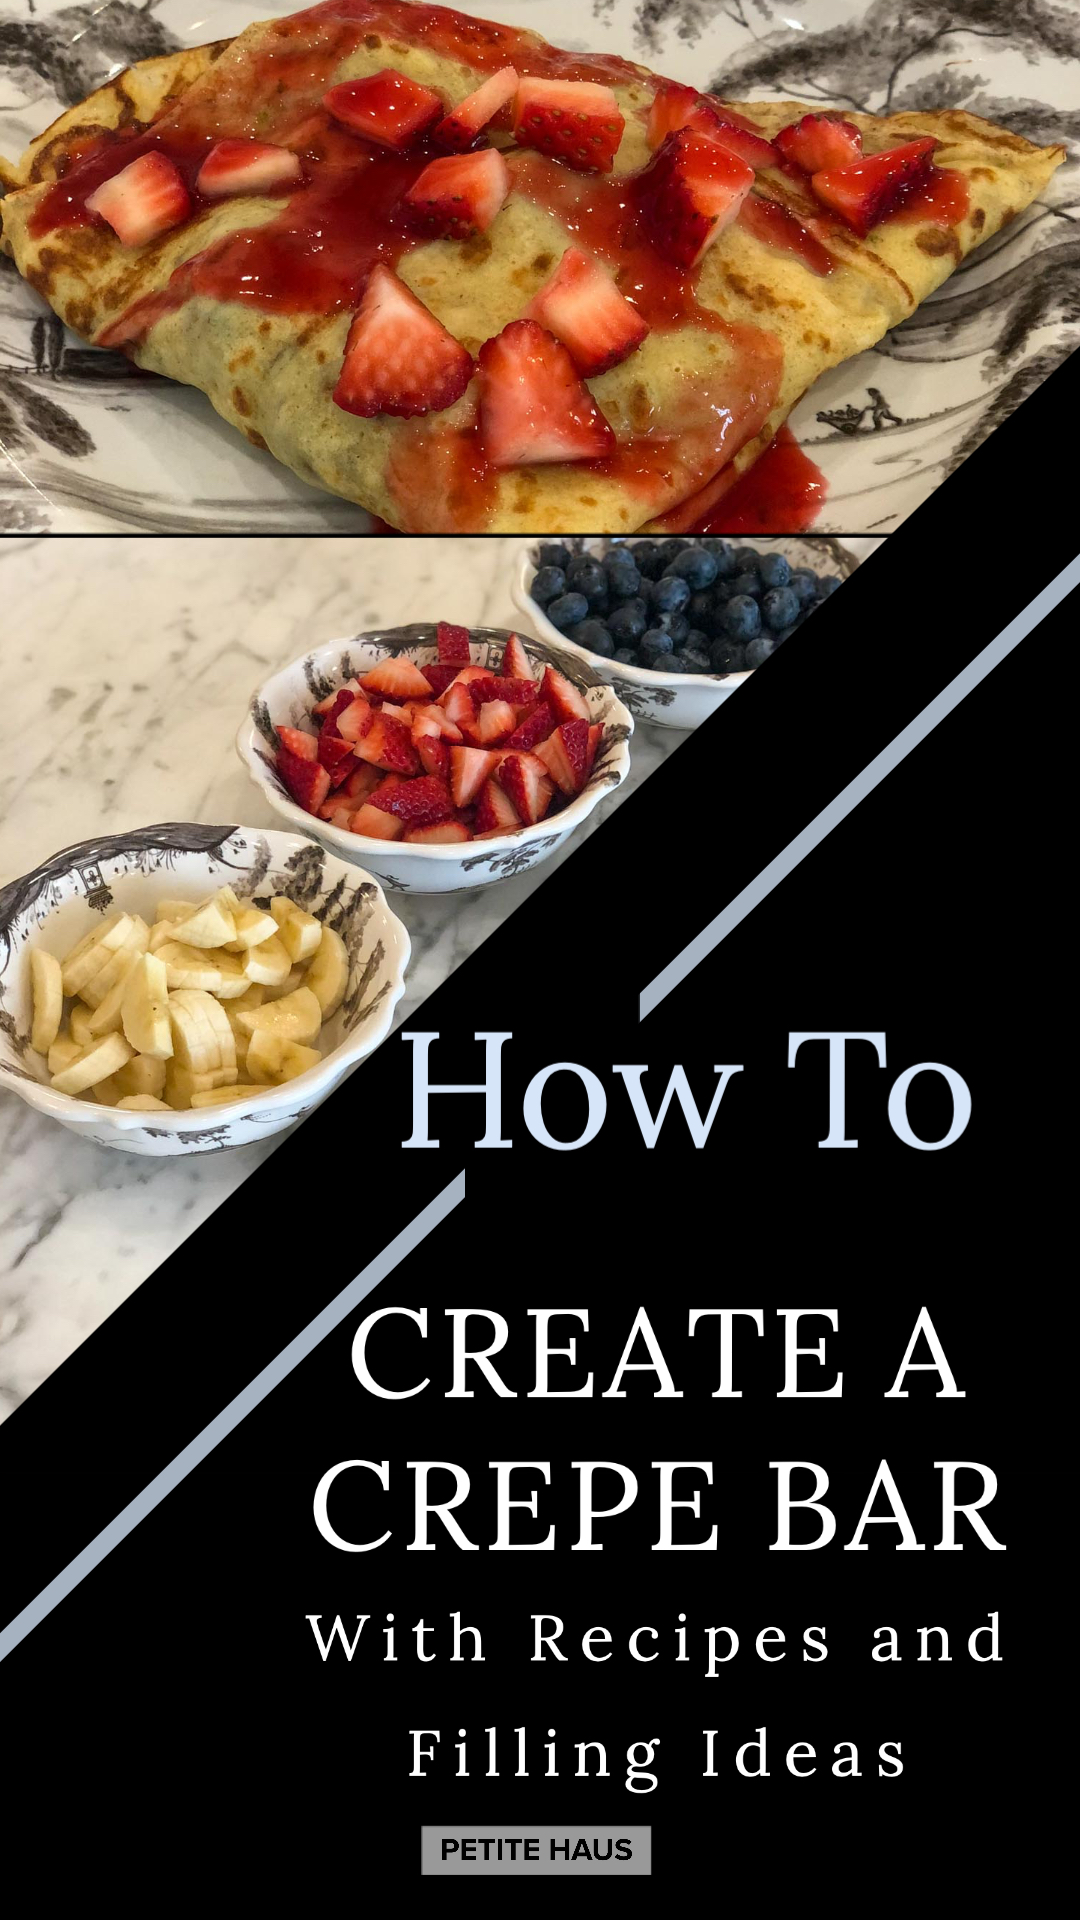
How to create a crepe bar - complete with crepe recipe and crepe filling ideas!

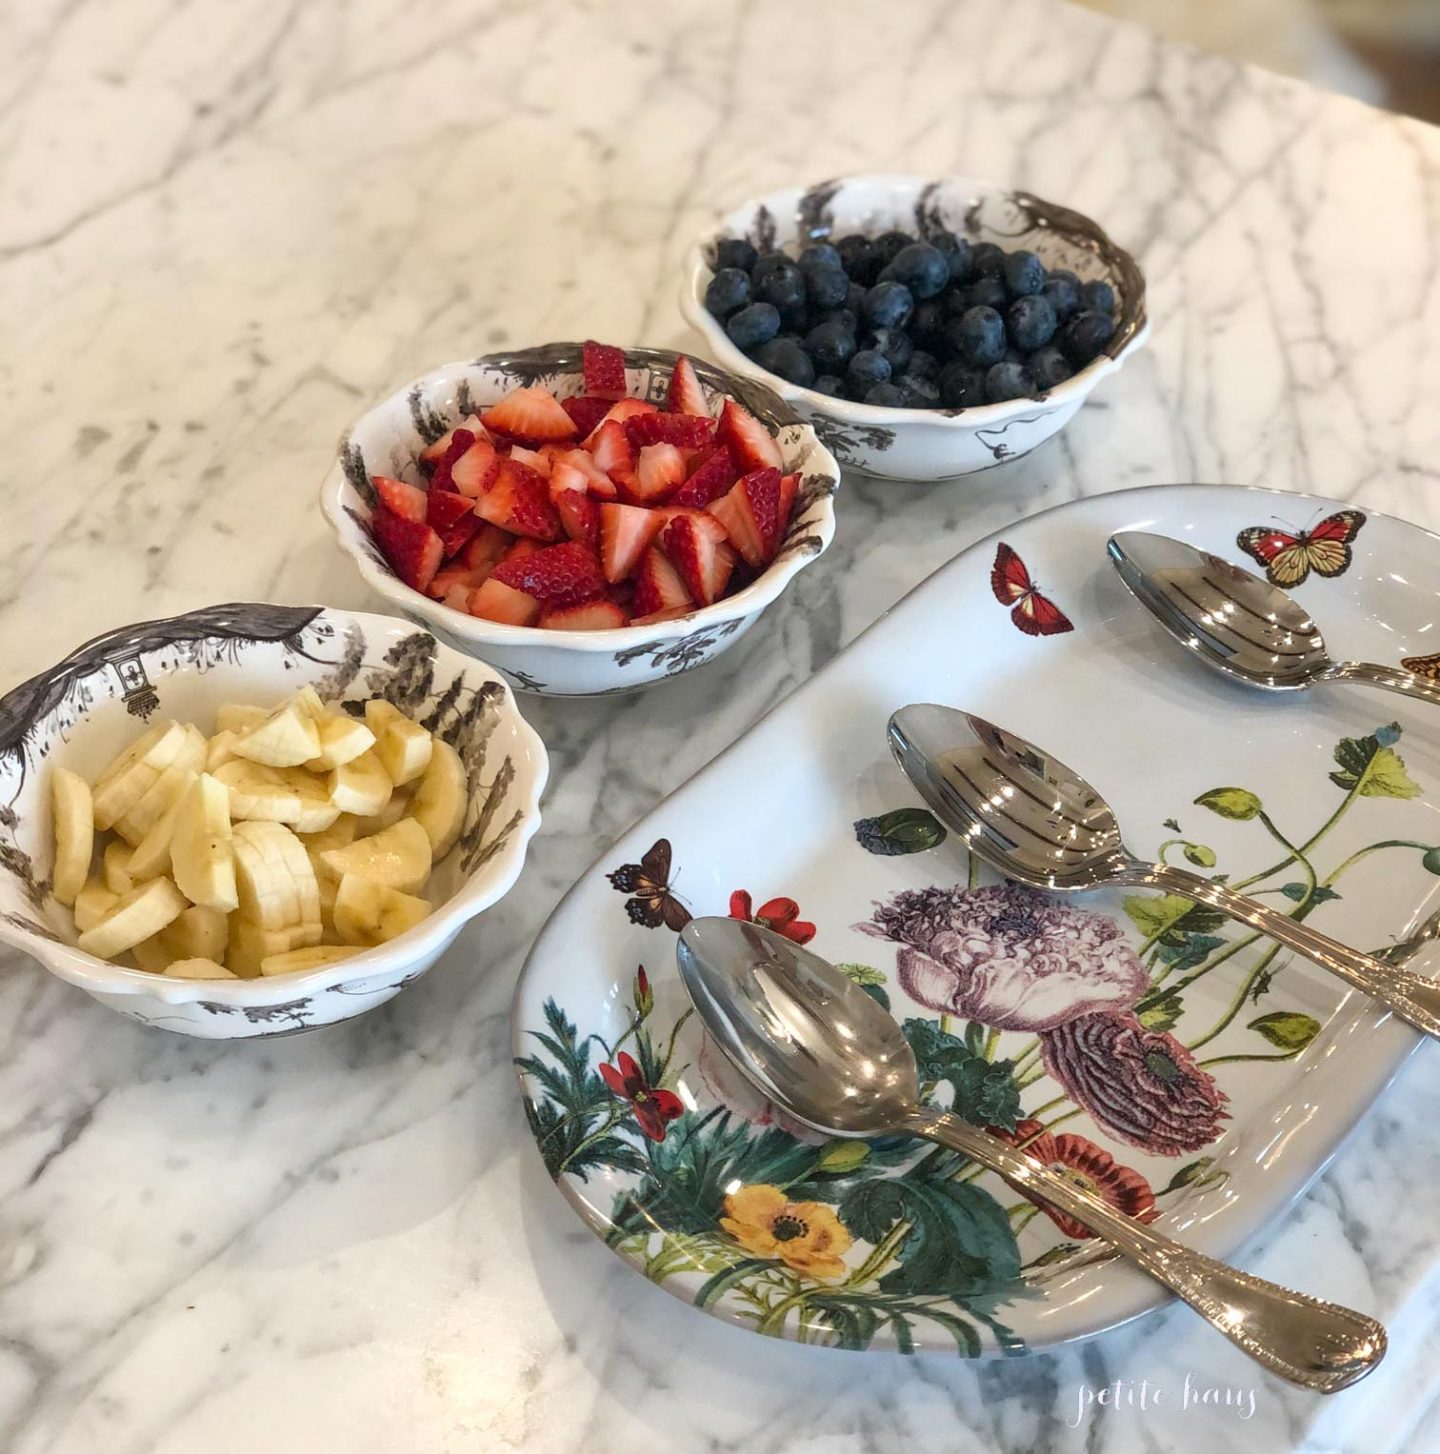
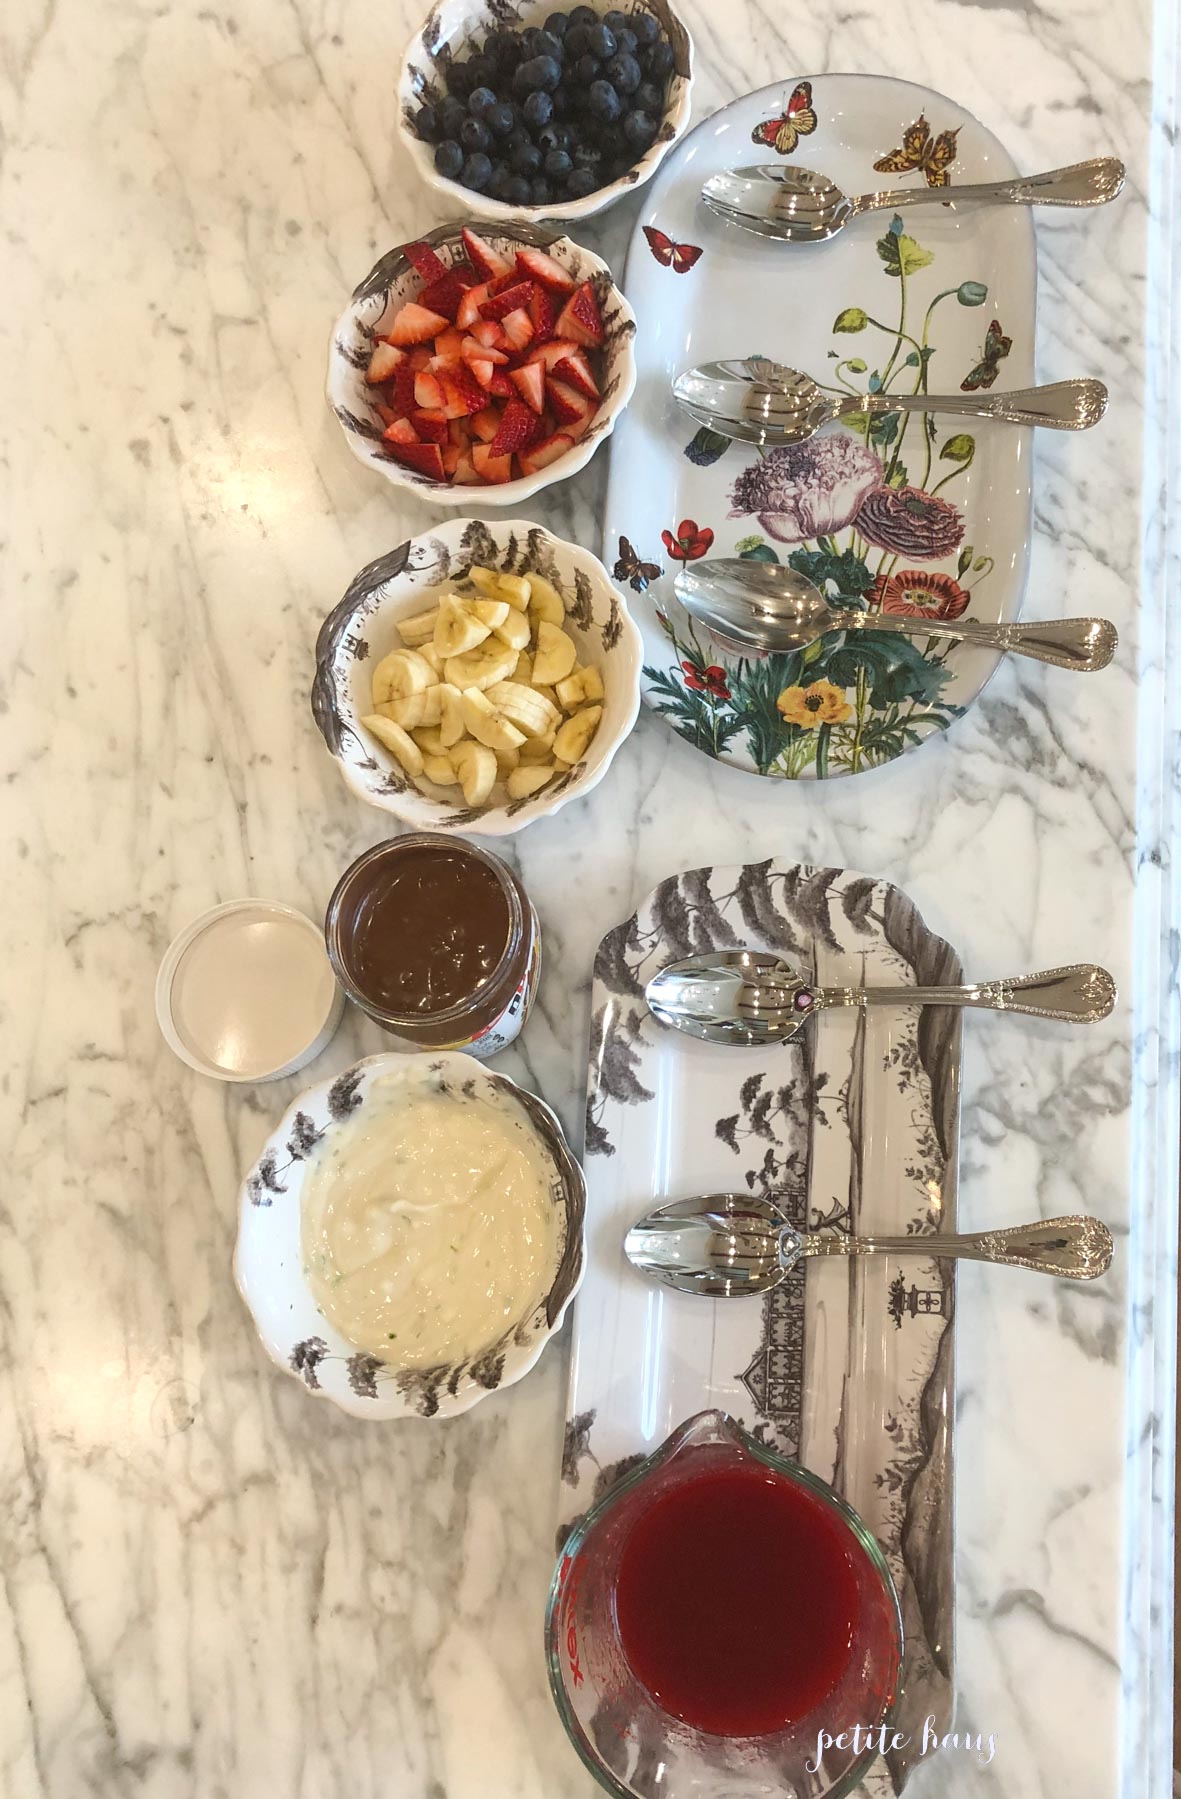
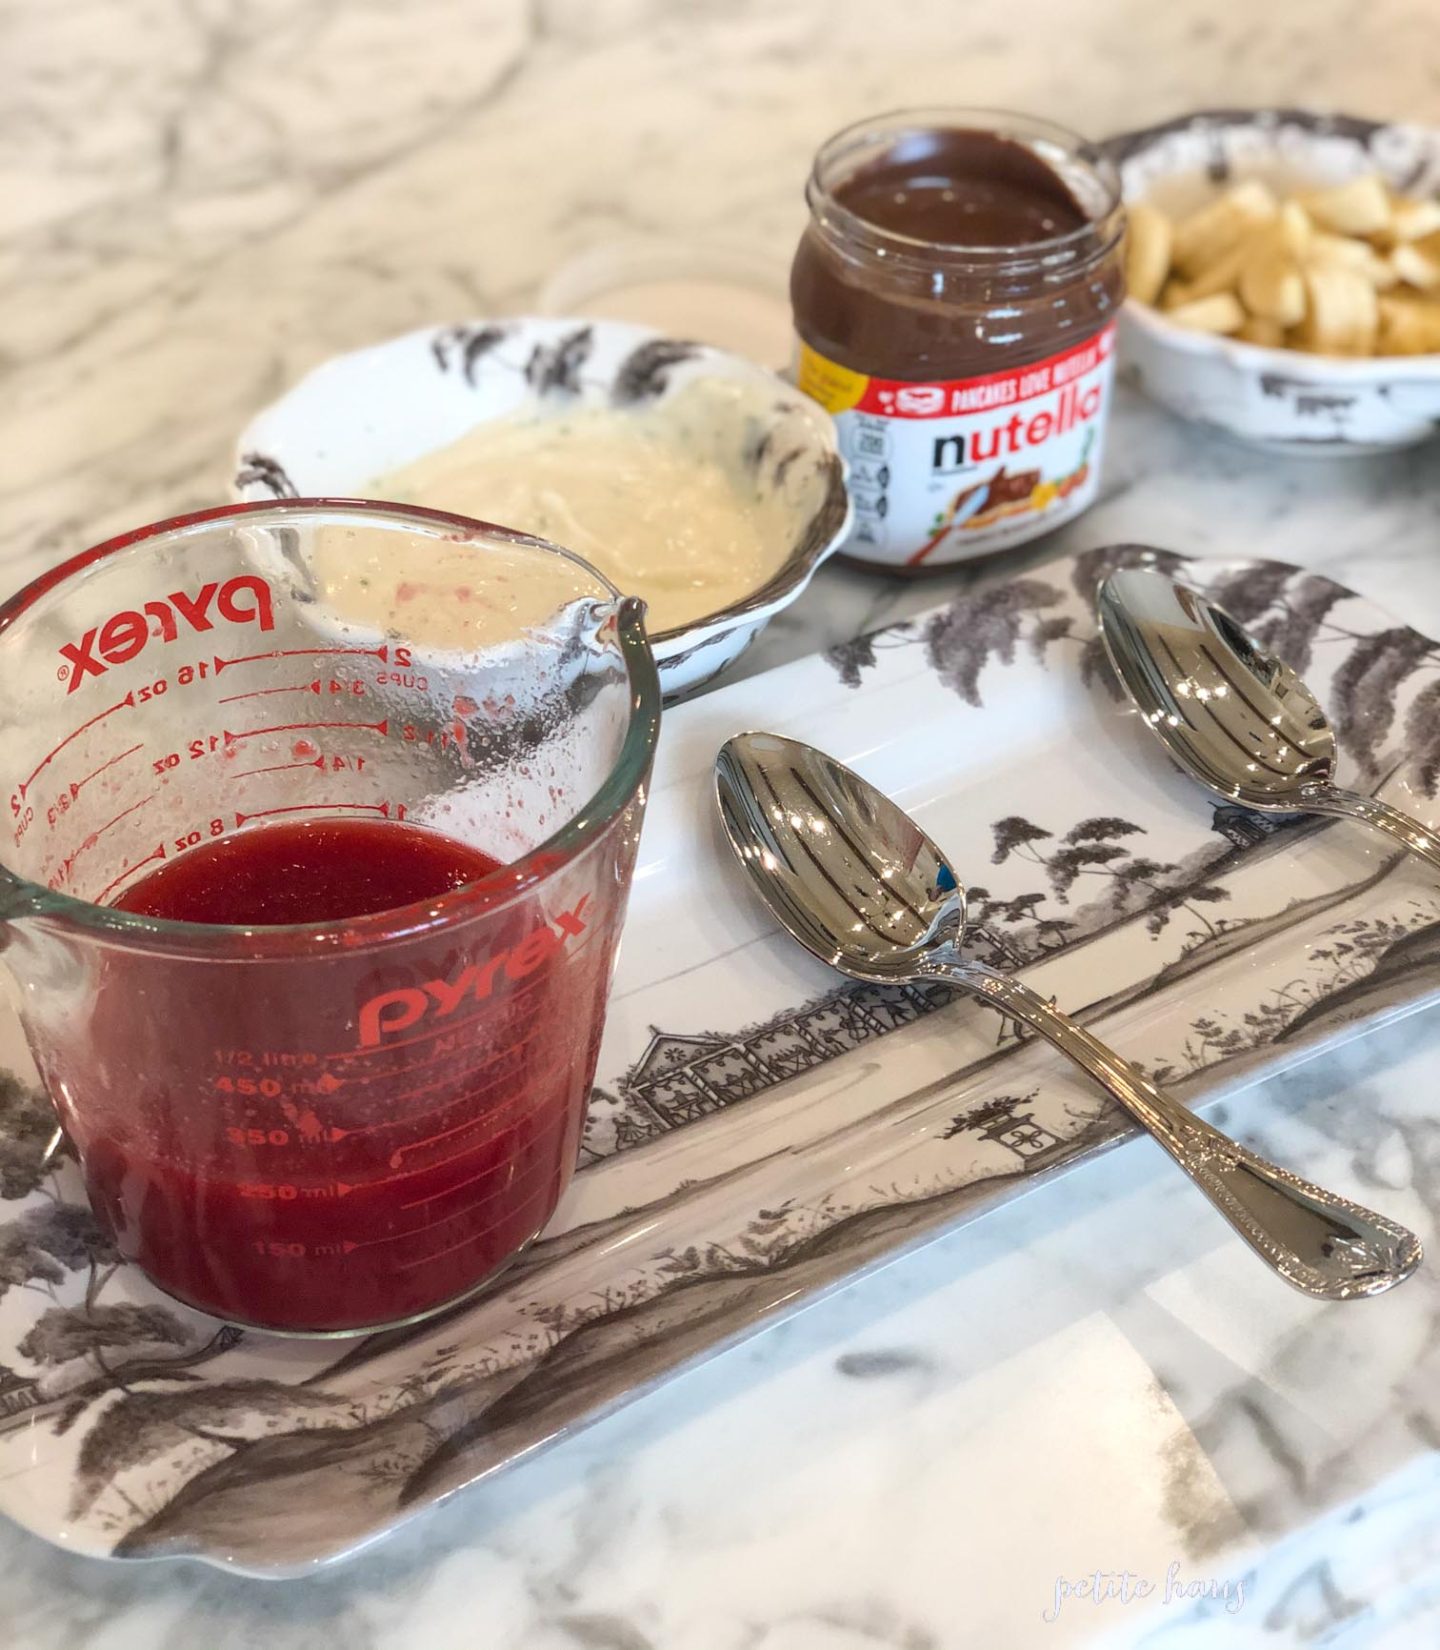
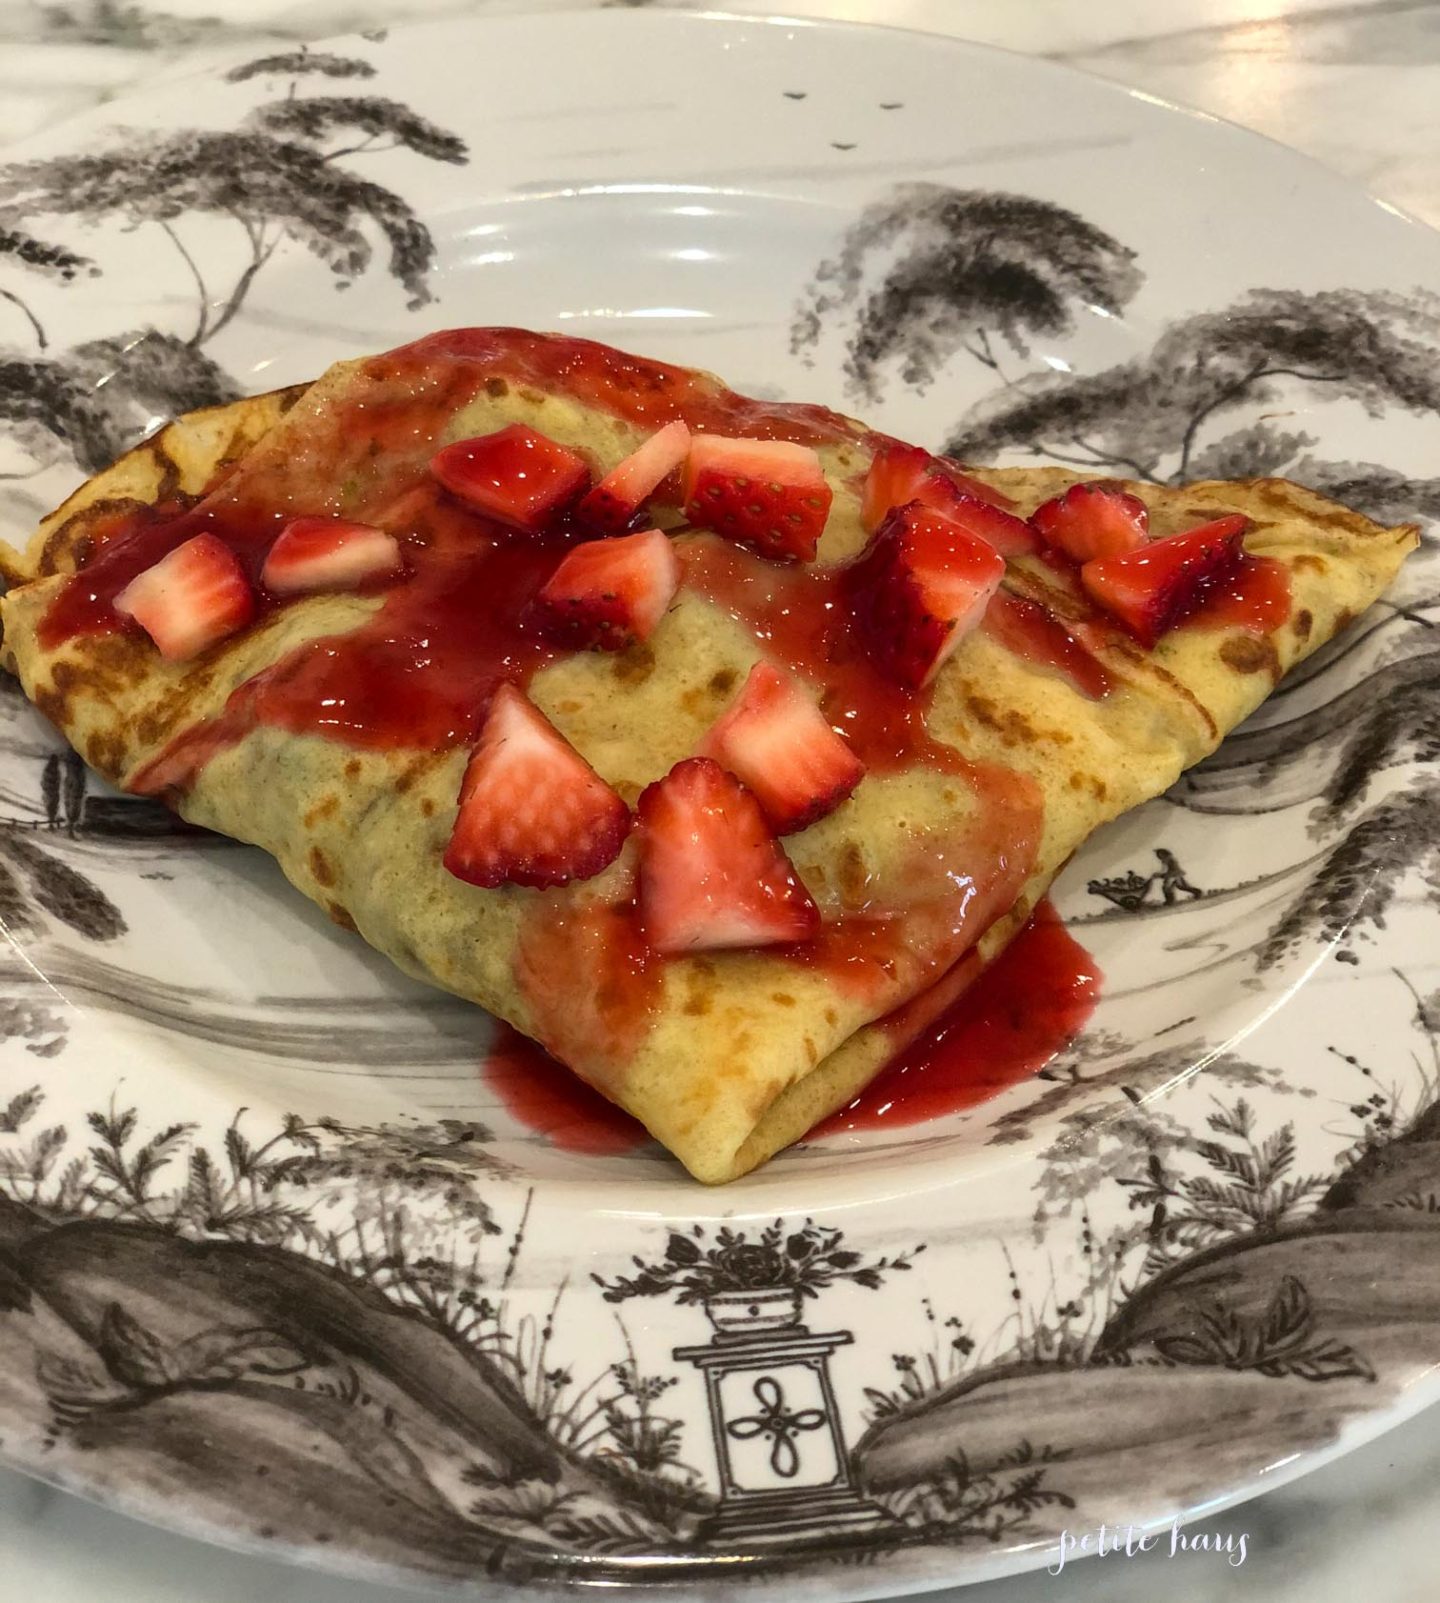
First though, let’s admire the finished product:

Filling Ideas:

  • Raspberries
  • Strawberries
  • Bananas
  • Blueberries
  • Blackberries
  • Peaches
  • Nutella
  • Raspberry Coulis Sauce
  • Blueberry Sauce
  • Blackberry Sauce
  • Lemon or Lime yogurt Sauce
  • Caramel Sauce
  • Whipped Cream
  • Lemon Curd
  • Ricotta

Now, to make crepes a crepe pan is a must have. You can use a regular skillet but it just does not cook the same as a crepe pan, IMO. This is the crepe pan I have exactly, however there are a few other cheaper options: Here is just a crepe pan without the set OR you can just get the spreader and flipper here and use a skillet that you already own.
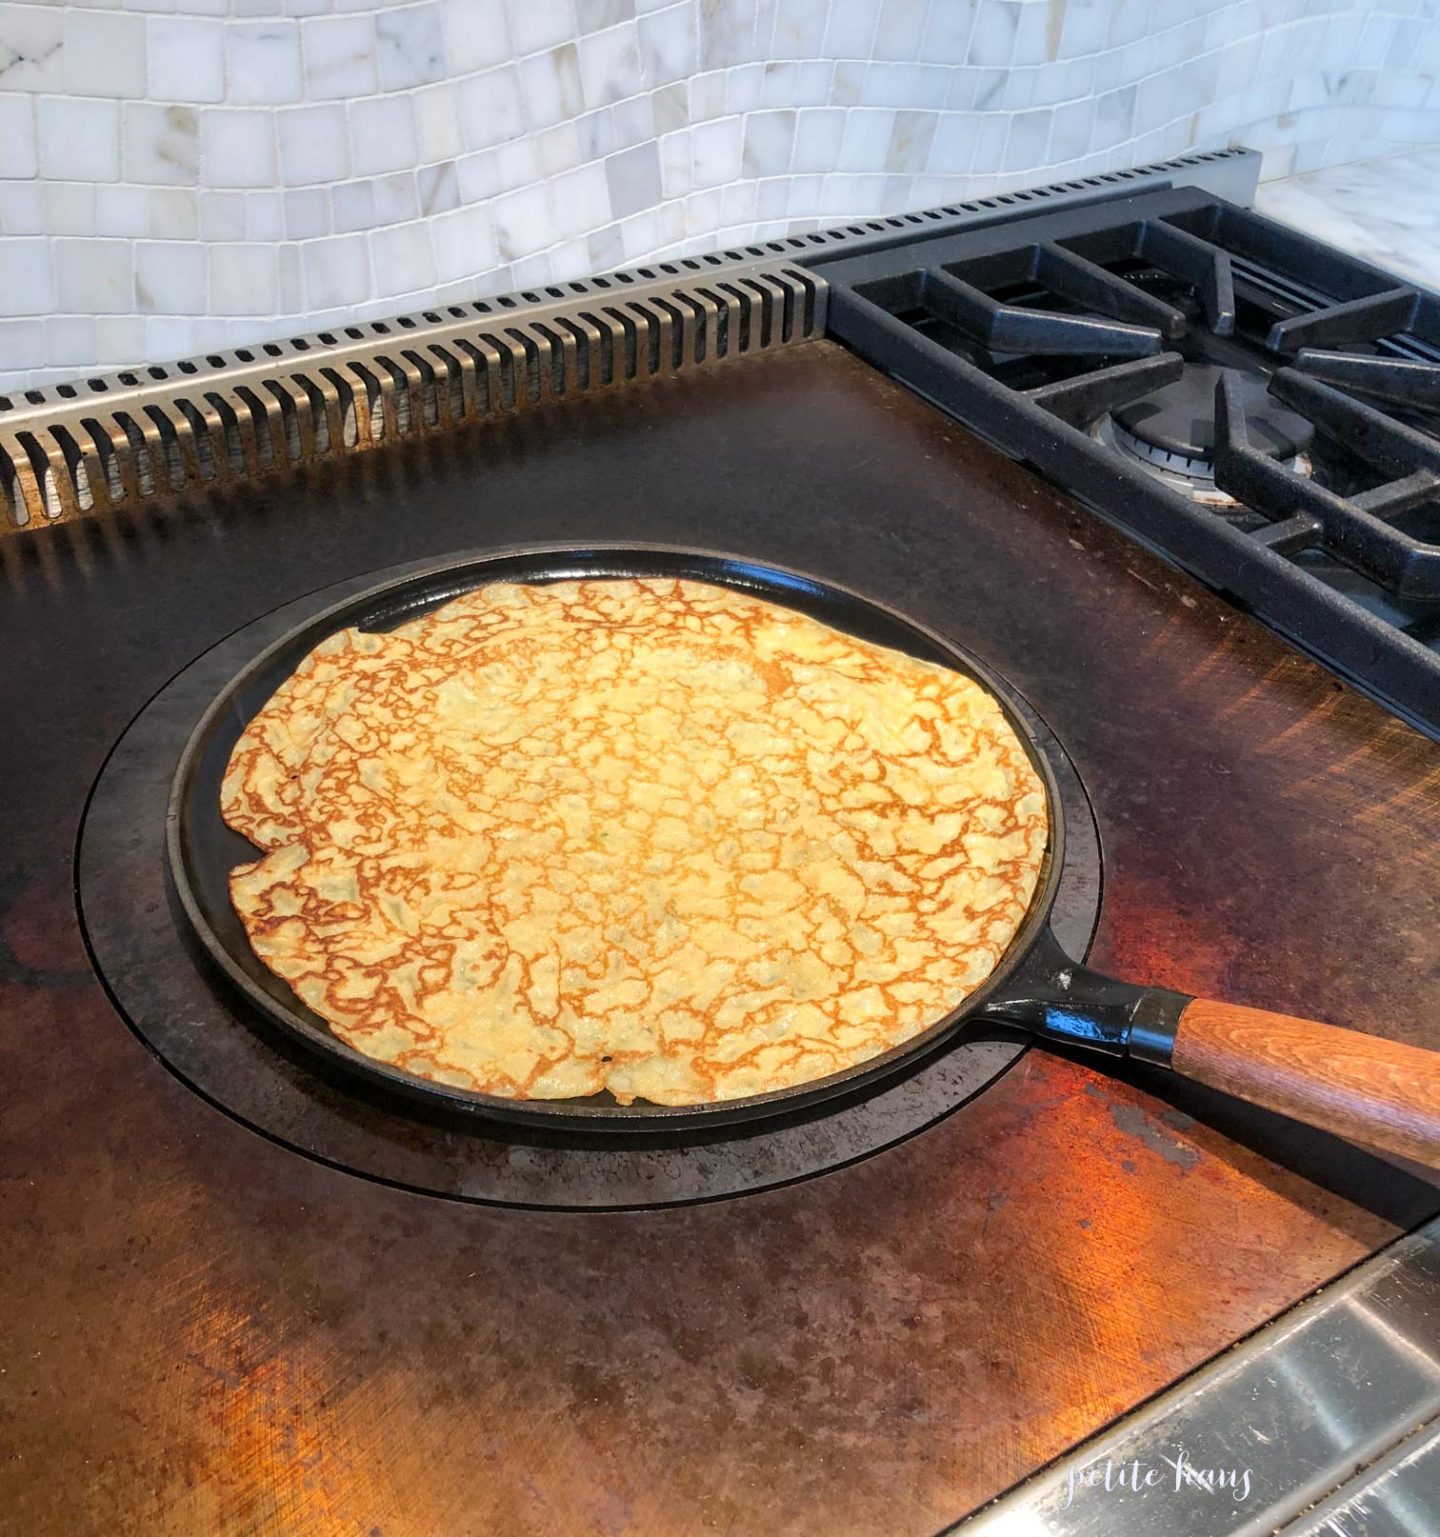
Cooking the crepe on the crepe pan!

Now fill your crepe with the goodness and enjoy!

Crepes With Raspberry-Cassis Sauce recipes by Martha Rose Shulman

YIELD 6 servings

Ingredients

For the crepes:

* 1 ¼ cups/300 milliliters low-fat milk, such as skim or 1 percent

* 2 large eggs

* ¼ teaspoon salt

* 1 tablespoon/15 grams sugar

* ⅓ cup plus 1 tablespoon/55 grams unbleached all-purpose flour, sifted

* ⅓ cup plus 1 tablespoon/55 grams whole wheat flour or whole wheat pastry flour, sifted

* 3 tablespoons unsalted butter, melted, plus butter for the pan

* 1 teaspoon finely grated lime zest (from about 1/2 lime)

For the raspberry coulis:

* ¼ cup sugar

* ½ teaspoon rose water

* 1 6-ounce box raspberries (about 1 1/4 cups)

* 1 tablespoon crème de cassis liqueur

For the yogurt filling:

* 1 ¼ cups/300 milliliters plain Greek yogurt (2 percent fat)

* 1 tablespoon plus 1 teaspoon mild honey, such as clover or acacia (more to taste)

* 1 ¼ teaspoons finely grated lime zest (from about 1/2 lime)

* 1 to 1 ½ teaspoons fresh lime juice (to taste)

For the garnish:

* 1 6-ounce box raspberries (about 1 1/4 cups)

* Powdered sugar for dusting (optional)

PREPARATION

Step 1- To make crepe batter, place milk, eggs, salt and sugar in blender. Turn on and, with the motor running, add flours, then melted butter and blend at high speed for 1 minute, until well mixed and smooth. Transfer to a bowl, stir in lime zest, cover and let rest for at least 30 minutes. If resting batter longer, refrigerate. (Whisk again before making crepes.)

Step 2- While batter is resting, make raspberry sauce. Combine 1/3 cup water and sugar in small saucepan and bring to a boil. Reduce heat to medium low and simmer until sugar has dissolved. Remove from heat. Stir in rose water, raspberries and cassis liqueur. Return to heat, bring to a simmer, cover and simmer 10 minutes. Remove from heat and strain the mixture into a bowl. Press the raspberry pulp through strainer with a spatula and discard seeds. Whisk or stir to blend pulp and syrup and set aside.

Step 3- Make the yogurt filling: In a separate bowl, whisk together yogurt, honey, lime zest and juice. Taste and adjust sweetness. Set aside.

Step 4- To make crepes, heat 8-inch nonstick crepe pan or skillet over medium-high heat and brush lightly with butter. Pan must be hot when you add crepe batter. Lift pan off heat and pour or ladle in a scant 1/4 cup batter, enough to thinly coat bottom of pan. Tilt and swirl pan to distribute batter in an even layer. Return pan to heat and cook crepe for about 1 minute, until edges color and bottom of crepe is lightly browned. Crepe should not stick to pan. Flip crepe over and cook for 30 seconds on the other side, until speckled. Turn out onto a plate. Continue with remaining batter, brushing pan occasionally with butter if desired.

Step 5- If you want to serve crepes at their hottest, assemble them as they come out of the pan. Spread a rounded tablespoon of the yogurt mixture over each crepe, drizzle on 1/2 teaspoon raspberry sauce, fold crepe in half and then in half again. Place on plate or platter. When all crepes are made and filled, spoon or pour sauce over, garnish with raspberries, and, if desired, dust with powdered sugar. Serve.

* Crepes can be made ahead and filled and reheated in a 250-degree oven for 20 minutes before being topped with sauce.

It’s interesting to me that street food in Europe includes crepes, gelato, toasted nuts… but here in the USA it is elephant ears and corn dogs!
Follow:

Lemon Raspberry Layer Cake

We use affiliate links in our posts and our site. This means if you make a purchase using these links, we may earn a small commission. You don’t pay a cent more than you would otherwise! Our full disclosure is available under About.
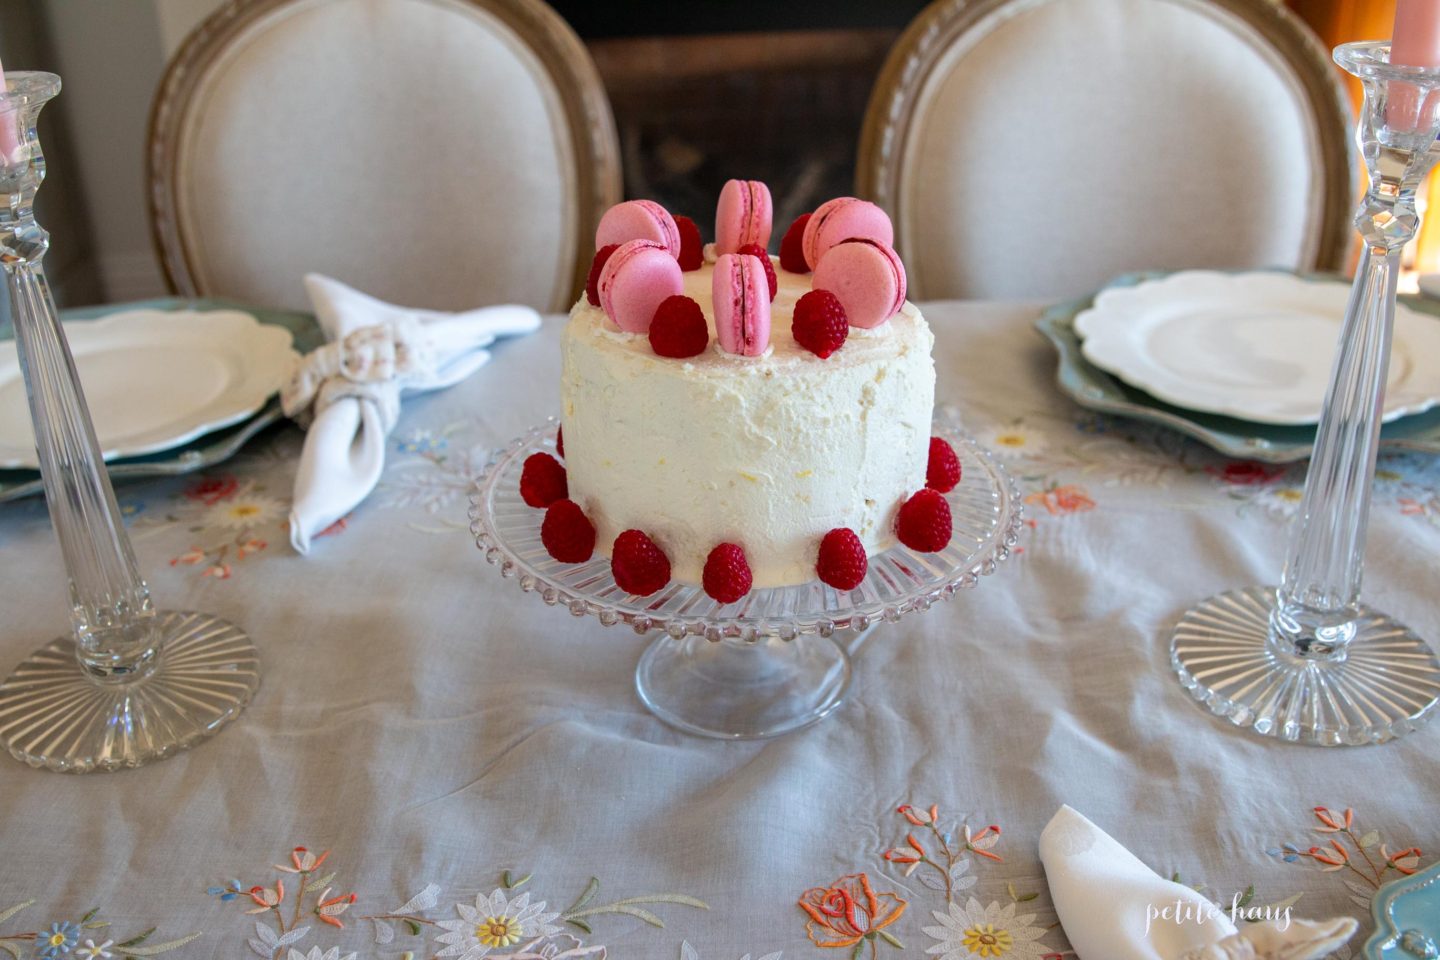
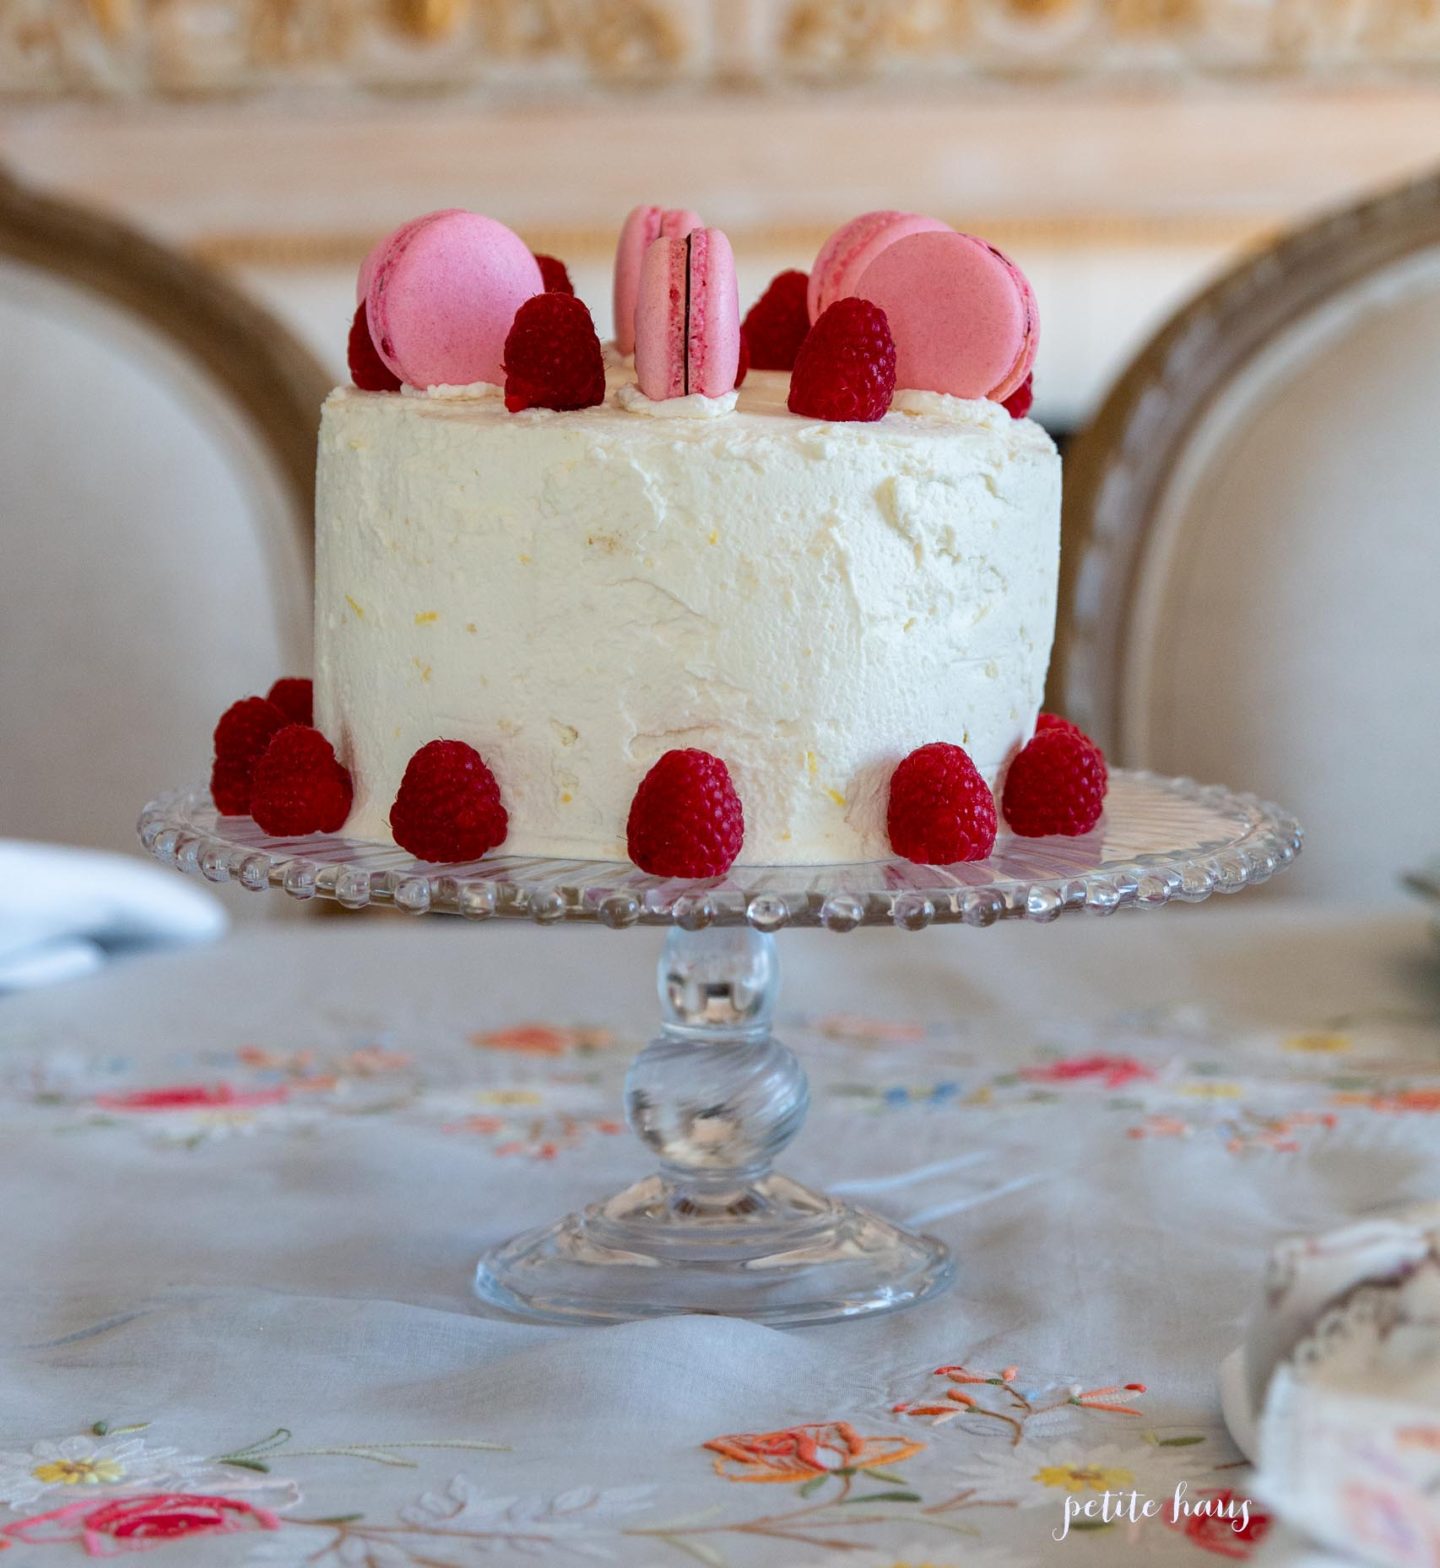
I shared this Lemon Raspberry Layer cake on Instagram and had request for recipe. Ok, twist my arm, I’ll share it 😉

I made this cake for my birthday – one because we were in social isolation and I had time to do it and TWO because I could not find a local bakery with a cake with the flavors that I wanted.

I combined a few of my favorite recipes to come up with this cake.

First, I created a layer cake using Sally’s Baking Addiction’s Vanilla Naked Cake. This cake I actually made a while ago and kept in the freezer in a quarter sheet pan. It was wrapped in Saran wrap. The day before I started frosting and assembling the cake, I took the frozen sheet cake and placed it in the refrigerator. Make sure the saran wrap is sitting on the cake as moisture will collect and you want it to collect on the saran wrap and not the cake.

Next, I made this mascarpone whipped cream frosting by Life and Love Sugar. I modified it and added the zest of one lemon! I honestly don’t LOVE buttercream frosting and I hate the taste of fondant, so this was perfect. I love that it was not too sweet.

Assembly

Using a 6″ cake ring, stamp out the ring into your sheet cake two times, one for each layer. If you are doing a third layer, stamp out two half rings.

Then, place your cake ring on a stand. Next, line the cake ring with acetate. 

Starting with the sheet cake you stamped out, place it in the center of the ring. Next, using an Ateco 808 tip, pipe the frosting just along the edges to create a dam. Then fill the insides of the cake seedless raspberry jam or preserves.

Next, spread a layer of the lemon mascarpone frosting on top of the jam.

Take two half rings you cut out and place them on top of the frosting – this will not look pretty. That’s okay, you will hide it with your frosting!

On top of your second layer, repeat layering steps – pipe the frosting along the edges to create a dam, then the raspberry jam, then the frosting.

Place the third layer of cake on top. Remove the acetate and cake ring. Frost all around the cake with the frosting. Allow to sit in the fridge overnight OR place the cake in the fridge for 2 hours so it will harden.

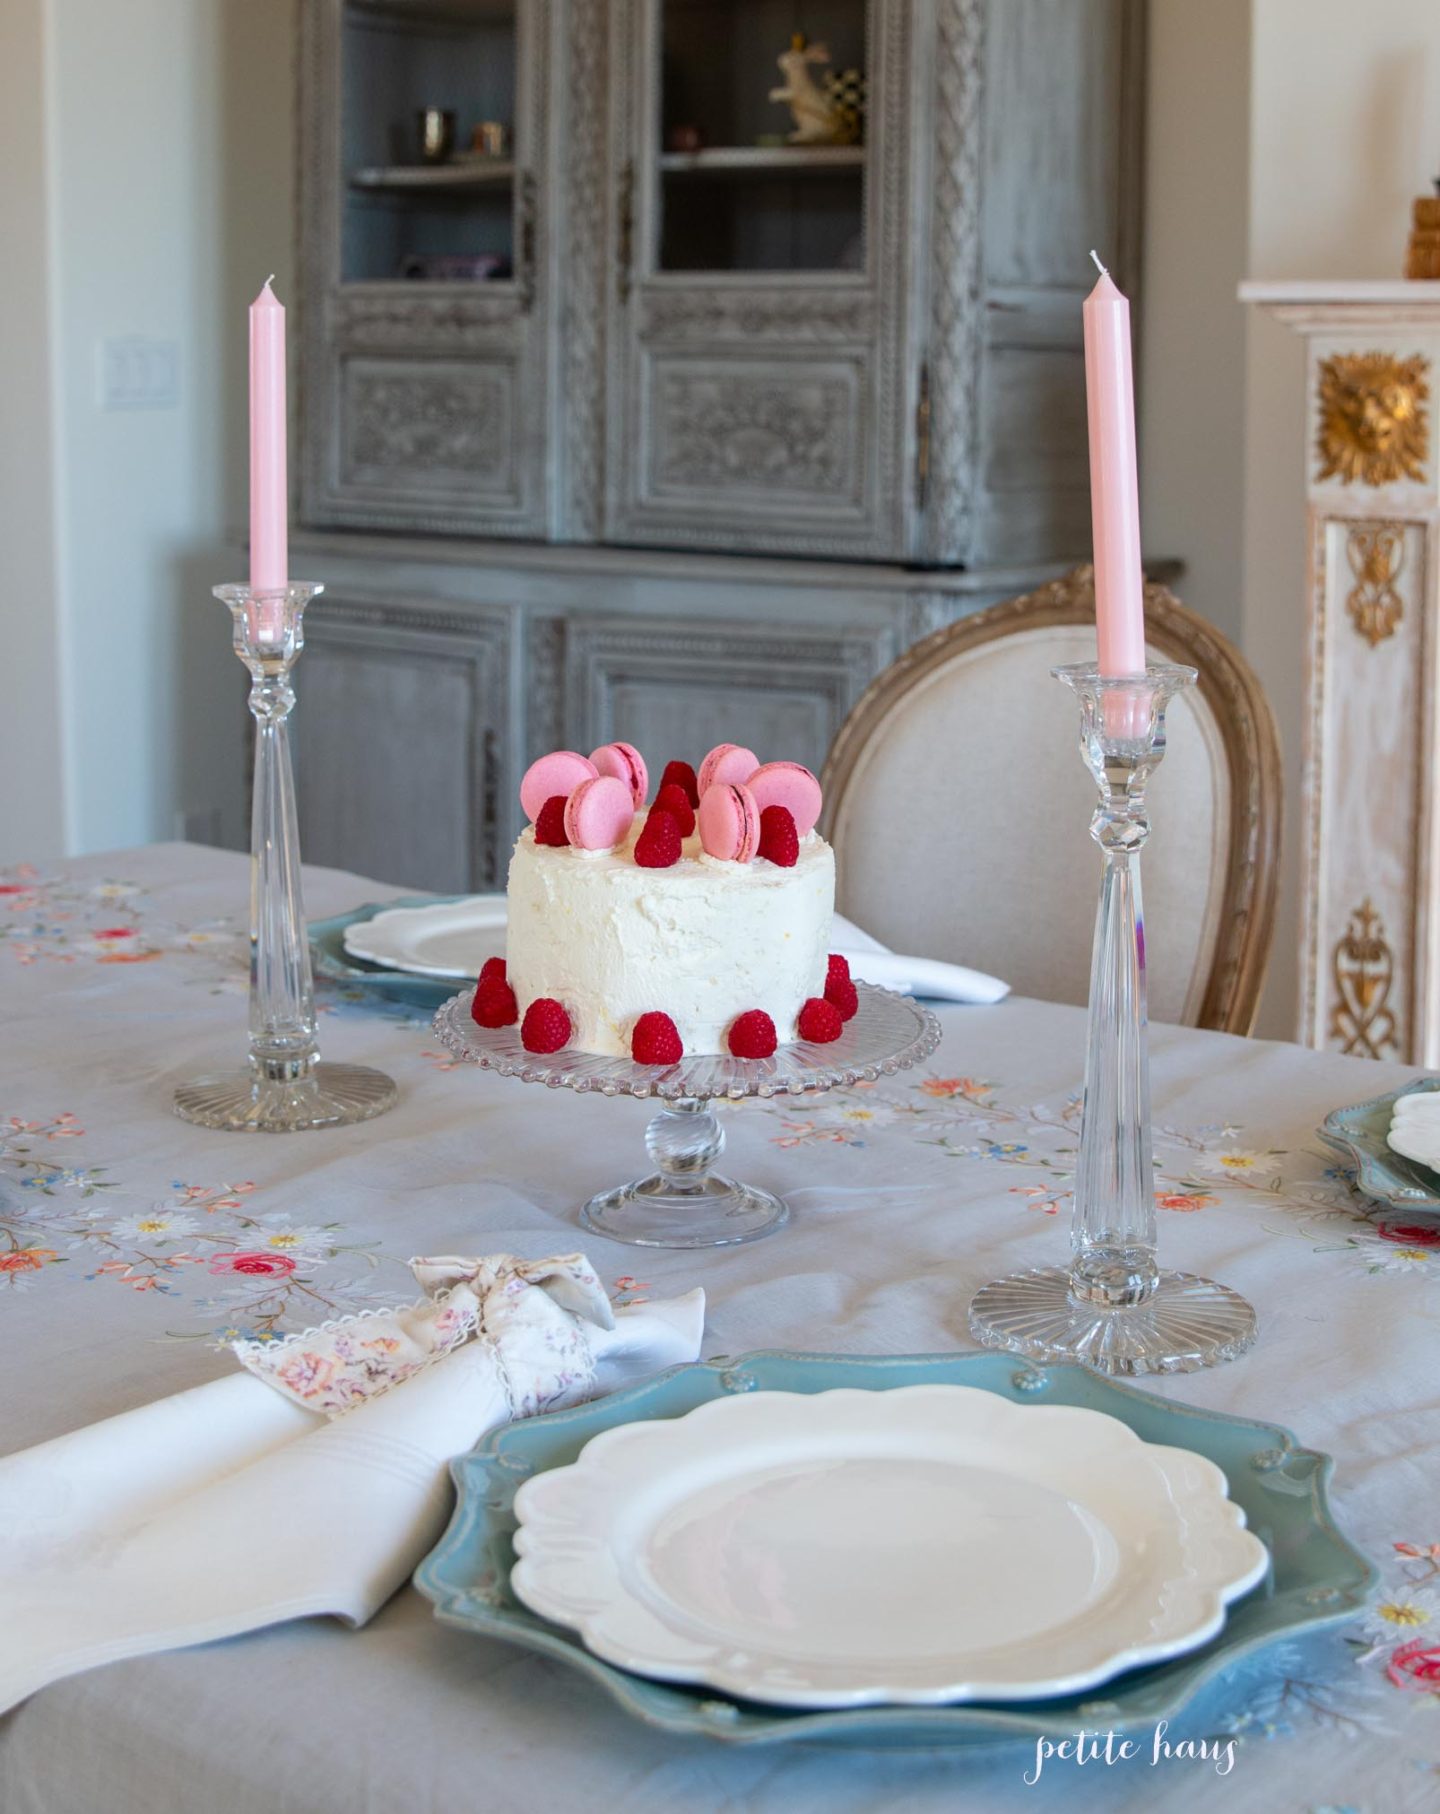
Top the cake with fresh raspberries just before serving. Since I had some extra raspberry macarons (recipe here), I decorated the cake with them too!

I thought the cake was REALLY GOOD. The frosting was amazing. If you are making a 6″ cake like I did, I would half the frosting recipe since it makes a lot of frosting.

While the cake may not be perfect like a professional cake was, I can say it tasted better than a lot of cakes I’ve purchased over the years!

Follow:

French Strawberry Naked Layer Cake

We use affiliate links in our posts and our site. This means if you make a purchase using these links, we may earn a small commission. You don’t pay a cent more than you would otherwise! Our full disclosure is available under About.
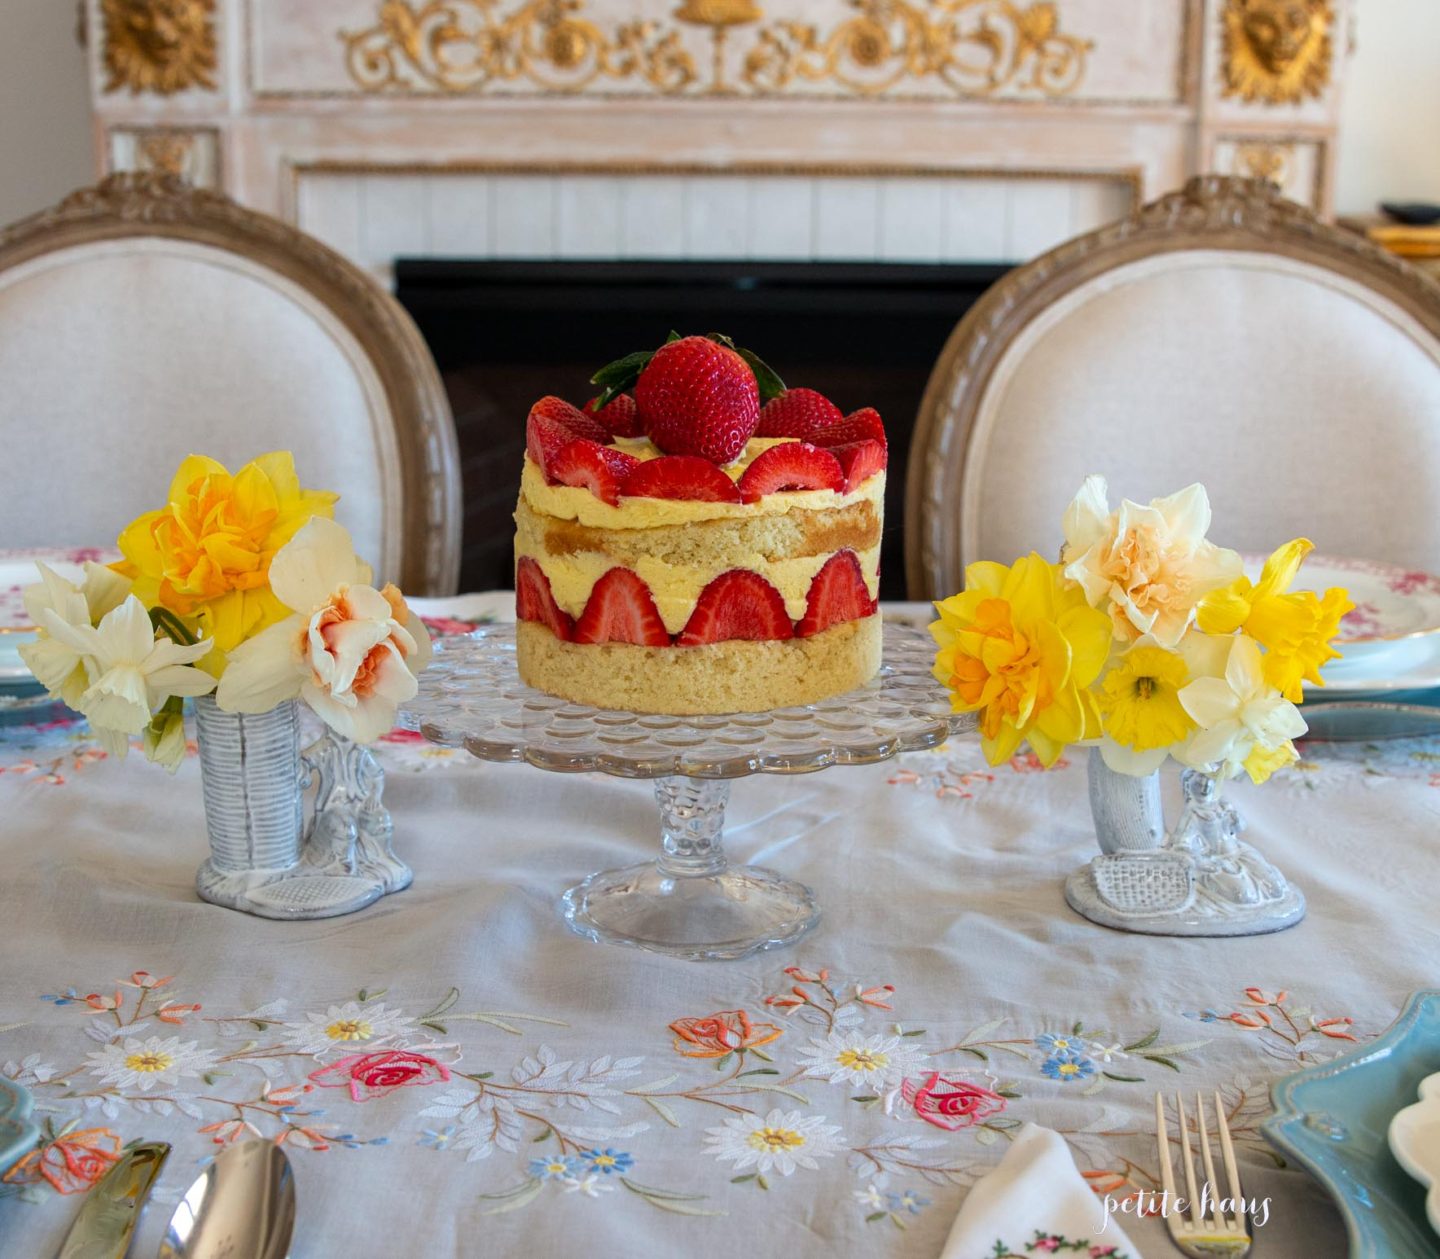
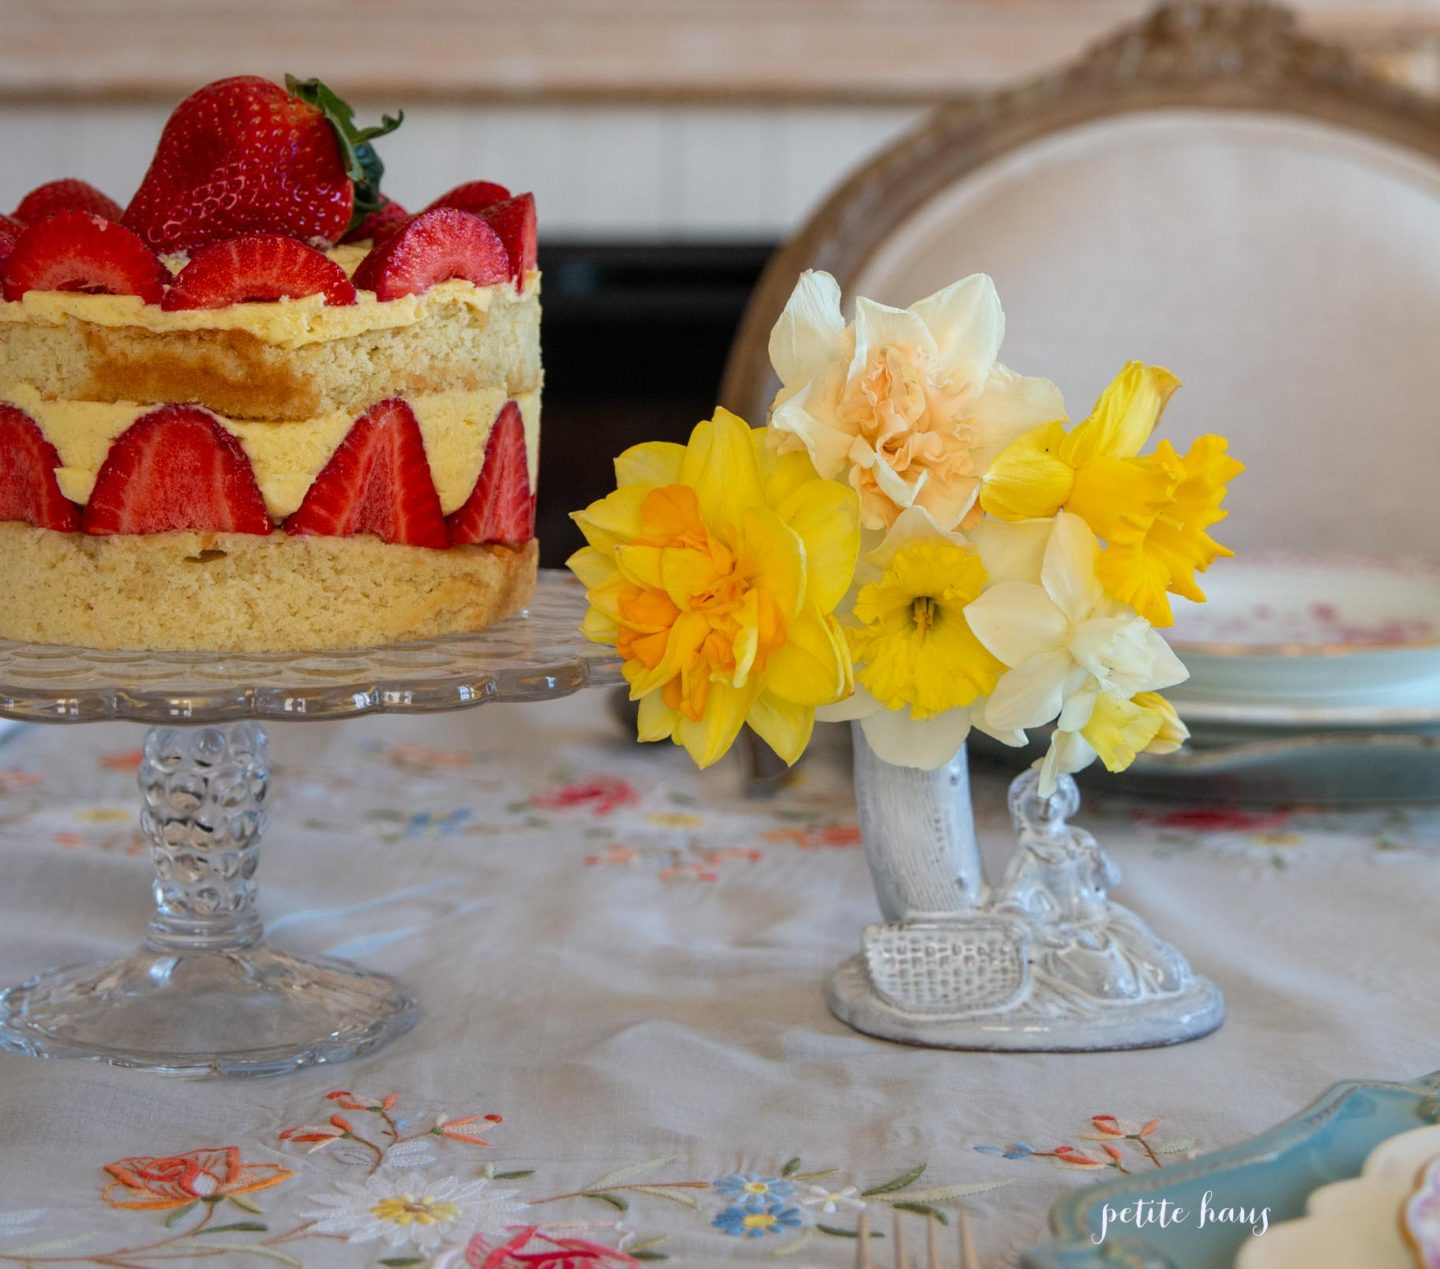
Doesn’t a French strawberry naked layer cake sound good? Well, let me tell you… it IS good. I made this recipe with the spirit of Le Fraisier in mind. I tried to simplify Le Fraisier and came up with this combination of a cake.

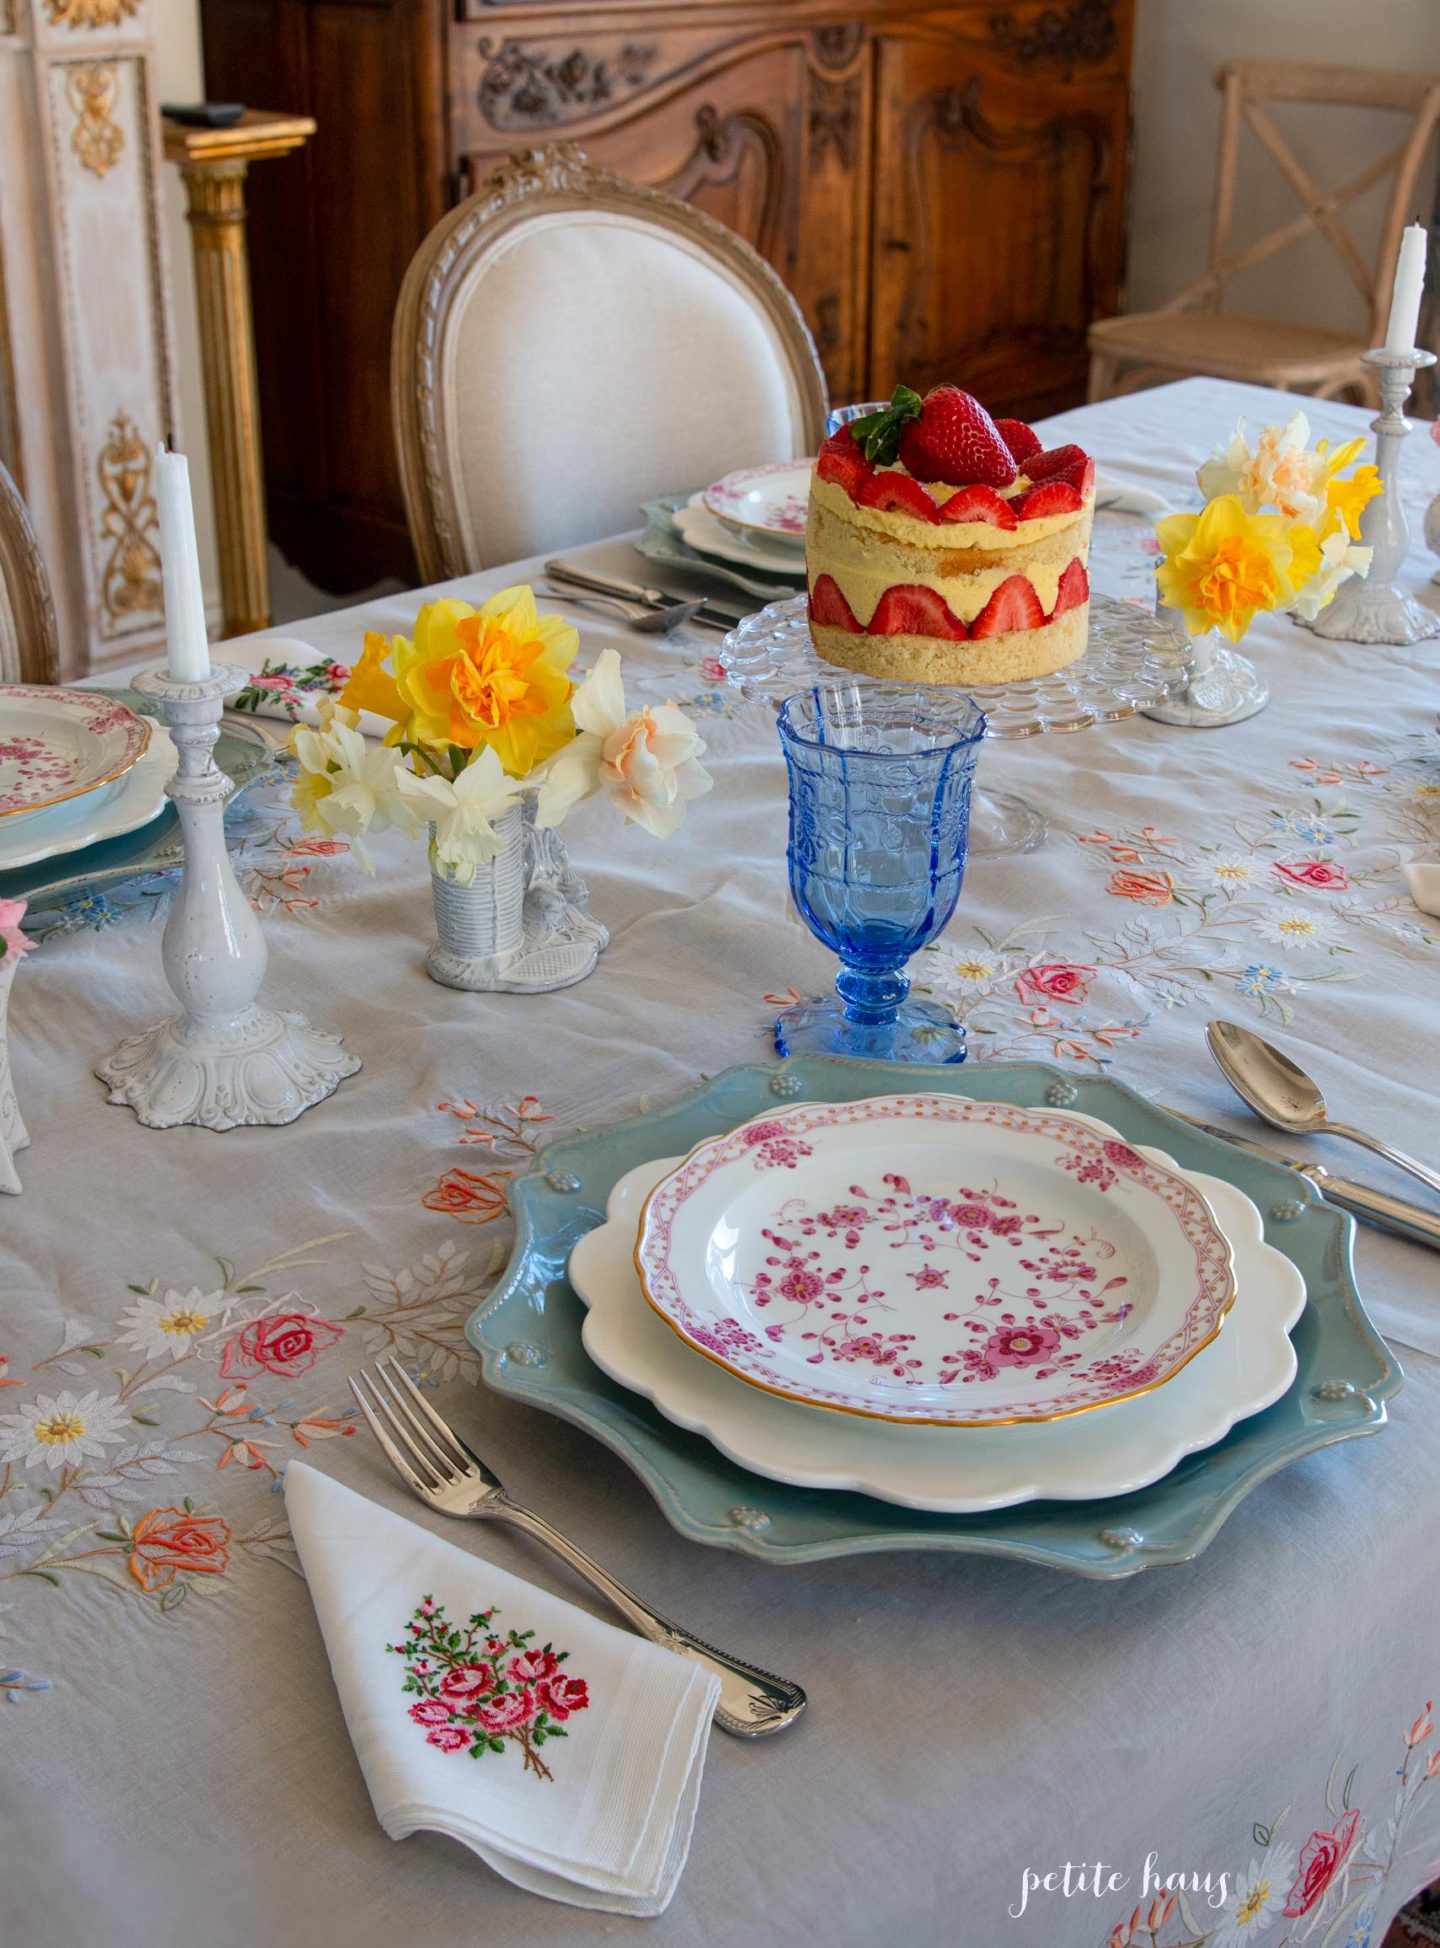
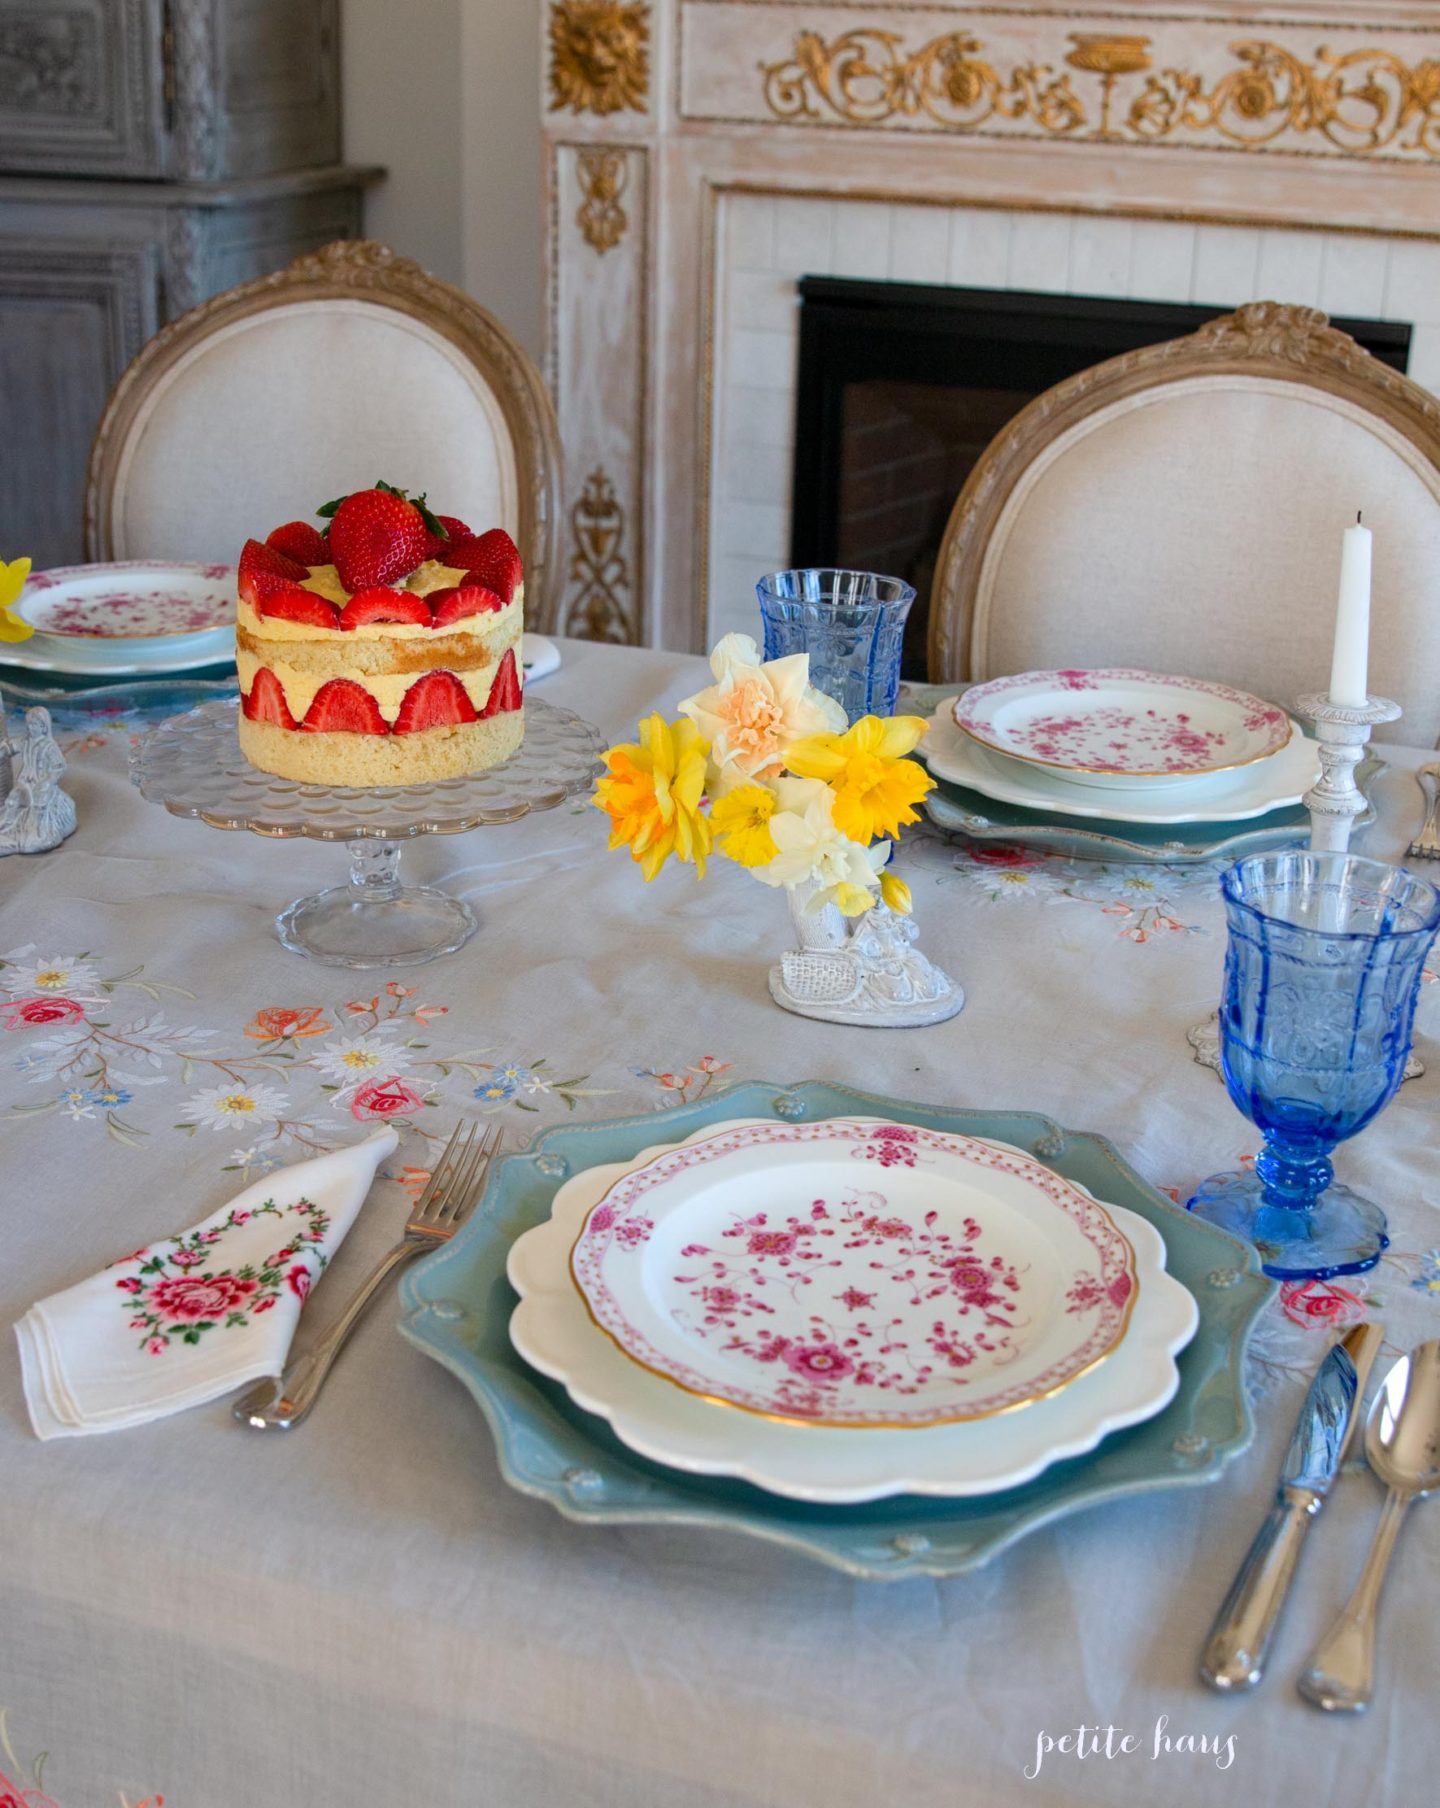
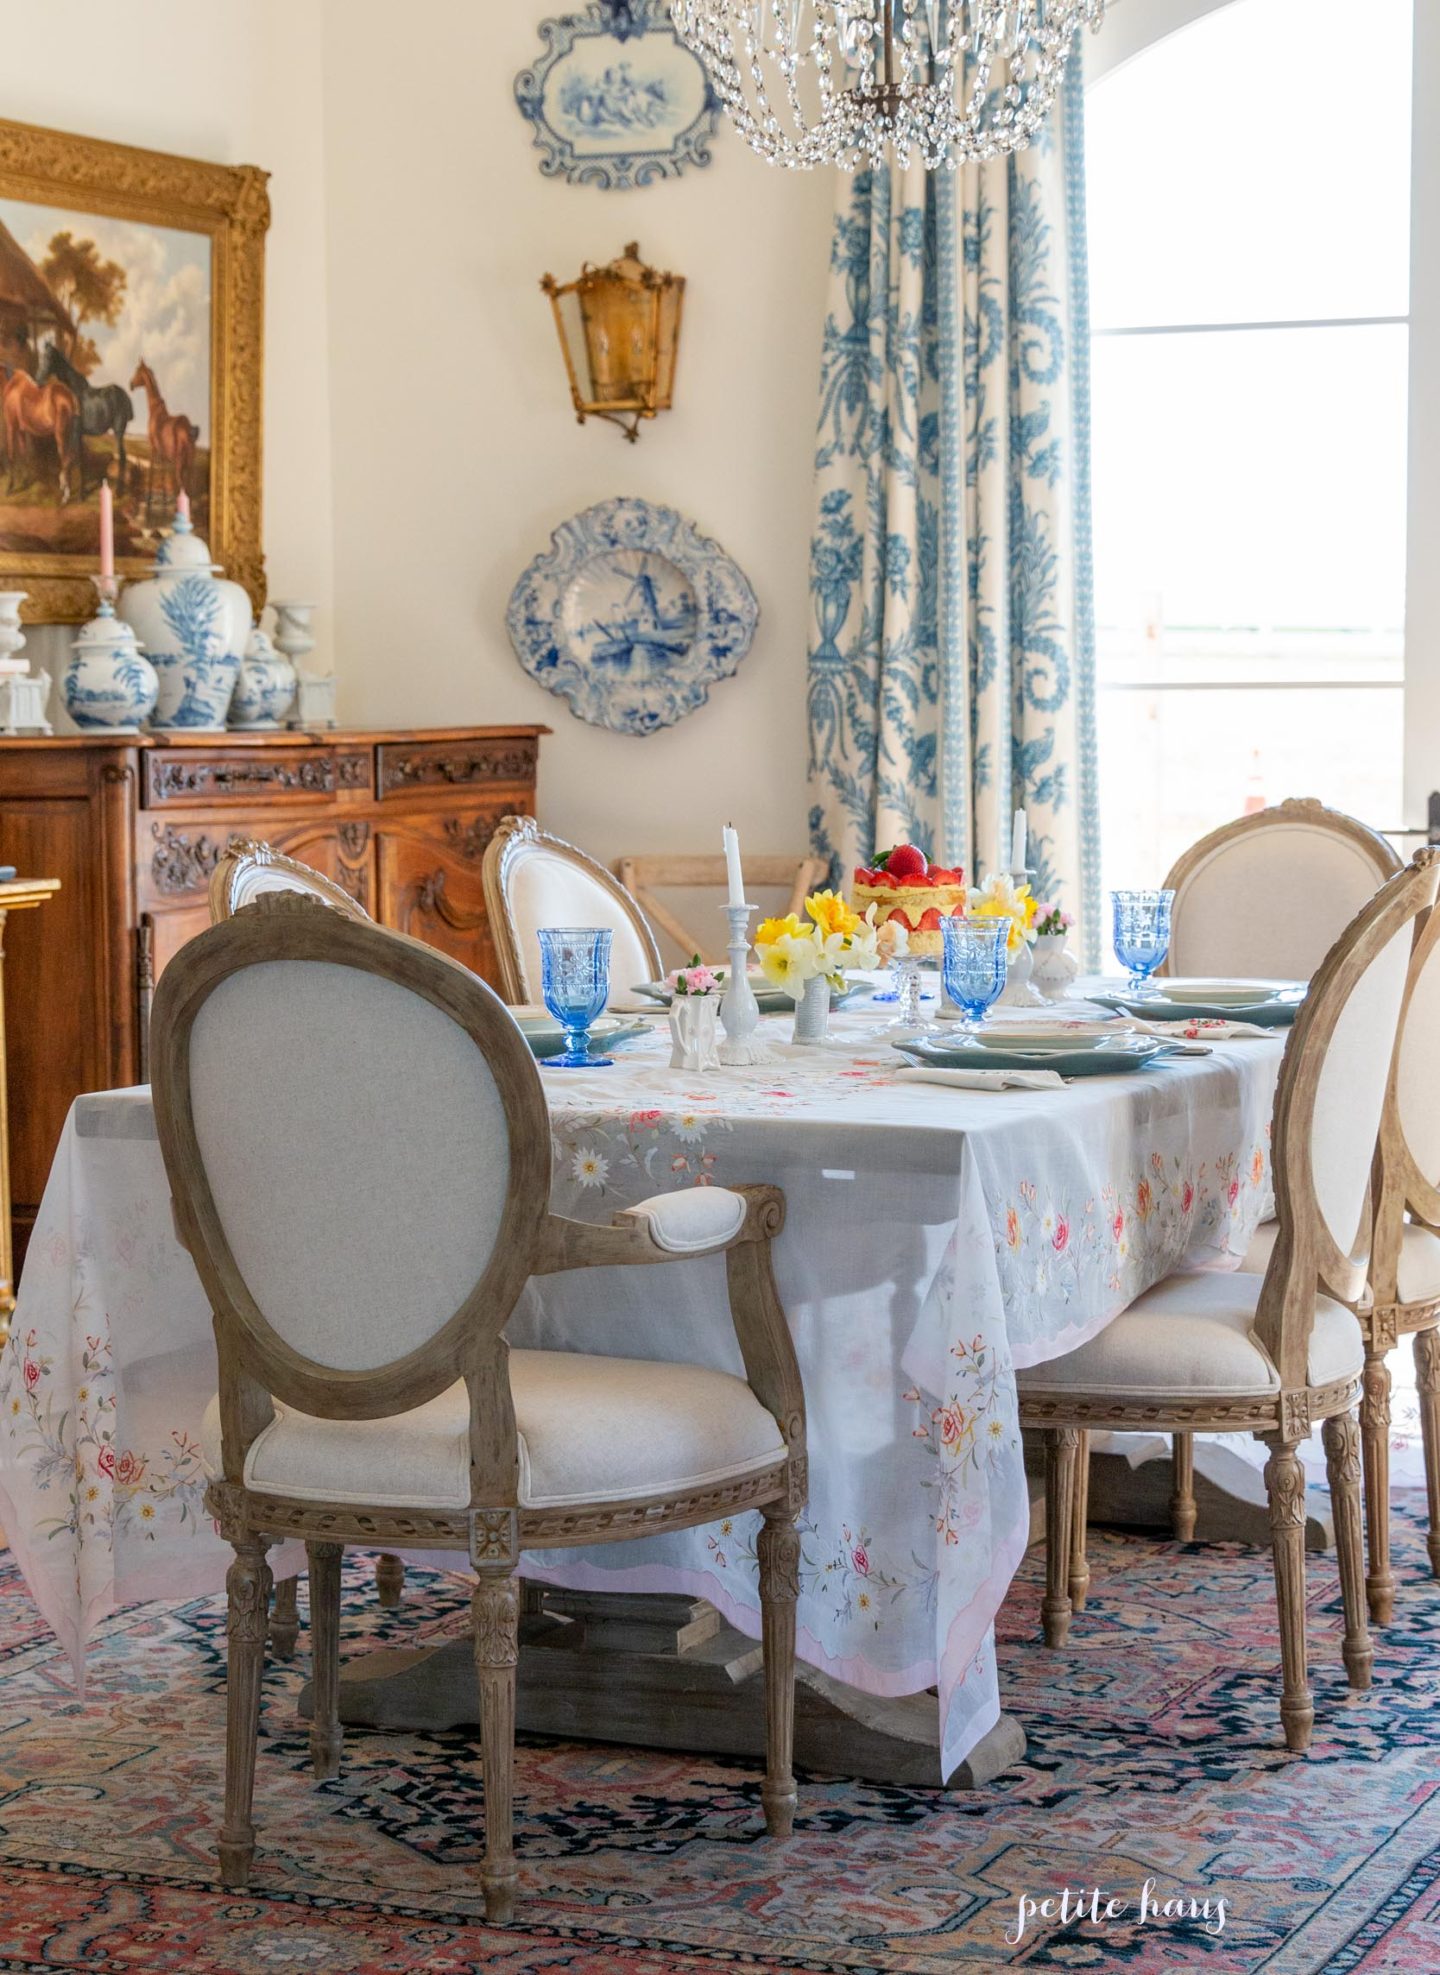
A cake as fancy as this requires a fancy table setting! Antique embroidered hankies were are as napkins.

I highly suggest eating this cake off of a fancy antique plate – just don’t use your knife (not that you would when eating a cake! – side note: If you are using antique china, don’t use metal knives on it as it will scratch the plate!)

I picked the daffodils from my garden. Aren’t they pretty?

Now for the recipe:

I used Sally’s Baking Addition Vanilla Naked Cake recipe which you can get here. Note, I made a 6″ cake, so I actually baked my cake as a sheet cake in quarter size pans – this recipe actually made enough for two 6″ cakes. I also baked mine at 350 degrees F for 15 minutes in these pans.

I made the filling with creme mousseline, recipe below.

Cut fresh strawberries, halved.

Crème Mousseline

350g whole milk

100g granulated sugar

1/2 a vanilla bean, split lengthwise and scraped for inside beans/seeds

4 egg yolks

35g plain flour

200g unsalted butter, softened

Making the creme

  1. Place milk, vanilla bean and scraped seeds into a saucepan and bring to a boil.  Then remove from heat and set aside.
  2. In another bowl, whisk egg yolks and sugar until mixture is pale yellow.  Mix int the flour until well combined.
  3. Remove vanilla bean pod from milk mixture.  Then pour the hot milk into the egg mixture, constantly whisking to combine.
  4. Then pour the whole mixture back into the saucepan and place over high heat.  Whisk constantly until it is thickened, smooth, and glossy.  Then remove from heat and transfer pastry cream to a plate. Immediately cover with plastic cling wrap and place into the freezer to cool but only for 10 minutes.  Do not allow it to freeze (If you don’t put the cling wrap on immediately, the pastry cream will get a film on it that’s lumpy and gross and you will have to strain it out later, so don’t miss this step)
  5. While the cream is in the freezer, beat your butter until creamy.  Then when the pastry cream is about room temperature, add the cream to the butter and mix until while combined.   

Assembly

Using a 6″ cake ring, stamp out the ring into your sheet cake two times, one for each layer.

Then, place your cake ring on a stand. Next, line the cake ring with acetate.

Starting with the sheet cake you stamped out, place it in the center of the ring. Next, arrange the strawberries on the edge of the cake so the insides face the outside of the cake. Then fill the insides of the cake with strawberries.

Next, pour a layer of creme mousseline over the strawberries until they are all covered and the layer appears even.

Take the second sheet cake ring you cut out and place it over the creme layer.

On top of your second layer, spread more creme mousseline.

Top the creme with strawberries in any pattern you desire.

Place the cake in the fridge for 2 hours so that it may harden and will make it easier to take the acetate and cake ring off.

Final Thoughts… How does this compare to a Le Fraisier?

The Fraisier I felt displayed more of the strawberries’ flavor whereas this cake displays more of the white vanilla cake flavor. That said, I felt that this cake was easier as it did not include two steps that the Fraisier does: the kirsch syrup and marzipan layer. I do feel Le Fraisier is a little bit better in my opinion, however this still tastes GREAT and way better than any layer cake that I’ve had from the grocery store and even some bakeries.

Follow:

Gingerbread House Cakes

We use affiliate links in our posts and our site. This means if you make a purchase using these links, we may earn a small commission. You don’t pay a cent more than you would otherwise! Our full disclosure is available under About.
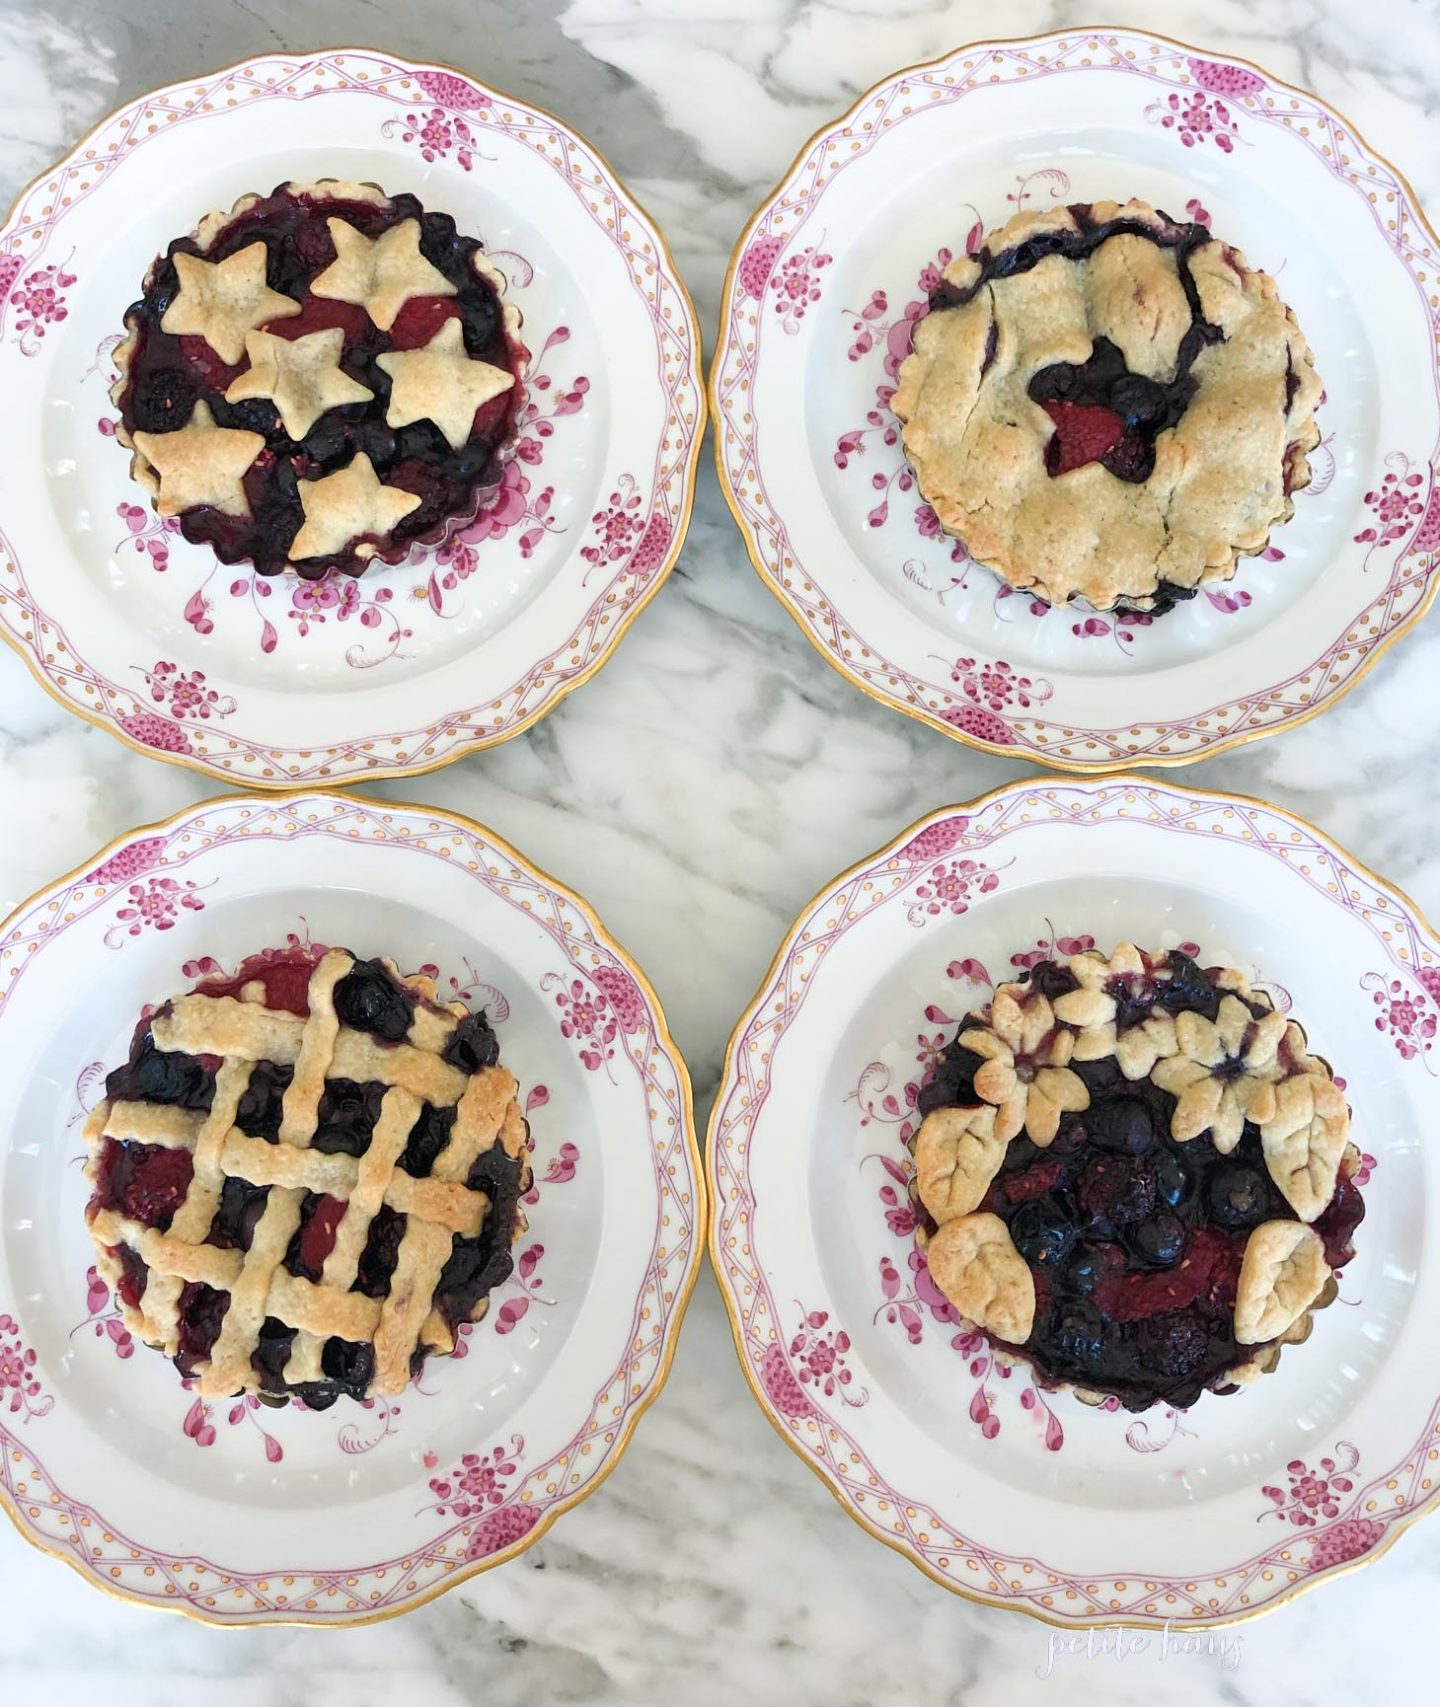
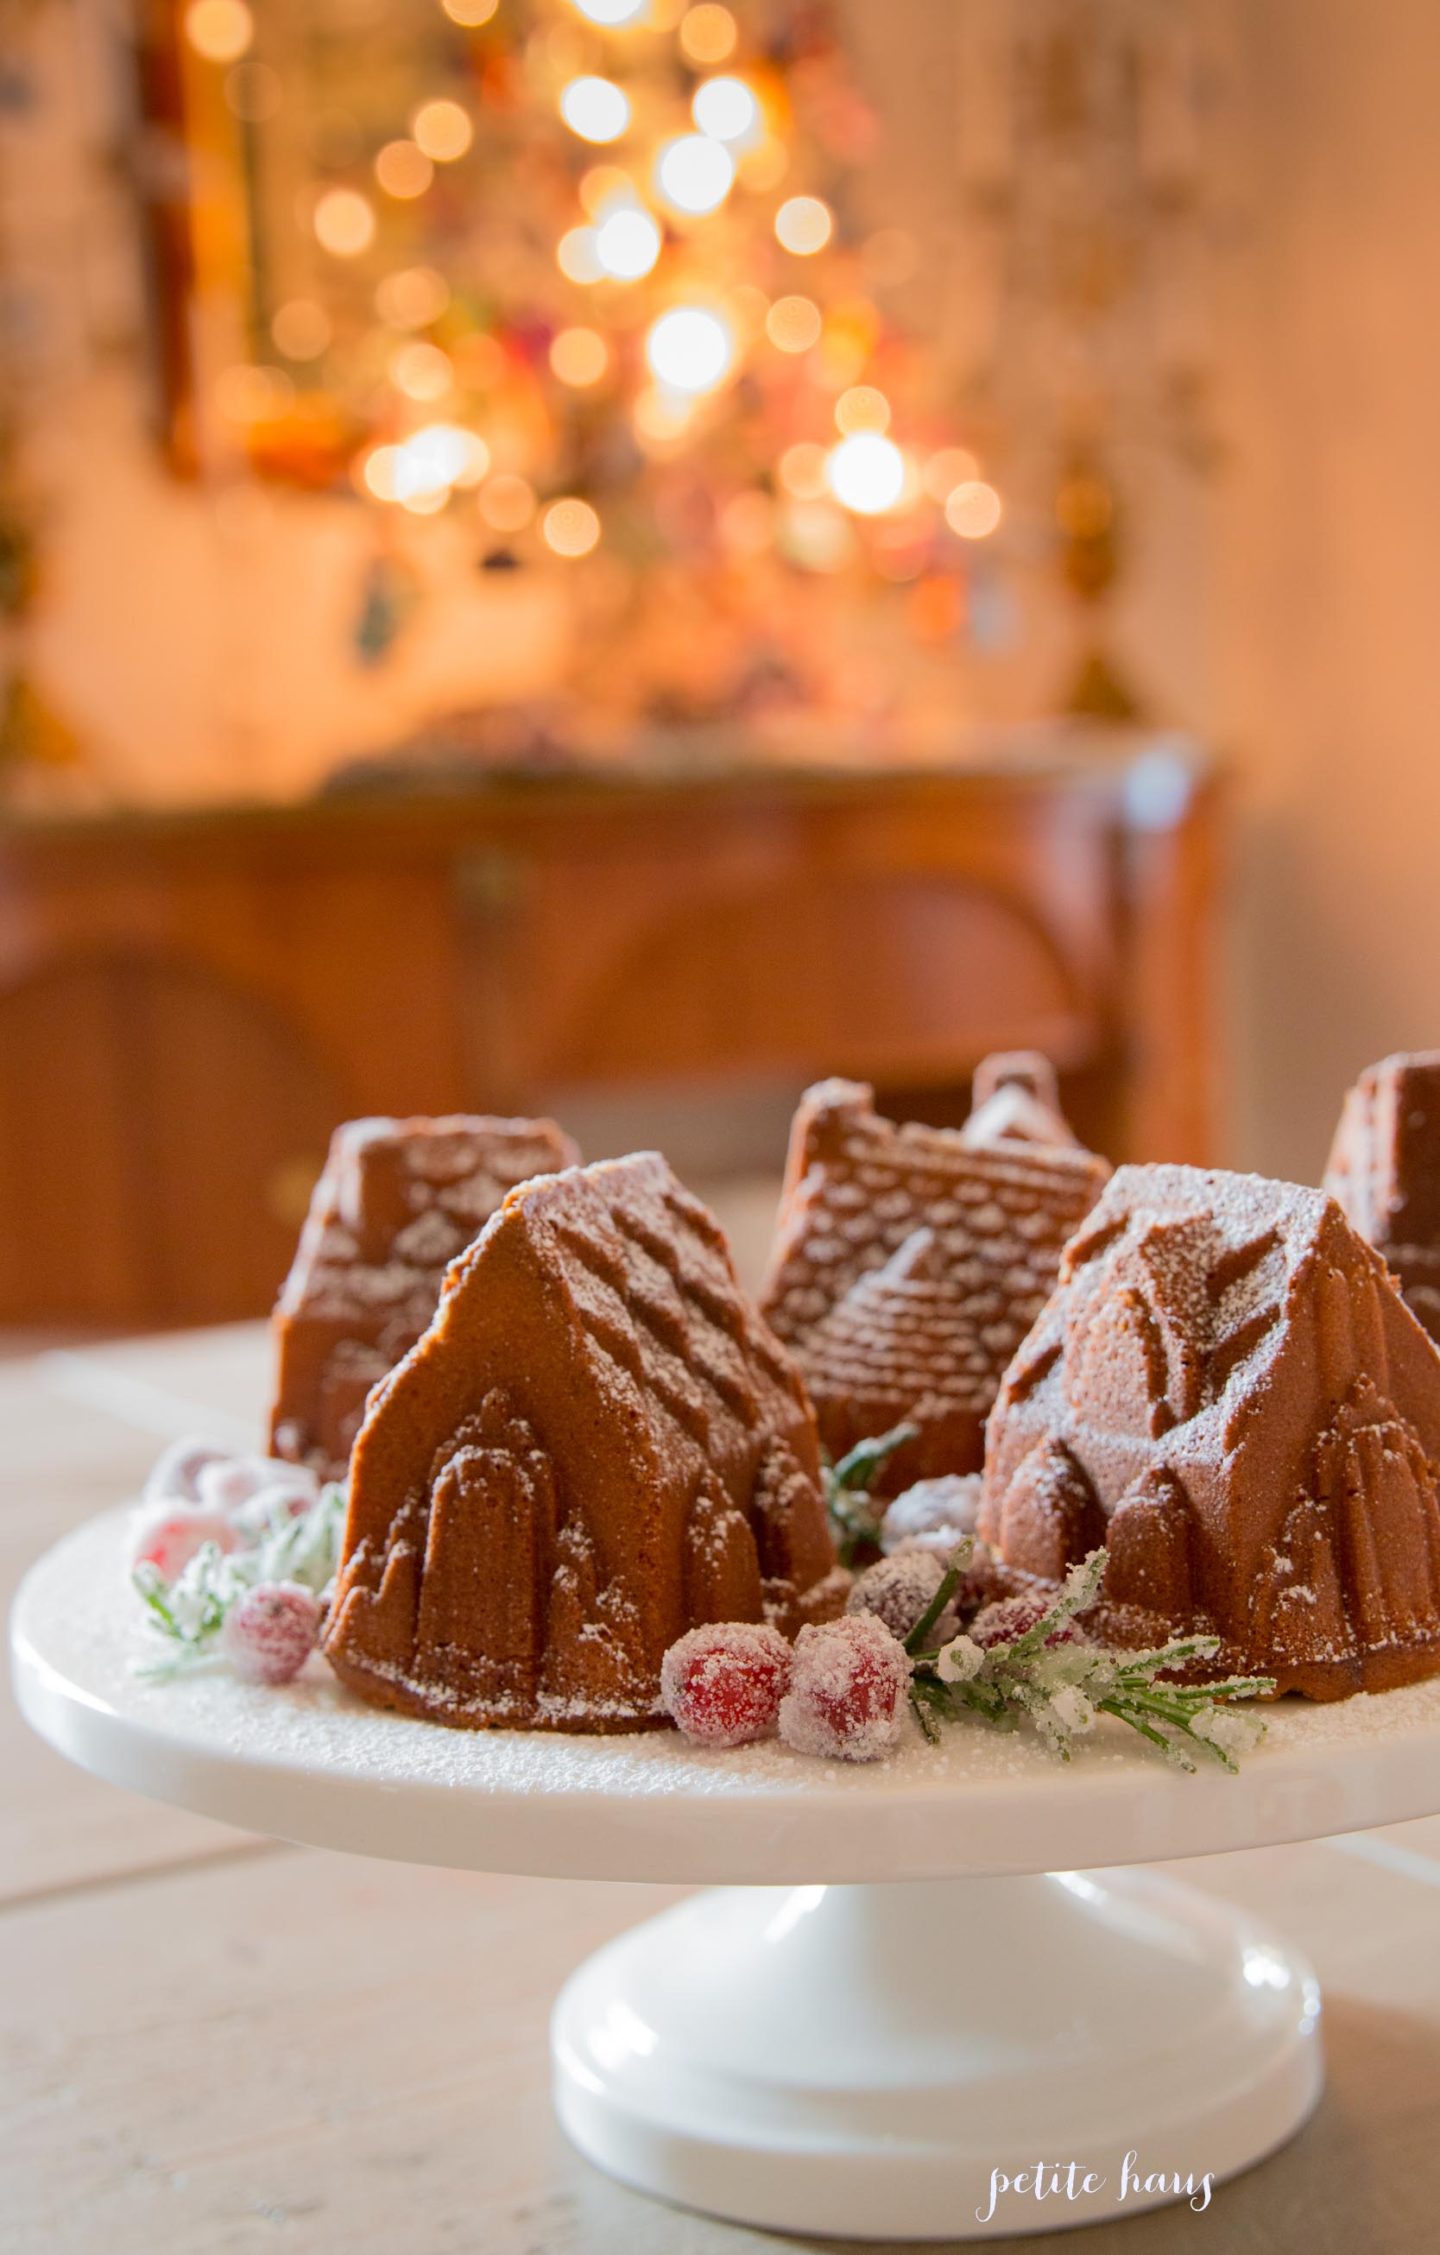
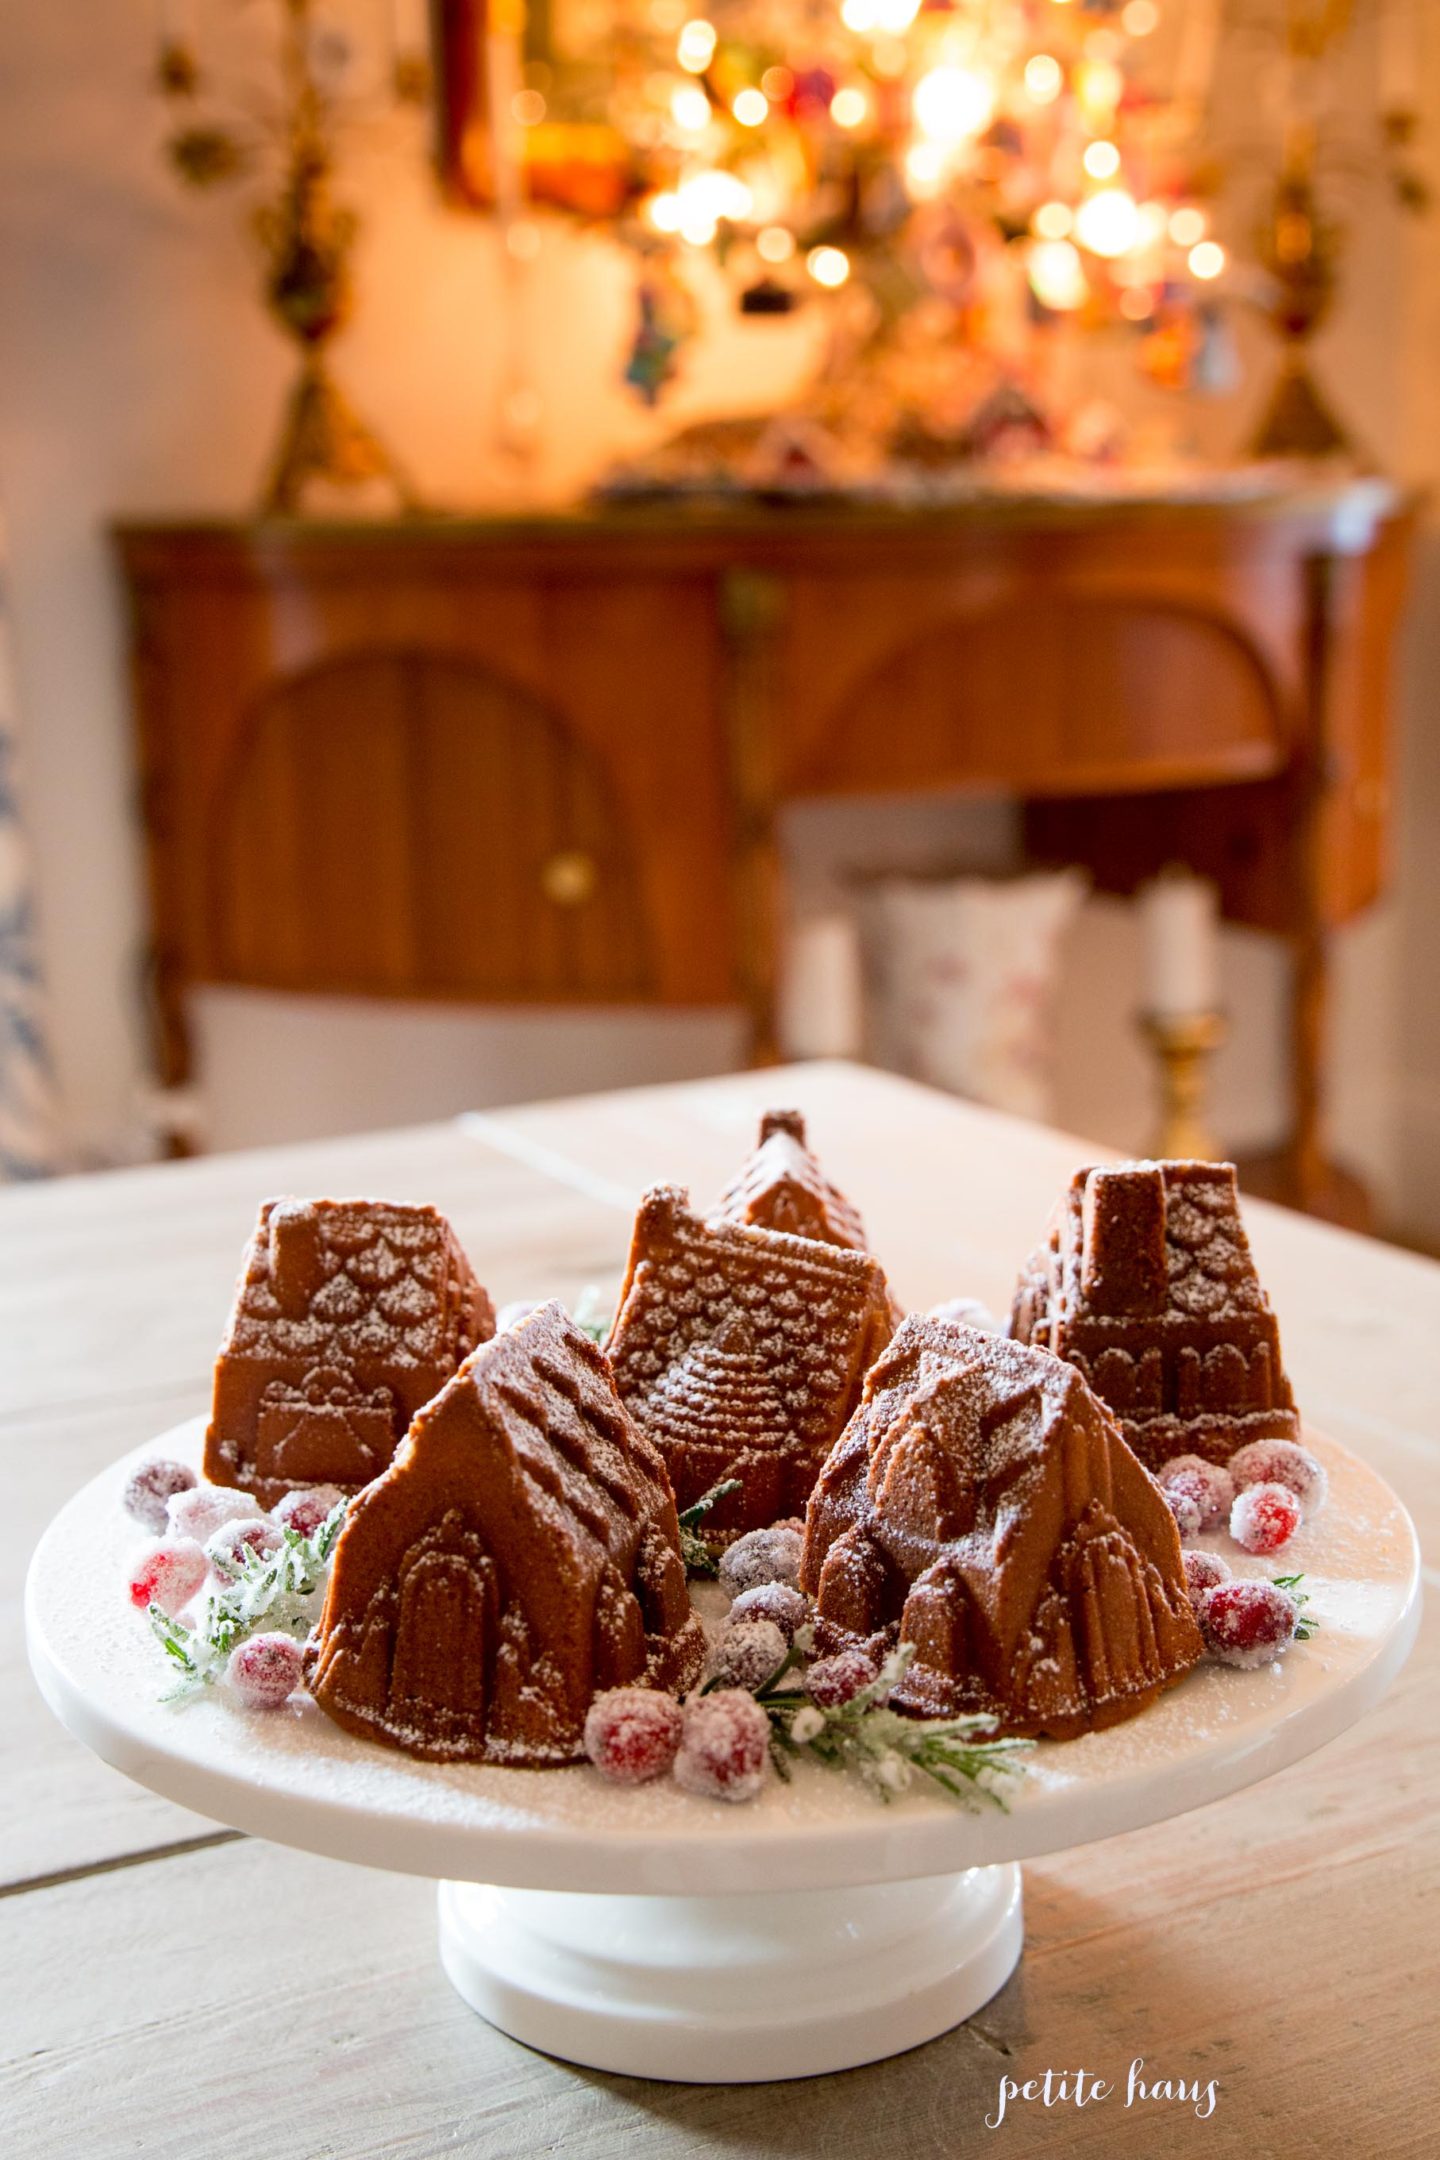
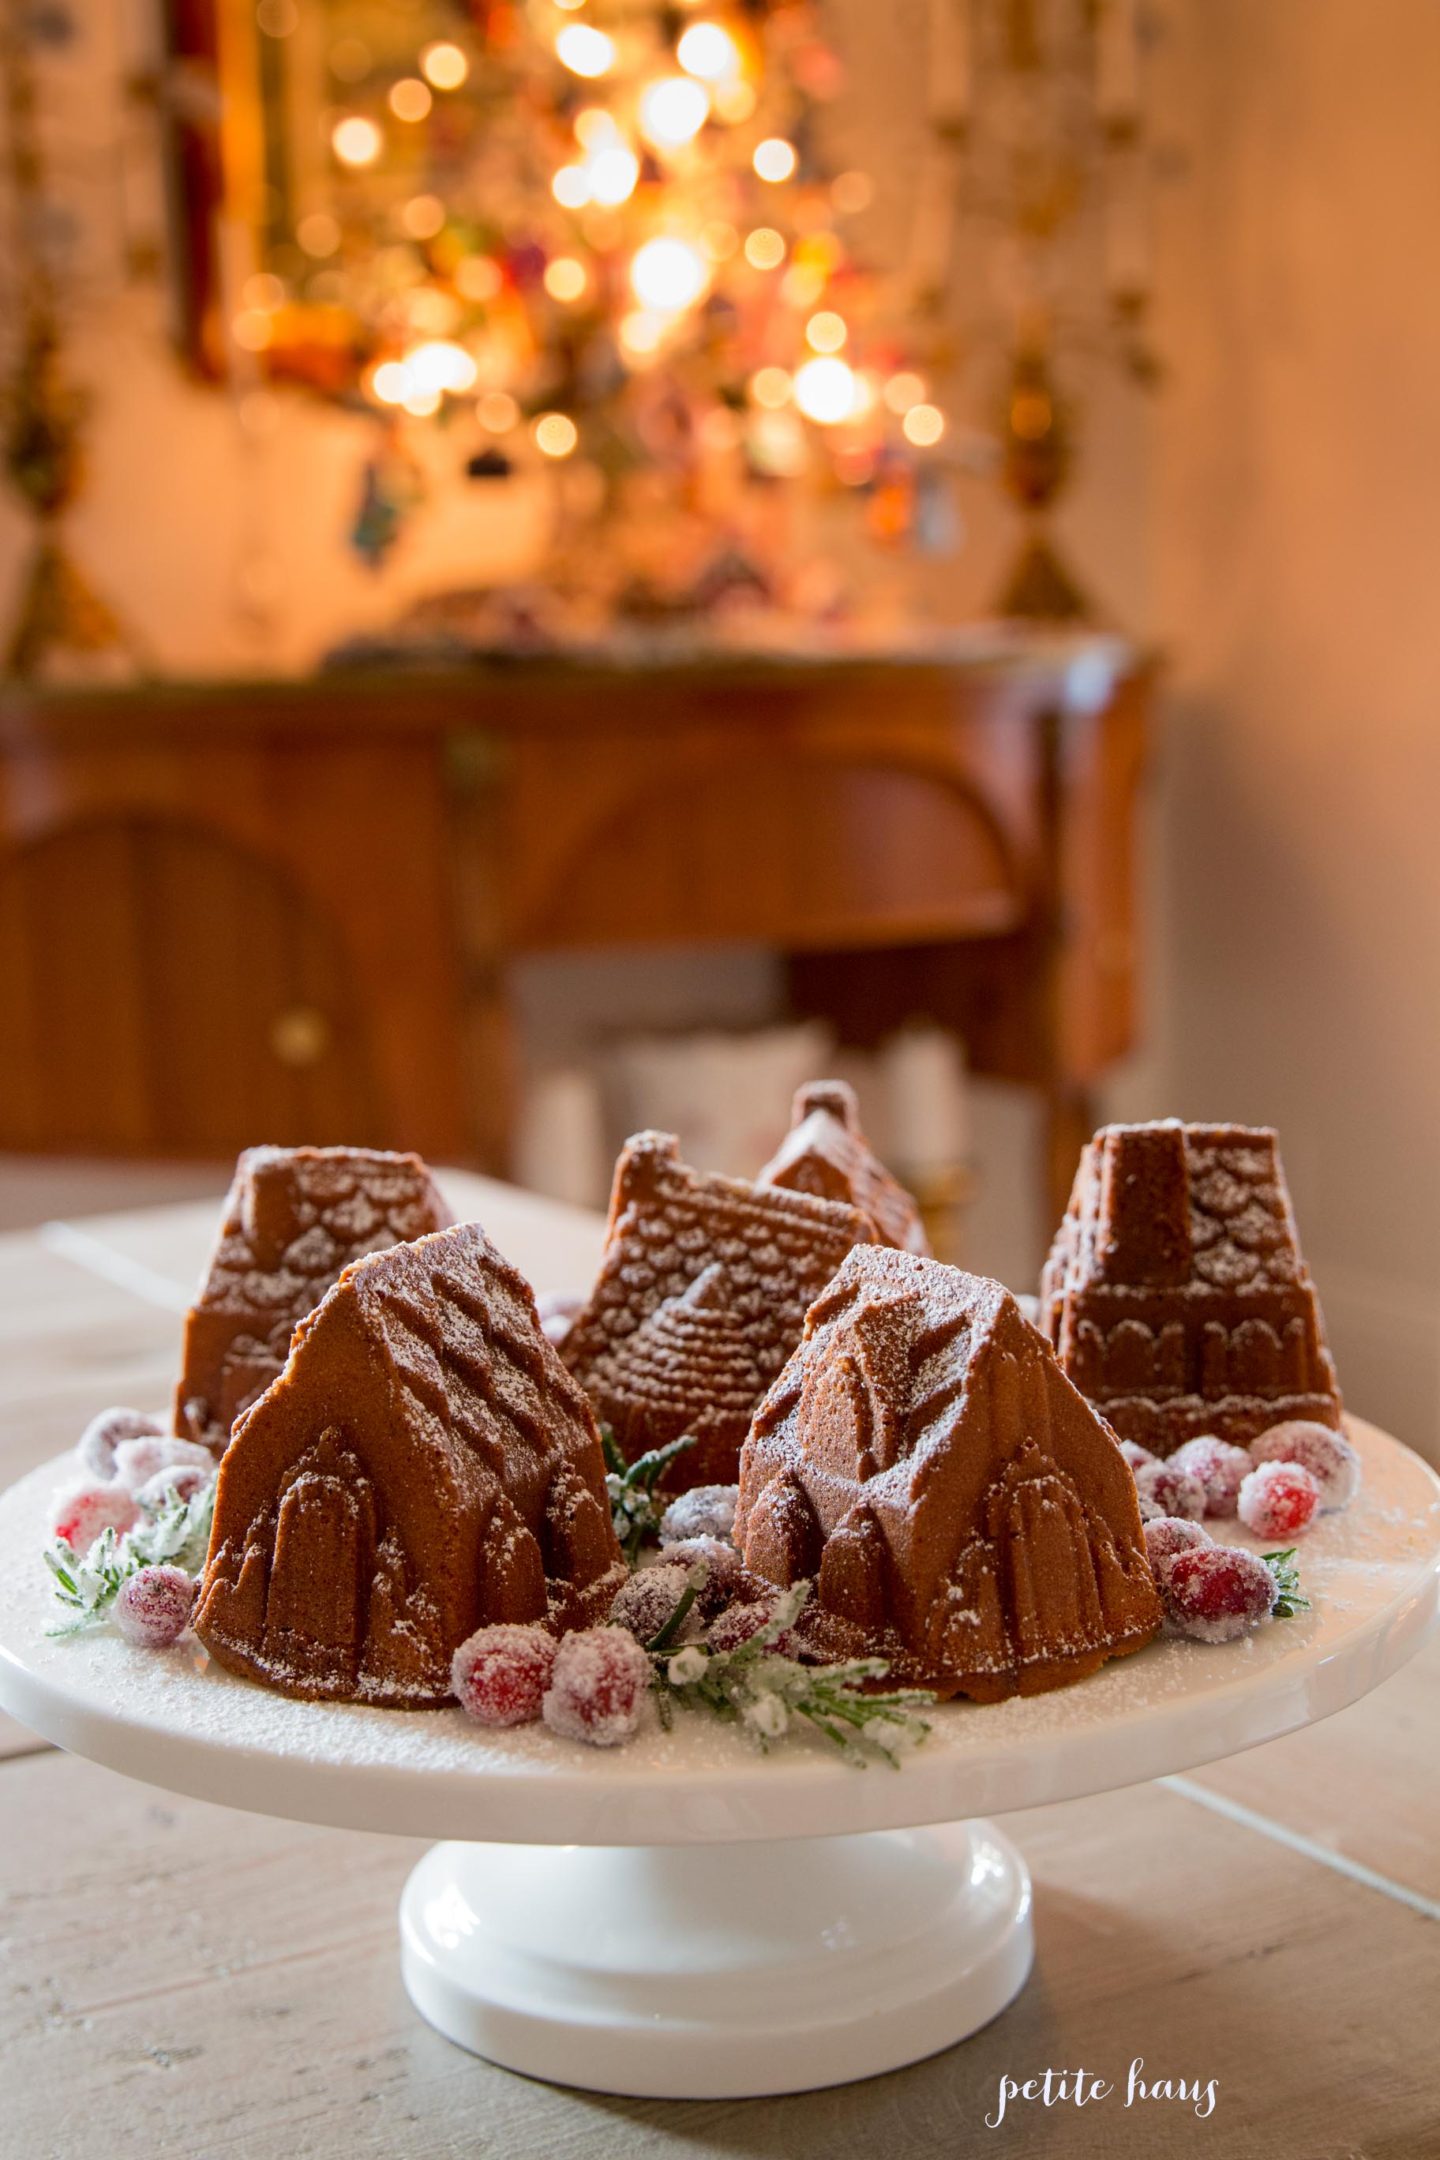
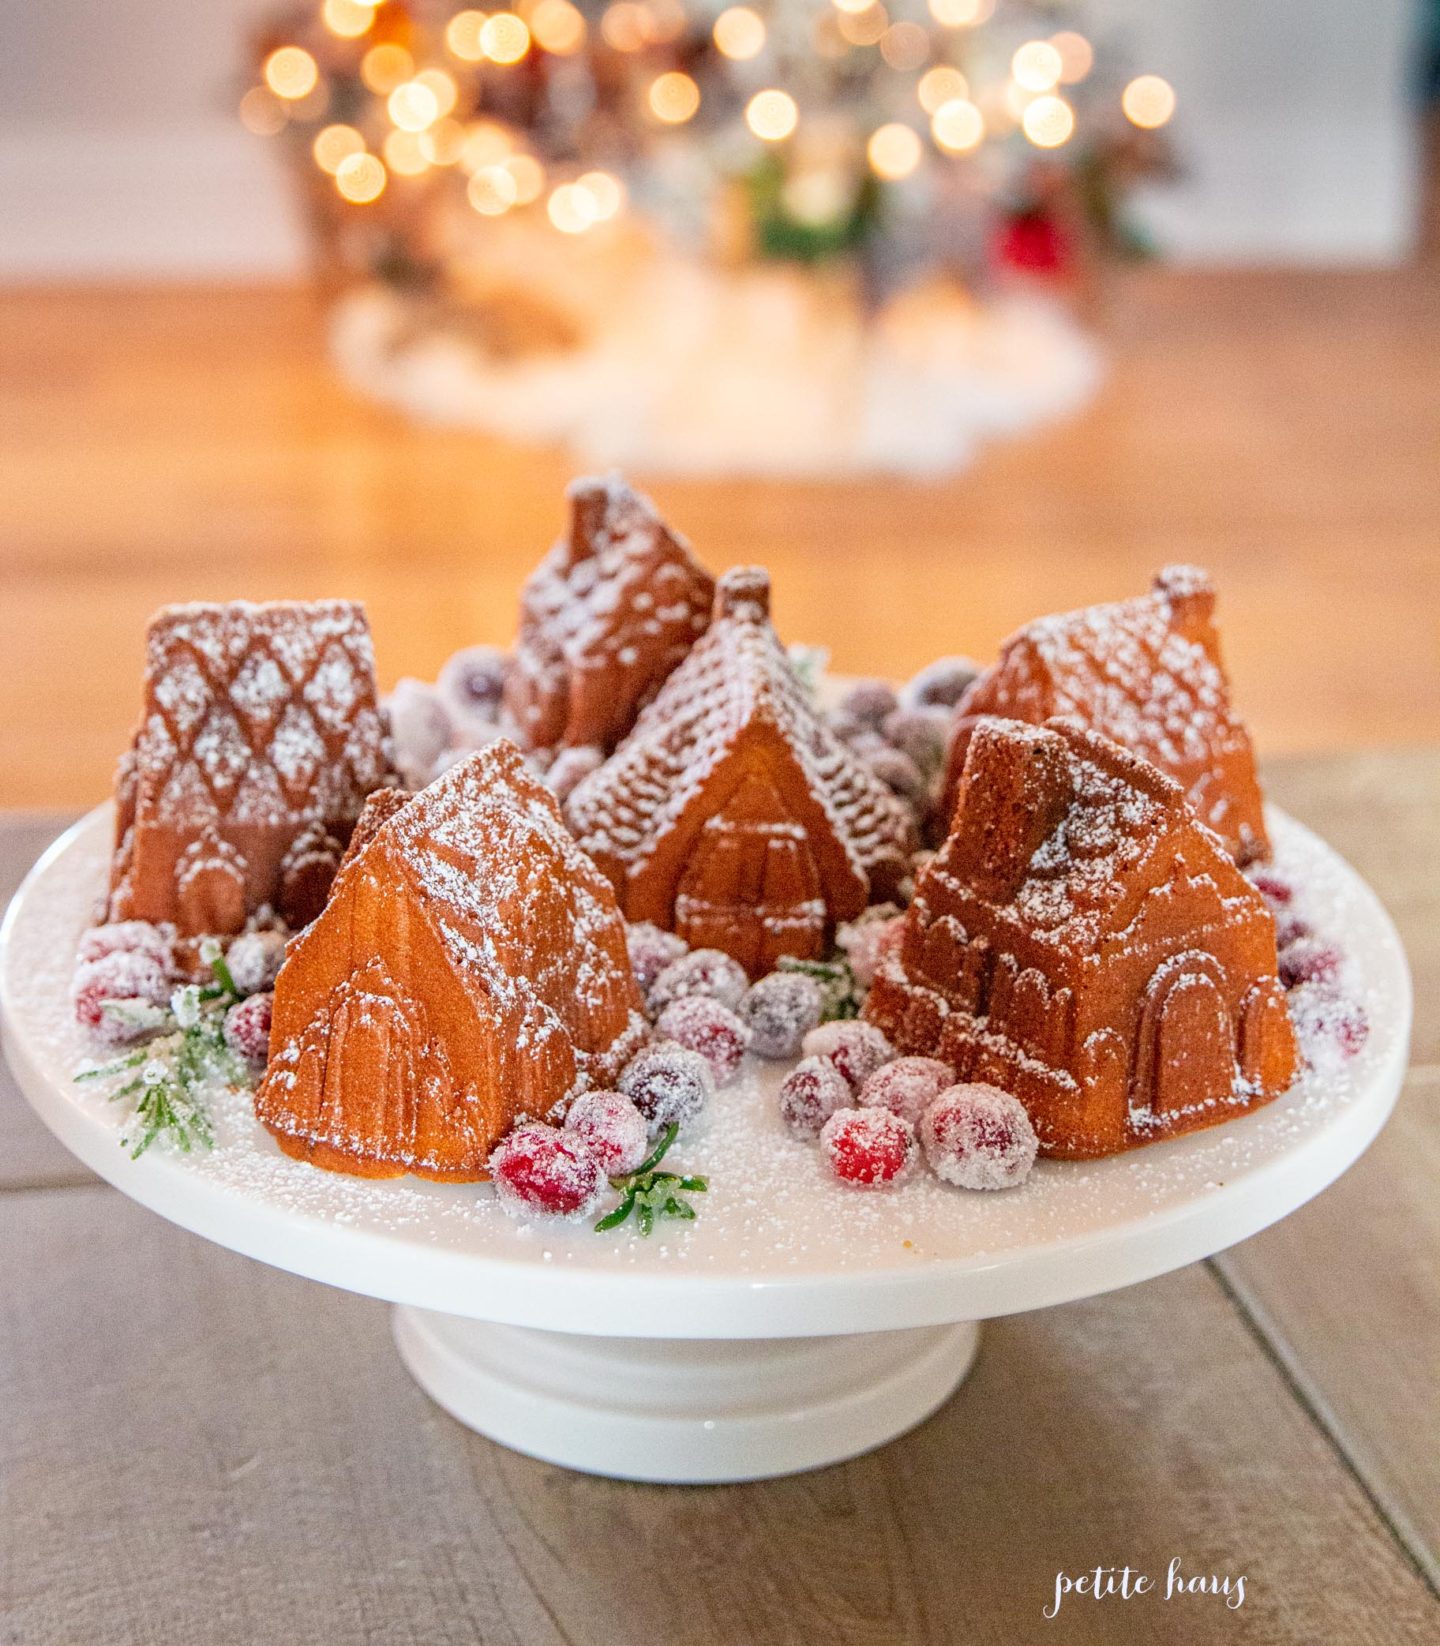
A few years ago I receive the cutest gingerbread house cake pans and finally this year I got around to baking gingerbread house cakes!

Aren’t they the cutest little things?? I have actually two pans, a mini cakelet house pan and a larger pan that has one big house on it!

The recipe is from Nordic Ware. I am including it here because I am afraid I will lose it!

Gingerbread Cake 

recipe from Nordicware

Ingredients

2 3/4 cups cake flour

1 cup granulated sugar

2 tsp ground ginger

2/3 cup brown sugar

1 tsp cinnamon

1/4 tsp ground cloves

1/4 tsp nutmeg

1tsp salt

2 tsp baking powder

1 cup butter, softened

4 eggs

1 tsp vanilla

1 1/4 cups milk

Directions

Heat oven to 325F (I did convection). Grease and lightly flour pan and set aside.  In medius bowl, combine flour, ginger, cinnamon, cloves, nutmeg, salt and baking powder and set aside. 

In large bowl, combine sugar, brown sugar, and butter.  Beat about 3 minutes, until light and fluffy, scraping bowl often.  Add eggs, one at a time, beating well after each addition.  Blend in vanilla.  Reduce mixer speed to low.  Alternate adding the flour mixture and milk into the sugar mixture.

Spoon batter into prepared pan.  Place pan on a baking sheet and bake for 55-65min (for the cakelet pan on 325F convection, mine were done at 45 minutes).  Bake until toothpick inserted in the center does out clean.  Cool upright in pan for 10 minutes.  

Remove cake from pan onto cooling rack and cool completely.  

Sugared Cranberries

To make sugared cranberries, in a sauce pan, add 1/2cup granulated sugar and mix into 1/2 cup water. Add medium heat and stir until it is just sugar has just dissolved. Remove from heat. Then, add fresh cranberries to the sugar syrup. Then take the cranberries and roll in a bowl of granulated sugar. Place on wax paper and allow to dry for at least 1 hour. I did the same thing with the fresh rosemary.

Click Here for the cake pan I used to bake the mini cakes. There is also a larger gingerbread cake pan that I also own.

Overall, I was pleasantly surprised with how well these turned out AND they were tasty!

Follow:

Halloween Dessert Ideas

We use affiliate links in our posts and our site. This means if you make a purchase using these links, we may earn a small commission. You don’t pay a cent more than you would otherwise! Our full disclosure is available under About.
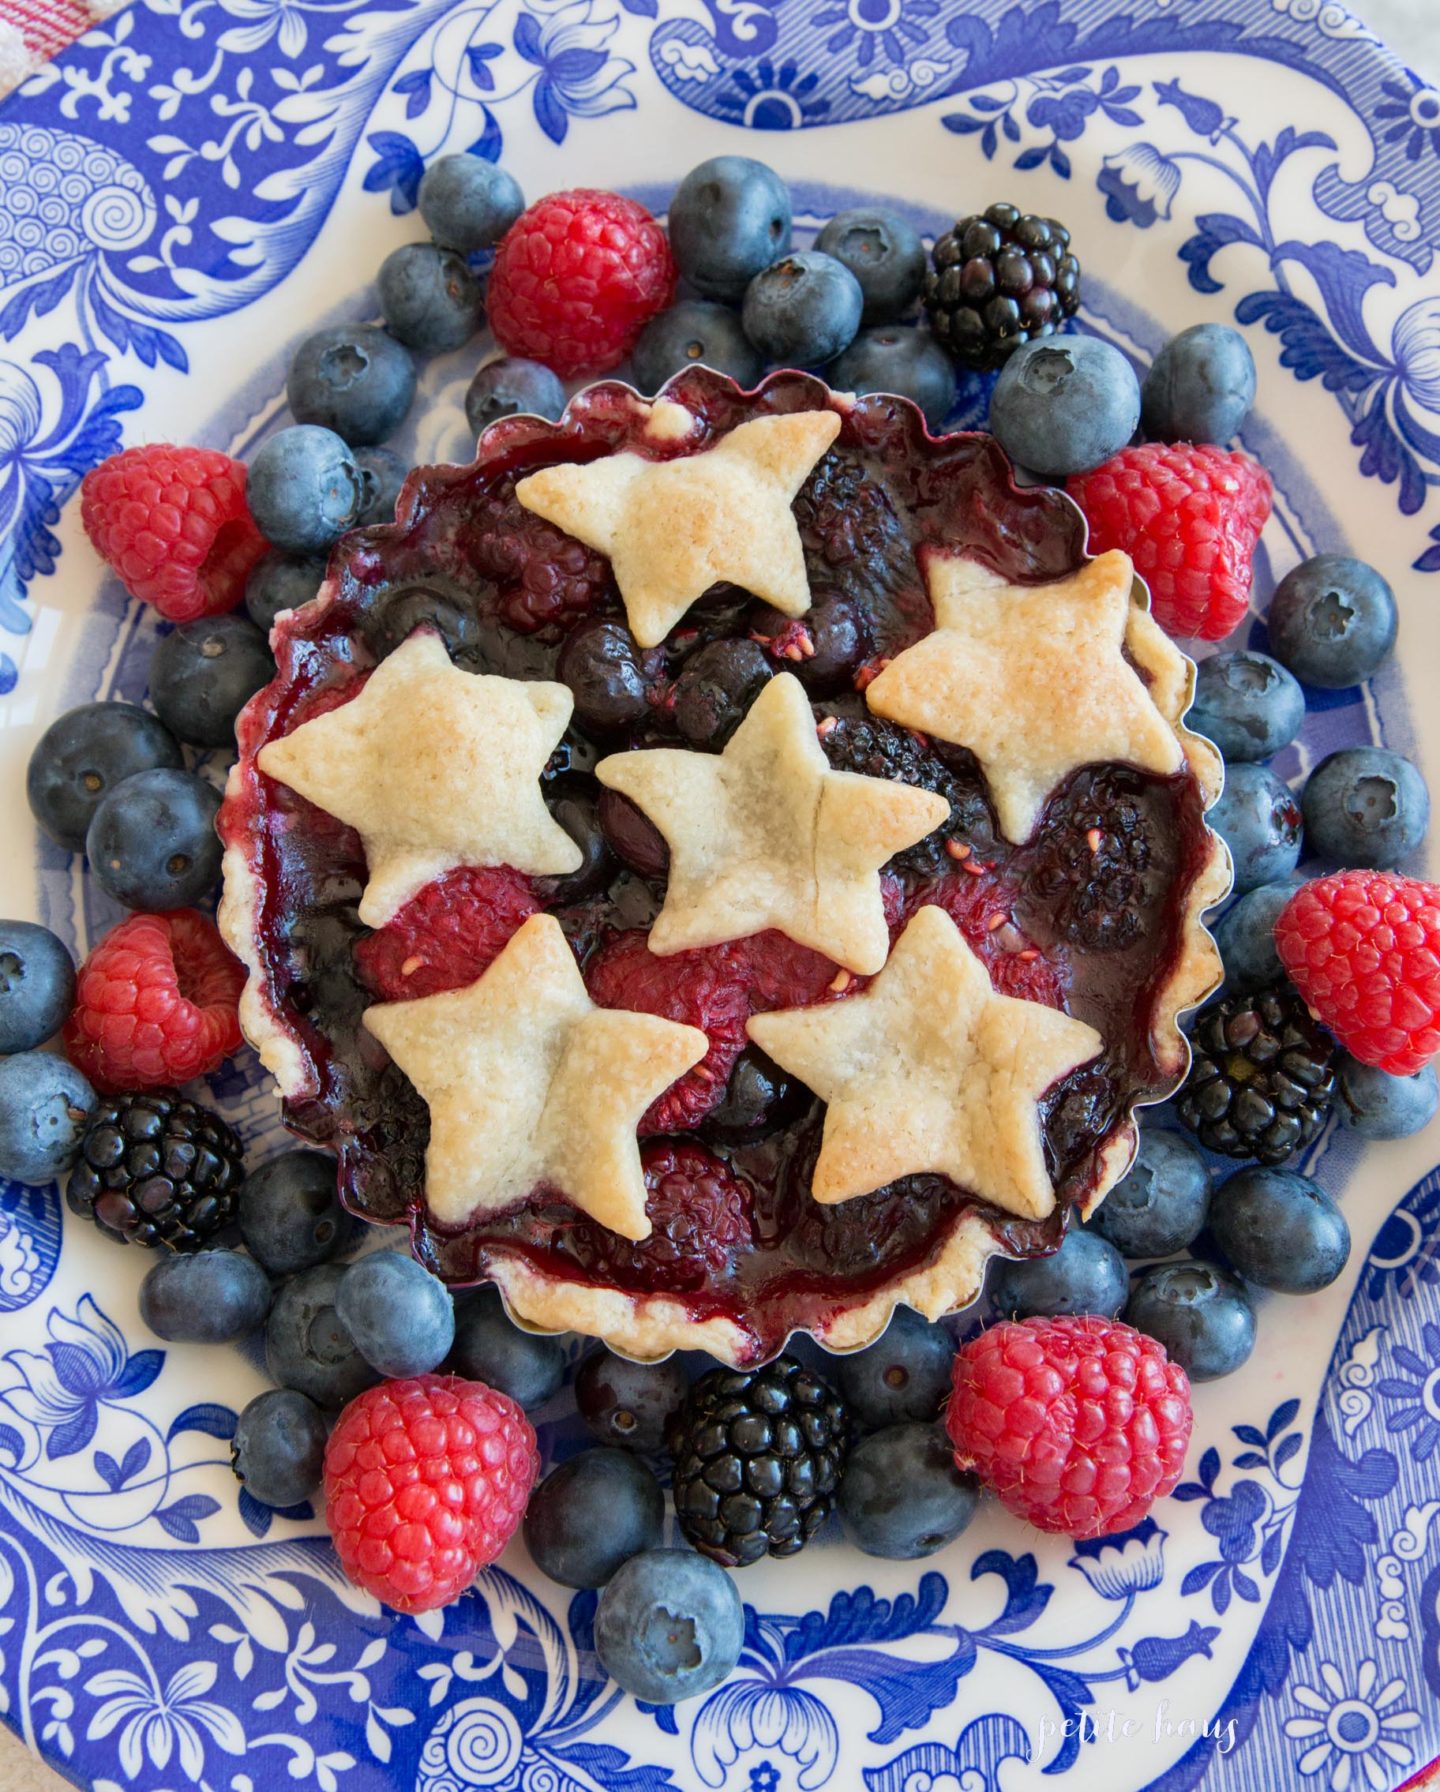
Sharing a few Halloween treat ideas for your upcoming Halloween party! These have a French spin on them of course….

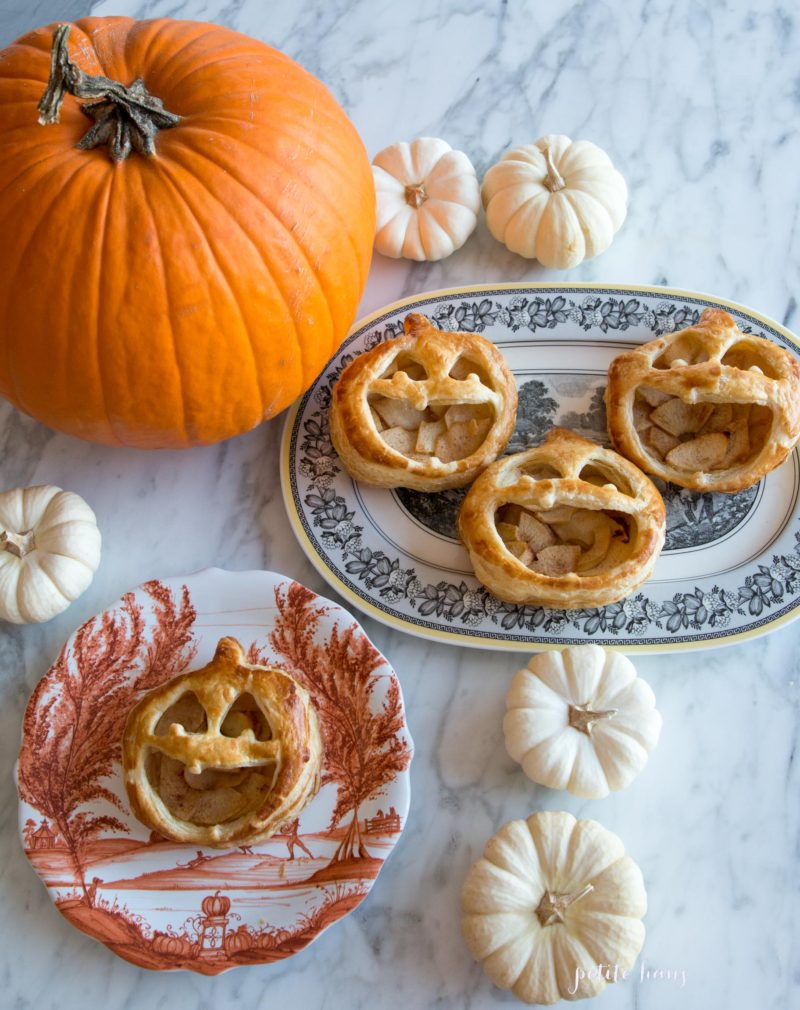
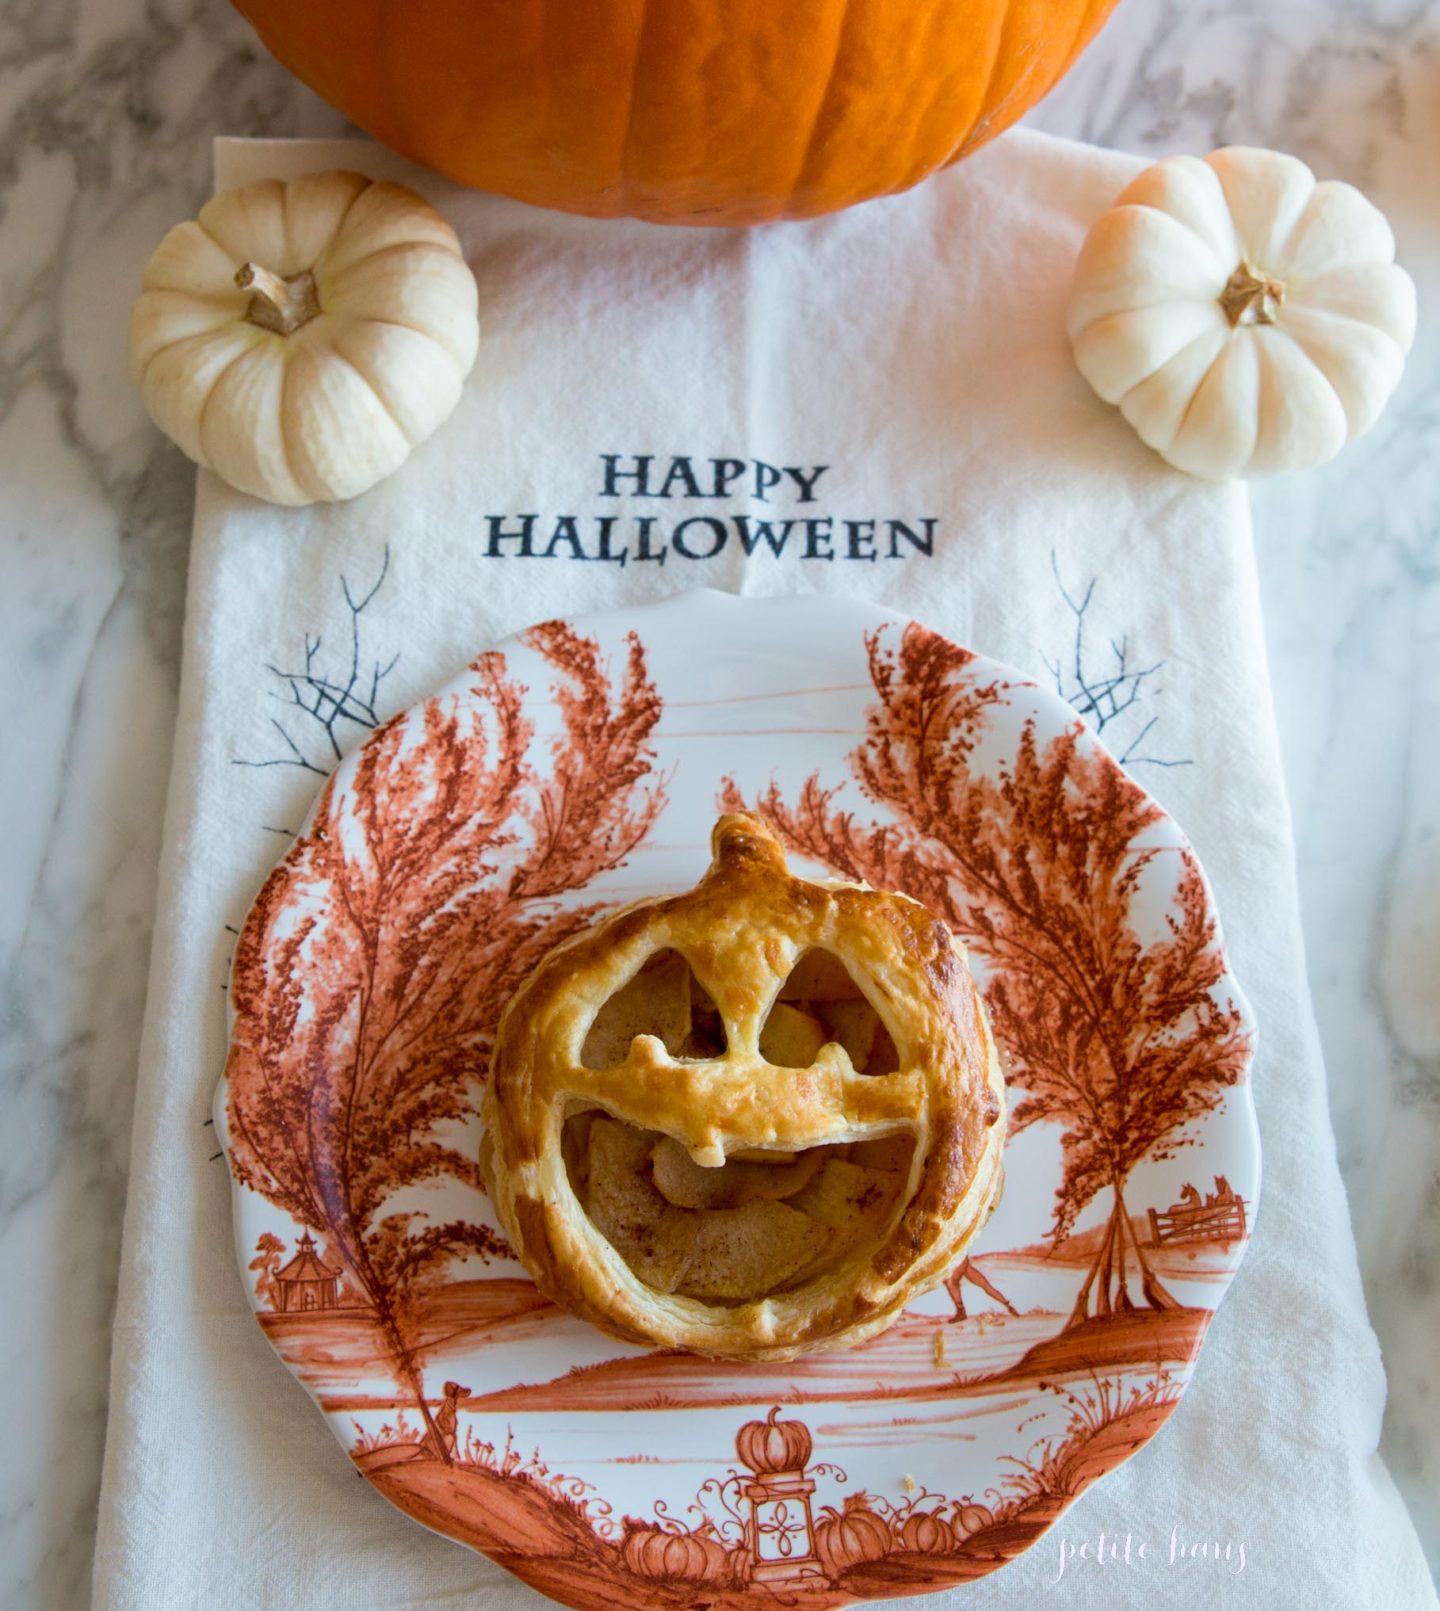
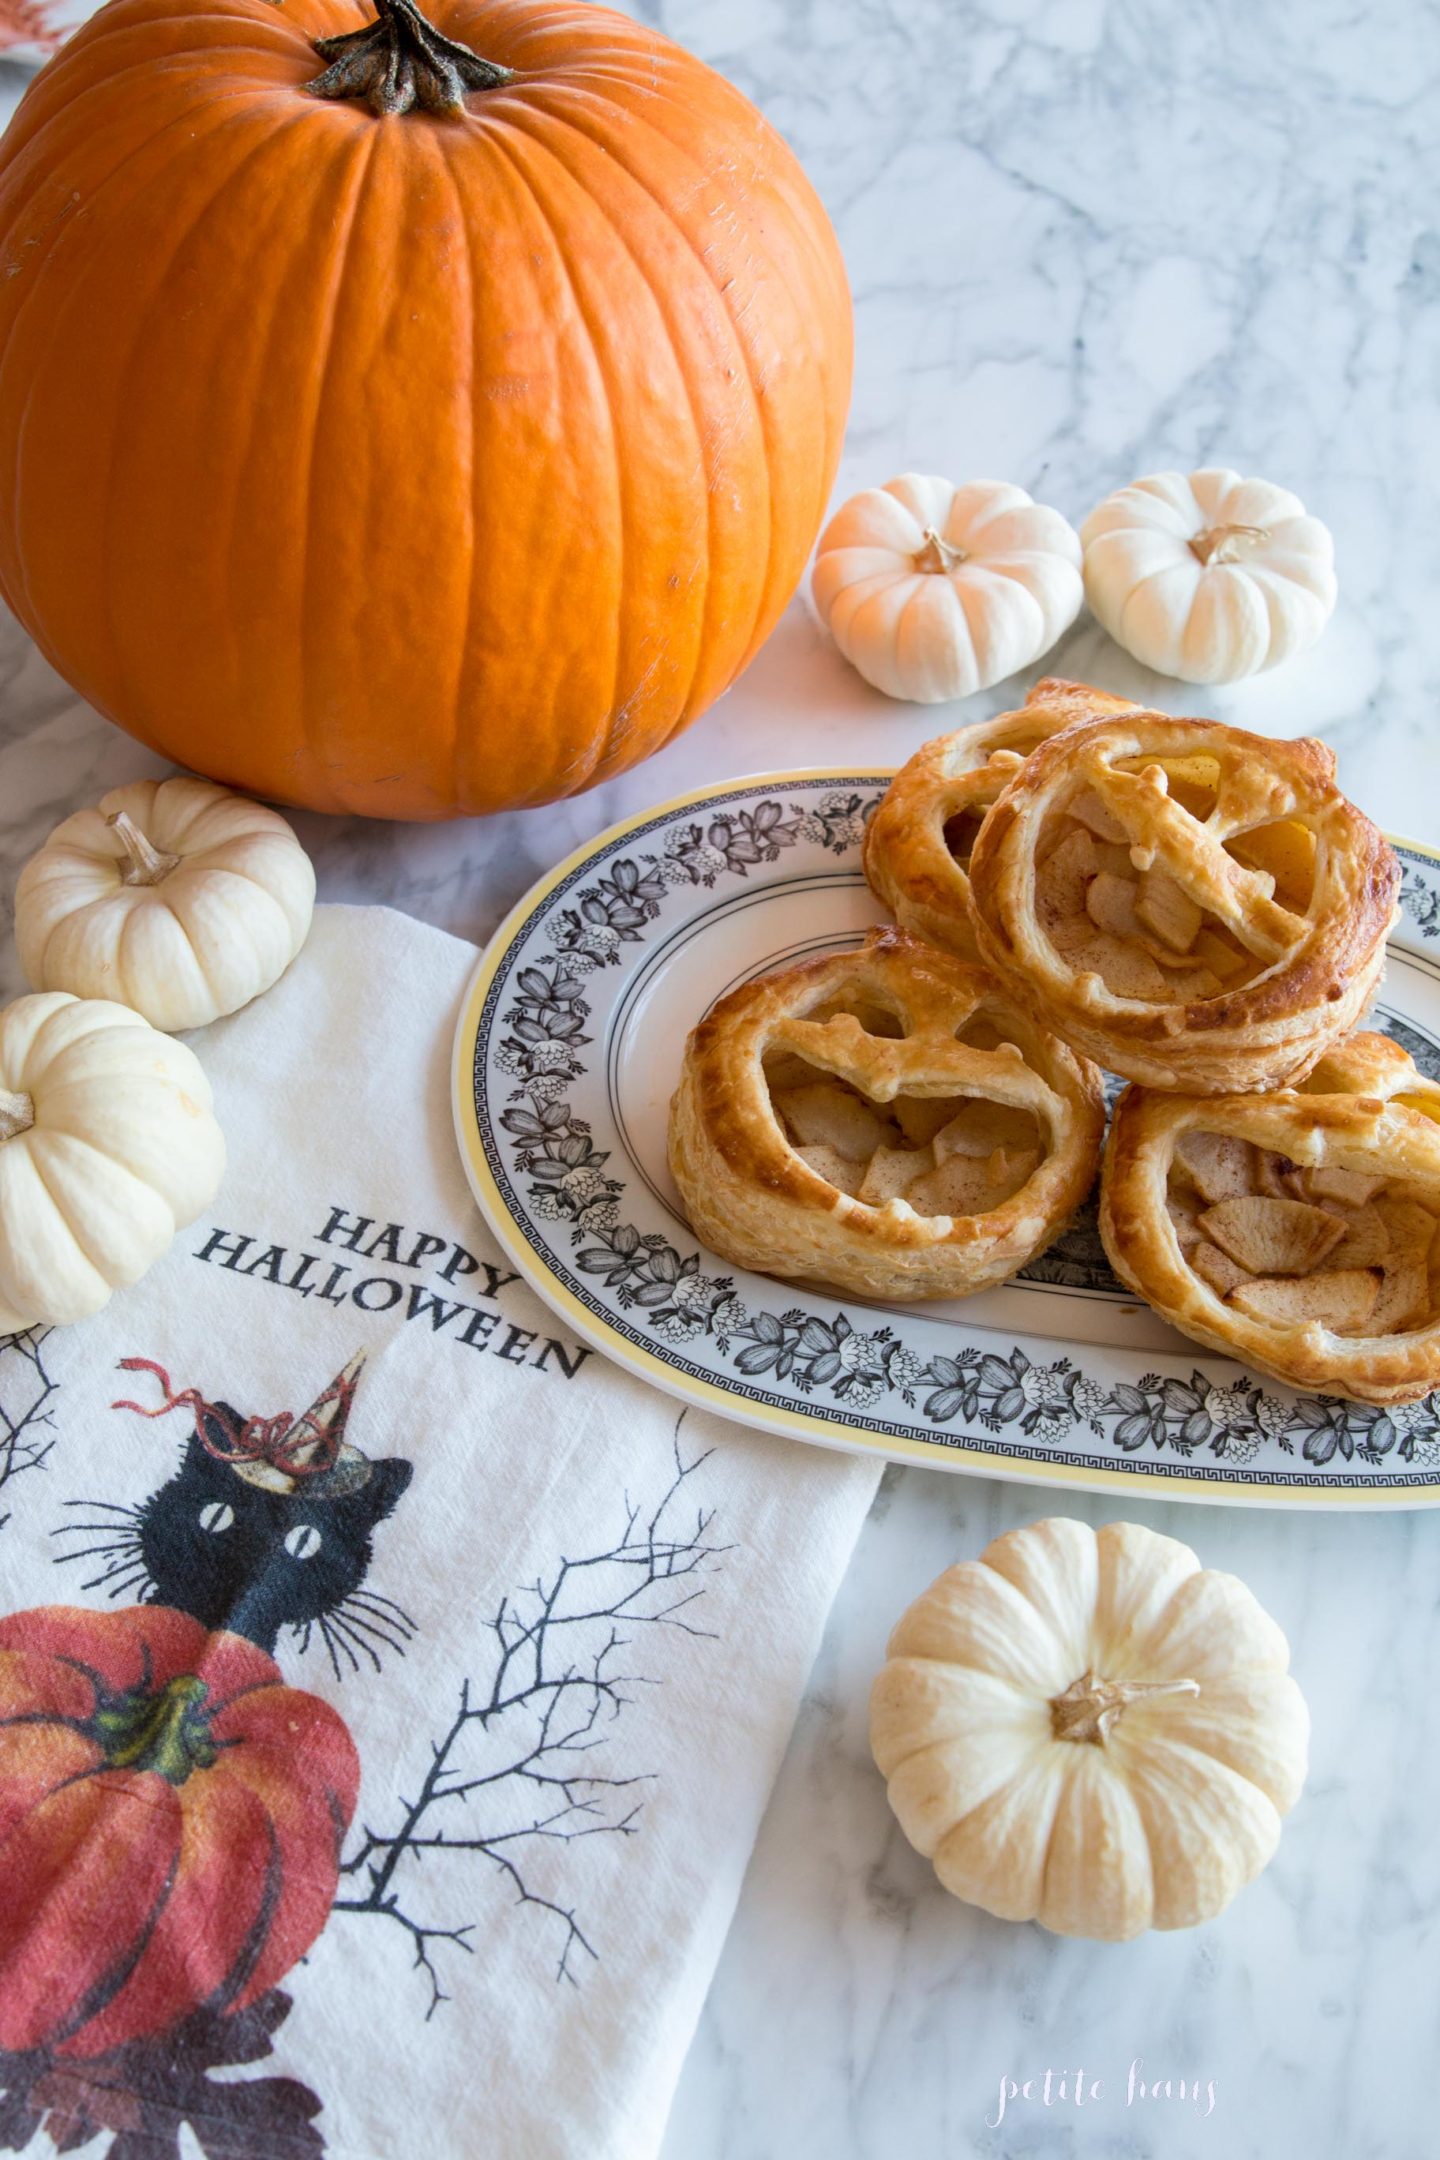
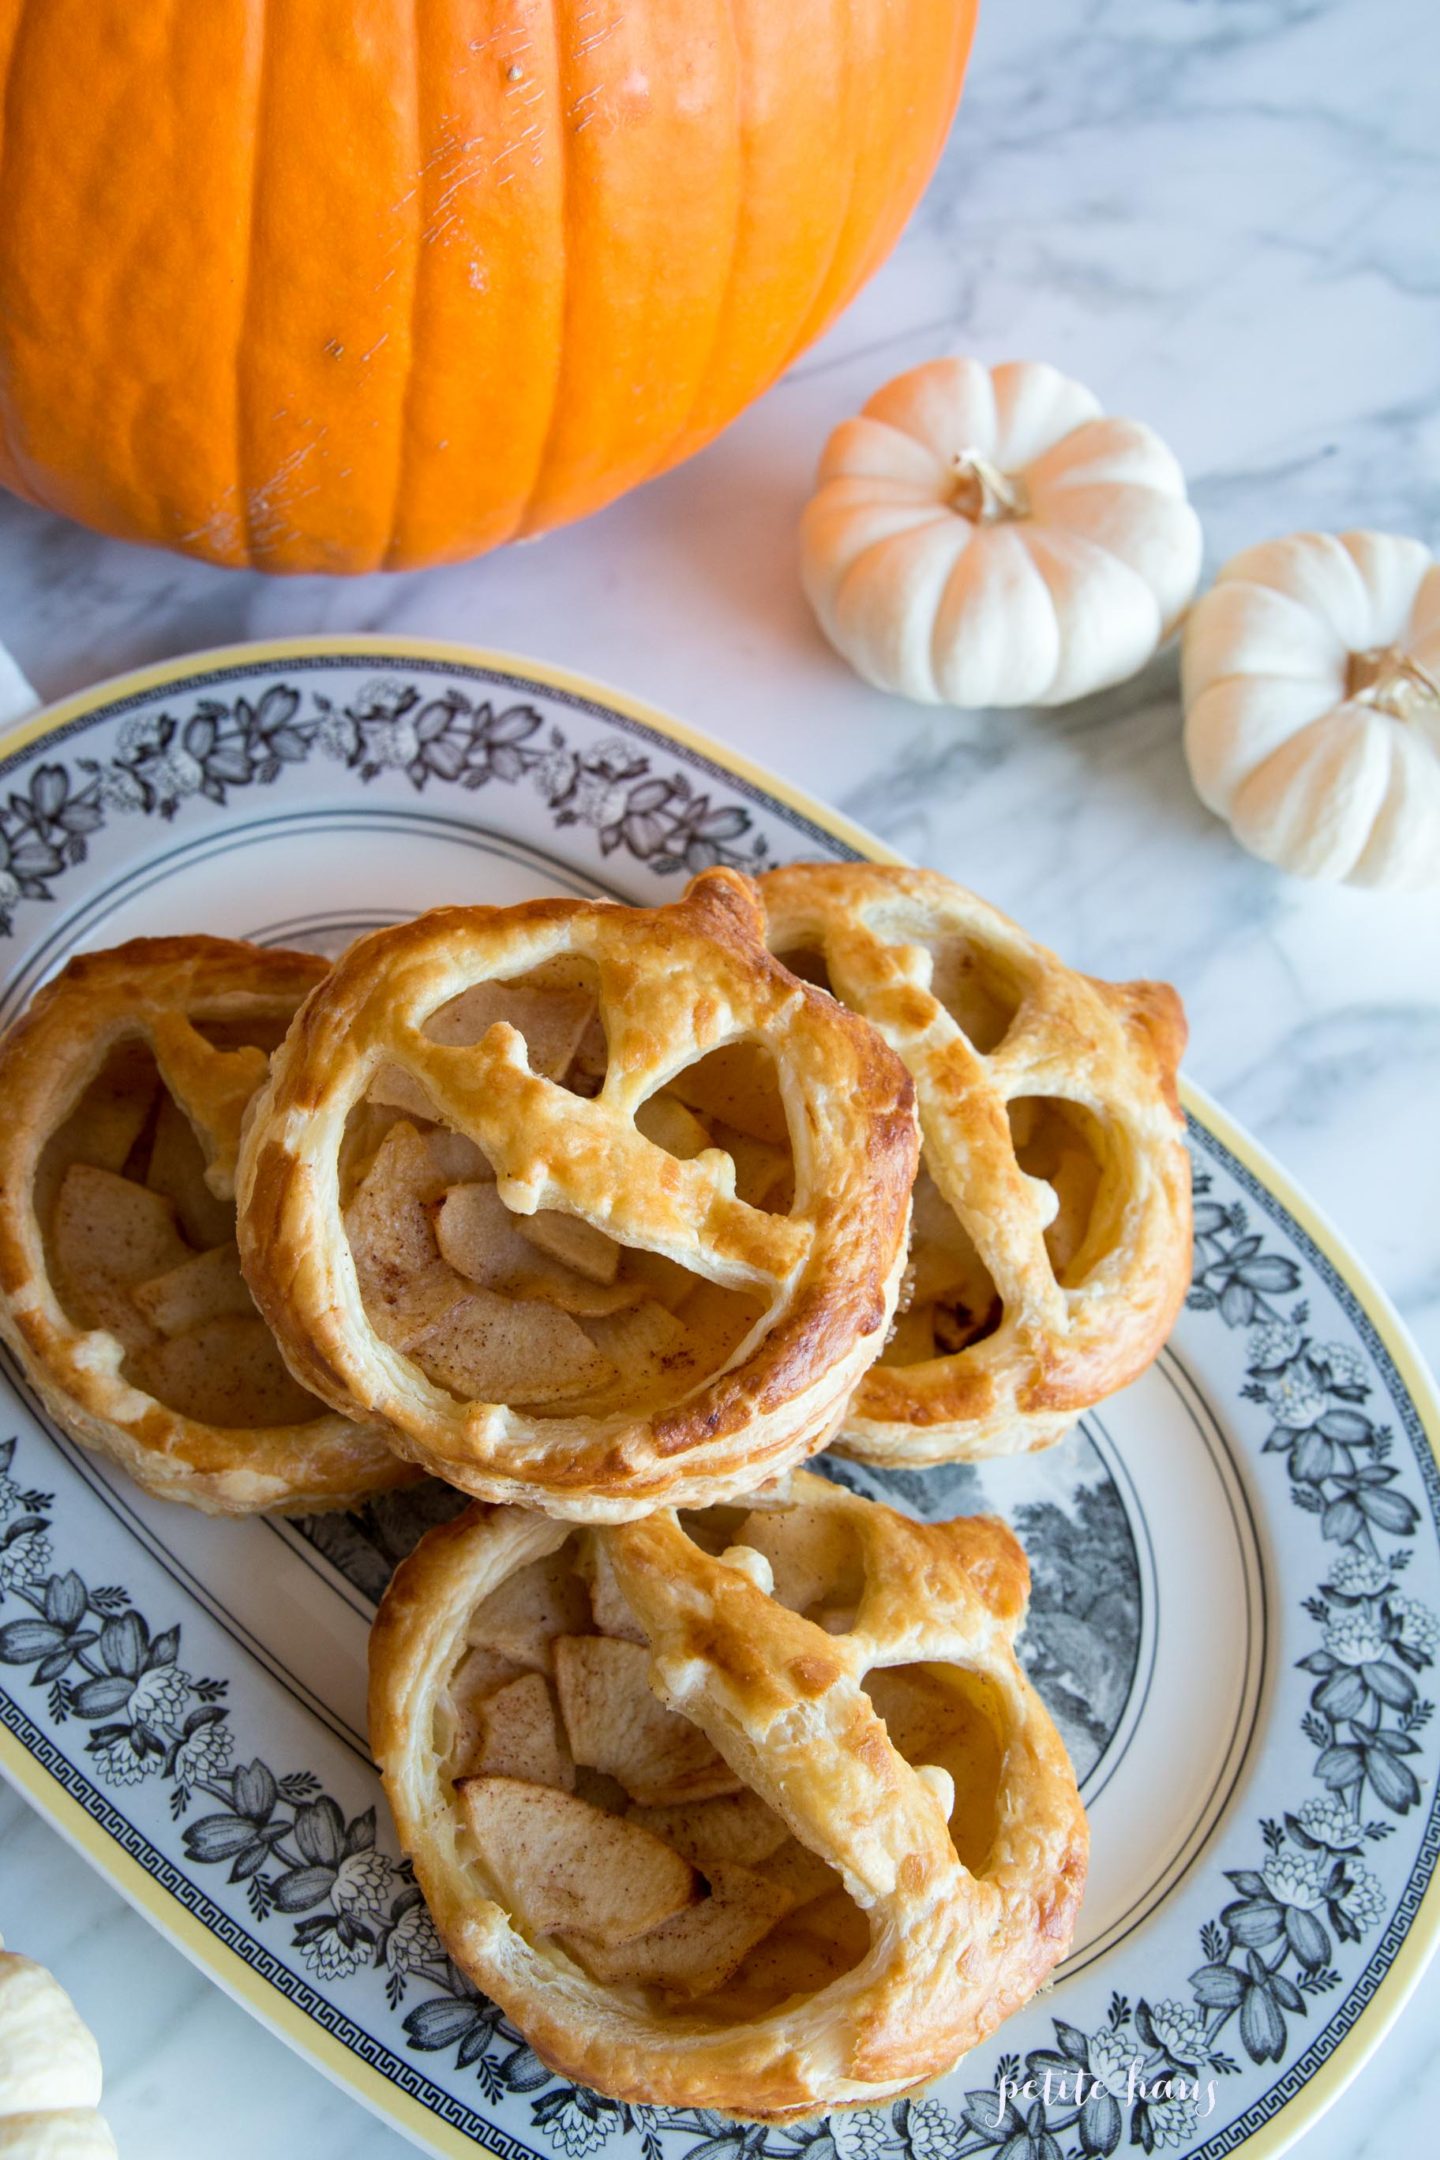
Jack O Lantern Chausson aux Pommes (apple turnovers)

Spooky Ghost Meringues – perfect to eat alone or float on top of your hot chocolate!

Scary Cat Chocolate Hazelnut Macarons

Follow:

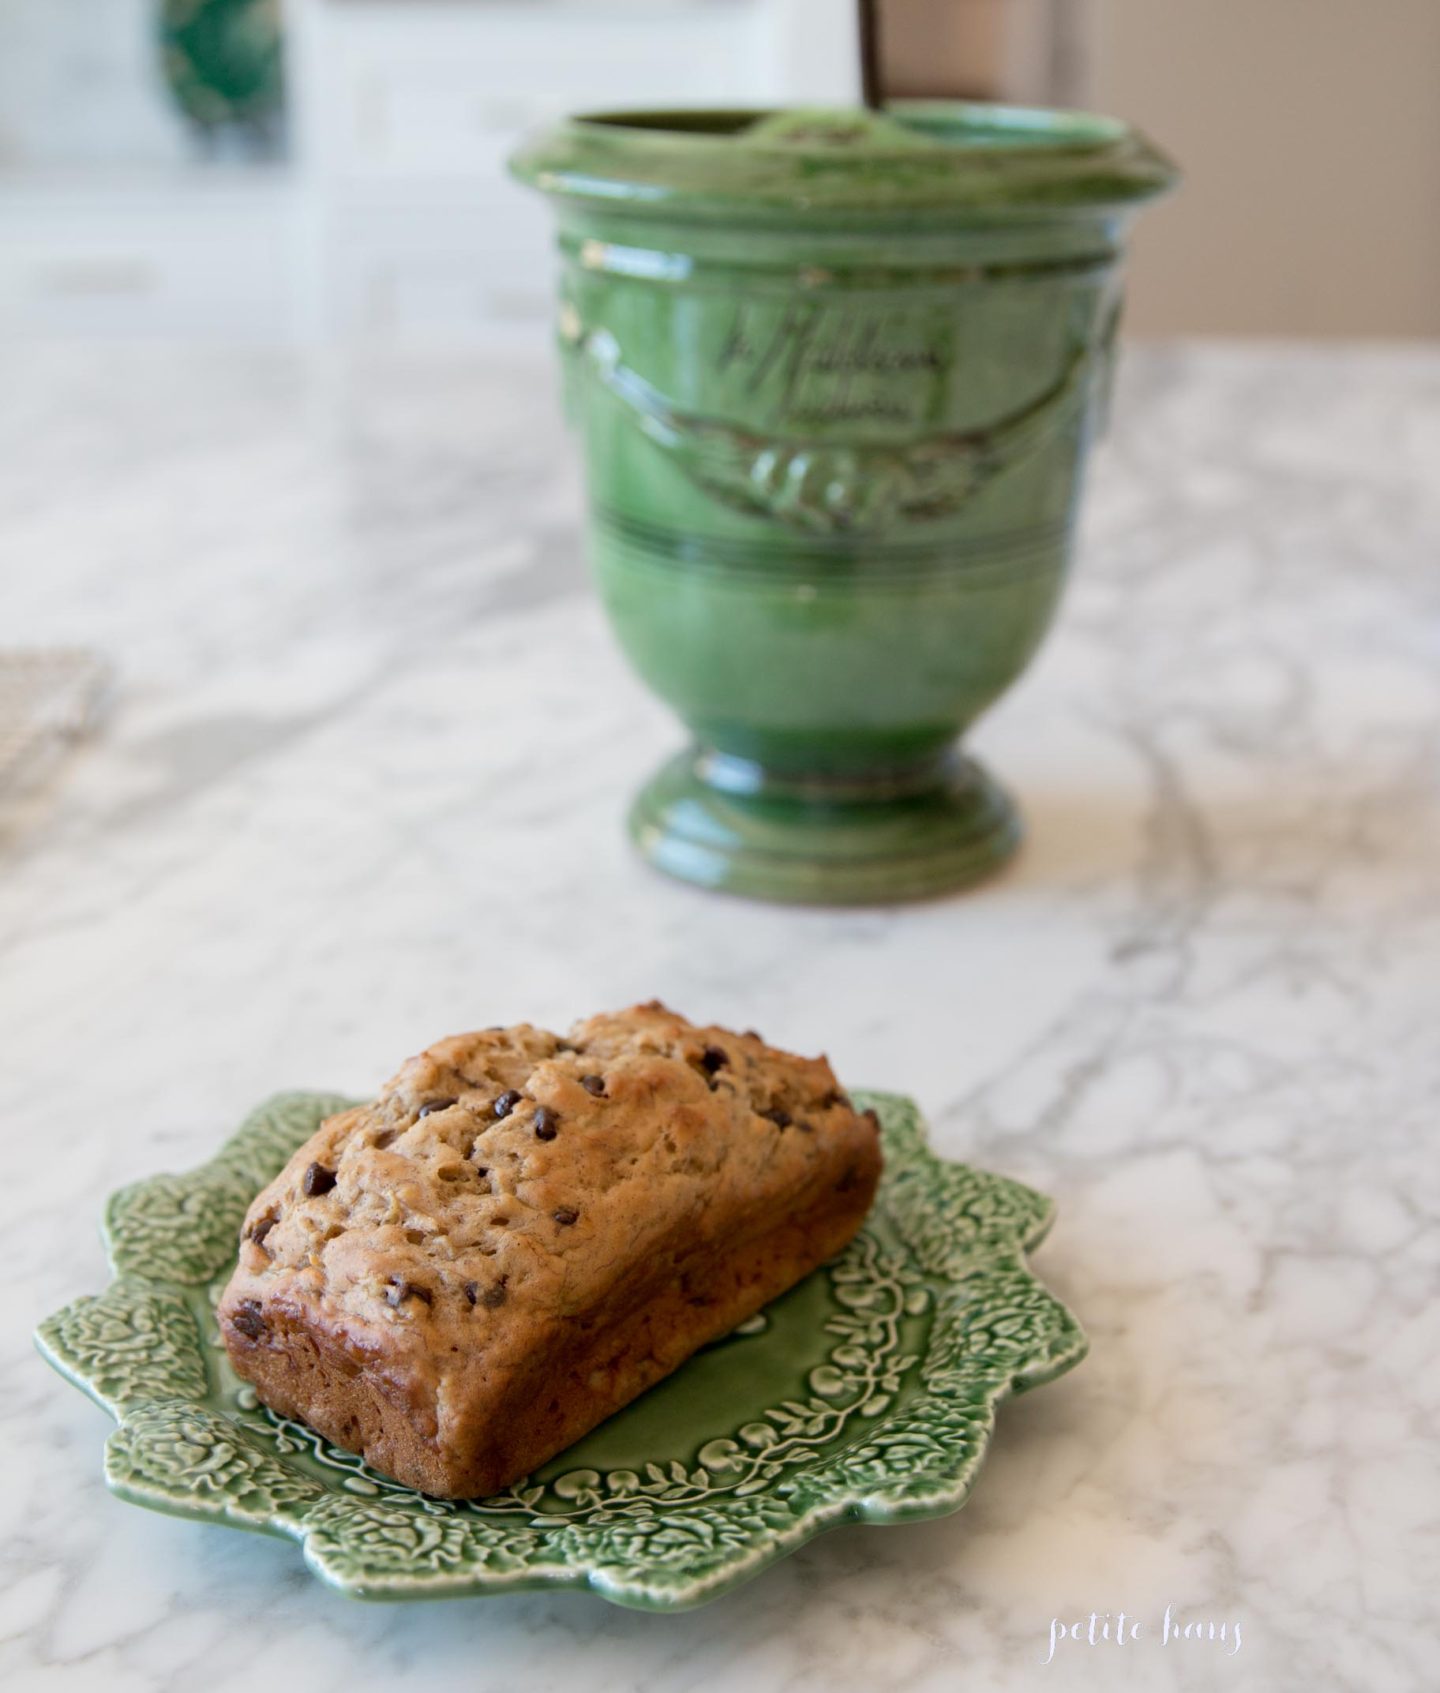
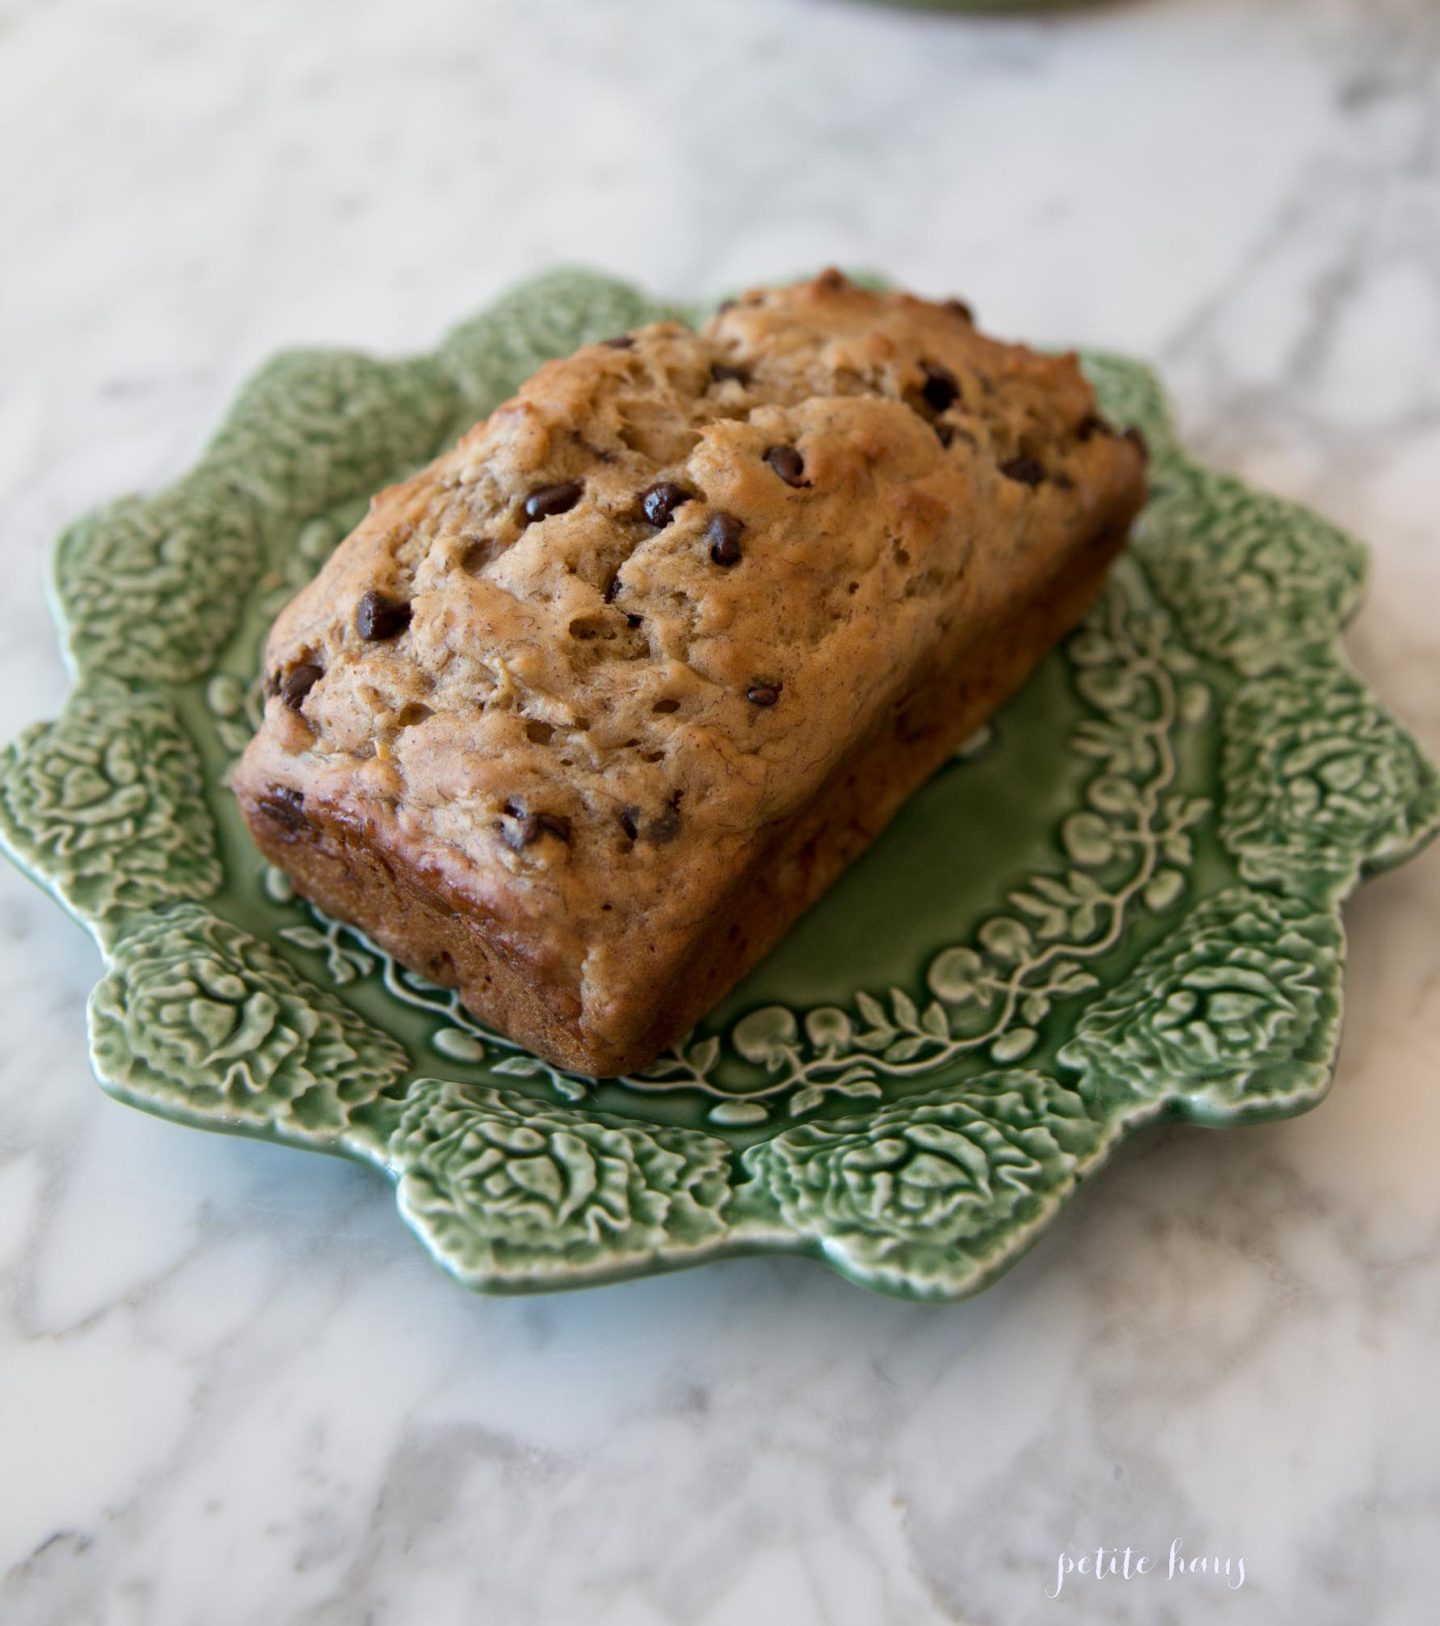
Skinny Guilt-Free Chocolate Chip Banana Bread

We use affiliate links in our posts and our site. This means if you make a purchase using these links, we may earn a small commission. You don’t pay a cent more than you would otherwise! Our full disclosure is available under About.
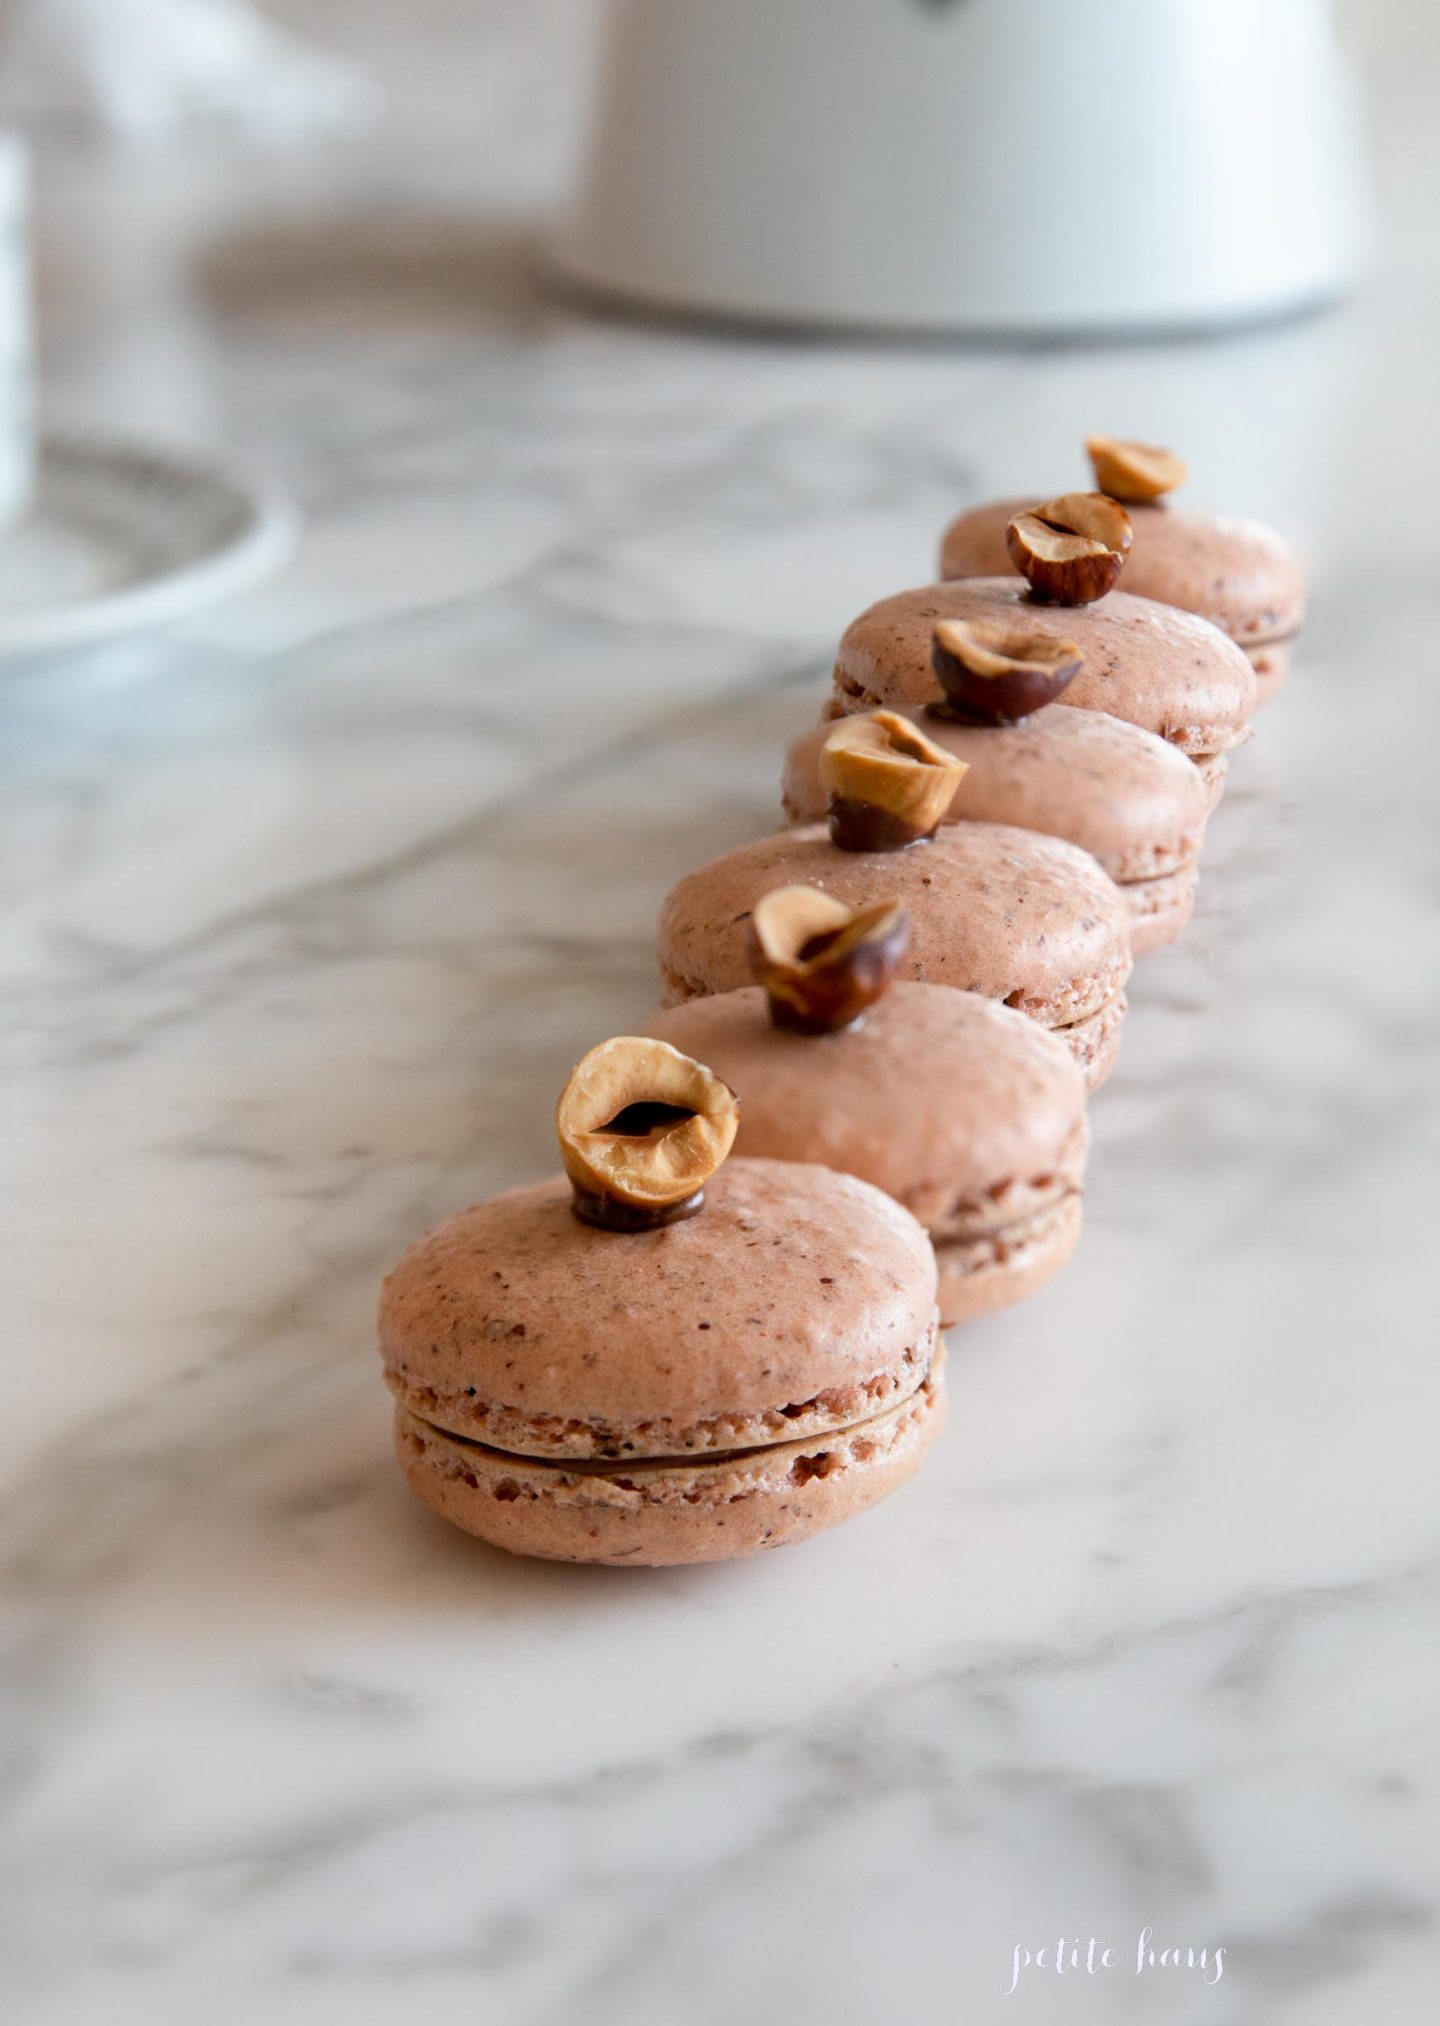
I’m sharing this recipe with you today because it is one of my favorites.

I originally got the recipe from my cousin’s wife, who got it from OMG chocolate desserts.

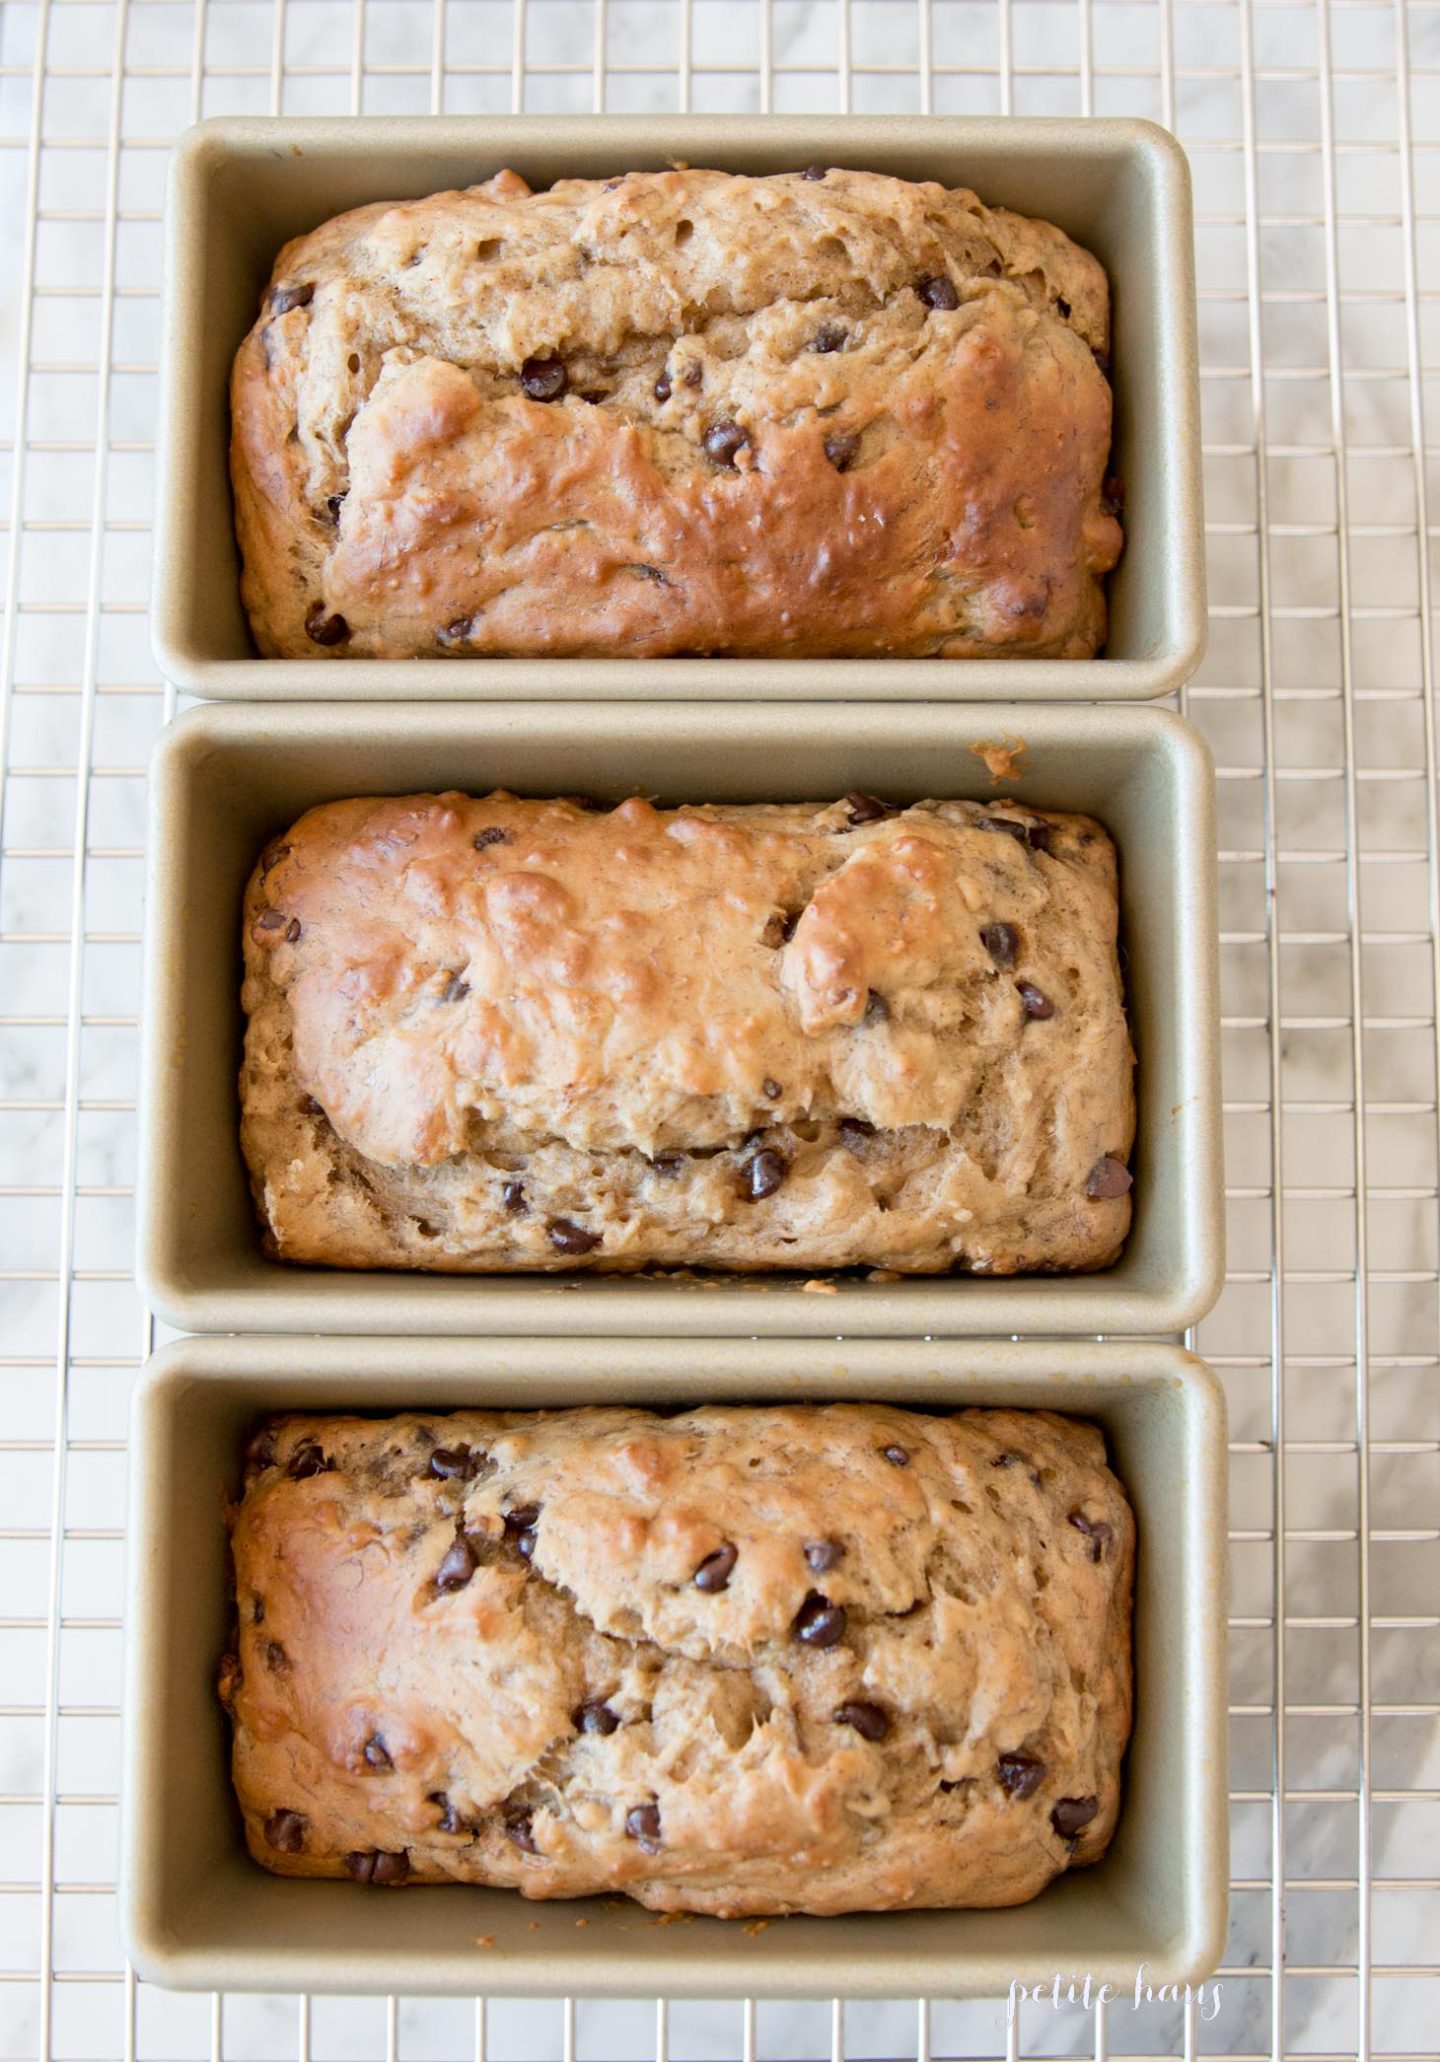
I make a few modifications to it. The recipe is technically for muffins, but I like to bake them in mini loaf pans.

Recipe:

  • 1 and 1/2 cups all-purpose flour
  • 1 teaspoon baking soda
  • 1/4 teaspoon salt
  • 1 ½ cups mashed bananas ( about 3 medium bananas)
  • 1 Tablespoon vanilla
  • 1 teaspoon cinnamon
  • 4 Tablespoons honey
  • 1 Tablespoon olive oil
  • 1 large egg
  • 1/2 cup nonfat plain Greek yogurt
  • 1 Tablespoon regular milk or almond milk
  • 1/2 cup mini semi-sweet chocolate chips
  1. Preheat oven to 350 F and spray your loaf pans with oil to keep batter from sticking.
  2. First, in a bowl, whisk the dry ingredients together.
  3. In a separate large bowl, mash the bananas. Then add honey, oil, vanilla, milk, Greek yogurt and egg. Mix until well combined and smooth.
  4. Add dry ingredients and mix together until just combined.
  5. Fold in chocolate chips.
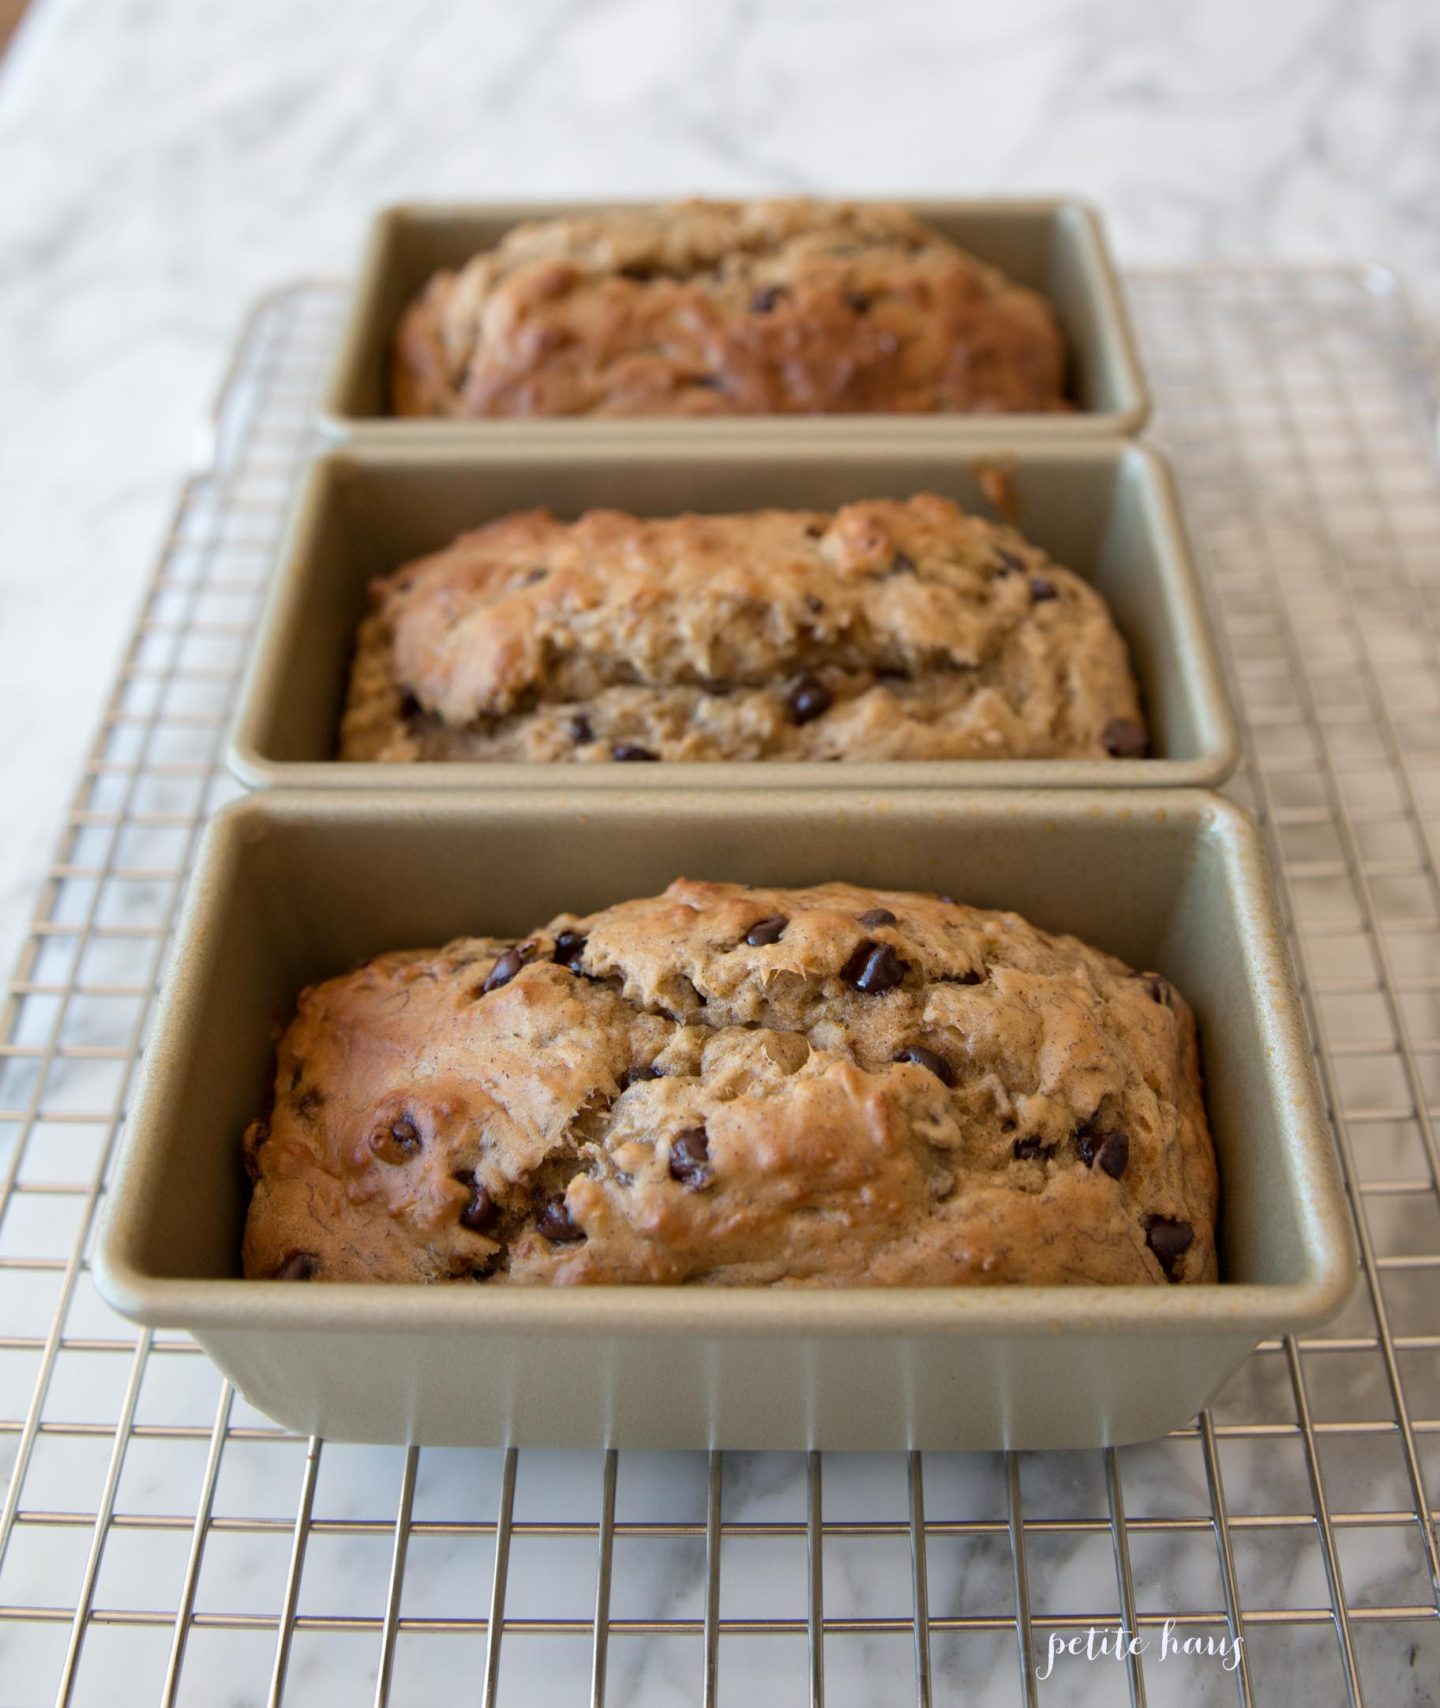
  6. Fill your mini loaf pans. I find this recipe makes 3 mini loafs. Bake for 20 minutes until fork comes out clean.
  7. Cool the muffins for 5 minutes in the pan, then transfer to a wire rack to cool completely.

Several notes:

I have baked on regular and convection heat at 350 degrees. Convection cooks faster, so I tend to cook on convection.

I have used ripe bananas and also thawed frozen bananas. Both work!

I love this recipe! Also, I totally do NOT feel guilty eating it. Even if I were to eat all three loaves I wouldn’t feel guilty! I eat these for breakfast, lunch, dinner, dessert, snack time… they are versatile! I suppose if you want to be even healthier you could skip the chocolate chips or substitute some nuts

Follow:

Patriotic Berry Pies

Patriotic Berry PiesWe use affiliate links in our posts and our site. This means if you make a purchase using these links, we may earn a small commission. You don’t pay a cent more than you would otherwise! Our full disclosure is available under About.
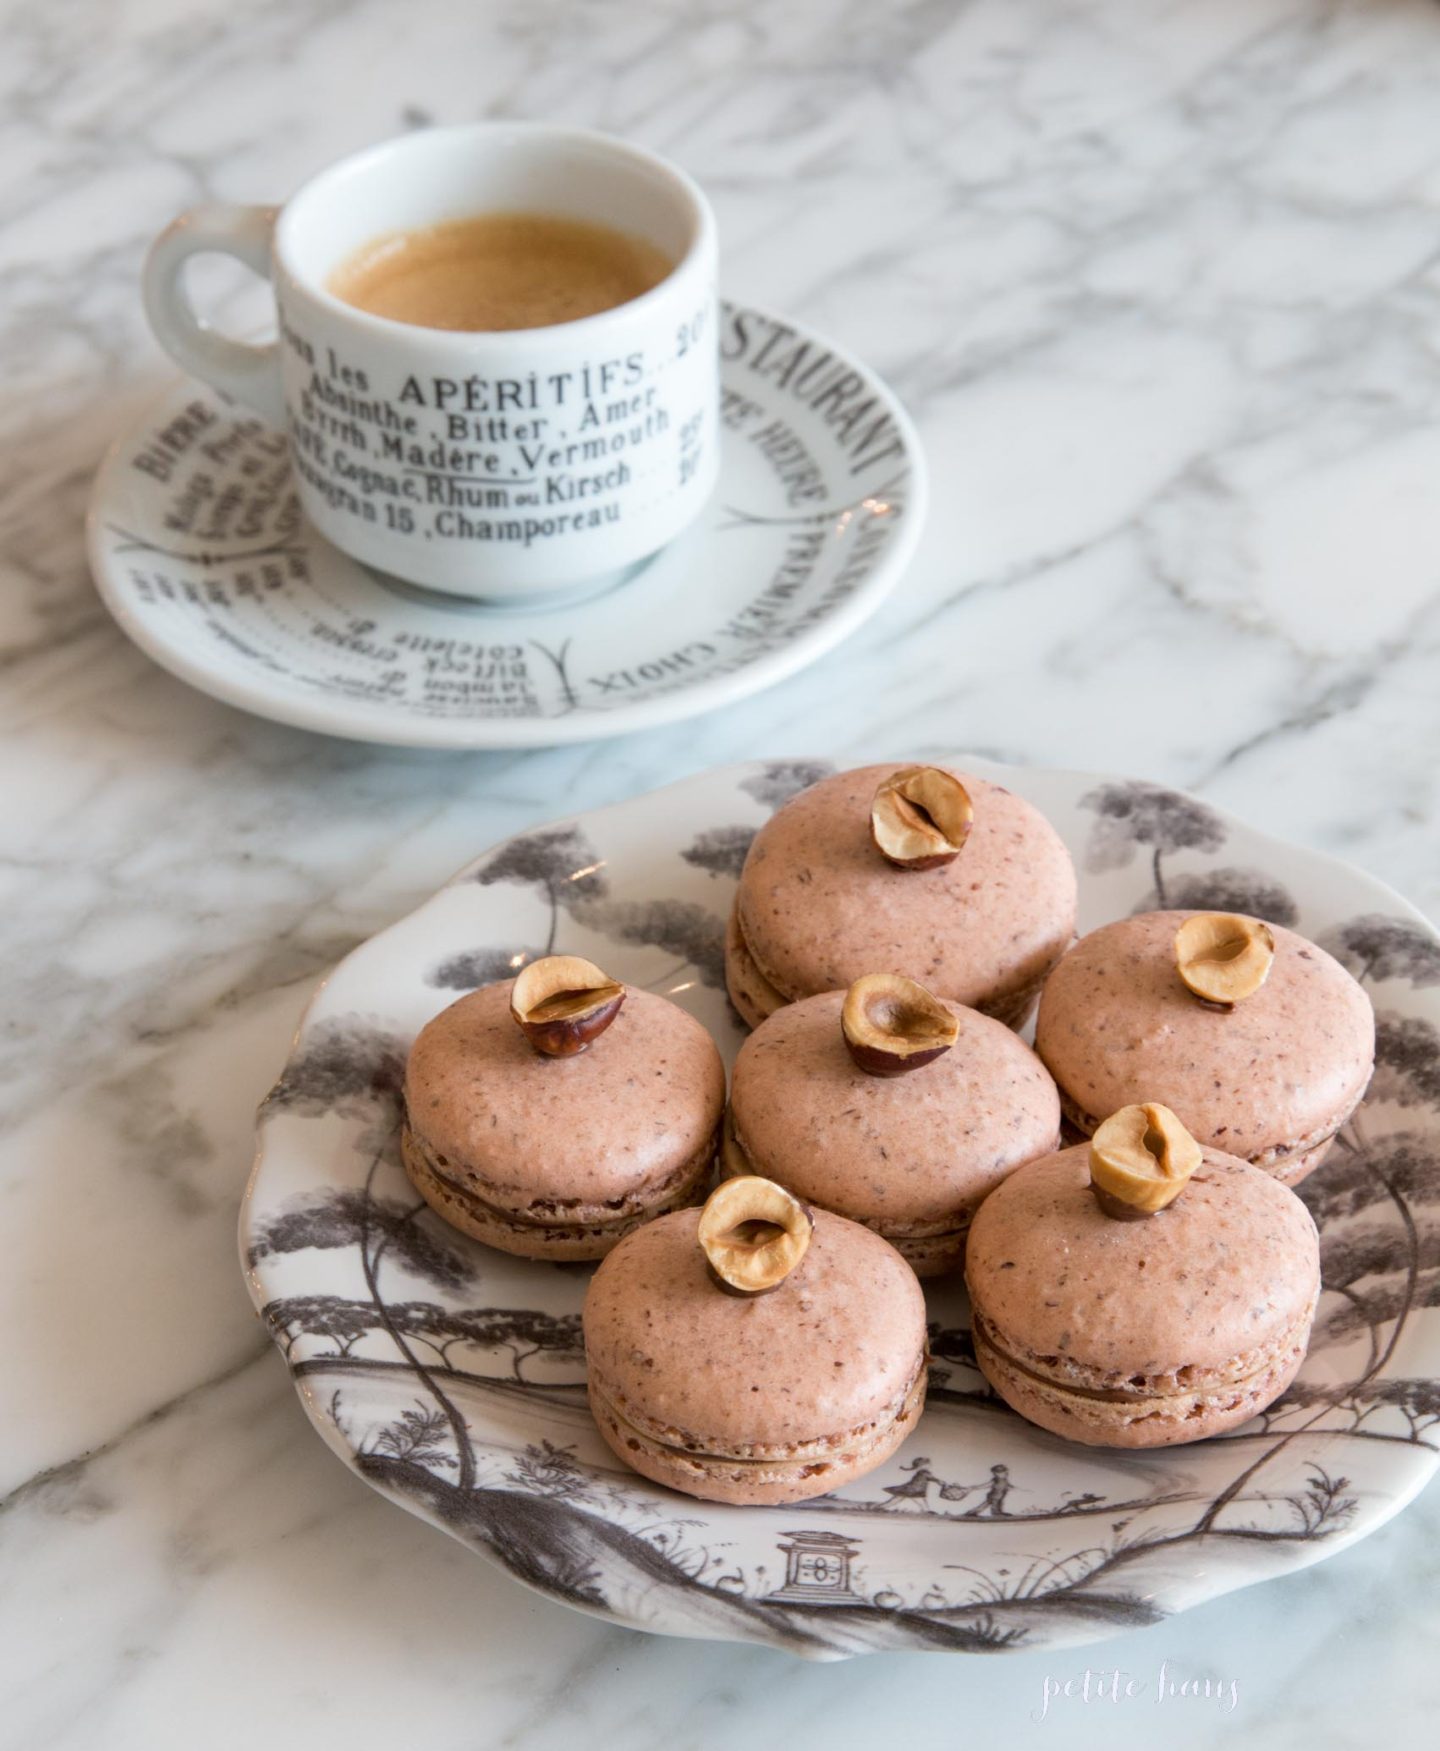
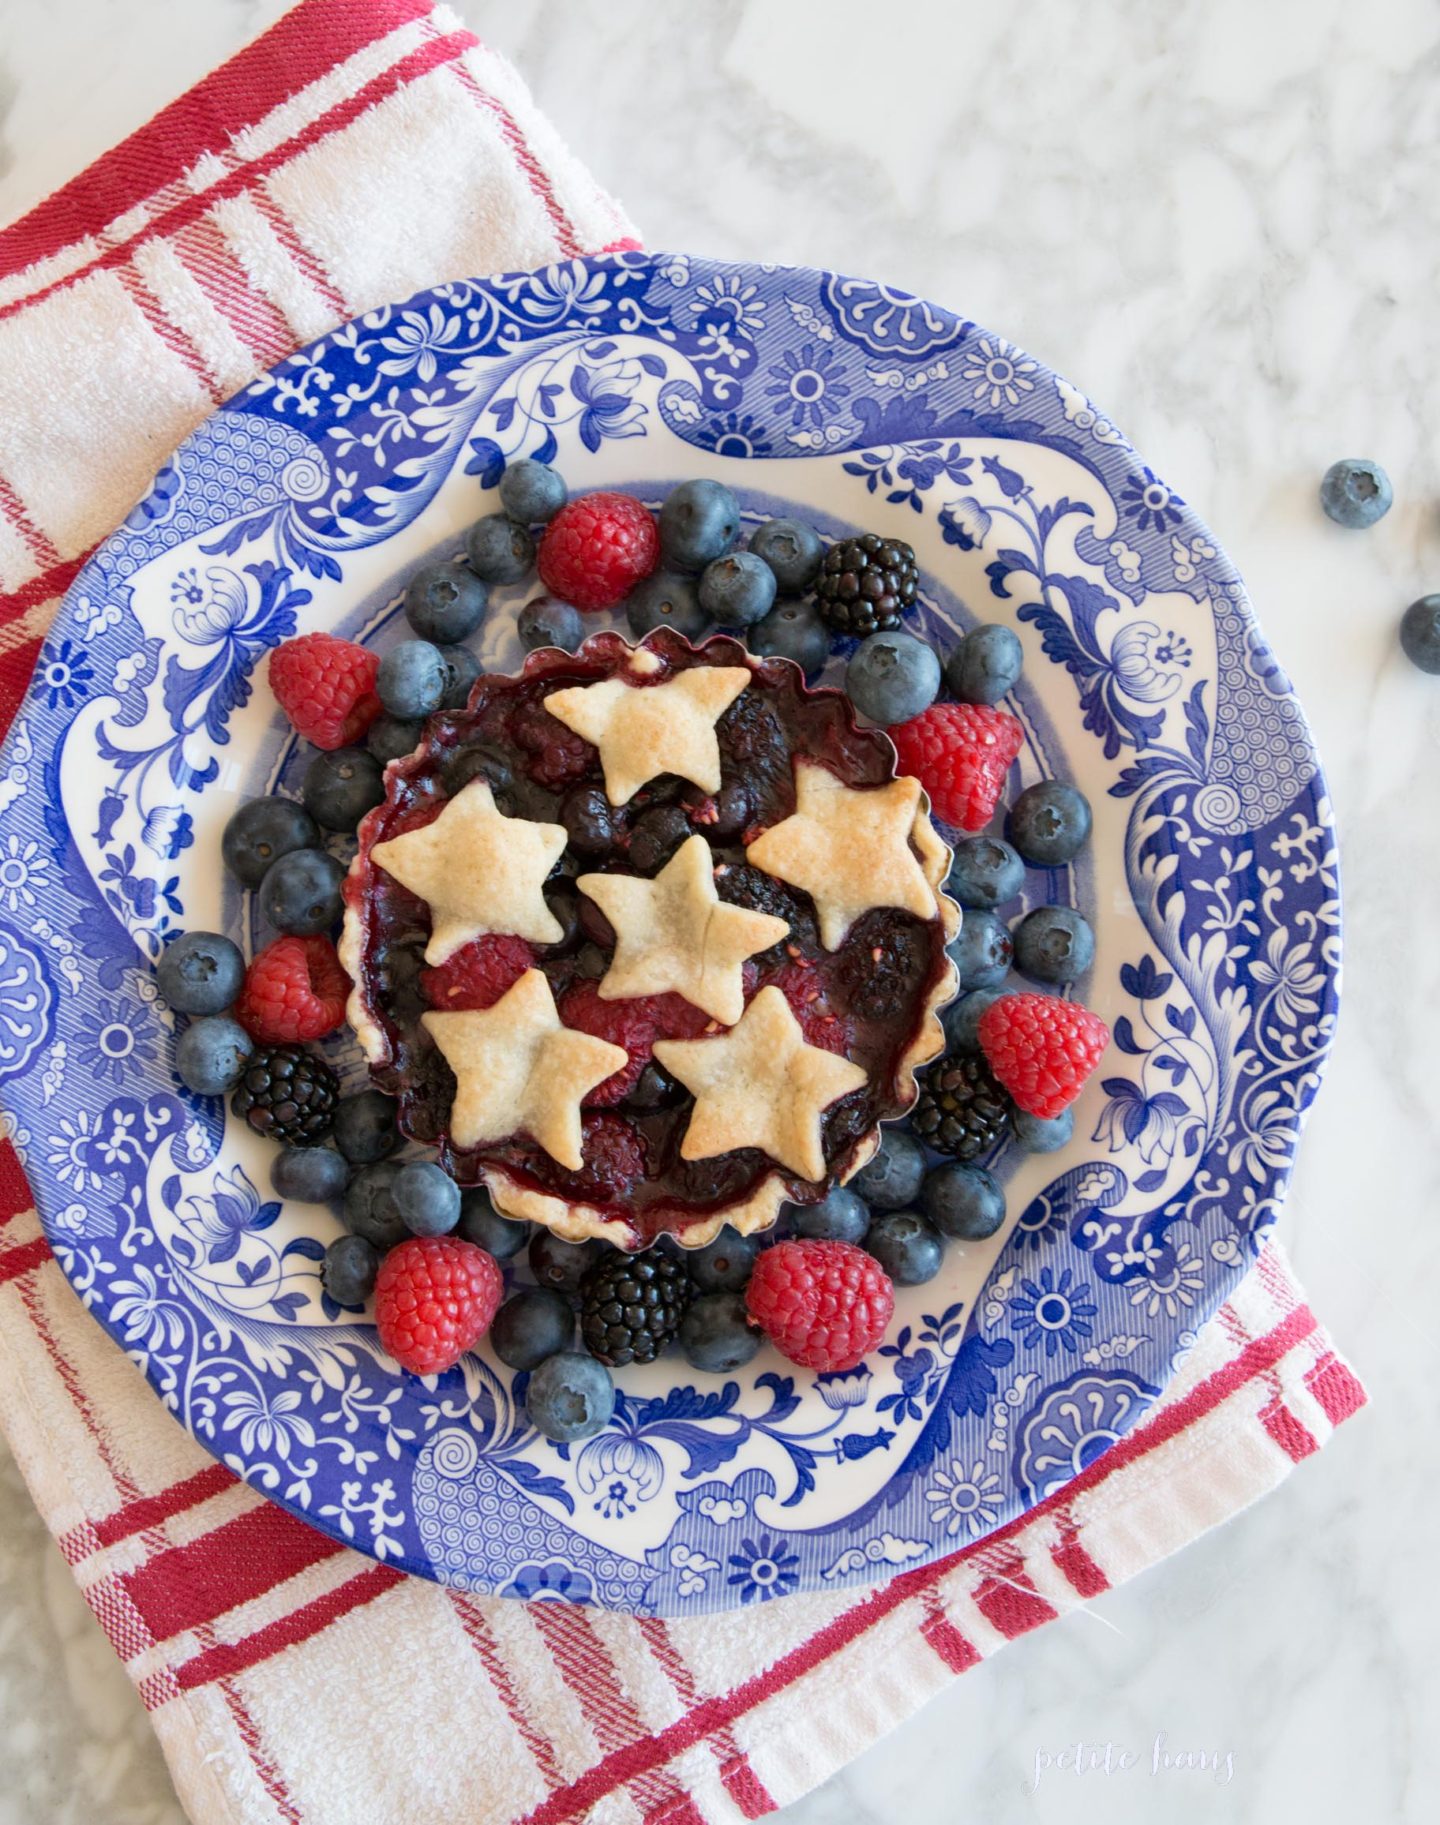
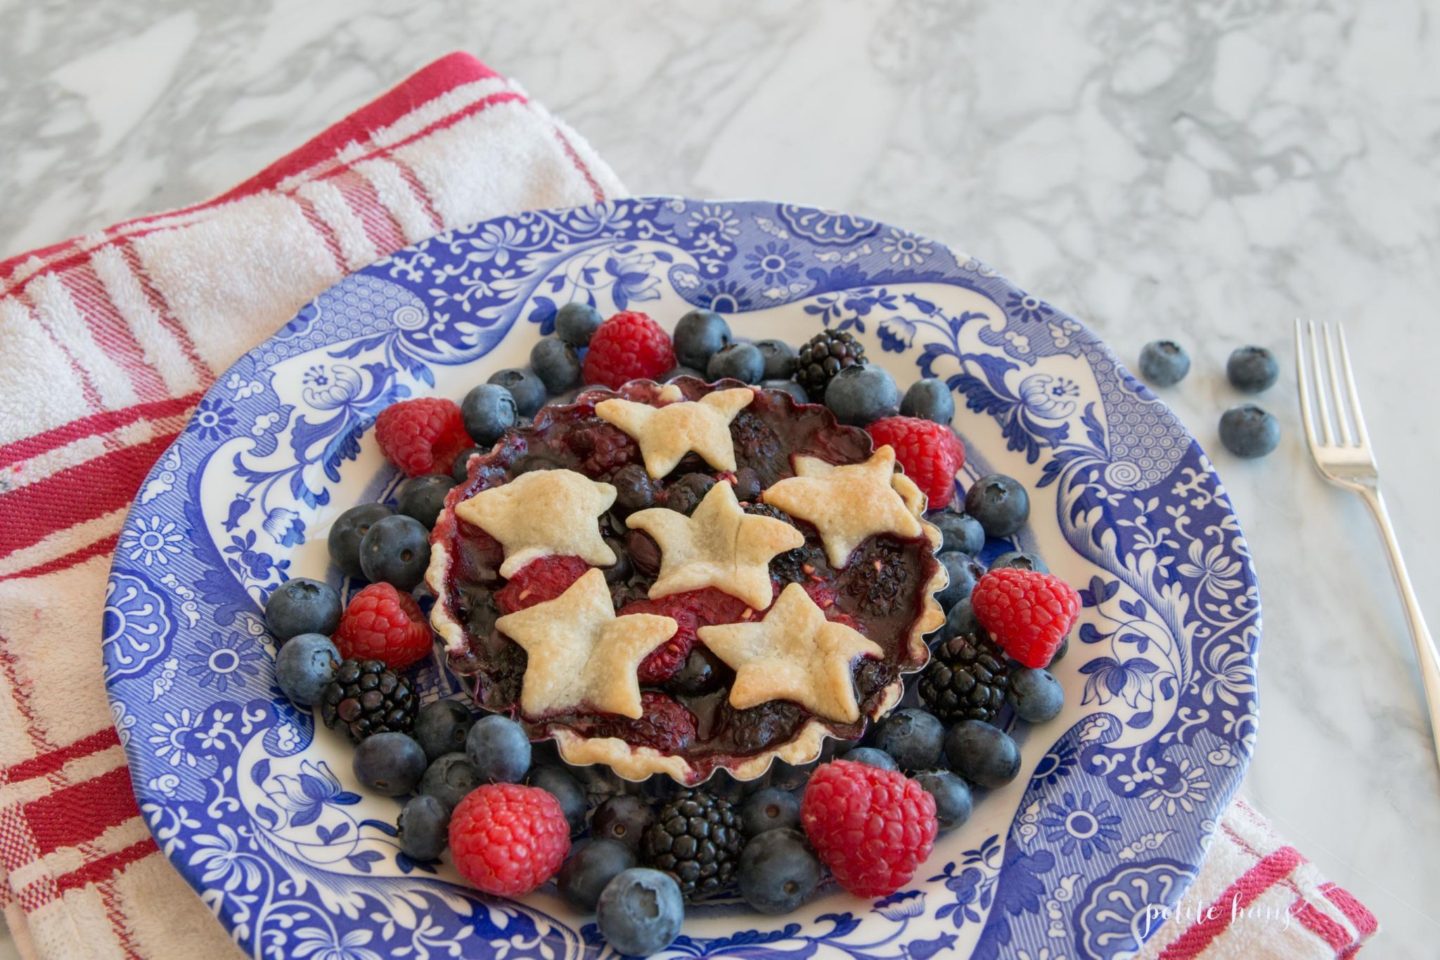
Looking for a scrumptious dessert to serve at Fourth of July this year? Why don’t you make a patriotic berry pie??

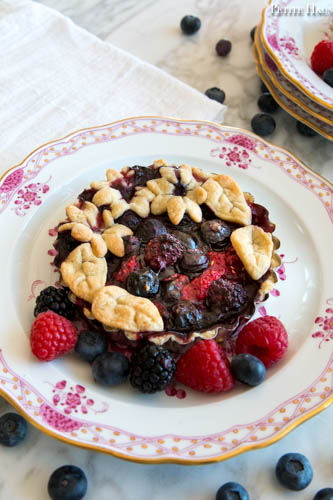
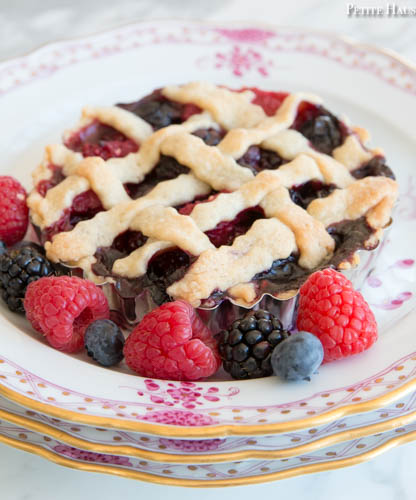
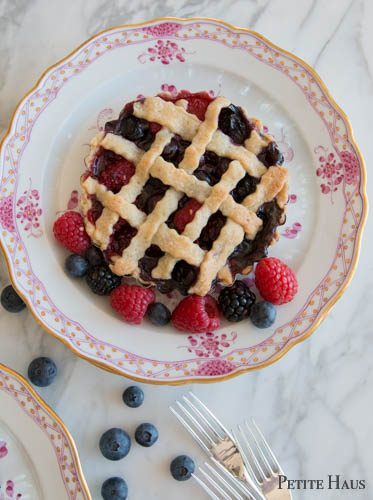
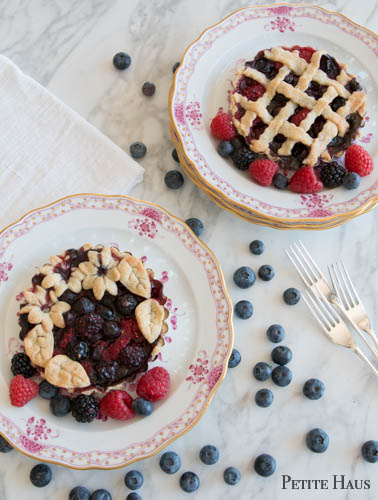
These are mini pies and they are delicious!

Mini Triple Berry Pies

Makes four servings

  • pie crust (I used frozen pre-made from Trader Joe’s, or here is my recipe for dough)
  • 4 cups mixed berries (I did 1 1/3 cup each of fresh blackberries, raspberries and blueberries)
  • 2 tbsp corn starch
  • 1/2 cup granulated sugar
  • 1 tsp vanilla
  • juice of half a lemon
  1. Preheat oven to 375F Convection or 400F standard.
  2. Let the dough thaw if it is frozen.  For the pies, I used four 5″ tart pans with removable bottoms.  I simply traced a rough circle in the dough around each mini pan, leaving about 1/2 inch on all sides.  Then pat the dough into the pans, removing the excess crust that falls over the edge.
  3. Make the filling: mix the berries, corn starch, sugar, vanilla and lemon juice together. Set aside.
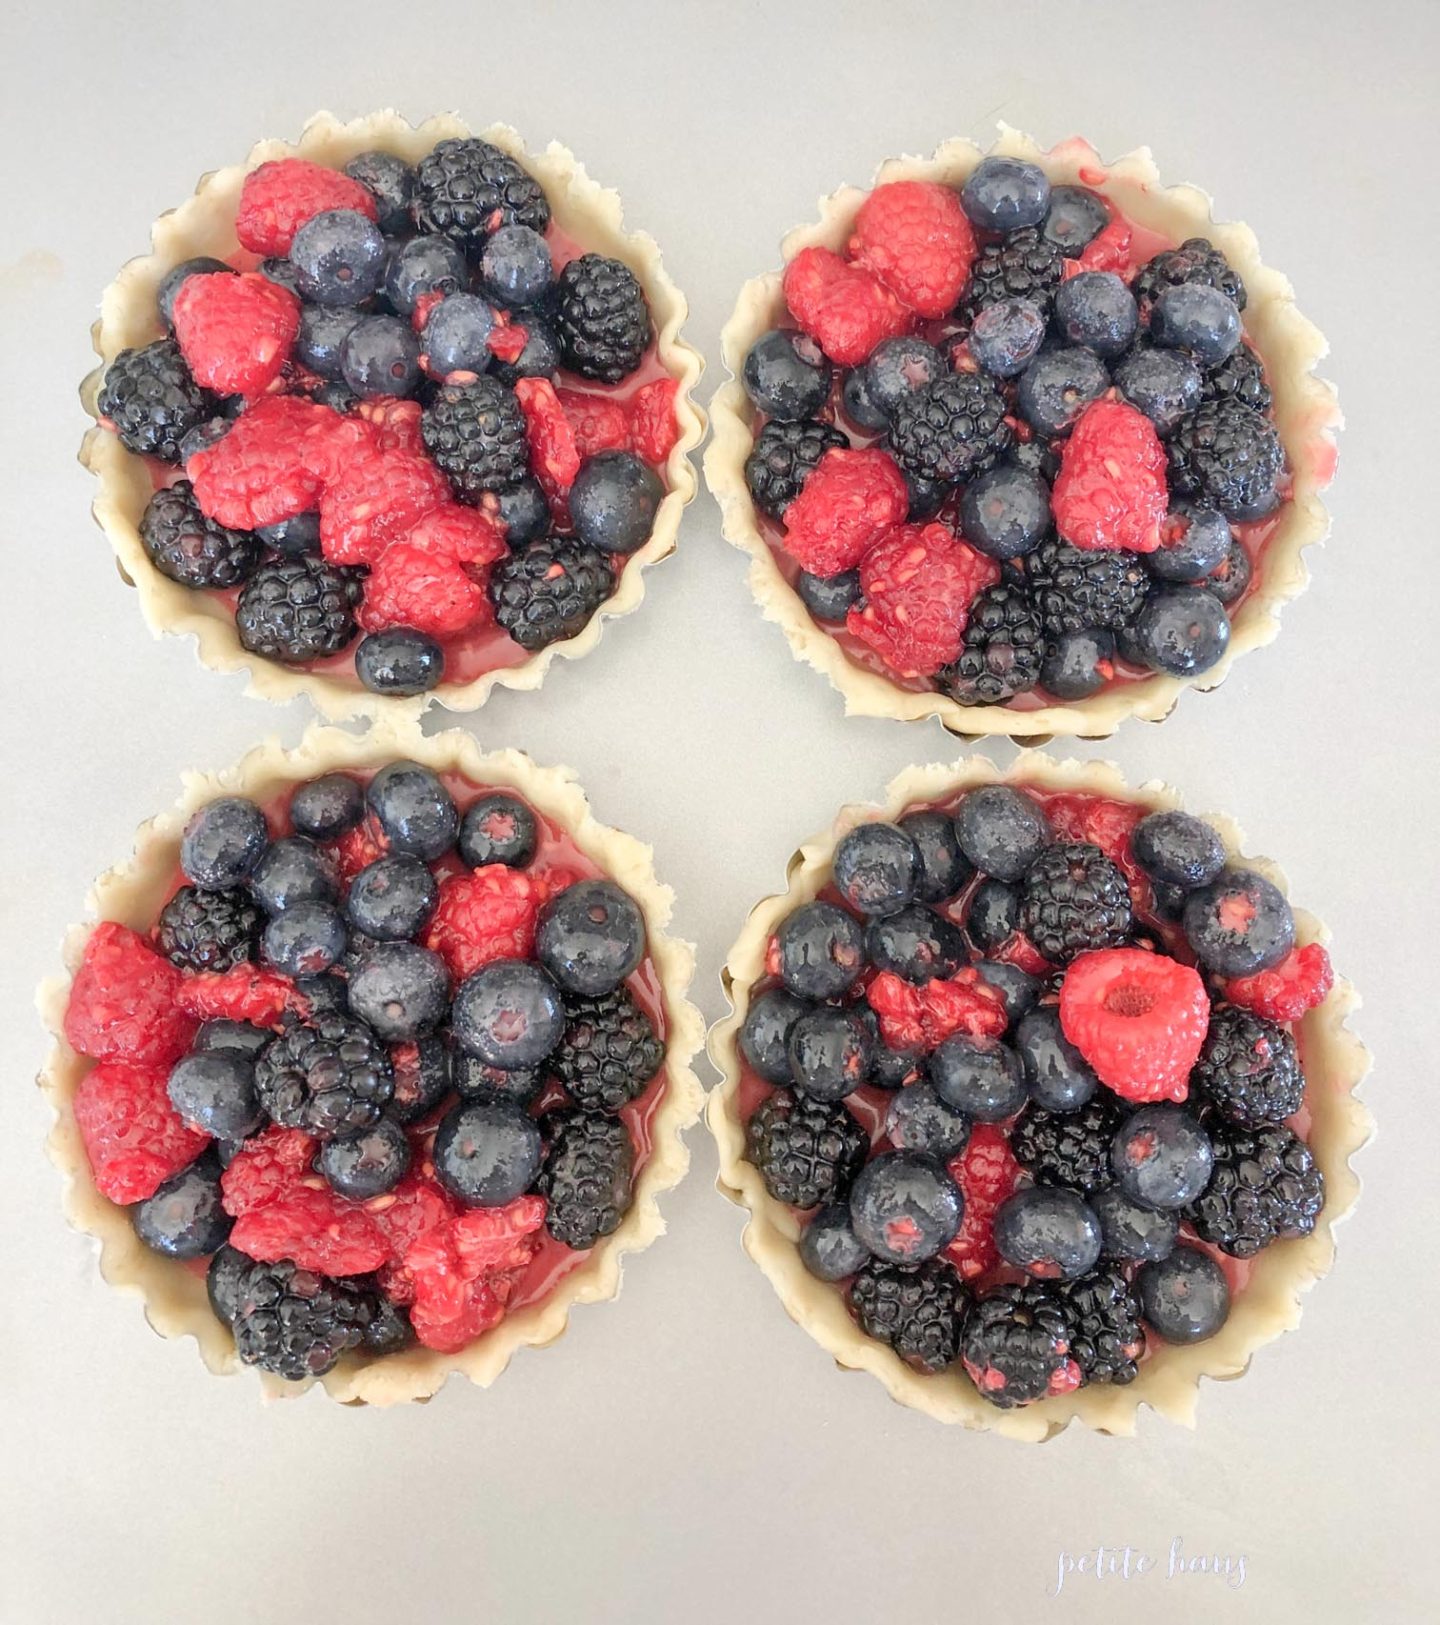
  4. Fill each pie with about 1/2 cup of filling.
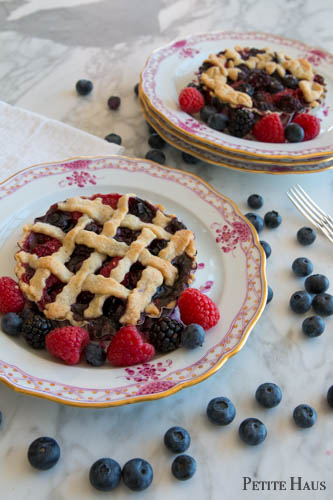
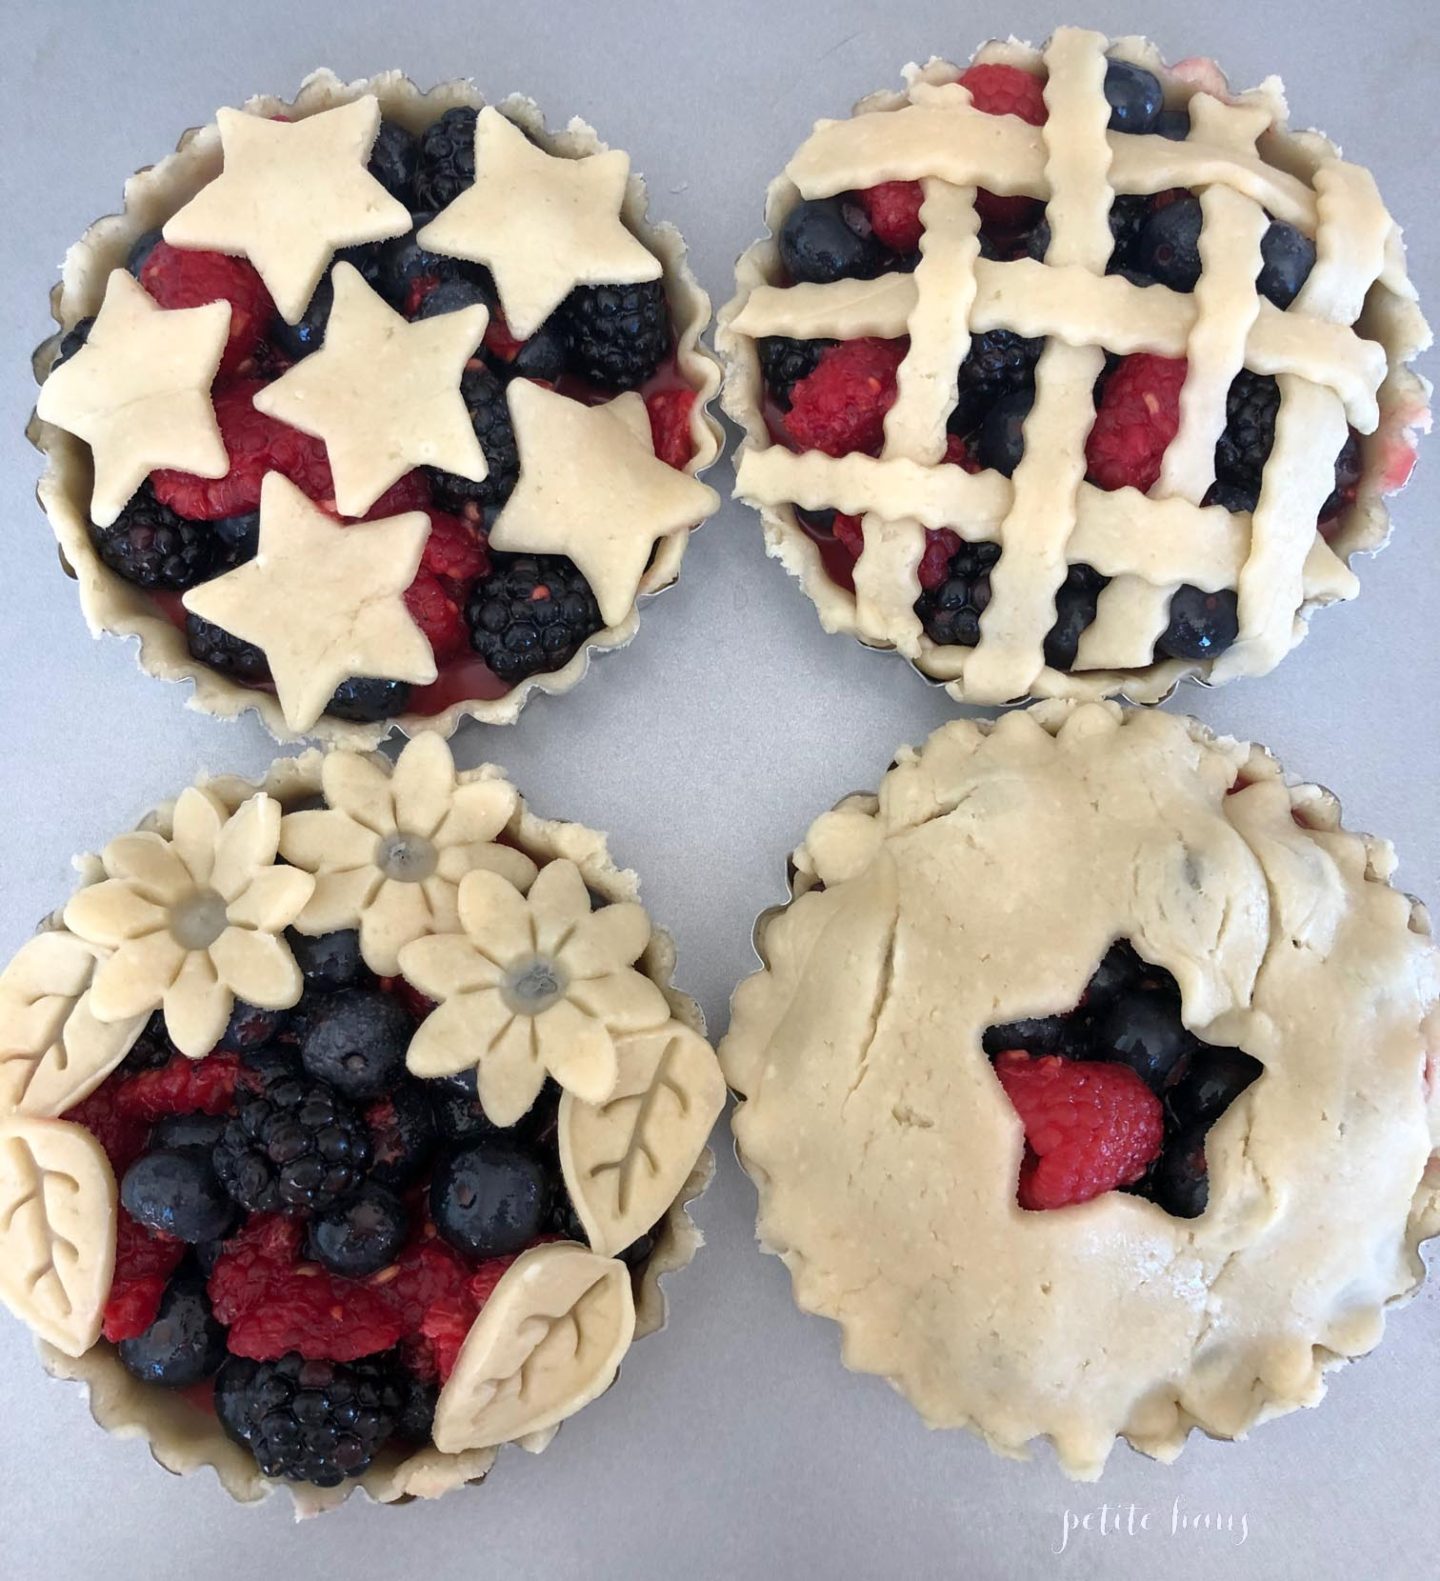
  5. Decorate the tops of the pies as you’d like.  I had fun stamping out leaves, stars, flowers and then did a weave.  For a lower calorie version, simply skip putting extras on the top.
  6. Place the mini pies on a baking sheet (preferably with an edge – I did a plain cookie sheet and it bubbled over onto my oven)

Bake at 375F Convection (or 400F Standard) for 15 minutes and then turn oven down to 350F and bake for another 20-25 minutes until crust is golden and brown.  If the crust is browning too quickly, you may place some foil over the edges.

Serve with vanilla ice cream OR cinnamon whipped cream!   I have a whipped cream maker (which I LOOOOOVE, get it here on Amazon, the first link was Sur La Table) and use this simple recipe to make cinnamon whipped cream.  2 cups heavy cream, 1/4 cup Monin’s Cinnamon syrup.  Pour into the bottle, use an aerosol charger and… shake shake shake! voila! Instant FRESH cinnamon whipped cream. It’s good.

The pies prior to cooking pictured above and below.

After cooking!

I am drooling thinking about these again!  

Also, if you regularly follow my blog, I’ll be decreasing my posting during the Summer because Summer blog traffic always goes down as everyone is outside (including me!!)

Follow:

Toasted Hazelnut Chocolate Macarons

We use affiliate links in our posts and our site. This means if you make a purchase using these links, we may earn a small commission. You don’t pay a cent more than you would otherwise! Our full disclosure is available under About.
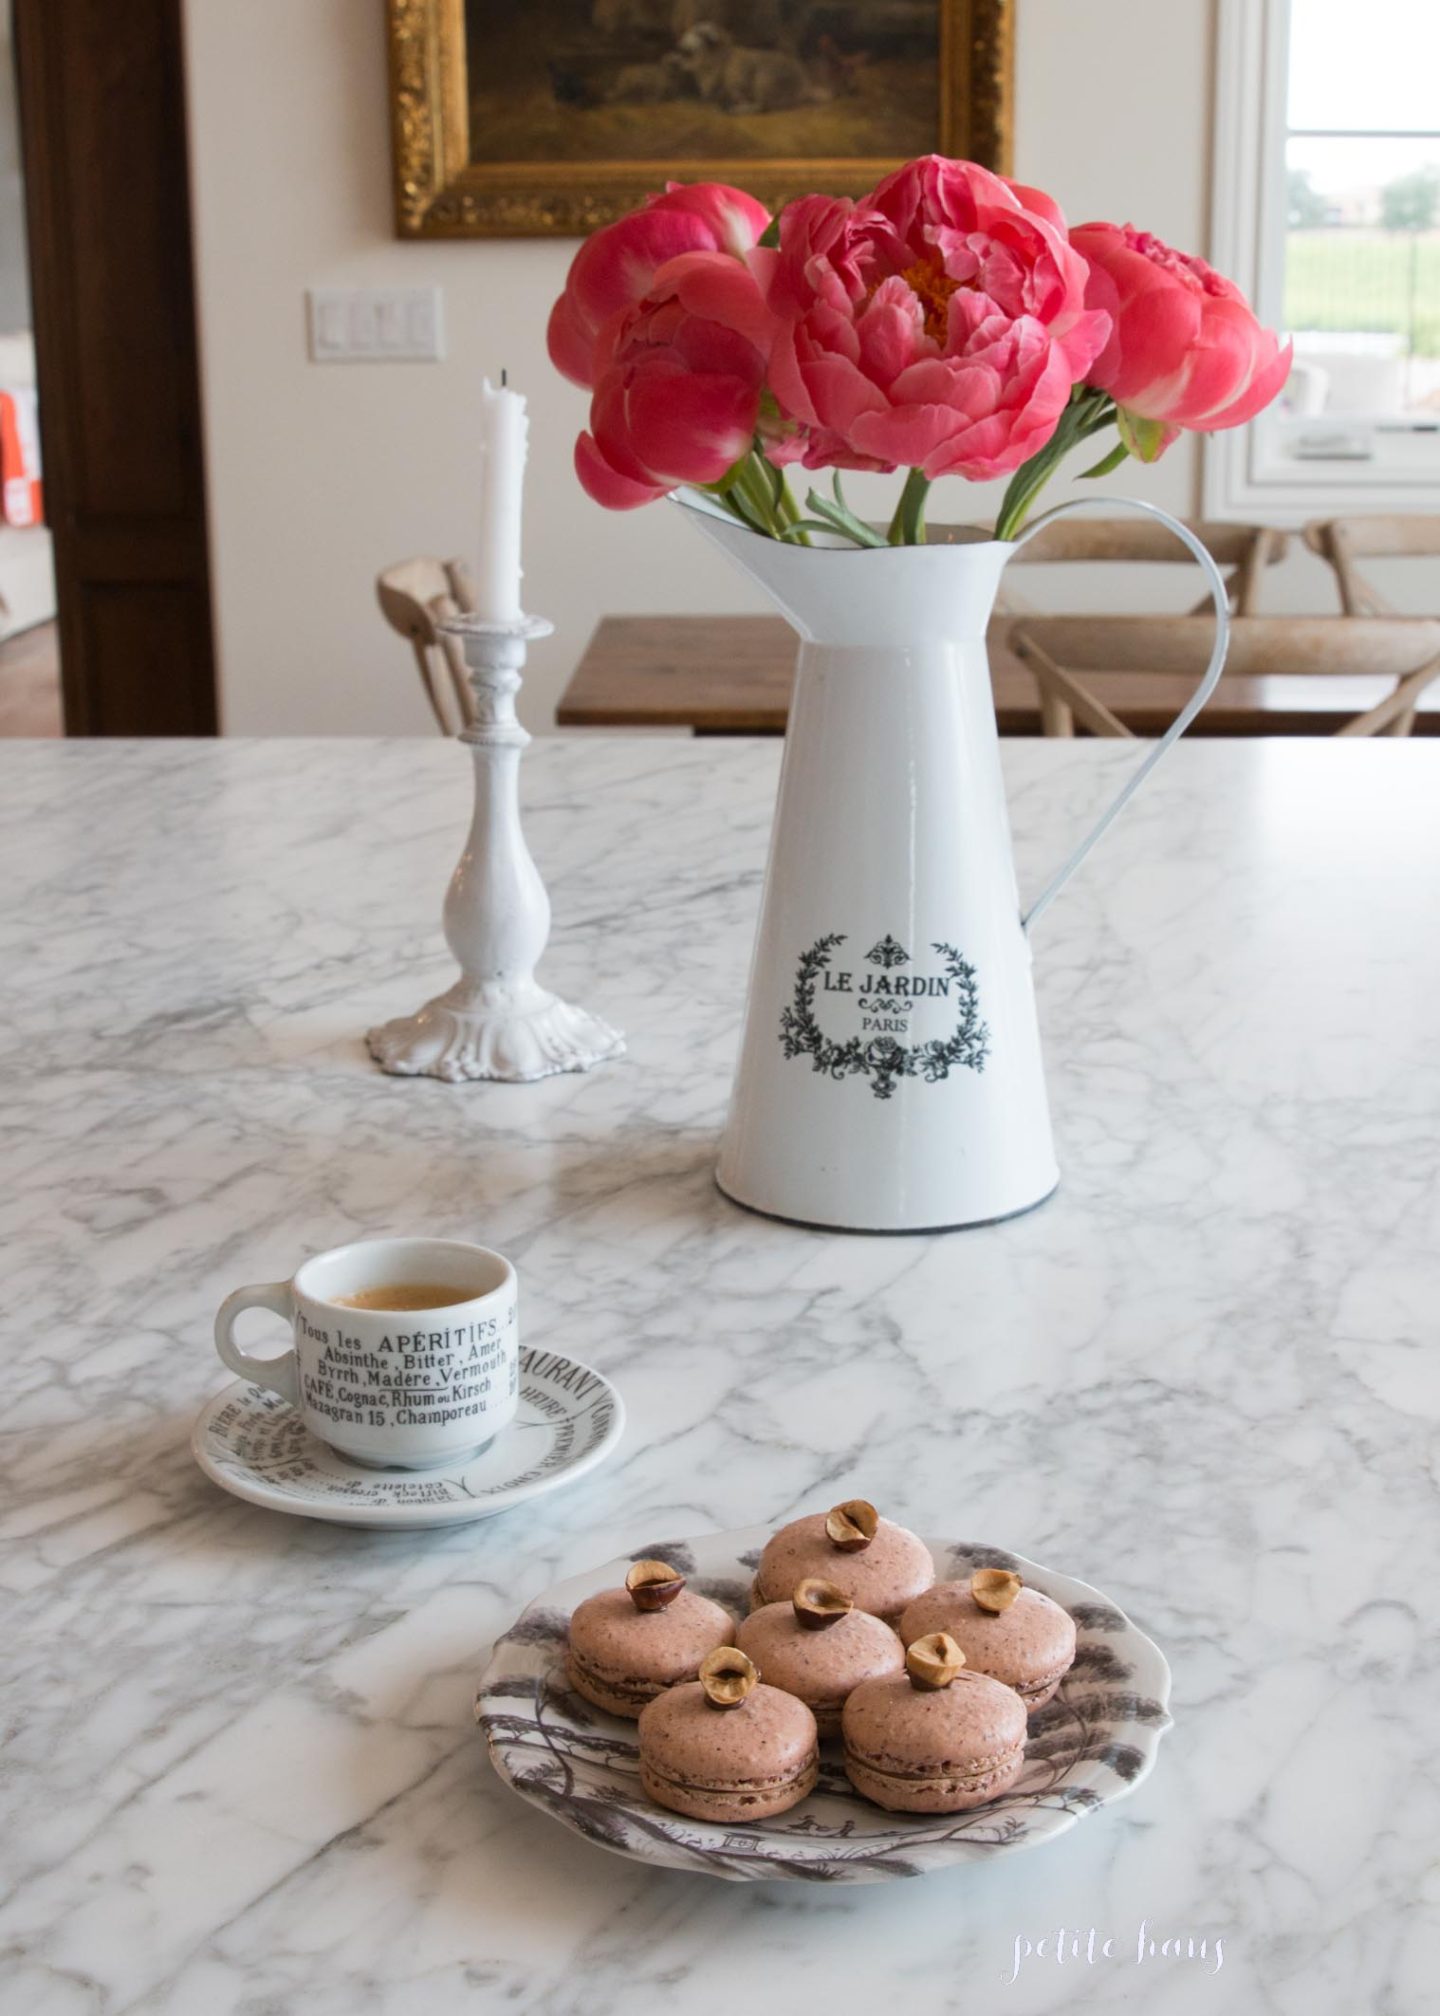
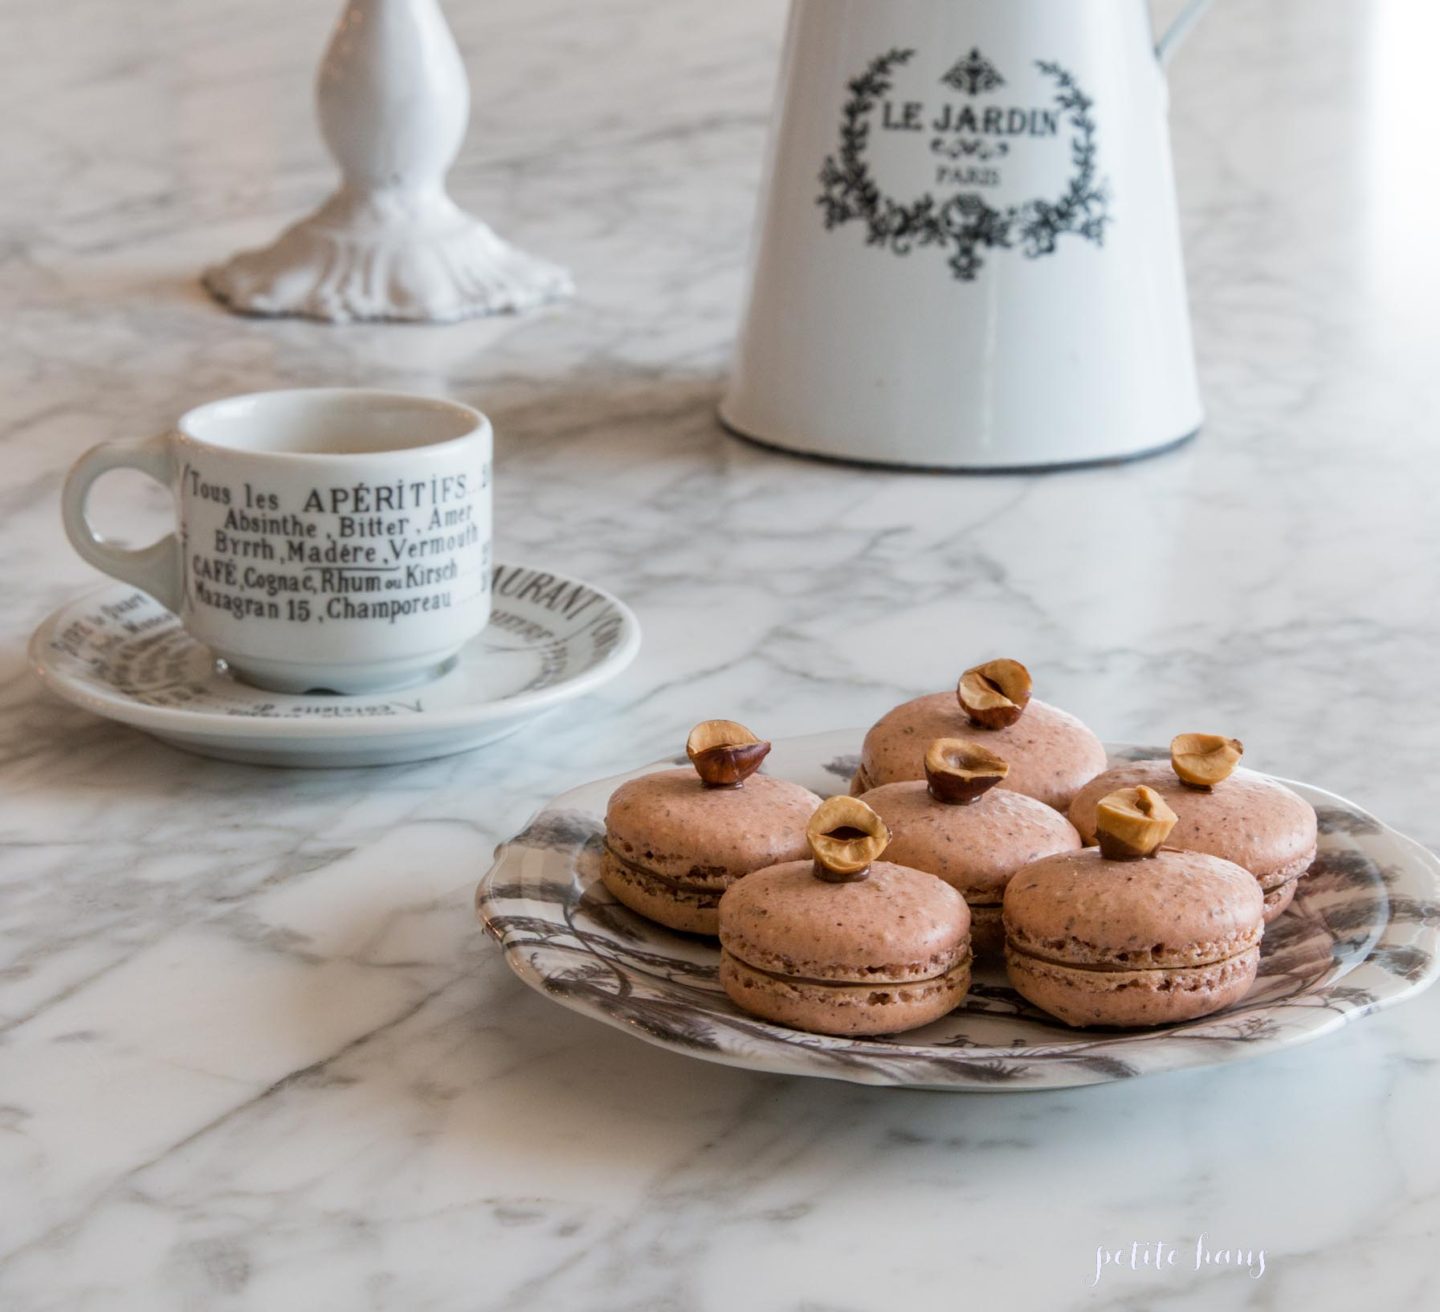
I was walking through the grocery store recently and I came across hazelnut flour made by Bob’s Red Mill (you can also get it here on Amazon). I thought to myself, HUH. I know *JUST* the thing I am going to make with this.

Traditional macarons call for almond flour, so I did not know how substituting for hazelnut flour would work.  Turns out… works great!

Also, I did another thing new this time.  While at Trader Joe’s, I found 100% liquid egg whites and gave them a try. Oh my! What a time saver!! The macarons turned out just the same! I am so pleased! If you are going to use a different brand other than Trader Joe’s, you need to make sure it is only 100% egg white and nothing else.


Materials needed: (affiliate links are used for your convenience)

    • silicone spatula
    • electric mixer (your hand will get tired whipping the meringue, I use this professional one in cherry red, but this model is wonderful too and perfect for those who don’t need THE BIG mixer! )
    • a food scale (yes, you need this. I use this one)
    • a piping tip and piping bag (I like the ateco #806, I use these tips and piping bag)
    • Food coloring (the gels or dry powder works best, not the liquid store stuff)
    • A macaron template
    • food processor (I use this one)

Macarons Recipe

275g hazelnut flour

250g powdered sugar

210g egg whites

210g granulated sugar

1.  Mix almond meal and the powdered sugar in a food processor. Be careful not to grind too long, otherwise it will form a paste.

2. Sift the almonds and powdered sugar. Set aside.

3. Weigh out granulated sugar.

4. Weigh the egg whites.  Beat them slowly on a low speed until foamy. SLOWLY add the granulated sugar to the egg whites as you beat.  Once all mixed, increase speed to medium and beat until a firm meringue forms.  You want a firm meringue with glossy peaks but not stiff peaks.  They should defy gravity and remain in the bowl if you turn it upside down.  If you tilt your bowl to the side and they are sliding out, keep beating.

5. Add the food coloring gel and mix.

6. Then fold in 1/3rd of the almond/sugar mixture into the meringue with a silicone spatula.  Once combined, add another third of the almond mixture. Add last bit.  This batter requires more deflation during this step since it creates such a poofy meringue.

7. Add the batter to a piping bag.  Pipe in rows using your template onto parchment paper.

8. Pick up the pan and beat until the counter.  The cookies need to rest on the counter between 30-60 minutes.  They are ready to go in the oven when they are dry to touch (the shell shouldn’t stick to your finger)

9.  Set the oven to 300F.

10. Bake the cookies for 13-15 minutes, one sheet at a time. They are done when they look kind of matte and seem firm when you lightly tap on them.  You can always rescue a slightly overcooked one with the maturation process that comes later, but you cannot rescue an undercooked one!!

11. Remove from paper once completely cool. If they stick to the paper, they aren’t cool yet. Or you undercooked them.

Toasted Hazelnuts

Preheat oven to 300F.  Place hazelnuts on a baking sheet.  Bake for about 15 minutes, or until browned.  Half way during baking, stir them.  Once they are cooling, use a towel and rub the skins off of them.

Filling

Use Nutella.

Assembly

1. Once the cookies are cool, add a dollop of your nutella to one cookie and spread with a small knife, spoon, or icing spatula.  Don’t push too hard when spreading, otherwise you will break them!

2.  Place the other cookie to your filling, press gently, and slightly twist the two together. Then, dip a hazelnut in the Nutella and place on top.

3. Once all assembled, put them in an airtight container and let them mature (yes, that’s the scientific word for this process) in the refrigerator for 24-48 hours.

Now, these cookies won’t be bad if you eat them immediately, they will just be amazing if you wait a day.  The theory is that the juices from the filling soak back into the cookie to make an AMAZING cookie.

Follow:

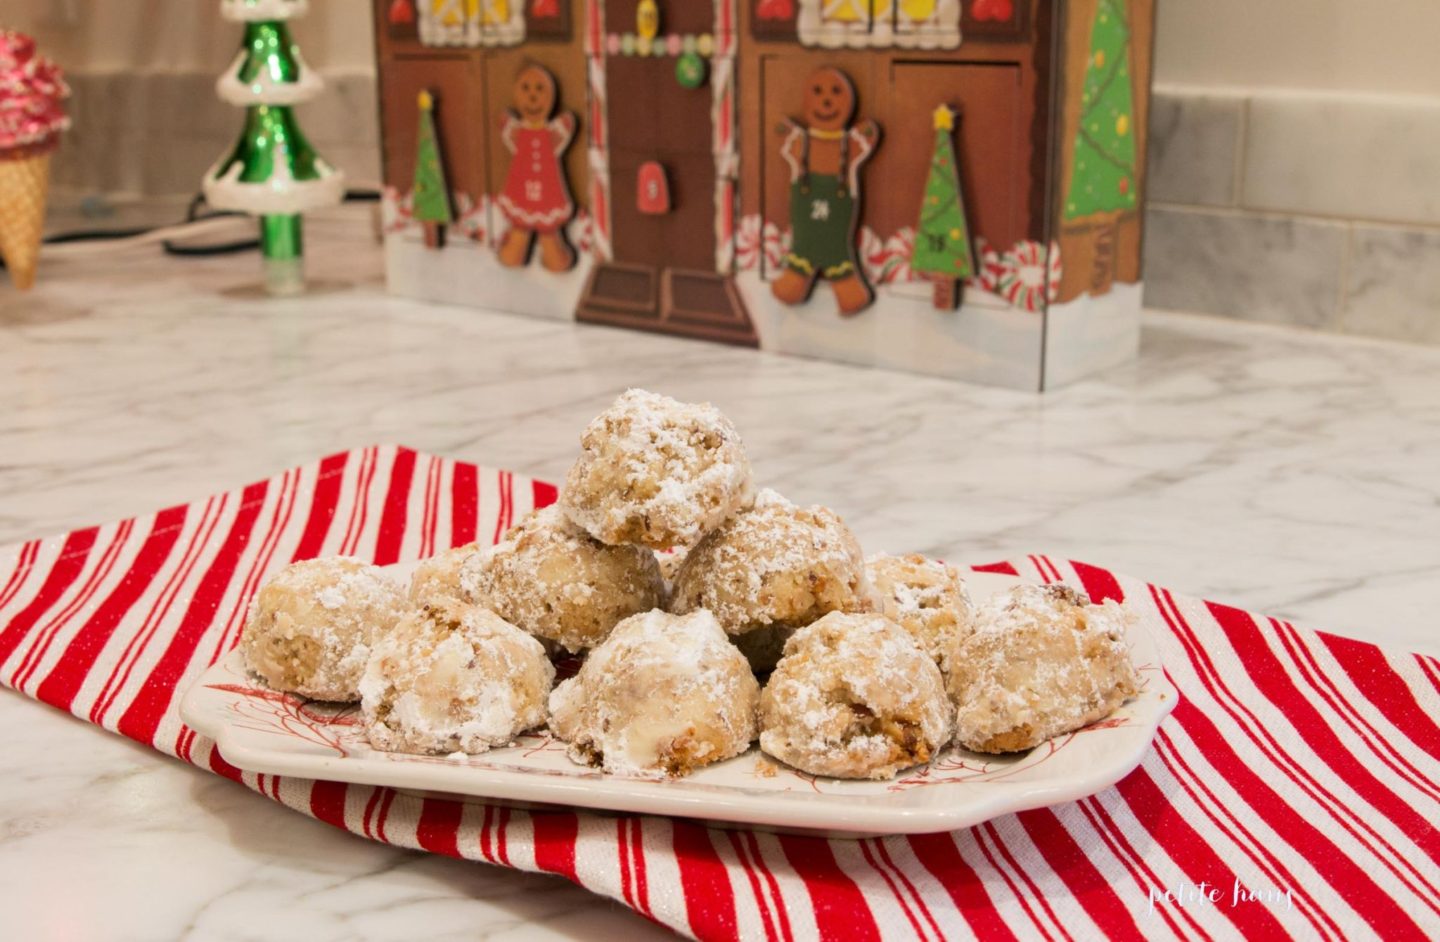
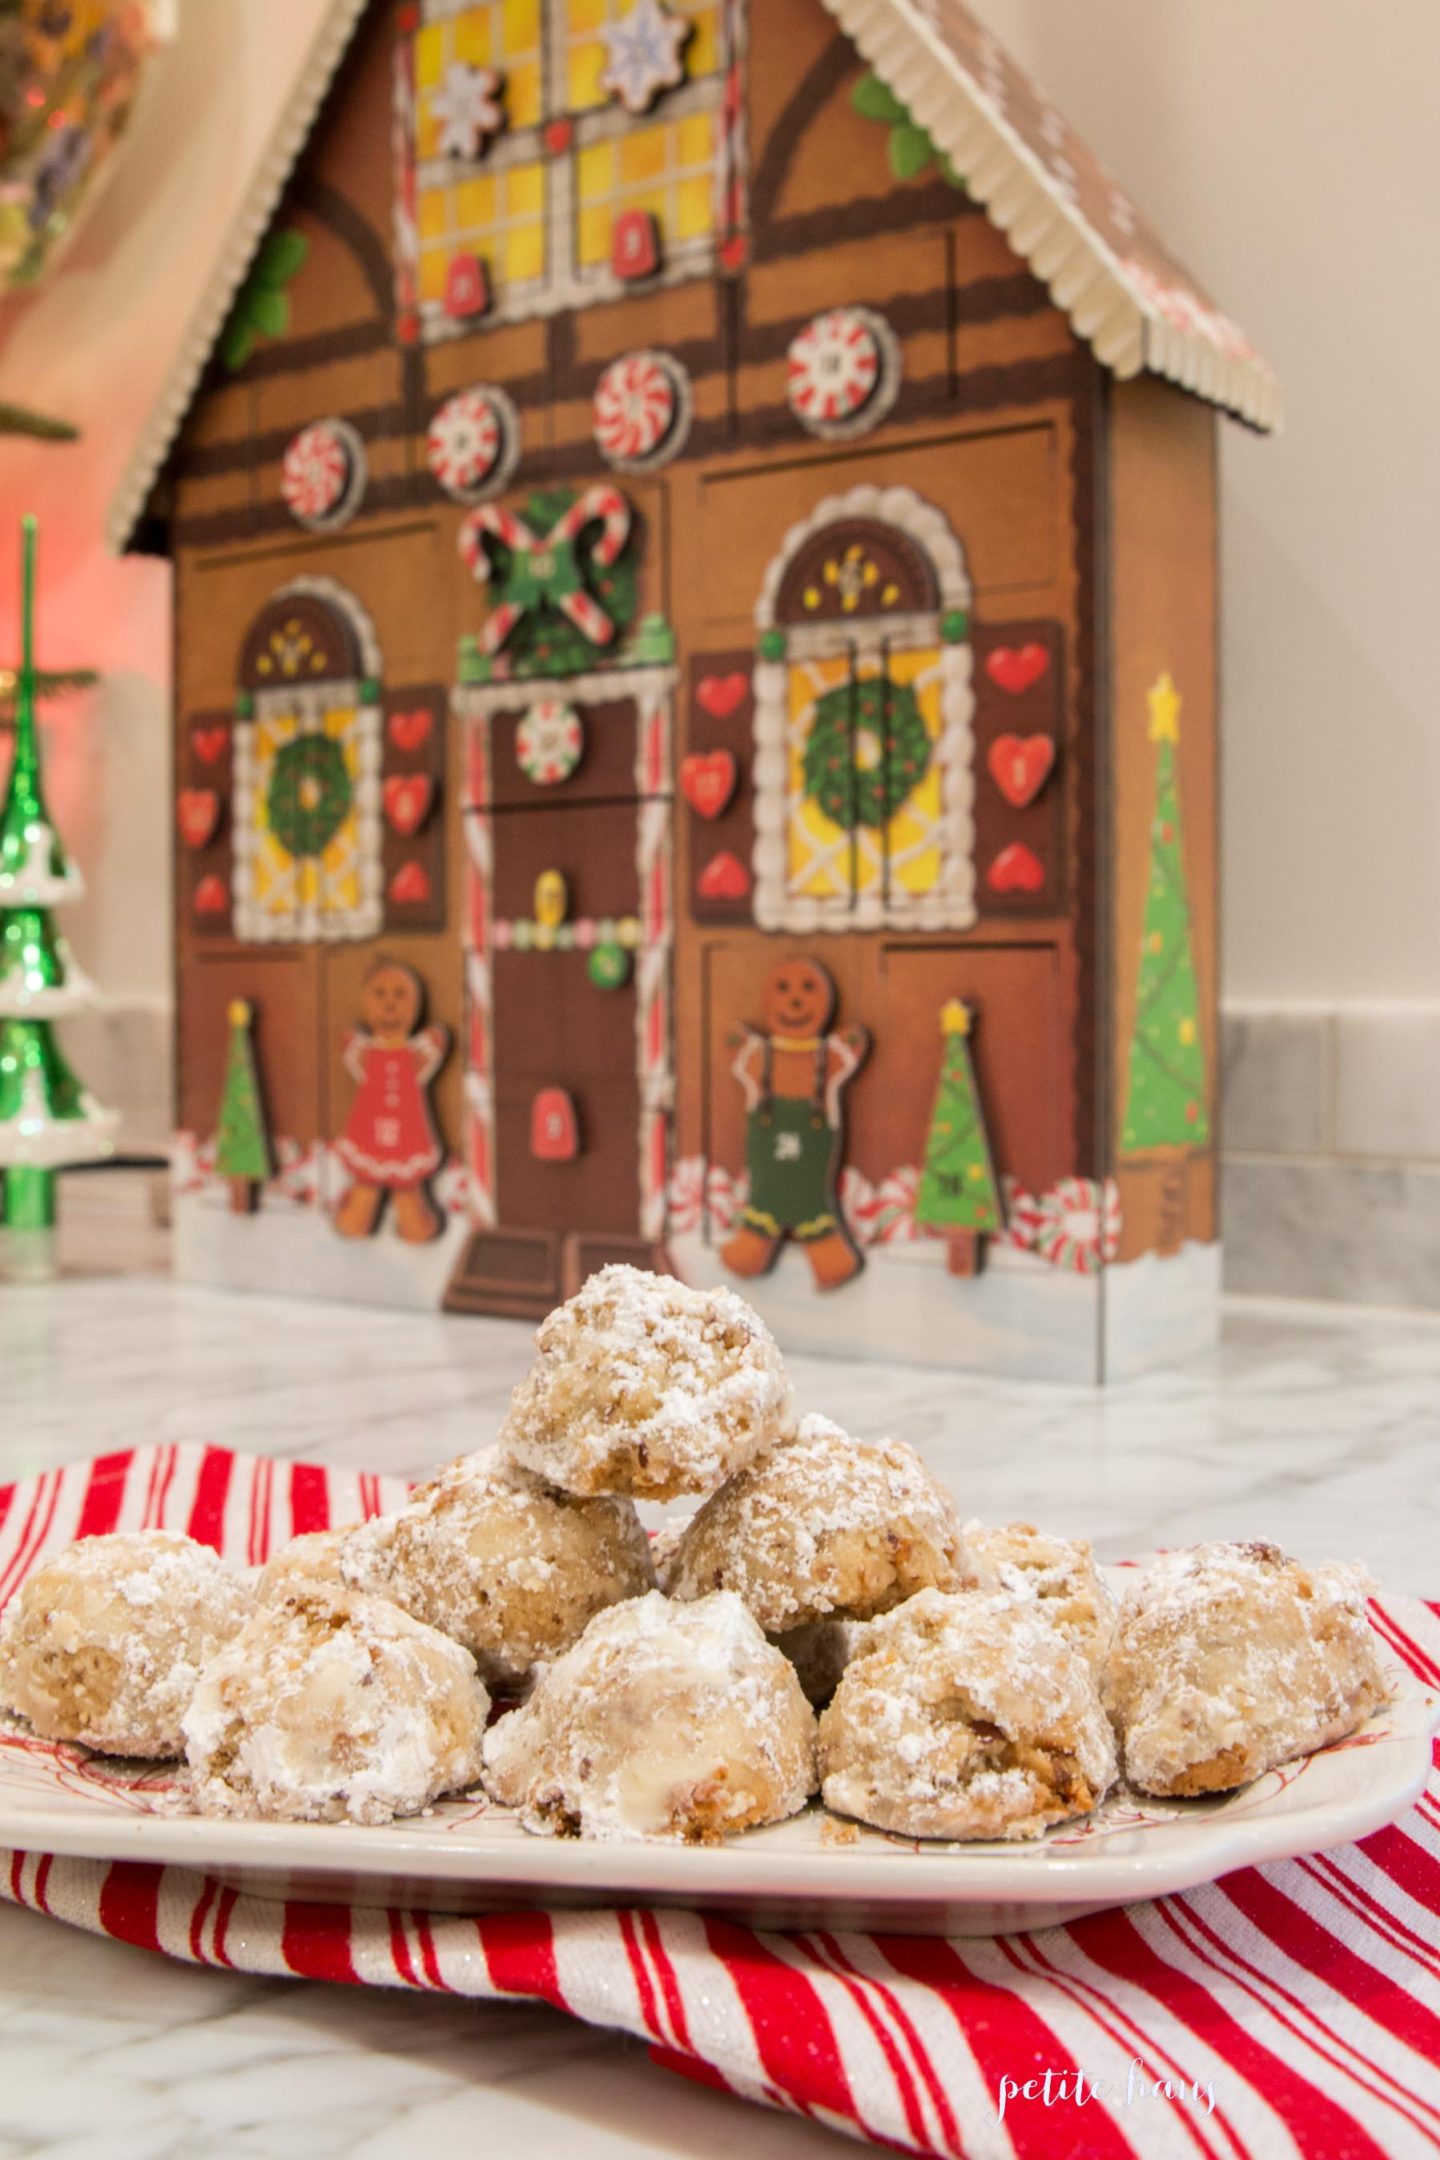
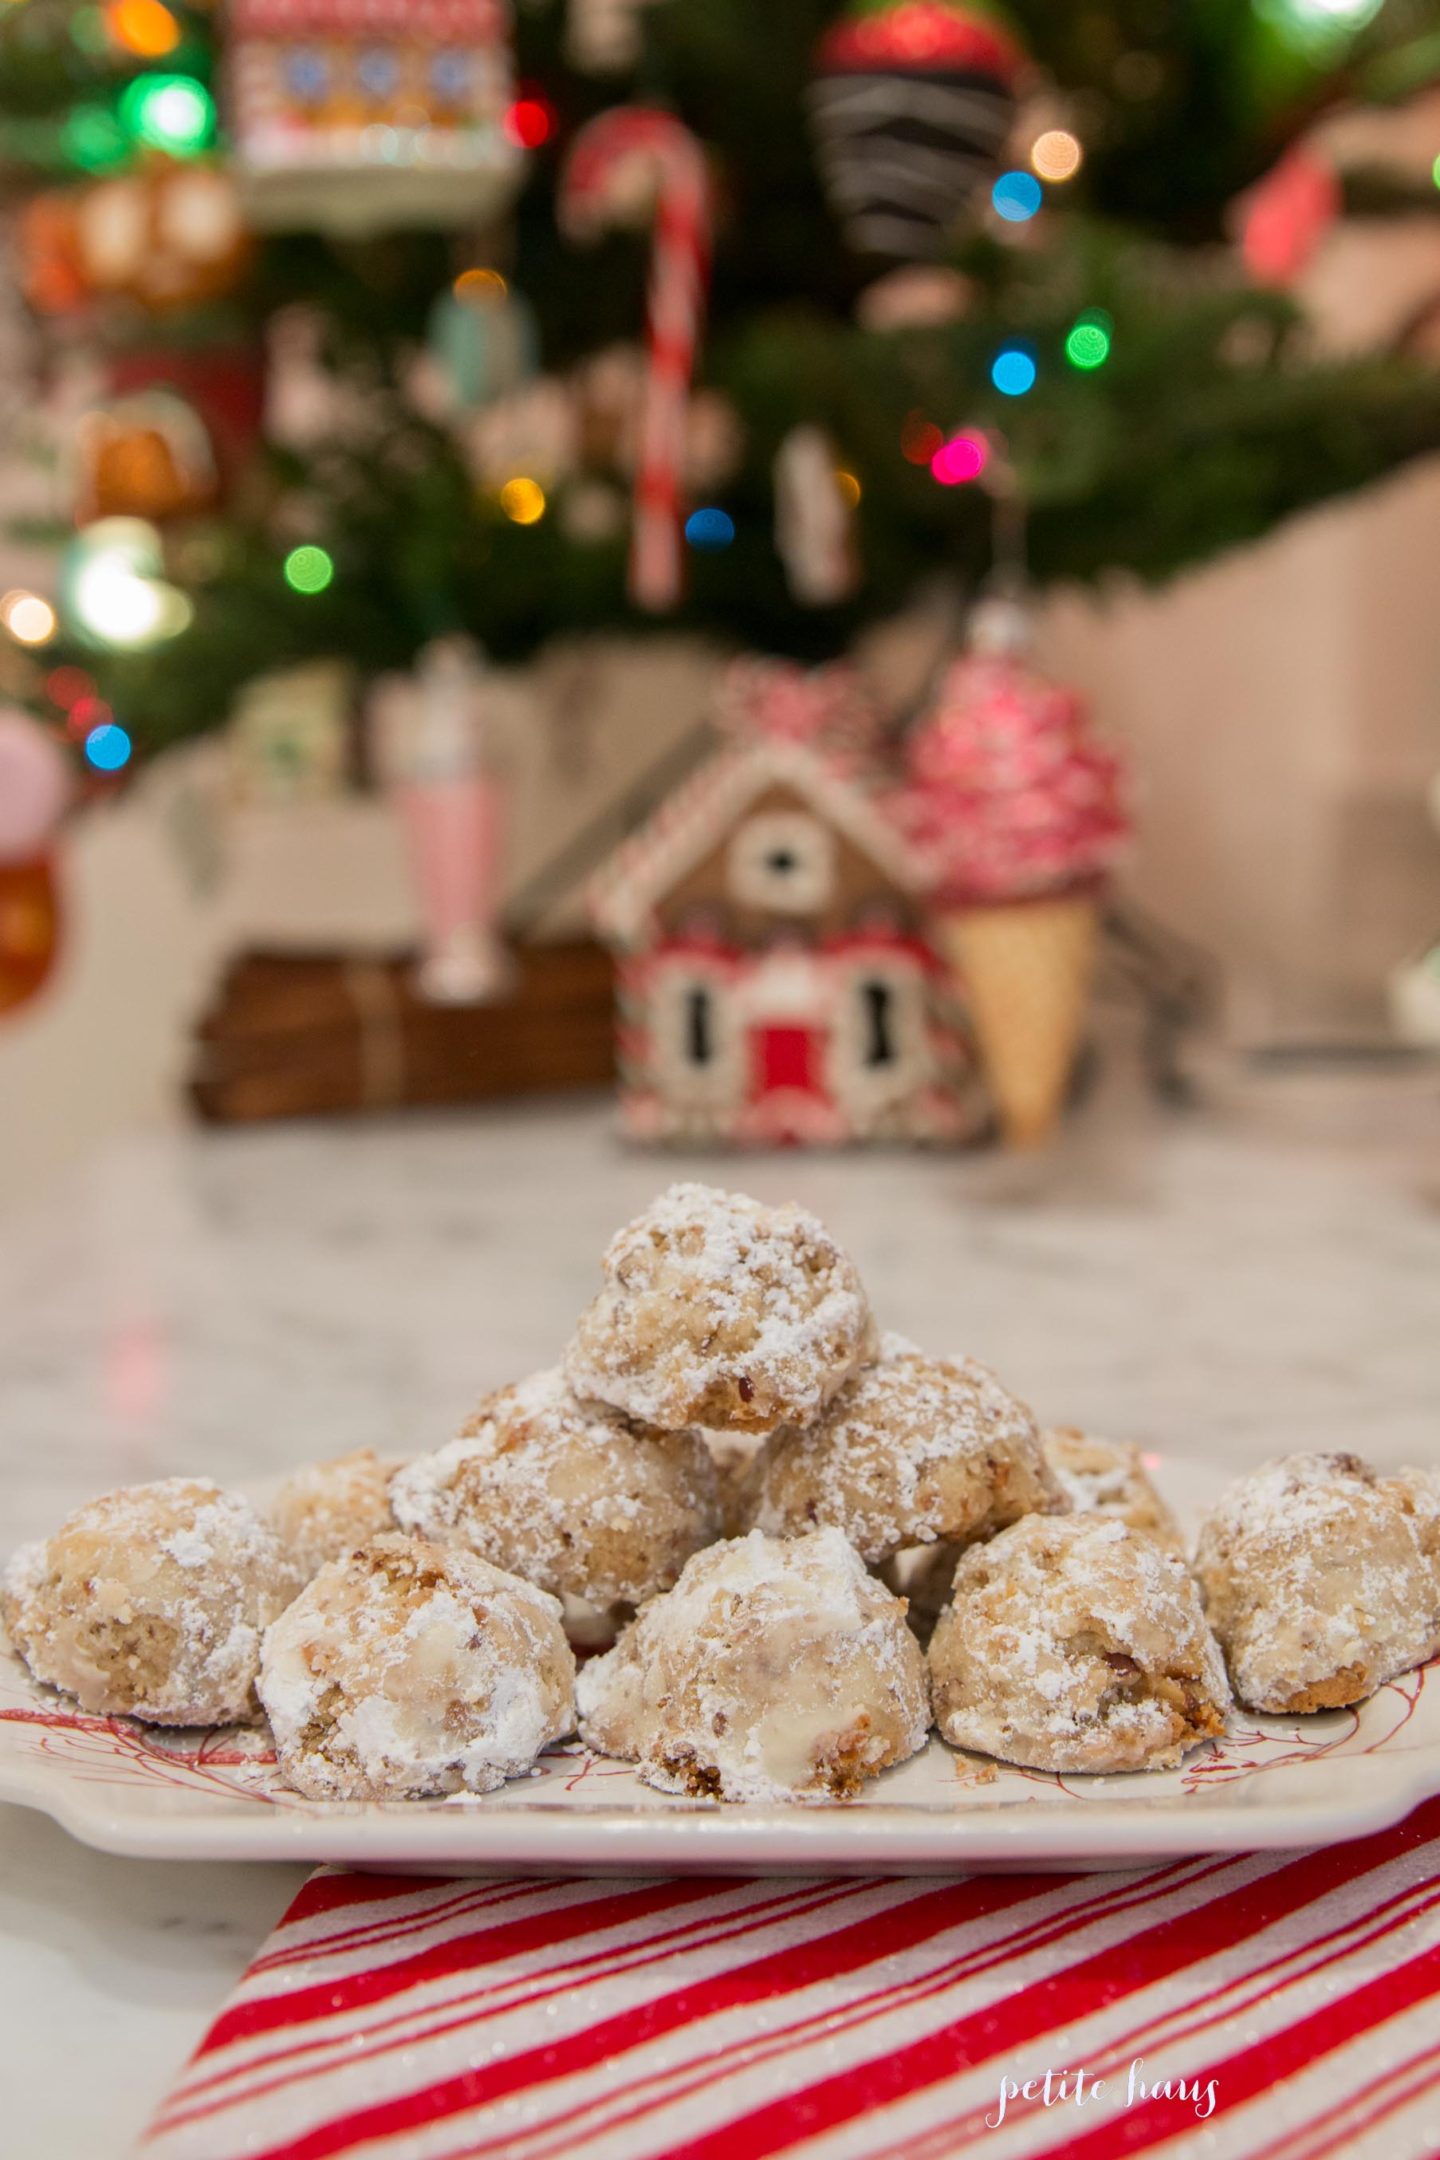
Snowball Cookie Recipe

Snowball Cookie RecipeWe use affiliate links in our posts and our site. This means if you make a purchase using these links, we may earn a small commission. You don’t pay a cent more than you would otherwise! Our full disclosure is available under About.
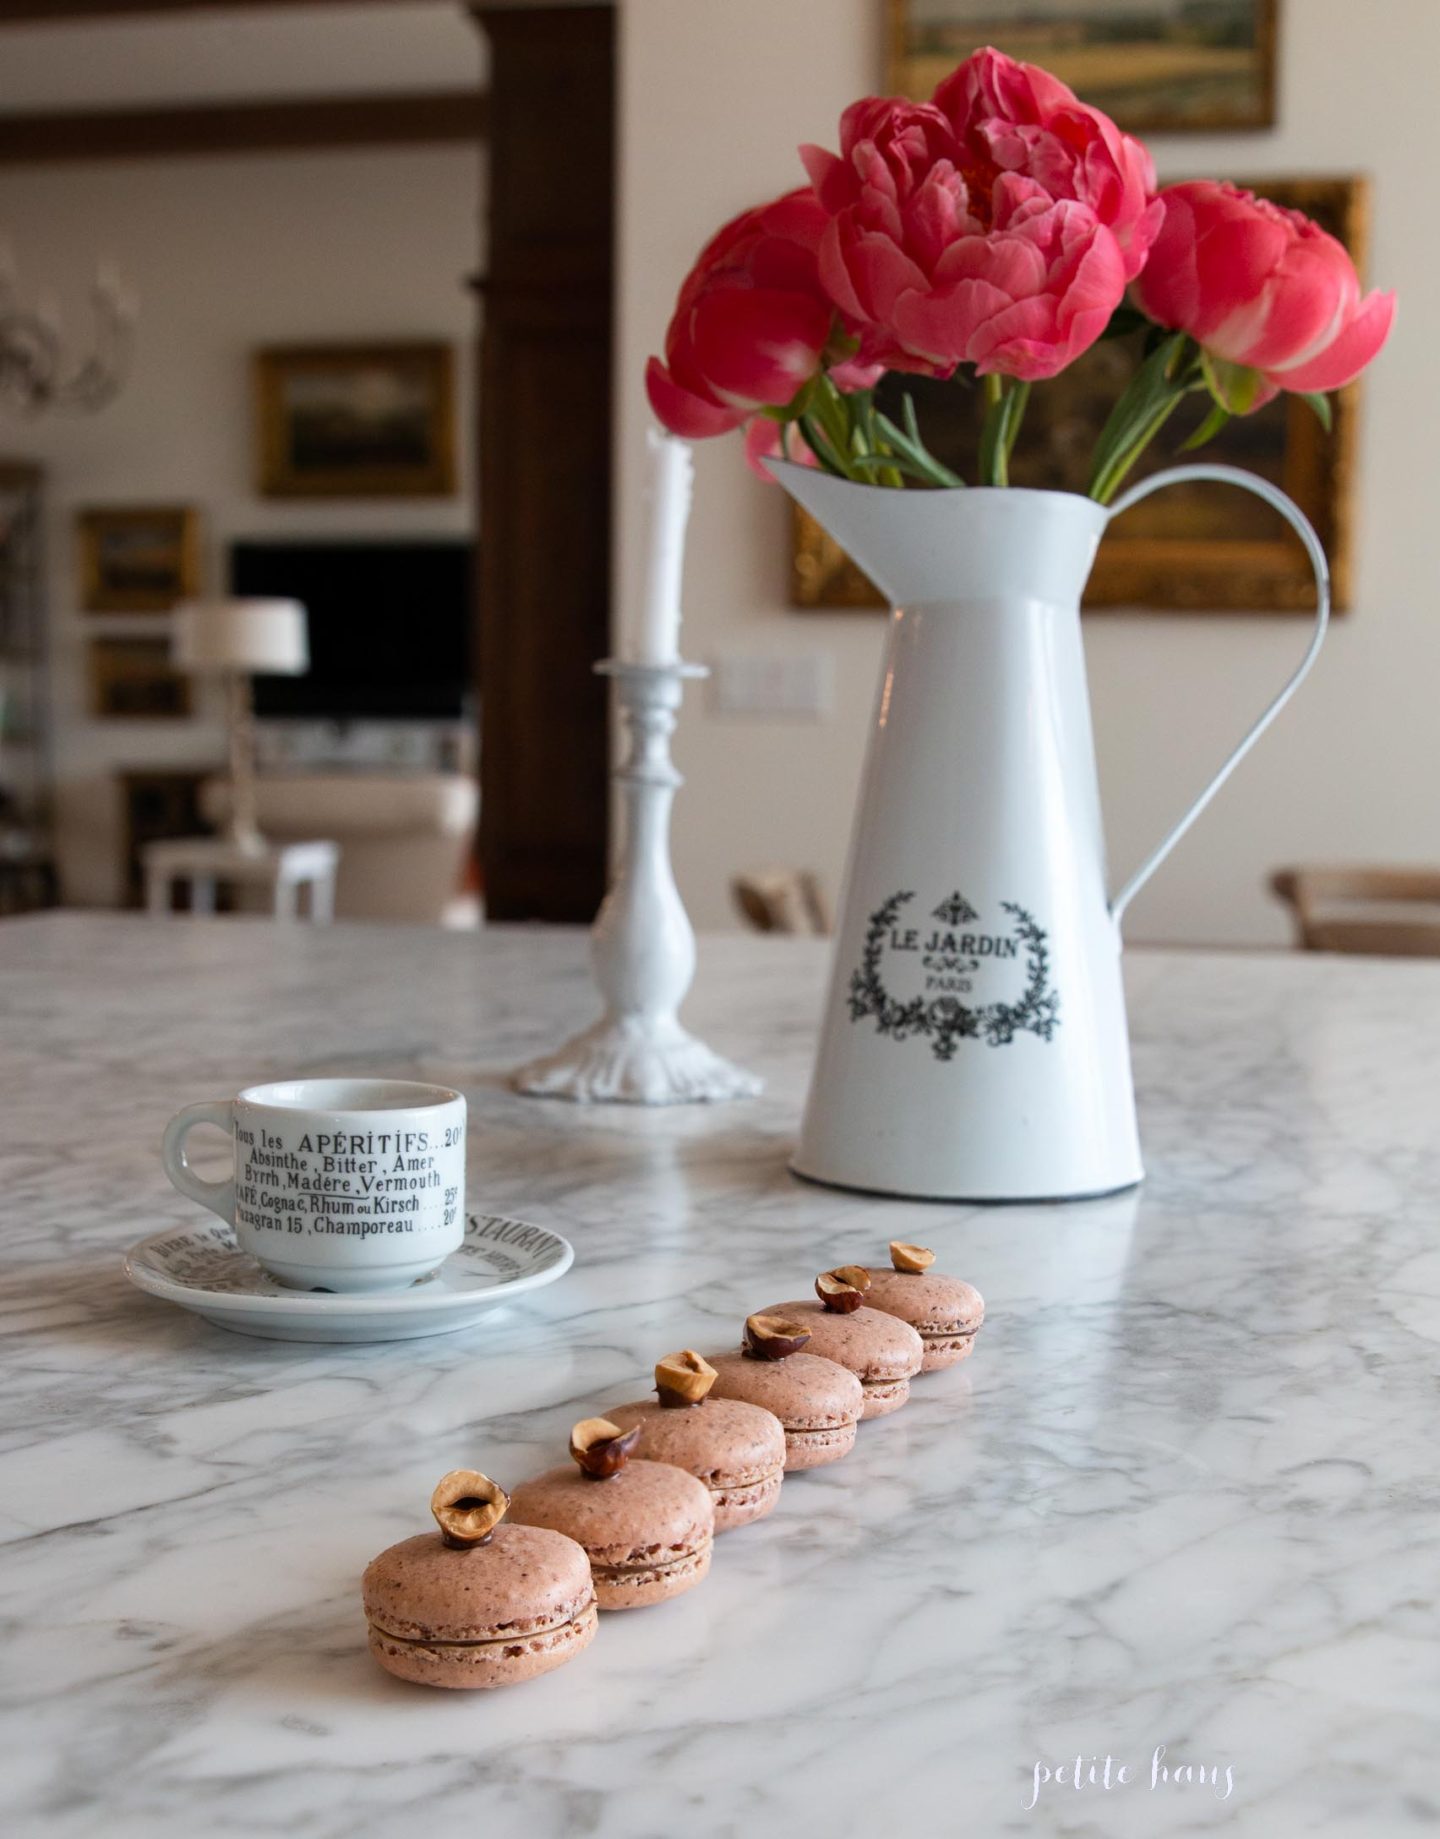
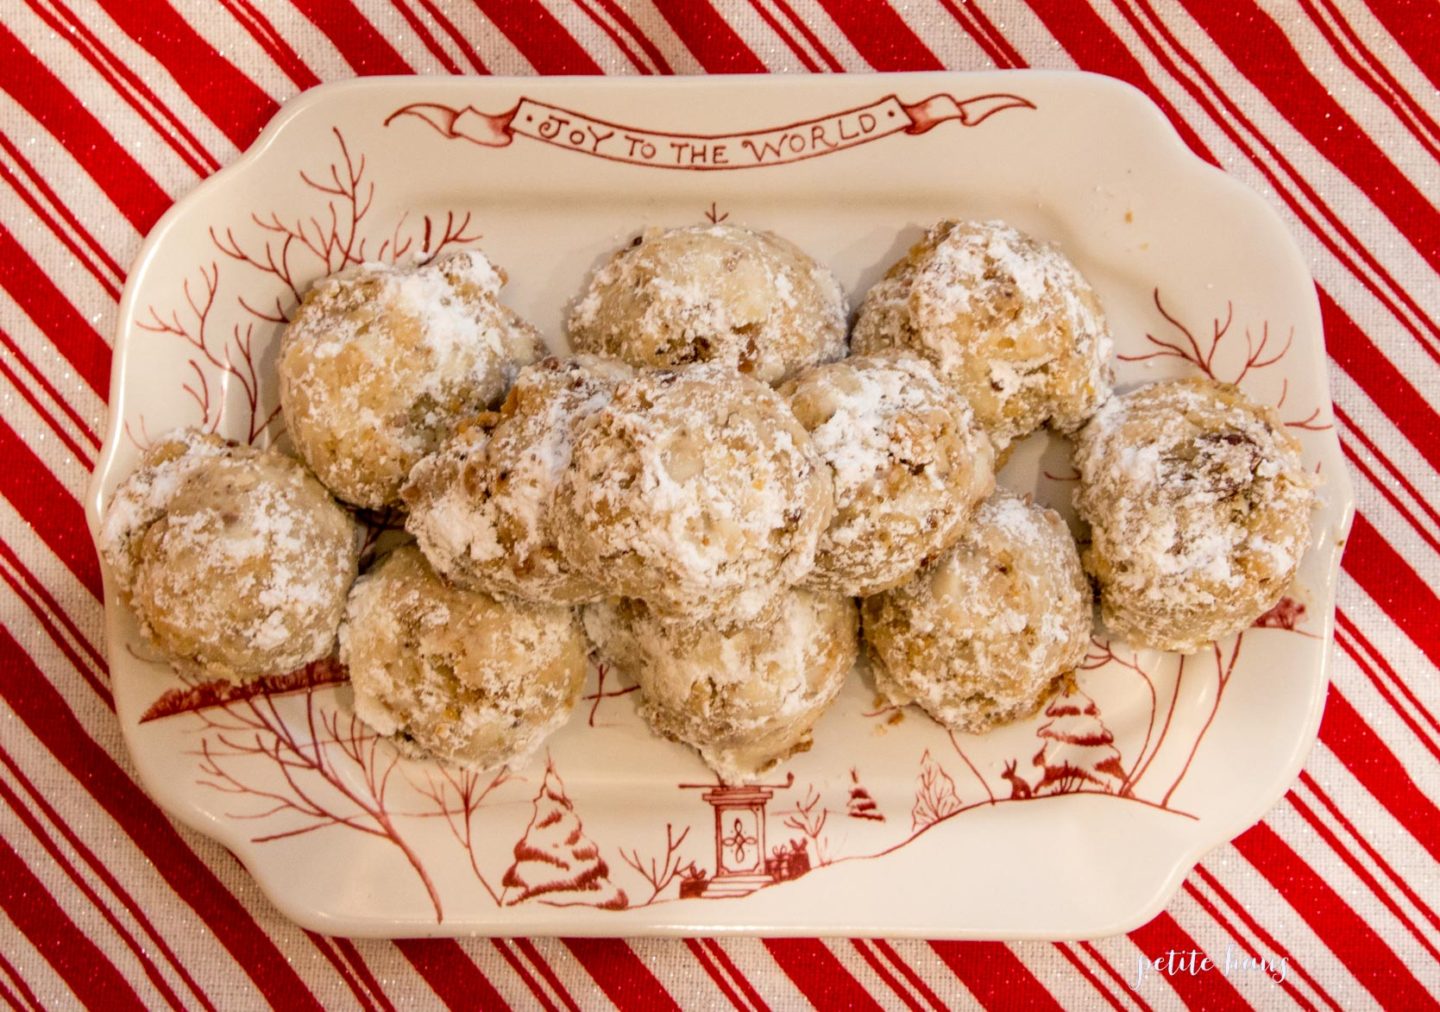
Sharing one of my favorite Christmas cookies with you today.  My Aunt always brings cookies to Christmas.  When I see her big cookie tin full of a wonderful assortment of cookies, I immediately go searching for these cookies.

They have many names – snowball cookies, Russian teacakes or Russian tea cookies, Mexican wedding cookies, walnut ball cookies.

I don’t know why this cookie has so many different names, but it is a nutty shortbread cookie and a Christmas tradition.  I believe they originate from Germany/Hungary, and like most cookies from German, there isn’t a *ton* of sugar (as it is a shortbread cookie), which is one reason why I love them.

Ingredients

2 cups sifted all-purpose flour
1/4 cup granulated sugar
1/2 tsp salt
1/2 lb butter, softened
2 tsp vanilla
2 cups ground walnuts (we like to do a mixture of walnuts and pecans)

Directions

  1. Preheat oven to 350F.
  2. Sift the flour and salt together and set aside.
  3. Cream the butter, sugar and vanilla together.
  4. Add the flour and salt mixture until incorporated.
  5. Mixing with your hand, add in the ground nuts.
  6. Next, shape the cookies into 1/2 inch balls. I used a melon scooper for this.
  7. Place on a greased cookie sheet, and bake from 20-30 minutes. Mine finished at 20.
  8. Remove from oven, let cool until they are warm enough to pick up.
  9. While the cookies are still warm, roll in powdered sugar.  Enjoy the cookies cool.

You can freeze these cookies and make them in advance. To refresh the cookies, take them out of the freezer and toss them with powdered sugar again.  However, these cookies will last up to three weeks in an airtight container. The recipe makes about 6 dozen cookies.

I hope you enjoy making eating these cookies as much as I do!

Follow:

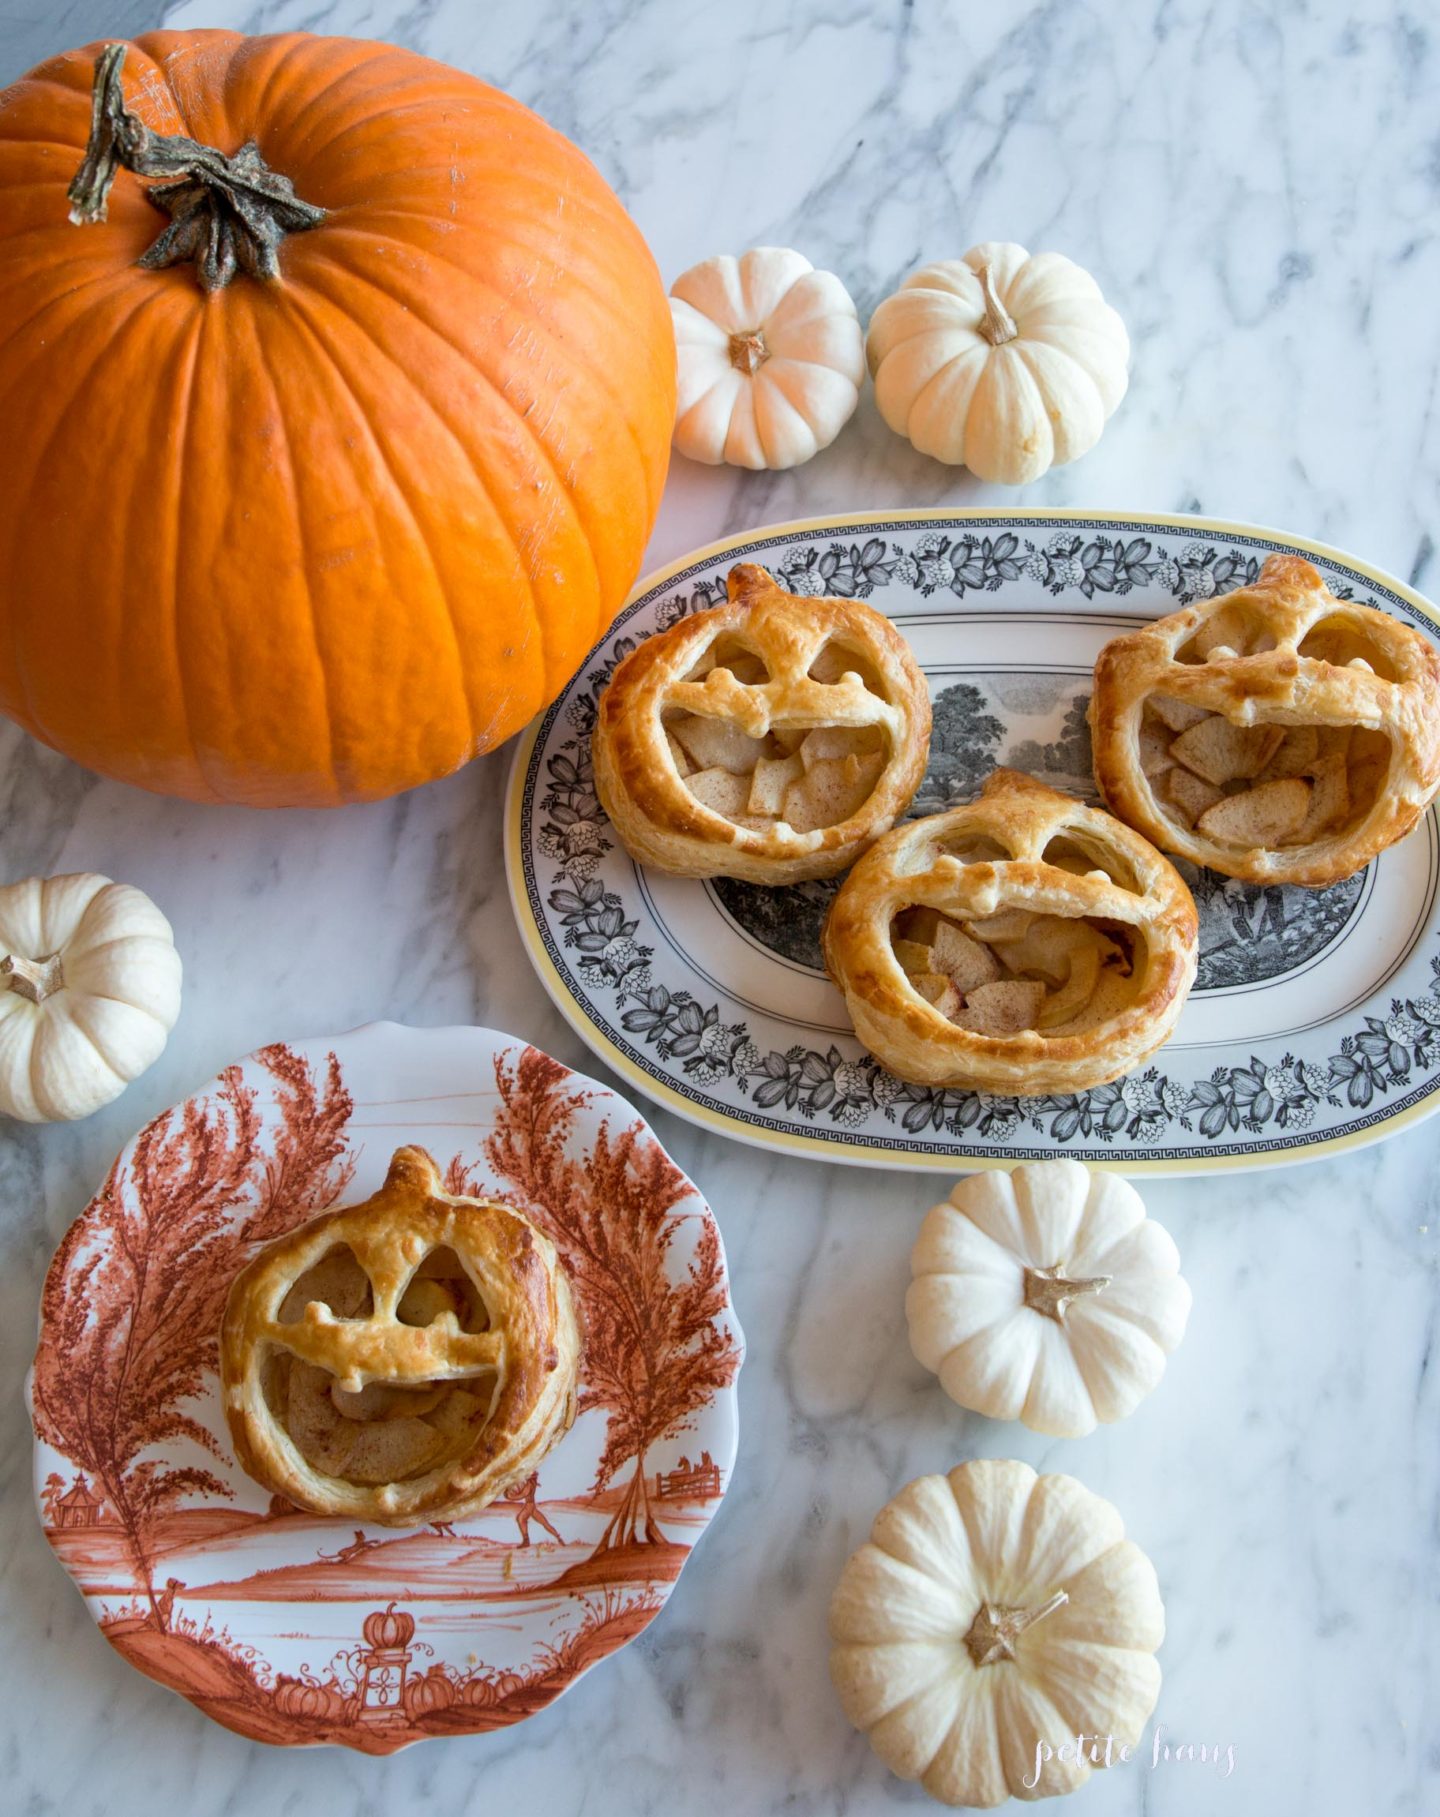
A Halloween Dessert – Chausson aux Pommes

We use affiliate links in our posts and our site. This means if you make a purchase using these links, we may earn a small commission. You don’t pay a cent more than you would otherwise! Our full disclosure is available under About.
Every year I make a Halloween dessert and this year is no exception!

Halloween Desserts - Jack O'Lantern Apple Pies

I made these little Jack O Lantern Chausson aux Pommes.  Don’t know what a Chausson aux Pommes is? It is a French apple turnover.  In fact in France, sometimes I eat a Chausson aux Pommes for breakfast instead of my usual croissant!

Halloween Desserts - Jack O'Lantern Apple Pies

For the recipe – this made four but it could have made one or two more as these were pretty big.

  • 1-2 sweet apples, such as honey crisp, gala, fuji but granny smith would probably work too Peeled, cored and think sliced.
  • 1 tbsp unsalted butter
  • 1 heaping tbsp of granulated sugar (use more or less depending on how tart your apple is)
  • 1 dash of nutmeg
  • 1/4 tsp ground cinnamon
  • 2 sheets of frozen puff pastry, thawed
  • 1 egg
1. In a frying pan on medium heat, melt the butter.  Then add the apples and cook until softened, about 5.
2. Sprinkle the sugar, cinnamon and nutmeg in the apples and stir, continue cooking for 1 more minute. Remove apple mixture from heat and allow to cool to room temperature.
3. While the apples are cooling, preheat the oven to 400F.
4. Create an egg wash by mixing one egg with 1 tbsp water. Set aside.
5. Roll your puff pastry sheets a little thinner (optional step).
6. Using your pumpkin cookie cutter, cut out the shapes.
7. Now, spoon the cooled apple mixture into each shape.  I did a few spoonfuls, but you have to judge based on how big your cookie cutter cutouts are.  Don’t put the apples all the way to the edge- leave enough room to create a seal.
8. Using the egg wash, line the edge of each pumpkin cut out. Then press the top part of your cookie cut out on the bottom.  Make sure you push down and seal all of the edges. Then brush the egg wash on top.
9.  Place on parchment paper or silpat, and then on a baking sheet. Bake in the oven for about 20 minutes until golden brown. Serve warm or cold.

Halloween Desserts - Jack O'Lantern Apple Pies

I used Pepperidge Farm’s puff pastry dough, but Trader Joe’s is better and here’s why.  The TJ’s dough is made from real butter, PF’s is made from oil.

Halloween Desserts - Apple Pies

Do give these a try! We all loved them!

Halloween Desserts - Jack O'Lantern Apple Pies

My other Halloween desserts – Spooky Ghost Hot Chocolate, Chocolate Hazelnut Cat Macarons and Jack-O-Lantern Macarons.

Follow:

Chocolate Chip Macadamia Nut Cookies

We use affiliate links in our posts and our site. This means if you make a purchase using these links, we may earn a small commission. You don’t pay a cent more than you would otherwise! Our full disclosure is available under About.
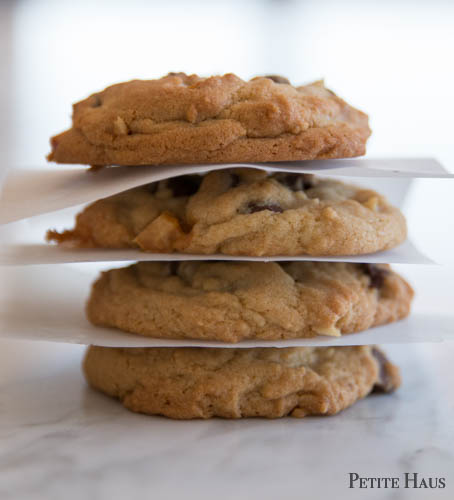
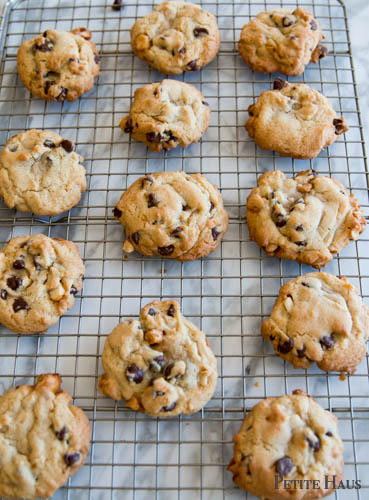
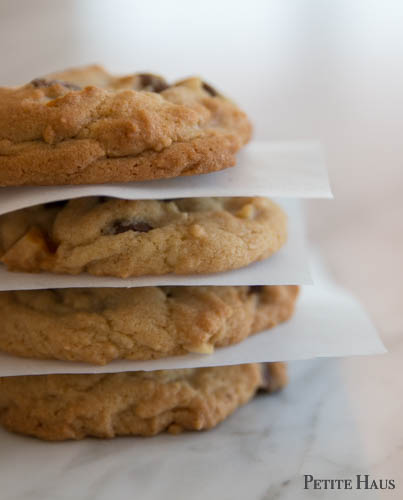
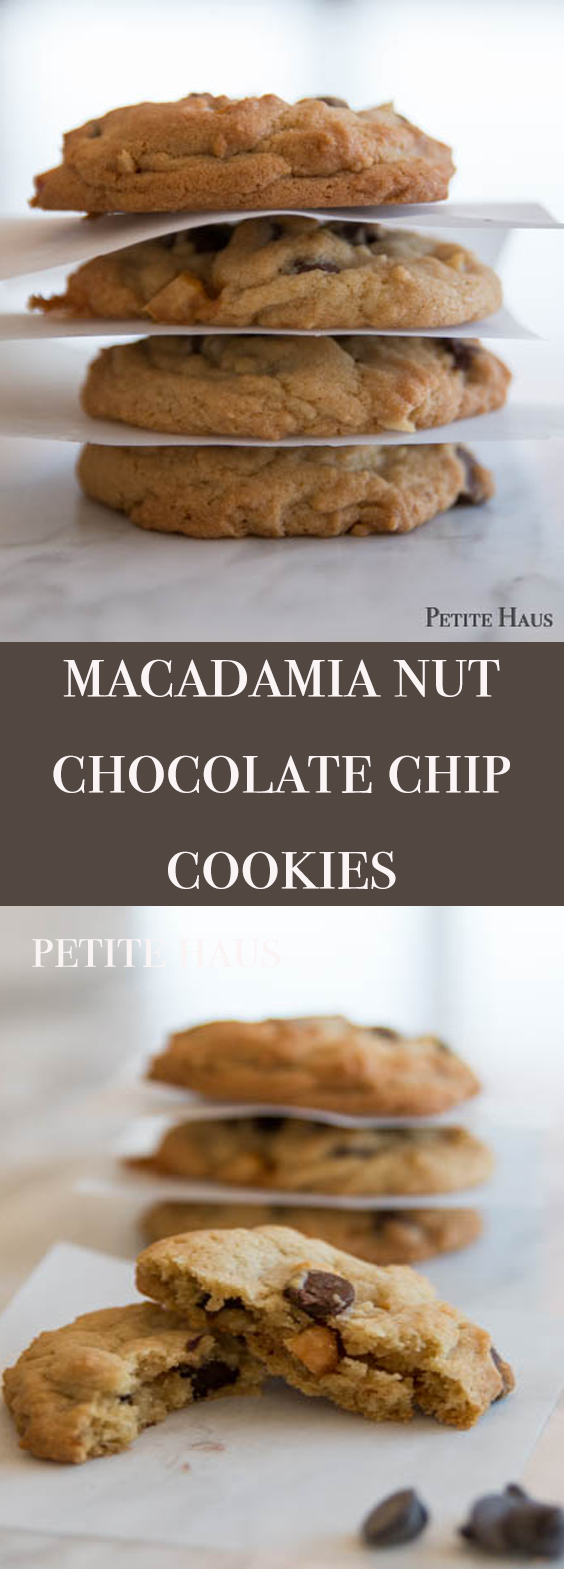
Let’s talk about these chocolate chip macadamia nut cookies. These cookies are diet breakers. They are GOOD.  Like, really really good.  Now that it’s Labor Day, it’s time to heat up our ovens (and our houses!). Break your oven in again this Fall with these cookies!

chocolate chip macadamia nut cookies

They are so delicious… even writing this post I just want to lick my screen.

chocolate chip macadamia nut cookies

You see, we had a bunch of leftover macadamia nuts from our trip to Hawaii.  The recipe calls for regular macadamia nuts.  I used honey covered macadamia nuts.chocolate chip macadamia nut cookies

WHOA.  If you happen to have honey coated macadamia nuts, you will make these cookies extraordinary. Like the bomb diggity.

Chocolate Chip Macadamia Nut Cookies

Makes about 3 dozen
Ingredients
  •   3 cups all-purpose flour
  •   1 tsp. baking soda
  •   1 tsp. salt
  •   1 cup unsalted butter, softened
  •   2/3 cup brown sugar, firmly packed
  •   1 1/3 cup granulated sugar
  •   2 eggs
  •   2 tsp. vanilla
  •   1 3/4 cups chopped macadamia nuts
  •   2 cups semi-sweet chocolate chips
Directions
  1. Preheat oven to 350F.
  2. Beat the butter, granulated sugar and brown sugar together until creamy. Then add the eggs and vanilla.  Beat until well blended.
  3. In a separate bowl, mix the flour, baking soda and salt.  Then pour the mixture into the butter mixture.  Mix together until well blended.
  4. Lastly, stir the nuts and chocolate chips in.
  5. Drop rounded spoonfuls of batter onto uncreased baking sheets.  Bake for roughly 12 minutes or until a light brown.
  6. Cool for 5 minutes on the tray and then remove cookies from sheets and place on cooling rack.

chocolate chip macadamia nut cookies

Regular macadamia nuts though work too… and the cookies are still glamorous with them.  They remind me of those Sausalito cookies from the store by Pepperidge Farm.  You know which ones? Except those ones are crunchy.

chocolate chip macadamia nut cookies

Go ahead, make them. I dare you.  I suggest bringing them to work or an event so you don’t eat them all yourself.

macadamia nut chocolate chip cookies

SaveSave

SaveSave

SaveSave

SaveSave

Follow:

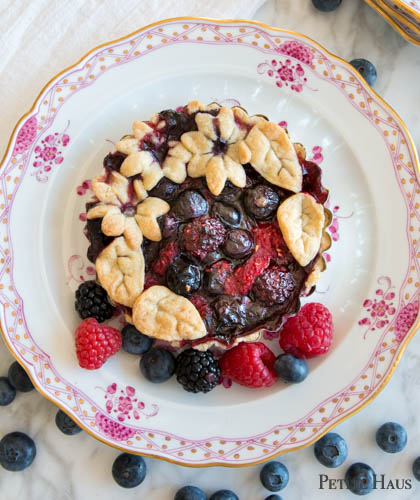
Mini Triple Berry Pies

mini triple berry pie recipeWe use affiliate links in our posts and our site. This means if you make a purchase using these links, we may earn a small commission. You don’t pay a cent more than you would otherwise! Our full disclosure is available under About.
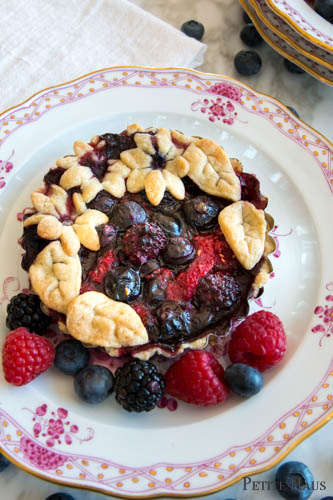
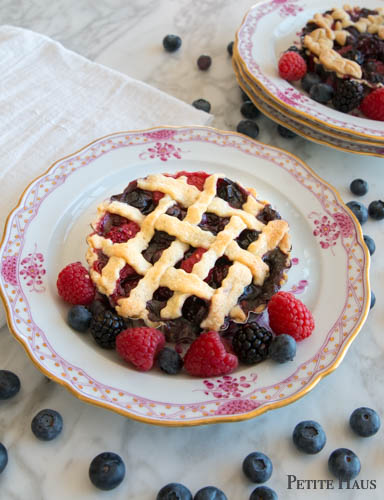
Delicious mini triple berry pies are on the menu for this week!

Berries might be coming out of your ears during berry season.  They’re not coming out of my ears, however they are going into my mouth!

I have never made a berry pie before.  I didn’t want to make a BIG pie, so instead I used my small tart pans to make these mini pies.

Aren’t they cute?

I like to enjoy my desserts on antique fine china – why should they sit in the cabinet?  Just don’t use a knife on the plate – you’ll scratch it!

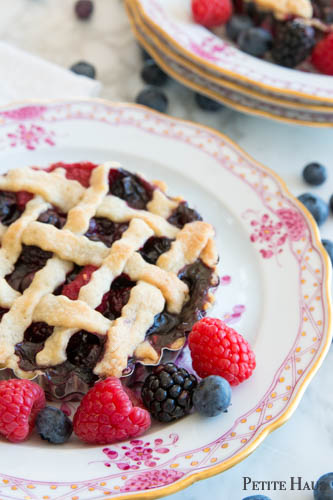
mini triple berry pie recipe with fresh blackberries, raspberries and blueberries

Using fine china makes something go from ordinary to extraordinary.  Do you use your fine china?mini triple berry pie recipe with fresh blackberries, raspberries and blueberries

I confess, I didn’t mean to eat the whole mini pie… I thought I’d enjoy it in two servings.  Well, I was wrong. I just kept eating and eating since it was so scrumptious!

scrumptious triple berry pie

Mini Triple Berry Pies

Makes four servings

  • pie crust (I used frozen pre-made from Trader Joe’s, or here is my recipe for dough)
  • 4 cups mixed berries (I did 1 1/3 cup each of fresh blackberries, raspberries and blueberries)
  • 2 tbsp corn starch
  • 1/2 cup granulated sugar
  • 1 tsp vanilla
  • juice of half a lemon
  1. Preheat oven to 375F Convection or 400F standard.
  2. Let the dough thaw if it is frozen.  For the pies, I used four 5″ tart pans with removable bottoms.  I simply traced a rough circle in the dough around each mini pan, leaving about 1/2 inch on all sides.  Then pat the dough into the pans, removing the excess crust that falls over the edge.
  3. Make the filling: mix the berries, corn starch, sugar, vanilla and lemon juice together. Set aside.
  4. Fill each pie with about 1/2 cup of filling.
  5. Decorate the tops of the pies as you’d like.  I had fun stamping out leaves, stars, flowers and then did a weave.  For a lower calorie version, simply skip putting extras on the top.
  6. Place the mini pies on a baking sheet (preferably with an edge – I did a plain cookie sheet and it bubbled over onto my oven)

Bake at 375F Convection (or 400F Standard) for 15 minutes and then turn oven down to 350F and bake for another 20-25 minutes until crust is golden and brown.  If the crust is browning too quickly, you may place some foil over the edges.mouth-watering mini triple berry piesYum! Serve with vanilla ice cream OR cinnamon whipped cream!   I have a whipped cream maker (which I LOOOOOVE, get it here on Amazon, the first link was Sur La Table) and use this simple recipe to make cinnamon whipped cream.  2 cups heavy cream, 1/4 cup Monin’s Cinnamon syrup.  Pour into the bottle, use an aerosol charger and… shake shake shake! voila! Instant FRESH cinnamon whipped cream. It’s good.

mini triple berry pie recipe

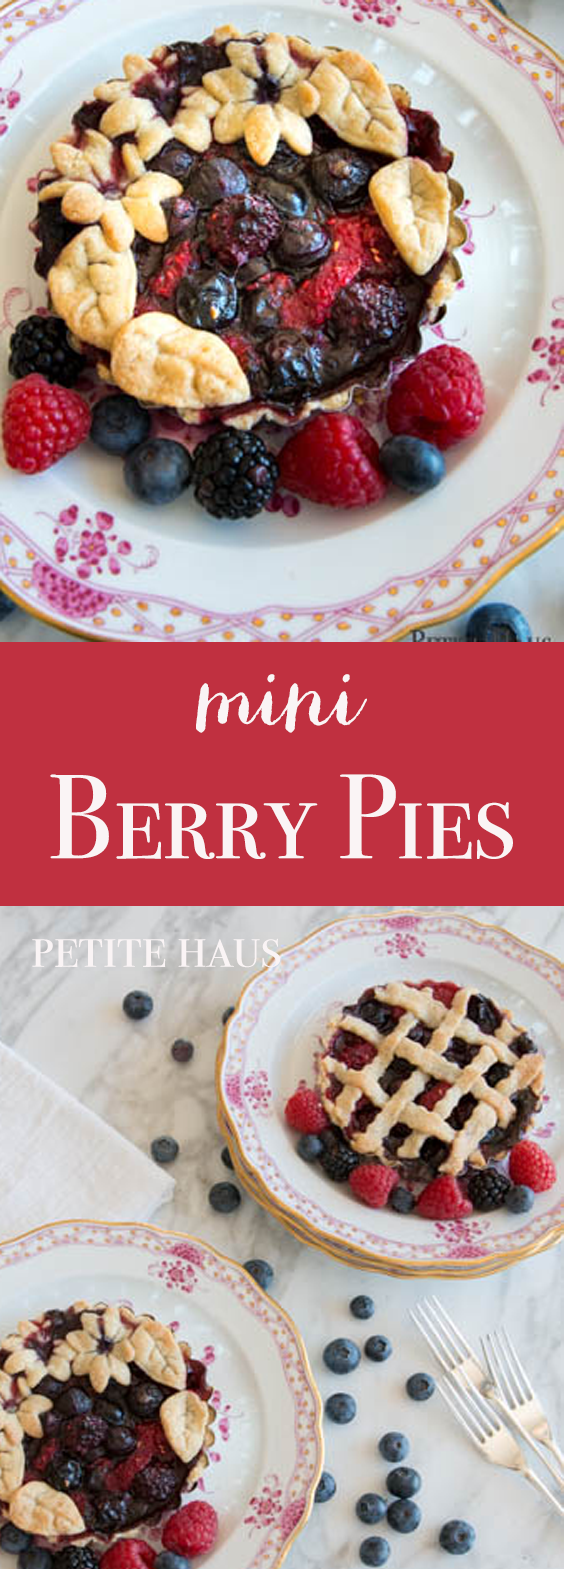
I’d love it if you pinned the image below!

SaveSave

SaveSave

SaveSave

Follow:

About the Time I Made My Own Birthday Cake

About the Time I Made My Own Birthday CakeWe use affiliate links in our posts and our site. This means if you make a purchase using these links, we may earn a small commission. You don’t pay a cent more than you would otherwise! Our full disclosure is available under About.
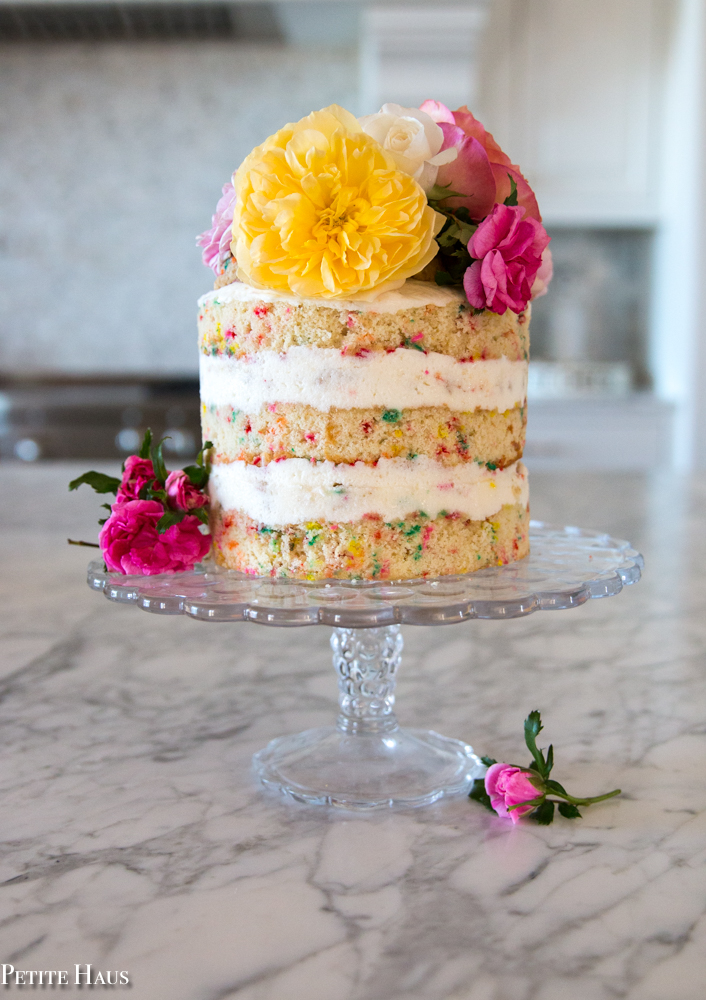
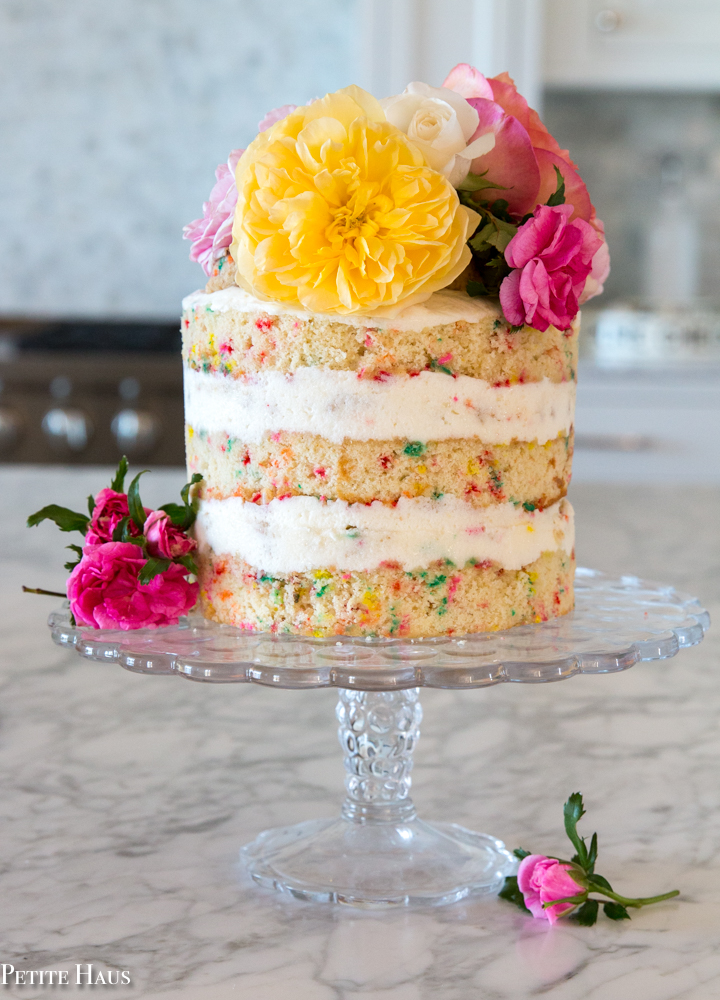
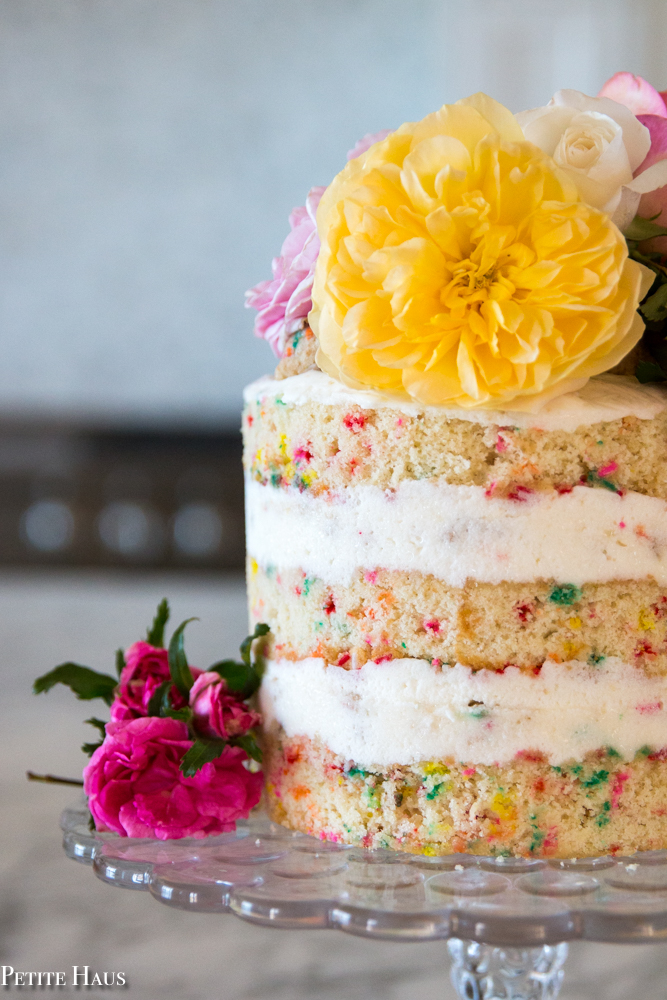
Let’s have a talk about baking cakes, specifically this layered Momofuko birthday cake.

So, how did I come about baking this pretty and scrumptious cake? I was recently watching the Netflix show, Chef’s Table.  They came out with a new season of just pastry chefs!  I was so excited because I love baking (and not so much cooking!).

The first episode was about Christina Tosi who creaked the Milk Bar empire in NYC.  In her show, she was making her famous birthday cake.

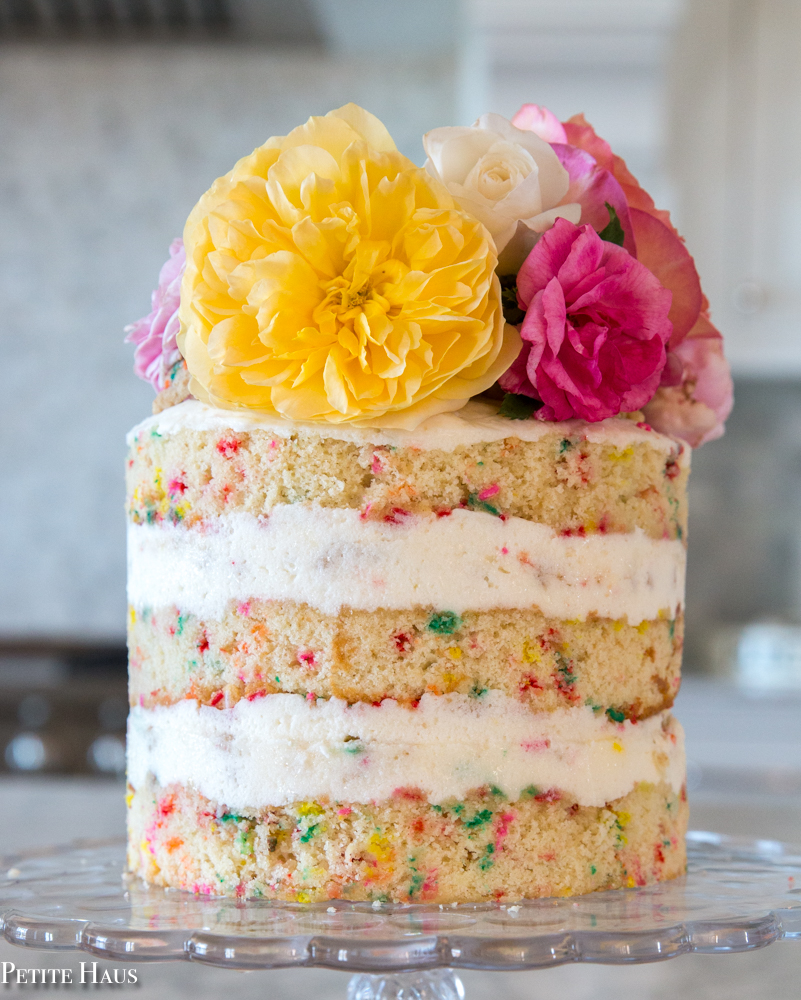
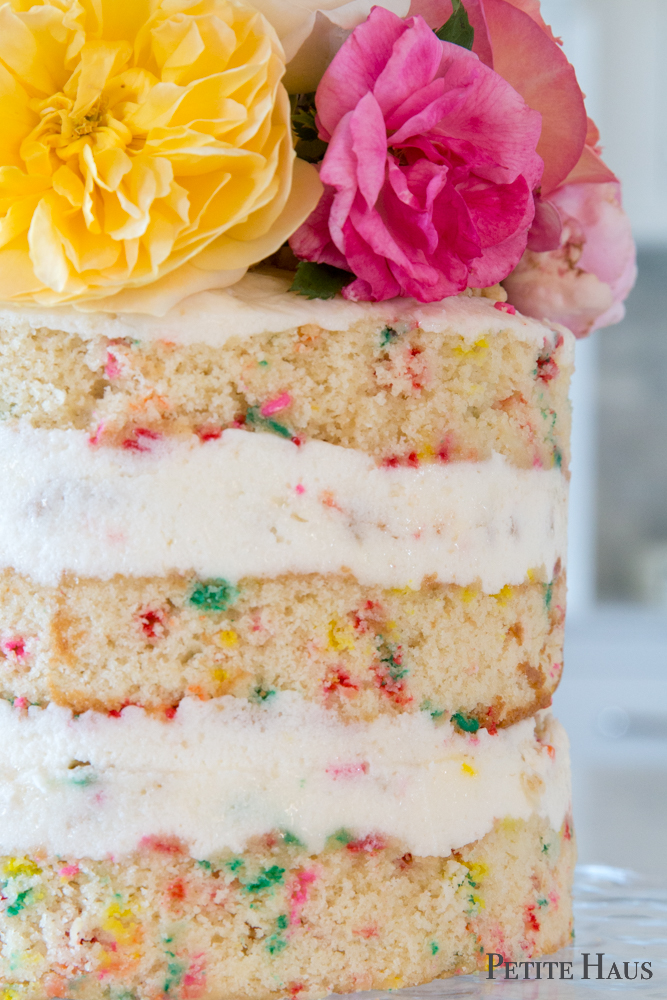
I have never baked a layered cake.  Never from scratch nor from the box.  I have always wanted to bake a layered cake but never had the correct supplies.   I knew that if I was going to attempt to make a layered cake that this would be the one!  Look at it – the perfect birthday cake!  A Funfetti inspired, cream cheese frosted, naked layer cake!

Her cakes are naked cakes, which means they are not frosted on the outside.  This is perfect for me – one, because I don’t love frosting (and frankly the reason why I never make cakes nor cupcakes) and two, you don’t have to fret over perfecting your frosting until its smooth on the outside because it doesn’t need it!

So I set out to bake this cake.  I purchased her cookbook, Milk.  Everywhere that I was reading the reviewers were talking about how “difficult” this cake is.  I thought, okay, challenge accepted!

Yes, you need some supplies. Such as a quarter sheet pan.  And a 6″ cake ring.  And acetate strips.  Well, I already had acetate.  I need a quarter sheet pan for my little steam oven anyway.  And so really all I needed was 6″ cake ring.

You also need several ingredients that are harder to find.  You need glucose.  I actually just substituted 2 tsp corn syrup instead since it is hard to find.  You need grapeseed oil – I have seen it in several stores, so not that hard to find.  You need citric acid (which can be found in the canning section of your grocery store).  Instead of citric acid I used about 1/4 tsp of fresh squeezed Meyer lemon juice. You need clear vanilla extract – which, by the way, is not vanilla extract but instead clear vanilla flavor!  Yes, fake vanilla flavor (that seems to be the secret to creating your own funfetti cake!)

Okay, so you need a few specialty items.  Well, fine.  In reviews I was reading, people were complaining about needing specialty items.  Well, do you want to make a cake that tastes really good or not?

Next, I was reading about how difficult it was because it has four parts to the recipe.  The cake.  The soak. The frosting. The cookie crumble.  Well, break it up into parts!


To make it easier, I would recommend splitting it into two days – bake the cake and the cookie crumble on day 1. On day 2 make the frosting and the milk soak.  Then you assemble your cake on day 2.  Place it in the freezer overnight (or for up two weeks) as recommended.  Then on day 3, take it out several hours before your event.  Really, it’s not that difficult to make, especially if you spread it out over a few days.

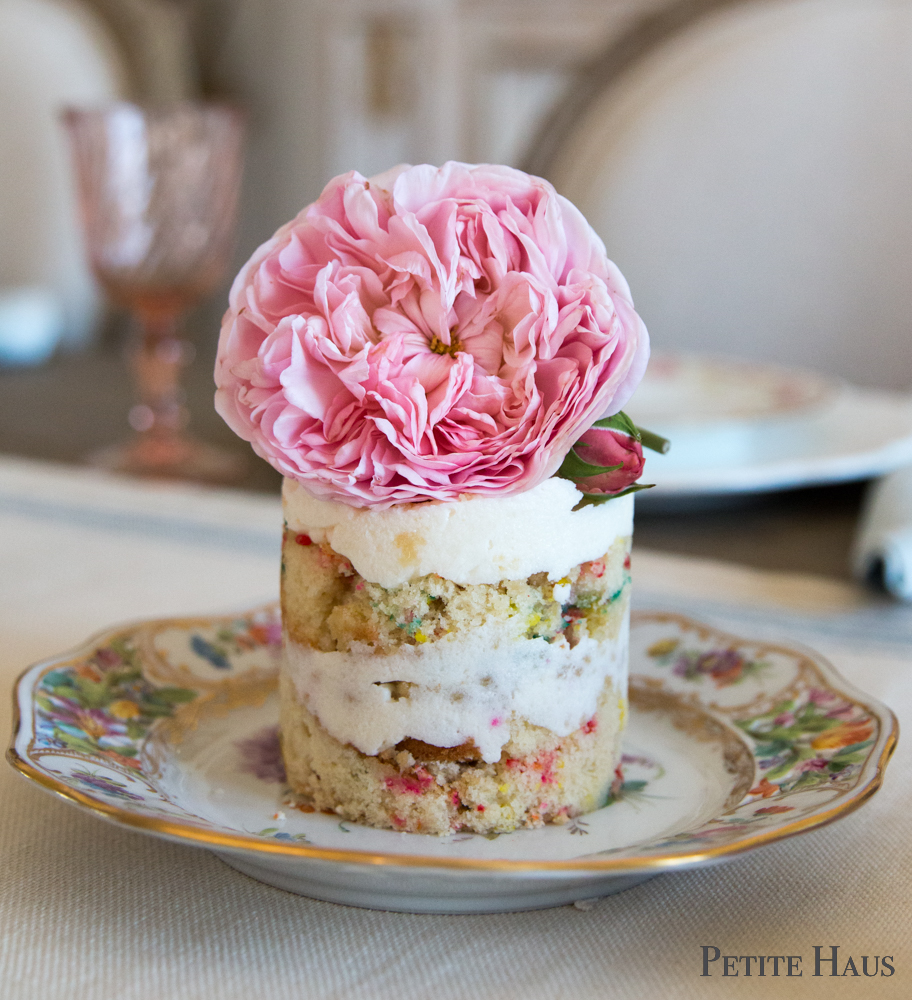
I had a little left over cake so I made a mini 3″ cake too! Isn’t it adorable??

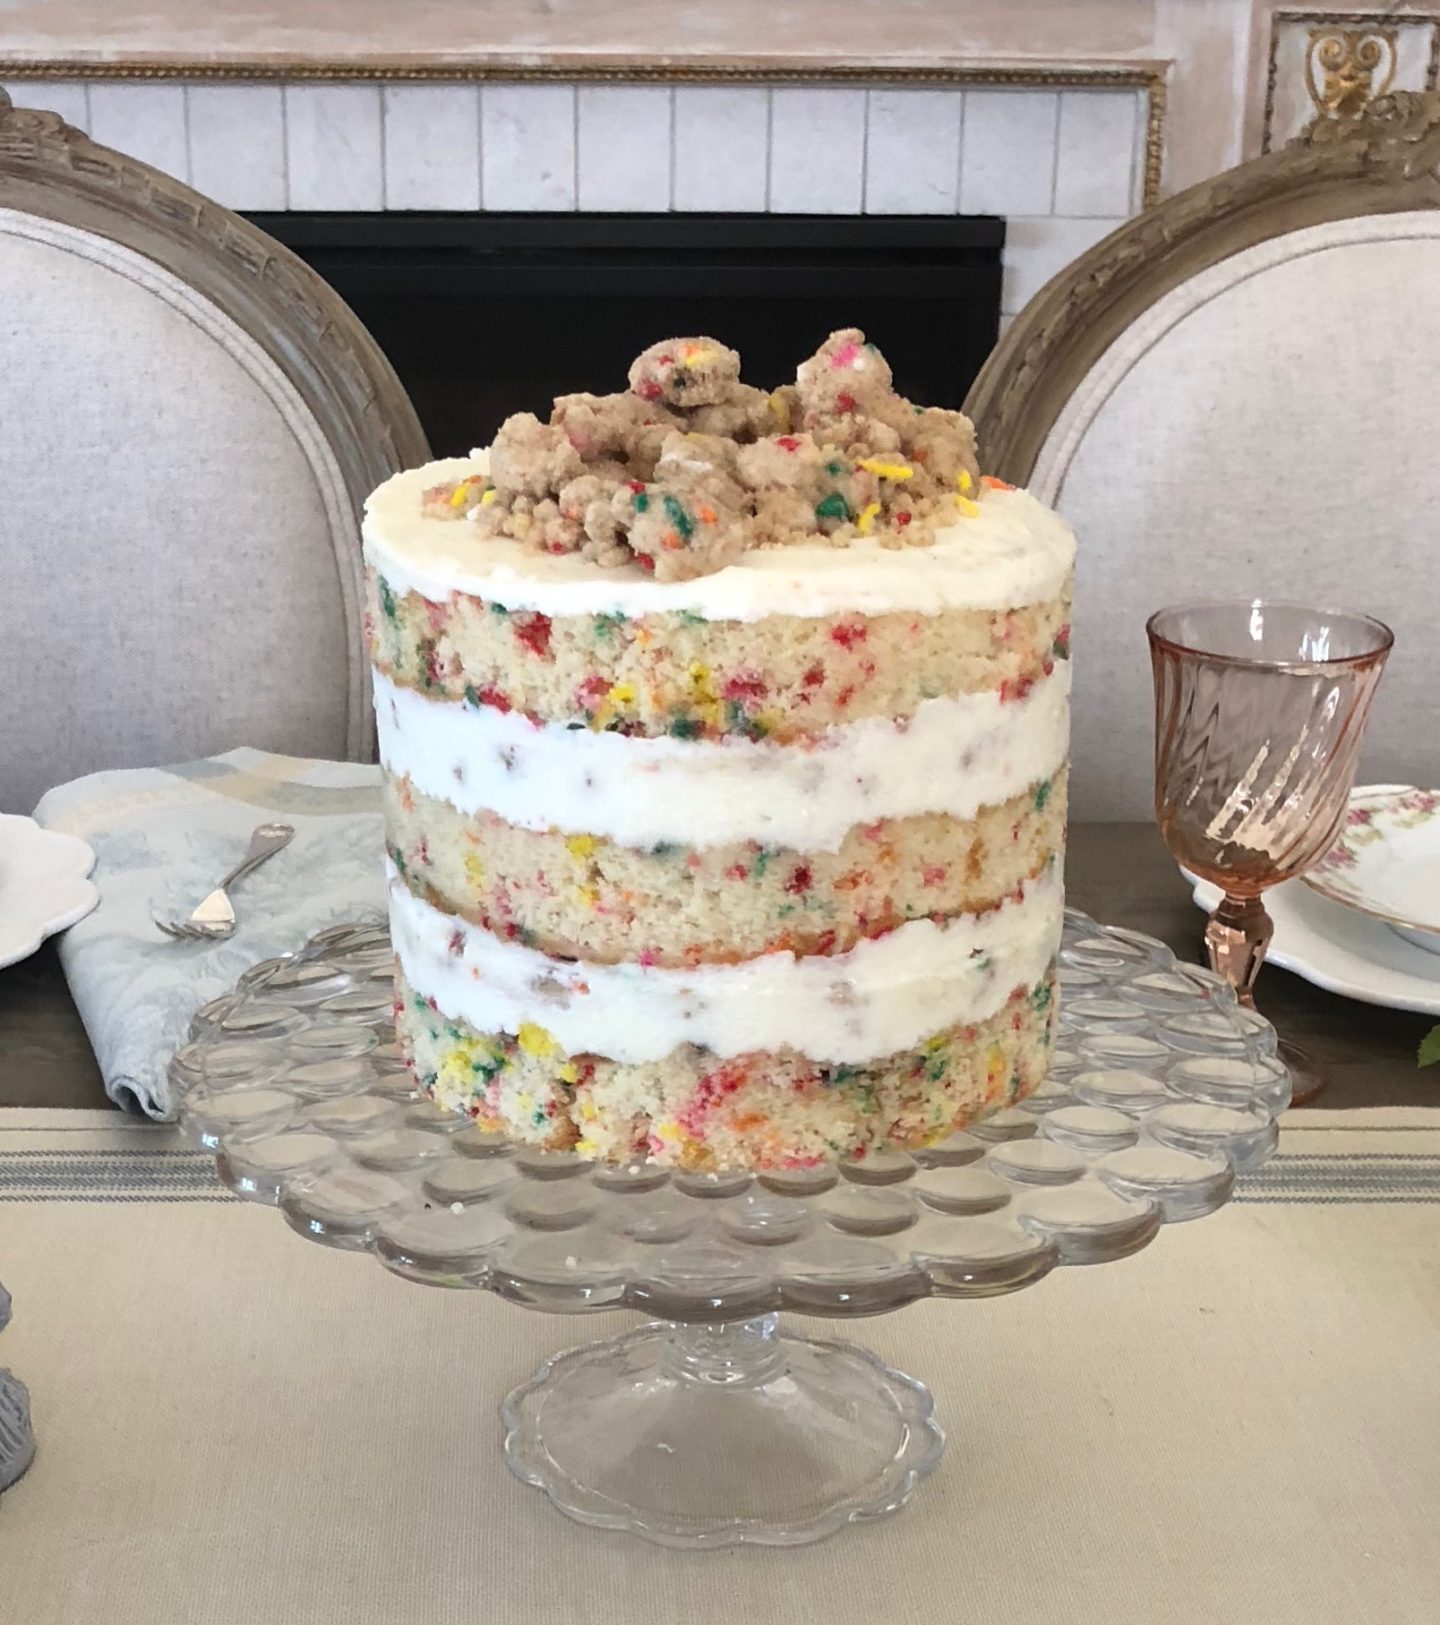
The cake itself is very moist.  In between the layers is the cream cheese frosting and cookie crumble.  The crumble adds an extra crunch with a hint of salt in this sweet cake.  On top of the cake you put the cookie crumble, as pictured below.

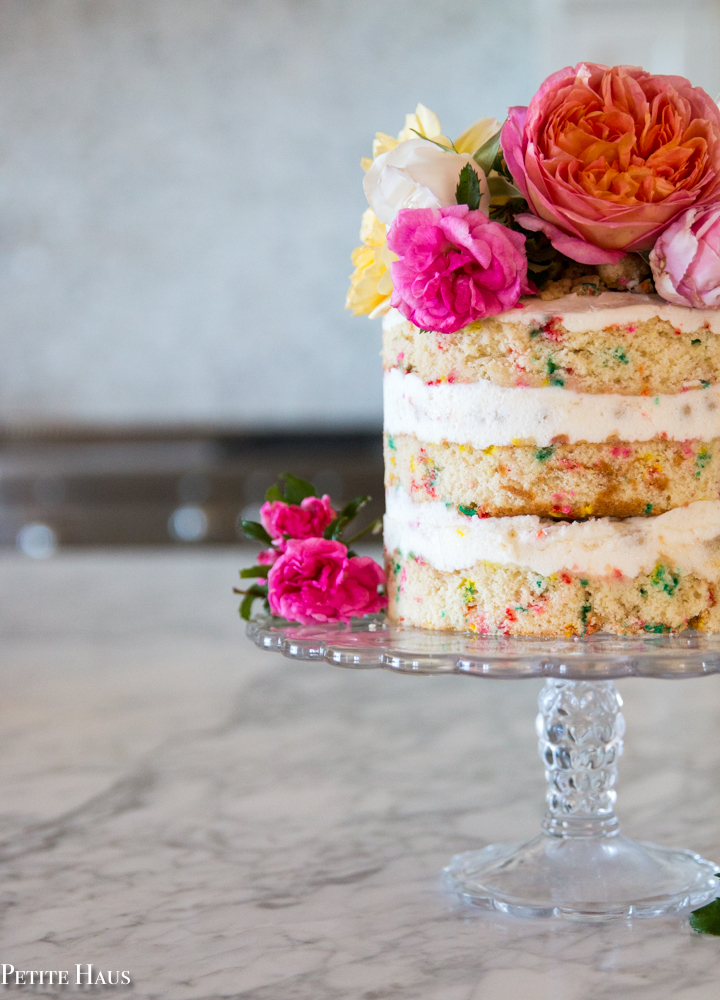
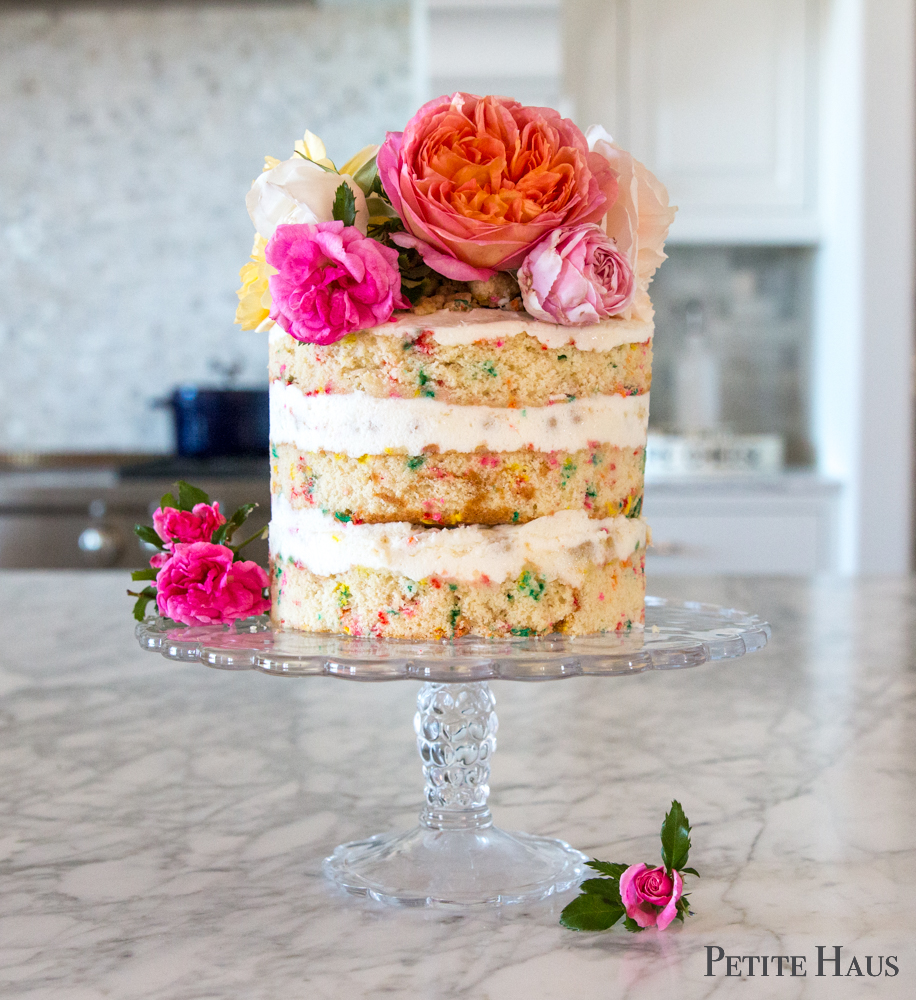
I felt like it needed a little extra impact so picked some I put garden roses on the top. (also, note the differences in the pictures between an iPhone and a DSLR!).  Doesn’t it look pretty?  Well, it tastes as good as it looks!

My final thoughts – this cake was really tasty!  I have never had an American-style cake as good as this one – and seriously, I don’t really like “normal cakes” and I don’t like frosting.  This cream cheese frosting was the bomb.  The cake was really moist.  This is traditional funfetti taken to the next level.  If you want to impress your party goers at your next birthday party, serve them this cake.  If you can’t make it yourself, Milk does ship nationwide.

Get the cookbook and the recipe for yourself below.  I’m so excited to try her other recipes too!

SaveSaveSaveSaveSaveSaveSaveSaveSaveSave

PS – I wasn’t paid to make this cake or review the recipe/cookbook.  I just enjoyed it and wanted to share it with you all!

SaveSave

SaveSave

Follow:

An Easy Berry Lemon Mascarpone Tart

We use affiliate links in our posts and our site. This means if you make a purchase using these links, we may earn a small commission. You don’t pay a cent more than you would otherwise! Our full disclosure is available under About.
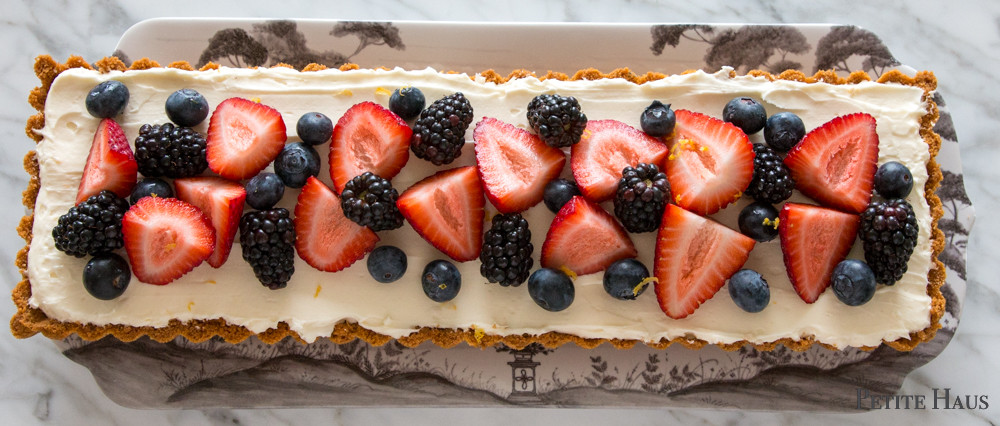
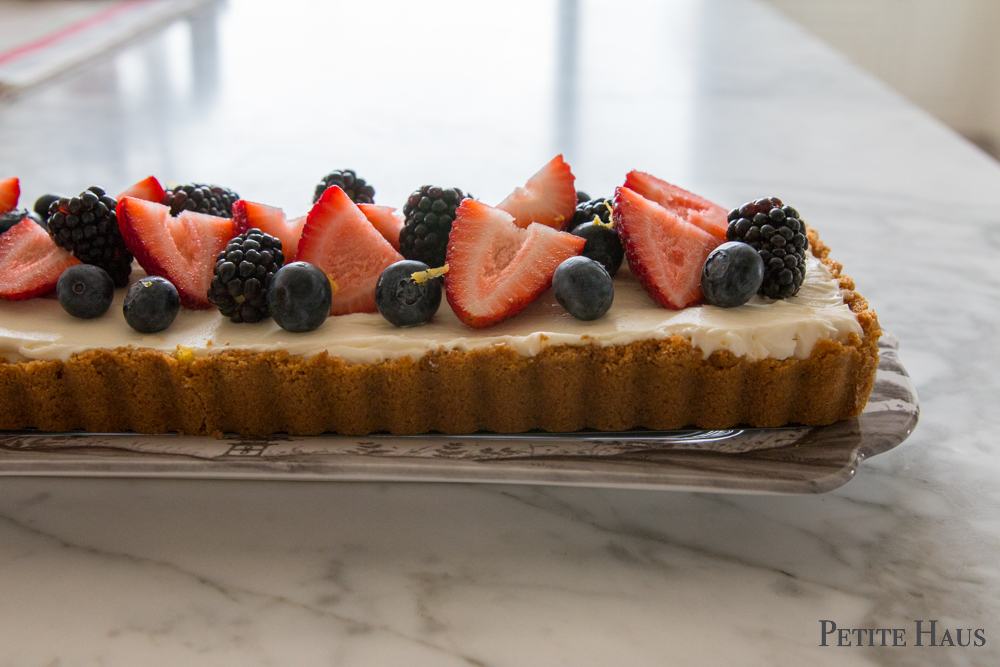
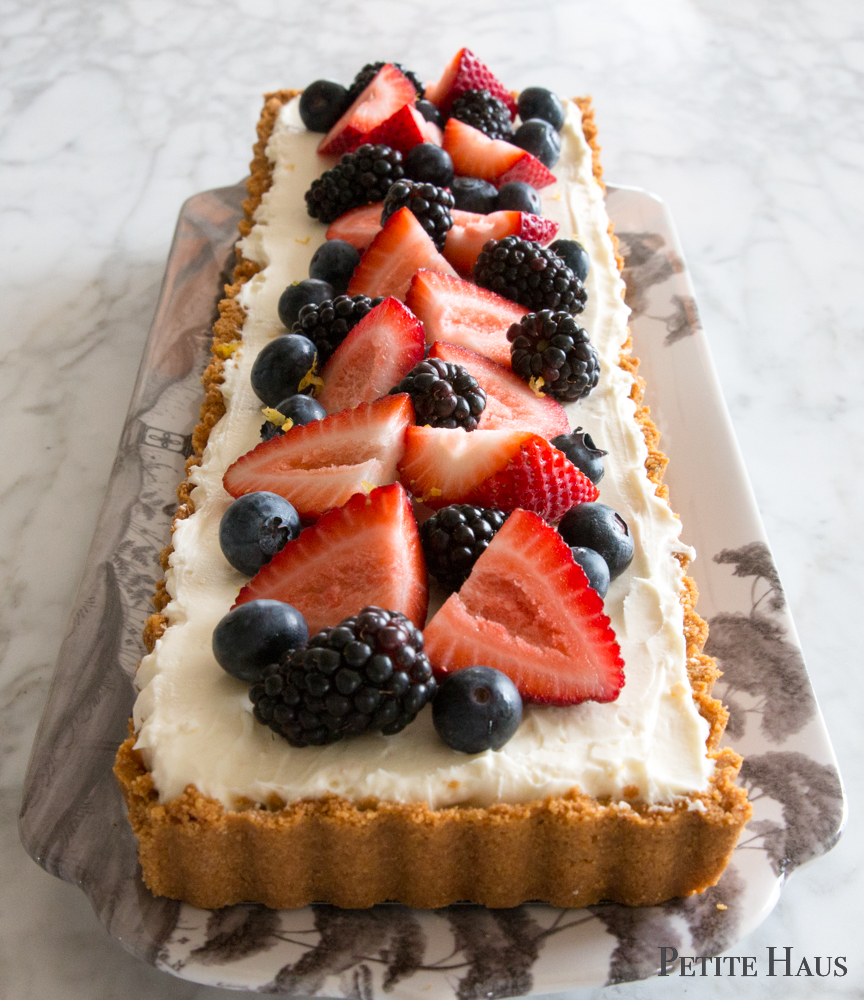
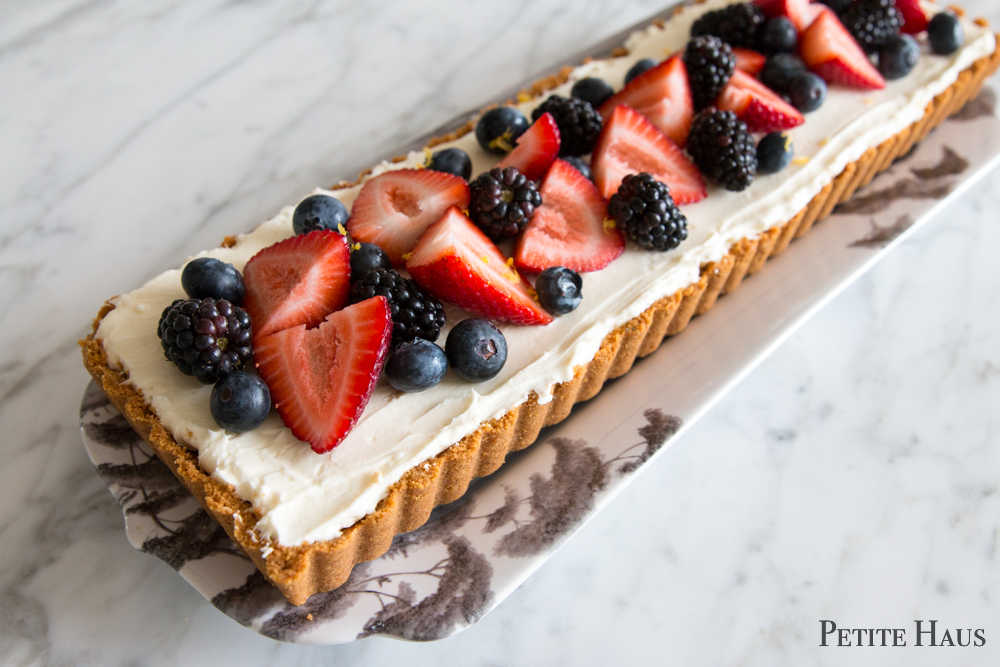
This berry lemon mascarpone tart is perfect for hot days and also for entertaining guests!  It is so easy to make!

My cousin’s wife found the recipe and introduced me to it – so far to date, only one person has not liked it! I just had to share it with you all because it is THAT good! Oh, did I mention it was easy to make? I know I did. I just wanted to make sure you knew that.

This tart uses a graham cracker crust – which is appealing to many as opposed to the plain pie/tart dough crusts (confession – I don’t like crust normally and usually just eat the filling, but I did eat this crust!)

The recipe is an adapatation of this Nerds with Knives Recipe and this Foodie Crush recipe.

For the Graham Cracker Crust:

  • 1.5 cups (7oz) of crushed graham crackers
  • 6 tbsp (85g) melted unsalted butter
  • 3 tbsp (34g) brown sugar (light or dark)
  • 1/4 tsp salt

For the Filling:

  • 3/4 cup heavy whipping cream
  • 4 ounces cream cheese
  • 8 ounces mascarpone cheese
  • 2 tbsp powdered sugar
  • 3/4 cup lemon curd
  • zest from half a lemon
  • juice from one lemon (preferably one Meyer lemon)

For the topping:

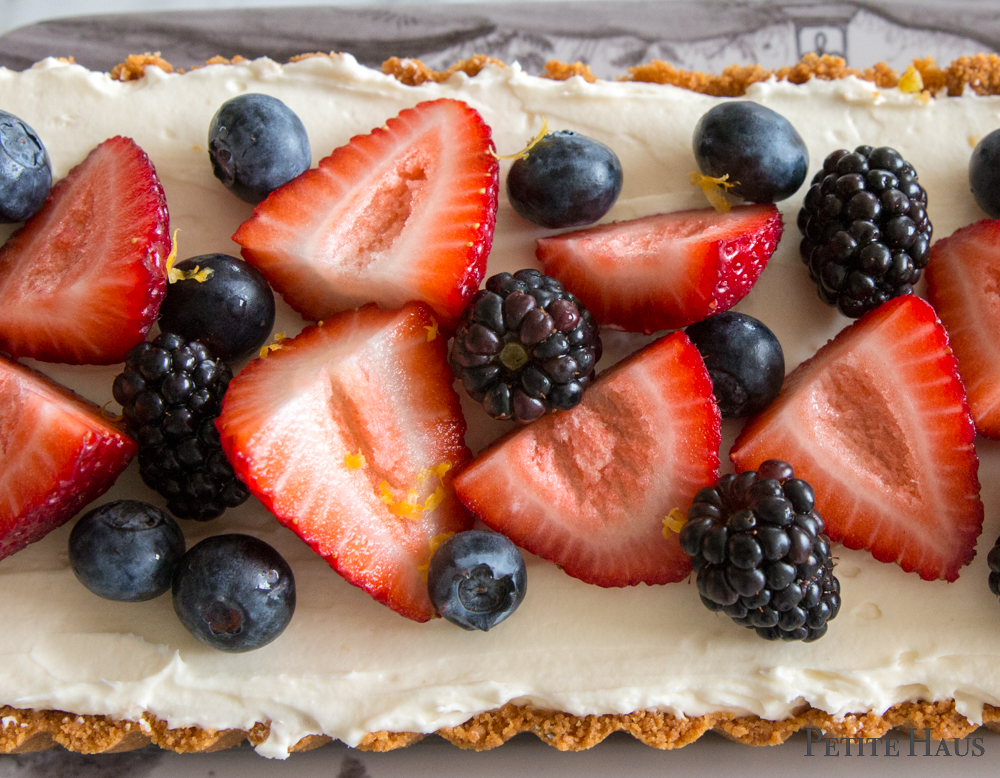
  • use whatever berries look good to you! Takes about 1 pint strawberries, 1 pint other berries.
  • Sprinkle the top with the remaining zest from the other half of the lemon
  • Garnish with mint leaves

Directions

For the crust: (You can use a rectangular tart pan, square, or round – so long as the bottom is removable!)

  1. Preheat oven to 350F (or 325F convection oven).
  2. Combine crushed graham crackers, salt, sugar and melted butter in a food processor.
  3. Place crumbs into tart pan and evenly spread the crumbs.  Press them down to make a compact layer.  You want the crust to be about 1/4″ thick – so you may not use all of the crumb mixture.
  4. Bake crust until it’s golden brown and aromatic, approximately 8-10 minutes. Take out from oven and let crust cool completely before filling. You may make it a day ahead of time and keep wrapped up at room temp.

For the filling

  1. Beat the whipping cream and cream cheese together on high speed until soft and creamy, takes a few minutes.
  2. Add the mascarpone cheese and powdered sugar and beat until mixed well.
  3. Add the lemon curd, lemon zest, and lemon juice and mix until just combined.
  4. Scoop the mixture onto the cooled tart crust and level it with a spatula.  Hold a little bit back in reserve – that way you can have some to hide some mistakes while spreading (I may have dragged a bunch of graham cracker crumbs onto the filling at one point – but you can’t tell because I saved some filling to I could hide my mistake!)
  5. Chill in refrigerator for about 3 hours (or overnight!).
  6. Place berries and garnish on top just before serving.
  7. Serve chilled (I ate it after it had been out for 1.5 hours – it was still scrumptious! Although I preferred it straight out of the fridge)

This tart can be made a day in advance.  Or you can make the crust in advance and the filling the day of your event.  It just has to chill a few hours.  Add the berries at the last minute – you can do whatever fruit you want.  This tart is simply scrumptious!  If you want your fruit to look shiny like pastry shops, you can make a simple syrup by taking apricot jam and watering it down- then brush it on the fruit.

This is a great dessert to bring to parties.  It is light and refreshing – perfect for the hot Summer months that are coming soon!

SaveSave

SaveSave

Follow:

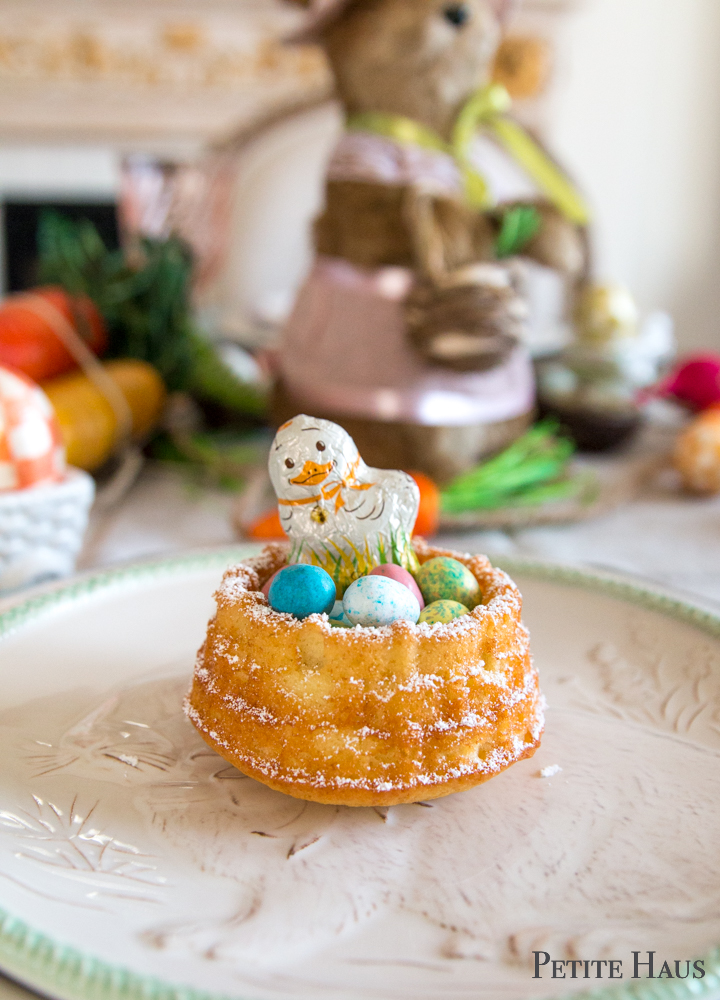
Mini Easter Basket Cakes

mini Easter basket cake. mini Easter nest cake. Cake is a French almond yogurt cakeWe use affiliate links in our posts and our site. This means if you make a purchase using these links, we may earn a small commission. You don’t pay a cent more than you would otherwise! Our full disclosure is available under About.
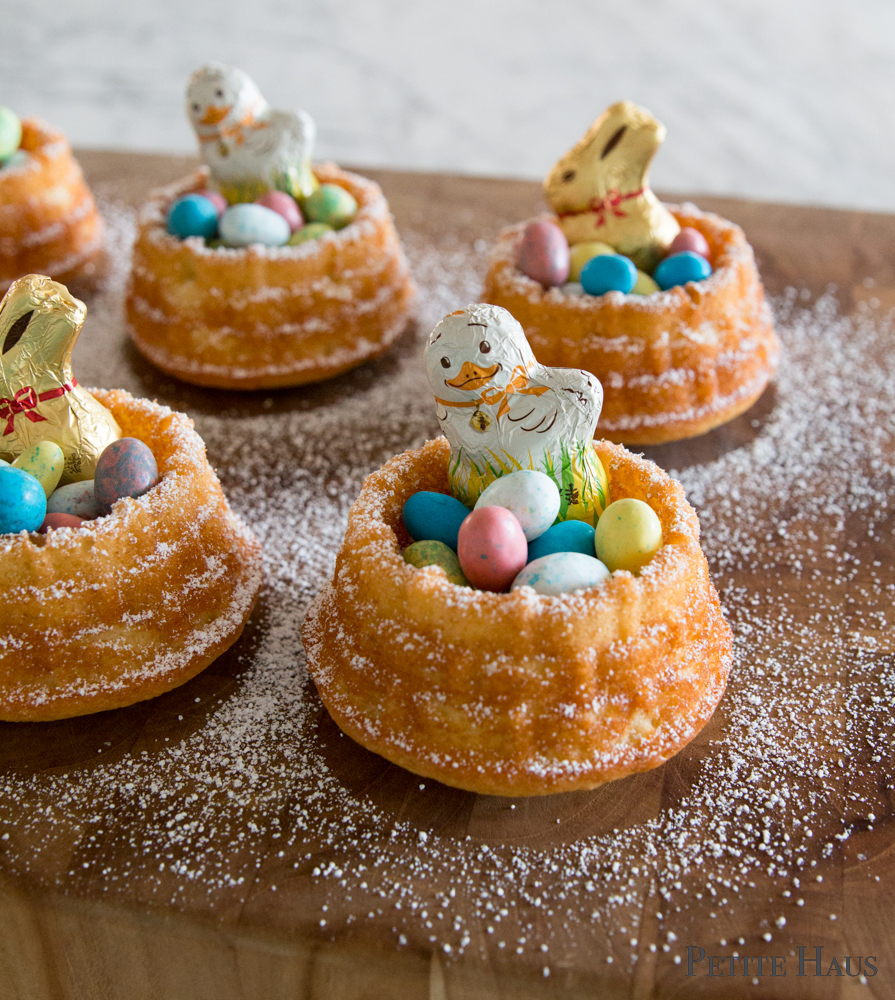
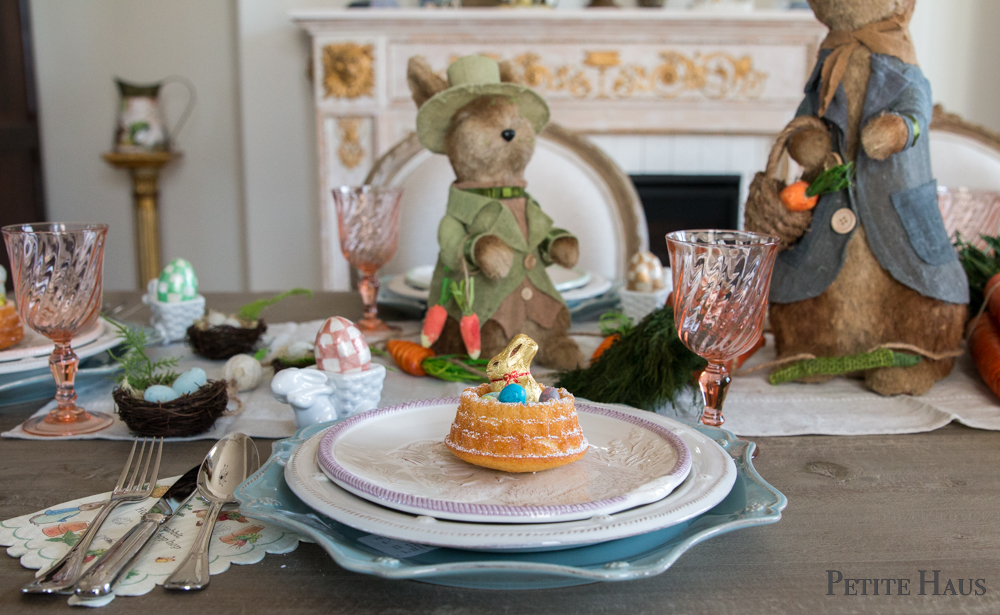
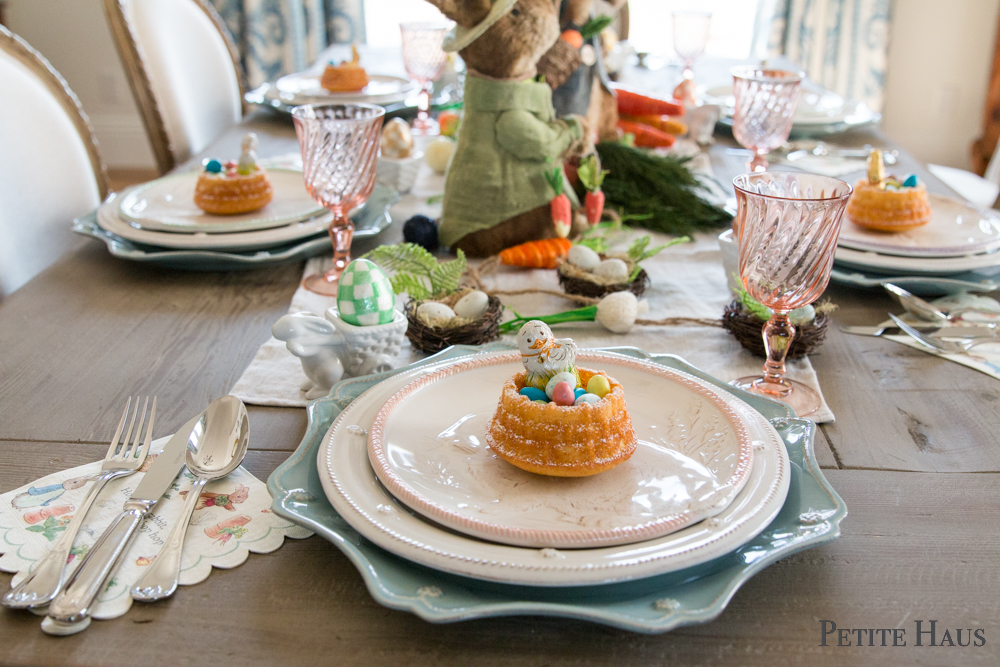
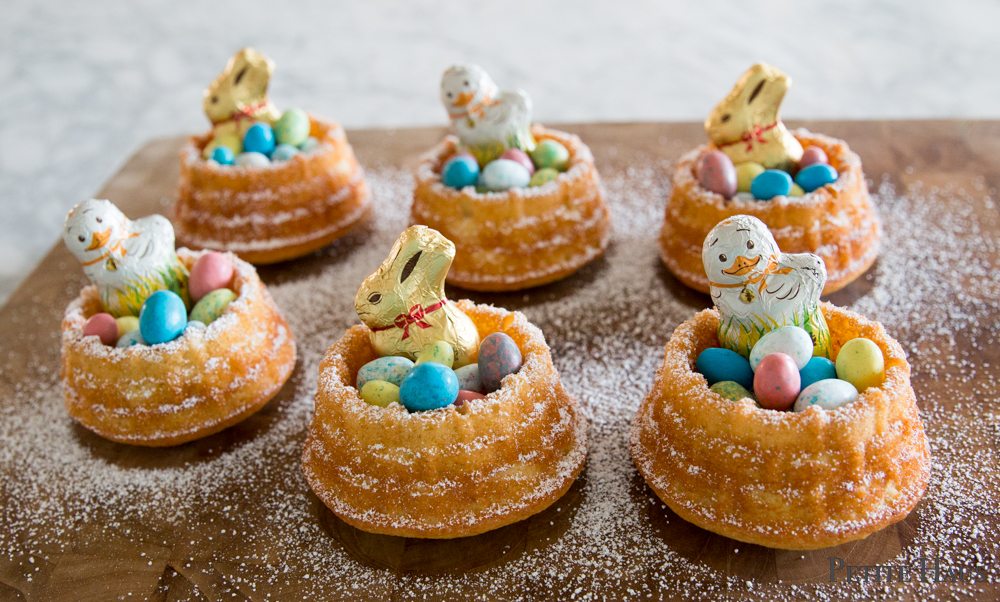
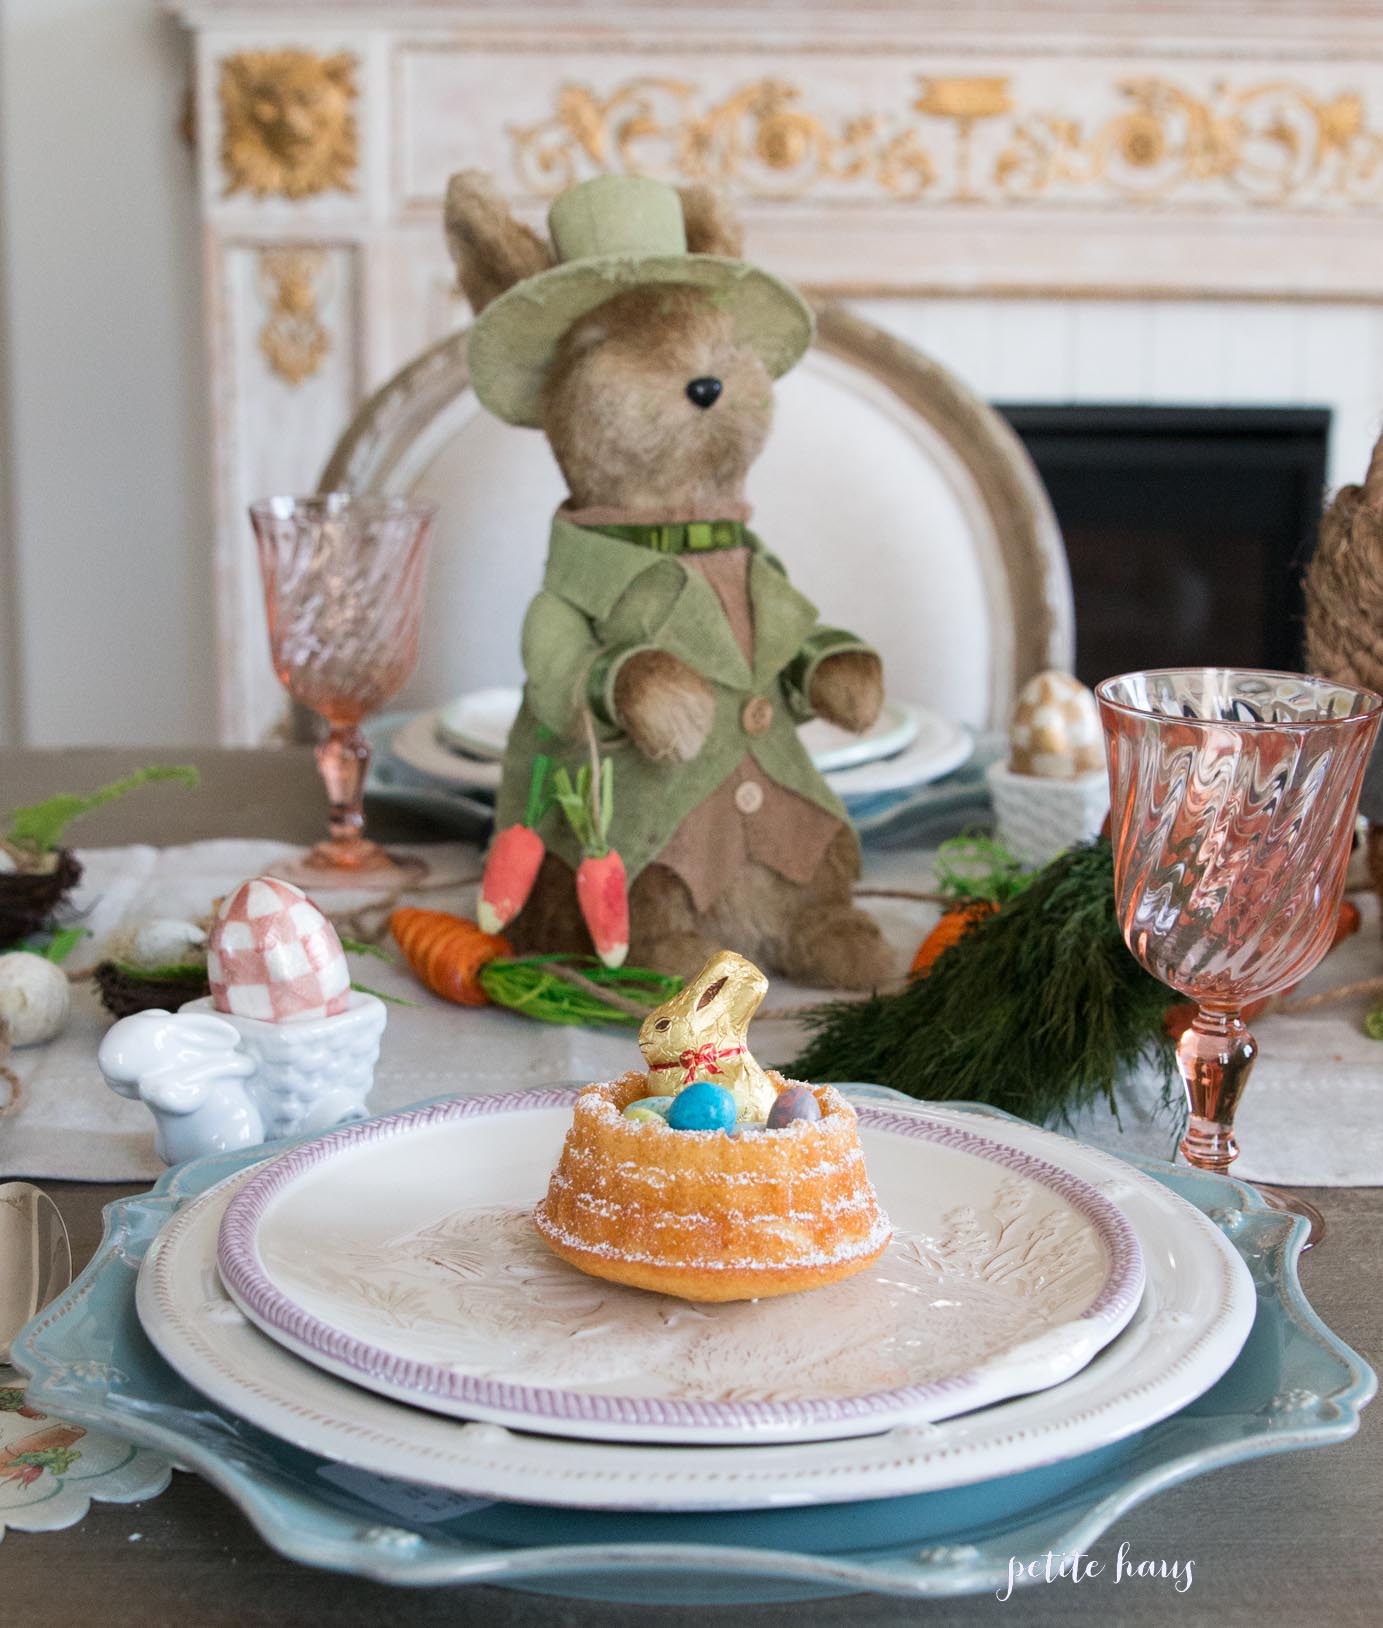
I made these mini Easter basket cakes and am so delighted with how they turned out – I just had to share them!

mini Easter basket cake. mini Easter nest cake. Cake is a French almond yogurt cake

They are so cute and pretty easy to make – you just have to have the correct pan, that’s all!

Easter basket cake

I had received a little basket pan as a gift last year – these are supposed to be for strawberry shortcakes but I think they look pretty cute as Easter baskets! mini Easter basket cake

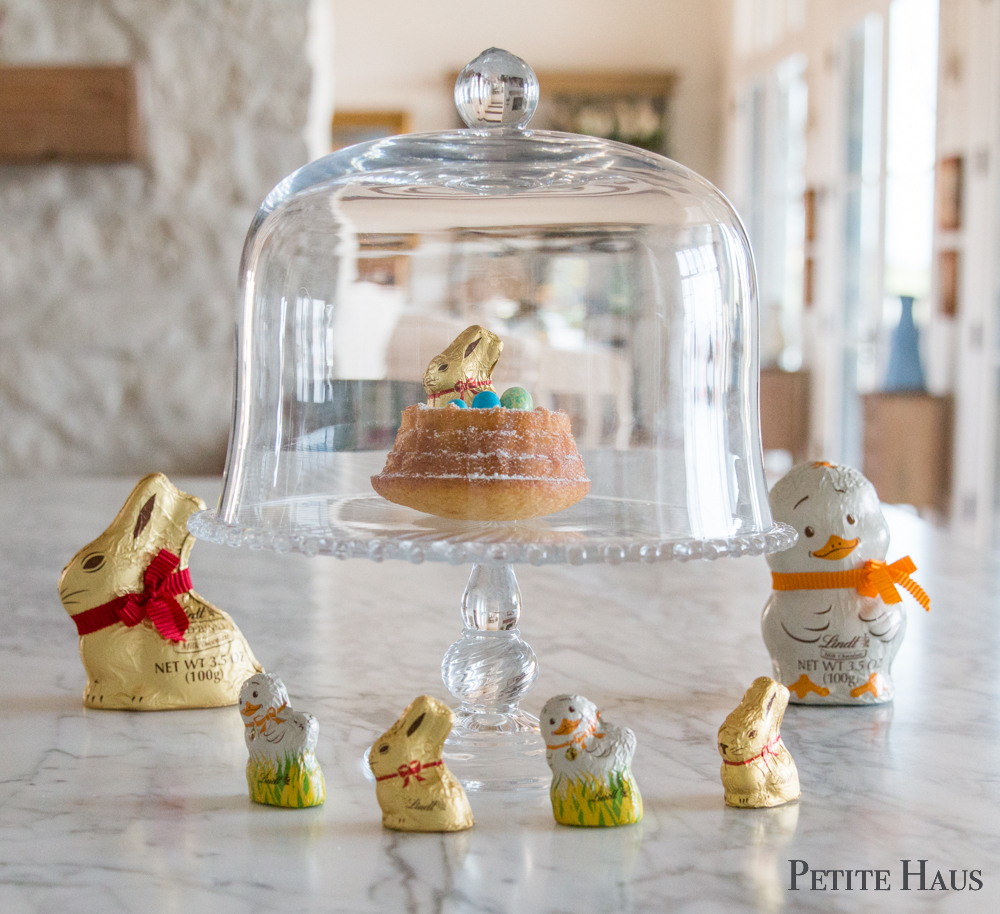
I filled each little basket with some Robin’s eggs and a little Lindt chocolate. mini Easter basket cake. mini Easter nest cake. Cake is a French almond yogurt cake

I sprinkled them with a little powdered sugar so you can see the basket pattern better!mini Easter basket cake. mini Easter nest cake. Cake is a French almond yogurt cake

French Yogurt Lemon Cake (recipe adapted from NY times)

Ingredients

  • 1 cup all-purpose flour
  • 1/2 cup almond flour
  • 2 tsp baking powder
  • a pinch of salt
  • 1 cup granulated sugar
  • grated zest of 1 lemon
  • 1/2 cup plain greek yogurt
  • 3 large eggs
  • 1/4 tsp vanilla extract
  • 1/2 cup canola oil

Directions

  1. Preheat oven to 350F degrees ( or 325F convection oven).  Butter the pan and place in the freezer.
  2. Combine the flour, almond flour, baking powder and salt. Whisk together and set aside.
  3. In a separate bowl, place the sugar and zest in a bowl and rub the sugar and zest together with your fingertips.  Do this until the sugar is moist and aromatic.
  4. Next, add the yogurt, eggs and vanilla to the sugar bowl.  Mix until it is well combined.  Then add the dry ingredients.
  5. Add in the oil by folding it into the mixture.  Your batter will be thick with a slight sheen.
  6. Take the pan out of the freezer, and fill each of the baskets about 3/4 of the way full.  Place in oven and bake about 20 minutes, or until cake becomes golden brown and a knife inserted into the cake comes out clean. Transfer to a rack and cool. Remove from pan.

You can just make this in a loaf pan too instead of the basket pan. Bake instead for about 50 minutes.

mini Easter basket cake

Now it can be a little dry – I would actually recommend serving it with some fresh fruit.  While the robins eggs are cute, I don’t think they will actually go well with the cake!  It would also go well with some lemon curd!  I love using the Lindt chocolates – see my Easter sweets bar here.

You can get the basket pan here or at Amazon!

Easter Nest Desserts, Easter nest treats, easter nest cake, easter cake, easter basket dessert

SaveSave

Follow:

From the Shop

I may earn a small commission if you purchase with these links

no products
Please note that I use ShopSense, LIKETOKNOW.it, Shareasale and Amazon affiliate links on this site. This means using them for purchases won’t cost you extra but may earn me a small commission.  Our full disclosure is available for viewing under About in the disclosure policy.
All rights reserved. Our graphics, images and text are all subject to copyright protection.