google.com, pub-5426958118371358, DIRECT, f08c47fec0942fa0

Pretty Salted Caramel Apple Pie and Recipe

We use affiliate links in our posts and our site. This means if you make a purchase using these links, we may earn a small commission. You don’t pay a cent more than you would otherwise! Our full disclosure is available under About.

A pretty salted caramel apple pie is what I have in my mind today.  I love apple pie.

It might be my favorite pie.

 I wanted to try making a lattice top pie – I had never done that before! I watched this video on how to do it!

Then I thought, oh let me add some pretty roses from the garden to the top of my pie.

Don’t the roses look pretty? I had to make sure I shook all of the little bugs off!

Maybe one or two got out… who knows…

Then I thought, how can I improve my apple pie? How about…. drizzle some homemade salted caramel sauce on it.

Oooh, yes. Here it is. Still hot from cooking on the stove.

Go ahead and drizzle that all over the top.

The BEST apple pie recipe: (printable version here)

For the dough:

    • 2 1/2 cups all-purpose flour
    • 1 tsp. salt
    • 2 tsp. granulated sugar
    • 16 Tbs. (2 sticks) cold unsalted butter, cut into 1/2-inch dice
    • 3 to 4 Tbsp. ice water

For the filling:

    • 2 lb. Granny Smith apples, peeled, cored and cut into slices 1/4 inch
    •   thick
    • 2 lb. Honey Crisp apples, peeled, cored and cut into slices 1/4 inch thick
    • 1/2 cup firmly packed light brown sugar
    • 1/4 cup granulated sugar
    • 1/2 tsp. ground cinnamon
    • 1/4 tsp. salt
    • 1/4 tsp. freshly grated nutmeg
    • 4 tsp. cornstarch
    • 1 Tbs. fresh lemon juice
    • 1 egg white, beaten with 1 tsp. water
    • 2 tsp. granulated sugar

Directions:

To make the dough  (Now, if you are going to do a lattice top, you need to double the recipe): In a food processor, pulse the flour, salt, and granulated sugar together until combined, about 5 pulses. Add the butter and process until the mixture resembles coarse meal, about 10 pulses. Add 3 Tbs. of the ice water and pulse 2 or 3 times. The dough should hold together when squeezed with your fingers but should not be sticky. If it is crumbly, add more water 1 tsp. at a time, pulsing twice after each addition. Turn the dough out onto a work surface, divide in half and shape each half into a disk. Wrap the disks separately in plastic wrap and refrigerate for at least 2 hours or up to overnight.

On a lightly floured work surface, roll out half of the dough into a 12-inch round about 1/8 inch thick. Fold the dough in half and then into quarters and transfer it to a 9-inch deep-dish pie dish. Unfold and gently press the dough into the bottom and sides of the dish. Trim the edges flush with the rim of the dish. Refrigerate for 30 minutes.

On a large sheet of lightly floured parchment paper, roll out the remaining dough disk into a 12-inch round about 1/8 inch thick. Using leaf pie cutters, cut out as many leaves as your heart desires. Refrigerate the cutouts for 30 minutes (I actually did not do this step this time and instead cut them out and immediately put them on top of the apples).

Meanwhile, make the filling: In a large Dutch oven, stir together the apples, brown sugar, granulated sugar, cinnamon, salt, nutmeg and cornstarch. Set over medium heat, cover and cook, stirring occasionally, until the apples are just tender but not mushy, about 20 minutes. Uncover and cook until the liquid has thickened and become glossy, 5 to 7 minutes more. Remove from the heat, stir in the lemon juice and let cool to room temperature, about 30 minutes.

Position a rack in the lower third of an oven, place a baking sheet on the rack and preheat the oven to 400°F.

Let the pie shell, lattice top and leaf cutouts stand at room temperature for 5 minutes. Transfer the apple filling to the pie shell, then gently invert the lattice top over the pie. Trim the edges flush with the rim of the dish and press the top and bottom crusts together to seal. Brush the underside of the leaf cutouts with egg wash and gently press them onto the edges of the piecrust, overlapping the leaves slightly. Decorate as desired with the remaining leaves. Brush the entire top crust with egg wash and sprinkle with the granulated sugar.

Place the pie dish on the preheated baking sheet. Bake until the crust is crisp and golden brown, about 1 hour, covering the edges with aluminum foil if they become too dark. Transfer the pie to a wire rack and let cool for at least 1 1/2 hours before serving. Serves 8.

Adapted from Williams-Sonoma Kitchen.

To get the Salted Caramel Sauce Recipe, click here.

It is from David Lebovitz.

I did not have salted butter so I added 1 tsp of salt to my caramel.

The salted caramel was delicious! DELICIOUS.  I used it in my latte the next day – yum! Oh, also tastes good with vanilla ice cream.

I’d love it if you’d pin this:Pretty Salted Caramel Apple Pie and Recipe


SaveSave

Follow:

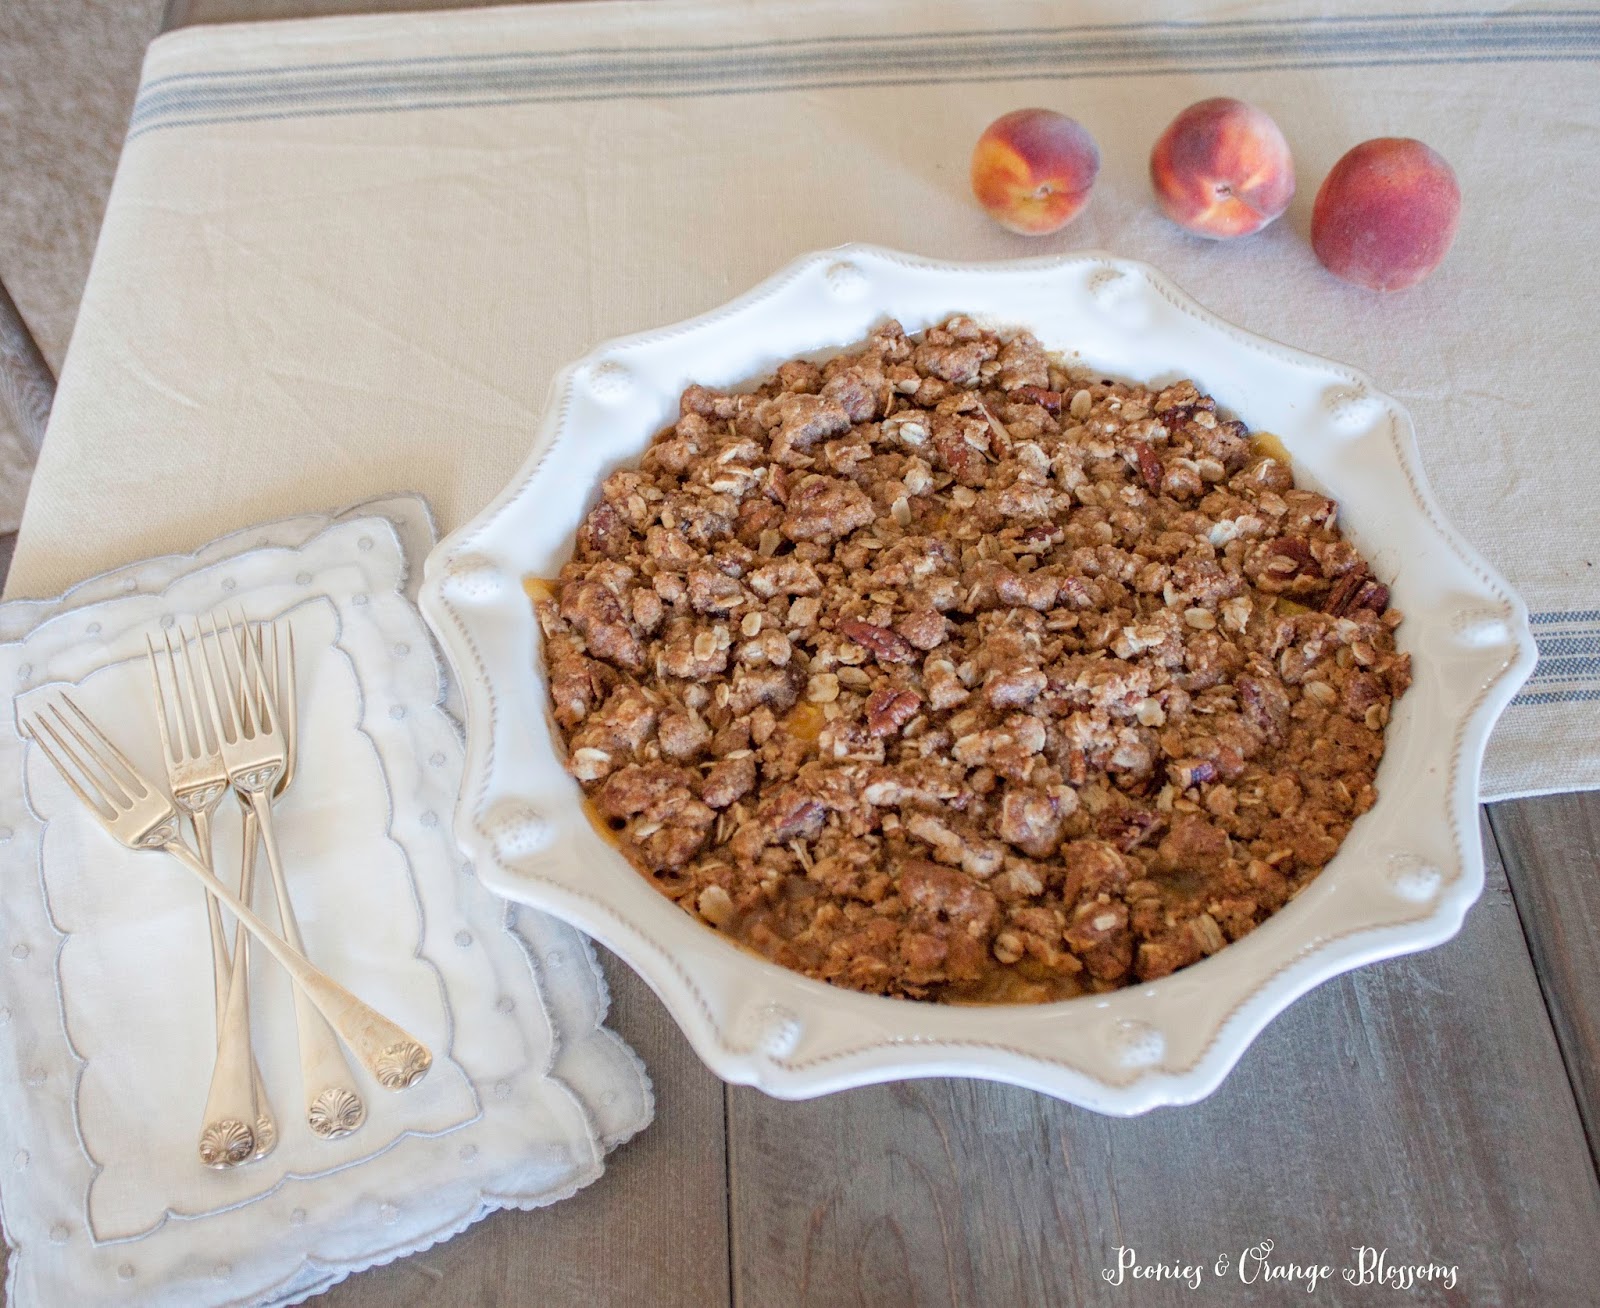
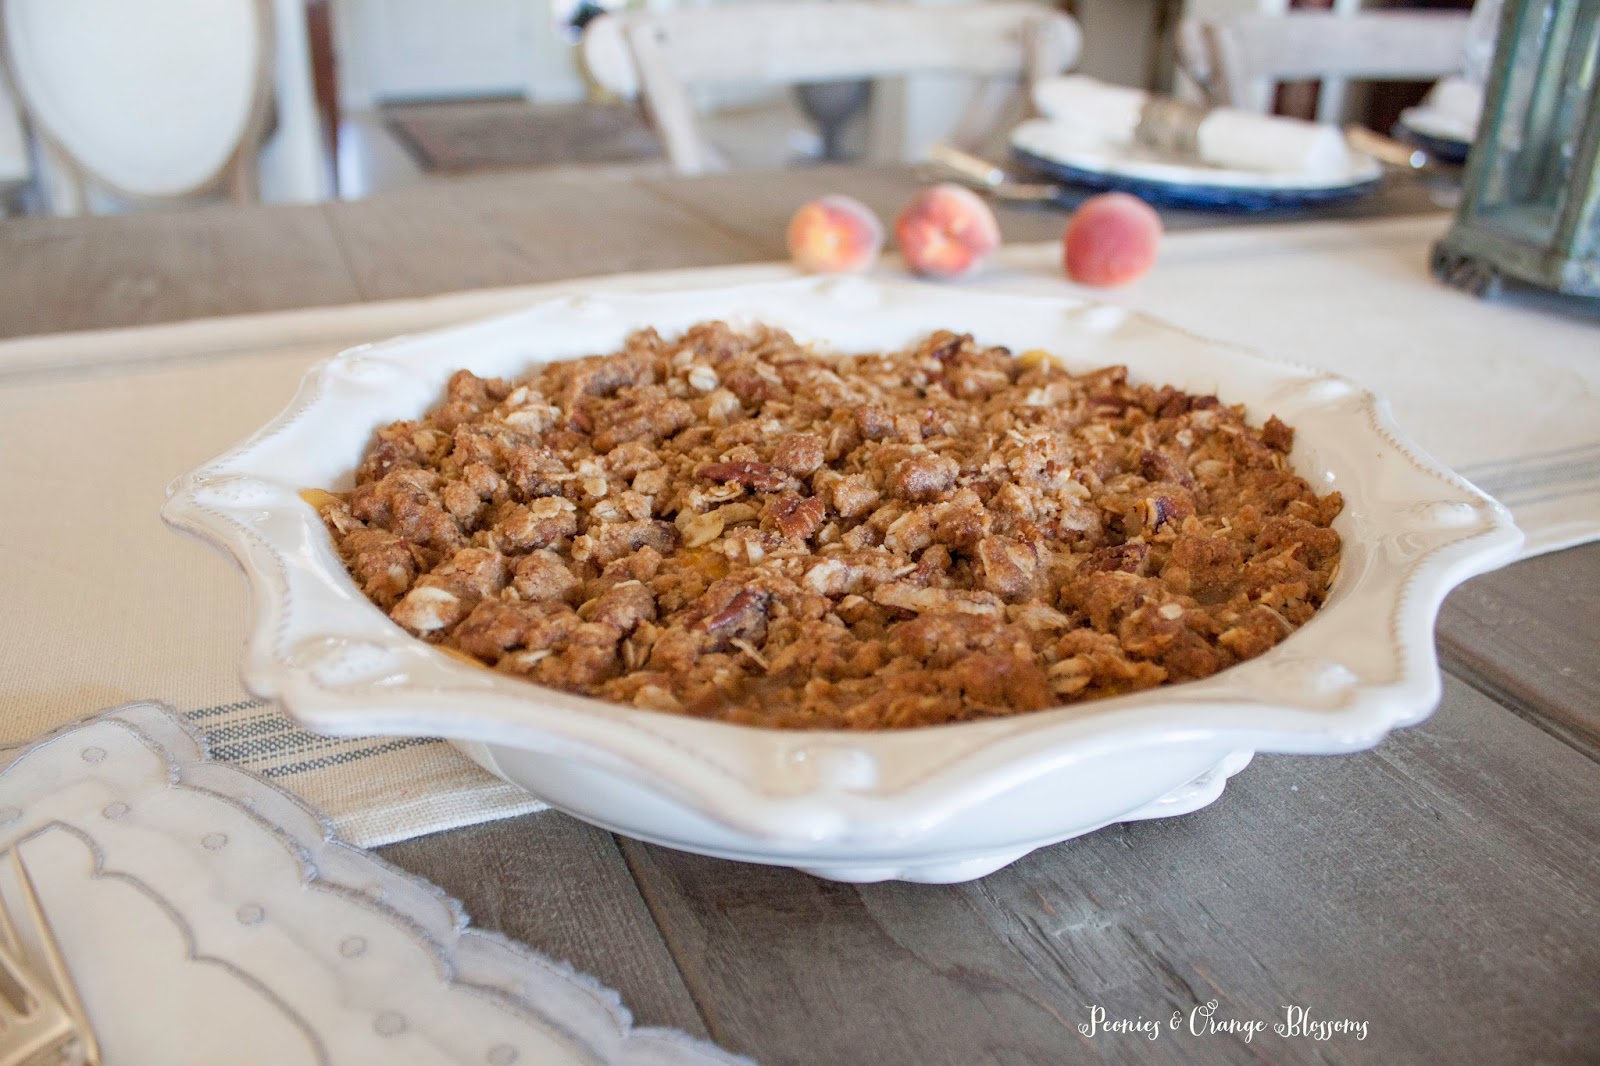
Delicious Peach Pecan Crumble Crisp Recipe

We use affiliate links in our posts and our site. This means if you make a purchase using these links, we may earn a small commission. You don’t pay a cent more than you would otherwise! Our full disclosure is available under About.

Hello, lovelies! 

Are you all enjoying this Summer?

I am! Our peach trees are exploding with peaches – we have peaches coming out of our ears! 

So what do you do with the excess peaches… bake them!

This post may contain affiliate links.

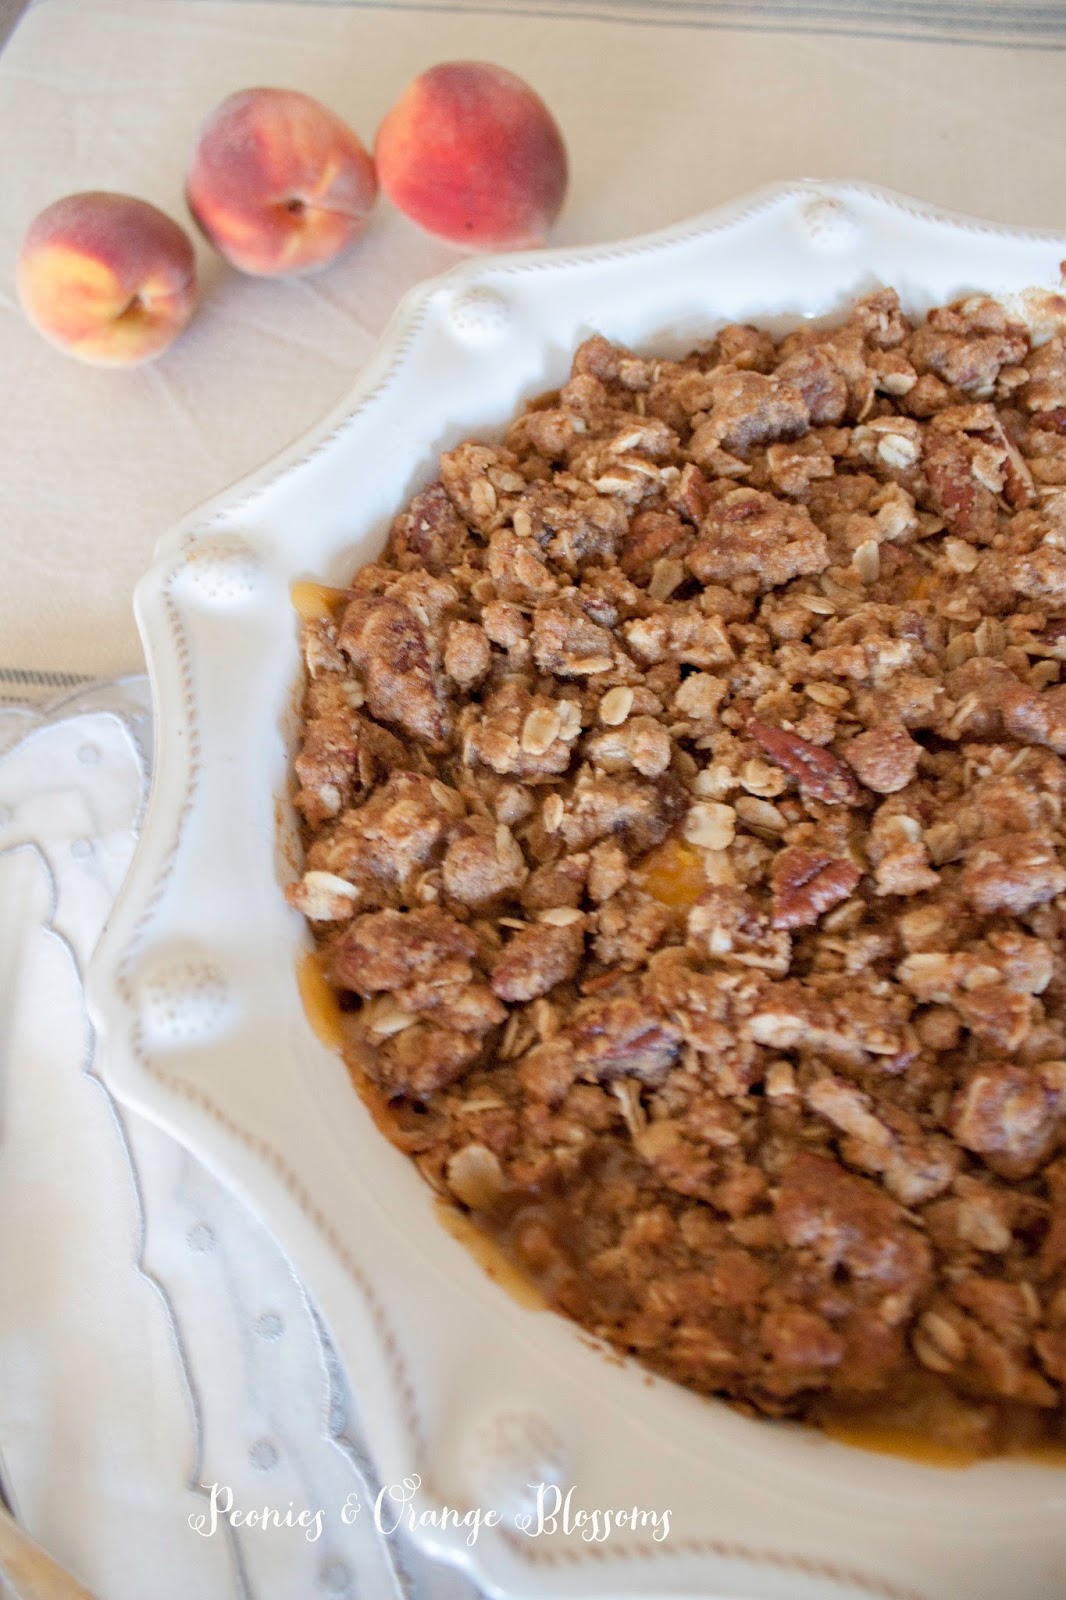
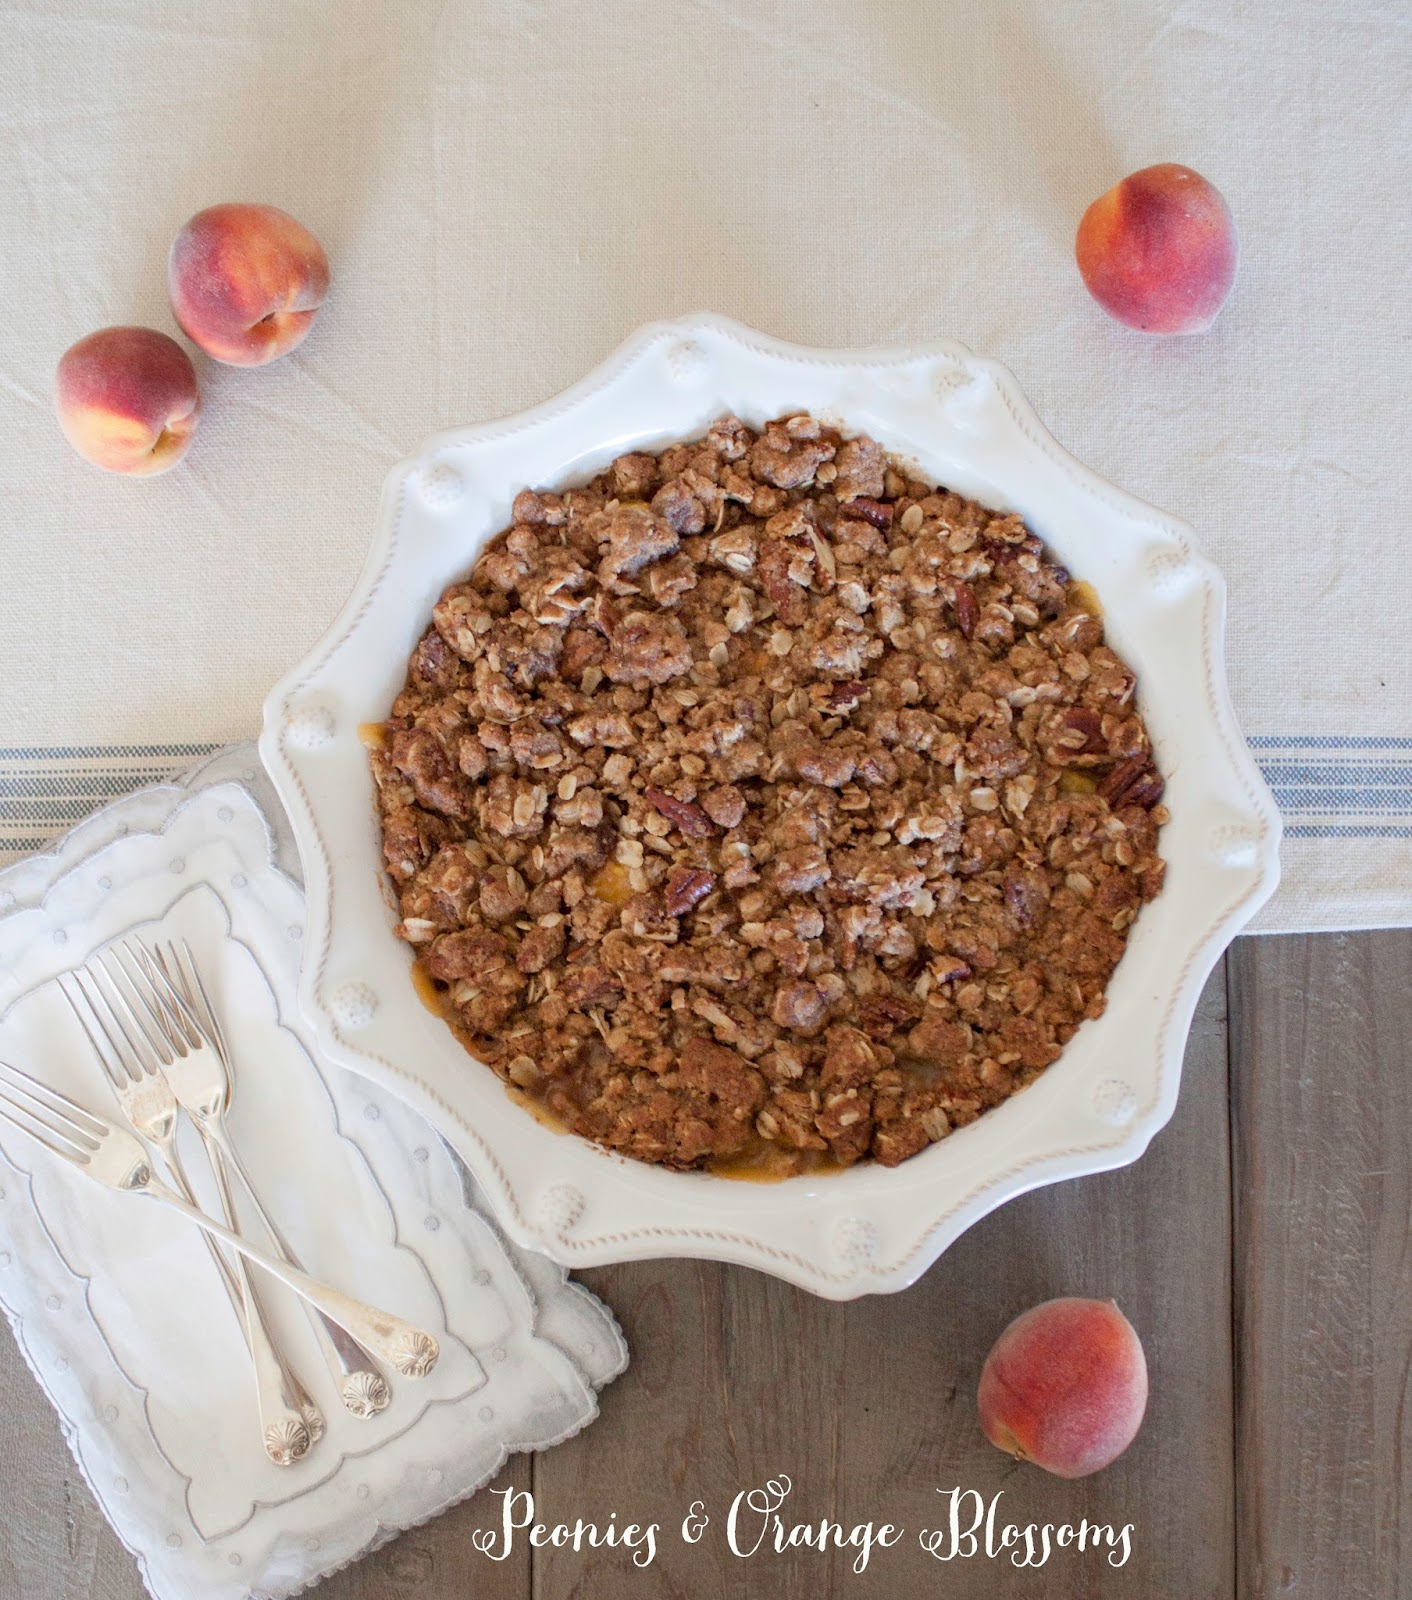
This isn’t your average peach crisp recipe.

I added some pecans into the crunchy crisp – which typically are associated with Fall foods. 

I thought, hmm, Georgia is known for peaches and pecans, so let’s try them both together!

I was pleasantly surprised! It was a hit!

Peach Pecan Crumbly Crisp Recipe

Filling 

Approx 5-6 cups of sliced and peeled peaches (about 6 medium peaches, I used about 10 peaches as they were very small)
1/4 cup all-purpose flour 
1/4 teaspoon salt
1/2 teaspoon vanilla extract
1 tbsp granulated sugar*

Topping

3/4 cup brown sugar
2/3 cup all-purpose flour
2/3 cup old-fashioned rolled oats or quick oats
1 teaspoon ground cinnamon
1/4 teaspoon salt
1/2 cup unsalted pecans, chopped or halved
1/2 cup (1 stick) unsalted butter, softened or melted


Directions

1. Preheat oven to 350F. Lightly grease an 8-9″ baking pan or pie pan.
2. Make your filling by combining the peaches, flour, salt, vanilla and sugar. Use a spatula to gently mix together as you don’t want your peaches falling apart! Pour into your prepared dish.
3. Prepare your topping by combing the sugar, flour, oats, cinnamon and salt. Mix those together. Then add in the pecans.  Pour your butter on top and mix until it is a crumbly mixture (it will turn to a darker color as the butter absorbs into the ingredients)
4. Evenly spoon the topping onto your peaches.  Bake for about 35-45 minutes until the mixture is browned on top and the peaches are bubbling at the edges.
5. Allow to cool.  This tastes best when it is warm served with vanilla ice cream, hint hint. If you have some leftovers the next day (the horror! You didn’t eat it all the first day?) just heat it up either in the toaster oven or in the microwave.

Bonus tips:

If you are peeling a lot of peaches like I did, you want to prevent the peaches from going brown. I toss my peaches with Fruit Fresh.

You can also used canned peaches.

You could always add more or less pecans as you wish.  

This was delicious and the topping could be used for any crisp – berry crisp, ooh, APPLE crisp! Now I am drooling…

peach pecan crumble crisp recipe

Sharing a few of my favorite pie dishes as well…

Where I Party


http://peoniesandorangeblossoms.blogspot.com/

SaveSaveSaveSave

Follow:

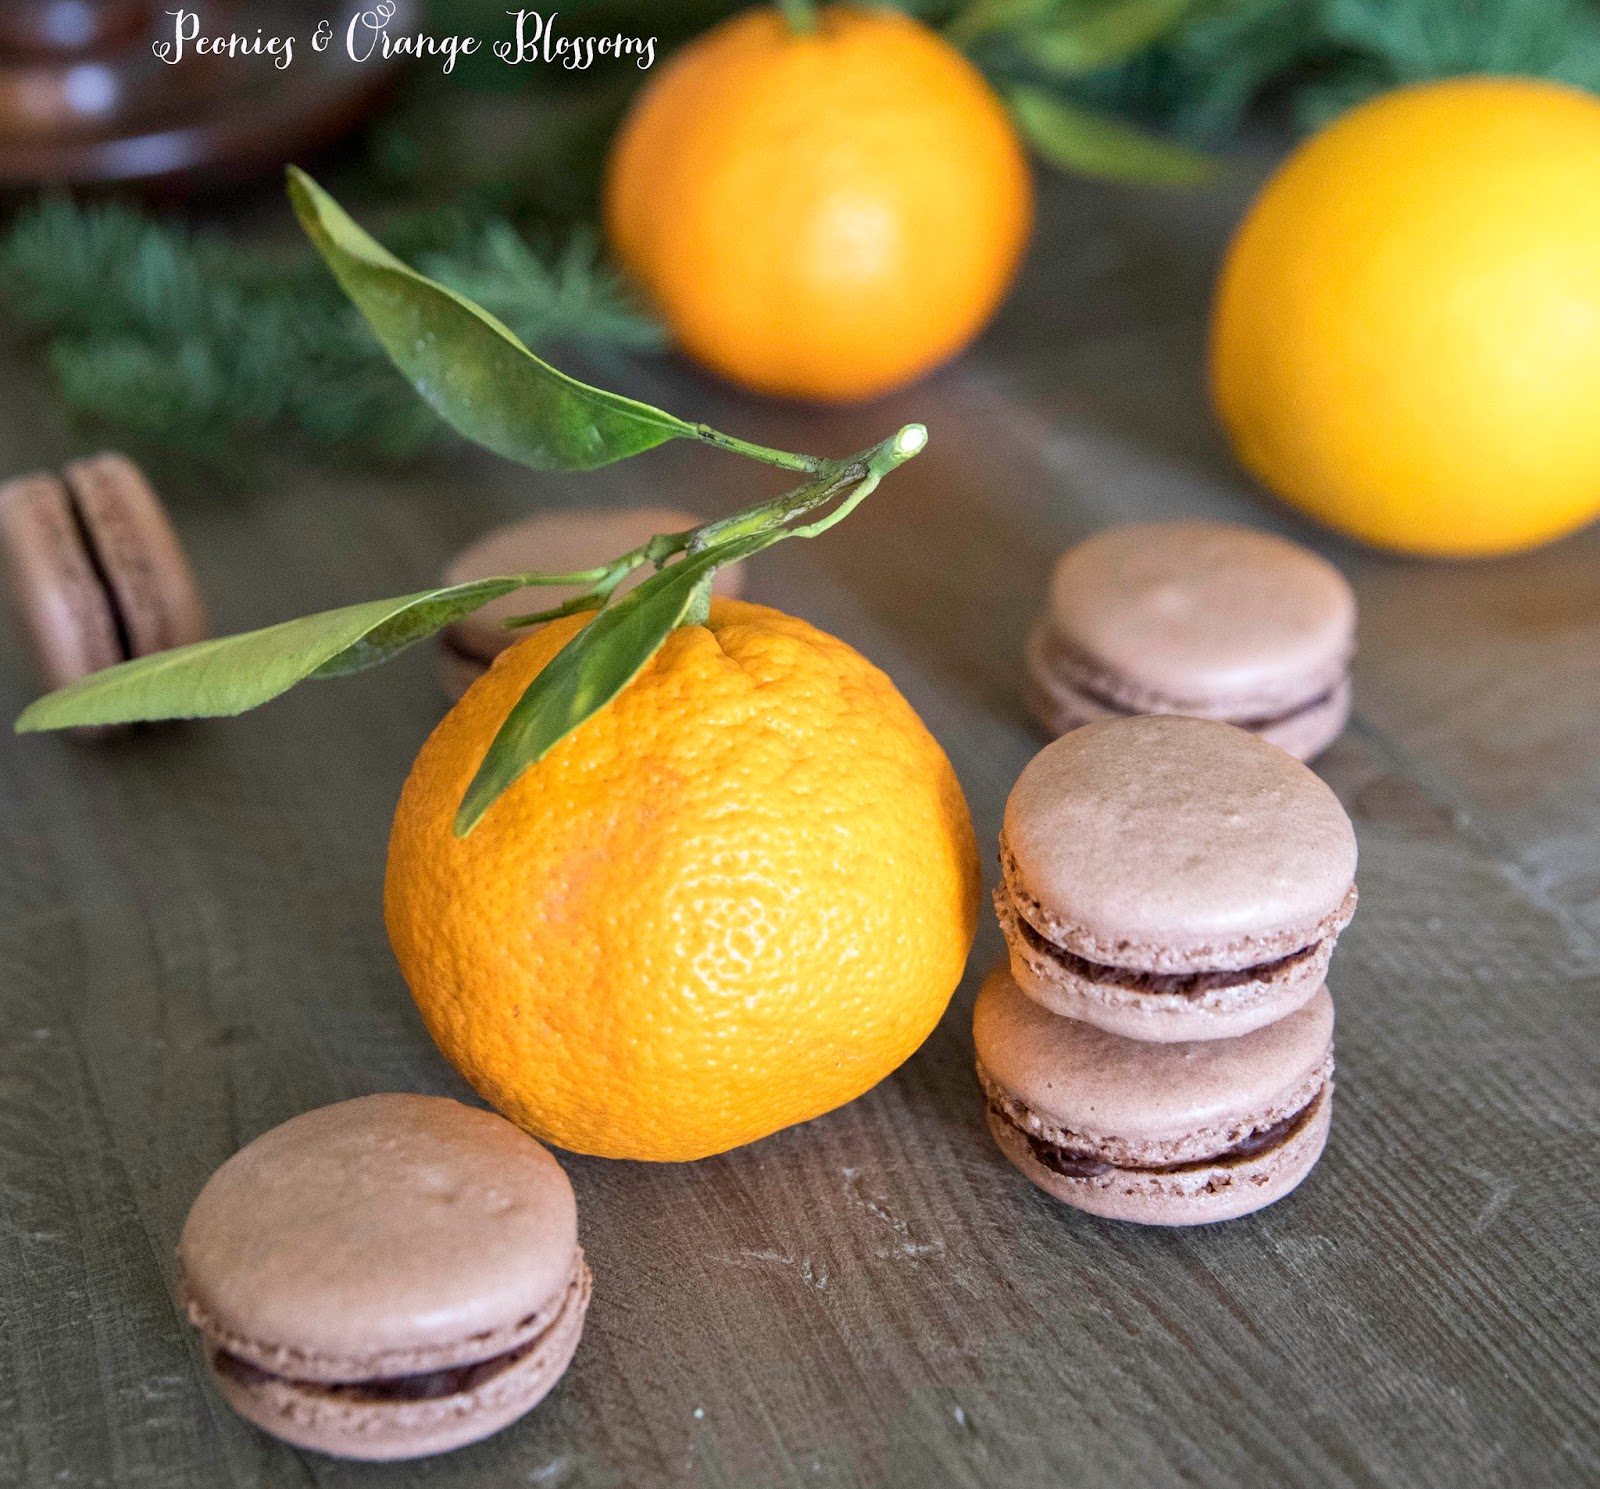
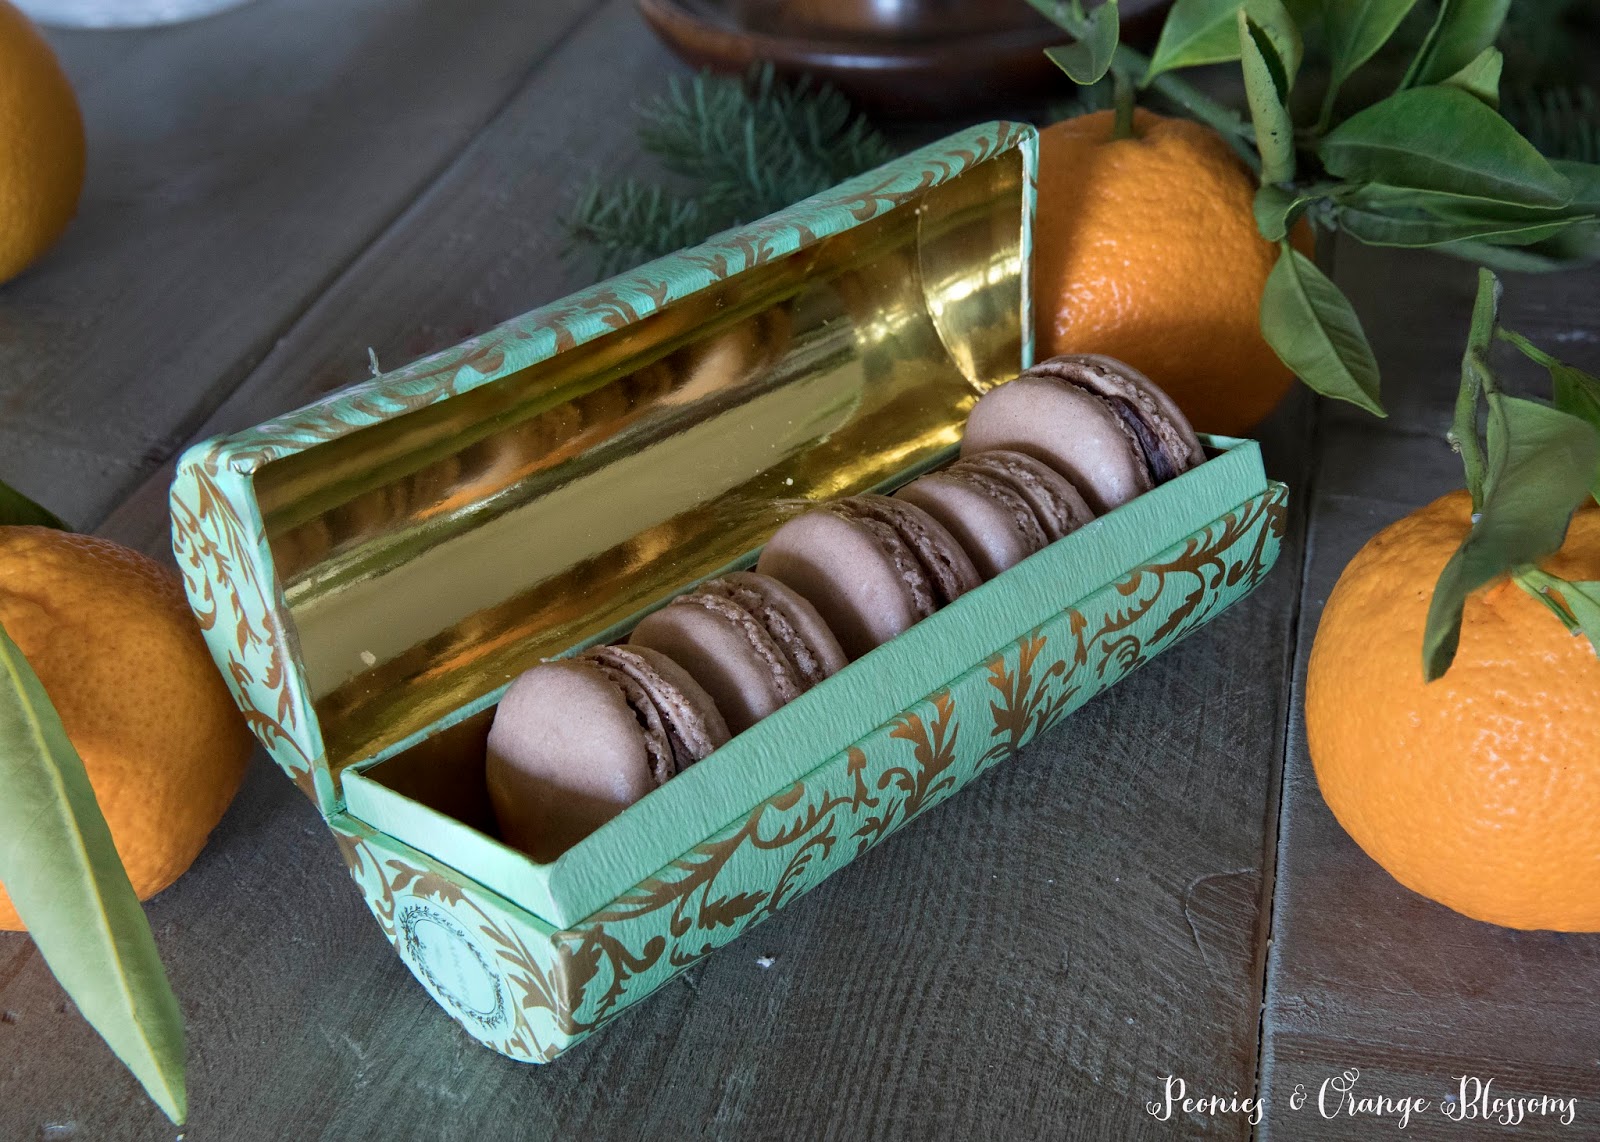
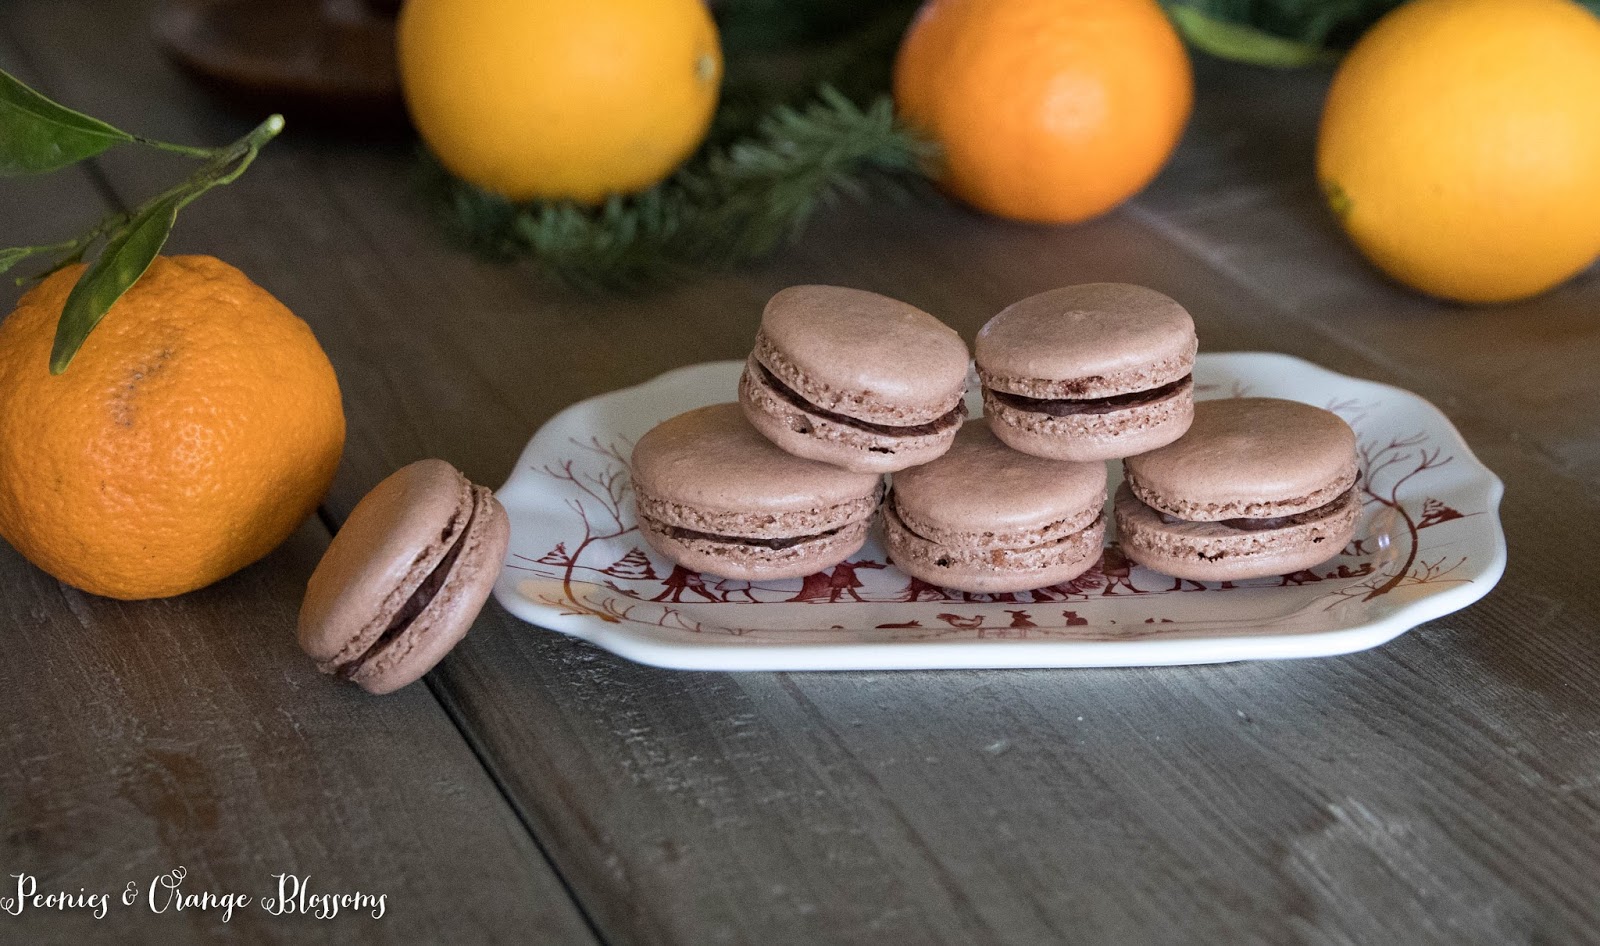
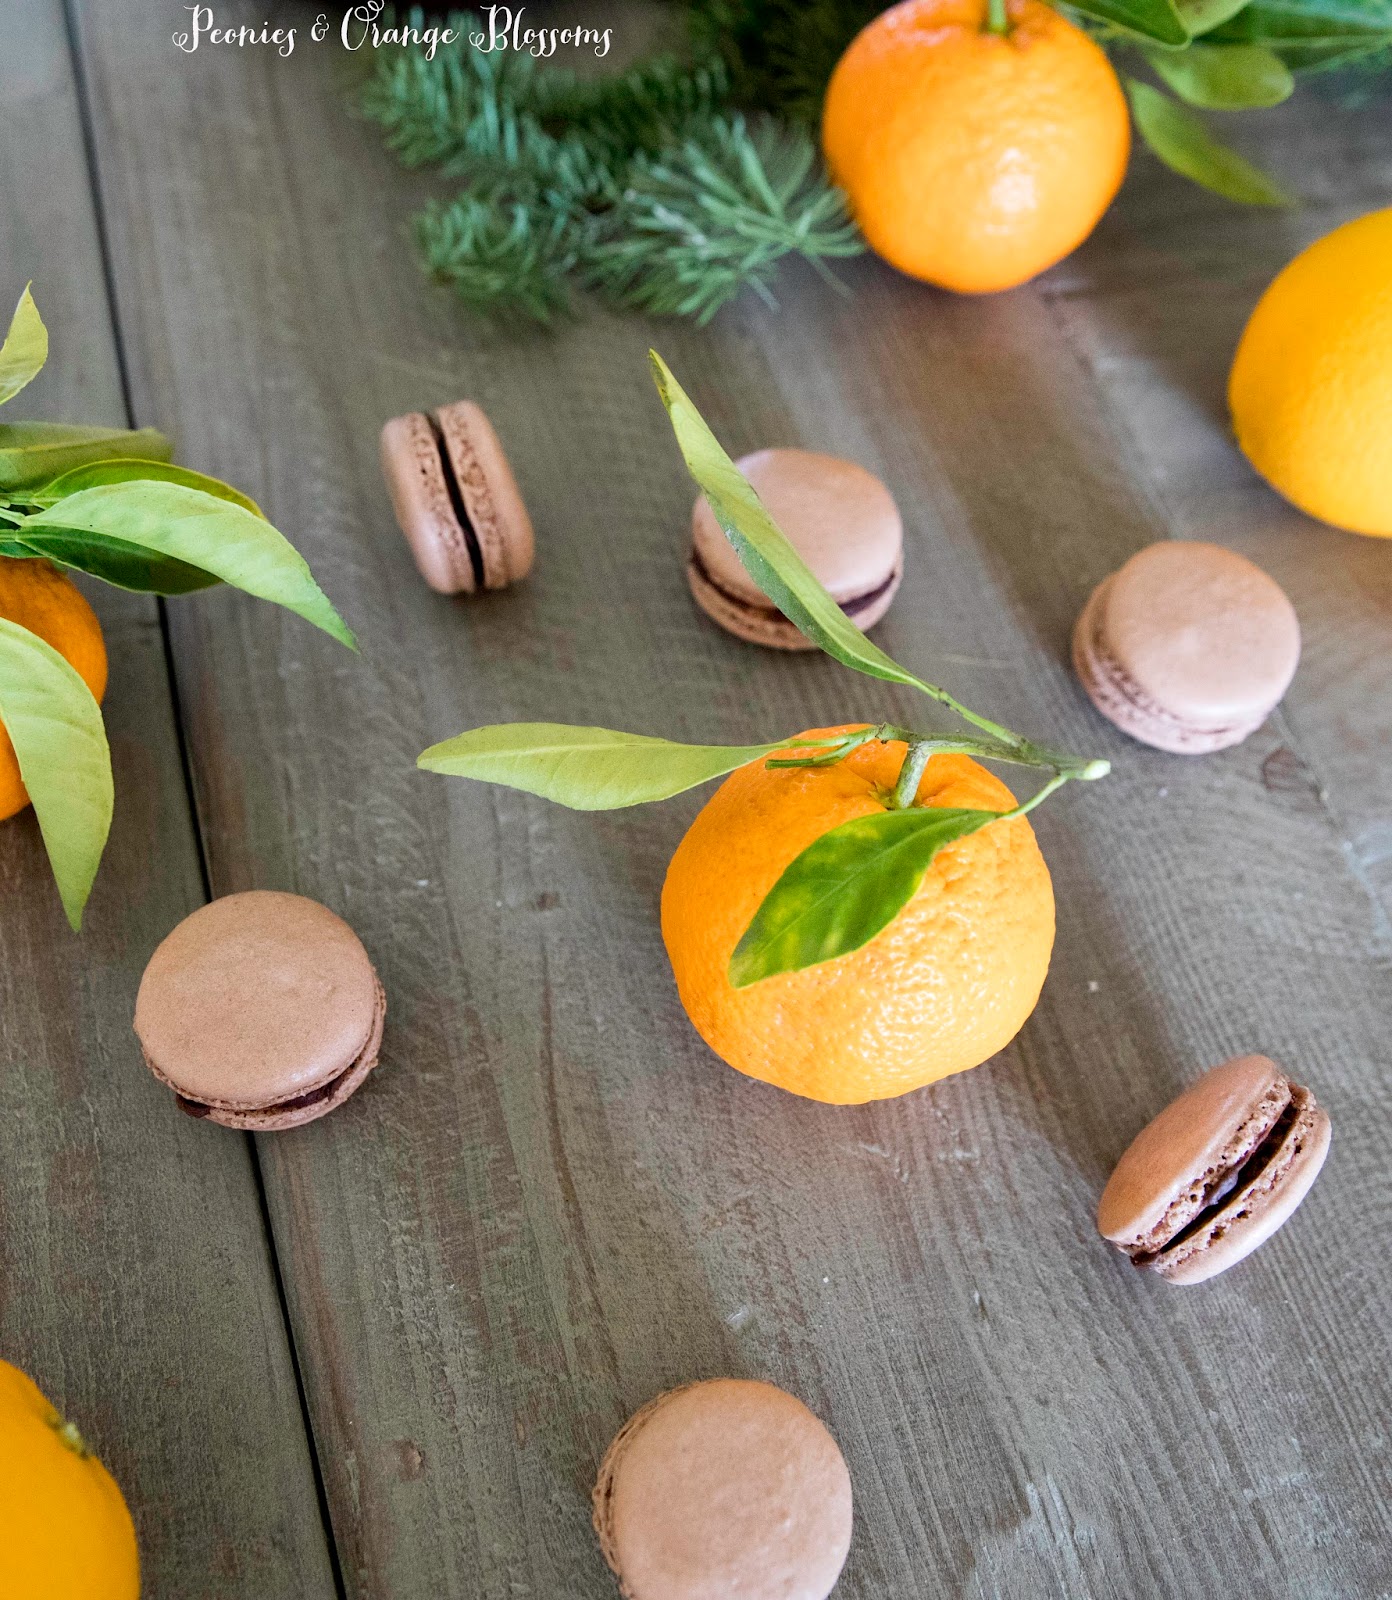
Chocolate Orange Ganache Macarons

We use affiliate links in our posts and our site. This means if you make a purchase using these links, we may earn a small commission. You don’t pay a cent more than you would otherwise! Our full disclosure is available under About.

If you regularly read my blog, you know that I *love* macarons.  I tried one many years ago and was in love.  Then one day several years ago, my Dad and I decided we were going try to bake them.

Of course we couldn’t just make one, we made a whole day of it…  We made 6 flavors and about 600 macarons.

This post may contain affiliate links. 

chocolate orange ganache macarons recipe

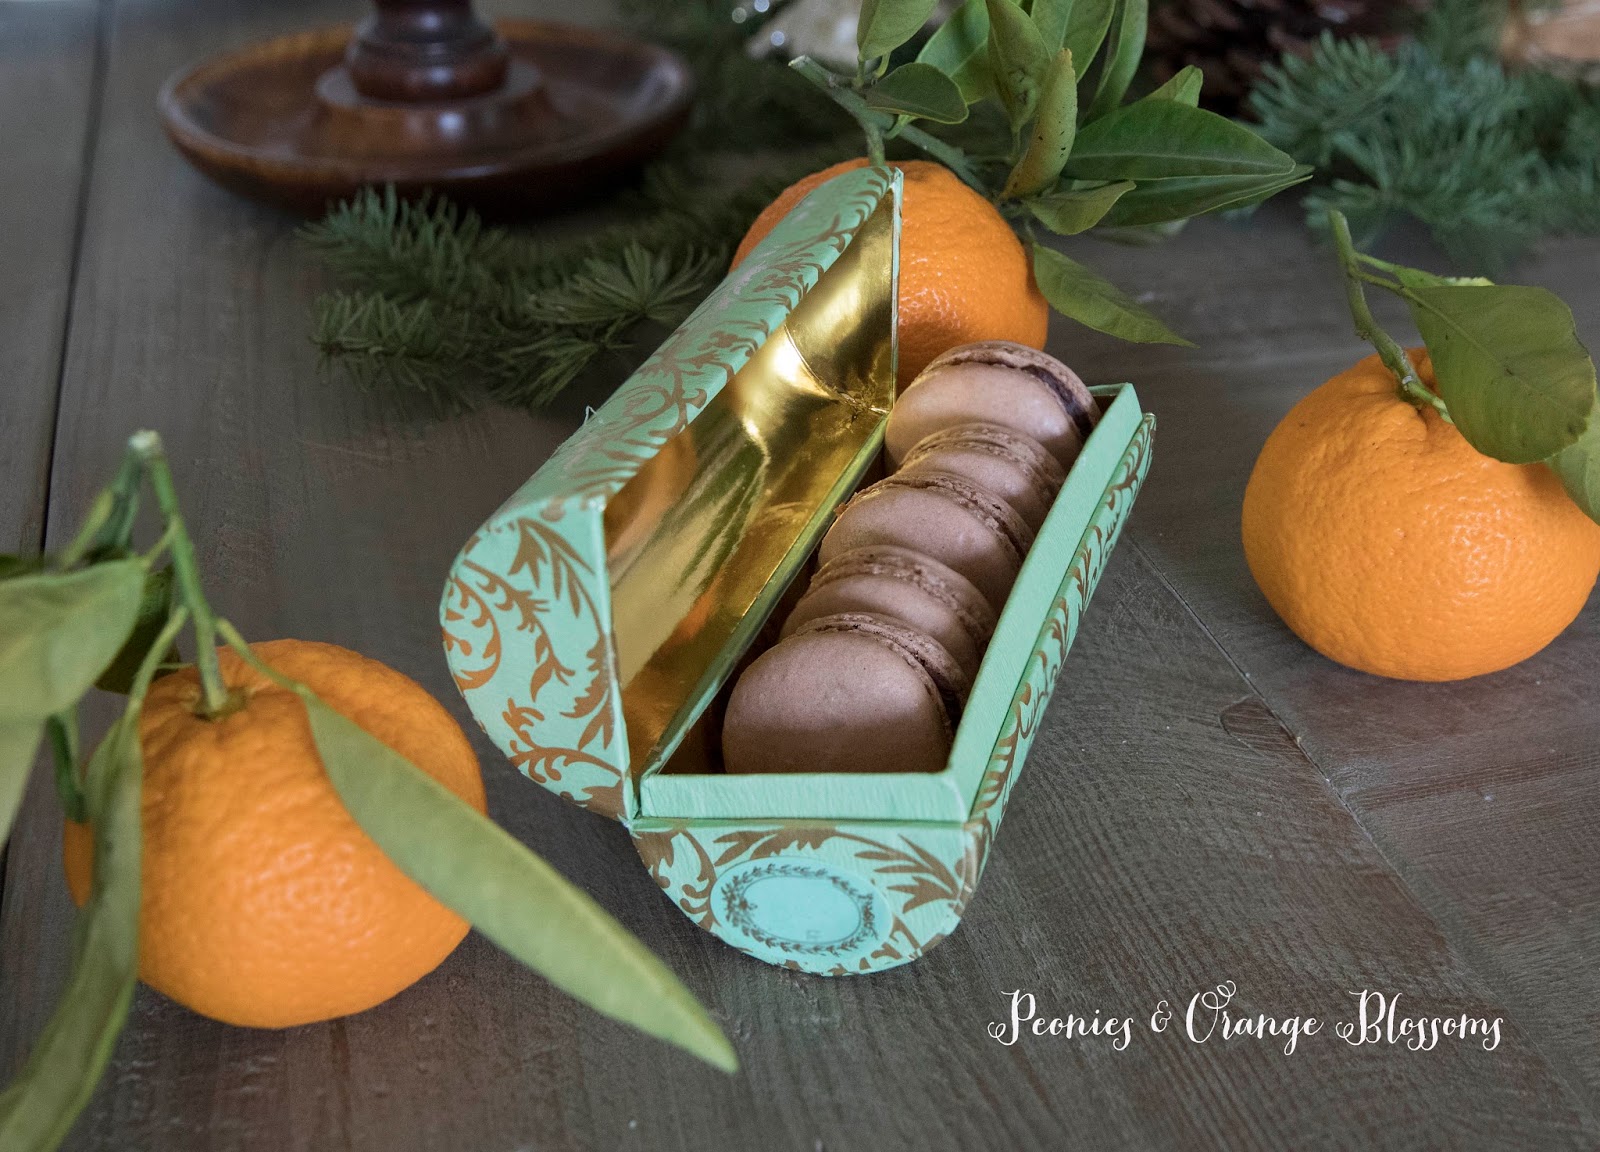
Since then, I have been practicing and baking them with all sorts of different flavors.  Today I present to you the chocolate orange ganache macaron!

You know those little chocolate oranges that you wack on the table to break the orange apart that are popular at Christmas? That is what inspired this flavor!

The oranges and satsumas came from my garden… that is what I love about California. The rest of the country is covered in snow and we can walk outside and pick fruit!

(I used oranges for the flavor and satsumas and oranges for the photoshoot)

Chocolate Orange Ganache Macarons

If you’ve never made macarons before, let me tell you, these are very finicky cookies. In fact, the French don’t consider them cookies at all, they are actually considered little pastries (as I was told by a Parisian in one of the patisseries, or rather, scolded, for thinking they were cookies).

Here are a few tips…

Never make them on a rainy day.  They will not turn out.

When you are folding your almond flour into the meringue, you have to get it just right.  The right consistency is like that of molten lava.

You have to have a scale to weigh your ingredients. The tbsp and cups do not work.

You have to be in the right mood. Seriously. If you are stressed, they will not turn out because you will mess something up in the process.

Chocolate Orange Ganache Macarons


Chocolate Orange Ganache Macarons

I thought these were a great alternative to the peppermint chocolate ganache to make for the Christmas holidays as I know there are quite a few peppermint haters.

This is a great website with lots of info on Macaron Troubleshooting!

Chocolate Orange Ganache Macarons

They are really really good.  You can’t eat just one.

SaveSave

Follow:

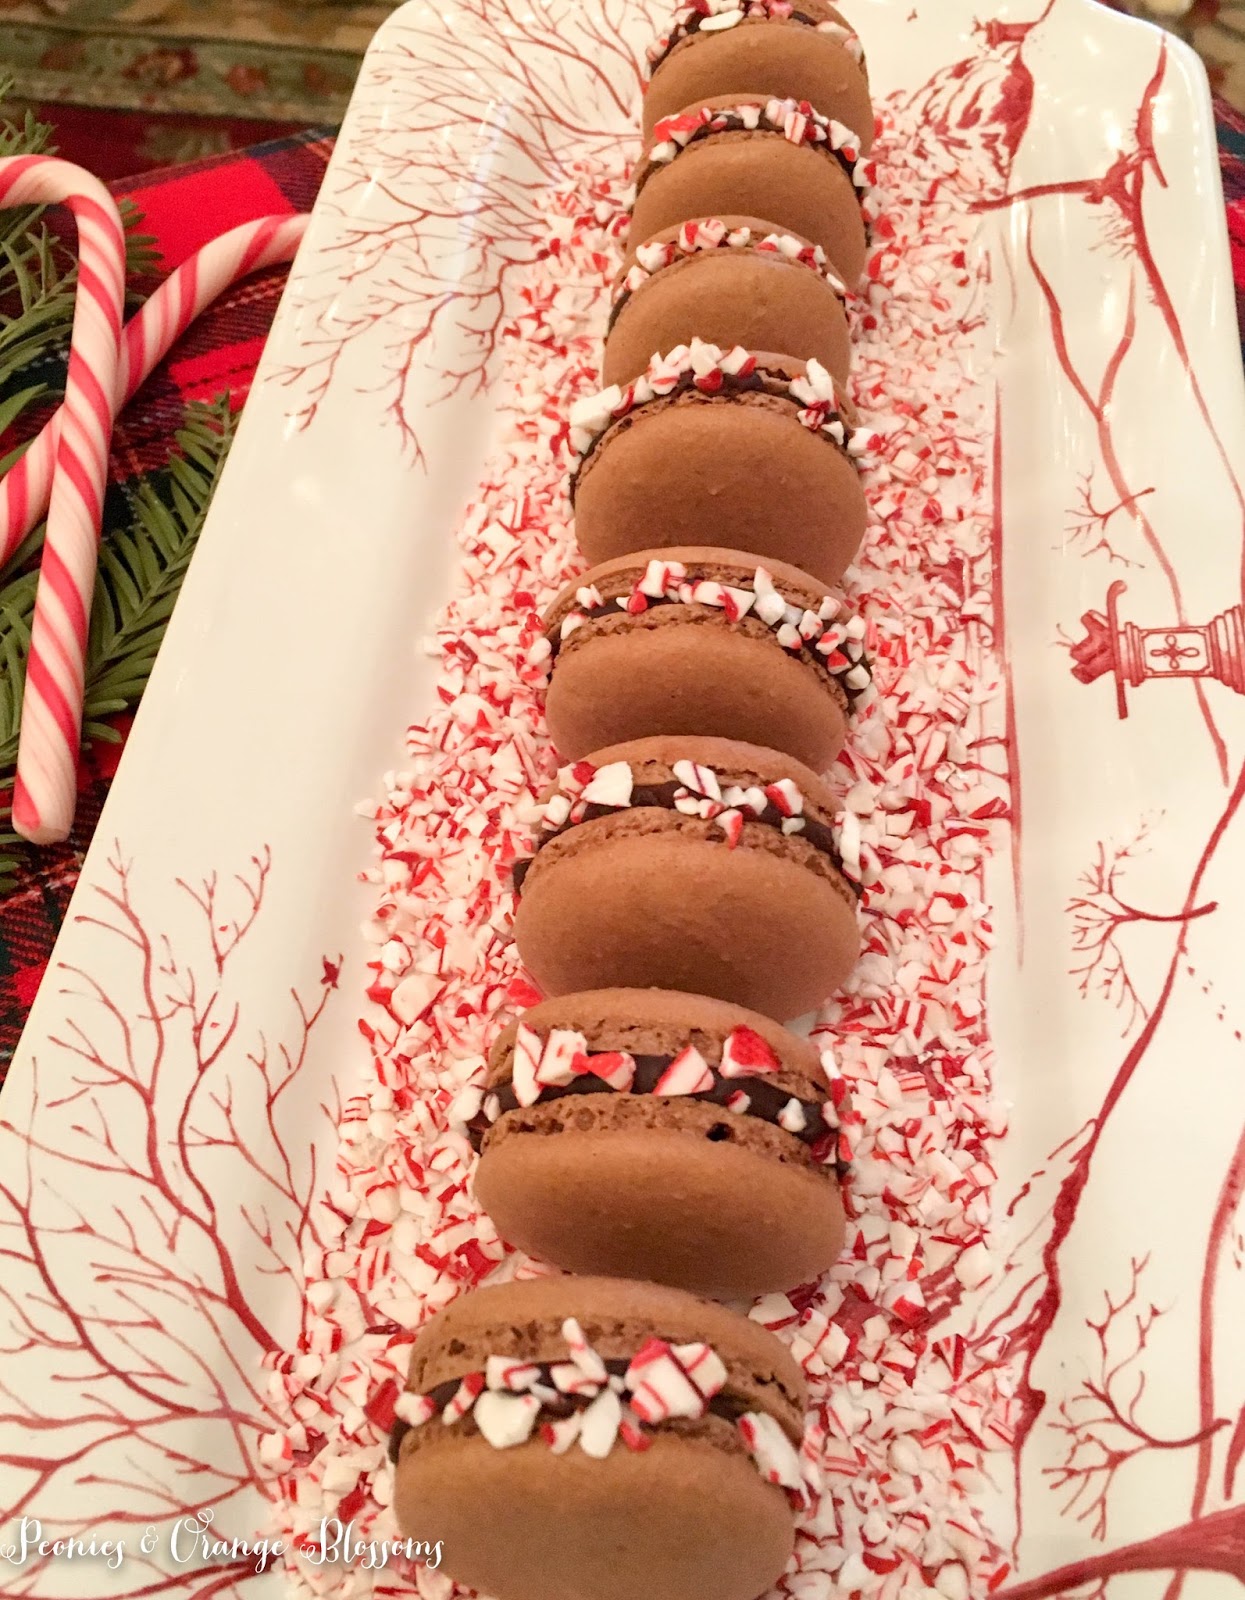
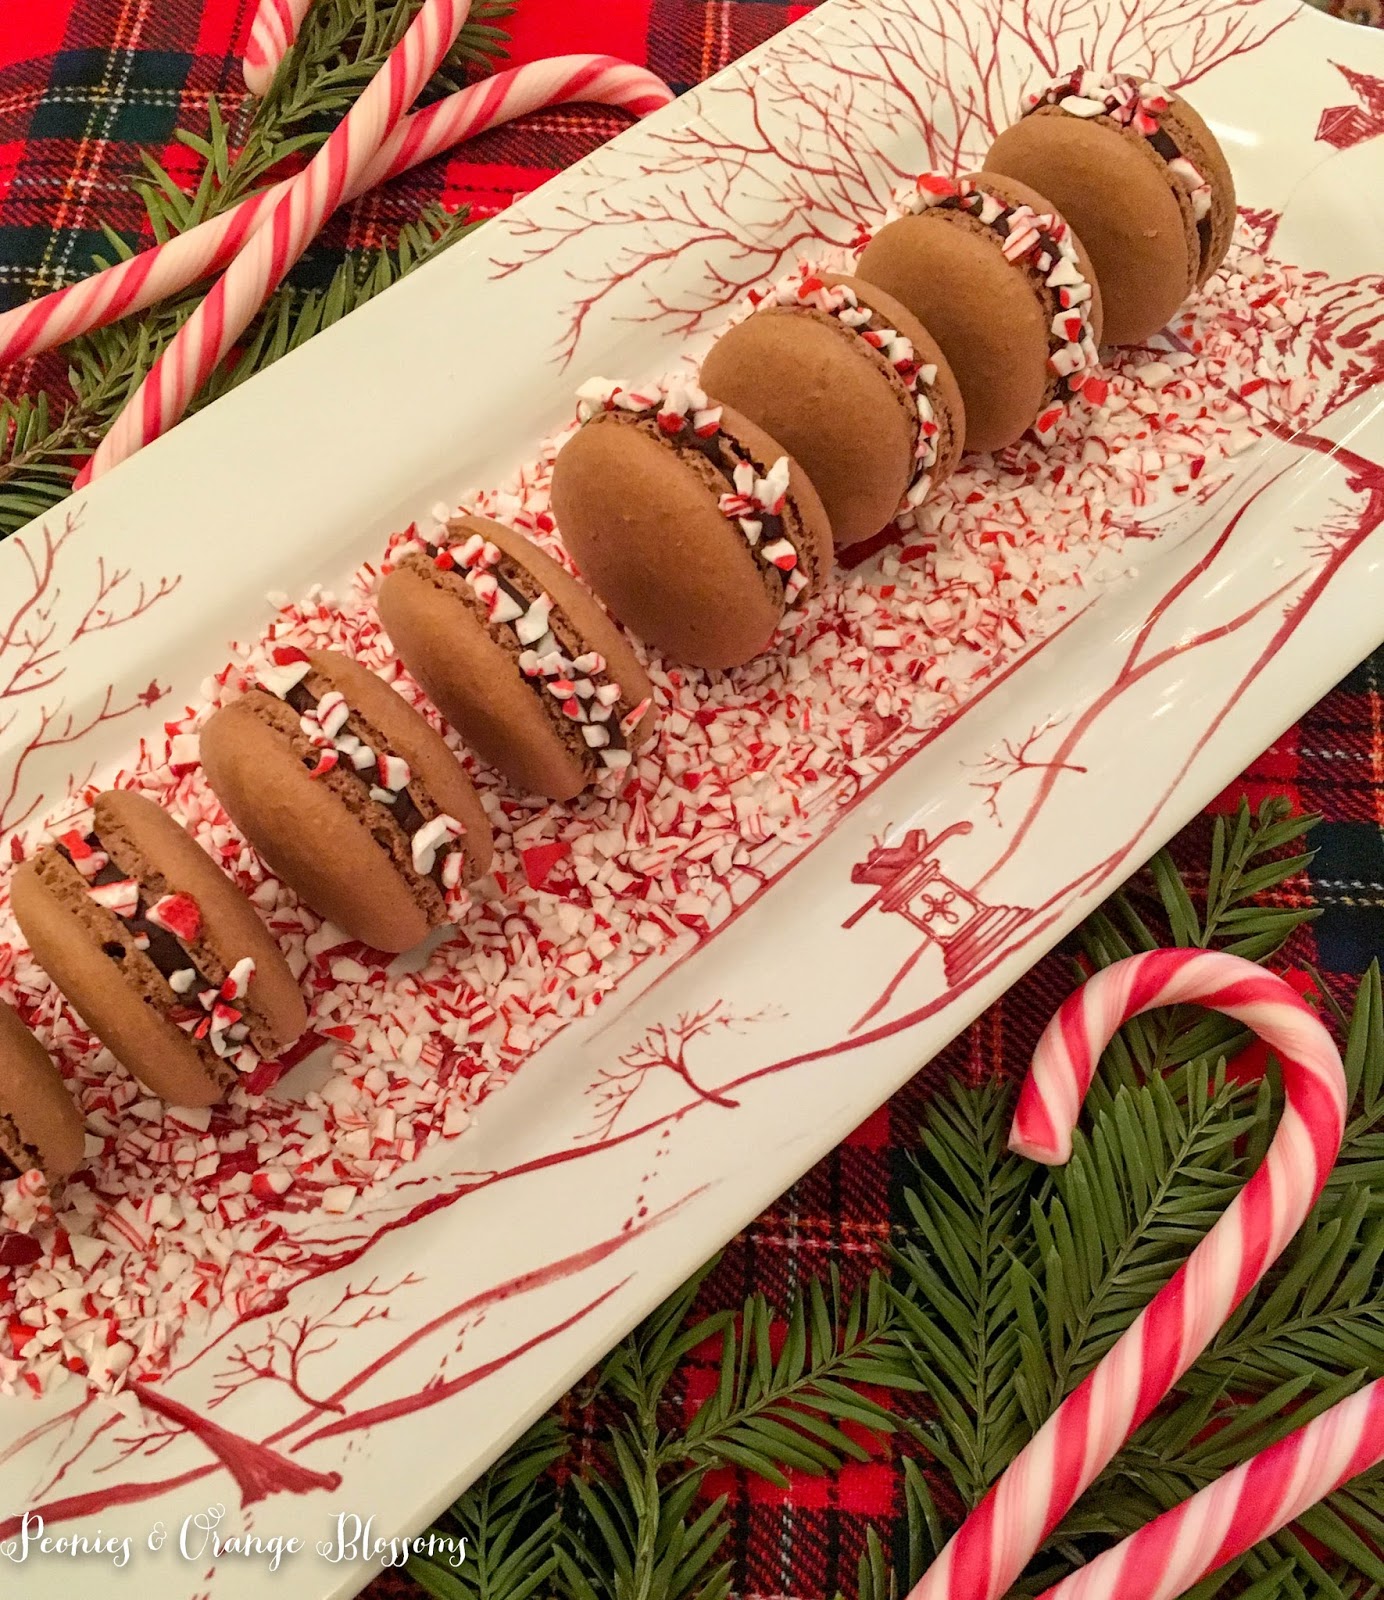
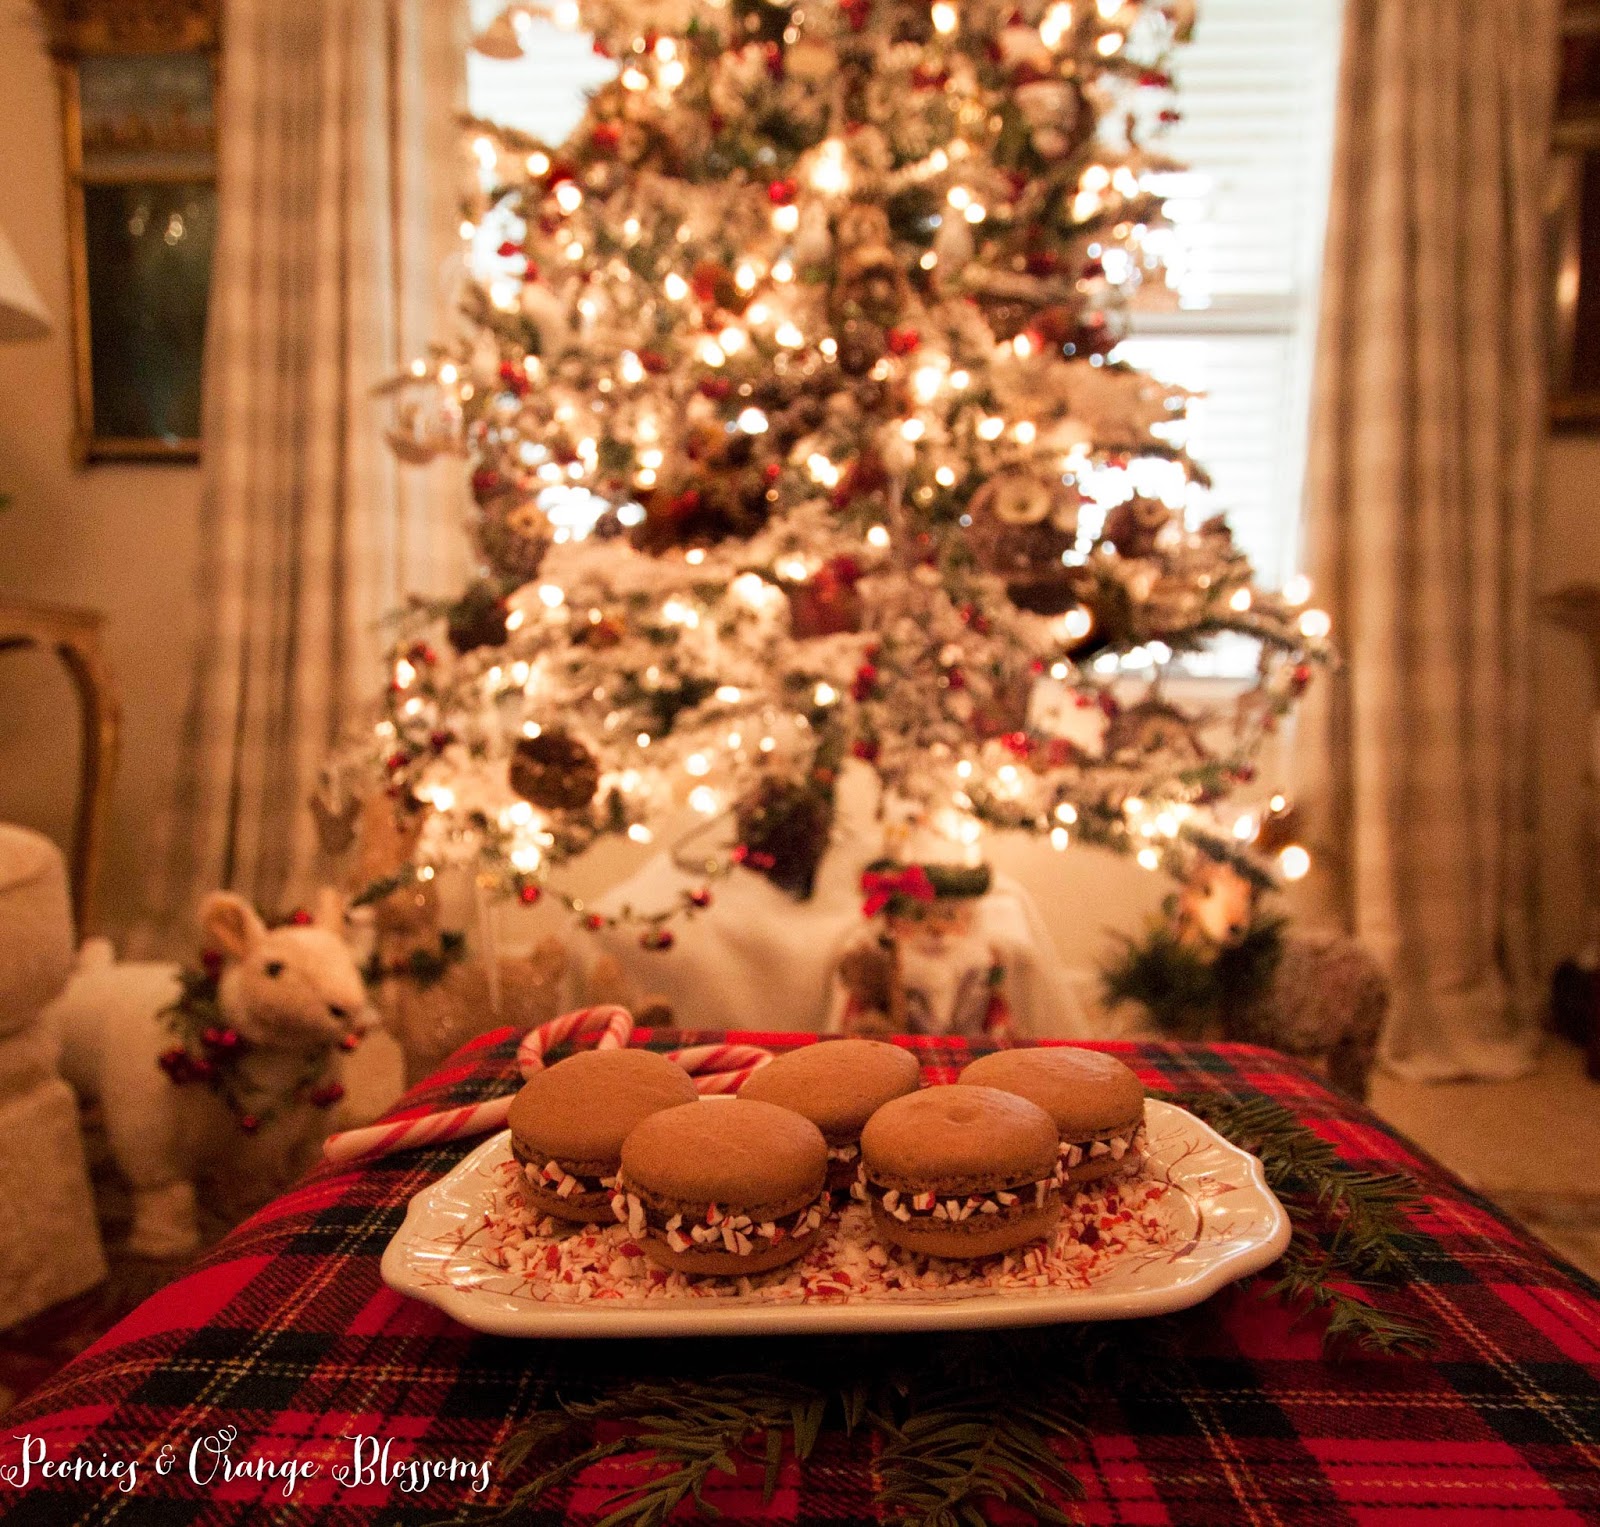
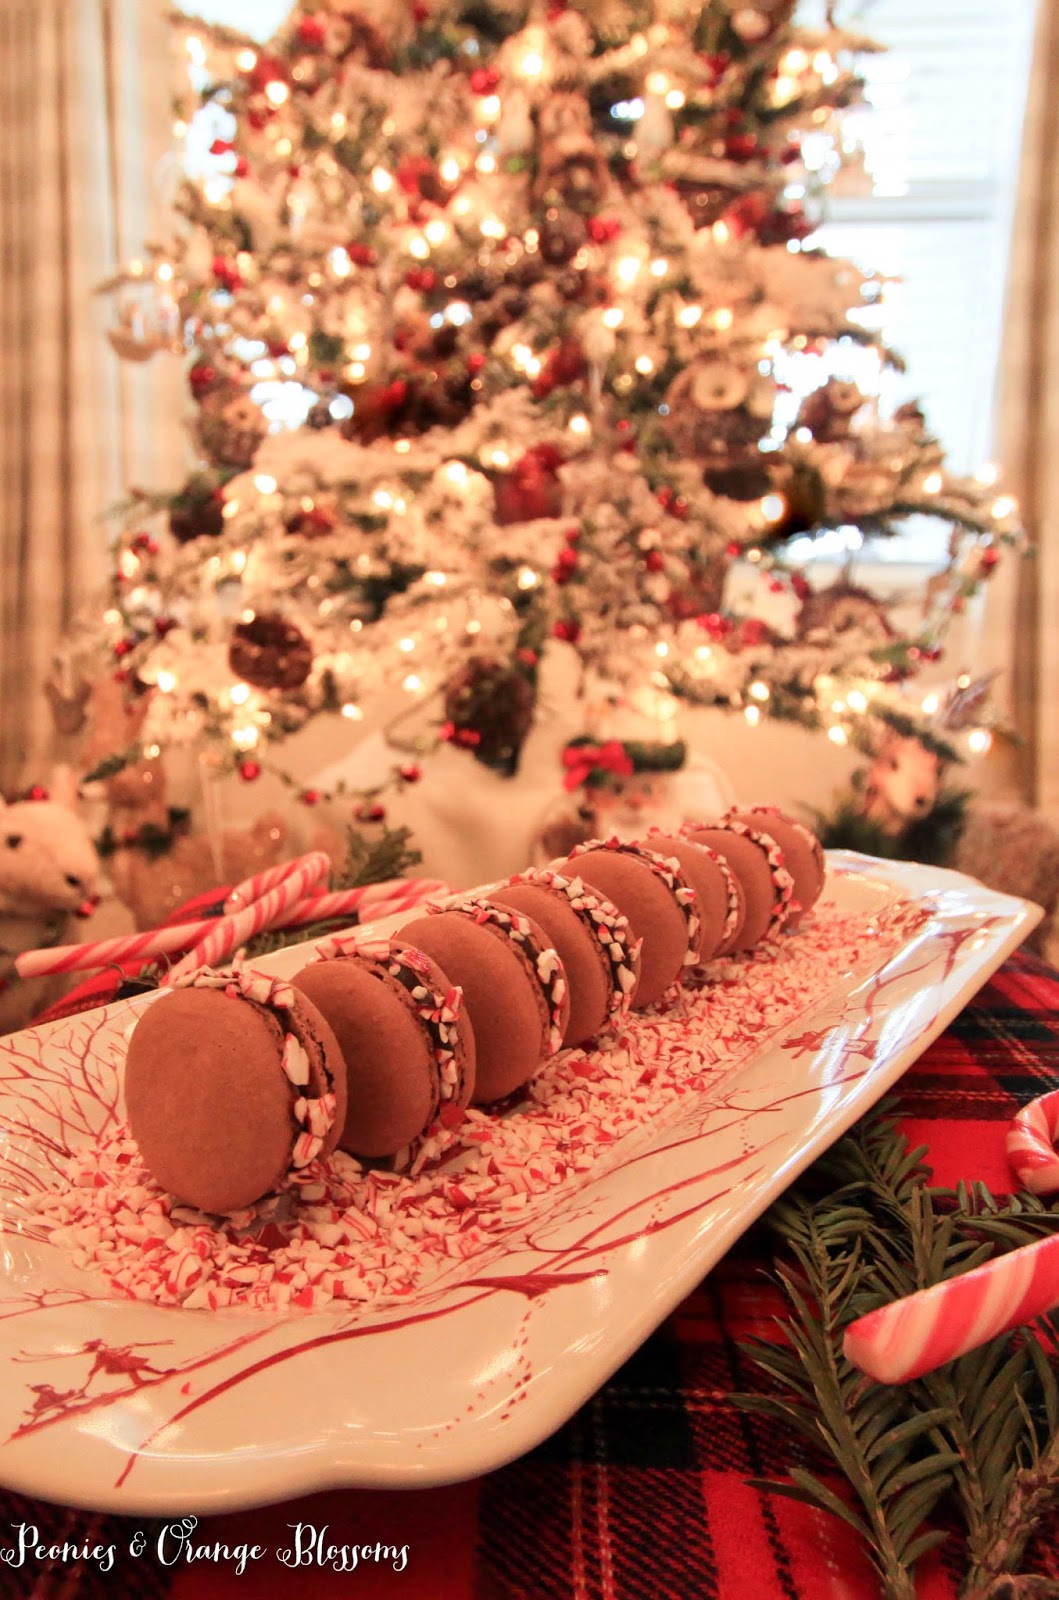
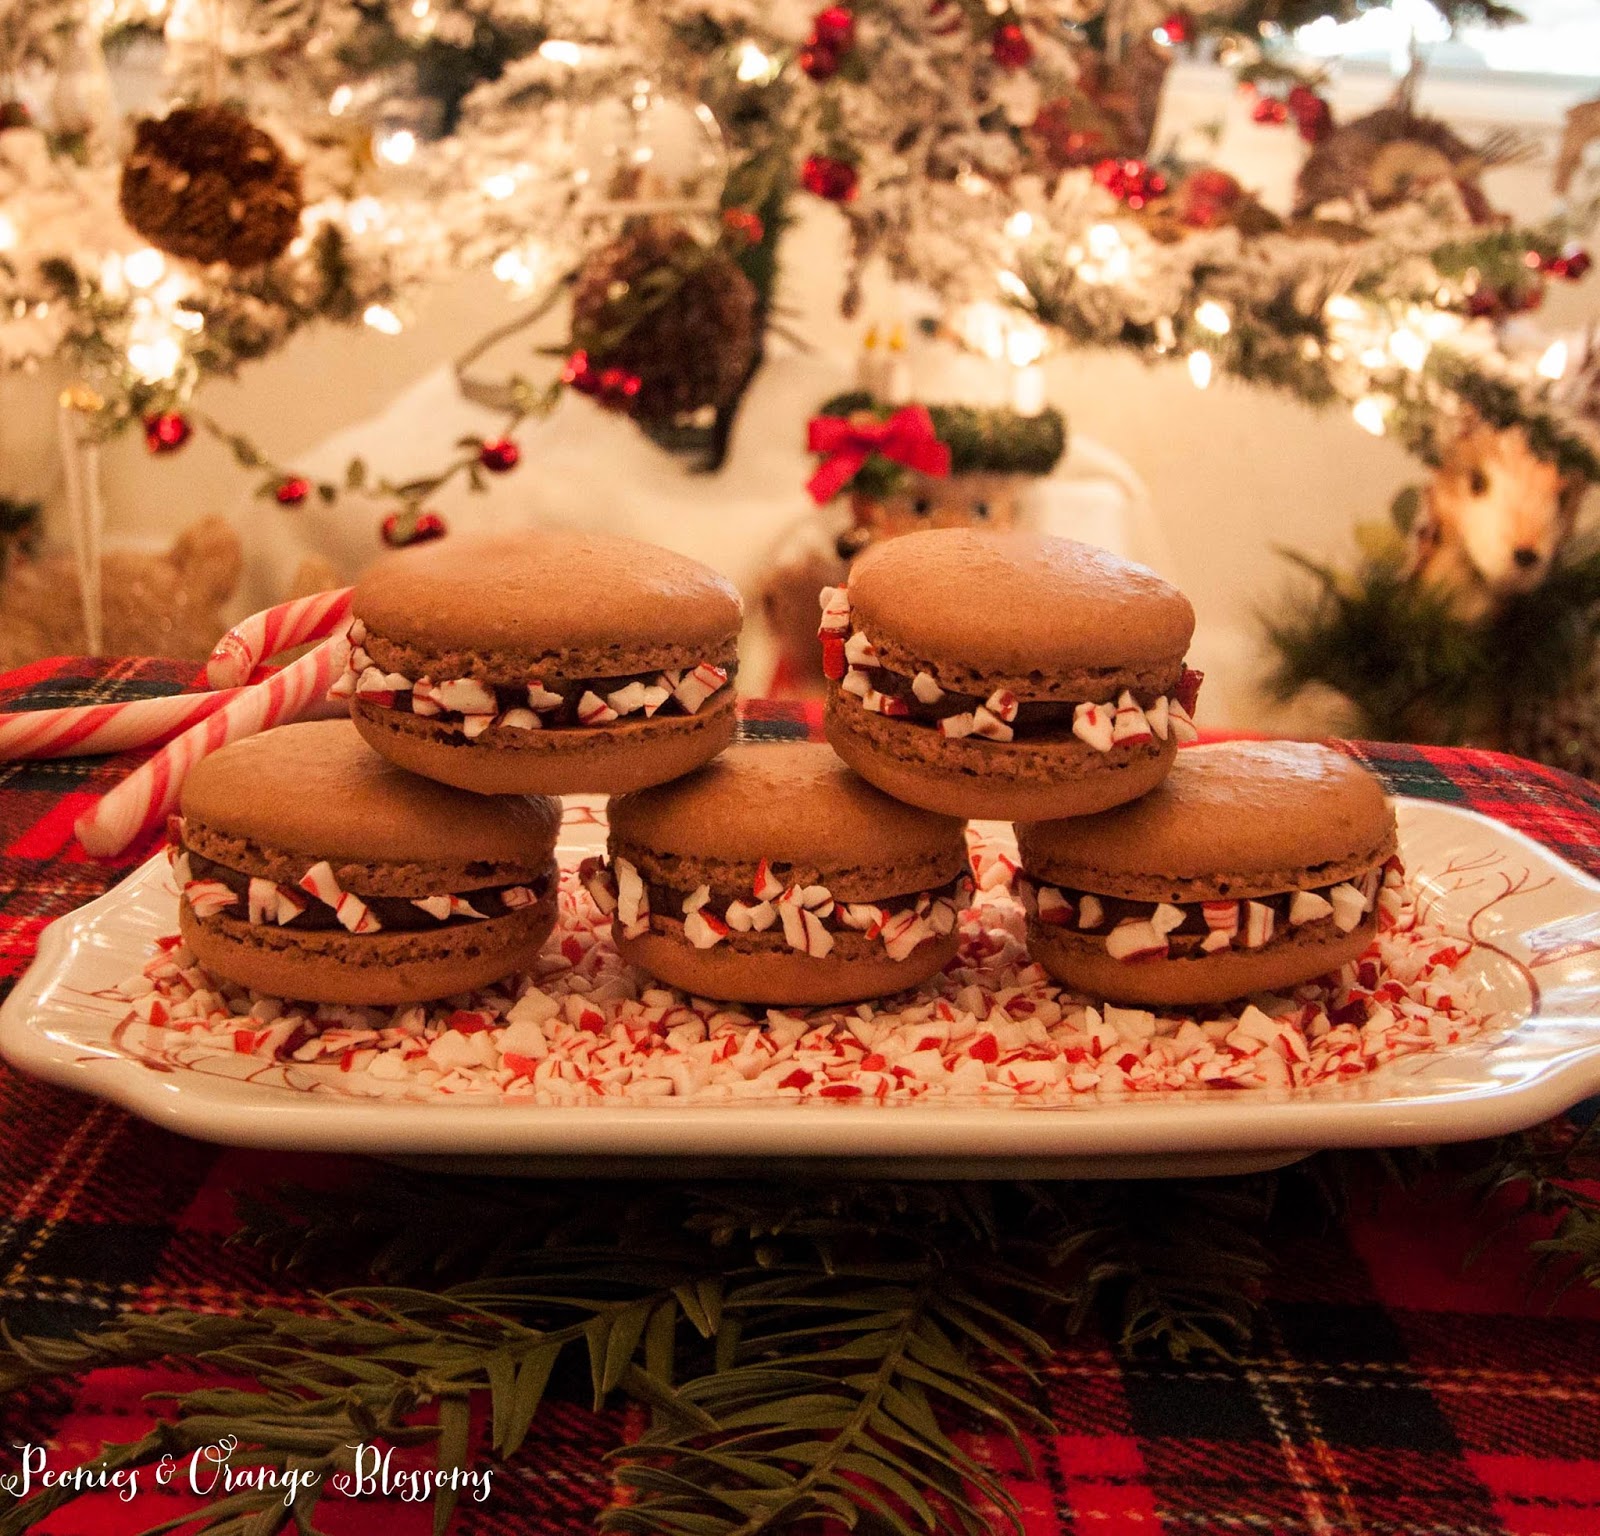
Peppermint Chocolate Ganache Macarons

We use affiliate links in our posts and our site. This means if you make a purchase using these links, we may earn a small commission. You don’t pay a cent more than you would otherwise! Our full disclosure is available under About.

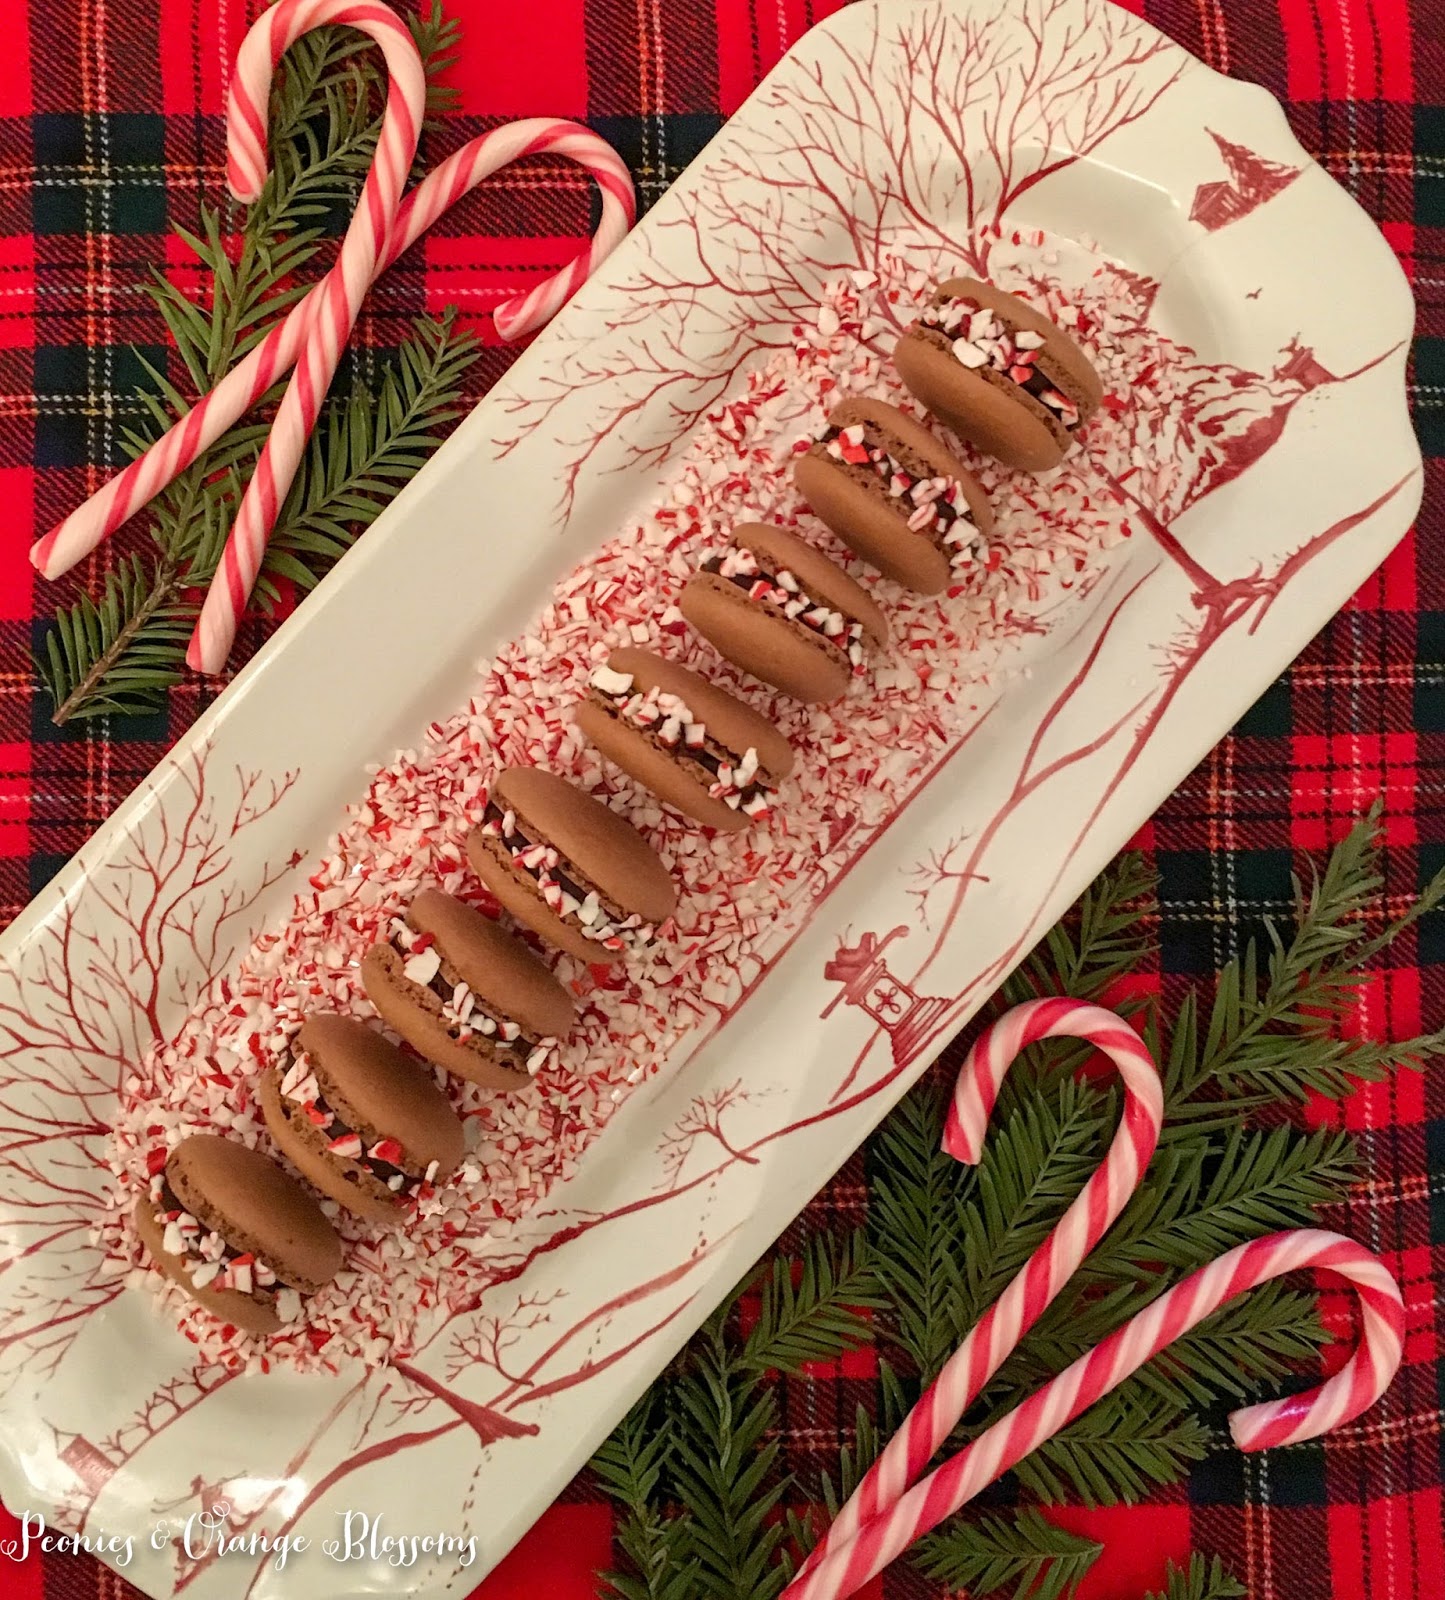
When I was thinking of what to bake for this year’s holiday dessert, I was actually inspired by Trader Joe’s Candy Cane Jo-Jo’s. Never had them? They are like Oreos but with flakes of candy cane in the filling. So I thought, how I can French-it-up?

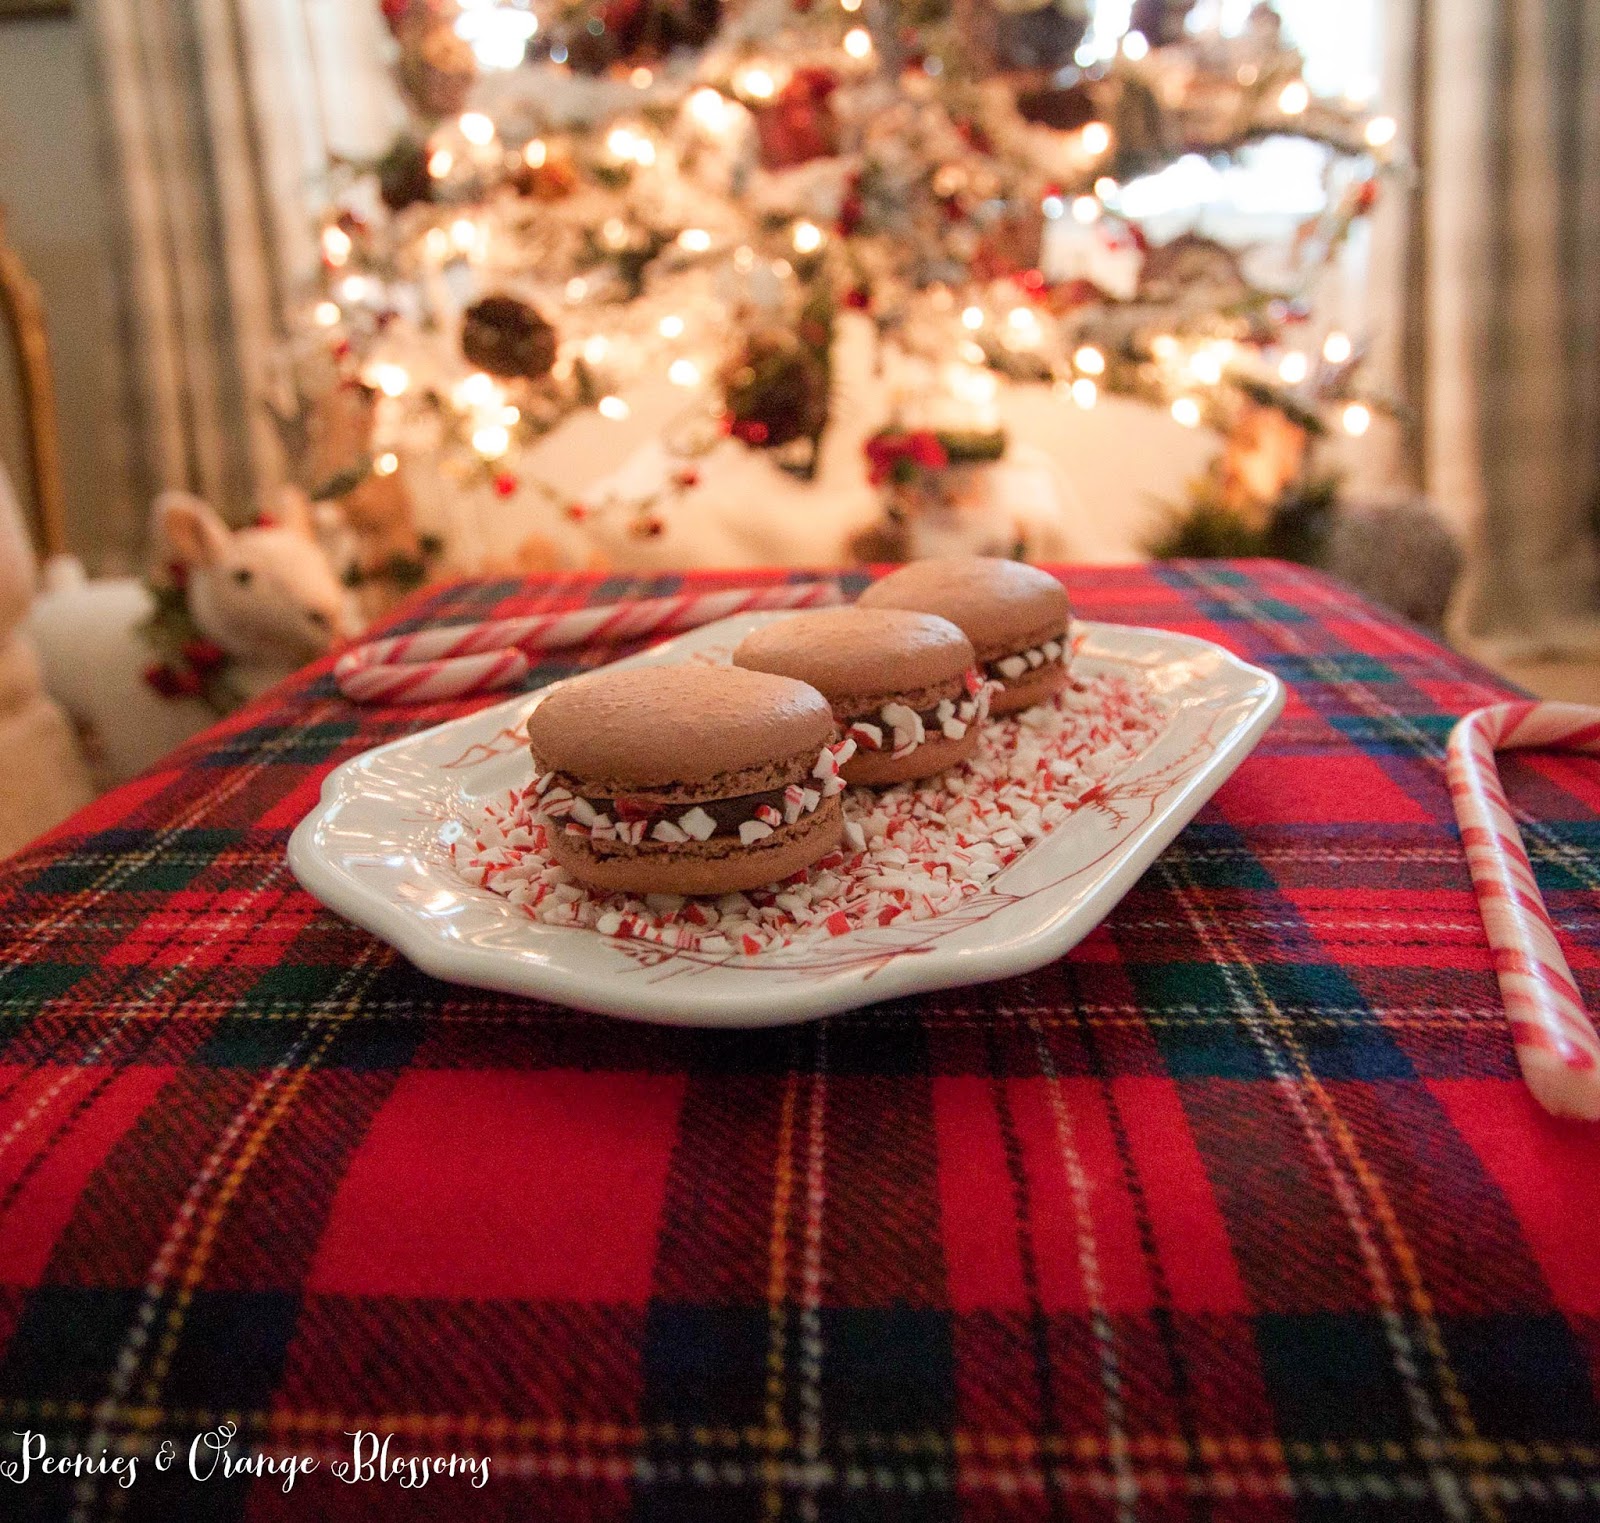
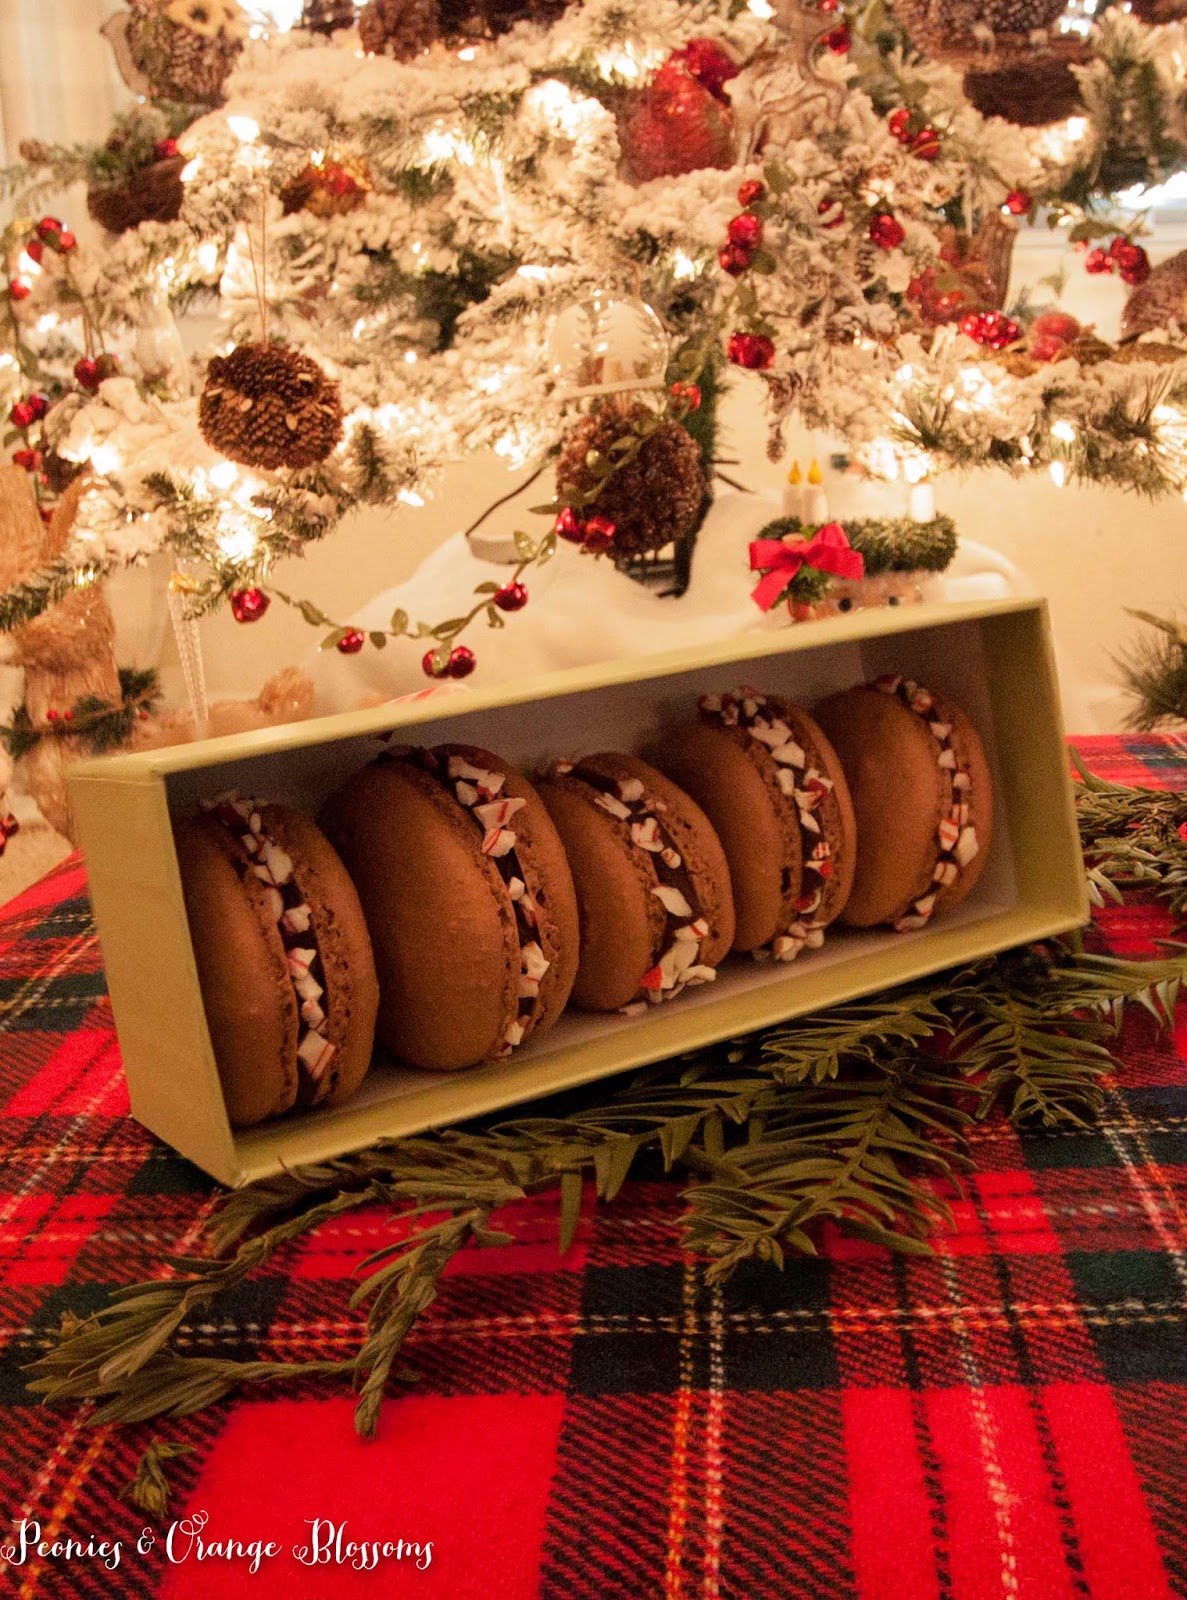
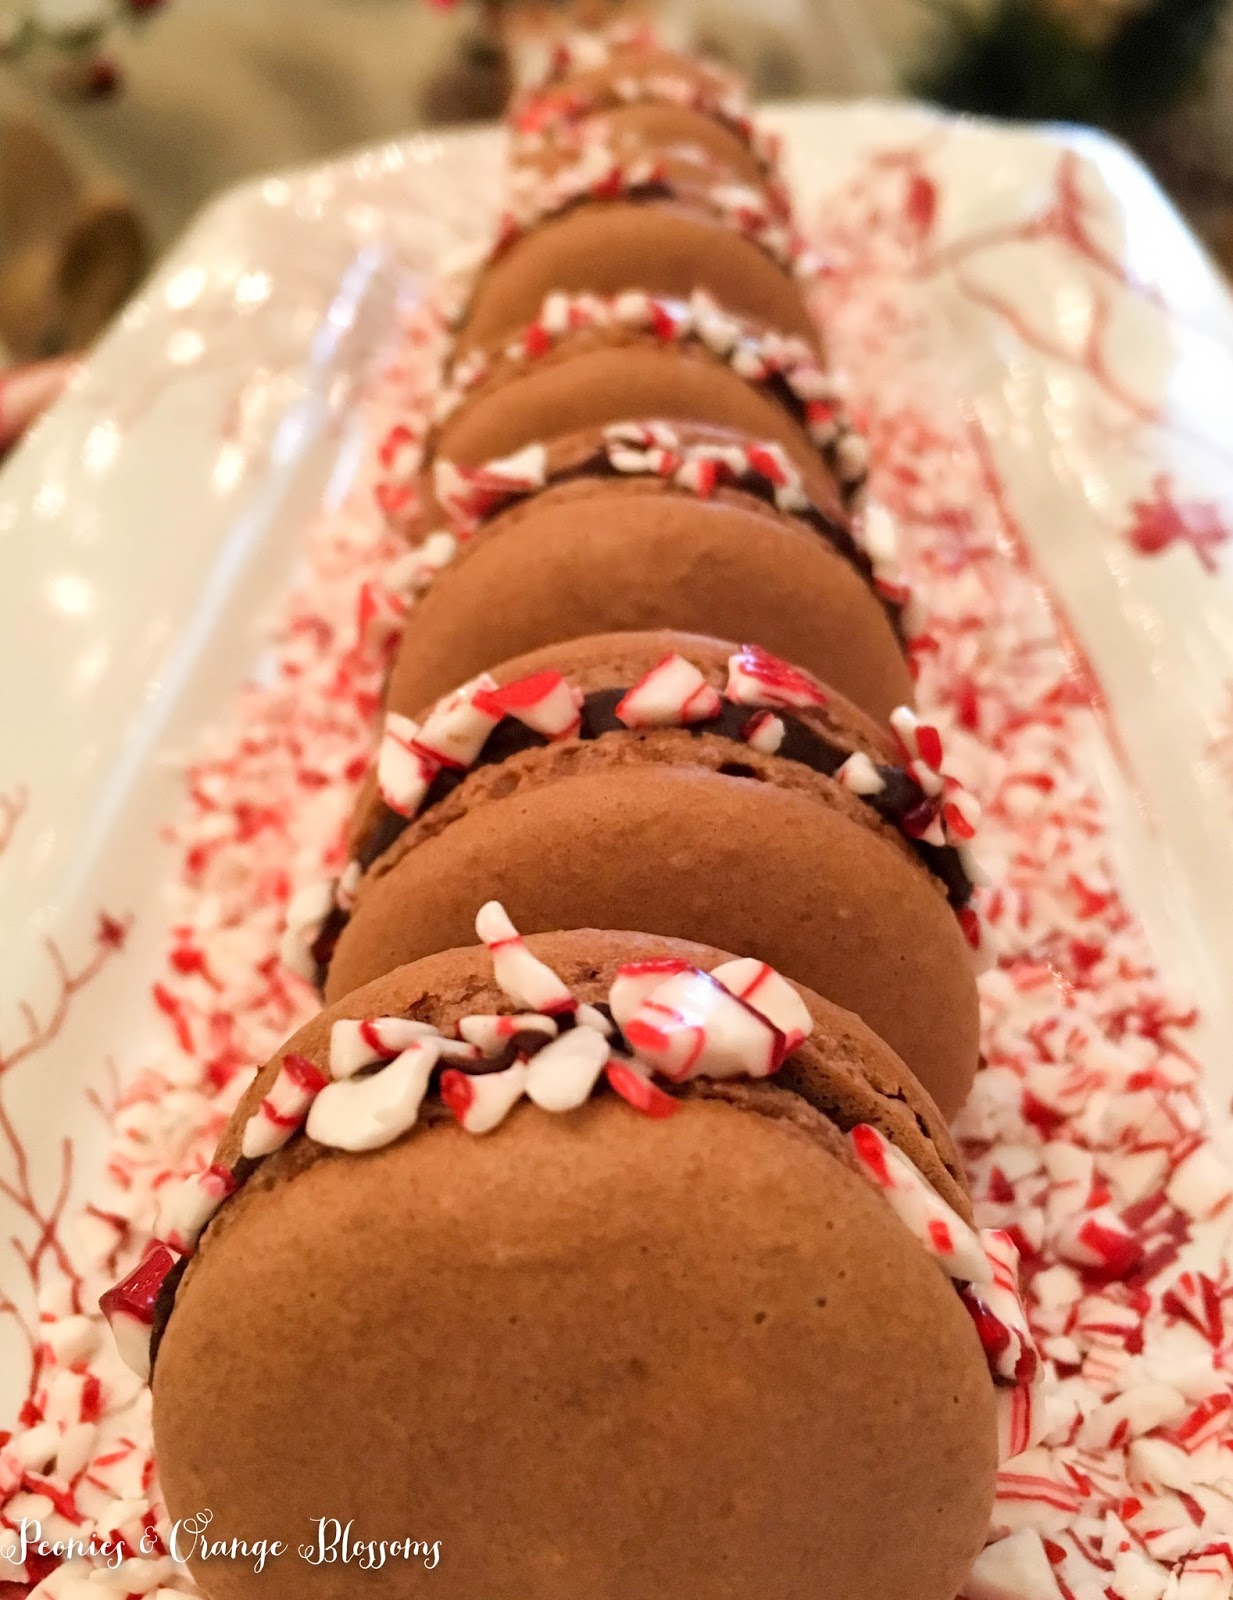
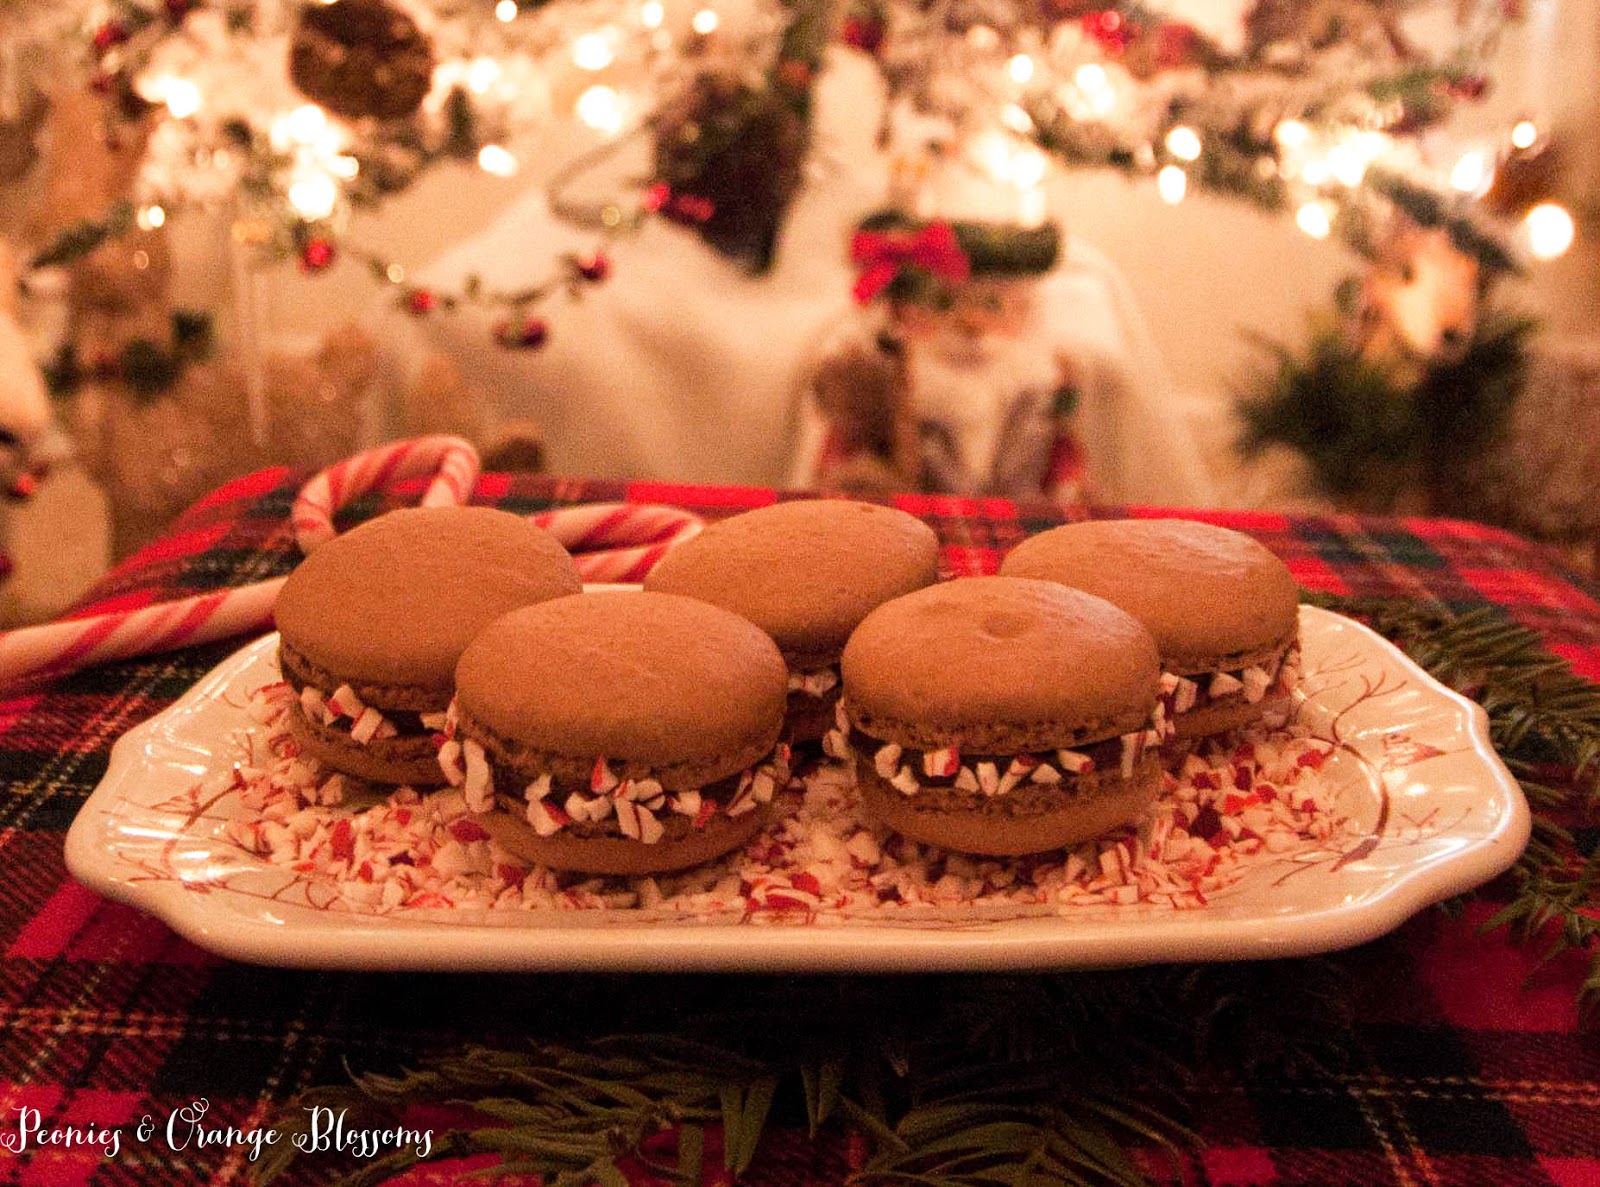
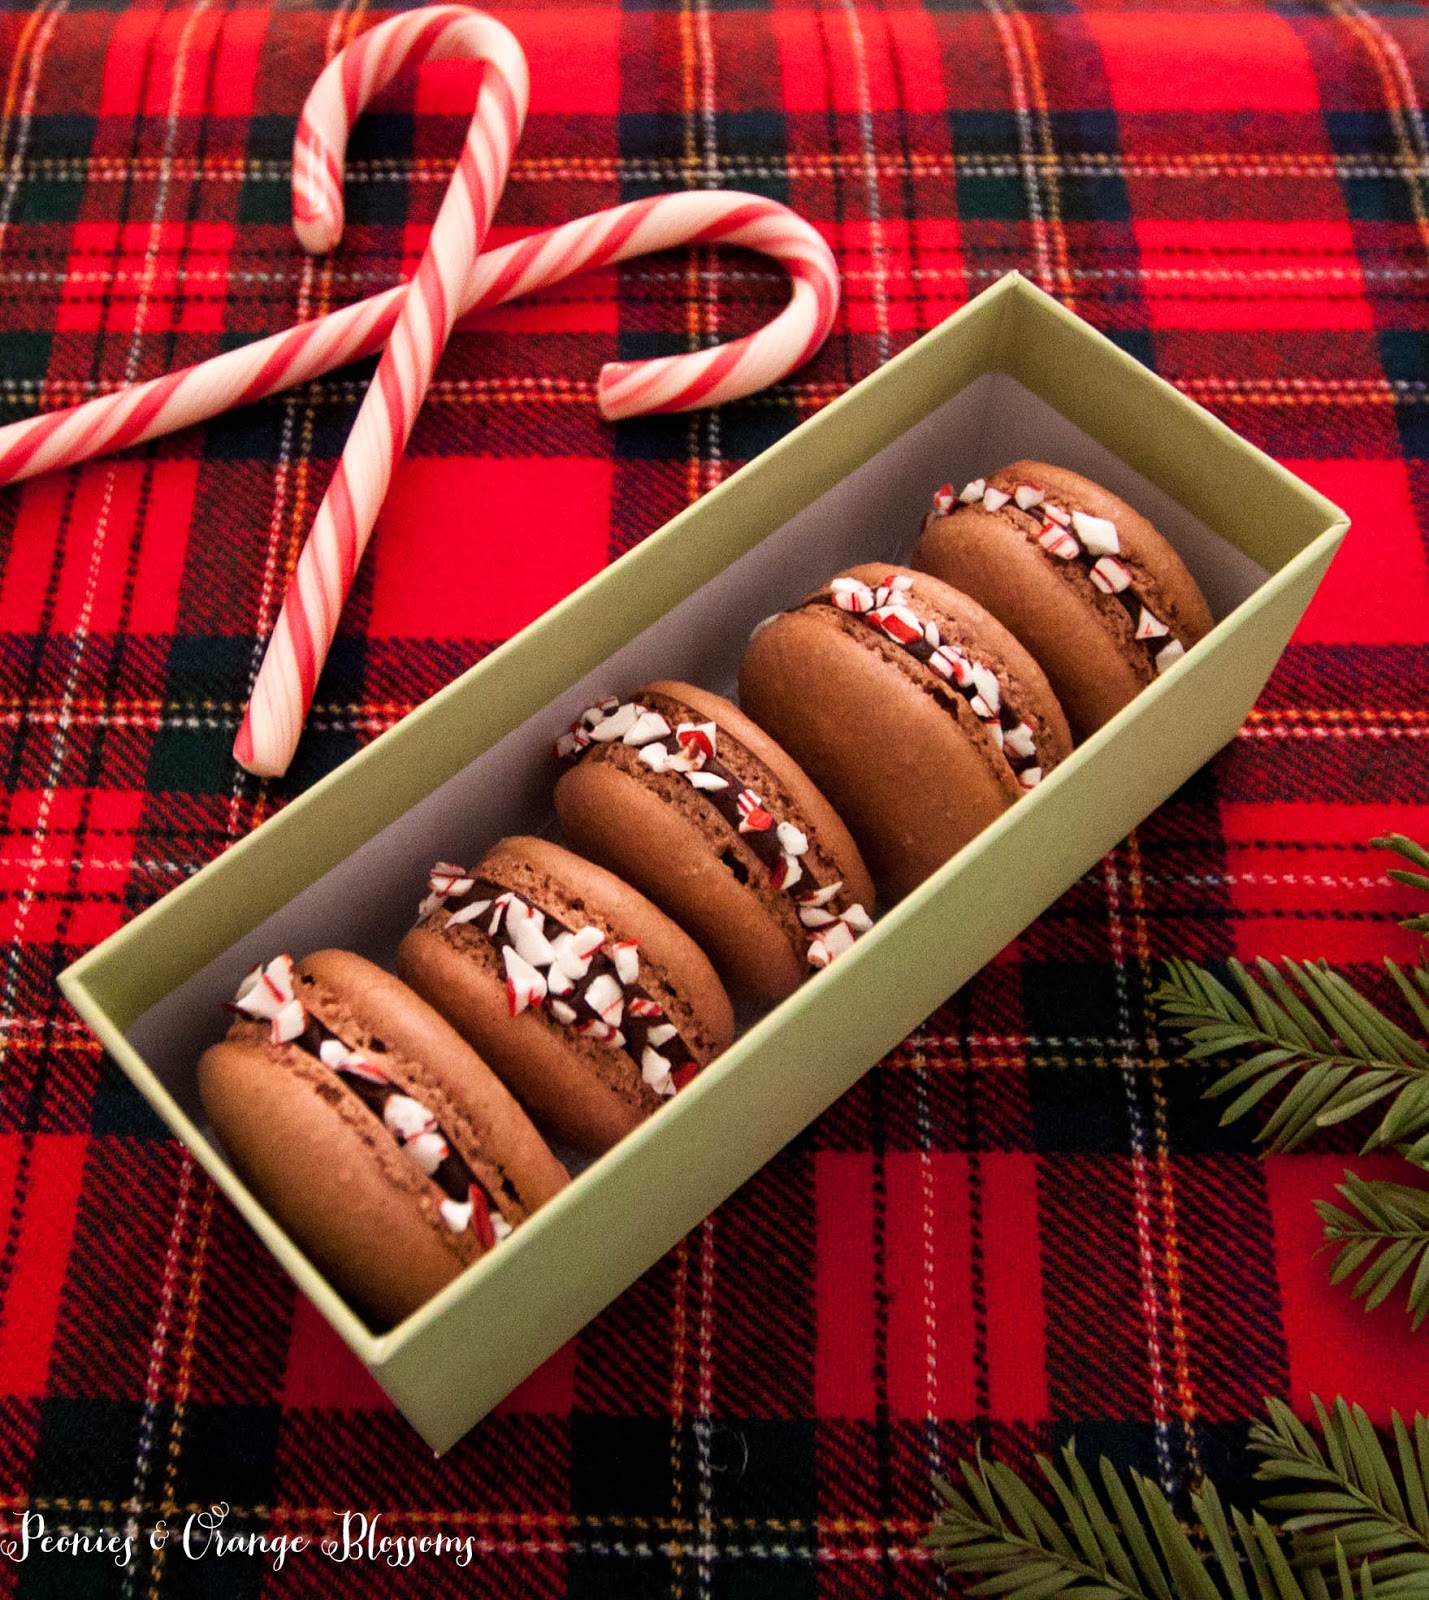
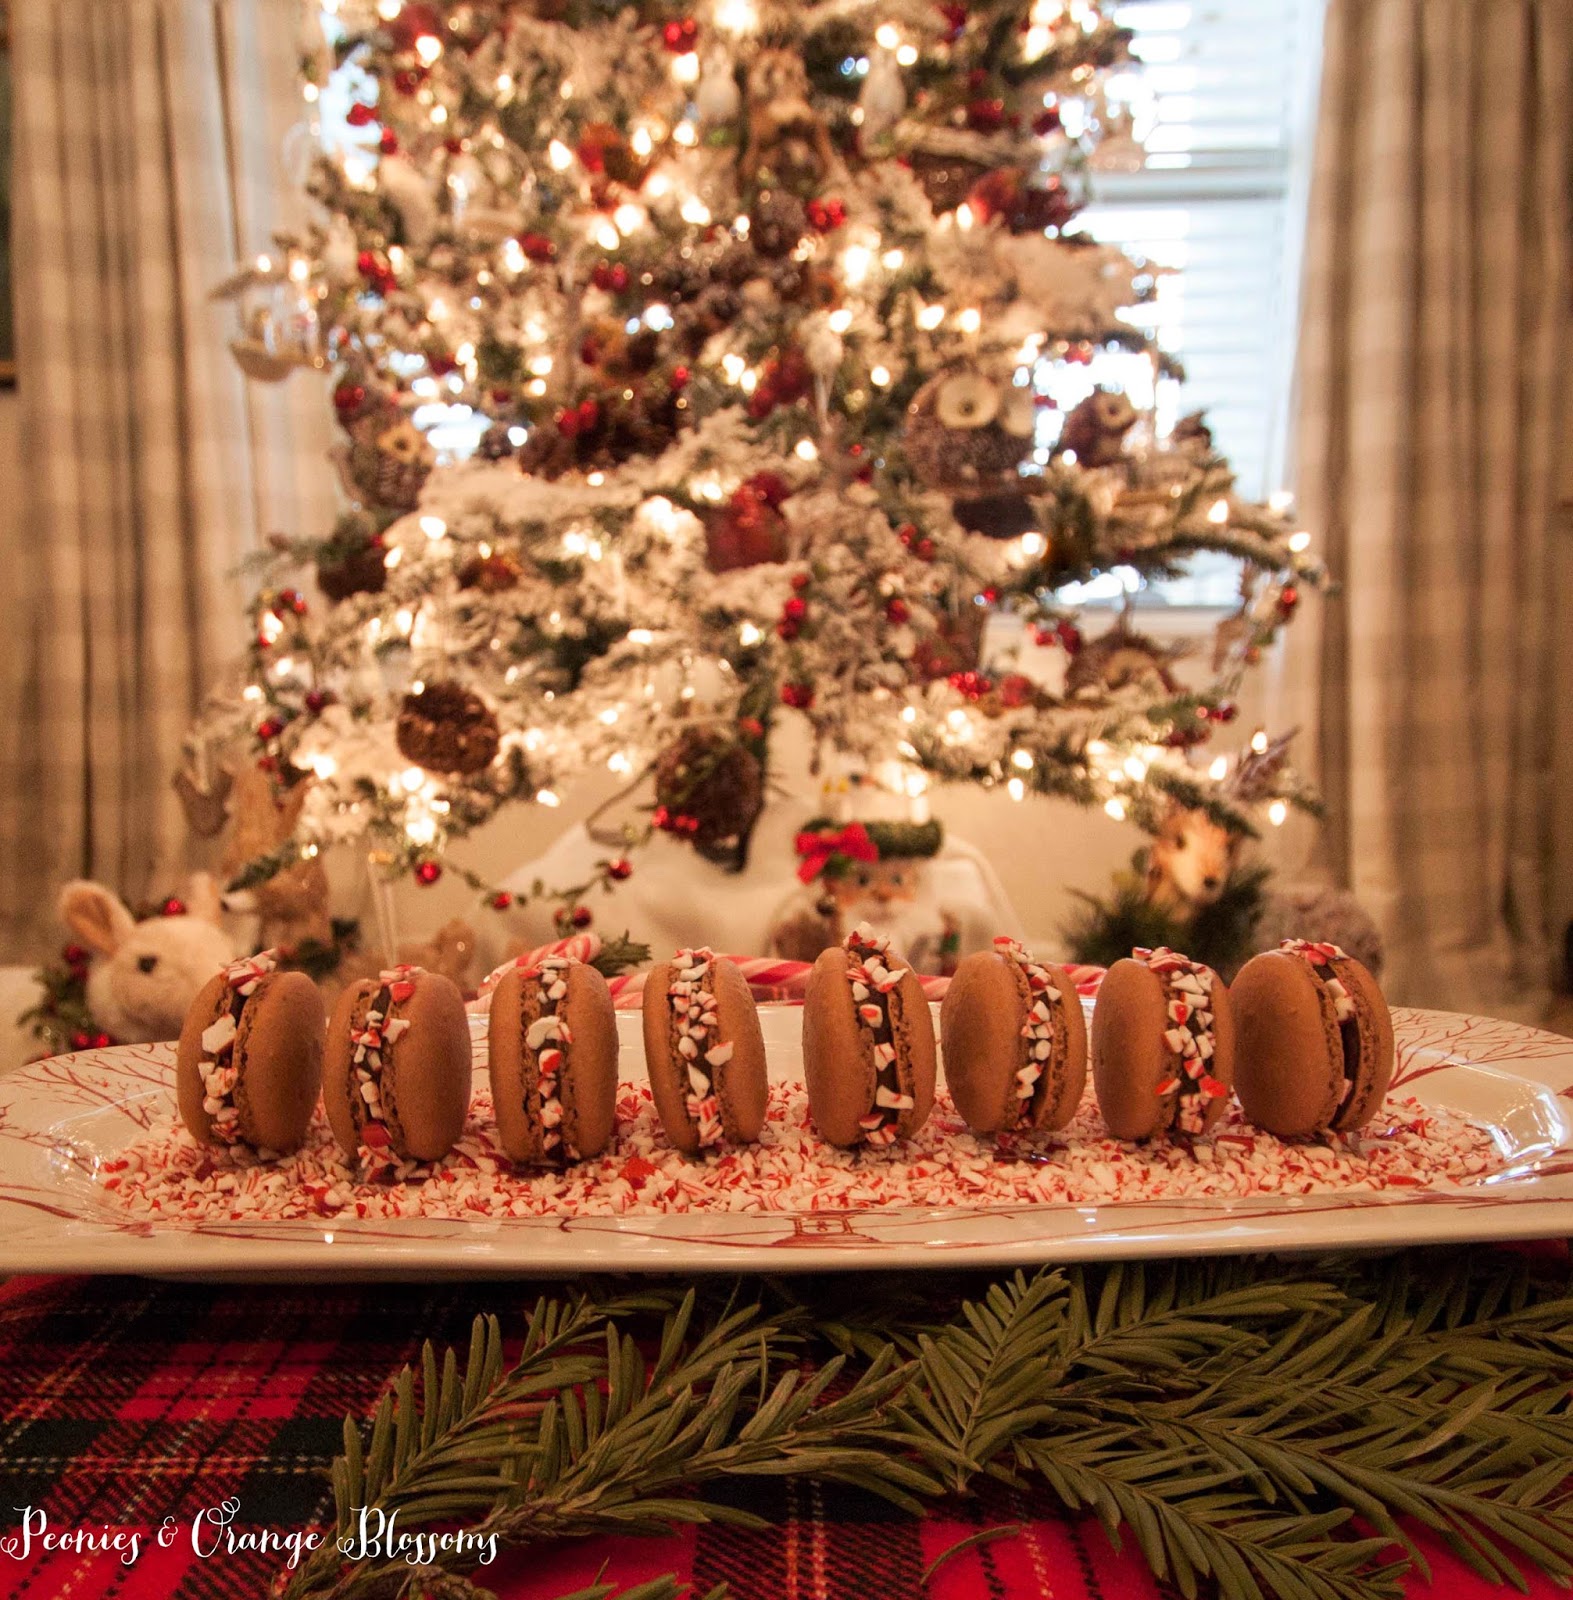
And the peppermint chocolate ganache macaron was born.

These are seriously the best macarons I have *ever* made.

Materials needed: (affiliate links are used for your convenience)


    • silicone spatula

    • electric mixer (your hand will get tired whipping the meringue, I use this super professional one in cherry red, but this  model is wonderful too! )


    • a food scale (yes, you need this. I use this one)


    • a piping tip and piping bag (I like the ateco #806, I use these tips and piping bag)


    • Food coloring (the gels or dry powder works best, not the liquid store stuff)

    • A macaron template
    • food processor (I use this one)

I also couldn’t stop taking pictures of them.


Peppermint Chocolate Ganache
1 cup heavy cream
9 ounces dark chocolate chips (or bittersweet chocolate, chopped)
1 tbsp unsalted butter
3/4 tsp – 1 tsp peppermint extract
1/4 tsp salt
crushed candy canes in a separate bowl

  1. In a sauce pan, bring the cream to a simmer over medium heat (the purpose of this is to get the cream hot enough to melt the chocolate!)
  2. Place the chocolate in a heatproof bowl.  Pour the hot cream over the chocolate and let sit for a minute.
  3. Add the peppermint, salt, and butter. Whisk until glossy and smooth. (If you like your ganache more pepperminty, add 1 tsp, if less, then add 3/4 tsp)
  4. Cover in plastic wrap and chill for about an hour  (If you chill it too long until it is hard, that’s okay, just use a spoon to whip it up and it will get soft again!)
  5. Once chilled, scoop the ganache into a piping bag with a round tip.  Pipe on one of side for the macaron at the edge.  Place the other macaron shell on, sandwiching the ganache in the center.
  6. Roll the macaron in the crushed candy canes in the bowl so that they stick to the ganache!
  7. Store in an airtight container and refrigerate! These taste best served the next day, so resist the urge and let them rest overnight! They will keep for several days in the fridge in an airtight container.

I feel like I could sell these they were so good!


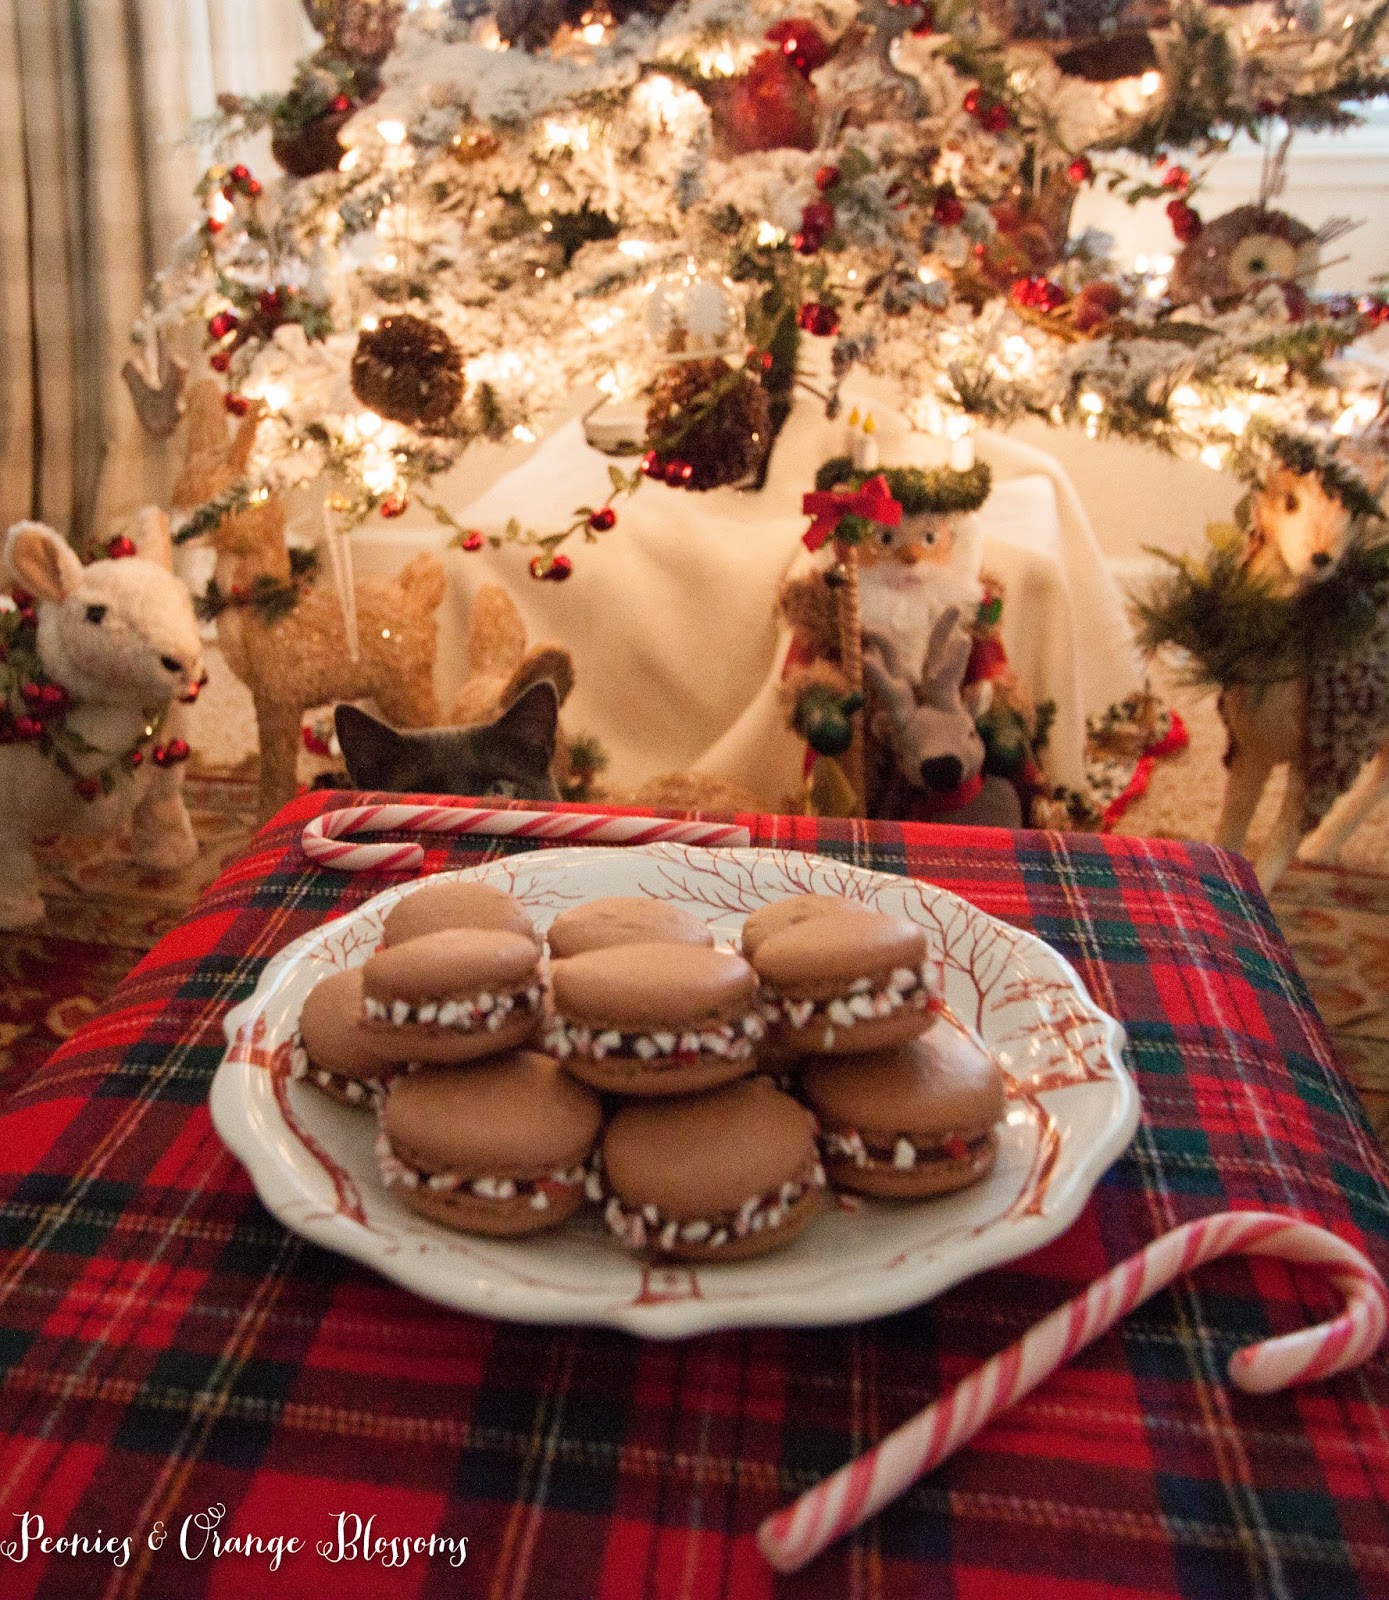
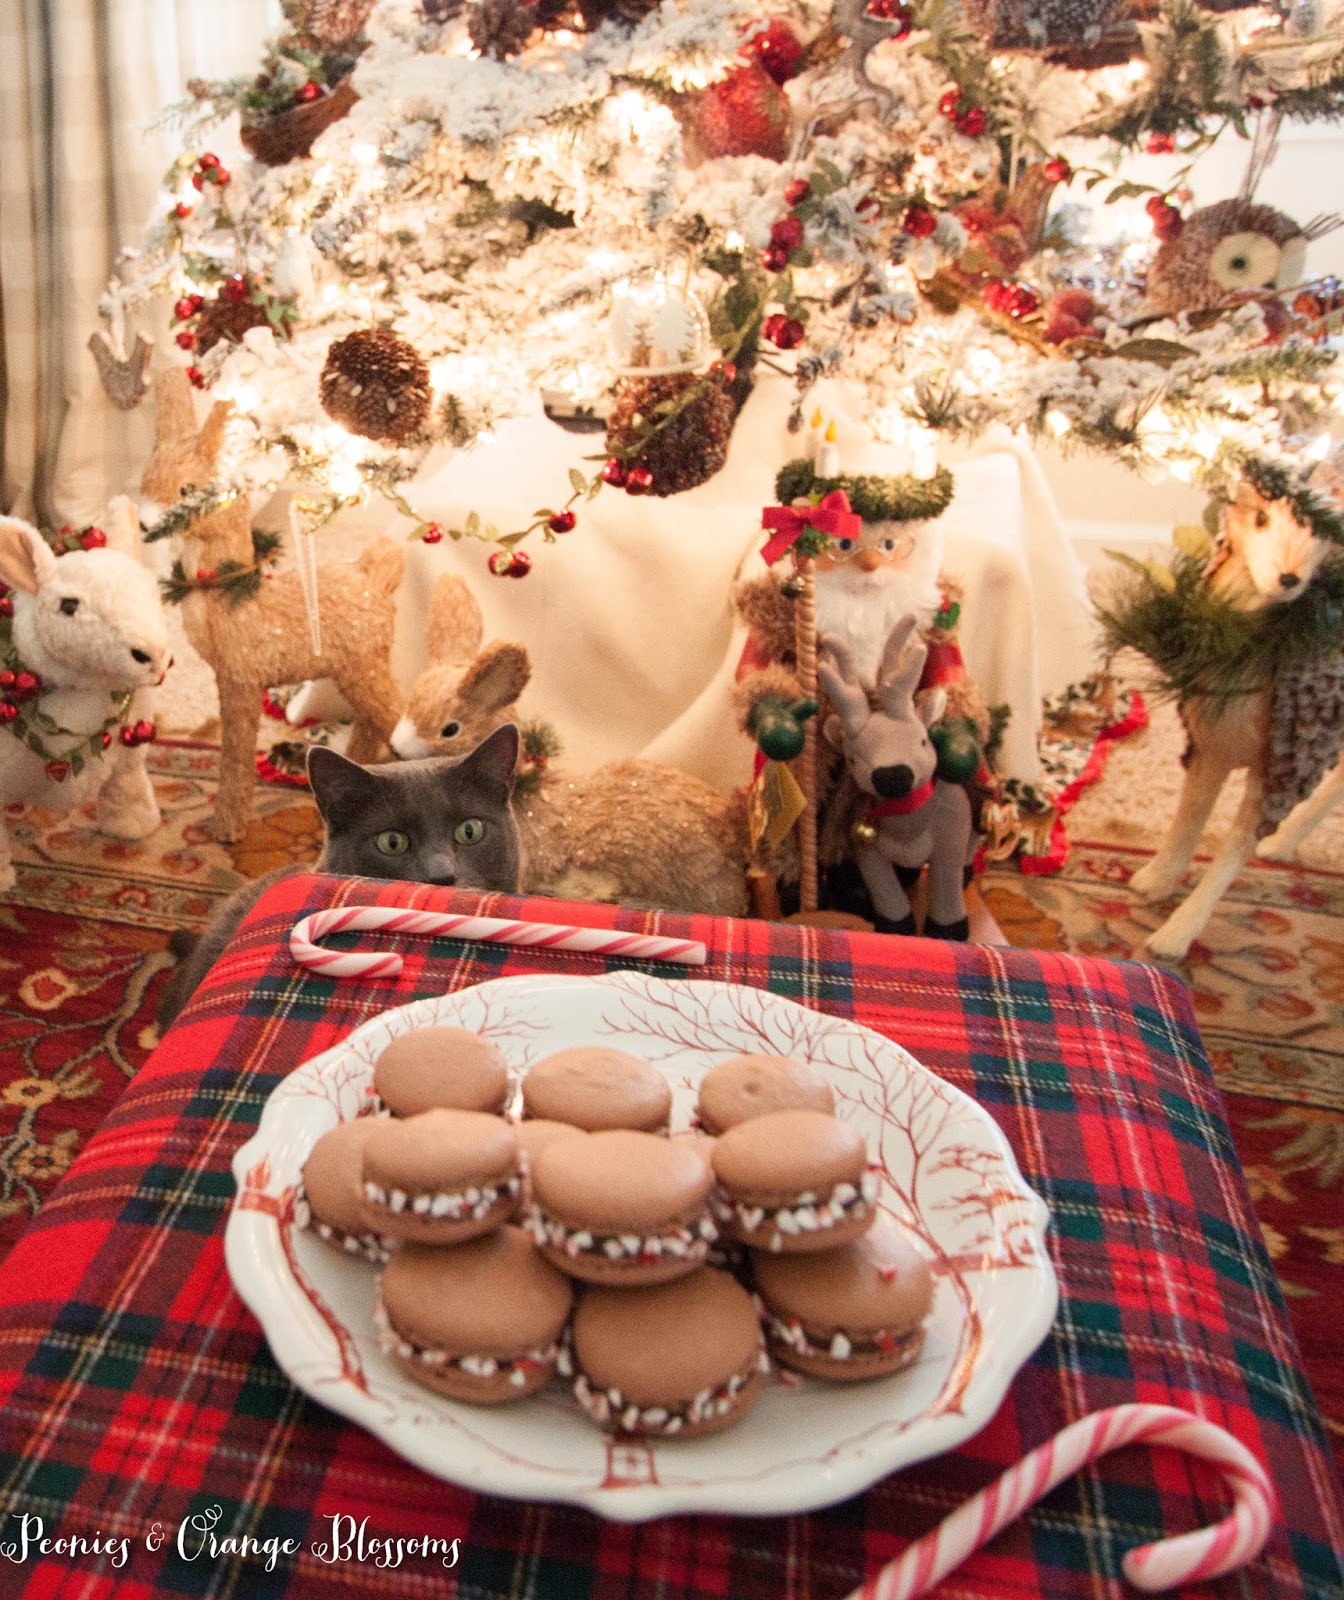
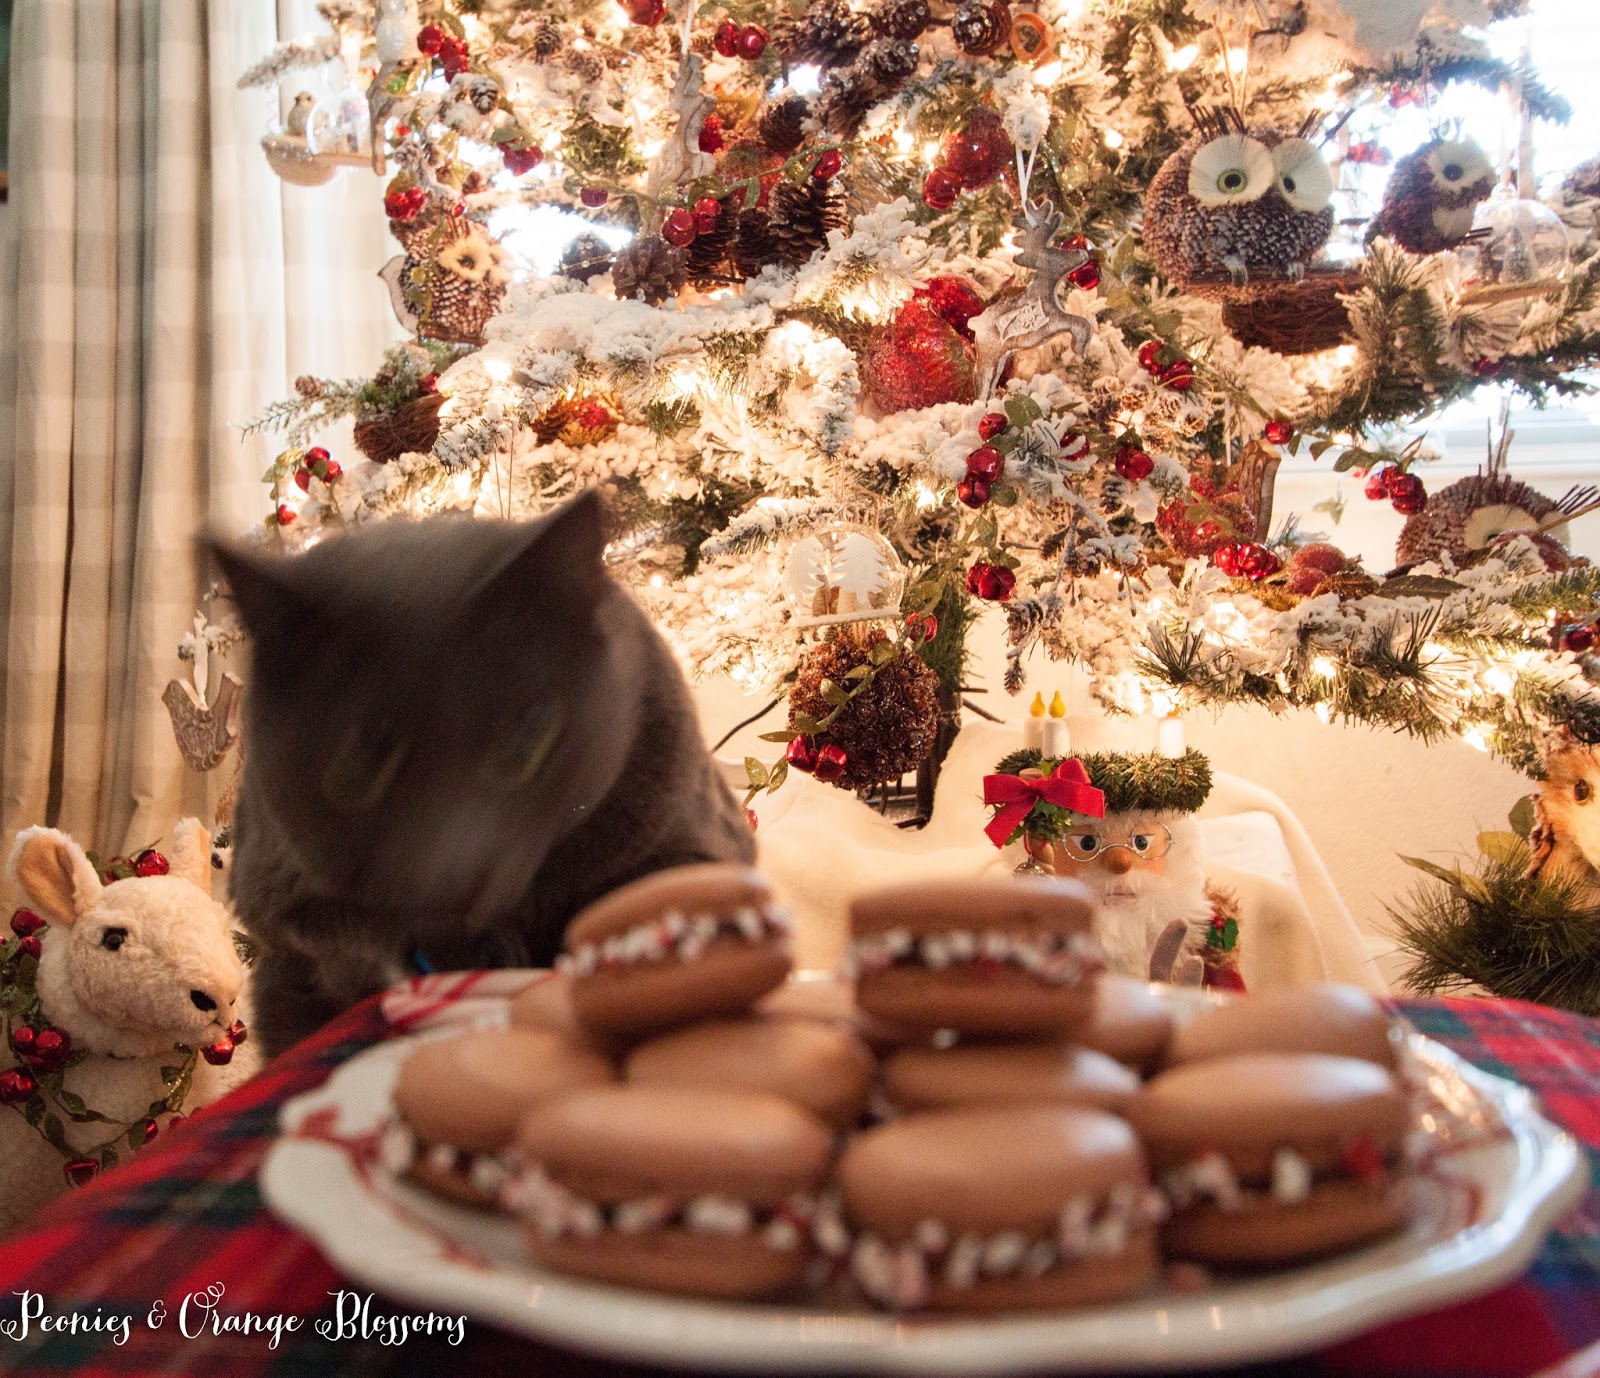
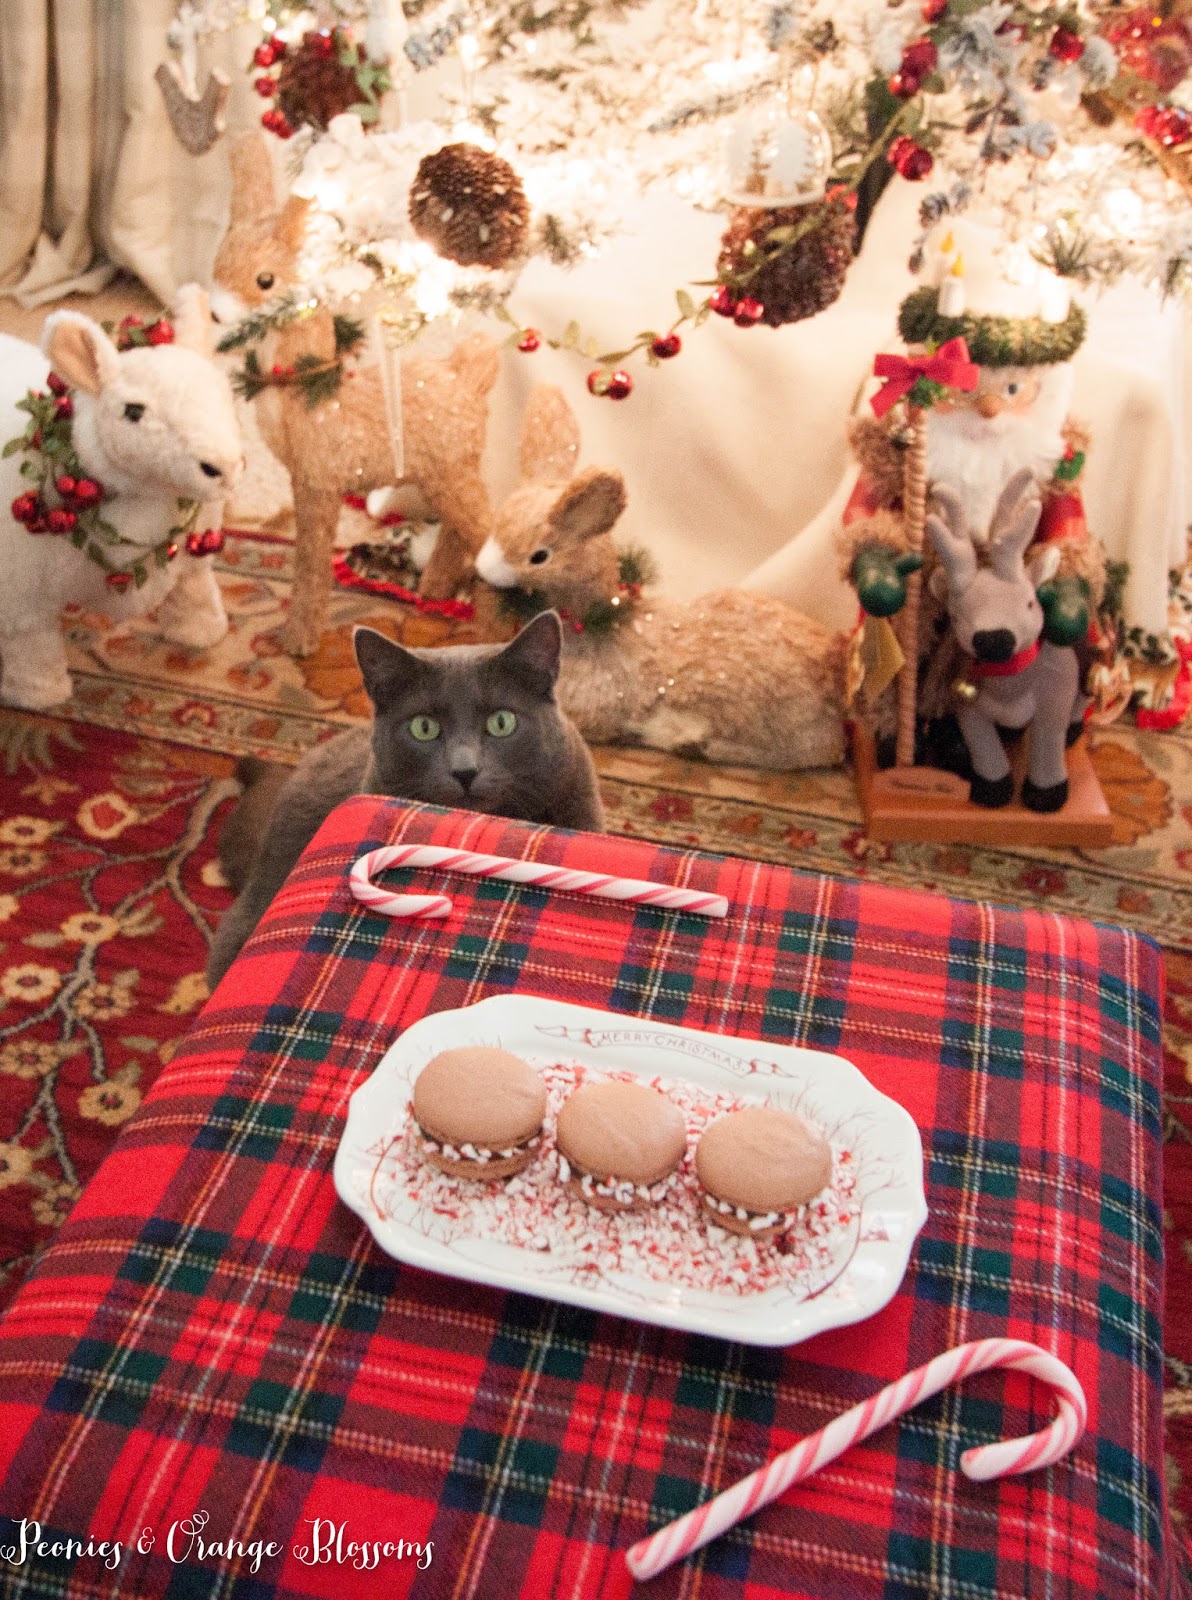
I’ve included some outtakes from this photoshoot.  Chloé the cat decided to do some photobombing and I thought I’d share…

***Jaws Theme Music Starts***


Why yes, I’l take a lick of the candy cane…

She left… then came back for another round. “What?” she says??

SaveSave

SaveSave

Follow:

The Best Apple Pie Recipe

We use affiliate links in our posts and our site. This means if you make a purchase using these links, we may earn a small commission. You don’t pay a cent more than you would otherwise! Our full disclosure is available under About.

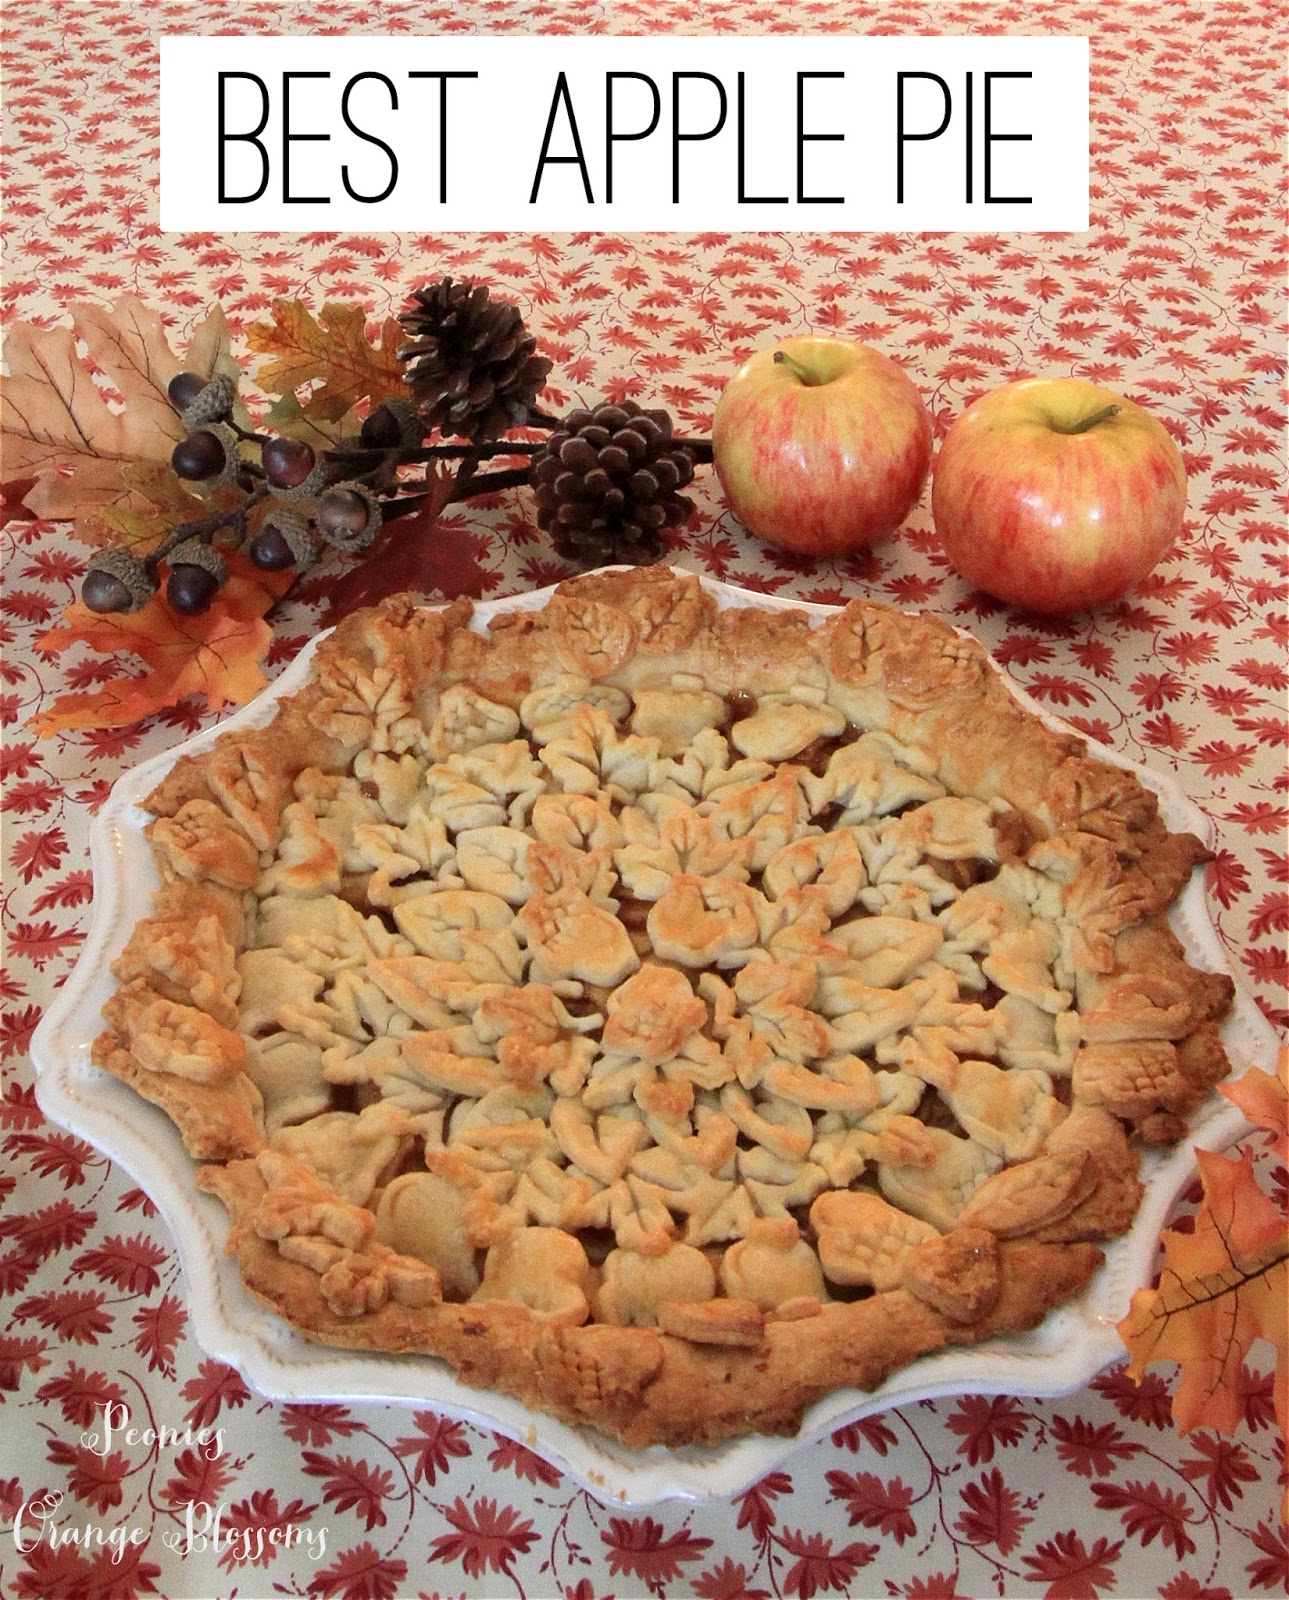
I am sharing with you today my FAVORITE apple pie recipe.  I have been making this recipe for several years and I still think it is the best apple pie recipe EVER!

The BEST homemade apple pie recipe - seriously, I have been making this for years and get rave review from everyone!

Granted, in general, fresh homemade apple pie is usually always good, but this one seems to be better.  I think it has to do with precooking the apples.

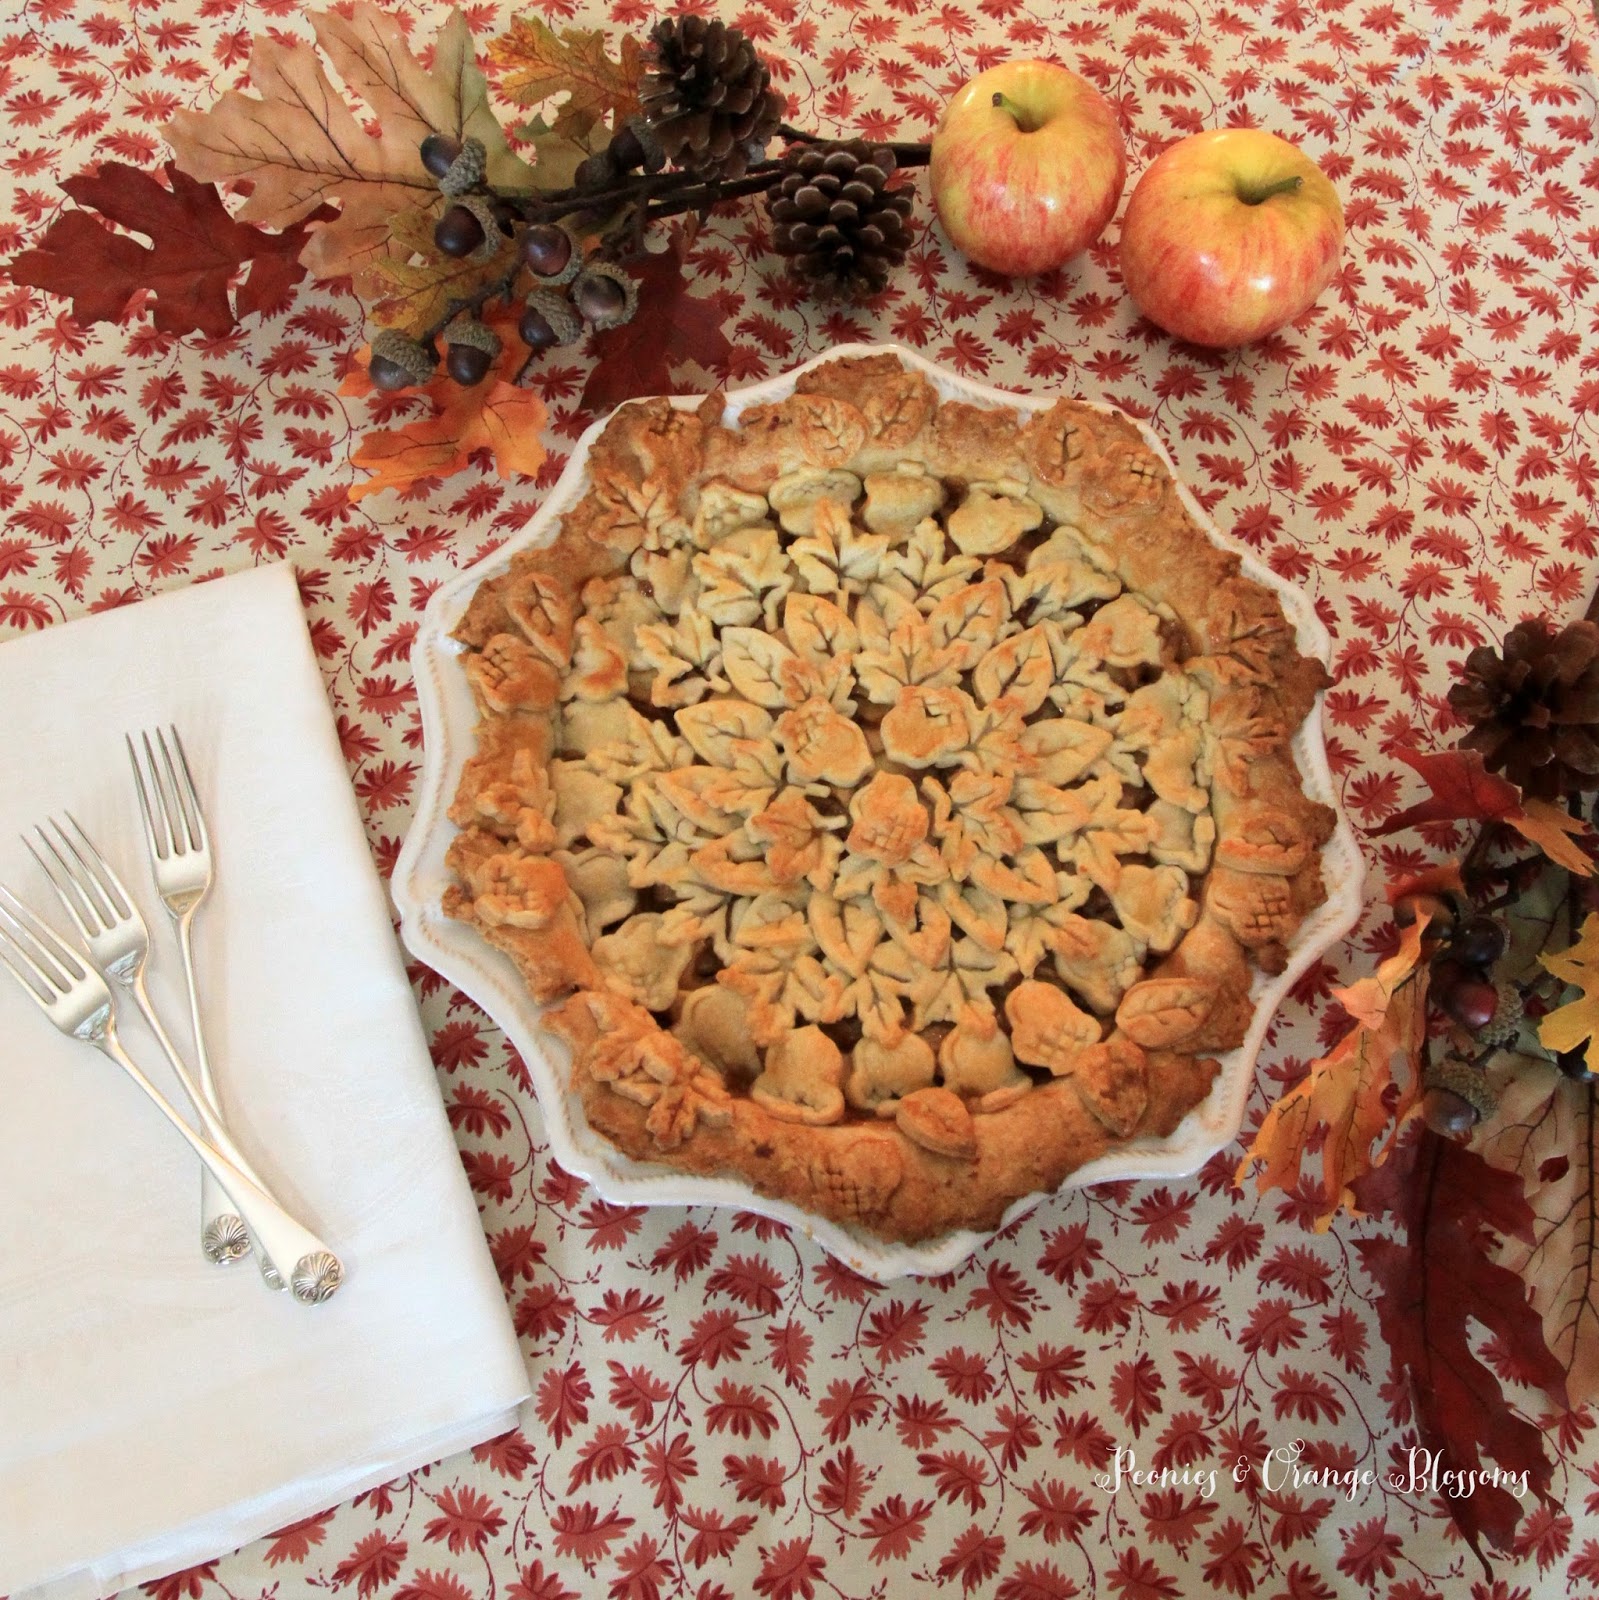
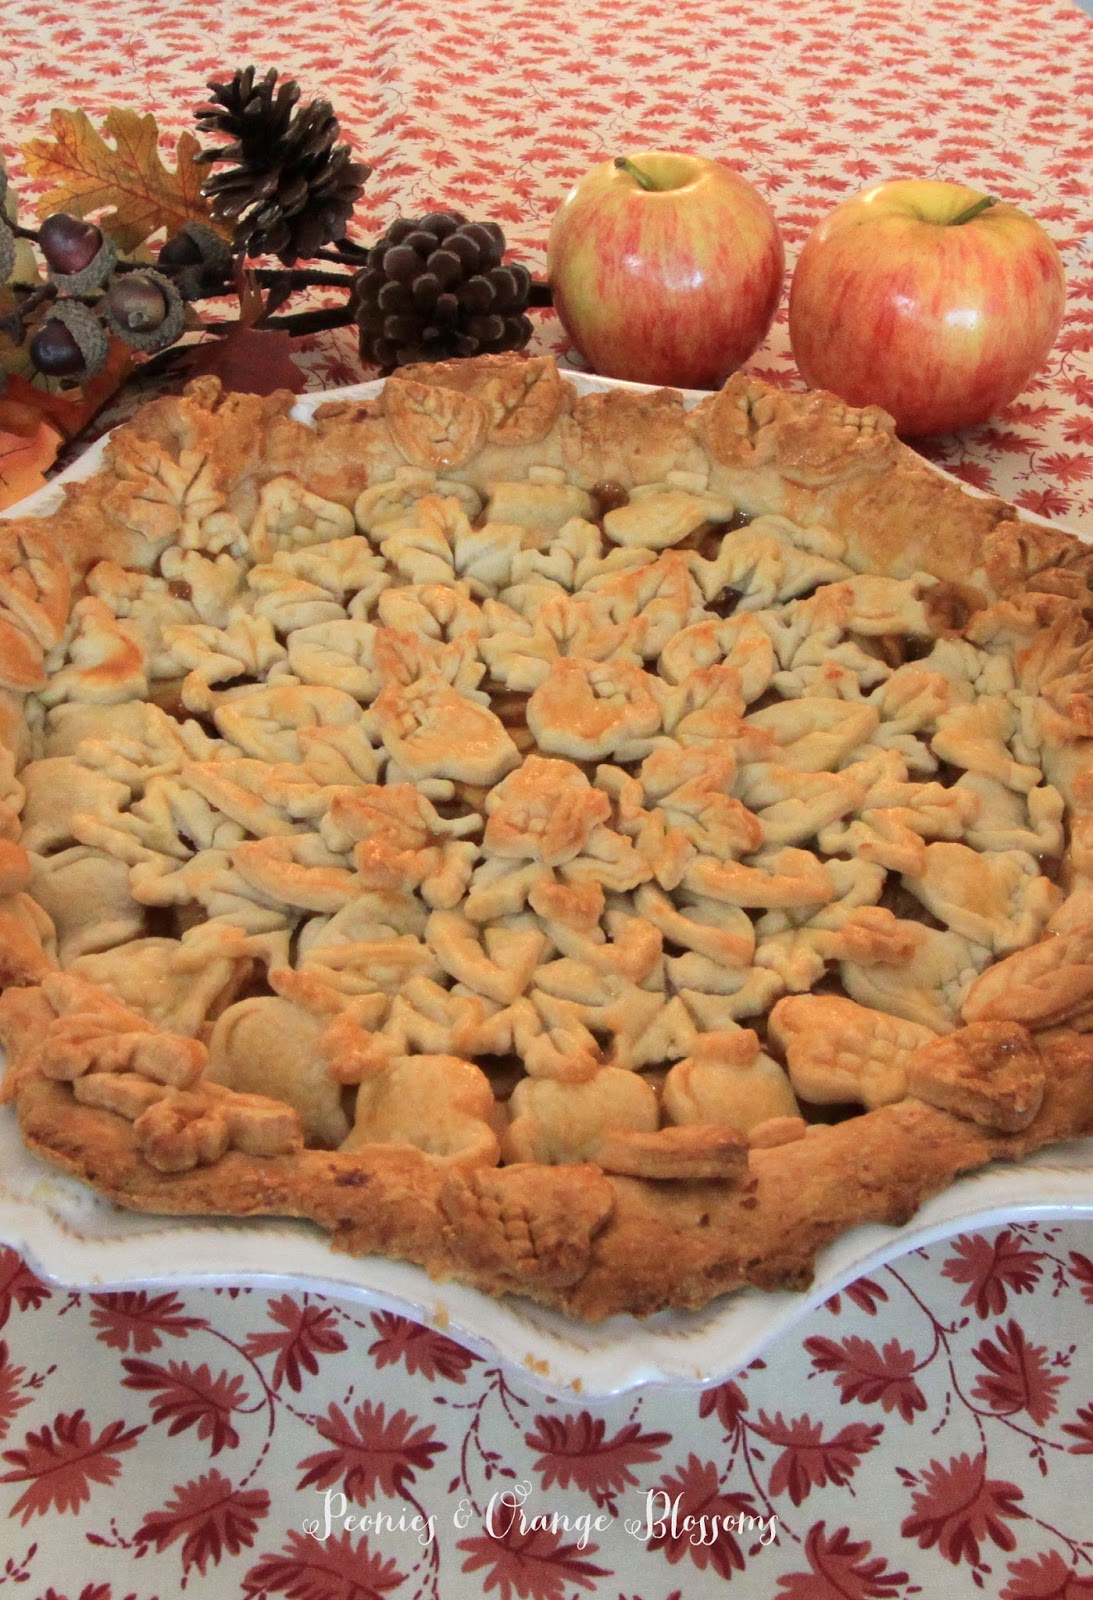
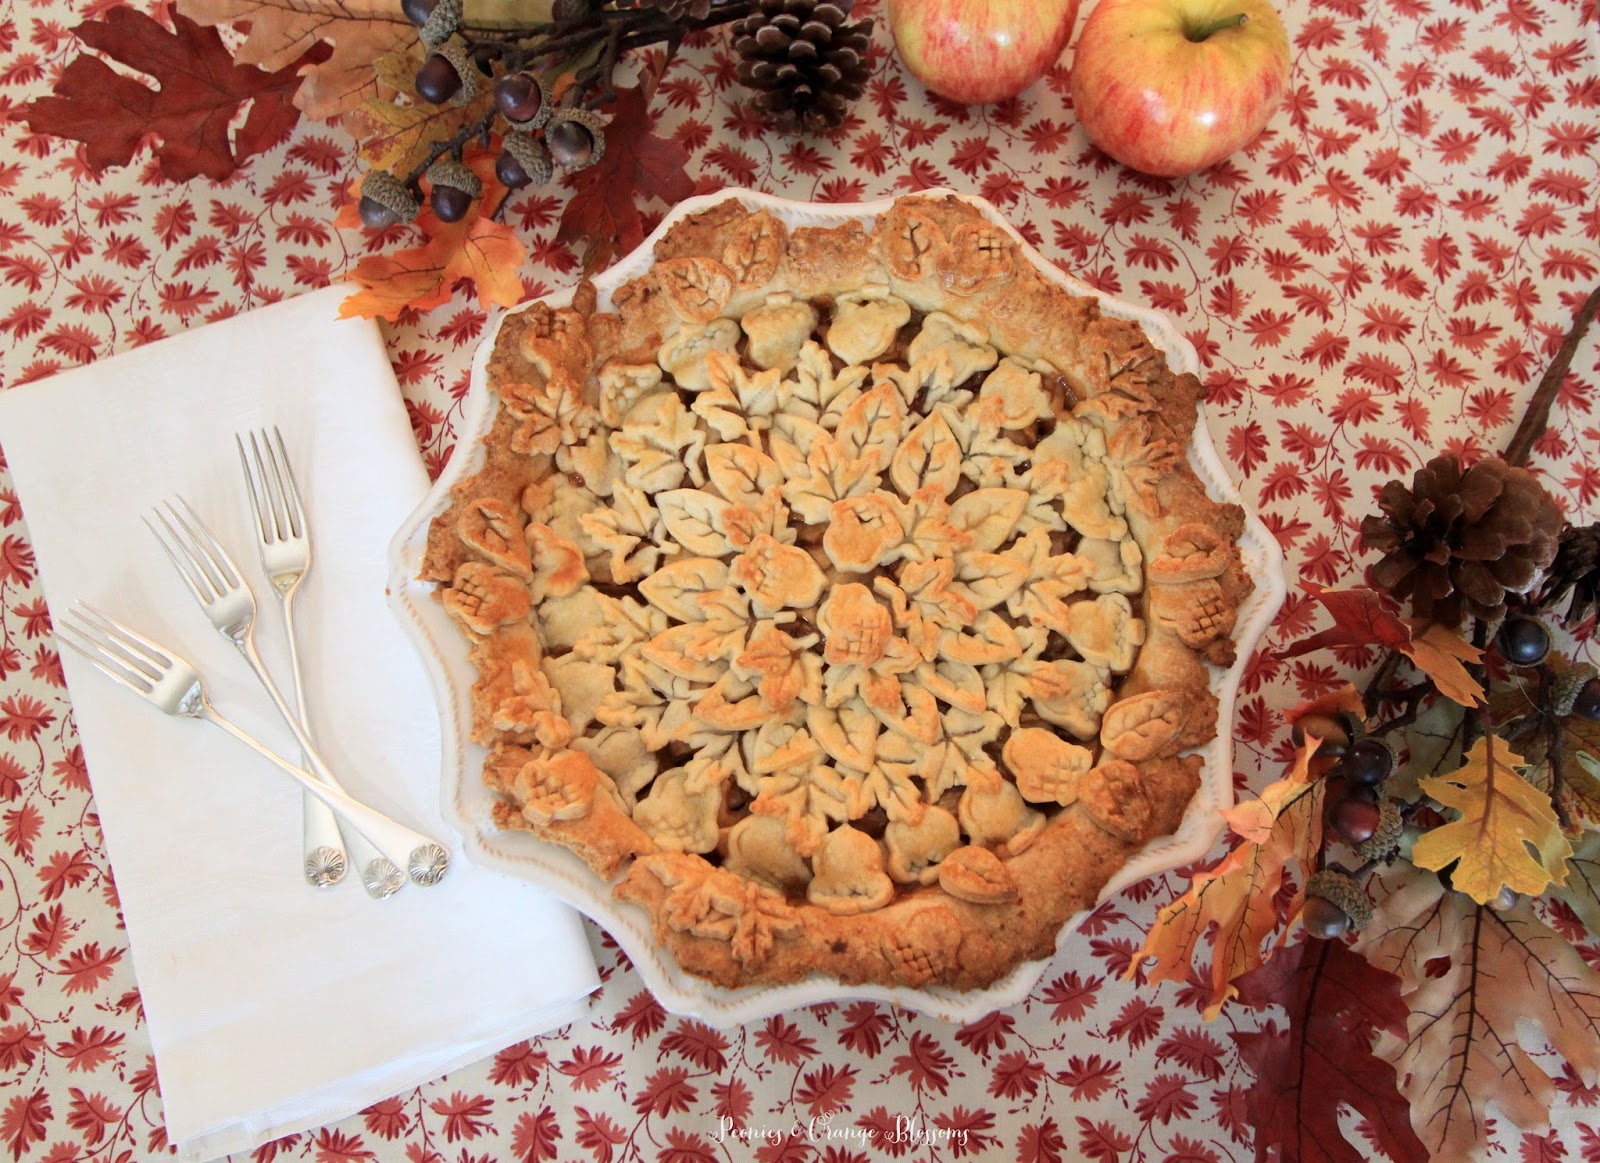
The best homemade apple pie recipe - the top crust was made with Fall cutouts!

Doesn’t it just look delicious and put you in a Fall mood? Now imagine yourself enjoying the pie… do you like yours with ice cream or whipped cream?

The best homemade apple pie recipe - seriously, I have been making this for years and get rave review from everyone!

The BEST apple pie recipe: 

For the dough:

  • 2 1/2 cups all-purpose flour
  • 1 tsp. salt
  • 2 tsp. granulated sugar
  • 16 Tbs. (2 sticks) cold unsalted butter, cut into 1/2-inch dice
  • 3 to 4 Tbsp. ice water

For the filling:

  • 2 lb. Granny Smith apples, peeled, cored and cut into slices 1/4 inch
  •   thick
  • 2 lb. Honey Crisp apples, peeled, cored and cut into slices 1/4 inch thick
  • 1/2 cup firmly packed light brown sugar
  • 1/4 cup granulated sugar
  • 1/2 tsp. ground cinnamon
  • 1/4 tsp. salt
  • 1/4 tsp. freshly grated nutmeg
  • 4 tsp. cornstarch
  • 1 Tbs. fresh lemon juice
  • 1 egg white, beaten with 1 tsp. water
  • 2 tsp. granulated sugar

Directions:

To make the dough  (Now, if you are going to do as many cutouts as I did, you will want to double the dough recipe): In a food processor, pulse the flour, salt, and granulated sugar together until combined, about 5 pulses. Add the butter and process until the mixture resembles coarse meal, about 10 pulses. Add 3 Tbs. of the ice water and pulse 2 or 3 times. The dough should hold together when squeezed with your fingers but should not be sticky. If it is crumbly, add more water 1 tsp. at a time, pulsing twice after each addition. Turn the dough out onto a work surface, divide in half and shape each half into a disk. Wrap the disks separately in plastic wrap and refrigerate for at least 2 hours or up to overnight.

On a lightly floured work surface, roll out half of the dough into a 12-inch round about 1/8 inch thick. Fold the dough in half and then into quarters and transfer it to a 9-inch deep-dish pie dish. Unfold and gently press the dough into the bottom and sides of the dish. Trim the edges flush with the rim of the dish. Refrigerate for 30 minutes.

On a large sheet of lightly floured parchment paper, roll out the remaining dough disk into a 12-inch round about 1/8 inch thick. Using leaf pie cutters, cut out as many leaves as your heart desires. Refrigerate the cutouts for 30 minutes (I actually did not do this step this time and instead cut them out and immediately put them on top of the apples).

Meanwhile, make the filling: In a large Dutch oven, stir together the apples, brown sugar, granulated sugar, cinnamon, salt, nutmeg and cornstarch. Set over medium heat, cover and cook, stirring occasionally, until the apples are just tender but not mushy, about 20 minutes. Uncover and cook until the liquid has thickened and become glossy, 5 to 7 minutes more. Remove from the heat, stir in the lemon juice and let cool to room temperature, about 30 minutes.

Position a rack in the lower third of an oven, place a baking sheet on the rack and preheat the oven to 400°F.

Let the pie shell, lattice top and leaf cutouts stand at room temperature for 5 minutes. Transfer the apple filling to the pie shell, then gently invert the lattice top over the pie. Trim the edges flush with the rim of the dish and press the top and bottom crusts together to seal. Brush the underside of the leaf cutouts with egg wash and gently press them onto the edges of the piecrust, overlapping the leaves slightly. Decorate as desired with the remaining leaves. Brush the entire top crust with egg wash and sprinkle with the granulated sugar.

Place the pie dish on the preheated baking sheet. Bake until the crust is crisp and golden brown, about 1 hour, covering the edges with aluminum foil if they become too dark. Transfer the pie to a wire rack and let cool for at least 1 1/2 hours before serving. Serves 8.

Adapted from Williams-Sonoma Kitchen.


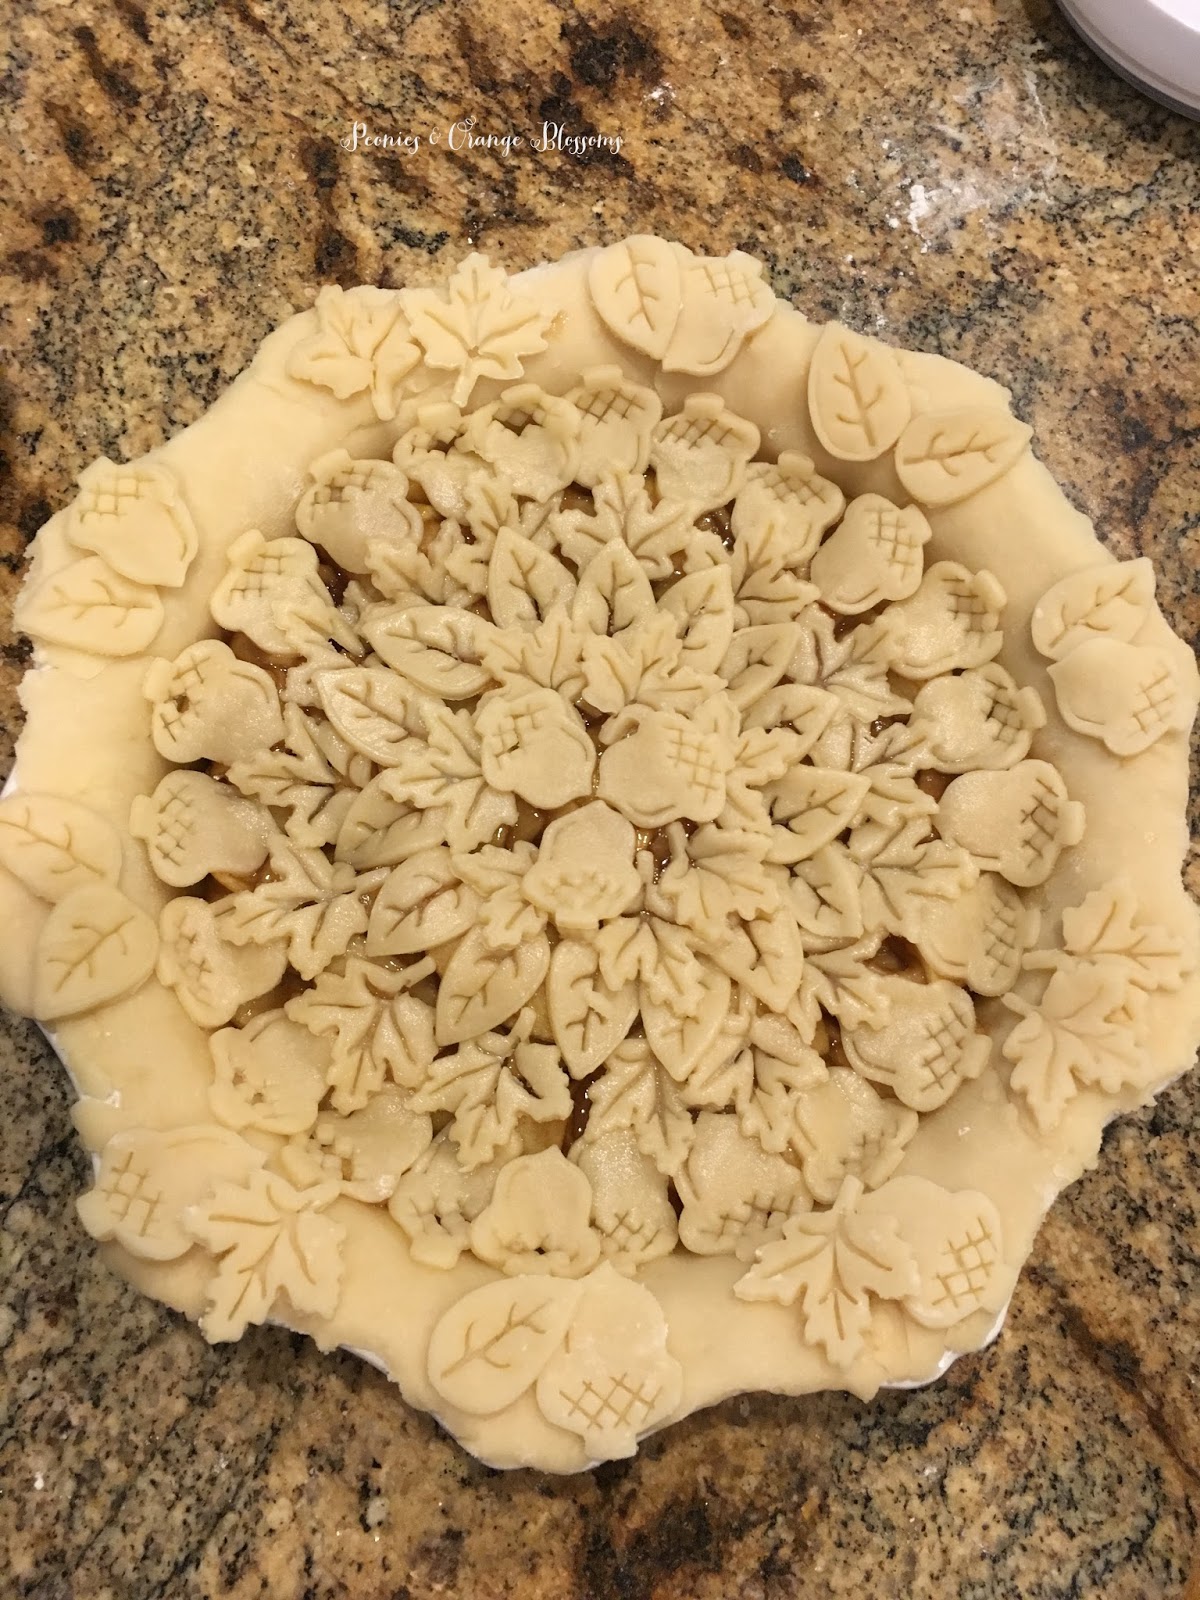
Here’s a look at the pie just before it headed into the oven…

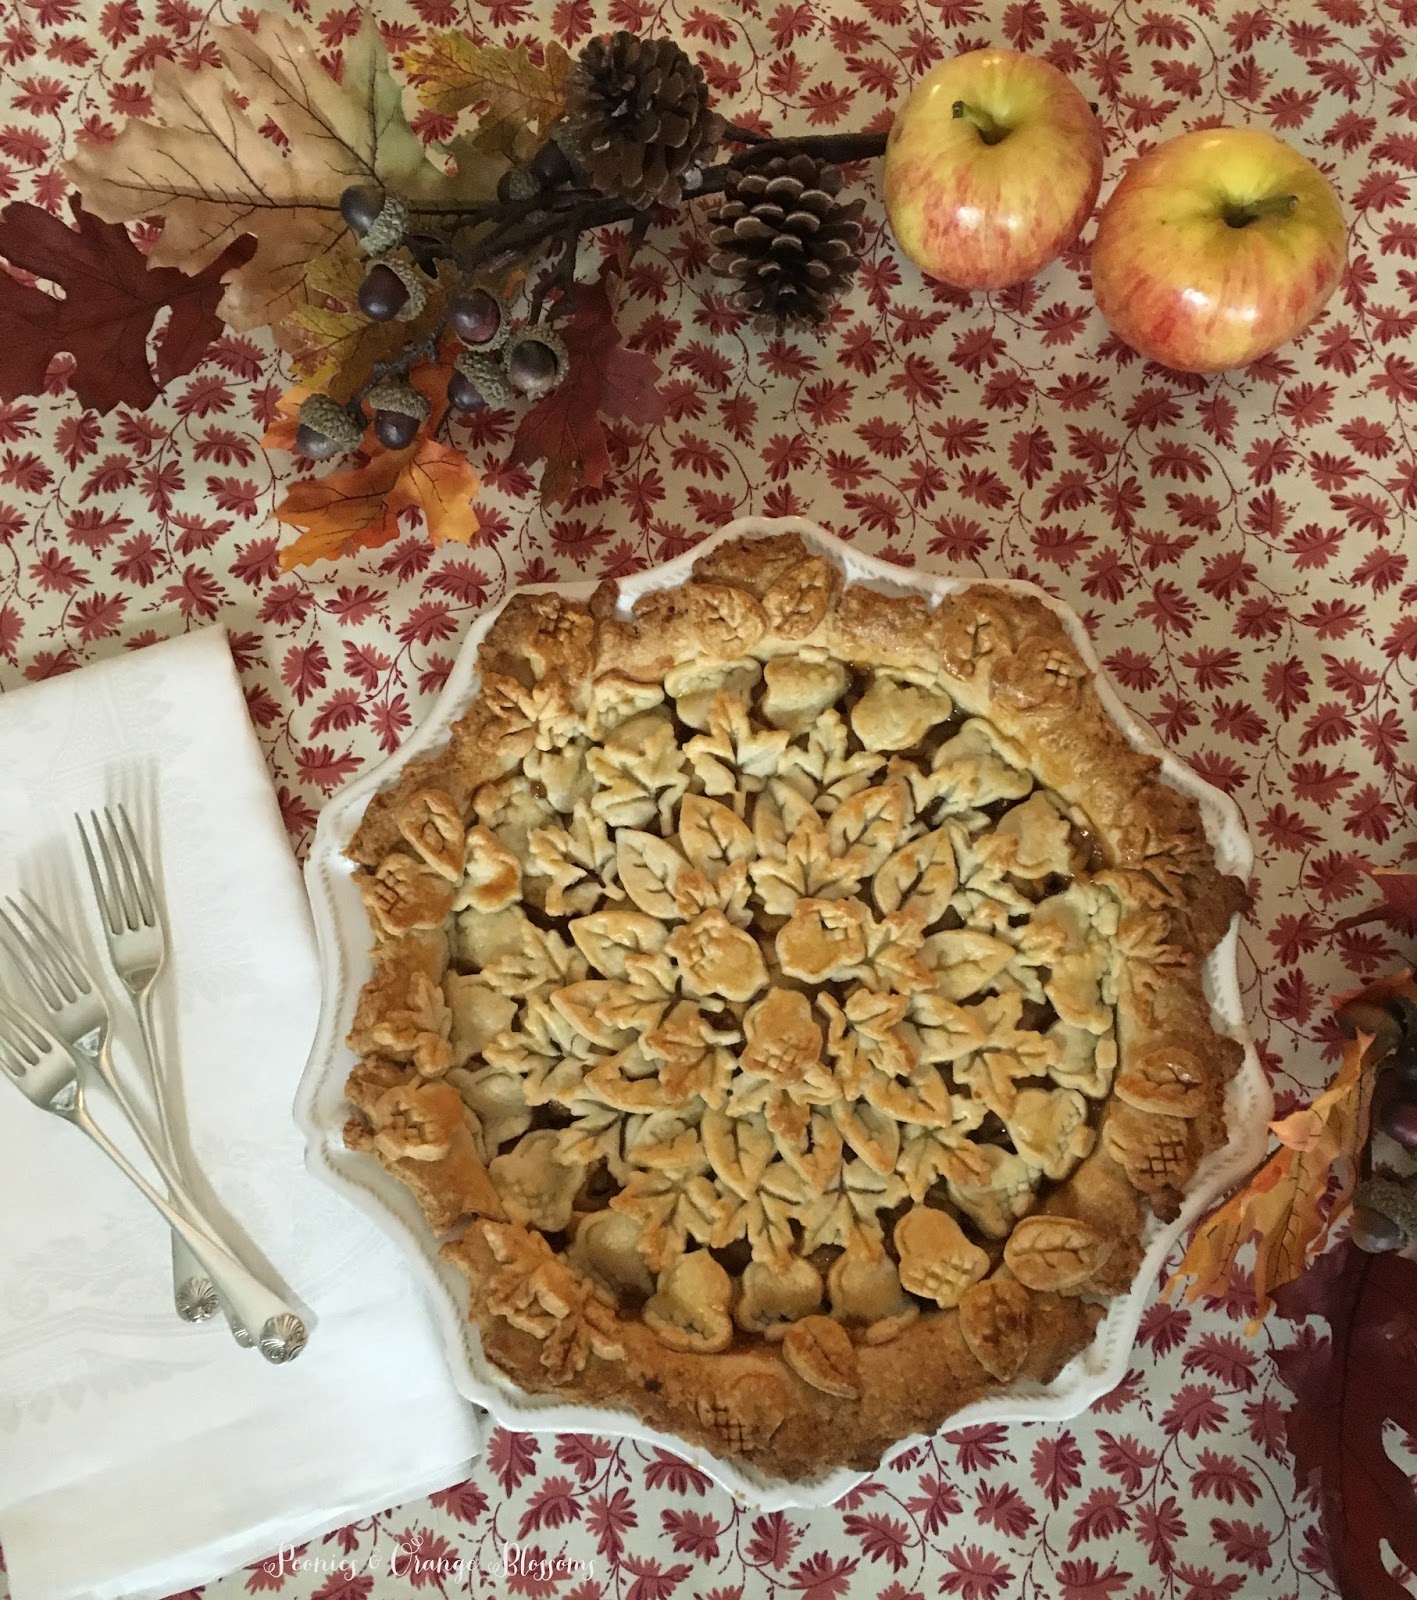
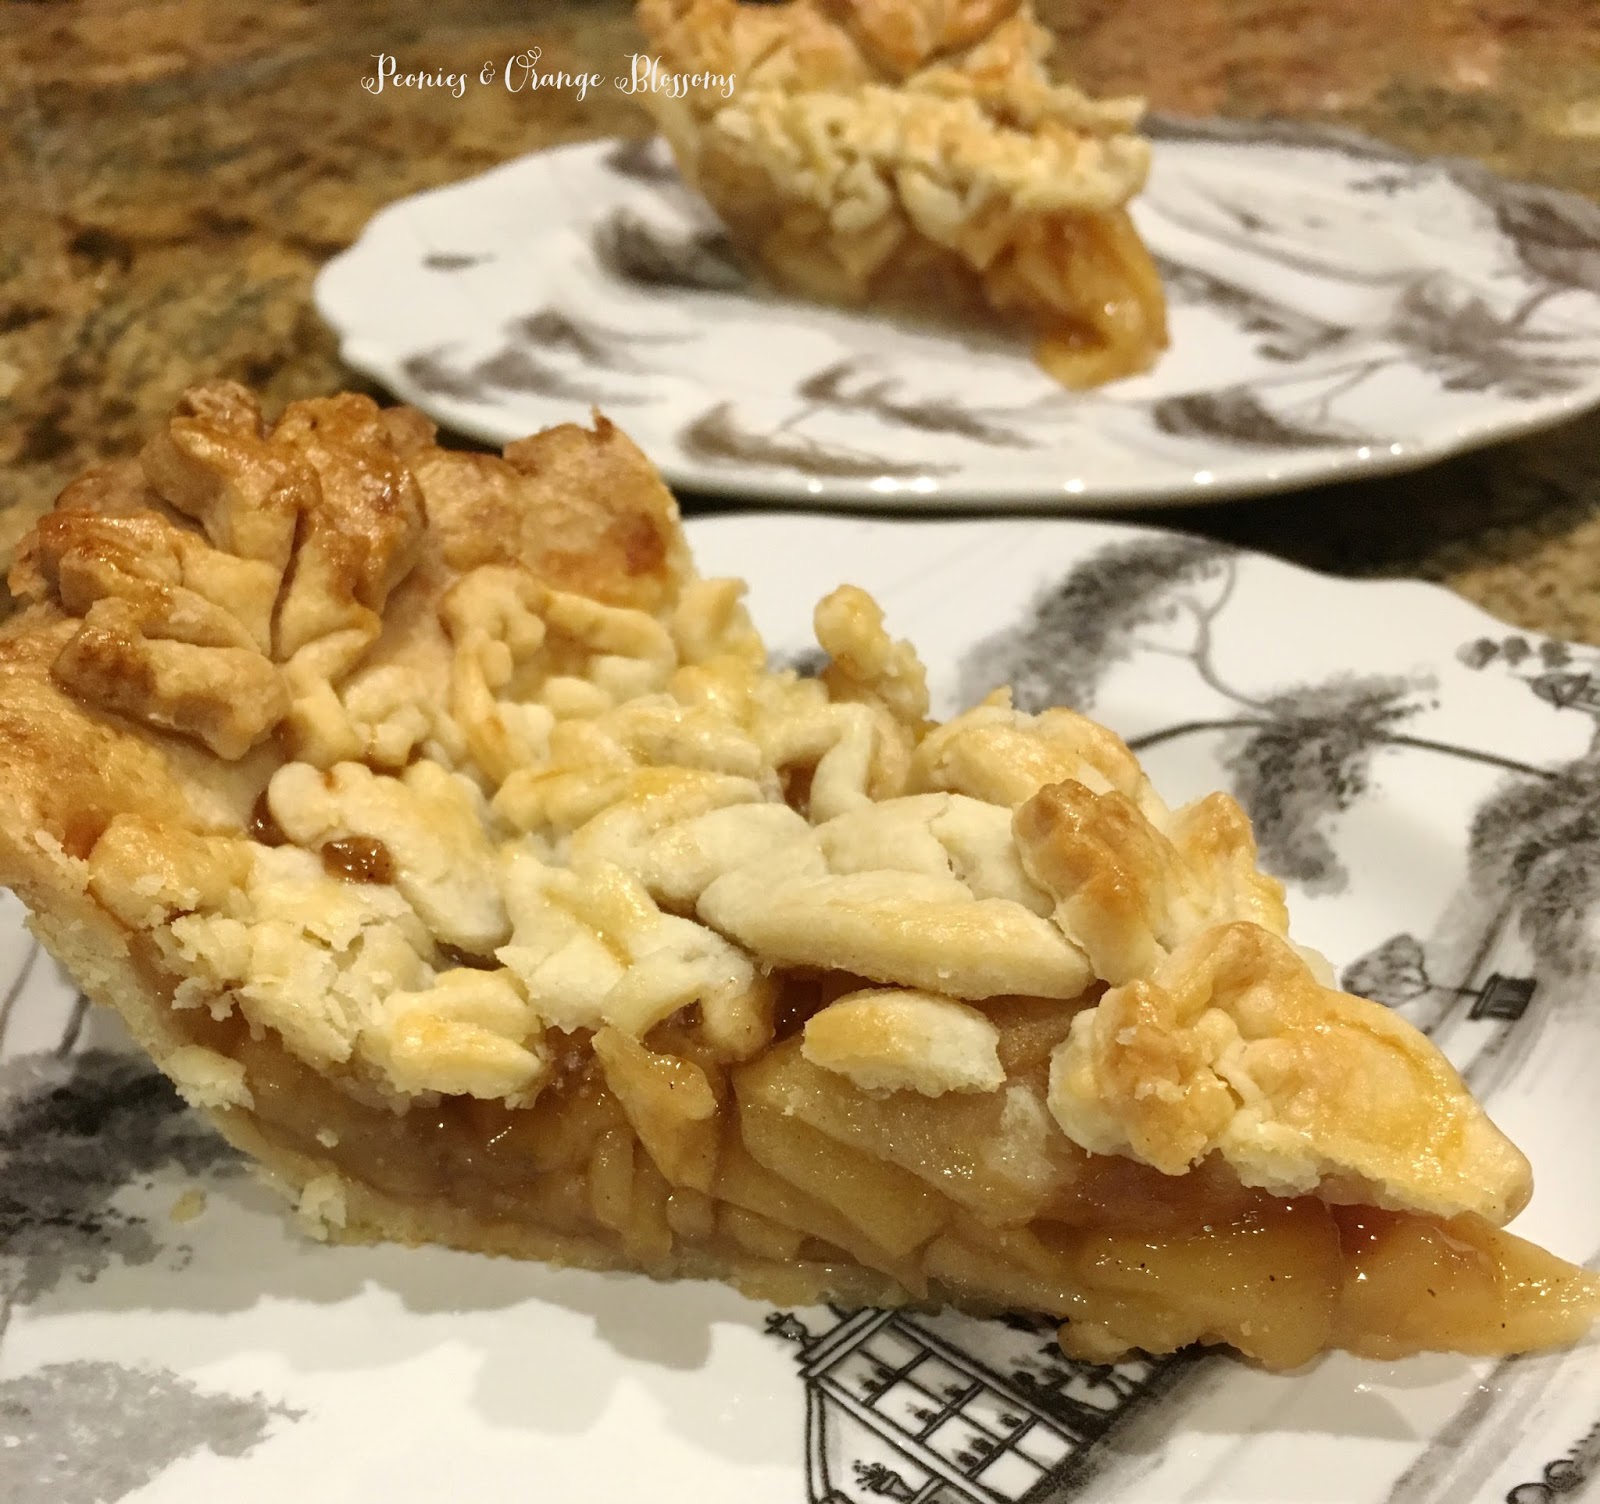
…and here it is fresh out of the oven! The smell is intoxicating.

The best homemade apple pie recipe

The best apple pie recipe - seriously, I have been making this for years and get rave review from everyone!


Oh yum, just before eating… hot apple goodness oozing out… I like my apple pie with a touch of vanilla ice cream.  Or homemade cinnamon ice cream. My mom votes next time we try it with homemade salted caramel ice cream. Doesn’t that sound delicious?

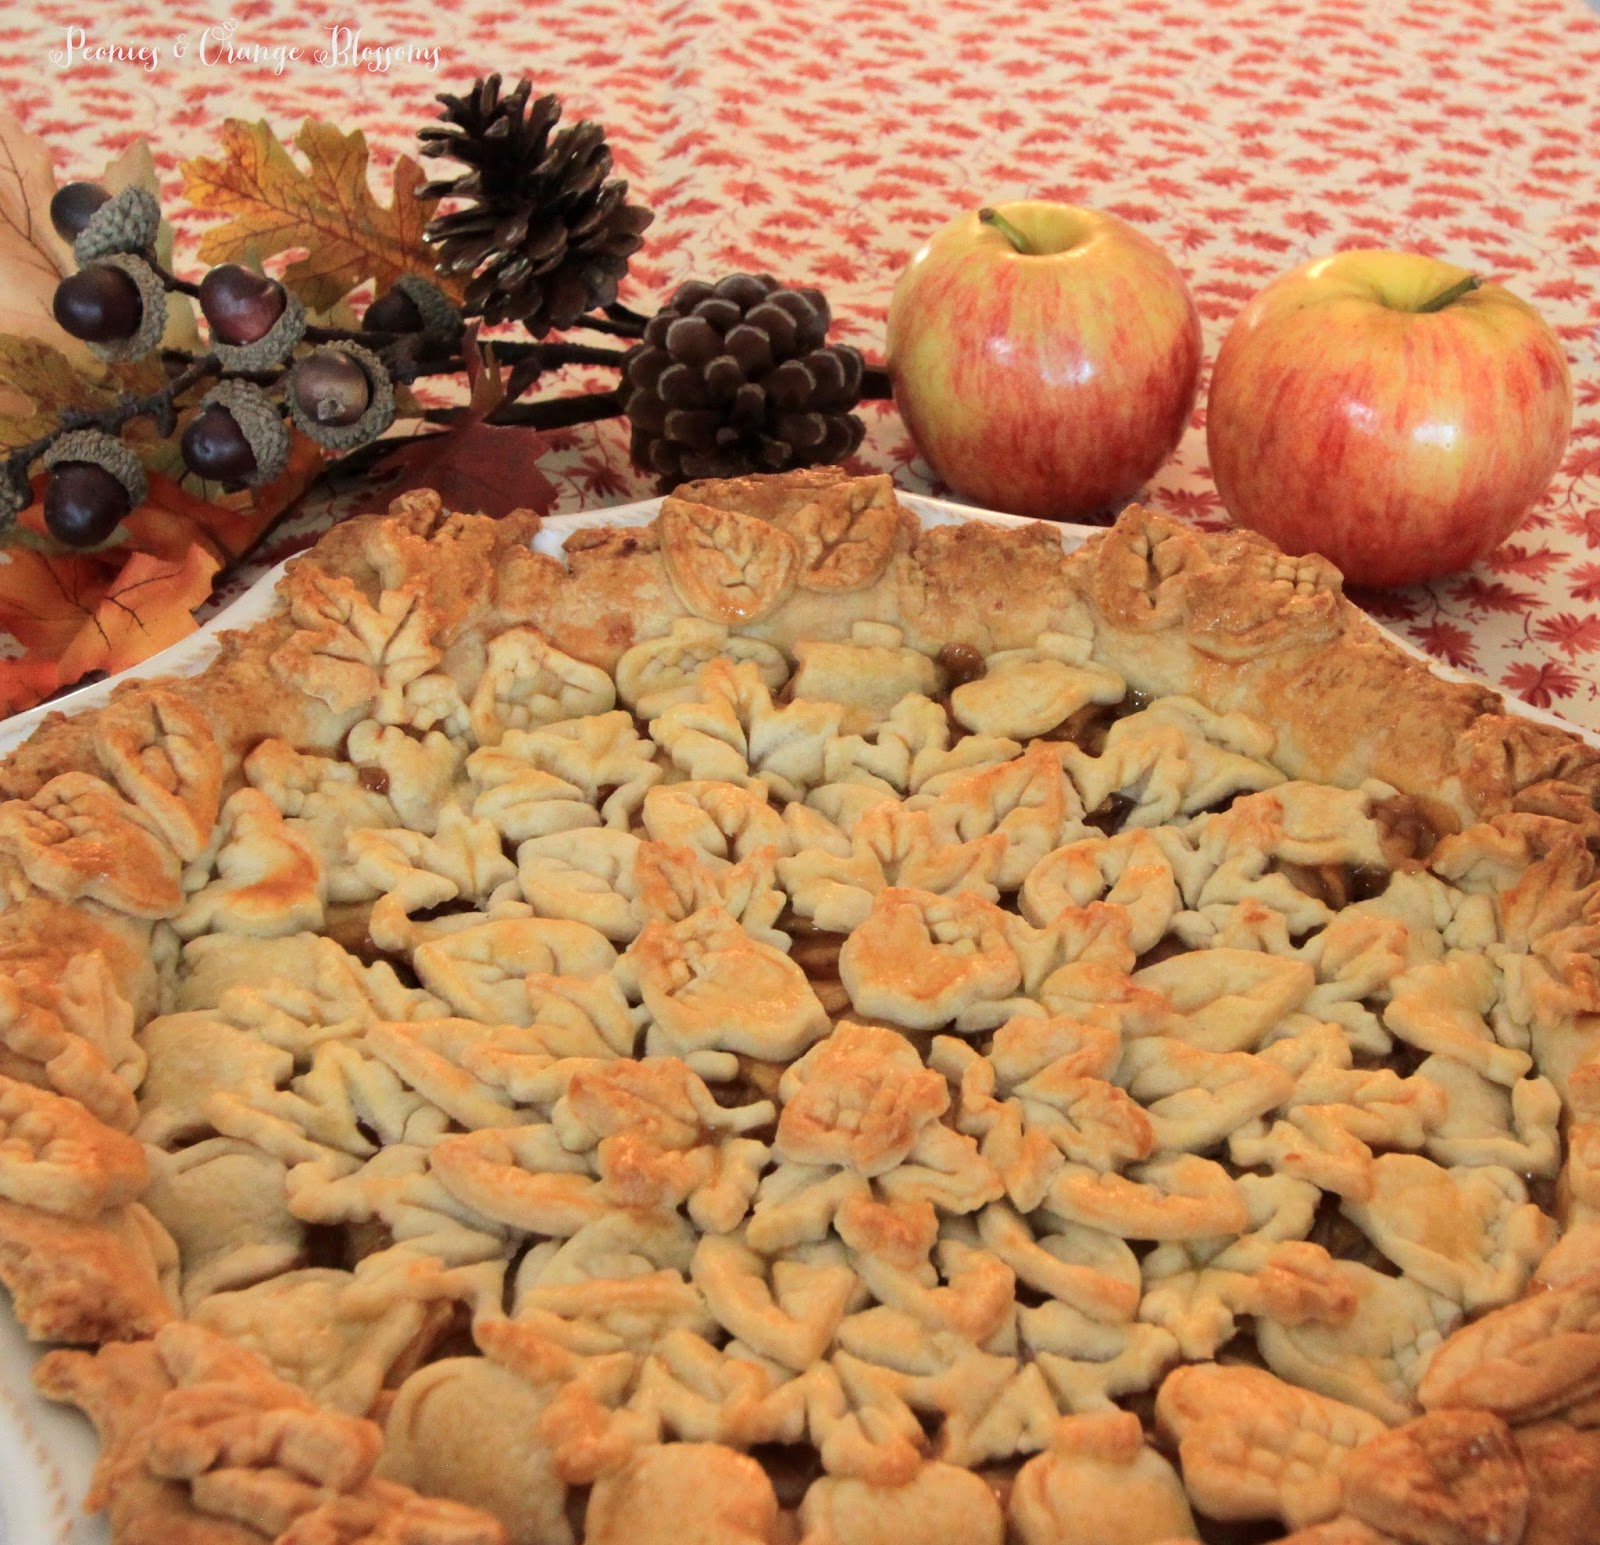
One last look at the pie, yum yum!

If you are interested in the piecrust cutters, I used these ones here from an earlier year.  These ones here are similar and cheaper.

The best apple pie recipe - seriously, I have been making this for years and get rave review from everyone!


SaveSave

SaveSave

Follow:

Peach Clafoutis Recipe

We use affiliate links in our posts and our site. This means if you make a purchase using these links, we may earn a small commission. You don’t pay a cent more than you would otherwise! Our full disclosure is available under About.

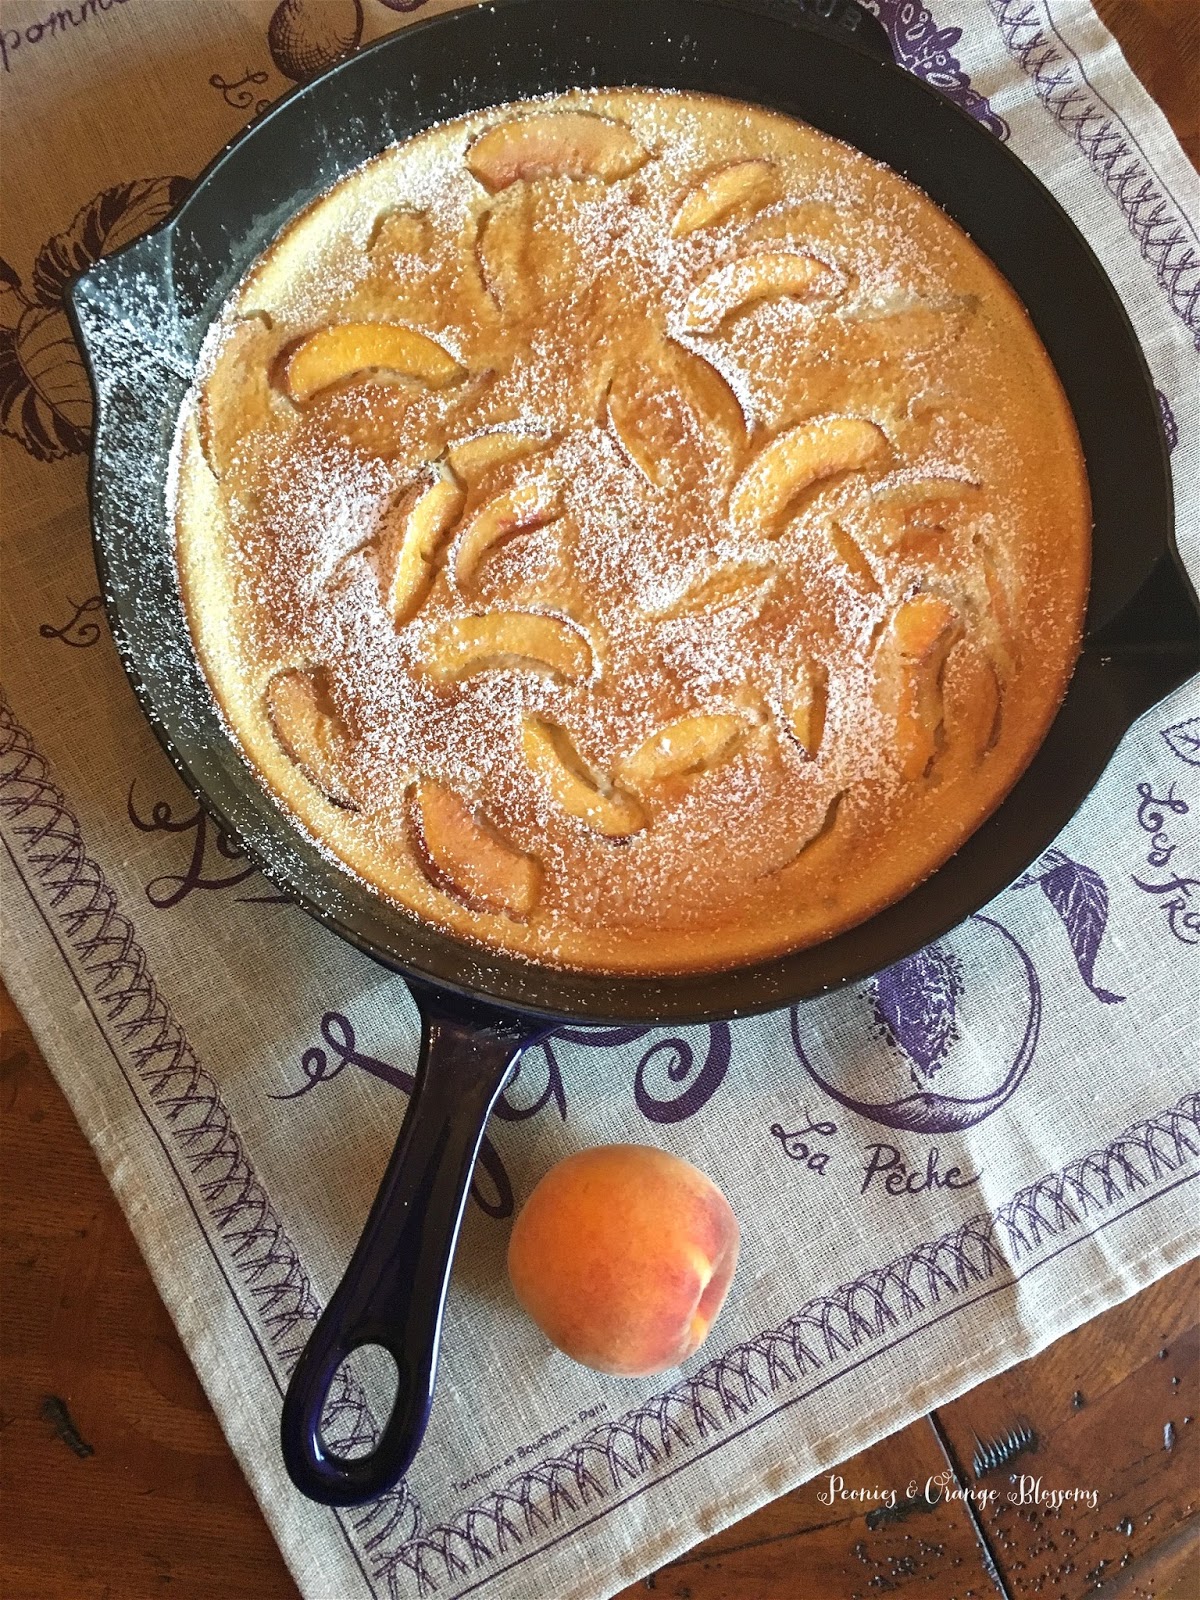
I have said it before and I’ll say it again: we have peaches coming out of our ears. So that means I have been busy baking up a storm using all of the peaches!

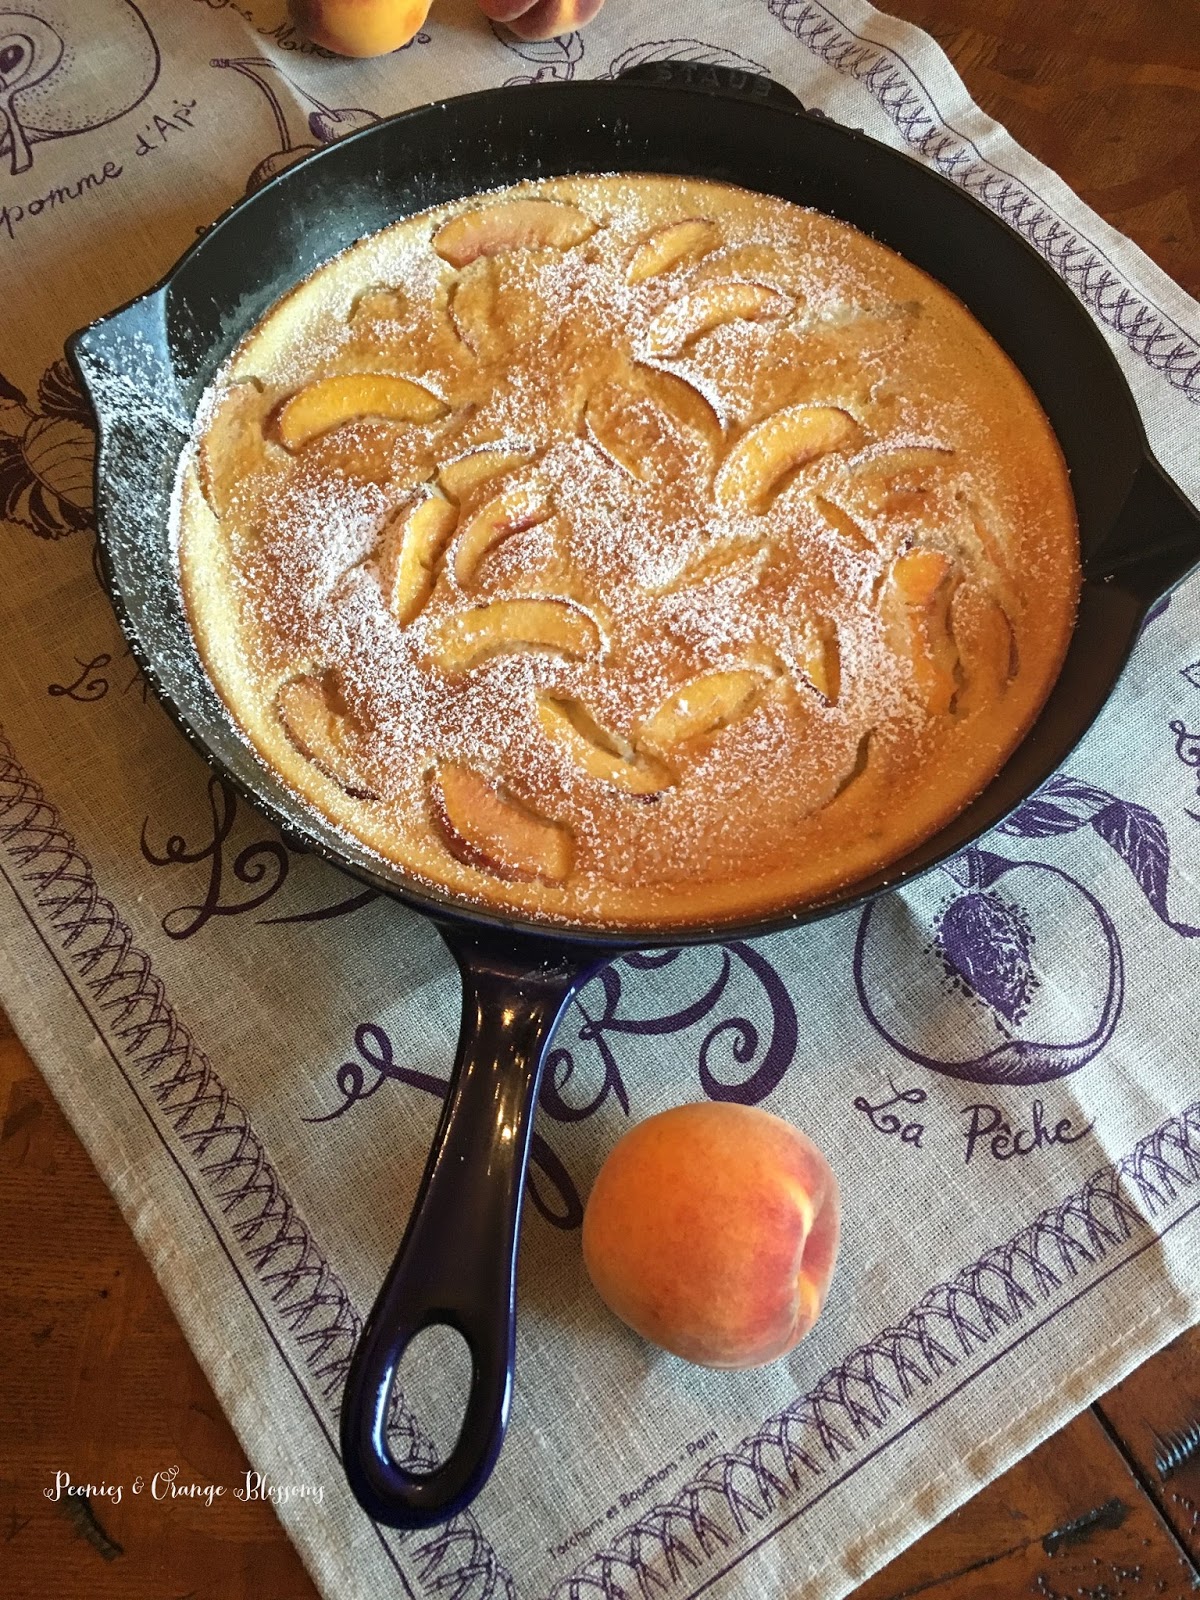
Now, I have been wanting to try to make a clafoutis because it sounds so fancy.  It is pronounced kla-foo-tee.  But guess what? It is SUPER EASY to make.  I feel like the name is deceiving for that reason!

This post may contain affiliate links. See my disclosure policy.

Now, for the recipe, I simply used Julia Child’s recipe from Mastering the Art of French Cooking.  She used other fruit but I substituted peaches. It was tasty!

Ingredients

  • 1 1/2 cups milk (I used 2%)
  • 2/3 cup granulated sugar, divided
  • 3 eggs
  • 1tbsp vanilla
  • 1/8 tsp salt
  • 1/2 cup flour
  • 3-4 ripe peaches, sliced


Directions

  1. Preheat oven to 350F
  2. In a blender, blend the milk, 1/3 cup of sugar, eggs, vanilla, salt, and flour.
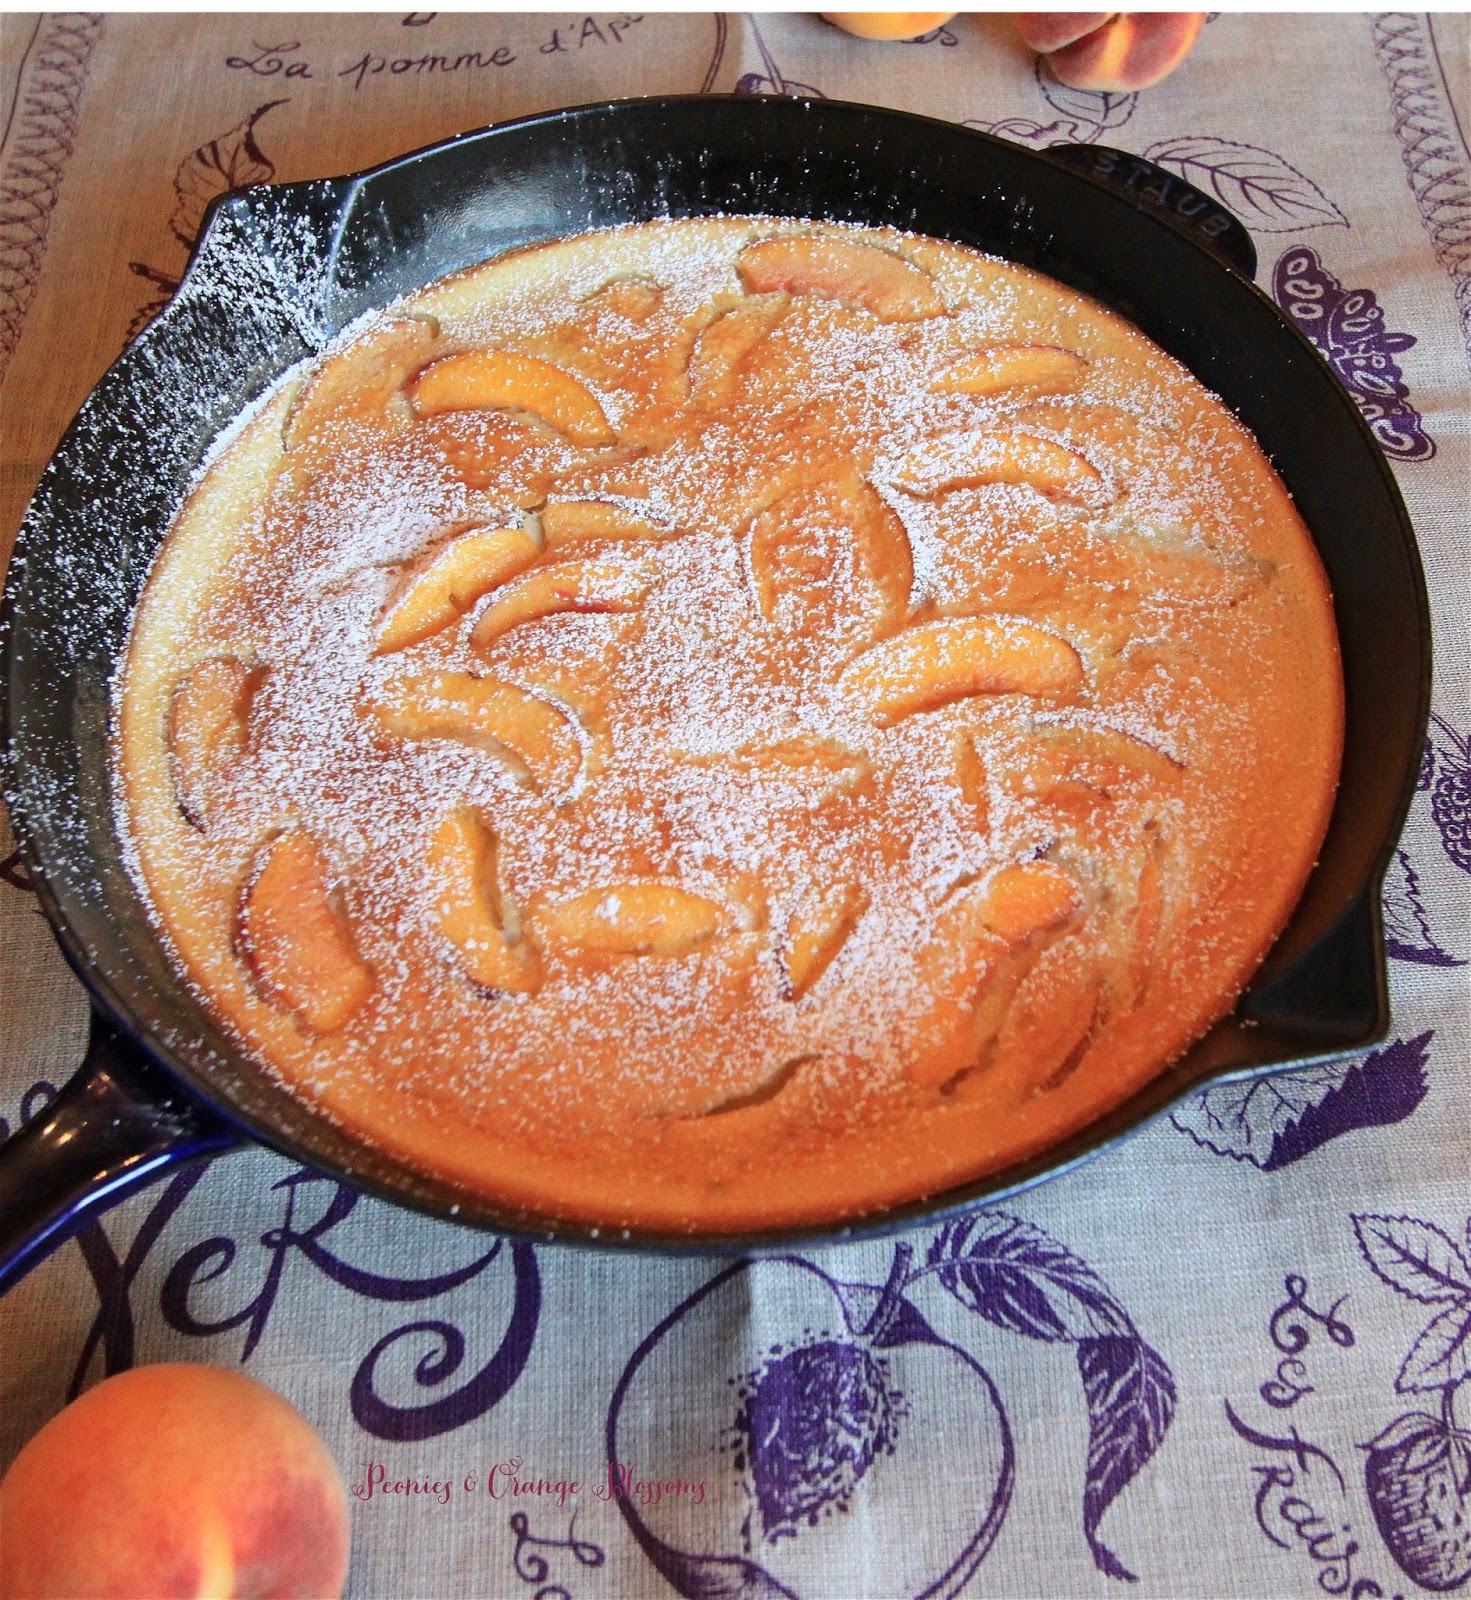
  3. Then, pour about a 1/4 inch layer of the matter into a lightly buttered baking dish (a cast iron pan works the best!). Place over heat for 2-3 minutes on the stove top until the batter sets up in the pan.
  4. Remove from the heat and then spread the peaches evenly over the batter.  Pour the remaining batter on top.  Sprinkle the remaining 1/3 cup sugar on top of that (I only sprinkled part of it as it seemed like a lot of sugar).
  5. Bake at 350F for 45 minutes to 1 hour.  The clafoutis is done when it is puffed and brown. Plunge a knife in the center and if it comes out clean you are down!
  6. Serve warm, sprinkled with powdered sugar.


If you have never had a clafoutis it is kind of like a pancake/flan batter with fruit cooked in the middle.


You can impress your friends by making this dish – it sounds so fancy but it is SO EASY to make that  a beginner could make it!


Follow:

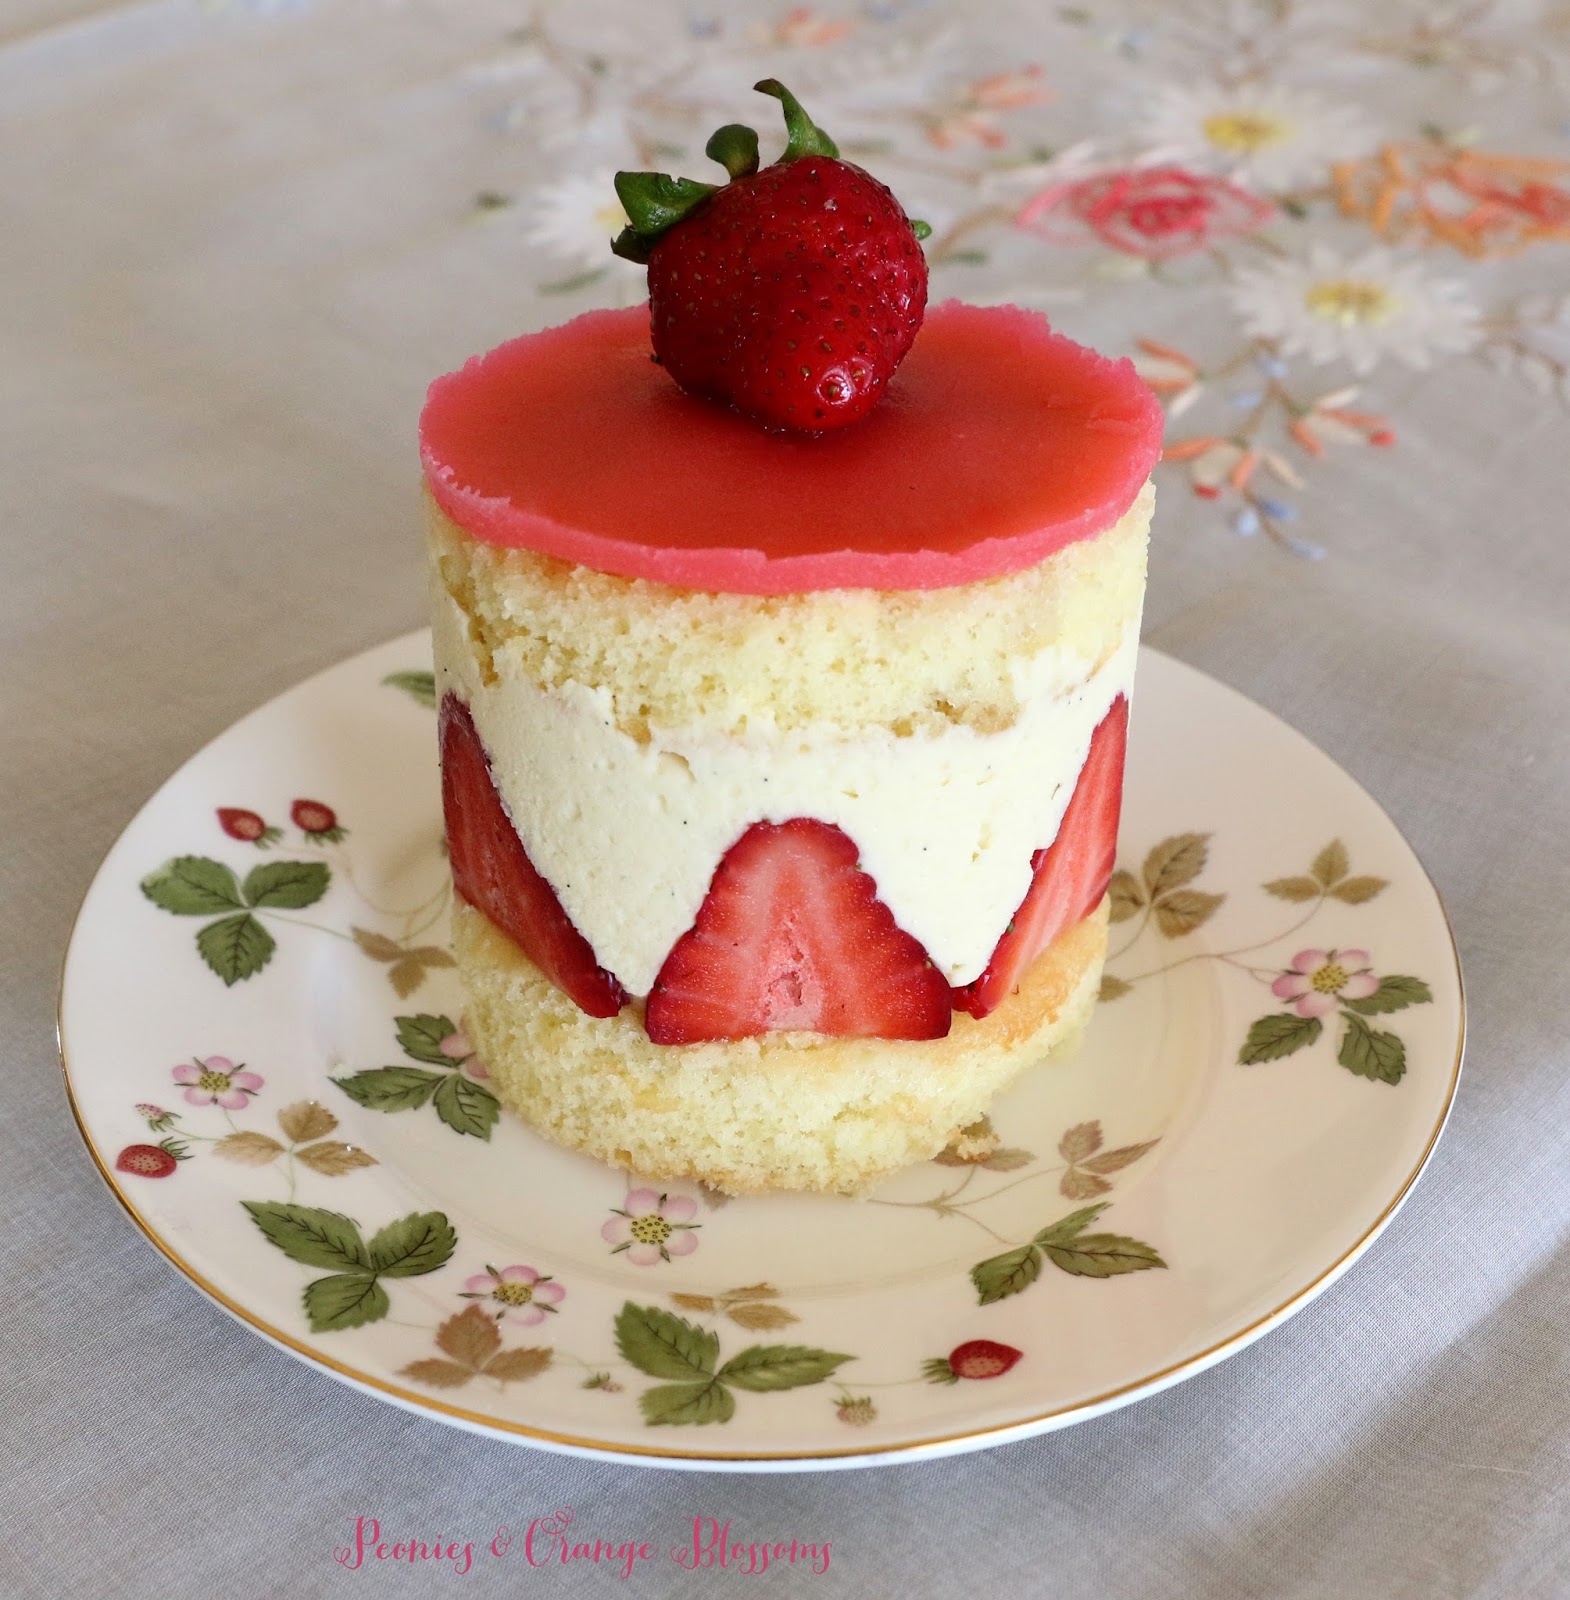
Le Fraisier – a French Strawberry Cake

We use affiliate links in our posts and our site. This means if you make a purchase using these links, we may earn a small commission. You don’t pay a cent more than you would otherwise! Our full disclosure is available under About.

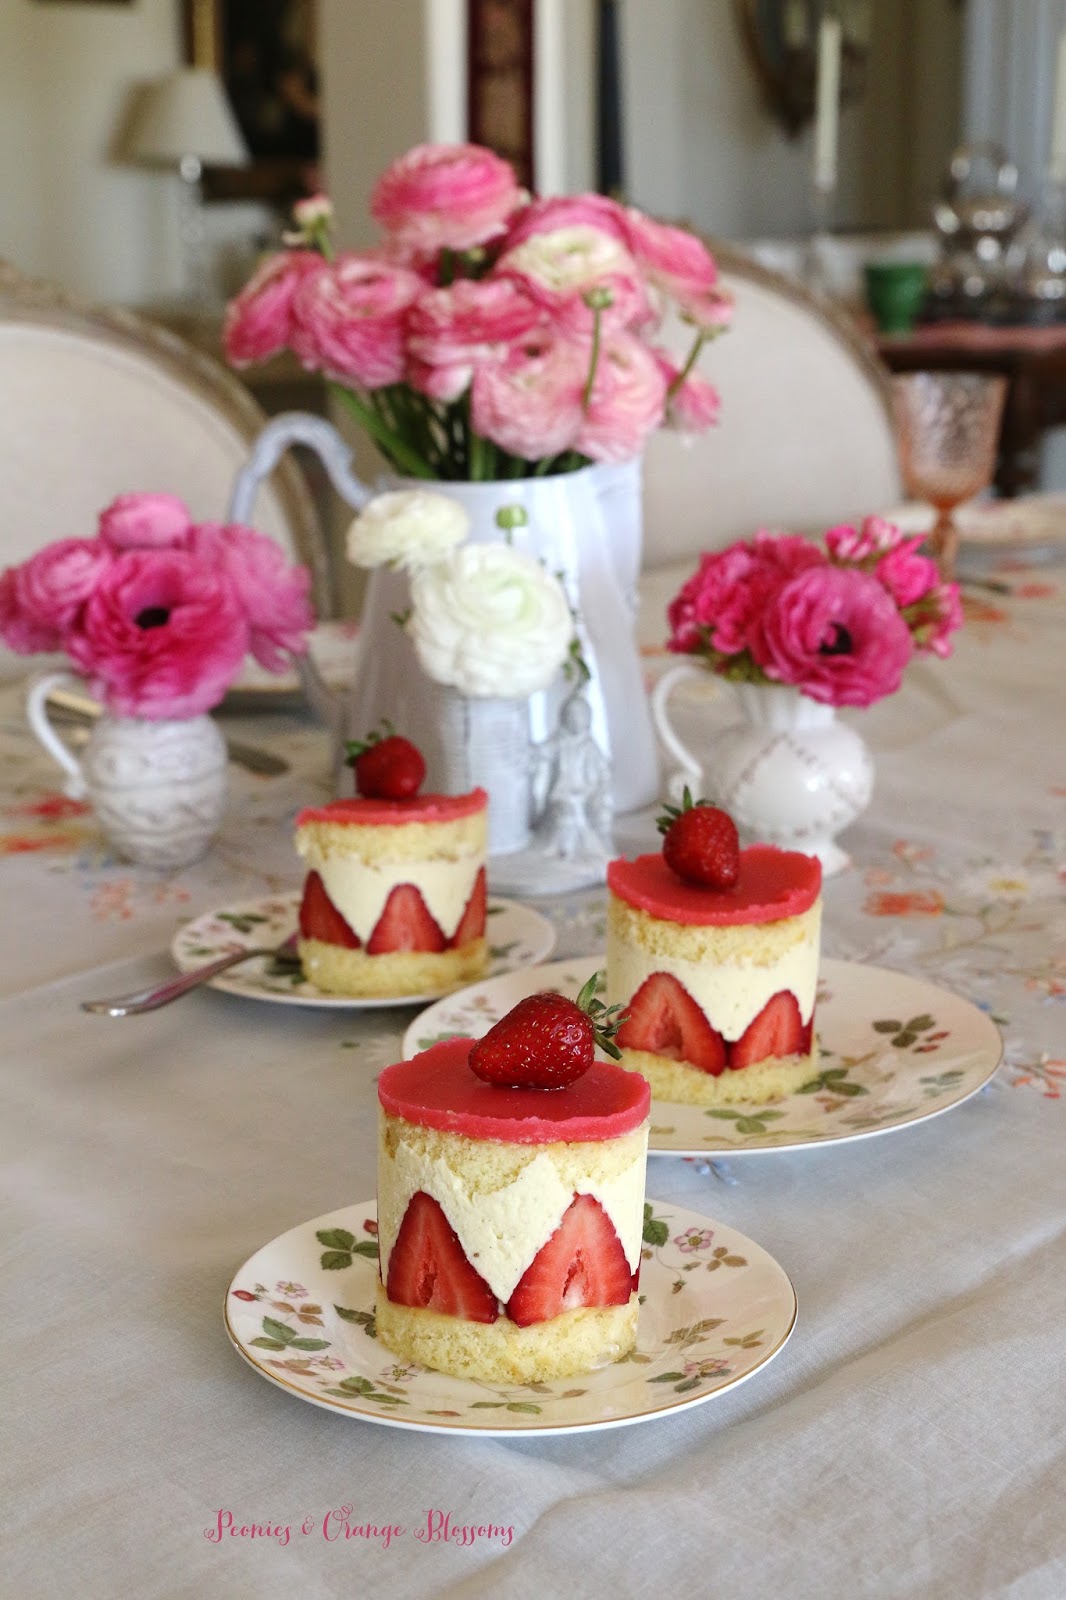
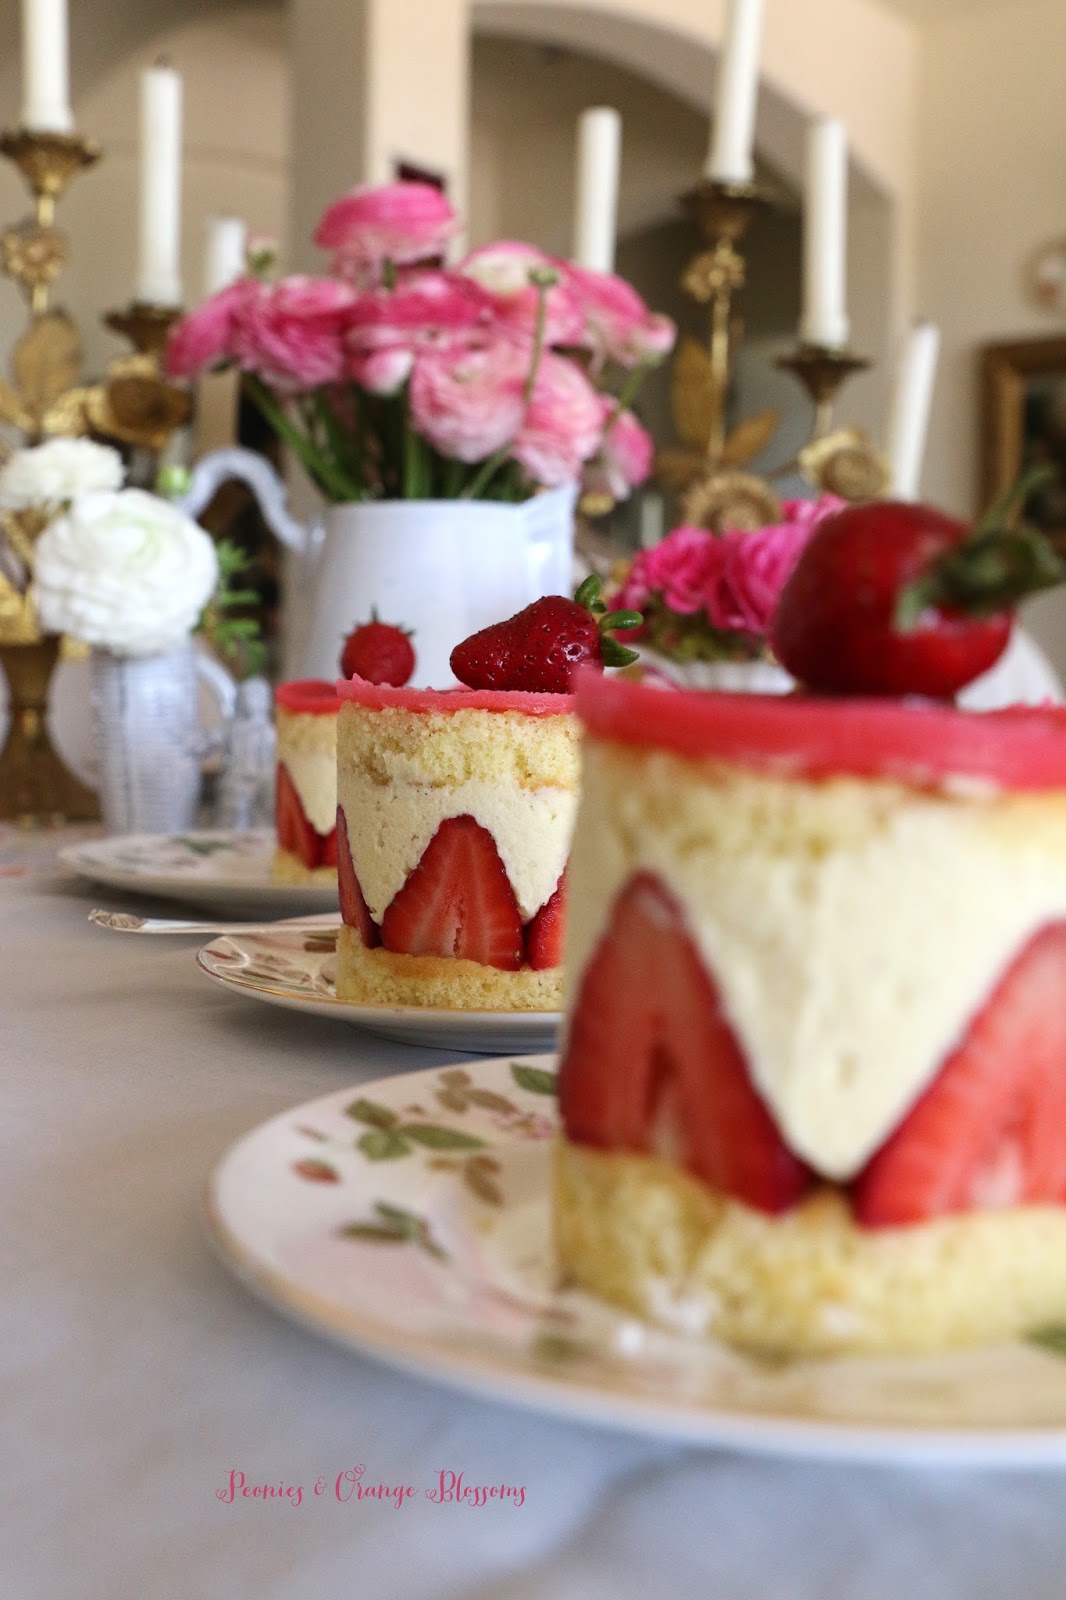
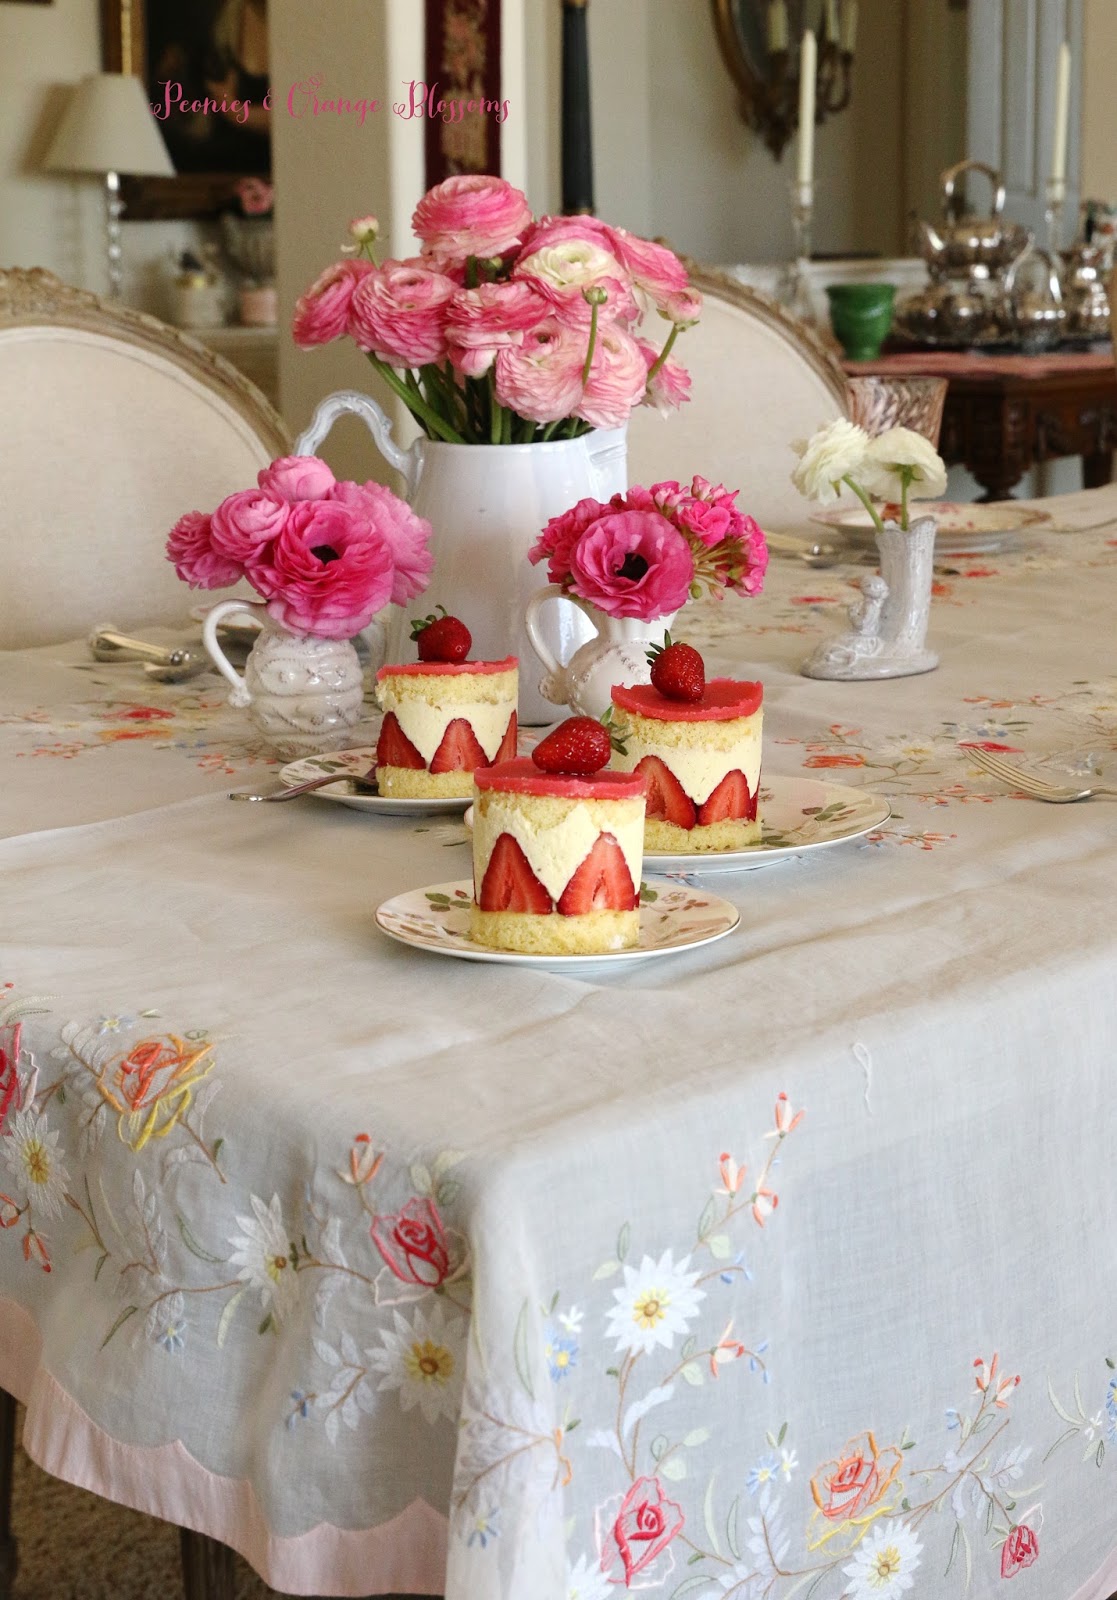
My absolute *favorite* French dessert is Le Fraisier.  You might have all thought it would be macarons by the way I talk about them, but it is actually Le Fraisier.  You just haven’t heard about it because it’s very difficult to bake yourself!

Since I’m not headed to Paris anytime soon, I figured I might as well start learning how to make my own.

This post contains affiliate links. If you purchase something using the link I may make a small commission but your price is unaffected.

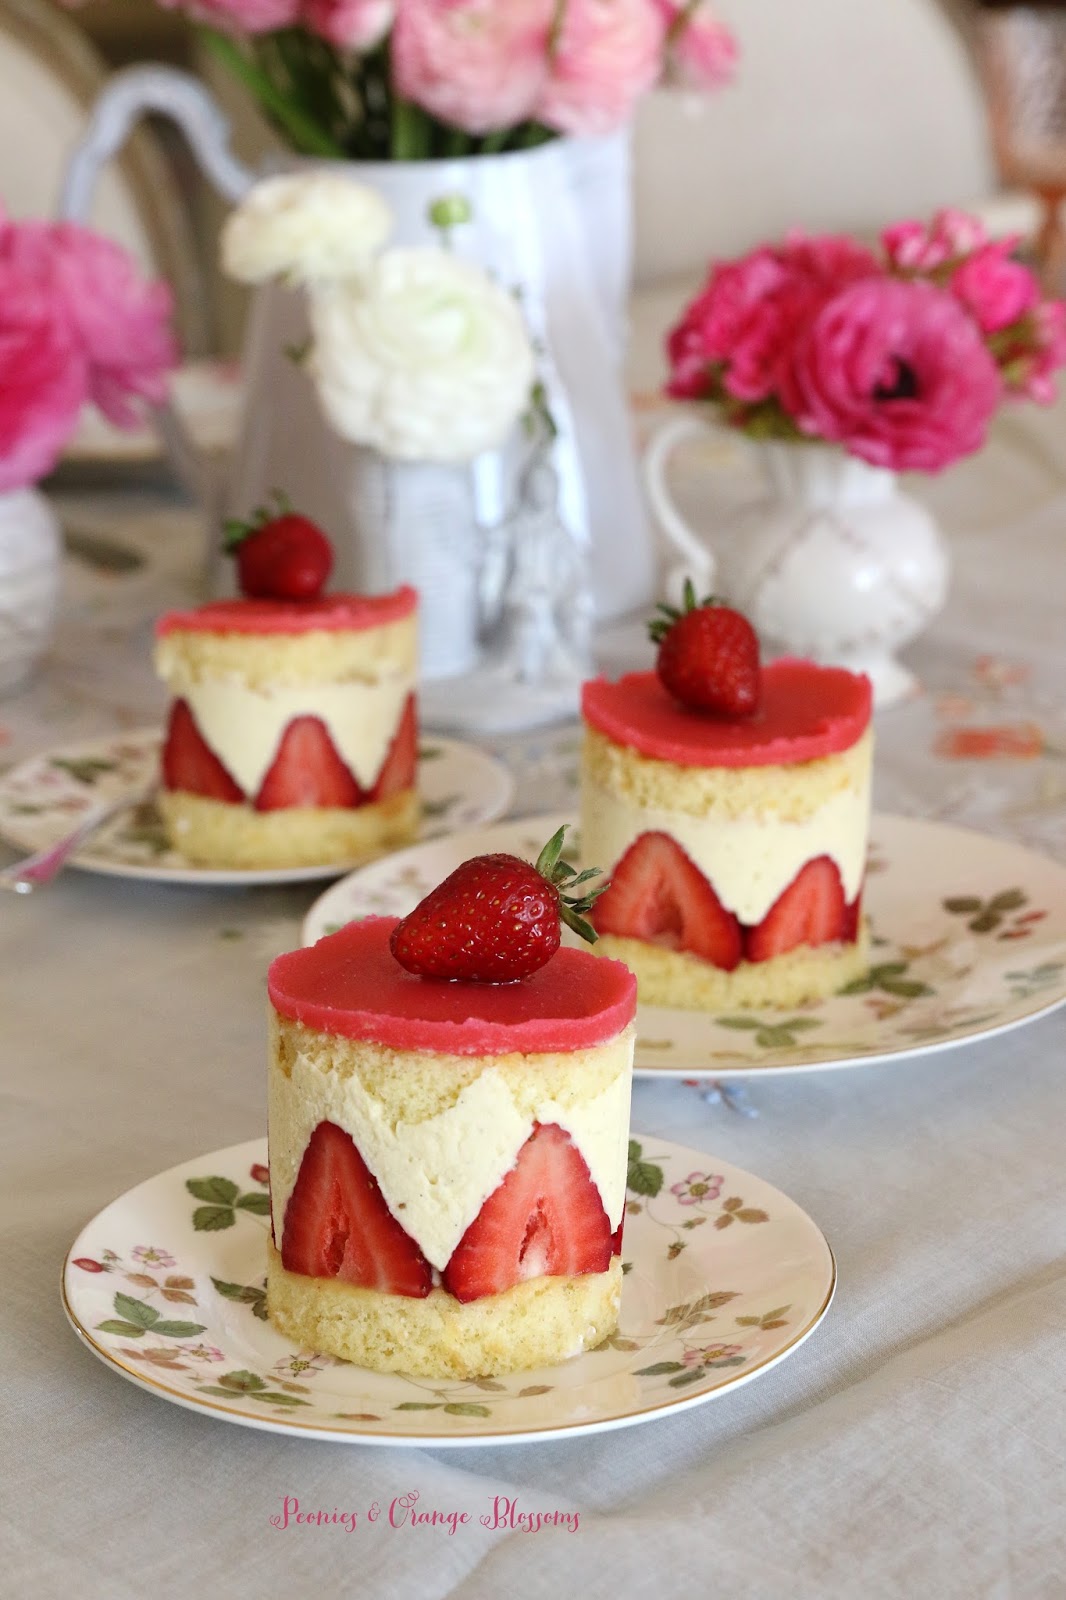
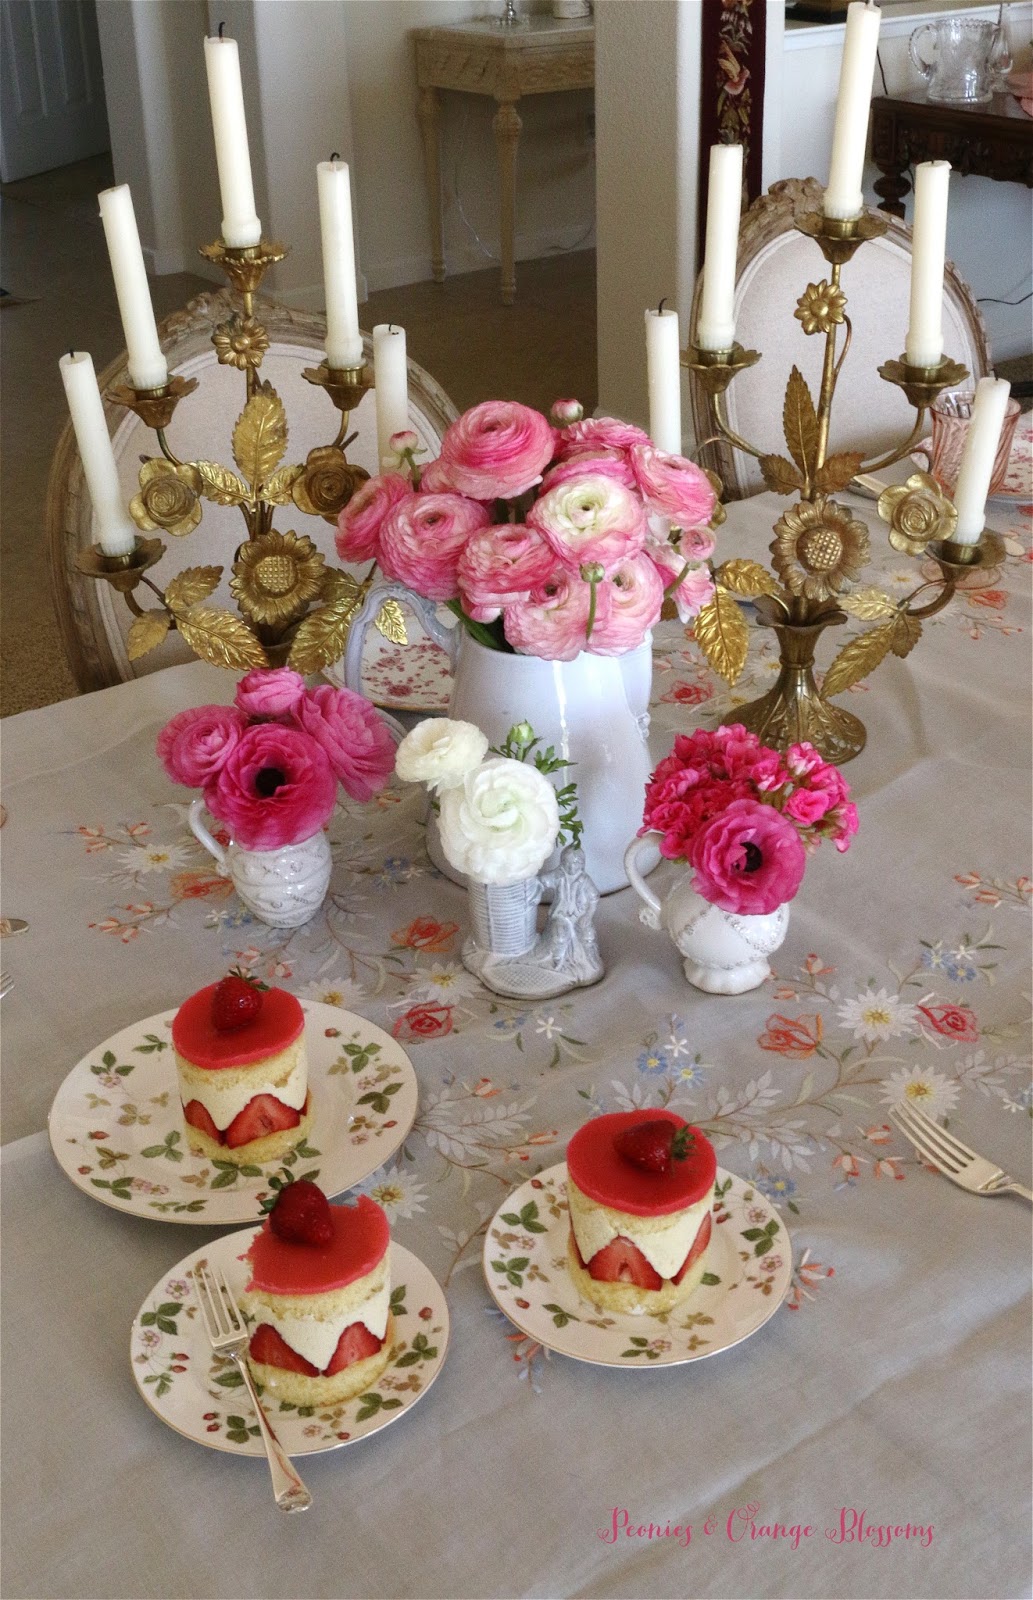
And here is the result:

Le Fraisier - a French Strawberry Cake with recipe!


This recipe was  challenging such that there were so many different things to make: the cake, the pastry cream, the kirsch syrup, the marzipan.  Then there’s the assembly.

Le Fraisier - a French Strawberry Cake with recipe!


This recipe took about five hours. Everywhere I read says “only two hours” but there’s resting time.  It was not easy to bake and is not for a beginner baker! Next time I will be preparing things in steps.

Le Fraisier - a French Strawberry Cake with recipe!

Oh, it occurred to me that you may not know how to say “Fraisier”.  It’s “Freh-zee-YAY”, or, here’s the link to google and just hit the microphone button.

Le Fraisier - a French Strawberry Cake with recipe!

When we were in Paris last year, the Fraisiers just started arriving in the patisseries.  Everyone was so excited about them as they are a seasonal offering – and now I appreciate them even more since making my own.

Le Fraisier - a French Strawberry Cake with recipe!

On to the recipe – adapted from Laduree and Cakelets and Doilies.

This recipes makes either one 9″ cake or eight 3″ cakes.  This recipe has to chill overnight so you need to make it ahead of time.

Almond Génoise Cake

50 g (3 1/2 tbsp) butter , unsalted

200g (1 2/3 cup) cake flour

  6 eggs

200g (1 cup) granulated sugar

50g (1/2 cup) ground almonds or almond flour

1 1/2 tbsp butter

Making the Génoise cake

  1. Melt the 1 1/2 tbsp butter and using a pastry brush, butter your cake pan.   Place the cake pan in the fridge to allow the butter to harden.(notes – if you are making mini cakes, you will want to bake your cake in a 12×8 rectangular cake pan)
  2. In a small saucepan, melt the 50g of butter over low heat.
  3. In a large heatproof mixing bowl, whisk together the eggs and the sugar.
  4. Preheat oven to 340F.  Place your heatproof mixing bowl over a pan of gently simmering water and whisk until the mixture is warm, thick and pale, and the mixture has tripled in volume (approximately 122F).  Then remove from the heat and keep mixing until the mixture is cool (notes – I could not get this thing to triple over the simmering water. So I just heated it, while stirring constantly, until it was 122F and then attached it to my kitchenaid mixer and let it whisk until it tripled in volume and the mixture was  completely cool).
  5. Once completely cooled down, fold in the sifted flour into the mixture.  Then fold in the ground almonds.  And then the melted butter.
  6. Lightly flour your cake pan and tap out an excess. Then immediately fill with batter and place in the oven. Bake for approximately 30 minutes.


Kirsch Syrup

100mL (1/2 cup – 1tbsp) water

100g (1/2 cup) granulated sugar

40mL (2 1/2 tbsp) kirsch liqueur (see notes below about kirsch)

Making the syrup

Combine the sugar and water into a small saucepan over medium heat.  Stir until the sugar dissolves. Allow to boil for just 5 seconds. Remove from the heat, let it cool, then stir in the kirsch liqueur.

Crème Mousseline

350g whole milk

100g granulated sugar

1/2 a vanilla bean, split lengthwise and scraped for inside beans/seeds

4 egg yolks

35g plain flour

200g unsalted butter, softened

1tbsp cherry liqueur (optional)

Making the creme

  1. Place milk, vanilla bean and scraped seeds into a saucepan and bring to a boil.  Then remove from heat and set aside.
  2. In another bowl, whisk egg yolks and sugar until mixture is pale yellow.  Mix int the flour until well combined.
  3. Remove vanilla bean pod from milk mixture.  Then pour the hot milk into the egg mixture, constantly whisking to combine.
  4. Then pour the whole mixture back into the saucepan and place over high heat.  Whisk constantly until it is thickened, smooth, and glossy.  Then remove from heat and transfer pastry cream to a plate. Immediately cover with plastic cling wrap and place into the freezer to cool but only for 10 minutes.  Do not allow it to freeze (If you don’t put the cling wrap on immediately, the pastry cream will get a film on it that’s lumpy and gross and you will have to strain it out later, so don’t miss this step)
  5. While the cream is in the freezer, beat your butter until creamy.  Then when the pastry cream is about room temperature, add the cream to the butter and mix until while combined.   Add the liqueur.
  6. Spoon the mousseline into a piping bag with 1cm piping tip.


Marzipan Top

store-made marzipan

food coloring (either pink or light green, and don’t use the cheap store bought ones, you need a higher grade version)

Making the marzipan

Working the marzipan with your fingers to warm it up.  Using a rolling pin, spread the marzipan into a thin layer.  Then either place it on top of the 9″ cake pan and take off the sides or you can use an extra cake mold and cut it out. (You may use cornflour on the kitchen worktop to keep it from sticking.  I also recommend wearing some gloves as the food coloring will get all over you)

Assembly

1 pound of strawberries, cut in half and with the green tops removed.  (Save your cutest strawberries for the top and set them aside.  Also, smaller strawberries look cuter in the cake and are more sweet.  When you cut the berries, you want them to all be the same height).

Cake mold(s)

Assembling the cakes

Cut out the sponge cake with your cake rings.  Then, inside the cake ring, place a circle of plastic cake wrap.  Then put the sponge cake.  Brush the cake with the kirsch syrup.  Arrange the strawberries around the edge of the cake ring with the flat edge facing the outside.  Pipe or spread the creme mousseline over the strawberries.  Then place another layer of sponge cake on top.  Put the marzipan on top.  Place in the fridge overnight. The following day, dip a strawberry into the kirsch syrup and put on top just before serving.

Materials I used to bake Le Fraisier (affiliate links)

Stand Mixer

Hand Mixer (I did not use it this time, but I will next time!)

Plastic cake wrap

Scale

Food coloring

Cake Sheet pan

3″x3″ Cake molds

9″ cake mold

Le Fraisier - a French Strawberry Cake with recipe!

Now, making the kirsch syrup was kind of funny. It calls for cherry liqueur.  As I don’t drink, a stroll into the alcohol beverage store was quite the adventure.  After wandering around for quite some time and googling on my phone, I learned this: cherry schnapps is *not* the same thing.  You need to use cherry liqueur and the brand that apparently all the French chefs use is Heering Cherry Liqueur. You’re welcome. I just saved you an hour on the internet and wandering around the market.


Le Fraisier - a French Strawberry Cake with recipe!

As you can see, they are highly photogenic.  I had fun photographing them as well as eating them.

Le Fraisier - a French Strawberry Cake with recipe!

This chef also has a nice picture tutorial with each step.  The recipe is a little different and he uses a rectangular large cake pan, but the idea is the same.

Le Fraisier - a French Strawberry Cake with recipe!

What do you all think? Do you think you’re going to be brave and make the recipe or stick to just eating them??!

Follow:

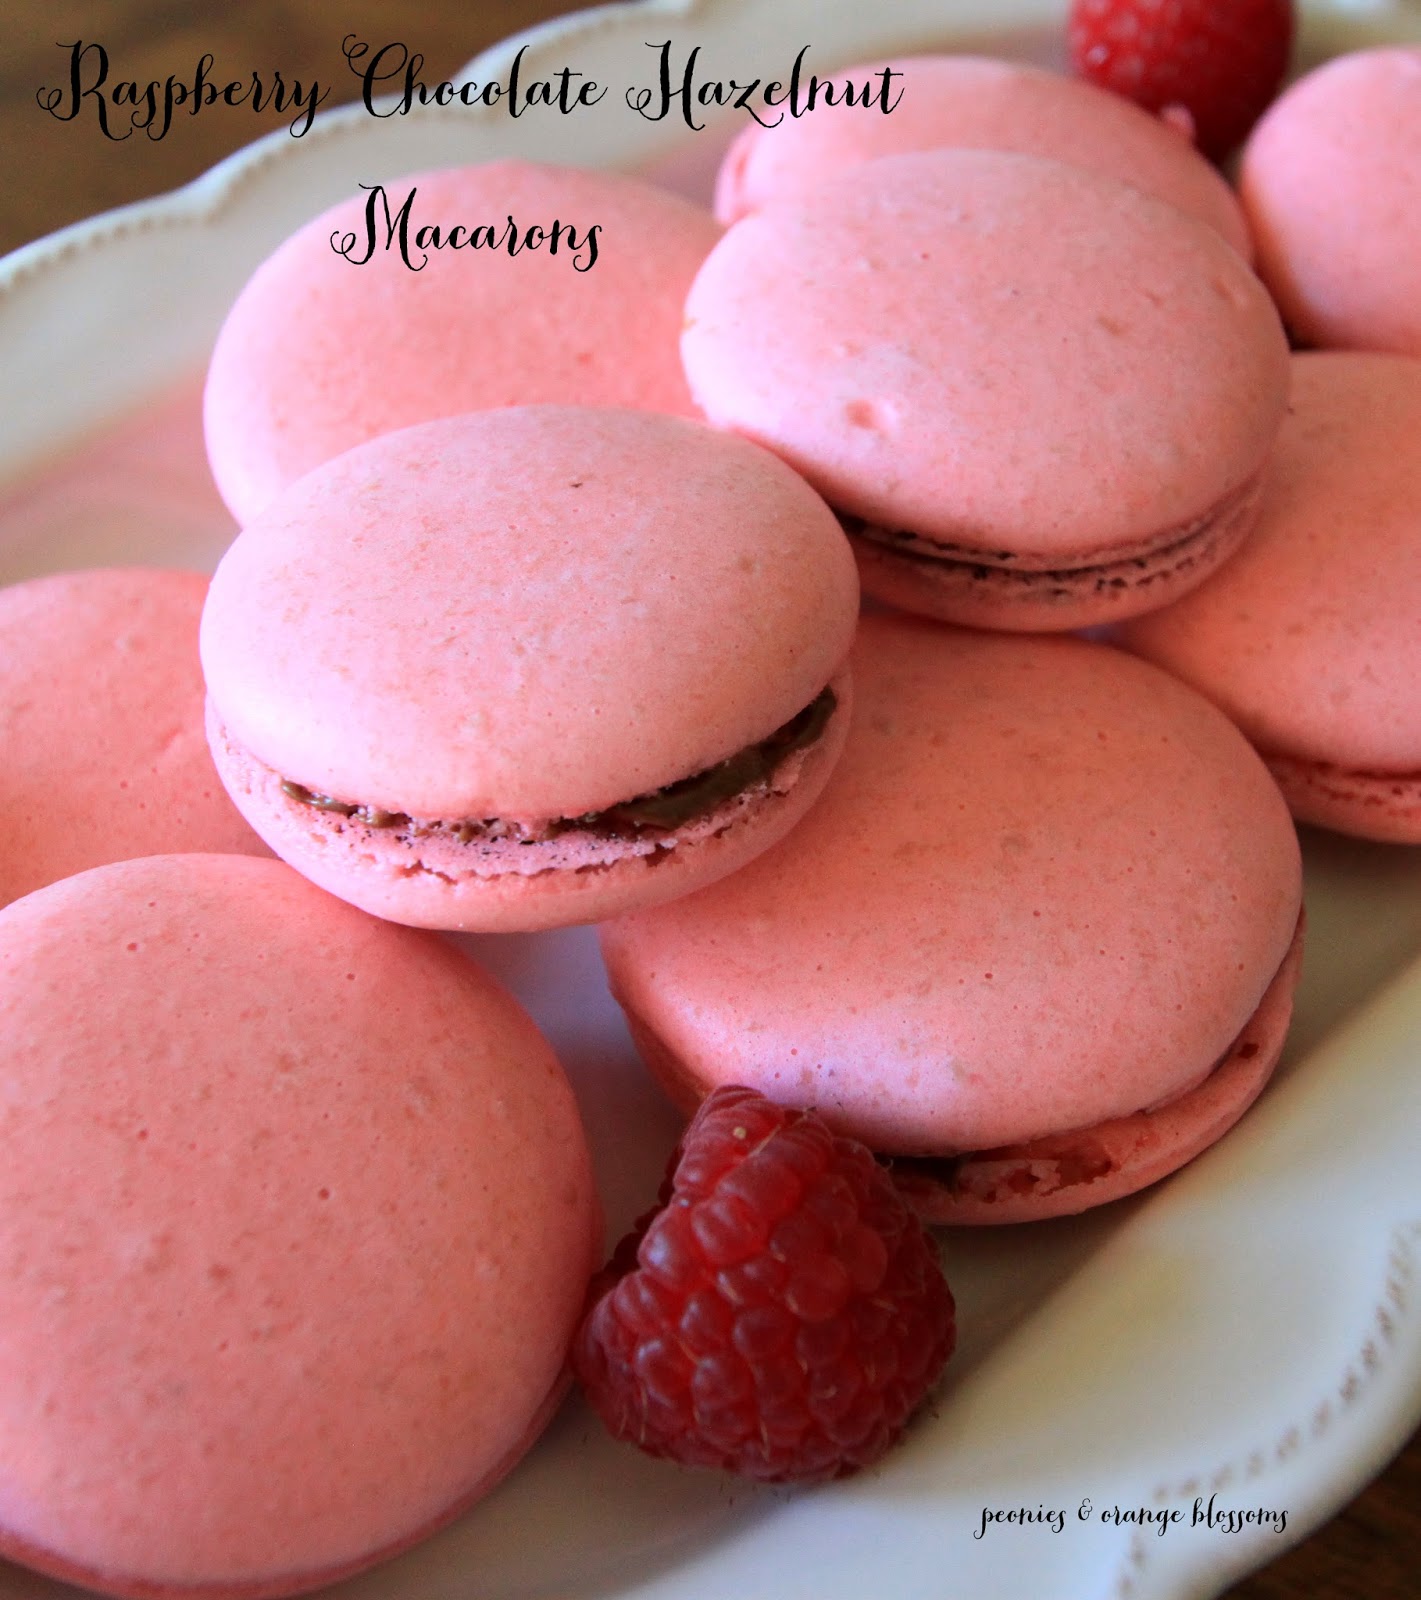
Raspberry Chocolate Hazelnut Macaron Recipe

We use affiliate links in our posts and our site. This means if you make a purchase using these links, we may earn a small commission. You don’t pay a cent more than you would otherwise! Our full disclosure is available under About.

I’m back with another macaron recipe! These ones were super good!  I like to use the French macaron method, as I think it is easier.

This post may contain affiliate links. 

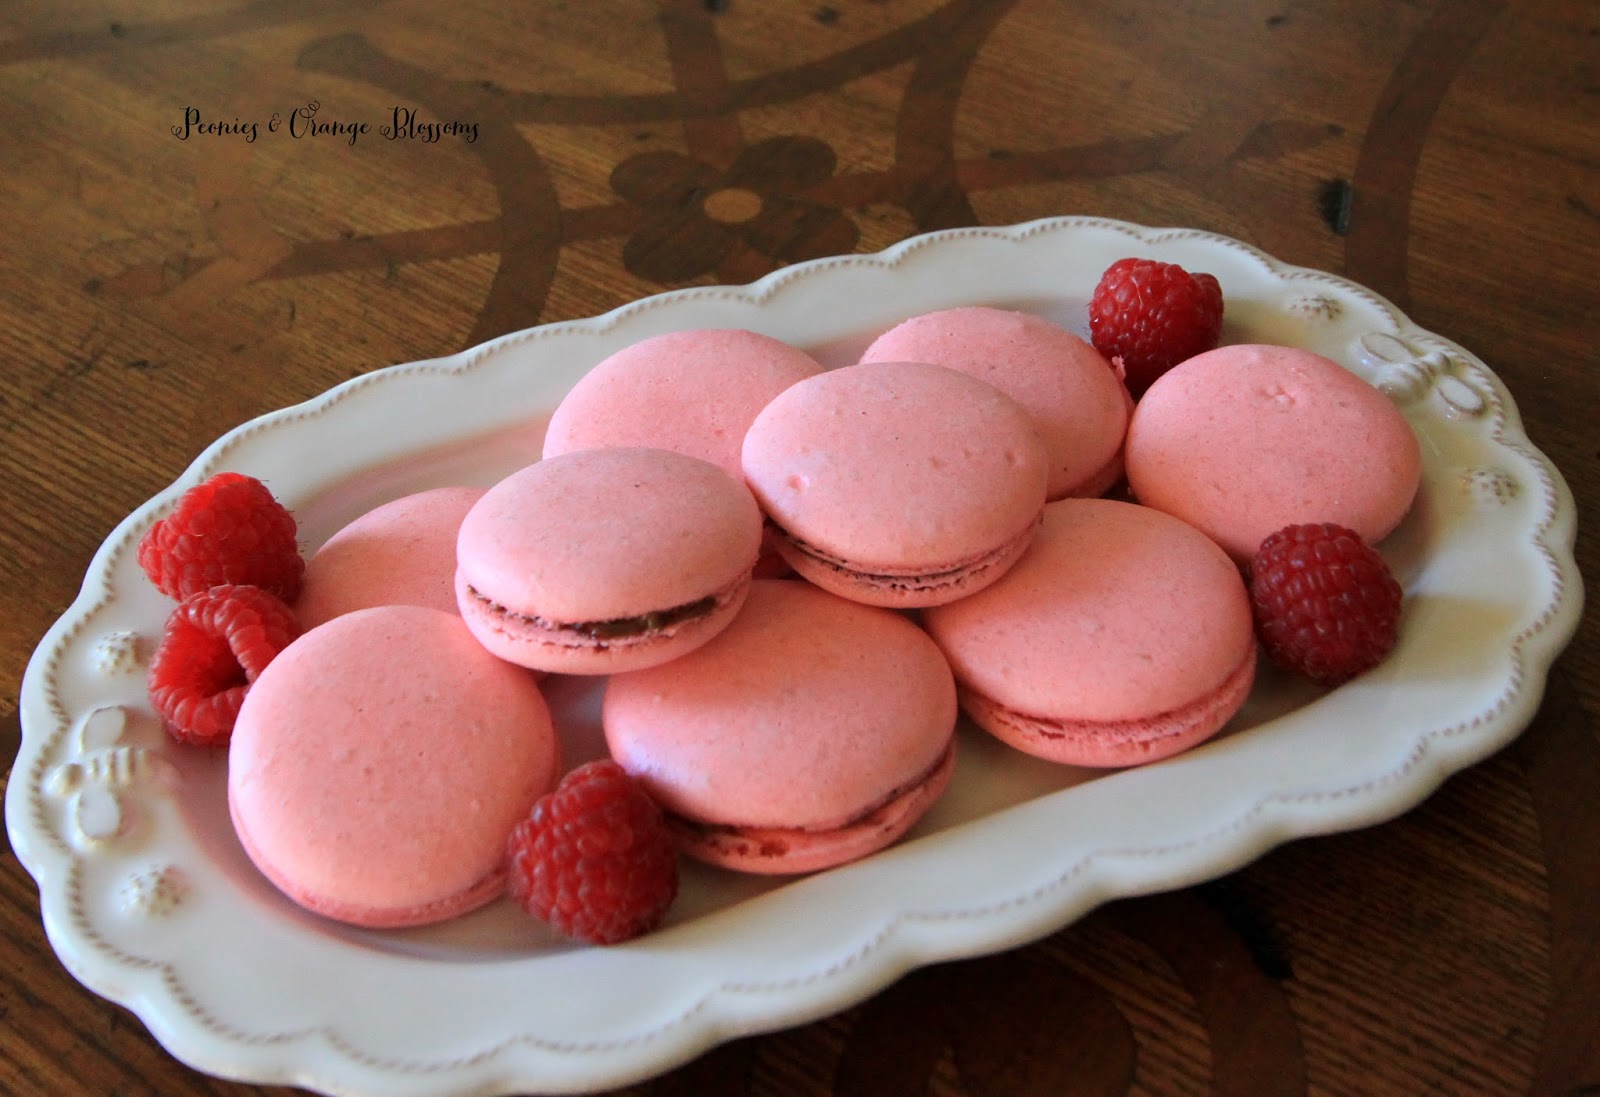
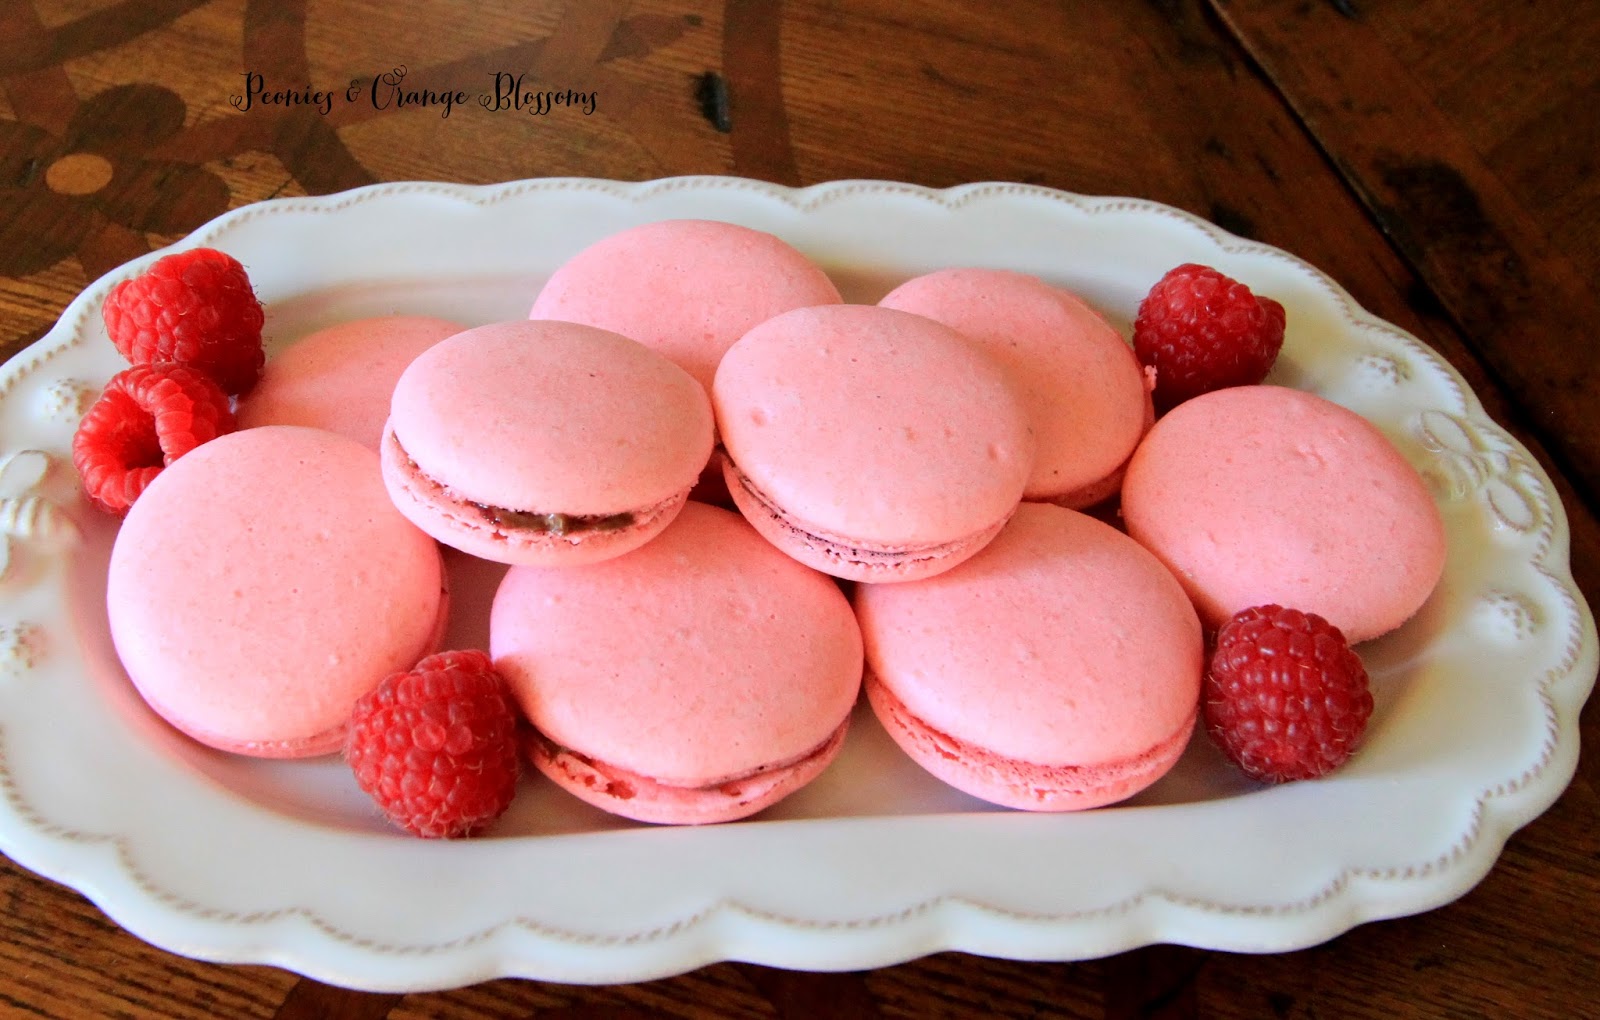
Raspberry Chocolate Hazelnut macaron recipe!

If you like raspberries and nutella you will like these!!  Yes, the filling has nutella. I didn’t make my own chocolate hazelnut ganache, I got lazy. Sorry.  These cookies are time consuming enough to make!  I love making them though… they are really quite pretty and you can show off to your friends and family!

Materials needed: (affiliate links are used for your convenience)

    • a food scale (yes, you need this. I use this one)
    • a piping tip and piping bag (I like the ateco #806, I use these tips and piping bag)
    • Food coloring (the gels or dry powder works best, not the liquid store stuff)
    • A macaron template
    • food processor (I use this one)

Laduree Macarons Recipe

275g ground almonds

250g powdered sugar

210g egg whites

210g granulated sugar


1.  Mix almond meal and the powdered sugar in a food processor. Be careful not to grind too long, otherwise it will form a paste.


2. Sift the almonds and powdered sugar. Set aside.


3. Weigh out granulated sugar.


4. Weigh the egg whites.  Beat them slowly on a low speed until foamy. SLOWLY add the granulated sugar to the egg whites as you beat.  Once all mixed, increase speed to medium and beat until a firm meringue forms.  You want a firm meringue with glossy peaks but not stiff peaks.  They should defy gravity and remain in the bowl if you turn it upside down.  If you tilt your bowl to the side and they are sliding out, keep beating.


5. Add the food coloring gel and mix.


6. Then fold in 1/3rd of the almond/sugar mixture into the meringue with a silicone spatula.  Once combined, add another third of the almond mixture. Add last bit.  This batter requires more deflation during this step since it creates such a poofy meringue.


7. Add the batter to a piping bag.  Pipe in rows using your template onto parchment paper.


8. Pick up the pan and beat until the counter.  The cookies need to rest on the counter between 30-60 minutes.  They are ready to go in the oven when they are dry to touch (the shell shouldn’t stick to your finger)


9.  Set the oven to 300F.


10. Bake the cookies for 13-15 minutes, one sheet at a time. They are done when they look kind of matte and seem firm when you lightly tap on them.  You can always rescue a slightly overcooked one with the maturation process that comes later, but you cannot rescue an undercooked one!!


11. Remove from paper once completely cool. If they stick to the paper, they aren’t cool yet. Or you undercooked them.


Raspberry Chocolate Hazelnut macaron recipe!

Filling – for Raspberry Chocolate Macarons

Ingredients:

  • Seedless raspberry jam (For these macarons, the easiest way for the filling is to buy seedless raspberry jam.  I know, it’s cheating! If you really wanted to be fancy, you could make your own.)
  • Nutella

1. Once the cookies are cool, add a dollop of your nutella to one cookie and spread with a small knife, spoon, or icing spatula.  Then add a dollop of raspberry jam.  Don’t push too hard when spreading, otherwise you will break them!

2.  Place the other cookie to your filling, press gently, and slightly twist the two together.

3. Once all assembled, put them in an airtight container and let them mature (yes, that’s the scientific word for this process) in the refrigerator for 24-48 hours.

Now, these cookies won’t be bad if you eat them immediately, they will just be amazing if you wait a day.  The theory is that the juices from the filling soak back into the cookie to make an AMAZING cookie.

Raspberry Chocolate Hazelnut macaron recipe!

Have you made macarons?? Let me know about your experience!

SaveSave

Follow:

Pumpkin Cheesecake aka Pumpkin Pie Macarons

We use affiliate links in our posts and our site. This means if you make a purchase using these links, we may earn a small commission. You don’t pay a cent more than you would otherwise! Our full disclosure is available under About.

It is now NOVEMBER which means… baking time for everyone! I’ve updated the blog a bit to make it more festive for Thanksgiving. On the sidebar on the right are some recipes I’ve used in the past for Thanksgiving!
So, it’s time to go to the kitchen and start creating, we have Thanksgiving coming up!!  I have created a pumpkin cheesecake macaron recipe which I think it is pretty good! If you like macarons and you like pumpkin pie, then try this out! This could pass off as a pumpkin pie macaron recipe too. But since it has cream cheese in it, I’m going with Pumpkin Cheesecake!
This post may contain affiliate links.

After trying a bunch of different filling recipes from various sources, I came up with my own cheesecake pumpkin pie filling.

Pumpkin Pie Macaron Recipeprintable version here

Materials needed: (affiliate links are used for your convenience)

    • a food scale (yes, you need this. I use this one)
    • a piping tip and piping bag (I like the ateco #806, I use these tips and piping bag)
    • Food coloring (the gels or dry powder works best, not the liquid store stuff)
    • A macaron template
    • food processor (I use this one)

Macarons Recipe – adapted from Laduree

275g ground almonds

250g powdered sugar

210g egg whites

210g granulated sugar

1/2 tsp pumpkin pie spice


1.  Mix almond meal and the powdered sugar in a food processor. Be careful not to grind too long, otherwise it will form a paste.

2. Sift the almonds, pumpkin pie spice, and powdered sugar. Set aside.

3. Weigh out granulated sugar.

4. Weigh the egg whites.  Beat them slowly on a low speed until foamy. SLOWLY add the granulated sugar to the egg whites as you beat.  Once all mixed, increase speed to medium and beat until a firm meringue forms.  You want a firm meringue with glossy peaks but not stiff peaks.  They should defy gravity and remain in the bowl if you turn it upside down.  If you tilt your bowl to the side and they are sliding out, keep beating.

5. Add the food coloring gel and mix.

6. Then fold in 1/3rd of the almond/sugar mixture into the meringue with a silicone spatula.  Once combined, add another third of the almond mixture. Add last bit.  This batter requires more deflation during this step since it creates such a poofy meringue.

7. Add the batter to a piping bag.  Pipe in rows using your template onto parchment paper.

8. Pick up the pan and beat until the counter.  The cookies need to rest on the counter between 30-60 minutes.  They are ready to go in the oven when they are dry to touch (the shell shouldn’t stick to your finger)

9.  Set the oven to 300F.

10. Bake the cookies for 13-15 minutes, one sheet at a time. They are done when they look kind of matte and seem firm when you lightly tap on them.  You can always rescue a slightly overcooked one with the maturation process that comes later, but you cannot rescue an undercooked one!!

11. Remove from paper once completely cool. If they stick to the paper, they aren’t cool yet. Or you undercooked them.


Pumpkin Pie Filling

4 ounces cream cheese

1/4 cup pumpkin puree

1/4 tsp (heaping) pumpkin pie spice

1/4 cup granulated sugar


1. In a mixing bowl, add all of the above ingredients together.  Mix together until it is a nice creamy mixture.

2. Pipe or spread the filling onto one macaron shell, then make a sandwich with the other. Done!


Recommend putting them in an airtight container and enjoying the next day… macarons always taste better on day 2! They will keep in the fridge for several days.


SaveSave

Follow:

Easy Traditional Apple Strudel Recipe – German Apfelstrudel

We use affiliate links in our posts and our site. This means if you make a purchase using these links, we may earn a small commission. You don’t pay a cent more than you would otherwise! Our full disclosure is available under About.

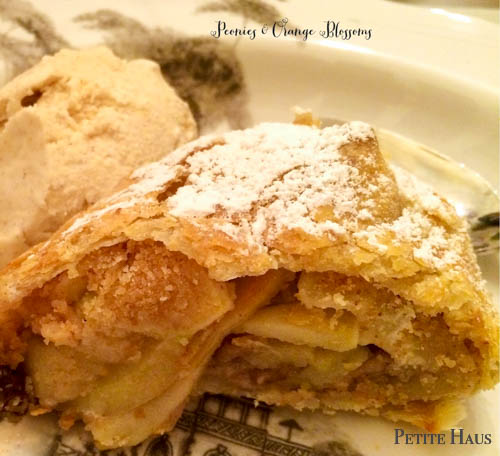
Last week during our Oktoberfest party I made apple strudel for the first time! I looked far and wide for an authentic German/Austrian apfelstrudel recipe. I felt like this recipe was really authentic! It was also really pretty easy to make – because I cheated and used frozen puff pastry dough as my strudel dough.  Making strudel dough from scratch is labor intensive.

Easy Traditional Apple Strudel  – Printable recipe here

makes 2 loaves, serving 10-14 people

  • 2 tablespoons apple juice or golden rum
  • 3 tablespoons raisins
  • 1/2 teaspoon ground cinnamon
  • 1/3 cup plus 1 tablespoon (80 g) granulated sugar
  • 3 tbsp unsalted butter, melted.
  • 5 tbsp unsalted butter, melted, for brushing
  • 1 1/2 cups bread crumbs
  • 2 sheets puff pastry, thawed
  • 1/2 cup (60 g) coarsely chopped walnuts
  • 2 pounds (900 g) tart cooking apples, peeled, cored and cut into ¼ inch thick slices (recommend granny smith and honey crisp varieties)
  • powdered sugar, for dusting
  • 1 egg with 1 tbsp water, for egg wash


Directions:

  1. Mix the apple juice or rum in a bowl with the raisins and set aside.
  2. In another bowl, mix together the sugar and cinnamon, set aside.
  3. In a large skillet over medium-high heat, melt 3 tbsp of butter in the skillet. Then add the breadcrumbs. Stir constantly until golden and toasted. Takes approximately 3 minutes. Let cool completely.
  4. While bread crumbs are cooling, chop up the apples.
  5. With a rolling pin, roll out each piece of thawed puff pastry dough on a floured surface to approximately 10×12 inches. You will be making 2 logs of strudel total.
  6. Preheat the oven to 375F.
  7. With the remaining melted butter, brush the melted butter over the entire pastry dough. Then, sprinkle the cooled toasted bread crumbs over the entire buttered puff pastry sheet in a thin layer. Repeat for second dough sheet.
  8. Spread half of the walnuts in a line about 3 inches back from the edge of the dough. Repeat with other pastry dough sheet.
  9. Now add the cinnamon sugar mixture, and raisin mixture to the cut apples. Stir together. Now you will immediately spread half of the apple mixture over the walnuts in a line. Repeat for the second strudel dough. NOTE: make sure your apple mixture doesn’t have any liquid in it when you pour it over the strudel. If you leave the apples with the sugar for a while, they will ooze out liquid. The liquid will make it harder to roll the strudel. 
  10. Now, slowly roll the dough lifting the front side to first cover the apples. Roll until it is a log shape. The seam side should be on the bottom of the log. Tuck the two ends of the log under the strudel by pinching the dough together.
  11. Place on a baking sheet lined with parchment paper or silpat, seam side down.
  12. Brush with the egg wash.
  13. Make several cuts across the top to allow the steam to escape.
  14. Bake at 375F for 40-45 minutes, until crust is golden brown.
  15. One cool, dust with powdered sugar and serve. Serve with whipped cream, vanilla ice cream, or homemade cinnamon ice cream (recipe click here)! It is best served warm on the first day of baking!

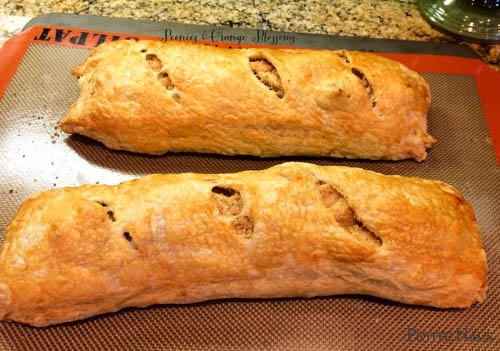
Below are the two strudels getting ready to go into the oven!

43 minutes later…. voila! It is now a nicely golden brown in color! Smells amazing, too!

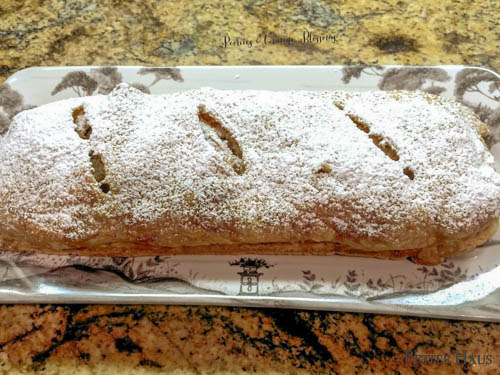
Once the strudel has cooled to when it is slightly warm, sprinkle powdered sugar on top!

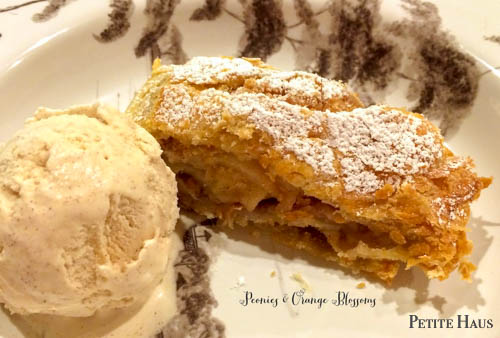
I like to eat mine with ice cream!

I thought this recipe tasted exactly like the strudel I ate in Germany. Which means.. it isn’t overly sweet. If you love sweet desserts, I would recommend adding a bit more sugar to it. Traditional strudel isn’t super sweet like American apple pie. Or, you could always just sprinkle more powdered sugar on top. I think serving it with whipped cream or ice cream is essential. Also, it tastes better served warm. If your strudel cooled down to room temp, I would recommend just heating it up either in the oven or microwave.

SaveSave

SaveSave

SaveSave

Follow:

Pumpkin Spice Macaron Recipe

We use affiliate links in our posts and our site. This means if you make a purchase using these links, we may earn a small commission. You don’t pay a cent more than you would otherwise! Our full disclosure is available under About.

If you are a usual follower on my blog, then you’ll know that I love to bake (and eat) macarons.  If you are just arriving here for pumpkin week, I’ll explain my love for macarons: I discovered that I needed to learn how to bake these treats when I found out the cost of them in the store – normally about $2 each. When you love macarons like I do, it can be quite the costly investment to satiate your hunger for them!

This post may contain affiliate links. 

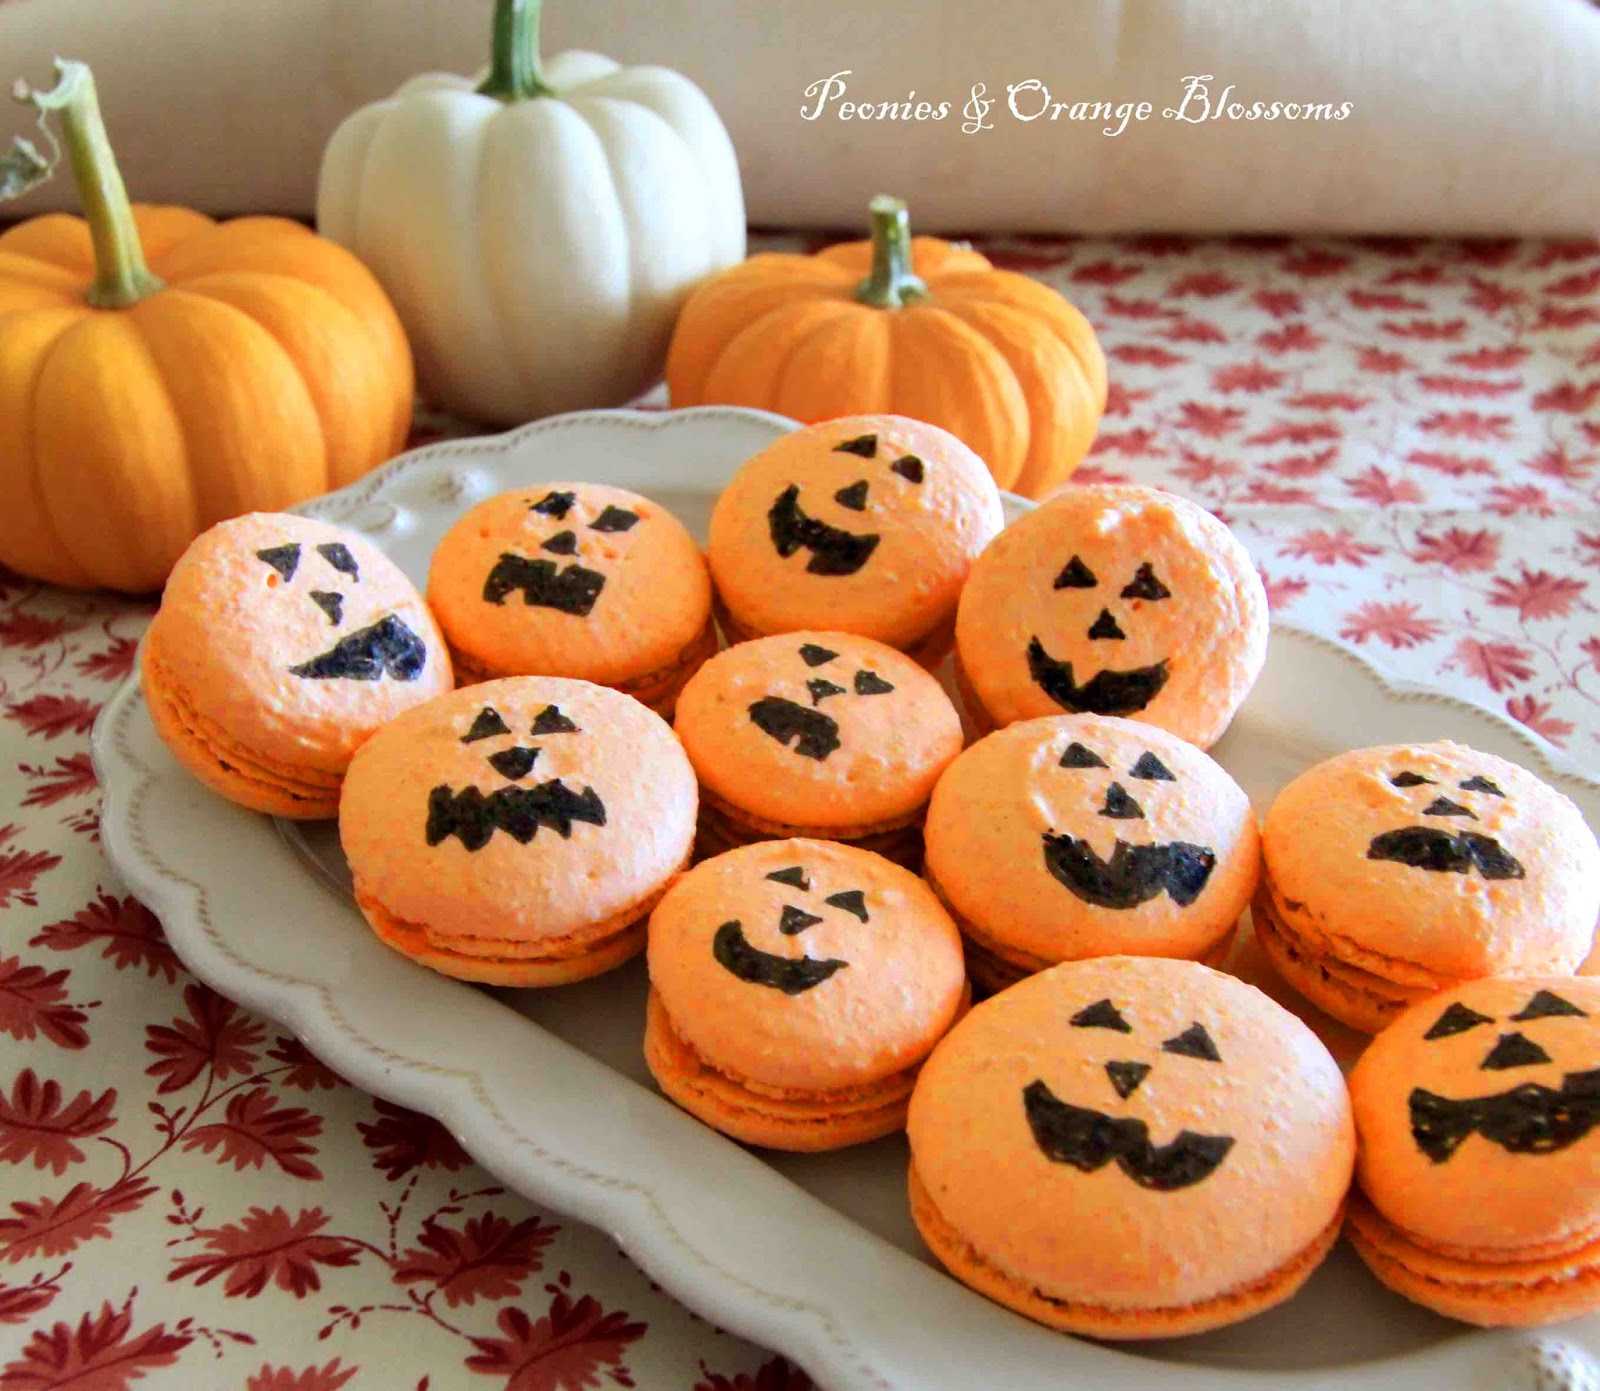
pumpkin spice macarons

I was inspired by the pumpkin macarons in the Williams Sonoma catalog:

But at $40 for a box of 12, I thought to myself… I can make those! So I did. They obviously used a black airbrush to get the pumpkin faces onto their macarons; I used a black food marker.

Materials needed: (affiliate links are used for your convenience)

    • a food scale (yes, you need this. I use this one)
    • a piping tip and piping bag (I like the ateco #806, I use these tips and piping bag)
    • Food coloring (the gels or dry powder works best, not the liquid store stuff)
    • A macaron template
    • food processor (I use this one)

PRINTABLE RECIPE HERE

Macarons Recipe – adapted from Laduree

275g ground almonds

250g powdered sugar

210g egg whites

210g granulated sugar

1/2 tsp pumpkin pie spice


1.  Mix almond meal and the powdered sugar in a food processor. Be careful not to grind too long, otherwise it will form a paste.

2. Sift the almonds, pumpkin pie spice, and powdered sugar. Set aside. (I admit I did not do this step this time and that is why mine are a little bumpy!)

3. Weigh out granulated sugar.

4. Weigh the egg whites.  Beat them slowly on a low speed until foamy. SLOWLY add the granulated sugar to the egg whites as you beat.  Once all mixed, increase speed to medium and beat until a firm meringue forms.  You want a firm meringue with glossy peaks but not stiff peaks.  They should defy gravity and remain in the bowl if you turn it upside down.  If you tilt your bowl to the side and they are sliding out, keep beating.

5. Add the food coloring gel and mix.

6. Then fold in 1/3rd of the almond/sugar mixture into the meringue with a silicone spatula.  Once combined, add another third of the almond mixture. Add last bit.  This batter requires more deflation during this step since it creates such a poofy meringue.

7. Add the batter to a piping bag.  Pipe in rows using your template onto parchment paper.

8. Pick up the pan and beat until the counter.  The cookies need to rest on the counter between 30-60 minutes.  They are ready to go in the oven when they are dry to touch (the shell shouldn’t stick to your finger)

9.  Set the oven to 300F.

10. Bake the cookies for 13-15 minutes, one sheet at a time. They are done when they look kind of matte and seem firm when you lightly tap on them.  You can always rescue a slightly overcooked one with the maturation process that comes later, but you cannot rescue an undercooked one!!

11. Remove from paper once completely cool. If they stick to the paper, they aren’t cool yet. Or you undercooked them.

Pumpkin Spice Filling – adapted from Sweet and Savory by Shinee

•3 tbsp unsalted butter, softened

•1 cup powdered sugar

•1 tbsp pure pumpkin puree (not pumpkin pie filling!)

•1 tsp heavy cream

•1/8 tsp salt

•1/8 tsp ground cinnamon

•1/8 tsp pumpkin pie spice


1Cream the butter using a wire mixer on your mixing machine. Cream until light and fluffy.

2Add all of the other ingredients. Beat until well combined.

3Pipe or spread your filling onto the macaron shells!


HINTS! The macarons taste better if enjoyed the next day. Spread your filling onto the shells, then store in an air tight container in the fridge overnight. You can store in an airtight container in the fridge for up to 4 days. You can store in an airtight container in the freezer for several months (HINT HINT bake some now for Thanksgiving later!)

Have you tried the Williams Sonoma pumpkin macarons?


SaveSave

Follow:

Pistachio Salted Caramel Macaron Recipe

We use affiliate links in our posts and our site. This means if you make a purchase using these links, we may earn a small commission. You don’t pay a cent more than you would otherwise! Our full disclosure is available under About.

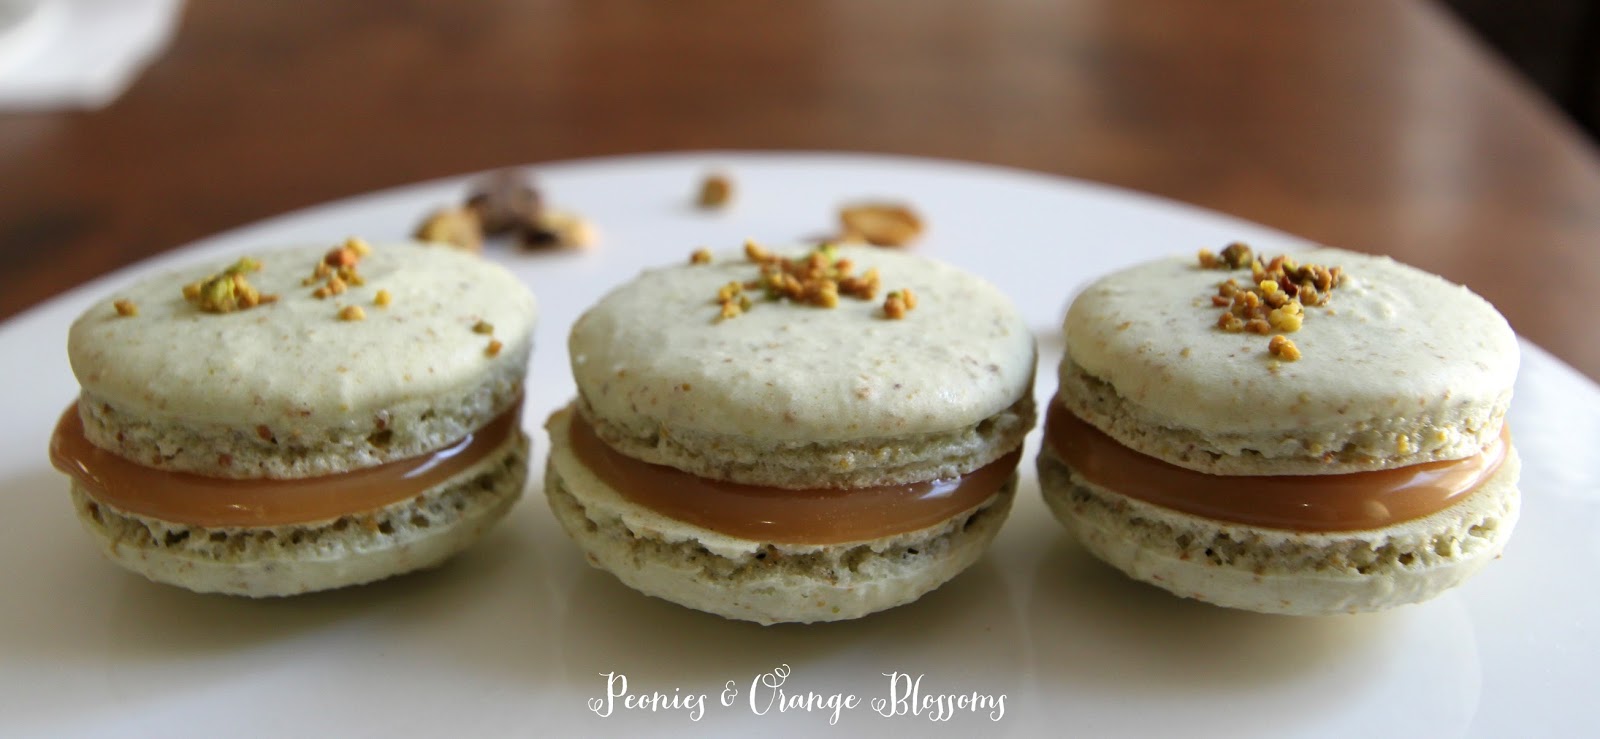
I have been busying baking macarons and I thought, why don’t I combine two of my favorites: Pistachio & Salted Caramel?  So I did.  And it was good.
This post may contain affiliate links. 

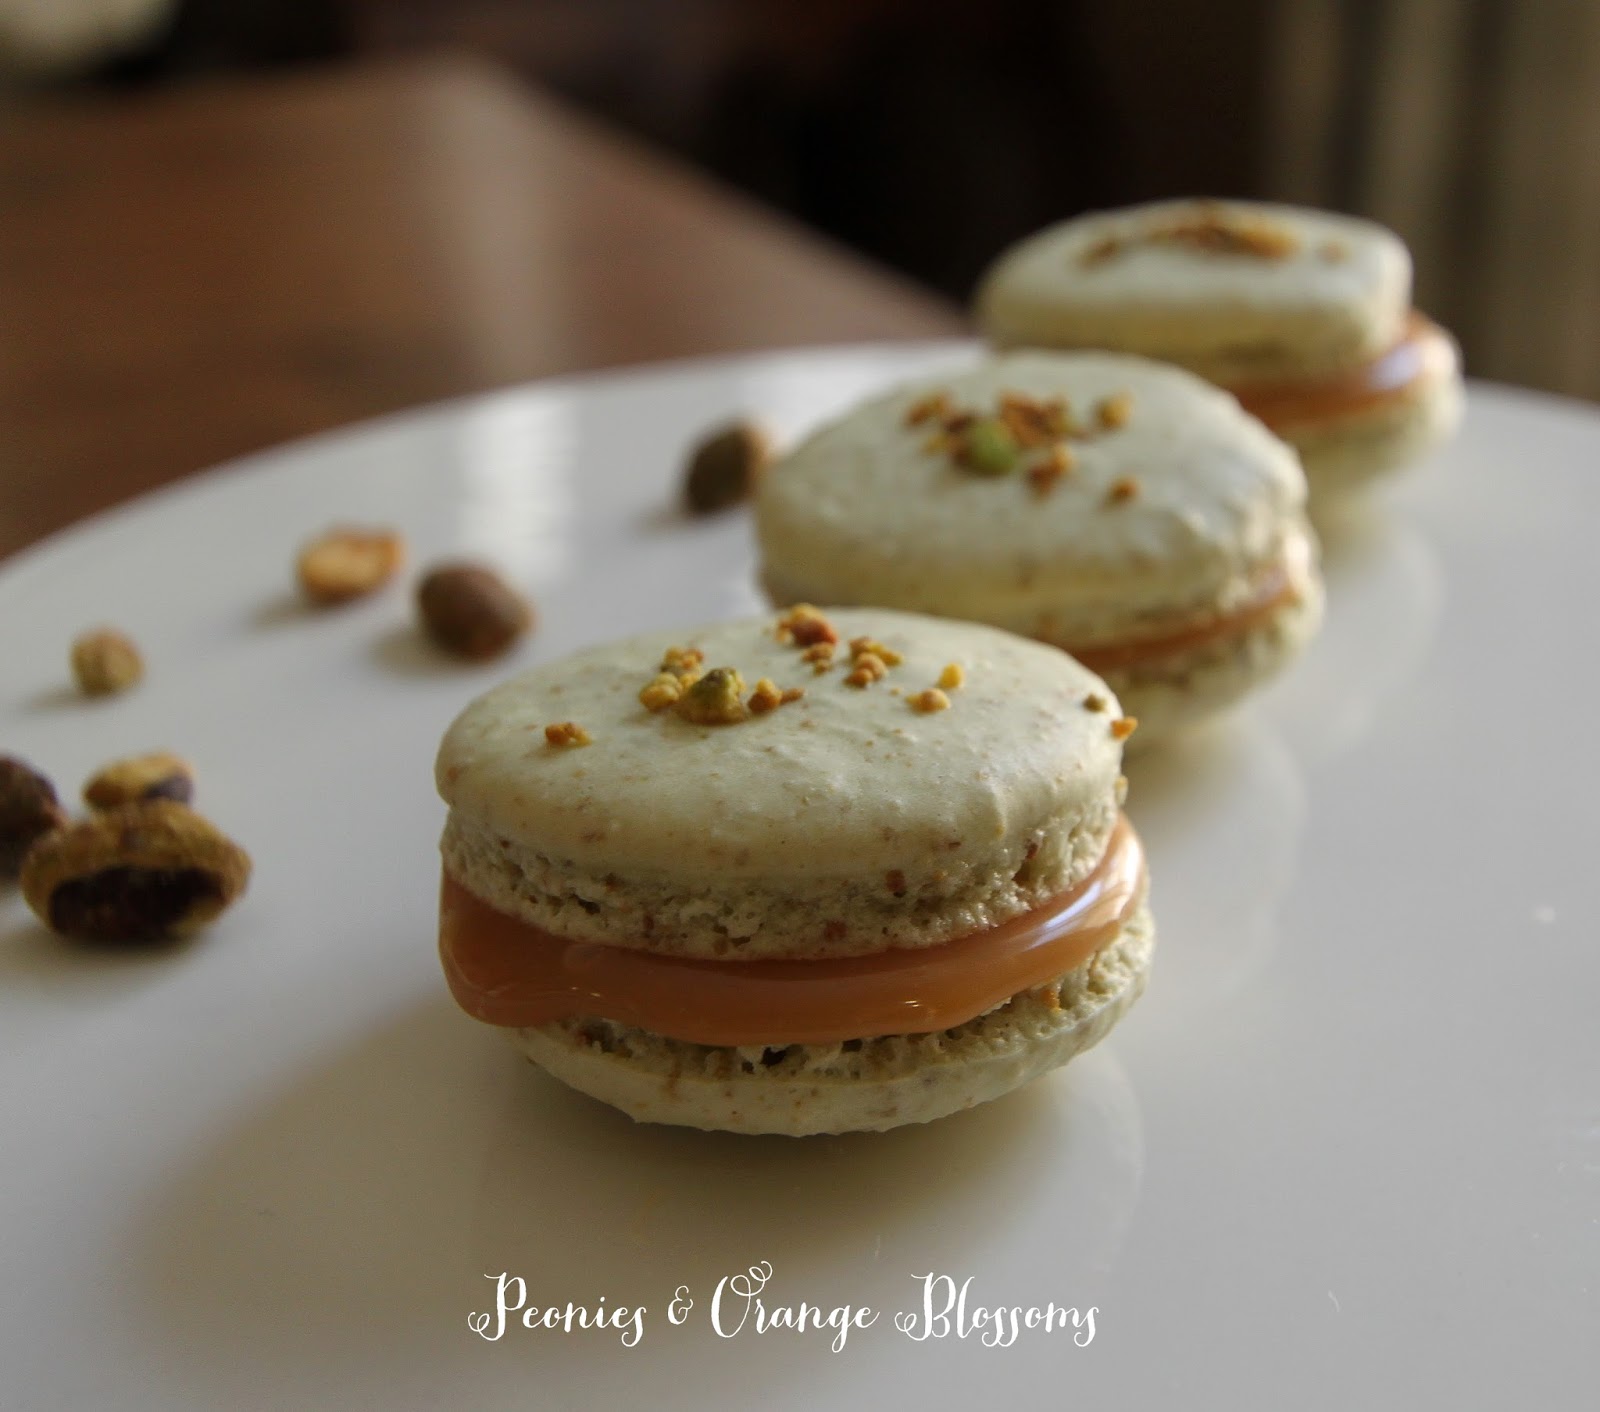
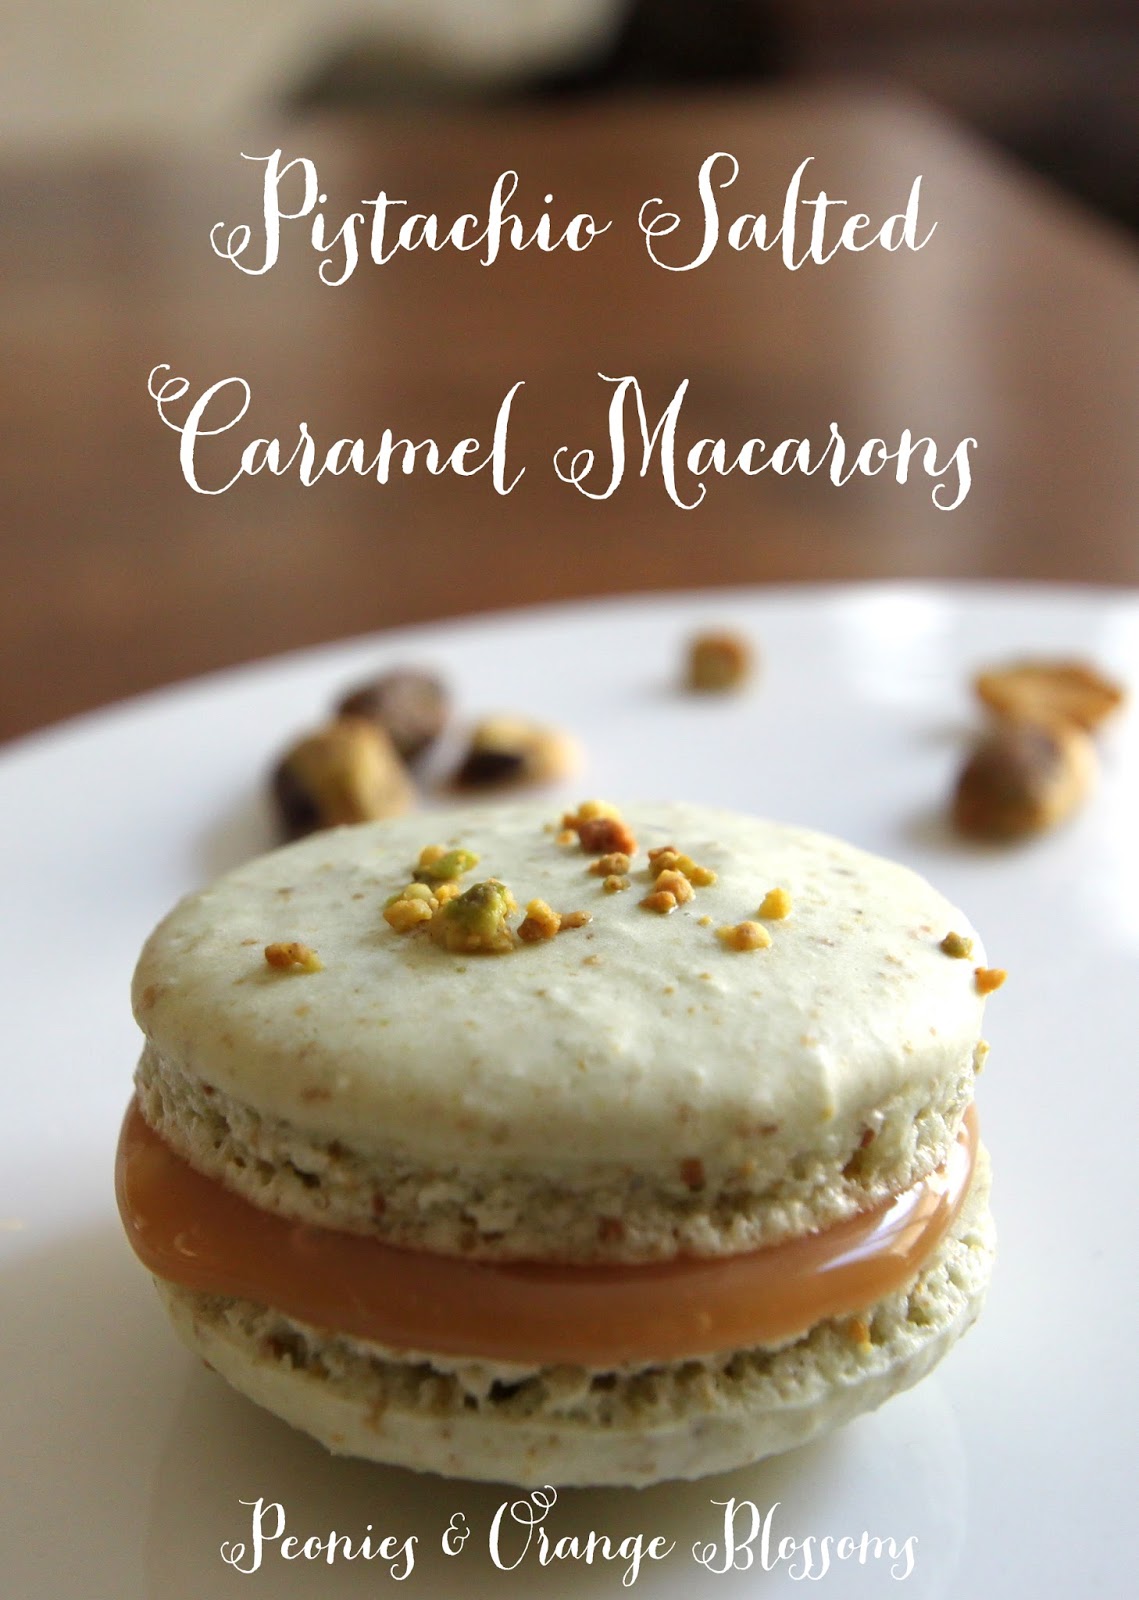
Pistachio Salted Caramel Macarons

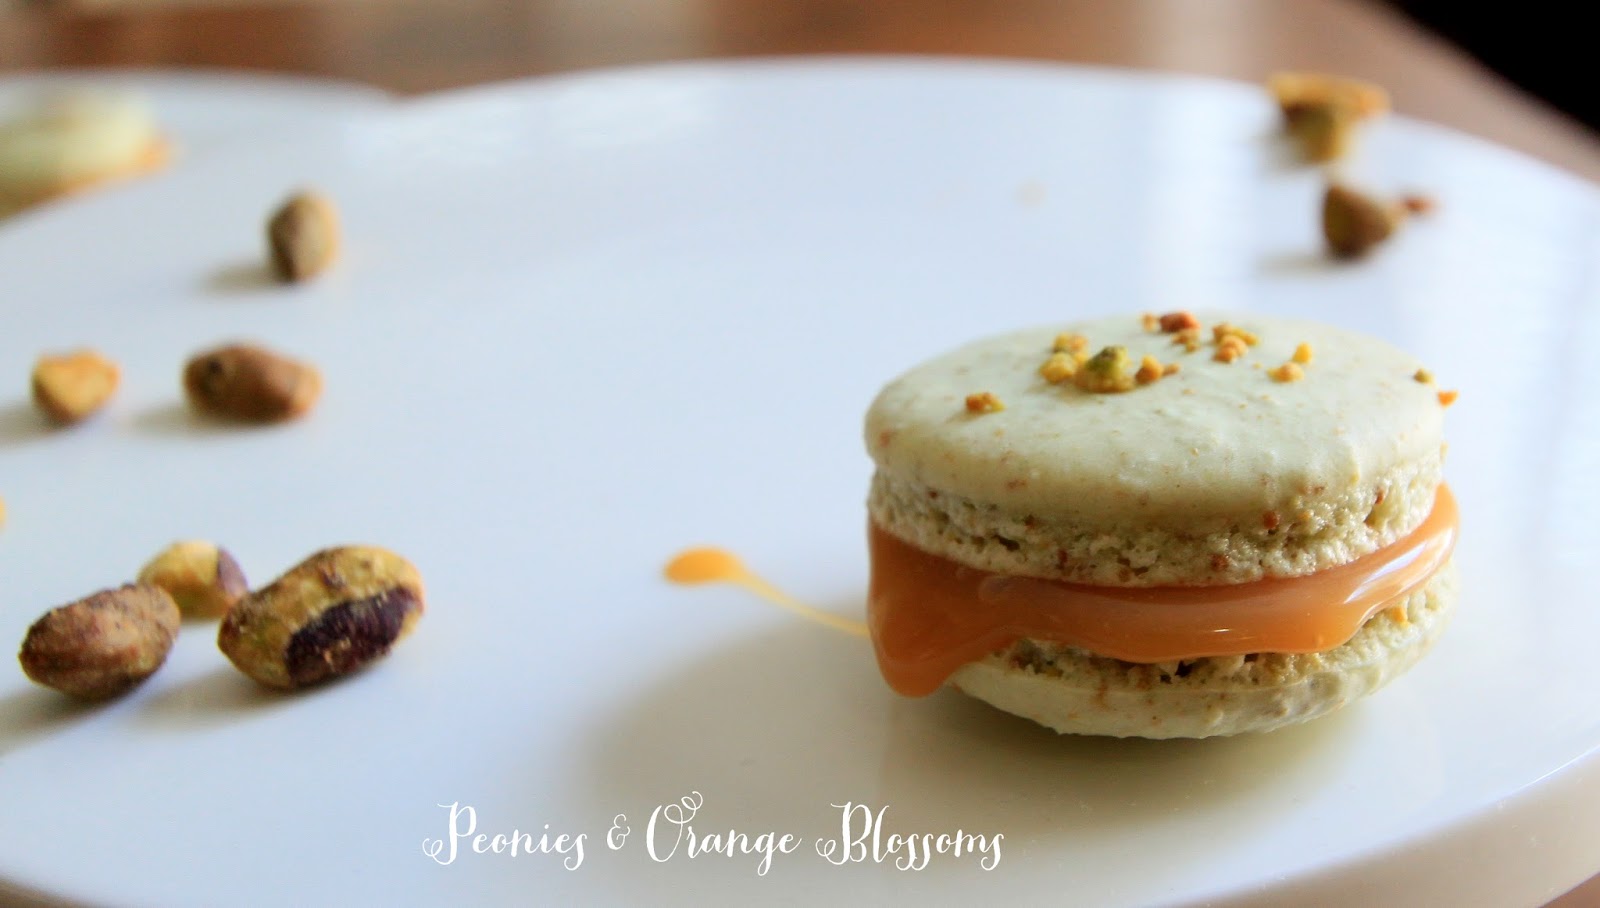
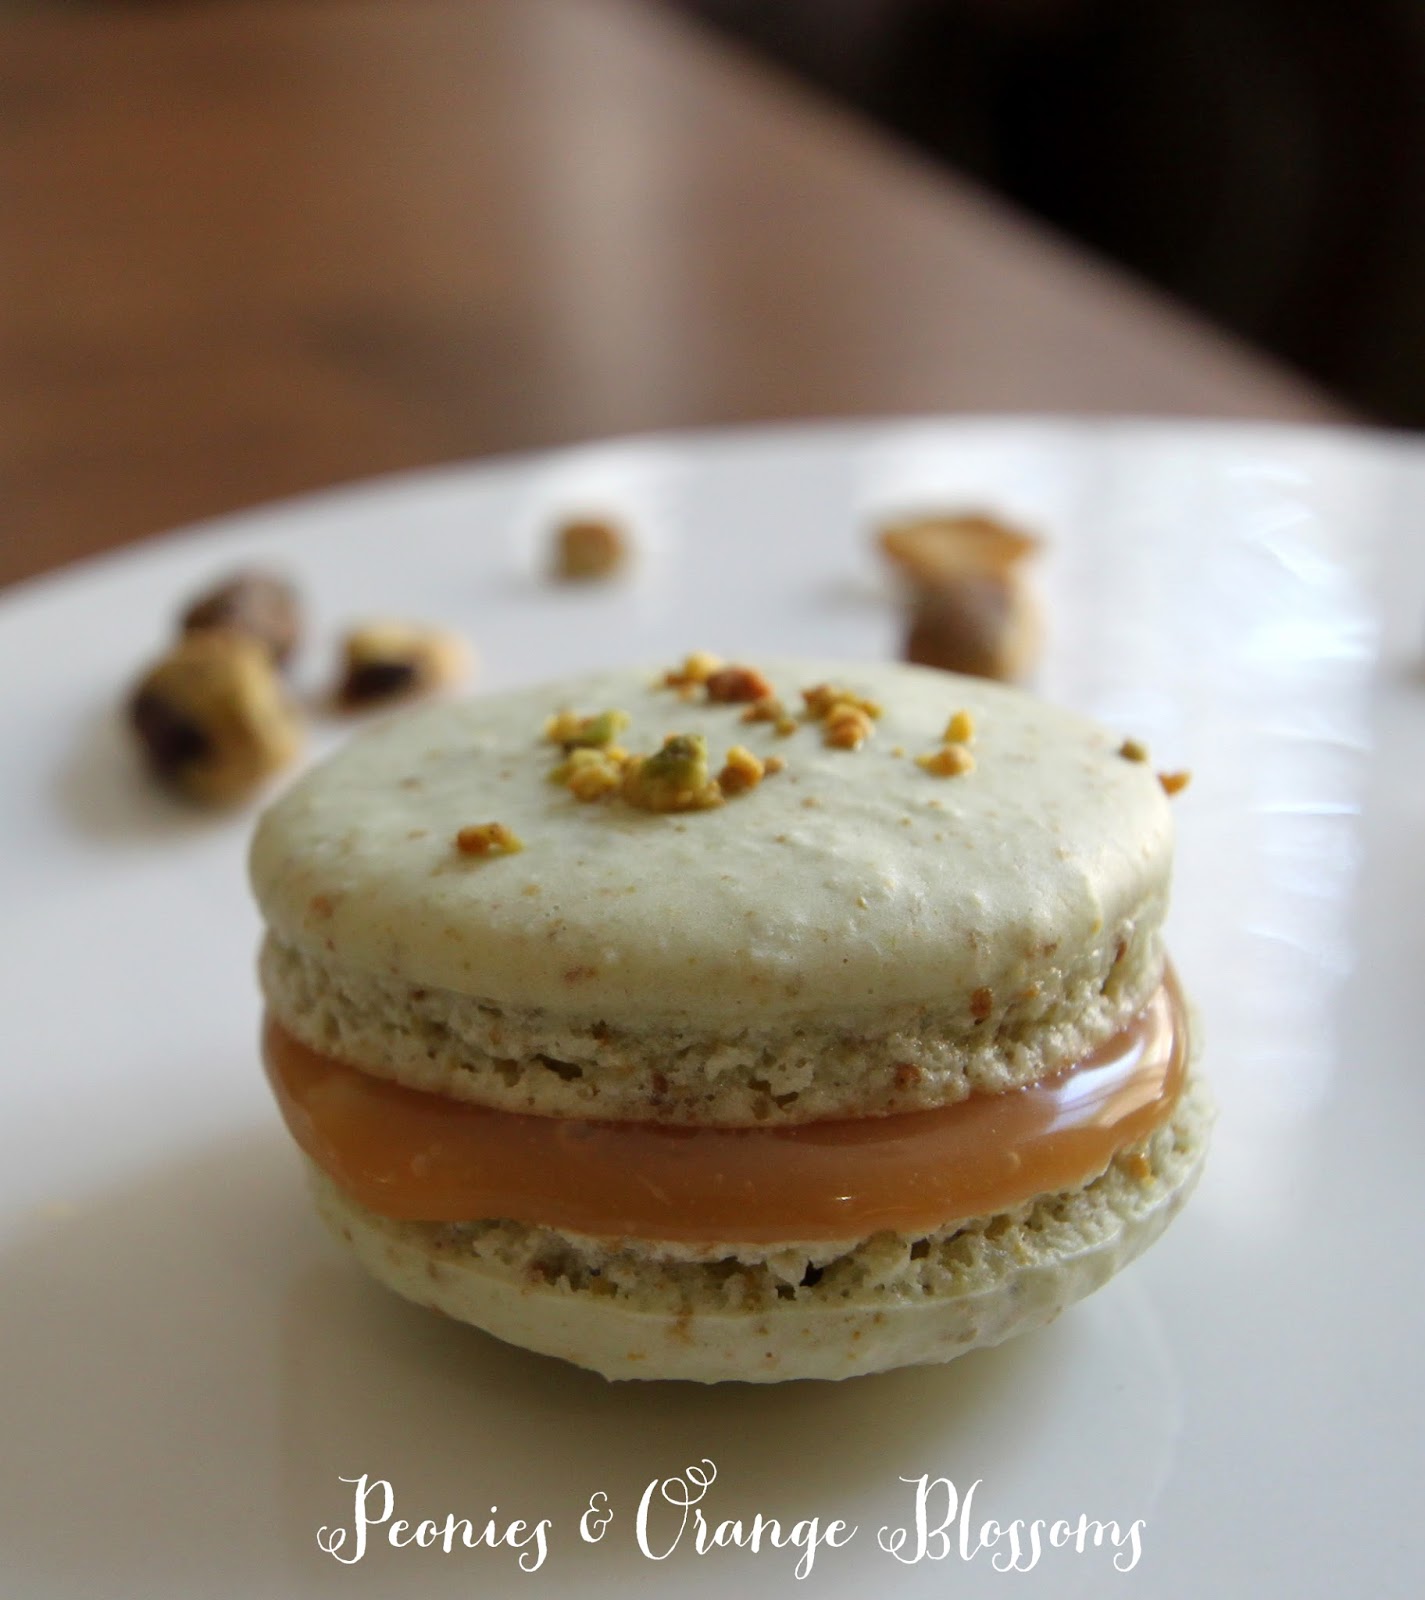
Don’t they look good??  The caramel is oozing out of the cookies and just begging to be eaten!

Pistachio Salted Caramel Macarons

Pistachio Salted Caramel Macarons (Get the printable recipe here)

Materials needed: (affiliate links are used for your convenience)

    • a food scale (yes, you need this. I use this one)
    • a piping tip and piping bag (I like the ateco #806, I use these tips and piping bag)
    • Food coloring (the gels or dry powder works best, not the liquid store stuff)
    • A macaron template
    • food processor (I use this one)

Pistachio Macaron Shell Recipe

• 200g almond flour

• 75g pistachio flour (step 1)

• 250g powdered sugar

• 210g granulated sugar

• 6 egg whites (room-temperature)

• 1/8 cup chopped pistachios

• food coloring (green is traditional color for this cookie)


1 Grind your unshelled pistachios (salted or unsalted, I prefer the salted) using a food processor. Be careful not to turn it into a paste.

2 Sift almond flour, pistachio flour, and powdered sugar through a fine mesh screen into a bowl.

3 Whisk or using a beater, turn 6 egg whites to a foam.  Slowly add the granulated sugar to the egg whites as you beat.  Whip until the meringue has firm glossy peaks but not super stiff peaks. They should defy gravity and remain in the bowl if you turn it upside down.  If you tilt your bowl to the side and the meringue started to slide, keep beating.

4 Add your food coloring.

5 Then fold in 1/3rd of the almond/pistachio/sugar mixture into the meringue with a silicone spatula.  Once combined, add another third of the almond mixture. Then the last third.

6 Add the batter to the piping bag.  Pipe in rows using your template onto parchment paper.

7 Pick up the pan and beat onto the counter.  Now sprinkle pistachio nuts on half of the cookies as a garnishment.

8 Preheat oven to 300 degrees.  The cookies need to rest on the counter between 30-60 minutes. They are ready to go into the oven when they are dry to the touch.  The shell shouldn’t stick to your fingers.

9 Bake the cookies for 13-15 minutes, one sheet at a time.  They are done when they look kind of matte and seem firm if you tap on them.  You can always rescue an overcooked cookie with the maturation process that comes later, but you cannot rescue an undercooked one!

10 Remove from the paper once completely cool.  If they stick to the paper, they either aren’t cool yet or you undercooked them.

11 Fill the cookies when cool with the filling below.

12 Refrigerate overnight for best results.


Pistachio Salted Caramel Macarons

Salted Caramel Filling Recipe

(makes 1.5 cups of caramel)

1 cup of cream

1.5 cups of granulated sugar

2 tsp coarse salt (or 1tsp for a less salty flavor)

1 cup unsalted butter


Instructions:

1. Chop butter into small cubes and set aside.

2. Pour cream into the pan and add the salt. Bring to a low boil while stirring and remove immediately. Do not scald the cream.

3. Place the sugar into a new pan. Cook over medium hit while stirring constantly.

4. Stir until sugar is melted and has caramelized into a rich color. Remove from heat.  Do not burn the sugar.  If your caramel starts to burn, throw it away. You cannot rescue it.

5. Pour and stir the hot cream into the caramel mixture. BE CAREFUL!!! Add the cream VERY SLOWLY.  The caramel will spit and boil up, so stir while incorporating the cream into the caramel.

6. Let the caramel cool to 115 degrees (about 5 minutes later).

7. Whisk in the cubes of butter into the mixture until melted and mixed.

8. Pour caramel into a shatter proof bowl and refrigerate until cold.


To use the caramel:

1. Remove from the fridge.

2. Whisk the caramel mixture to stiffen to more of a butter/cream consistency. Do not over-whisk as the caramel will separate.  Add the caramel to a shell and twist shell shut to close them together.

3. Once all assembled, put them in an airtight container and let them mature (yes, that’s the scientific word for this process) in the refrigerator for 24-48 hours.


Pistachio Salted Caramel Macarons

Om nom nom! These were good!

Pistachio Salted Caramel Macarons


SaveSave

SaveSave

Follow:

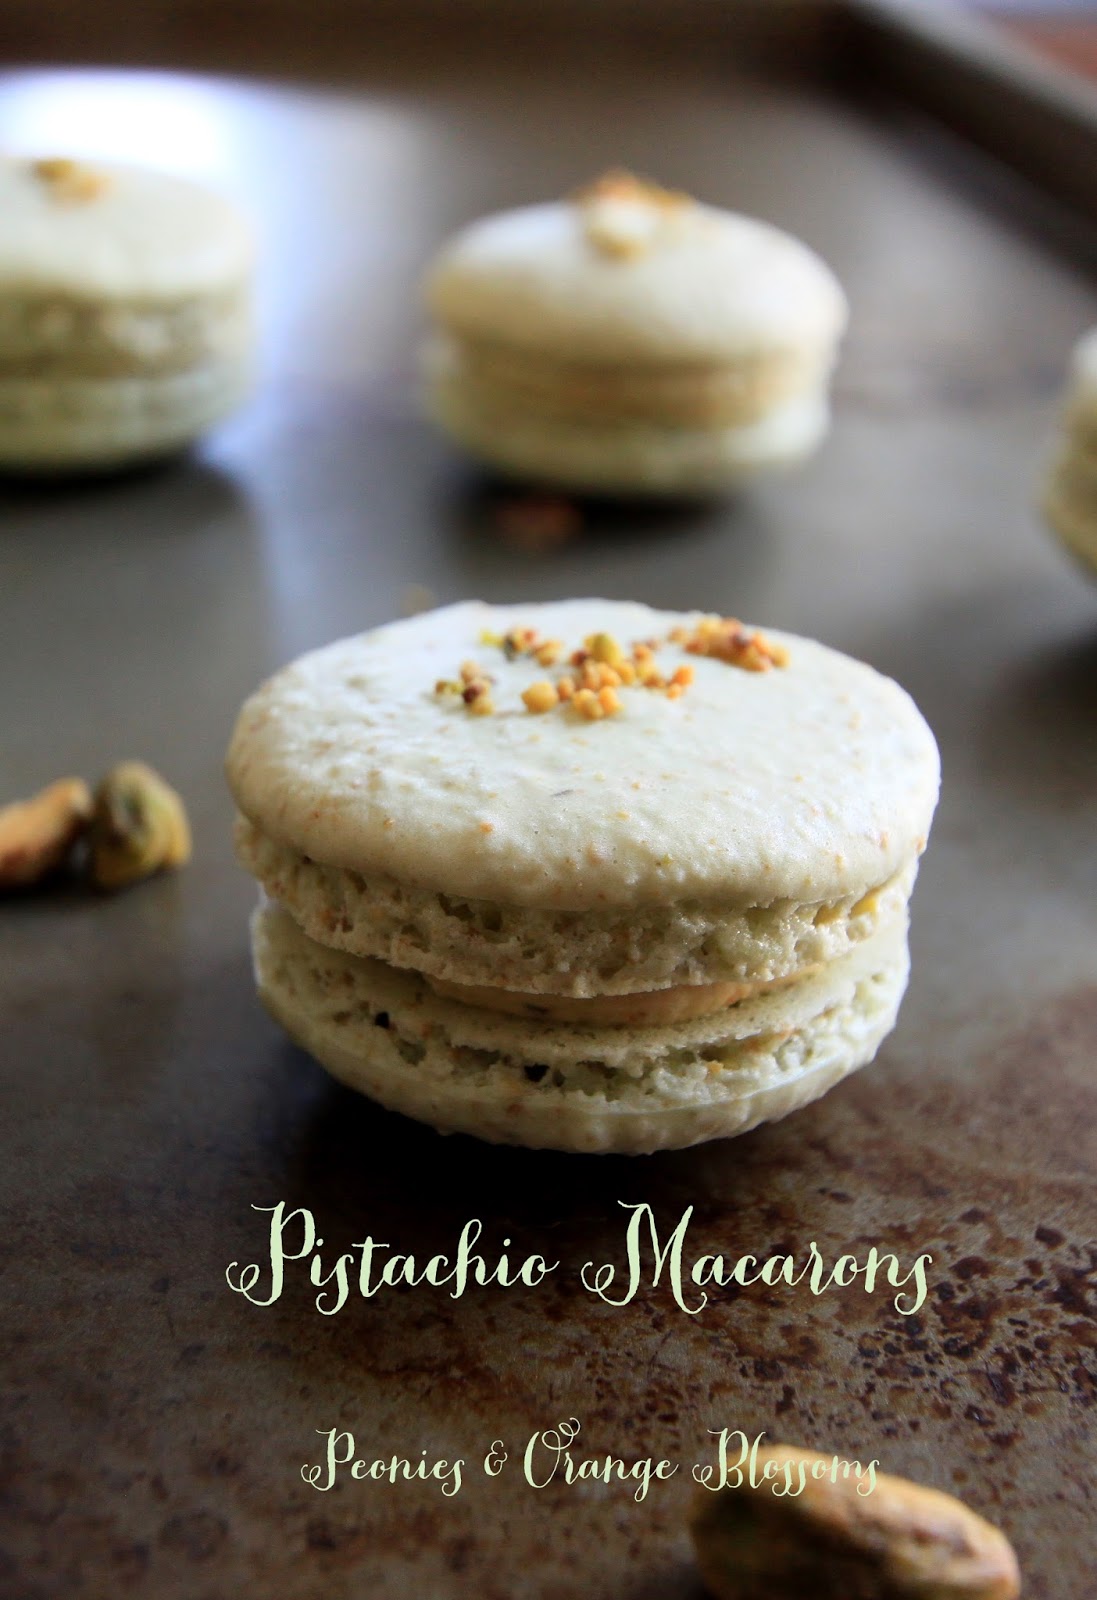
Pistachio Macaron Recipe Version 2

We use affiliate links in our posts and our site. This means if you make a purchase using these links, we may earn a small commission. You don’t pay a cent more than you would otherwise! Our full disclosure is available under About.

As you may or may not know, I have a recipe on this site for pistachio macarons.  I went back a year later to try to make those macarons, and I realized that I don’t have a candy thermometer.  So when I tried to make the filling, it was a fail. And then another fail.  So I searched high and low and came up with another pistachio filling recipe that I love.  AND no candy thermometer is needed!  I wrote this post a little bit ago, but decided to share it now while I’m buying myself time while I am busy with the move!
This post may contain affiliate links.

This new recipe tastes exactly like the other one.  It uses the same recipe for the shells.  The only thing that changed is my filling.

Pistachio Macaron Recipe Version 2 – printable version here

Materials needed: (affiliate links are used for your convenience)

    • a food scale (yes, you need this. I use this one)
    • a piping tip and piping bag (I like the ateco #806, I use these tips and piping bag)
    • Food coloring (the gels or dry powder works best, not the liquid store stuff)
    • A macaron template
    • food processor (I use this one)

Pistachio Macaron Shell Recipe

• 200g almond flour

• 75g pistachio flour (step 1)

• 250g powdered sugar

• 210g granulated sugar

• 6 egg whites (room-temperature)

• 1/8 cup chopped pistachios

• food coloring (green is traditional color for this cookie)


1 Grind your unshelled pistachios (salted or unsalted, I prefer the salted) using a food processor. Be careful not to turn it into a paste.

2 Sift almond flour, pistachio flour, and powdered sugar through a fine mesh screen into a bowl.

3 Whisk or using a beater, turn 6 egg whites to a foam.  Slowly add the granulated sugar to the egg whites as you beat.  Whip until the meringue has firm glossy peaks but not super stiff peaks. They should defy gravity and remain in the bowl if you turn it upside down.  If you tilt your bowl to the side and the meringue started to slide, keep beating.

4 Add your food coloring.

5 Then fold in 1/3rd of the almond/pistachio/sugar mixture into the meringue with a silicone spatula.  Once combined, add another third of the almond mixture. Then the last third.

6 Add the batter to the piping bag.  Pipe in rows using your template onto parchment paper.

7 Pick up the pan and beat onto the counter.  Now sprinkle pistachio nuts on half of the cookies as a garnishment.

8 Preheat oven to 300 degrees.  The cookies need to rest on the counter between 30-60 minutes. They are ready to go into the oven when they are dry to the touch.  The shell shouldn’t stick to your fingers.

9 Bake the cookies for 13-15 minutes, one sheet at a time.  They are done when they look kind of matte and seem firm if you tap on them.  You can always rescue an overcooked cookie with the maturation process that comes later, but you cannot rescue an undercooked one!

10 Remove from the paper once completely cool.  If they stick to the paper, they either aren’t cool yet or you undercooked them.


For the pistachio buttercream:

•75g butter, at room temperature

•75g powdered sugar

•50g finely ground pistachios (just grind some up in the food processor)

•1/4 teaspoon vanilla extract (optional)

•1 tablespoon whipping cream


Preparing the pistachio buttercream:

1Cream together the butter and icing sugar on low speed using the paddle attachment, if you’re using a stand mixer. Or mix by hand.

2Add the ground pistachios and beat on medium speed for approx. three minutes.

3Pour in the whipping cream and beat for one minute on medium speed.

4       Optional, add the vanilla and then mix together.  (I added only a few drops, as this enhanced the taste a little).

5      Add the buttercream to a piping bag, and pipe the buttercream onto the shells that do not have the extra pistachio sprinkled on top.

6      Store overnight in an airtight container in the refrigerator.  They taste better the next day, promise!


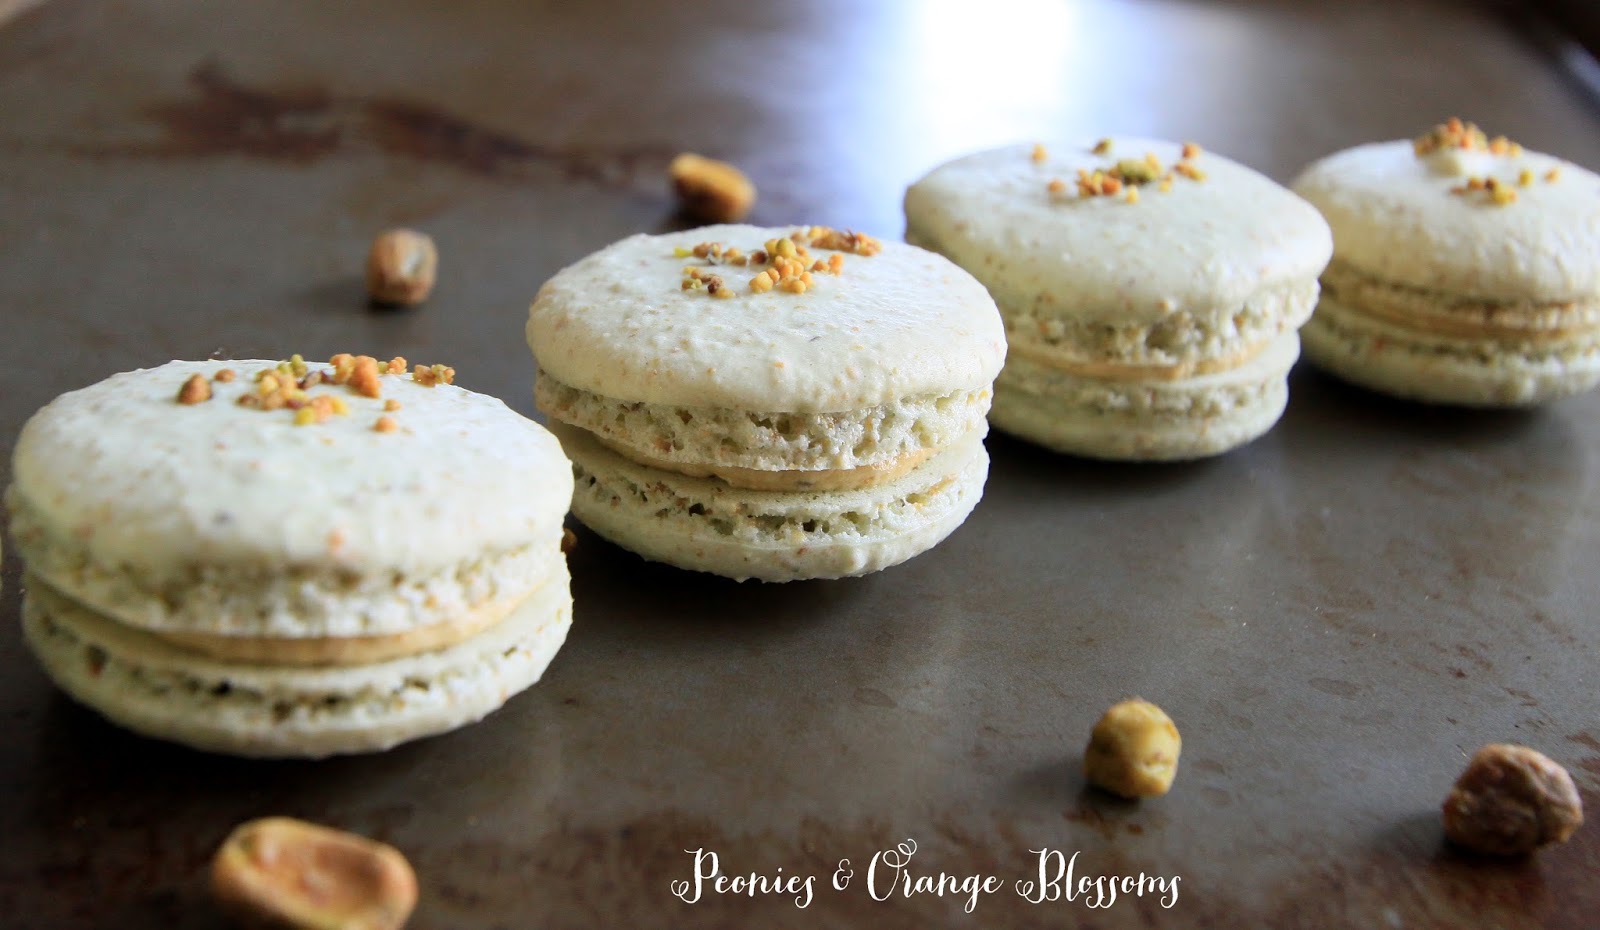
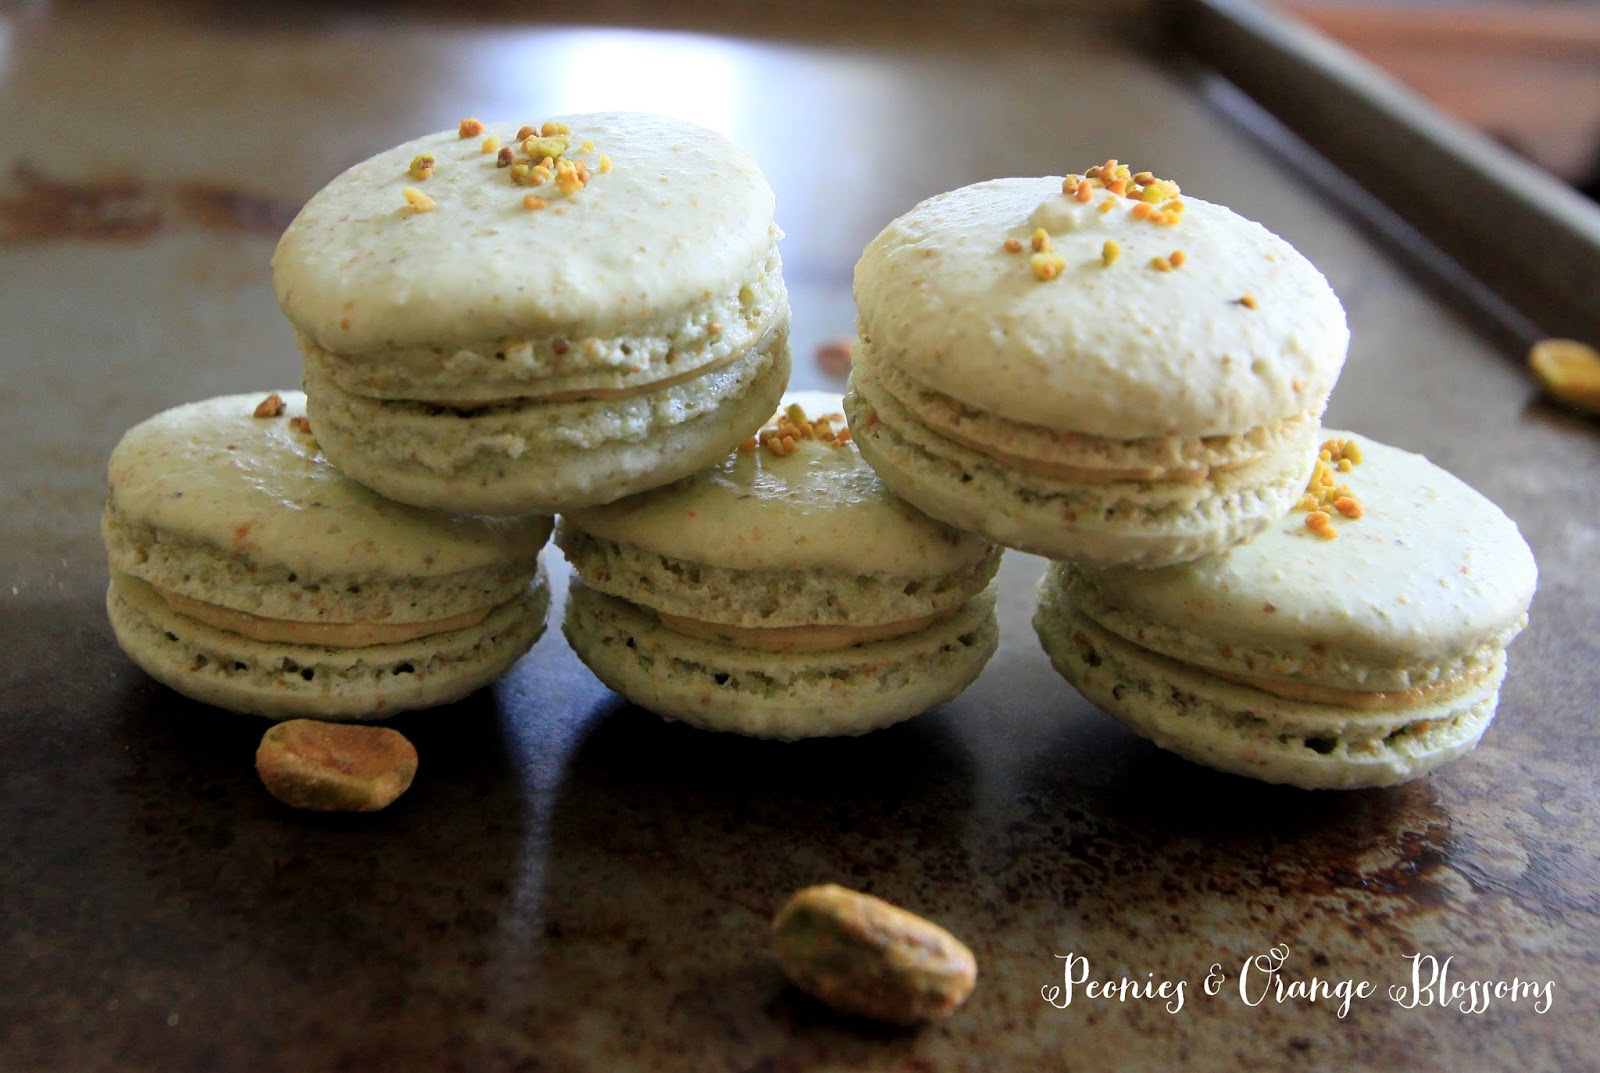
Don’t these macarons look pretty?  When I look at my old ones I get so embarrassed by them.  Granted, they tasted exactly the same. But still! They didn’t have perfectly little flat tops and didn’t all have nice little feet!


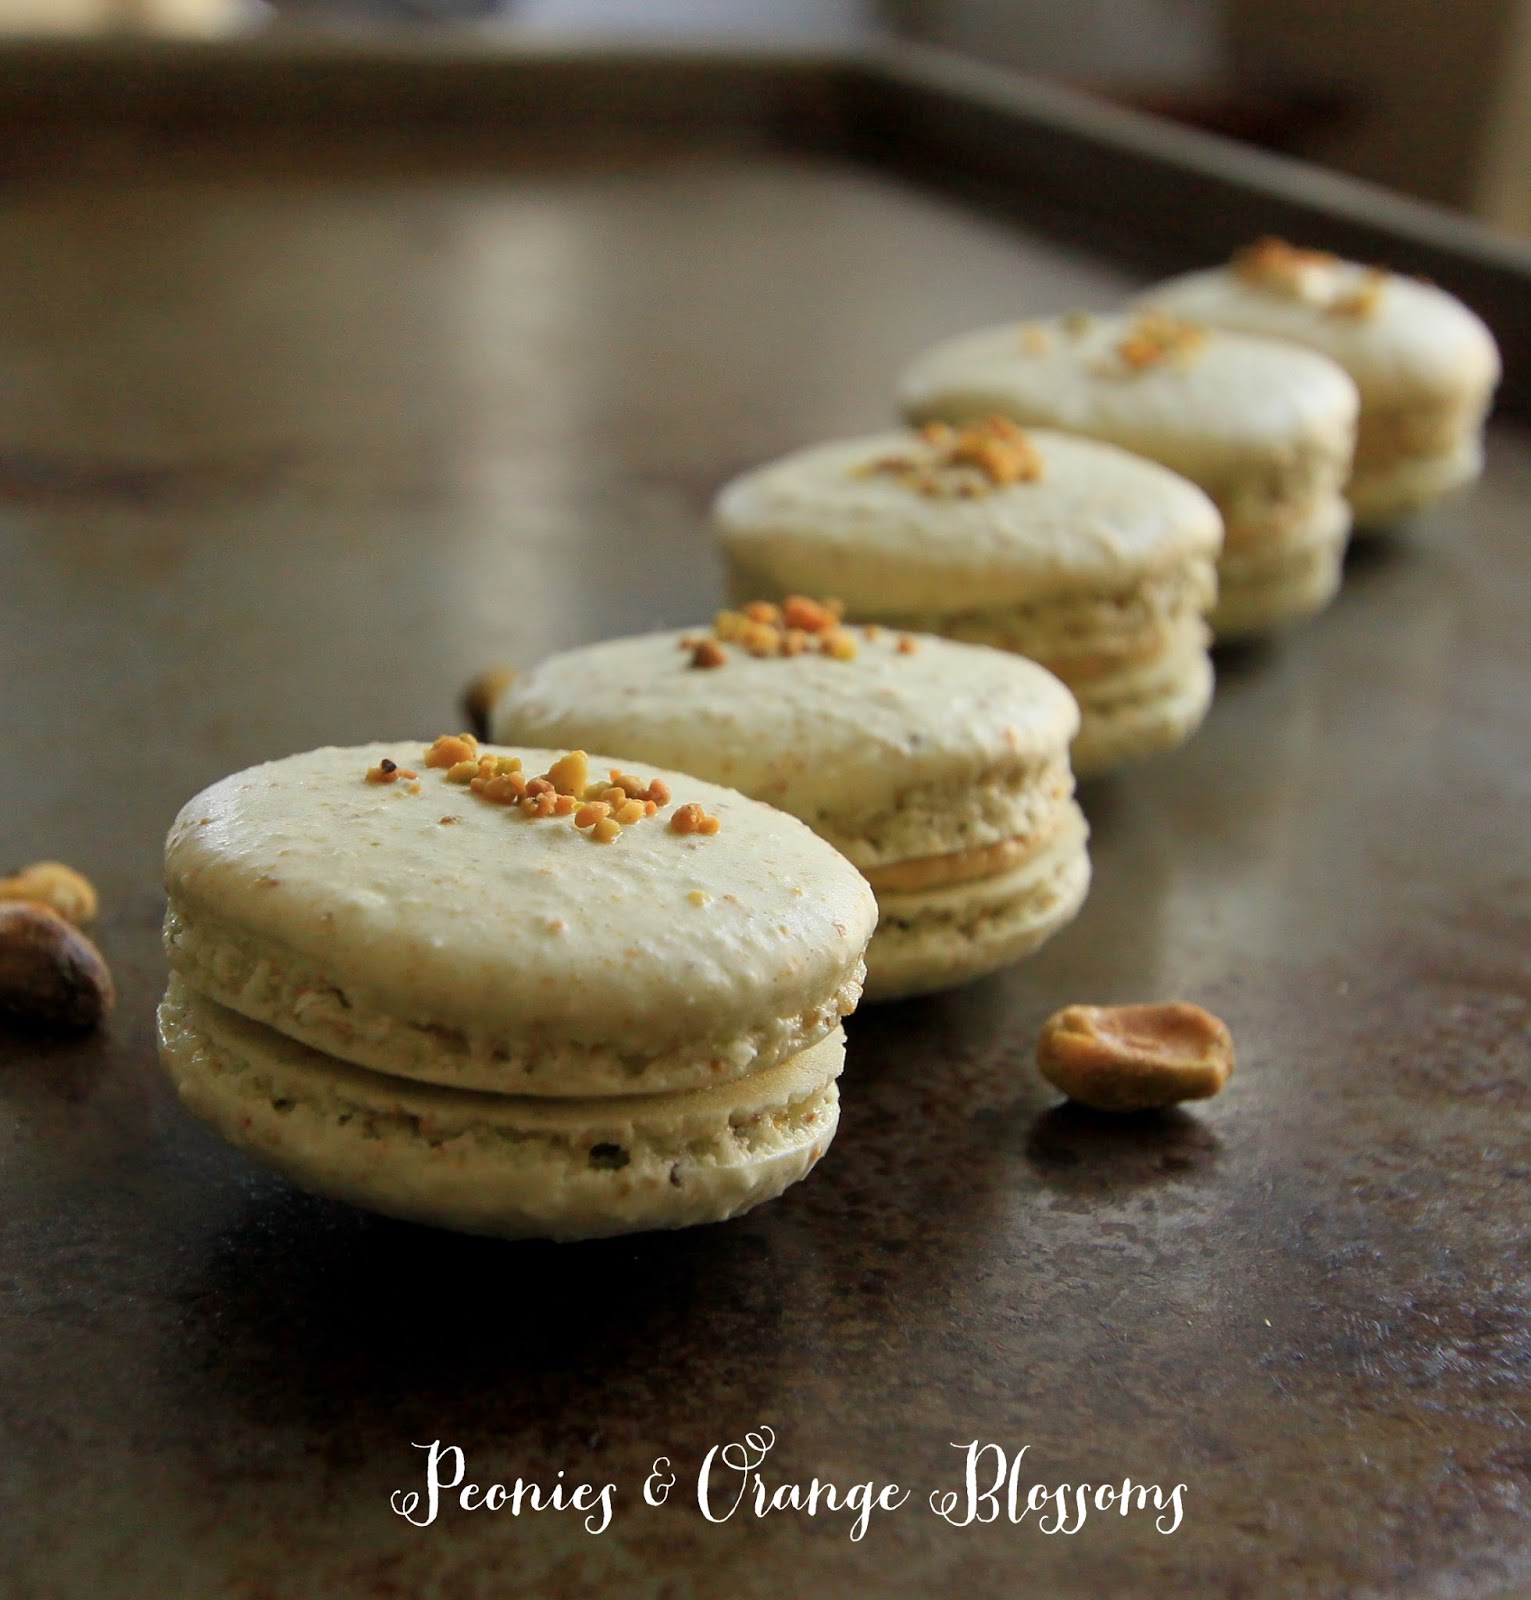
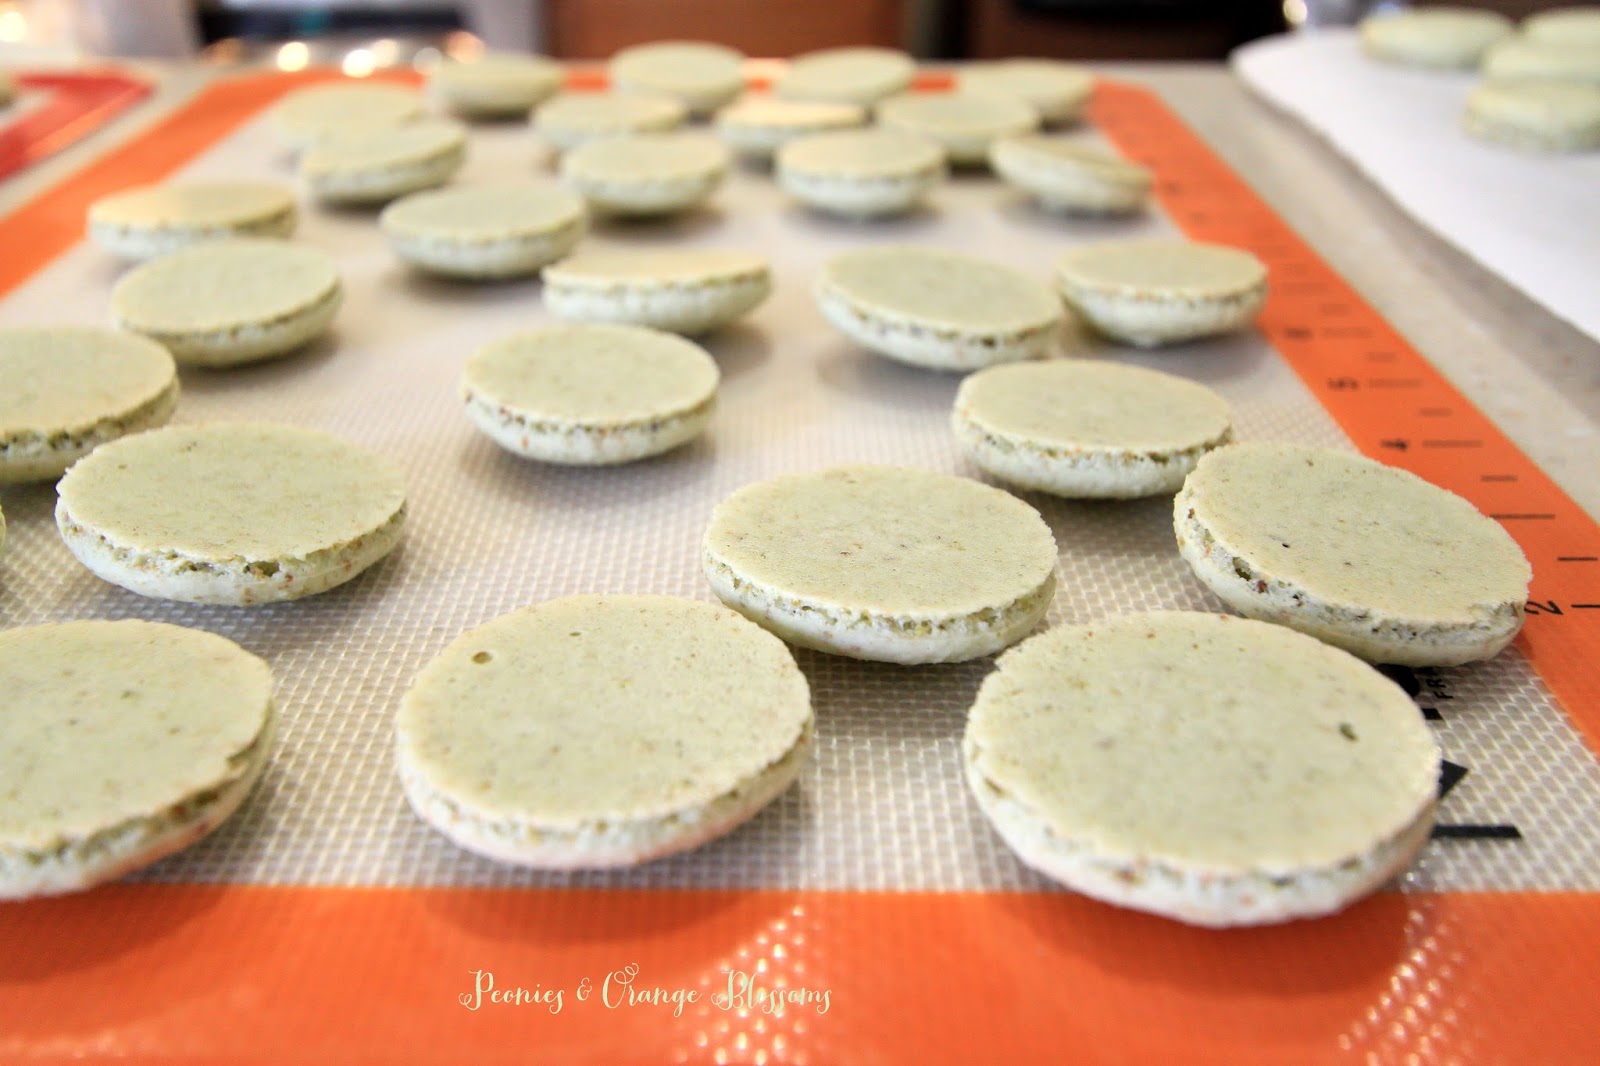
If you look below, this is how the macarons should look when you lift them up from the silpat or parchment paper… perfectly flat feet.  If they are sticking to the paper or silpat, let them cool a little bit longer and they will lift right up!

Don’t worry about yours if they don’t turn out perfect the first time you make them.  Mine obviously didn’t look perfect if you look at my old recipe, but they still tasted really good!

Some tips:
If they are puffy like little ice cream cones when you pipe them (like my old recipe, you can see the pictures of them) you need to do some more folding.  They need to be a little bit runnier.  That way when you pipe them they’ll spread out.  However, if you fold them too much, they will be too runny and will be ruined.  It’s an art.  I’ve been practicing for a while.  With time, you’ll learn. Just don’t give up. Giving up is for quitters and we don’t quit!

I will say, even when I make the macarons.  My first tray I pipe is always a little bit poofier than the last tray I pipe.  By the time I get to the last tray, I’ve stirred the batter a few more times and gravity has started to work on deflating the meringue some.  Just things I’ve noticed as I’ve been making these for a while.


I was having fun taking food pictures with my camera… an old grimey baking sheet makes a nice food backdrop.


SaveSave

SaveSave

Follow:

Blackberry and Peach Galette with Cinnamon Ice Cream Recipe

We use affiliate links in our posts and our site. This means if you make a purchase using these links, we may earn a small commission. You don’t pay a cent more than you would otherwise! Our full disclosure is available under About.

It’s that time of year when we have peaches coming out of our ears!  We have so many peach trees here out on the farm I decided to bake a galette for the first time.  A Galette (pronounced GAL-ette) is a type of free-form French tart.  It’s nice because there is no tart pan needed!  Now this isn’t to be confused with the Breton Galette, which is the buckwheat pancake.

Blackberry Peach Galette

While the traditional French tart has every piece of fruit and dough molded to perfection, the galette is much less fussy and closer to the American pie in taste.

Blackberry Peach Galette (get the printable recipe here.)


Ingredients

  • 1 premade pie crust
  • 5 peaches, peeled, pitted, and sliced
  • 1/3 cup fresh blackberries
  • 1/4 cup brown sugar
  • 2 tbsp honey
  • 1/2 tsp cinnamon
  • 1/2 tsp nutmeg
  • 2 tsp vanilla
  • 2 1/4 tbsp all-purpose flour
  • 1 egg 
  • turbinado sugar for dusting
  • sliced almonds for the crust

Directions

  1. Line a baking sheet with parchment paper.
  2. If you used a pre-made store pie crust, take it out from the freezer and let it thaw. (It should still be cold).  Remove from the pie pan and flatten into a circle on the parchment paper.  Don’t worry about it looking perfectly pretty, galettes are not perfect!
  3. In a bowl, combine peaches and vanilla.
  4. In a separate bowl, combine brown sugar, cinnamon, nutmeg, and flour.  Mix well to combine.
  5. Add the dry mixture to the peaches.  
  6. Pour in the honey and stir.
  7. Fold in the blackberries.
  8. Pour the fruit filling into the center of the crust, leaving a 2 inch border.  Now, working around the galette, fold the edges of the dough over the fruit.
  9. Place the galette into the freezer for 15 minutes.
  10. Preheat oven to 350F.
  11. Remove galette from freezer.
  12. Brush the folded edge of dough with the egg wash.
  13. Sprinkle the dough edge with slivered almonds and turbinado sugar.
  14. Bake for 30min to 1 hour.  The crush should be golden brown and the fruit insides should be bubbling when done.  
  15. Serve warm or cold, I suggest with ice cream.

I adopted the recipe from this website, tidy mom.

the fruit juices leak onto the paper while cooking… that’s okay and expected!

Want to know what this tastes good with? Cinnamon ice cream!!  I use an ice cream maker to make my own ice cream.  You could just serve it up with store bought vanilla too!

Easy Blackberry Peach galette with homemade cinnamon ice cream!

Cinnamon Ice Cream Recipe (printable recipe here)


Ingredients

  • 1 3/4 cups whipping cream
  • 1 1/4 cup whole milk
  • 1 tsp vanilla
  • 2 tsp ground cinnamon
  • 3/4 cup granulated sugar
  • *optional: 1/4 tsp xanthan gum (makes it a little thicker, optional ingredient)

Directions

  1. Add the cream and milk together and stir in the sugar.  Stir until the sugar dissolves.  This should be hand-stirred, if you use a mixer you could end up with butter.
  2. Add the vanilla.
  3. Slowly pour in the cinnamon so you don’t end up with cinnamon chunks.  If you are using the xanthan gum, slowly add it in as well so you don’t have chunks.
  4. Pour your mixture into your ice cream mixer and wait.
  5. When the ice cream mixer is done, either serve immediately or store in a freezer air-tight container.  To help decrease ice crystals, put some saran wrap directly on the ice cream and then close the lid.  This helps decrease the ice crystals that form!

Blackberry Peach Galette

Yum yum, doesn’t it look delicious? Well let me tell you… it was!  The four of us gobbled it up and left only one piece… for someone’s breakfast the next day.  Dessert for breakfast? I know you do that too, don’t lie 😉

You can also follow me by clicking on these: bloglovin, instagramtwitterpinterest, and google plus.


linking up at: amaze me monday The Scoop!  2 Bees in a Pod,  Metamorphosis Monday’s Inspire Me Tuesday Moonlight and Mason Jars Wow us Wednesdays! Creative Ways  Share Your Style Thursday Favorite ThingsYour Turn to Shine The Inspiration Gallery My Romantic Home  Home Sweet Home Feathered Nest Fridays Foodie Friday & Everything Else  Sunday’s Down Under Share it One More Time

Follow:

Orange Blossom Macarons Recipe like Laduree

We use affiliate links in our posts and our site. This means if you make a purchase using these links, we may earn a small commission. You don’t pay a cent more than you would otherwise! Our full disclosure is available under About.

I have been back in the kitchen baking macarons.  I have been longing to try Laduree’s famous orange blossom macarons, but I just couldn’t wait until my trip to Paris in April.  So I attempted to bake them at home!
This post may contain affiliate links.

Orange Blossom Macaron recipe

The result? DELICIOUSNESS!  I was unsure if I would like them since I don’t really like rose flavored things… but the orange blossom flavor is just as if I walked through the orange grove around the block with my mouth open and ate the smell.

No surprise that the blogger of a blog with the name of peonies and orange blossoms likes, well, orange blossom macarons!

Materials needed: (affiliate links are used for your convenience)

    • a food scale (yes, you need this. I use this one)
    • a piping tip and piping bag (I like the ateco #806, I use these tips and piping bag)
    • Food coloring (the gels or dry powder works best, not the liquid store stuff)
    • A macaron template
    • food processor (I use this one)
Laduree Orange Blossom Macaron recipe

Laduree Macaron shell Recipe (from Ladurée Macarons)
275g ground almonds
250g powdered sugar
210g egg whites
210g granulated sugar

1.  Mix almond meal and the powdered sugar in a food processor. Be careful not to grind too long, otherwise it will form a paste.

2. Sift the almonds and powdered sugar. Set aside.

3. Weigh out granulated sugar.

4. Weigh the egg whites.  Beat them slowly on a low speed until foamy. SLOWLY add the granulated sugar to the egg whites as you beat.  Once all mixed, increase speed to medium and beat until a firm meringue forms.  You want a firm meringue with glossy peaks but not stiff peaks.  They should defy gravity and remain in the bowl if you turn it upside down.  If you tilt your bowl to the side and they are sliding out, keep beating.

5. Add the food coloring gel and mix.
6. Then fold in 1/3rd of the almond/sugar mixture into the meringue with a silicone spatula.  Once combined, add another third of the almond mixture. Add last bit.  This batter requires more deflation during this step since it creates such a poofy meringue.

7. Add the batter to a piping bag. . Pipe in rows using your template onto parchment paper.
8. Pick up the pan and beat until the counter.  The cookies need to rest on the counter between 30-60 minutes.  They are ready to go in the oven when they are dry to touch (the shell shouldn’t stick to your finger)

9.  Set the oven to 300F.

10. Bake the cookies for 13-15 minutes one sheet at a time. They are done when they look kind of matte and seem firm when you lightly tap on them.  You can always rescue a slightly overcooked one with the maturation process that comes later, but you cannot rescue an undercooked one!!

11.  Remove from paper once completely cool. If they stick they stick to the paper, they aren’t cool yet. Or you undercooked them.

Laduree Orange Blossom Cream Filling
4 tbsp (60 mL) orange blossom water (you can get it: buy here)
4 1/2 tsp (15 g) corn starch
2/3 cup (160mL) heavy cream
1/2 cup (100g) granulated sugar
3 1/2 ounces (100g) white chocolate, coarsely chopped
7 1/2 tbsp (110g) softened butter
1 drop green food coloring

Directions

  1. Whisk the 3 tbsp (45mL) of the orange blossom water into the cornstarch.
  2. Combine the cream and sugar in a saucepan and heat until simmering.  Whisk the simmering liquid into the cornstarch mixture.  Then return it to the saucepan, continuing to whisk over low heat for 30 seconds until thickened and smooth.  Pour into a bowl.
  3. Use a spatula and little by little stir in the chocolate into the hot cream.
  4. Now pour into a food processor until it cools slightly
  5. Add the butter gradually, the remaining orange blossom water, food coloring and process until smooth and creamy.
  6. Pour into a dish, cover with plastic cling wrap and plate it directly onto the cream.  Refrigerate for at least 2 hours until firm enough to be piped.
  7. Spoon the orange blossom cream into a piping bag and pipe into the remains shells.
  8. Refrigerate the macarons in an air-tight container for at least 12 hours before serving. This allows the “macaronnage” to occur and makes the cookie super yummy.  If you eat it immediately it’s really good, if you wait 12 hours… perfection!

Get the printable recipe here

Orange Blossom Macaron Recipe

SaveSave

Follow:

From the Shop

I may earn a small commission if you purchase with these links

no products
Please note that I use ShopSense, LIKETOKNOW.it, Shareasale and Amazon affiliate links on this site. This means using them for purchases won’t cost you extra but may earn me a small commission.  Our full disclosure is available for viewing under About in the disclosure policy.
All rights reserved. Our graphics, images and text are all subject to copyright protection.