google.com, pub-5426958118371358, DIRECT, f08c47fec0942fa0

DIY Faux Orchid Arrangement

DIY Faux Orchid ArrangementWe use affiliate links in our posts and our site. This means if you make a purchase using these links, we may earn a small commission. You don’t pay a cent more than you would otherwise! Our full disclosure is available under About.

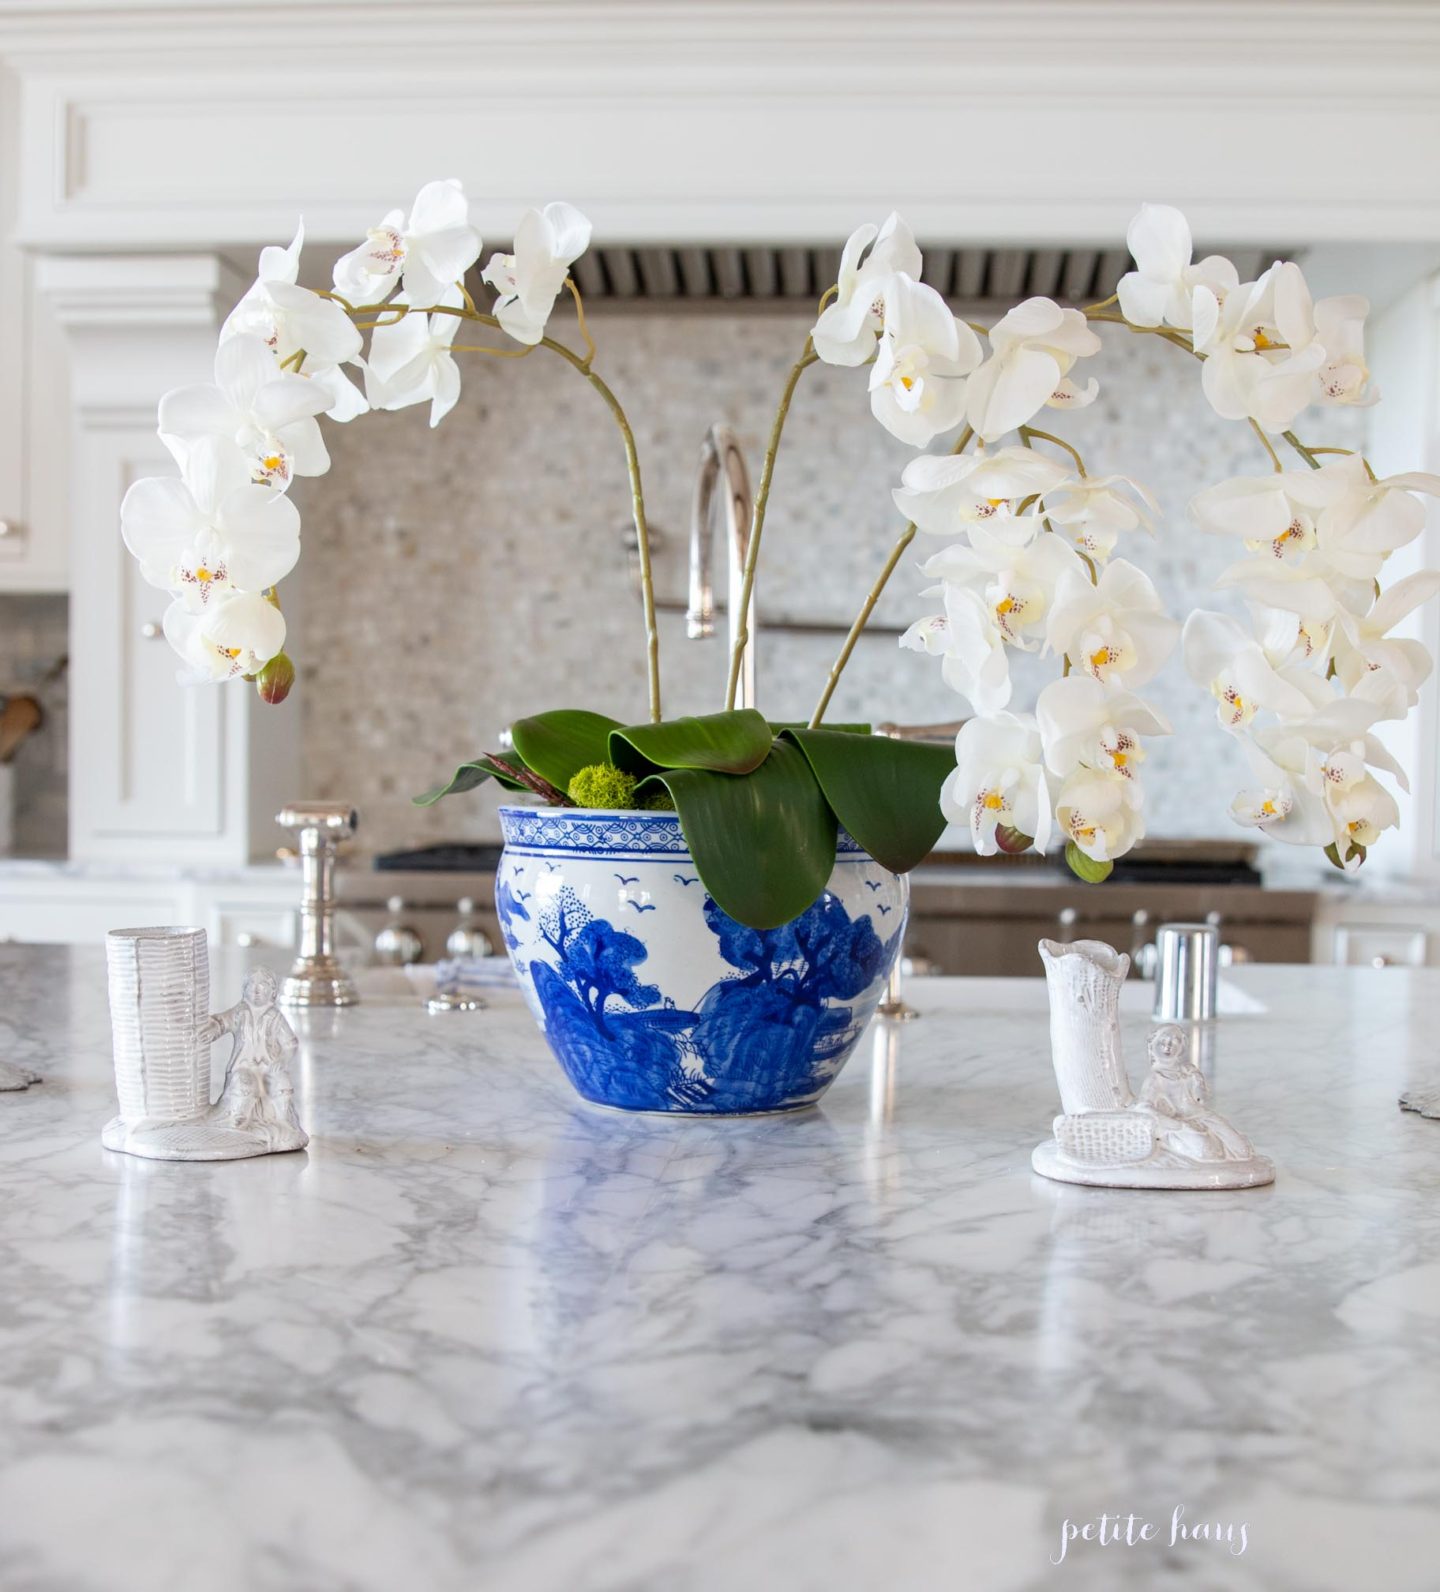
Last year I made my own real orchid arrangement – similar to ones you see in all the magazines, social media, etc!
DIY tutorial to make your own faux floral orchid arrangement in blue and white chinoiserie porcelain bowl decor

Except, I have a brown thumb. It is also an accomplishment to kill every one of my indoor plants I have ever purchased.

So I got the idea to make a faux orchid arrangement as the ones that are available for purchase are quite pricey!
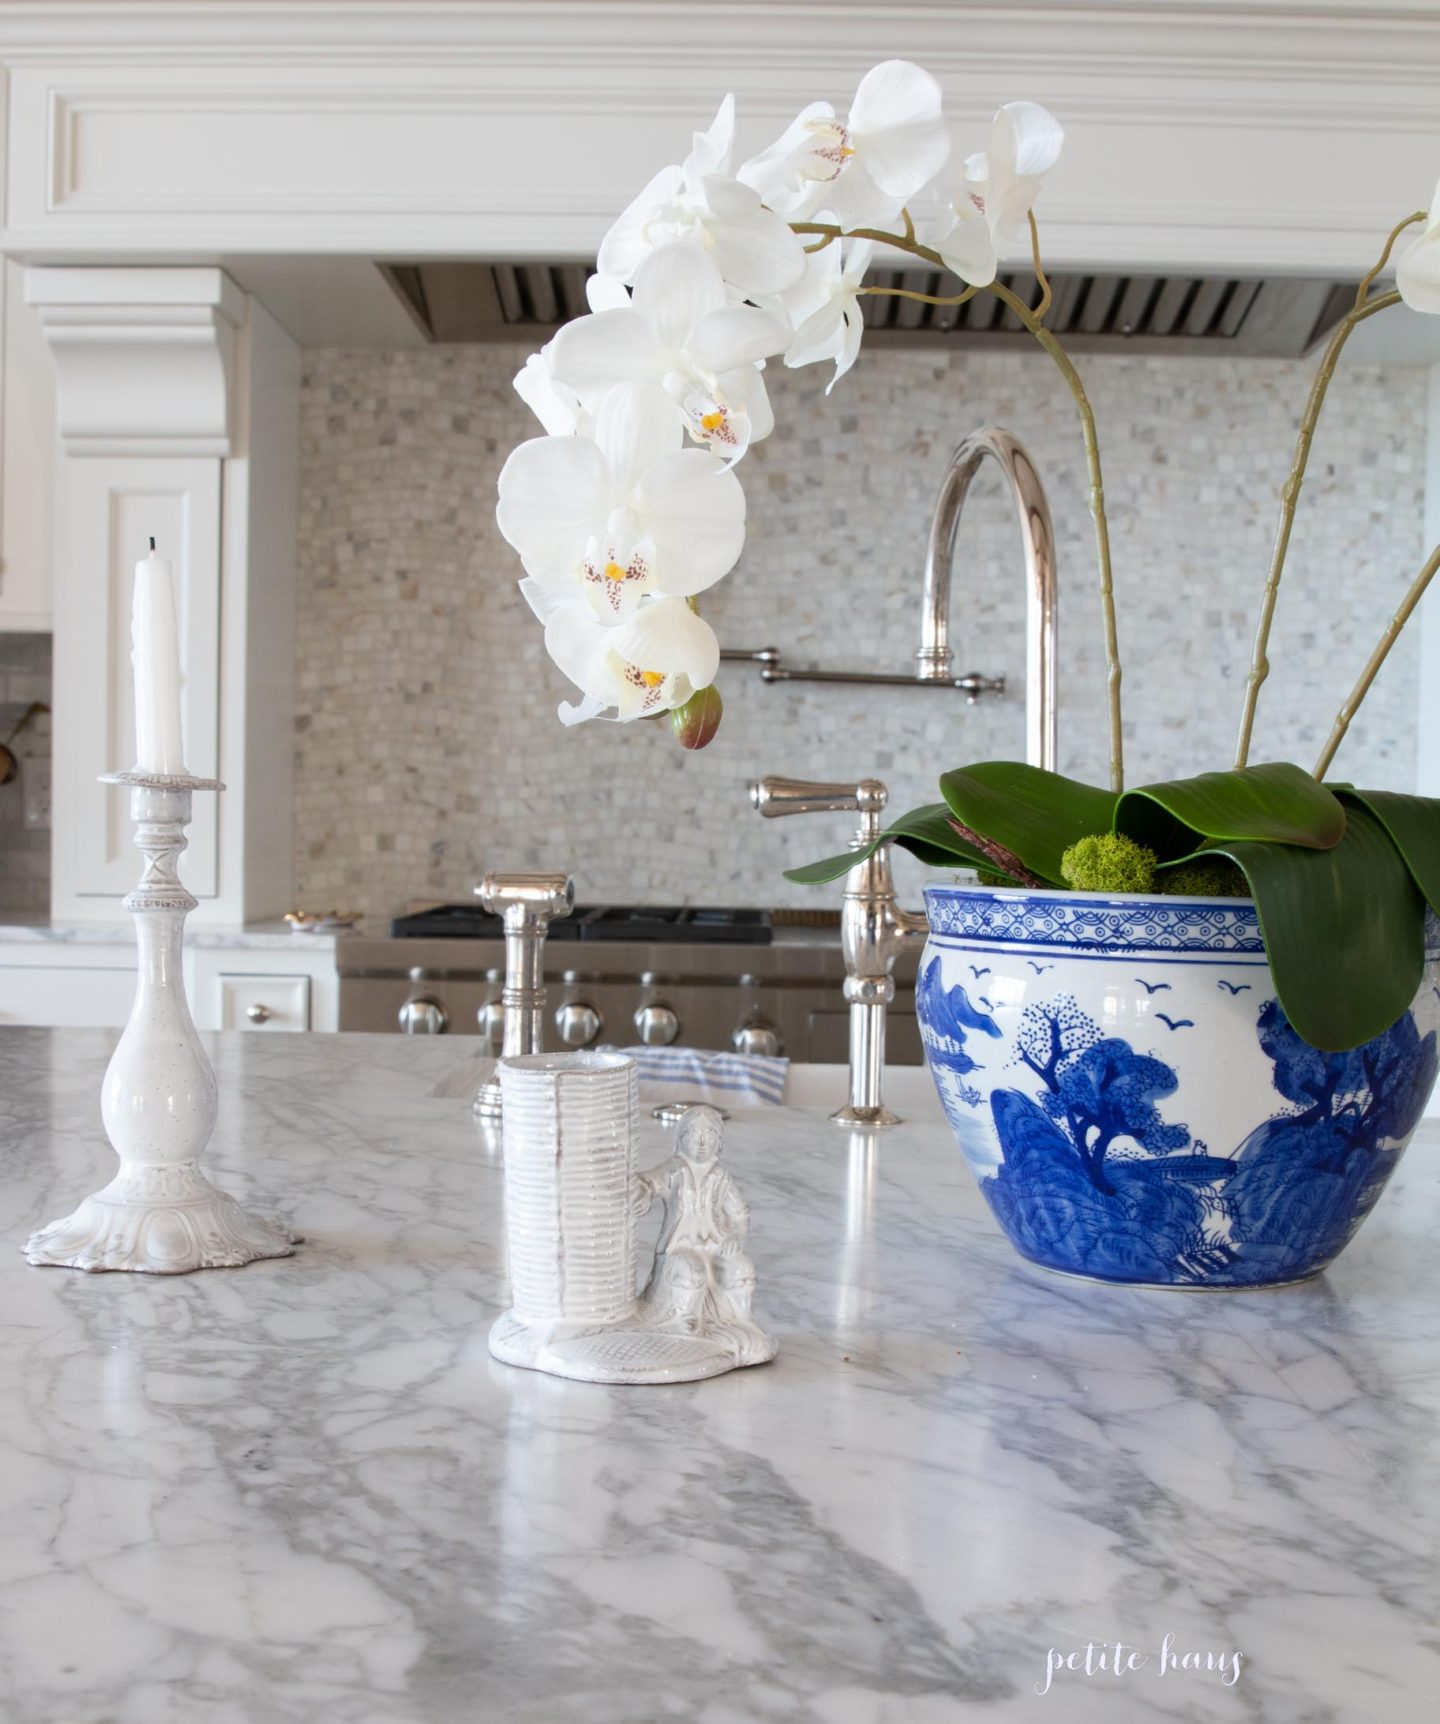
I purchased this set of Orchid stems– you get a set of 4 for under $20. I ended up doing this project for another vase and bought these orchid stems which were a little more expensive at 2 for $20 – they look a *bit* more real, but really they both look good.

I purchased this set of Orchid leaves – you get 3 plants for under $20.

The blue and white porcelain bowl I purchased at Home Goods for $20. Floral foam was $3.

I took these pictures but then ended up purchasing are these stakes to make the stems a little more upright.

  1. Take your dry floral foam and cut a piece to wedge into your vase.
  2. Poke and place your orchid stems into the foam.
  3. Then place your orchid leaves into the foam.
  4. Use reindeer moss to cover the foam.

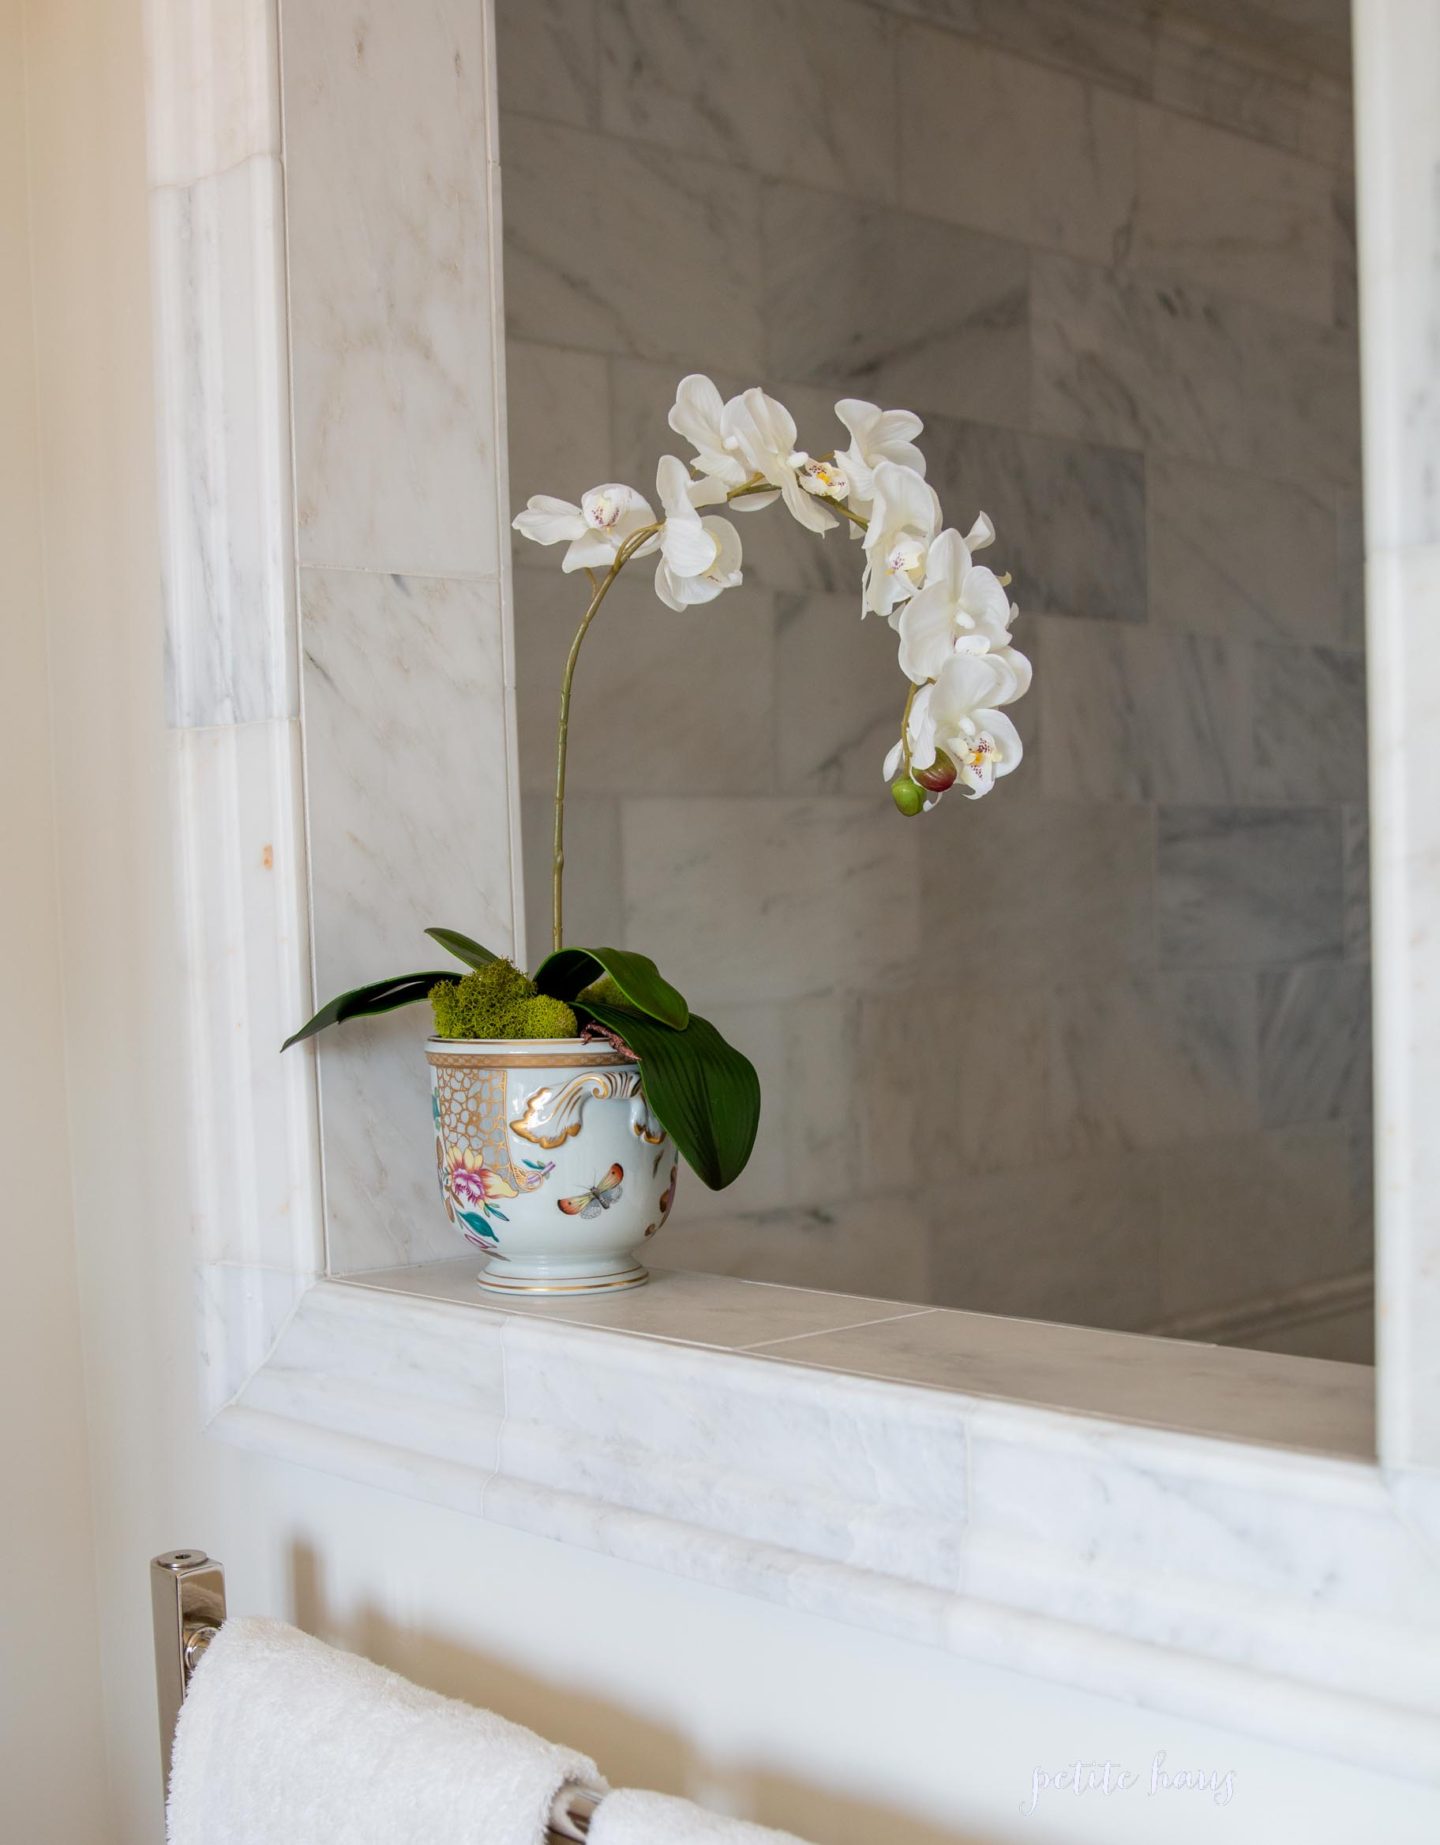
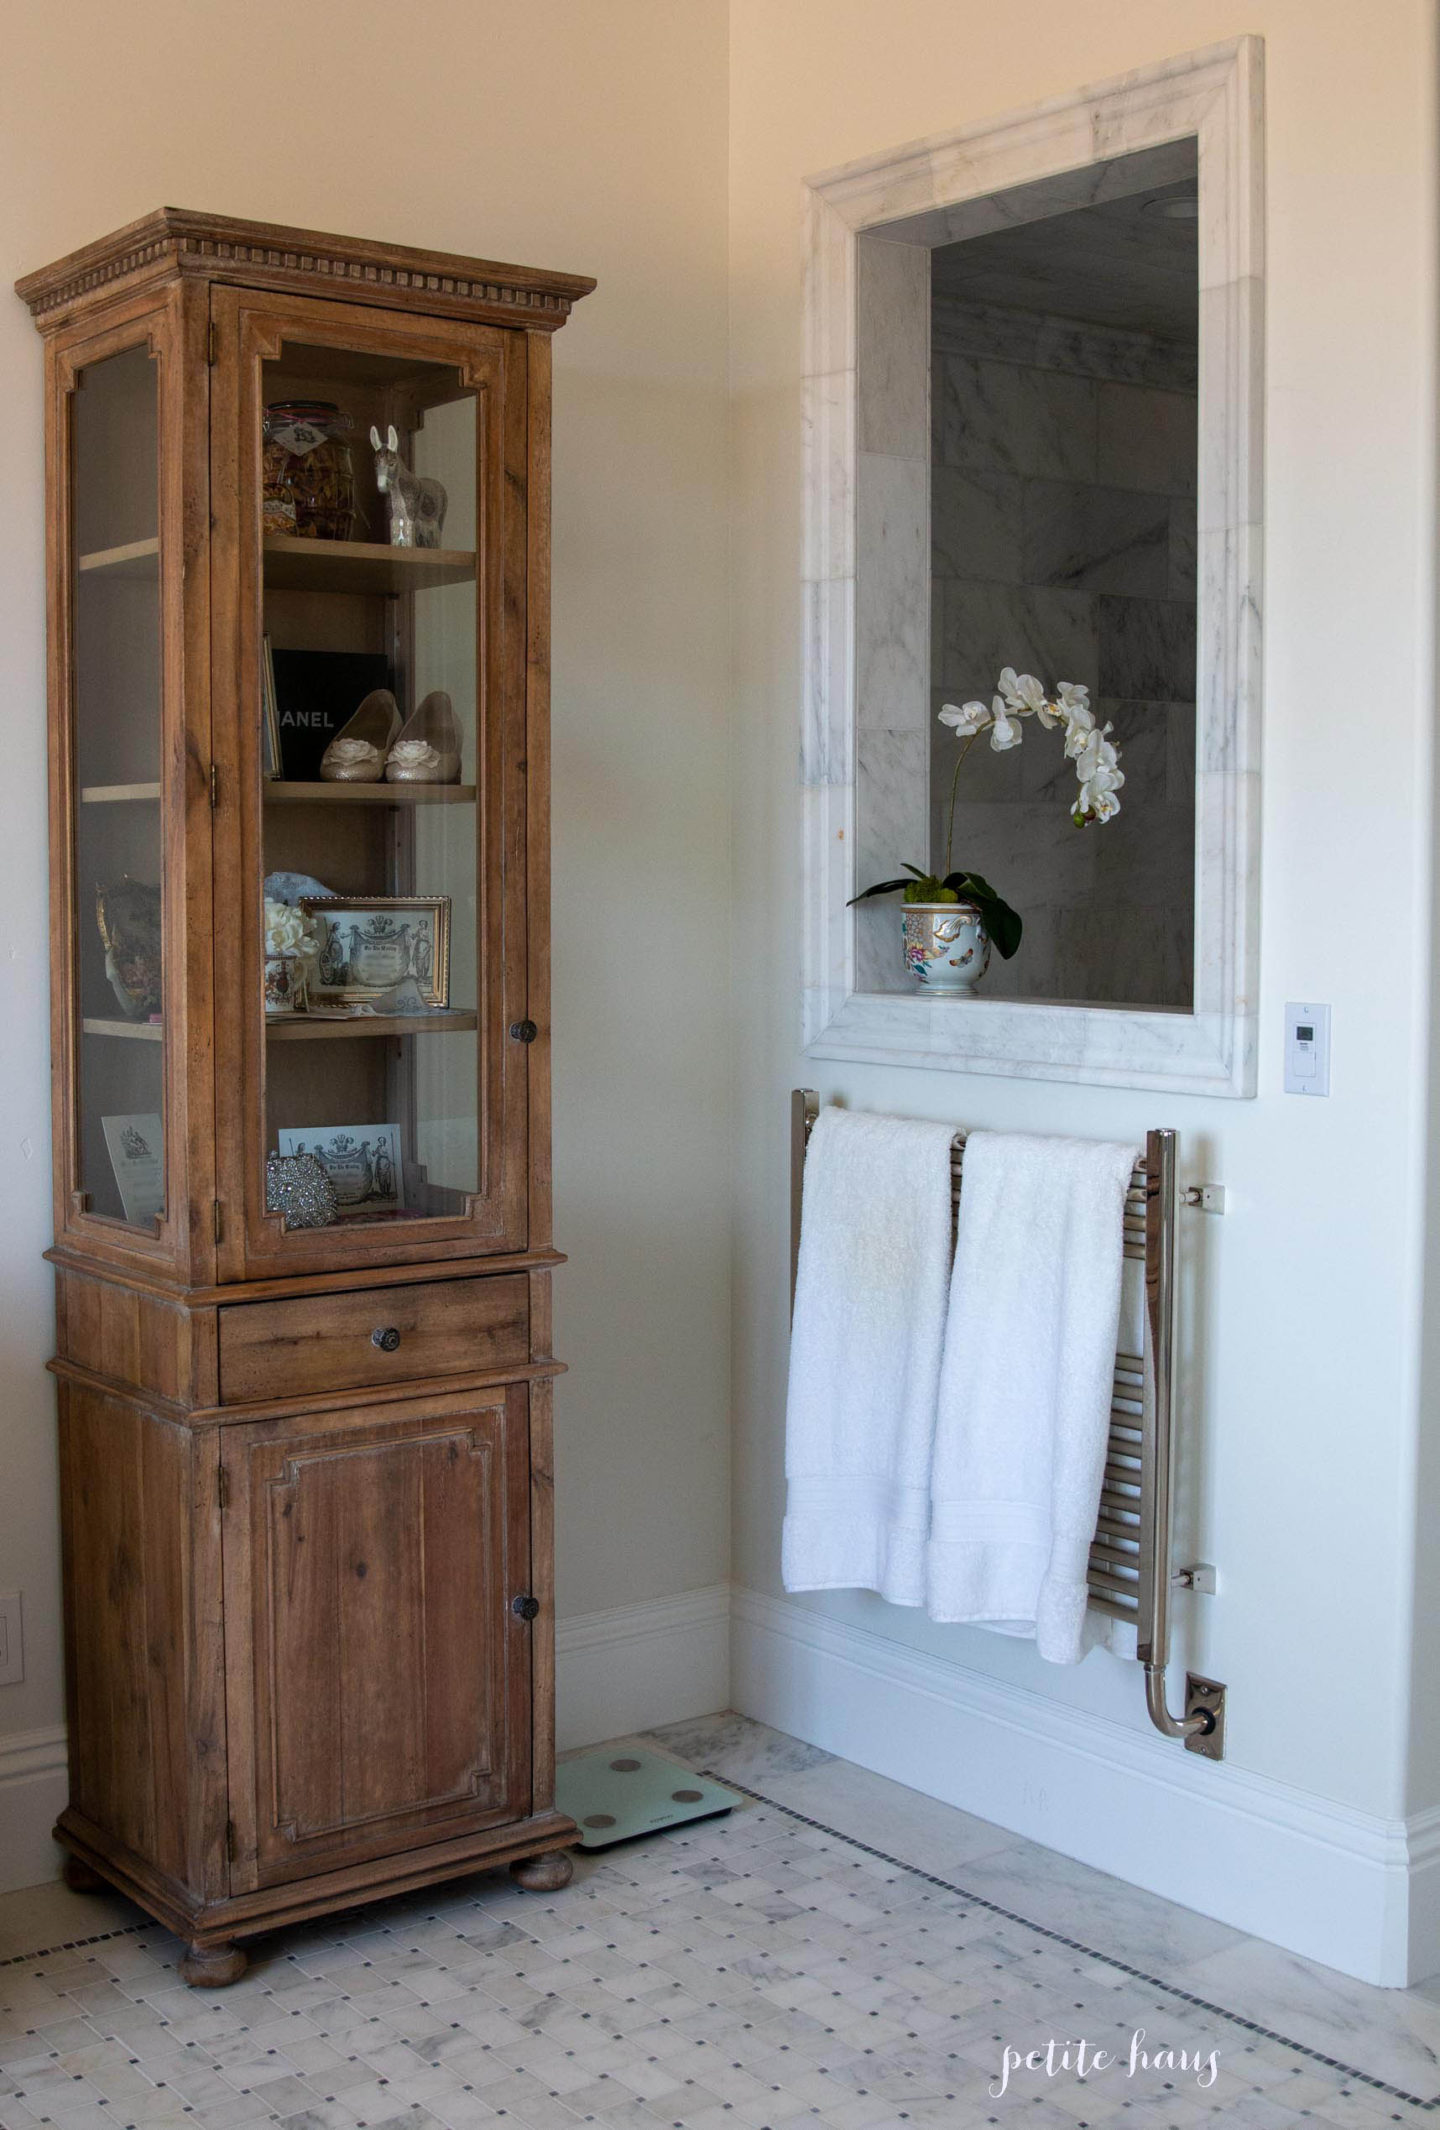
So I suppose project total was $63 – BUT listen… BONUS!! I made *TWO* orchid arrangements with the materials I bought! This one is sitting in my master bathroom! I already had this vase sitting here and had a faux rose that was looking… meh so I put this orchid stem here instead! I LOVE it!
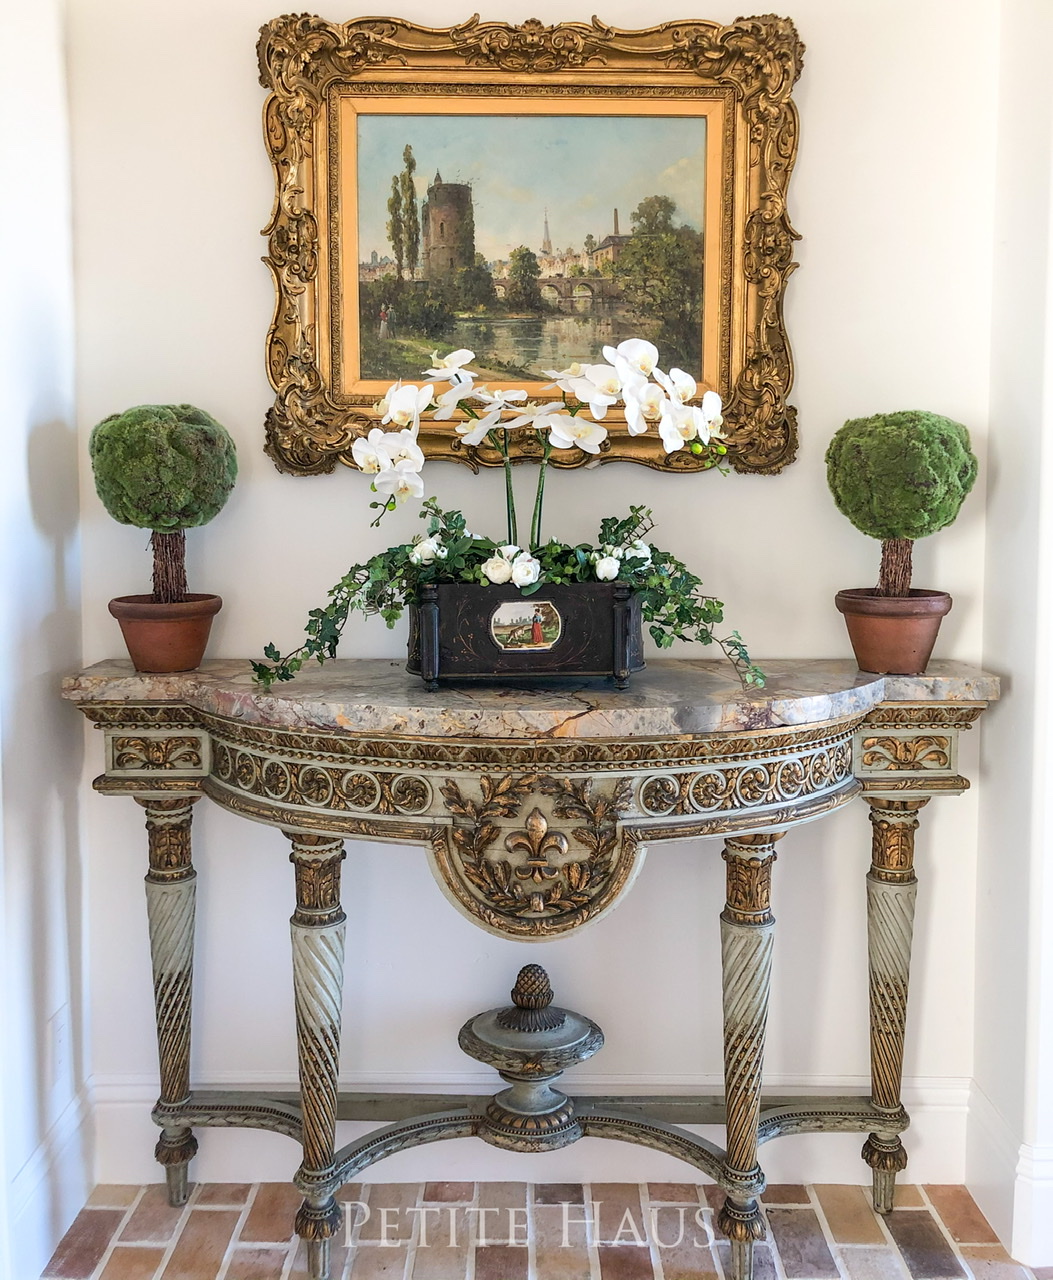
Here is an update – with the slightly more expensive stems attached to the bamboo steak.
Here are some blue and white planters/vases that could work if you aren’t able to find one at Home Goods Or if Home Goods is closed in your area!
Follow:

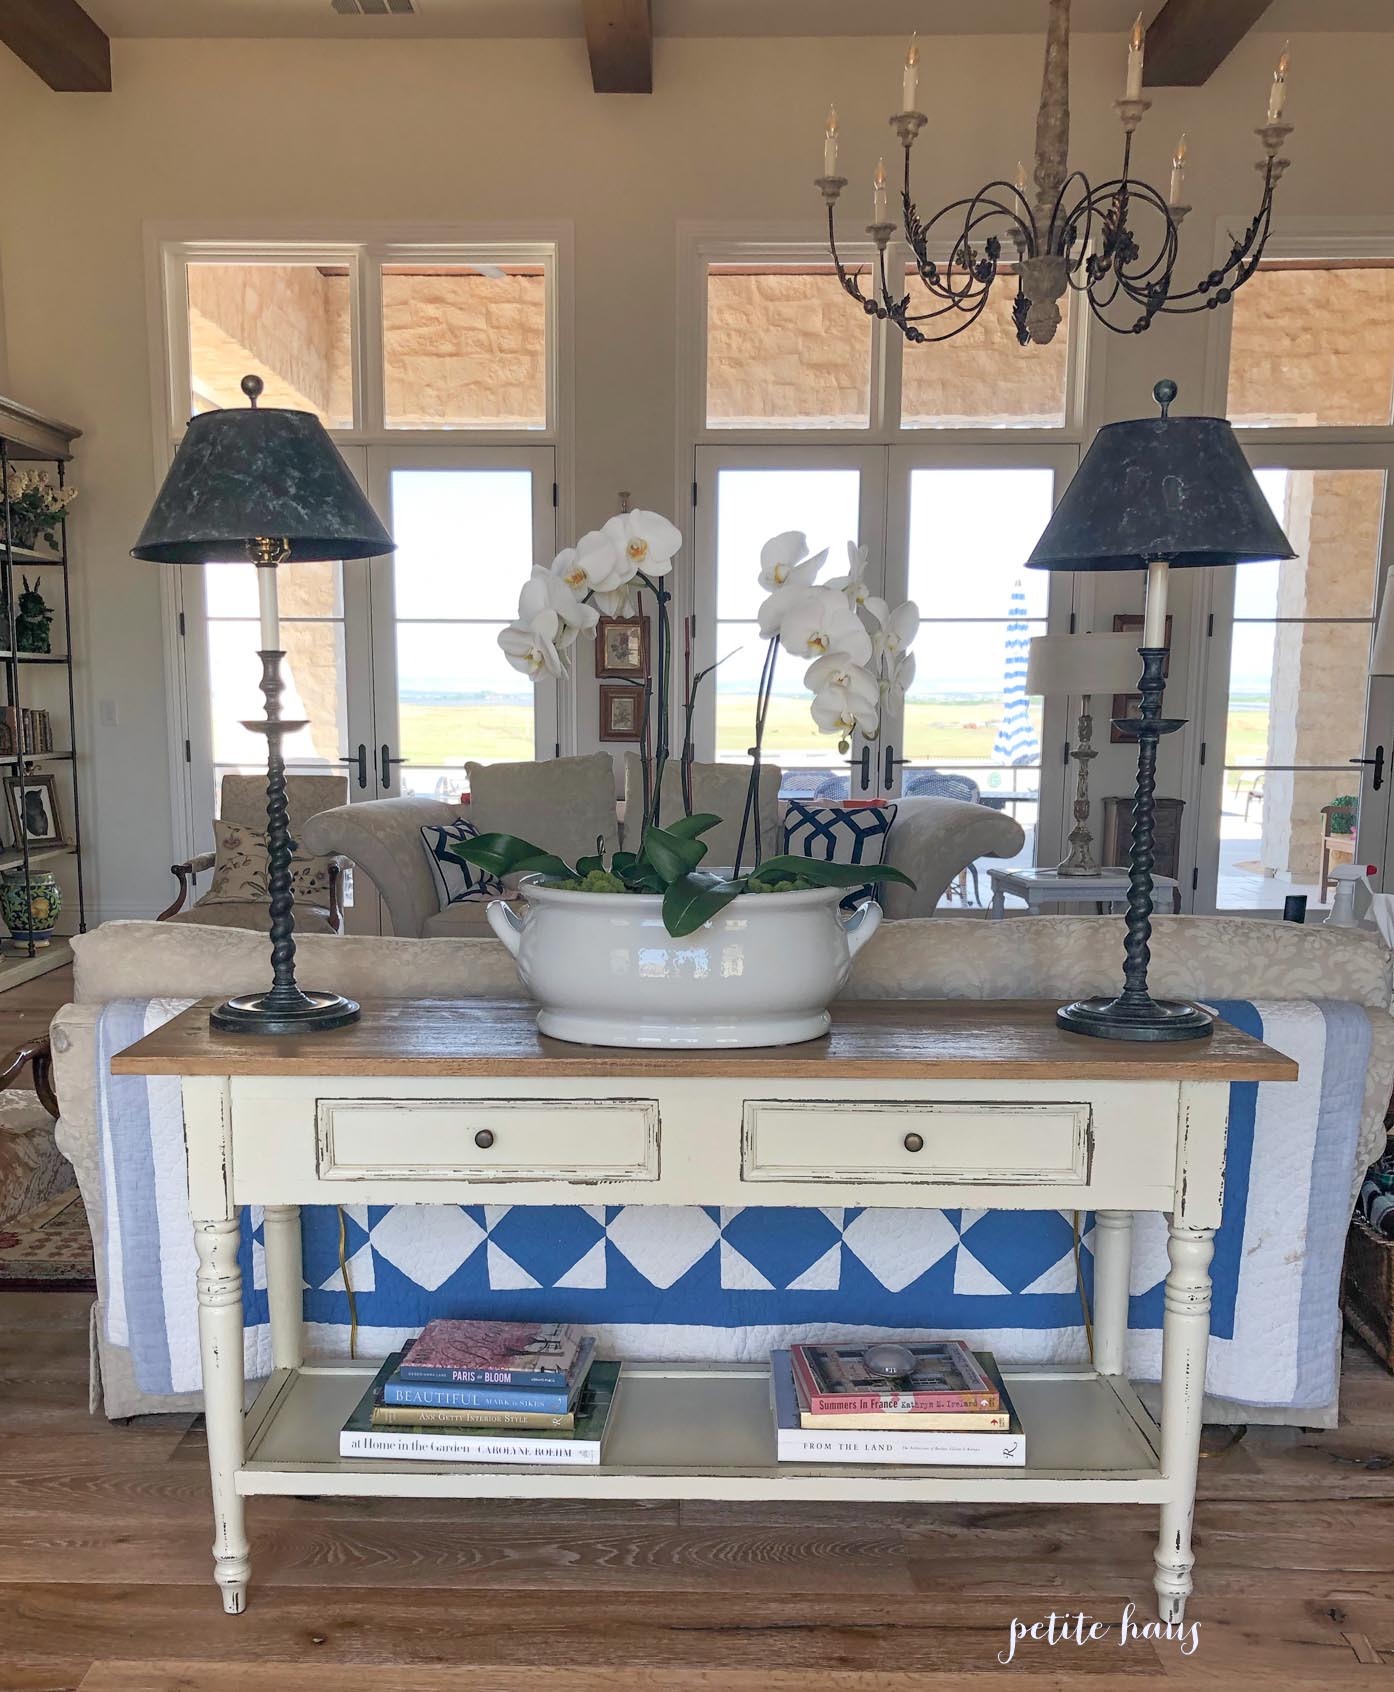
DIY Orchid Centerpiece in an Ironstone Bowl

We use affiliate links in our posts and our site. This means if you make a purchase using these links, we may earn a small commission. You don’t pay a cent more than you would otherwise! Our full disclosure is available under About.

I recently updated my orchid centerpiece in my living room.

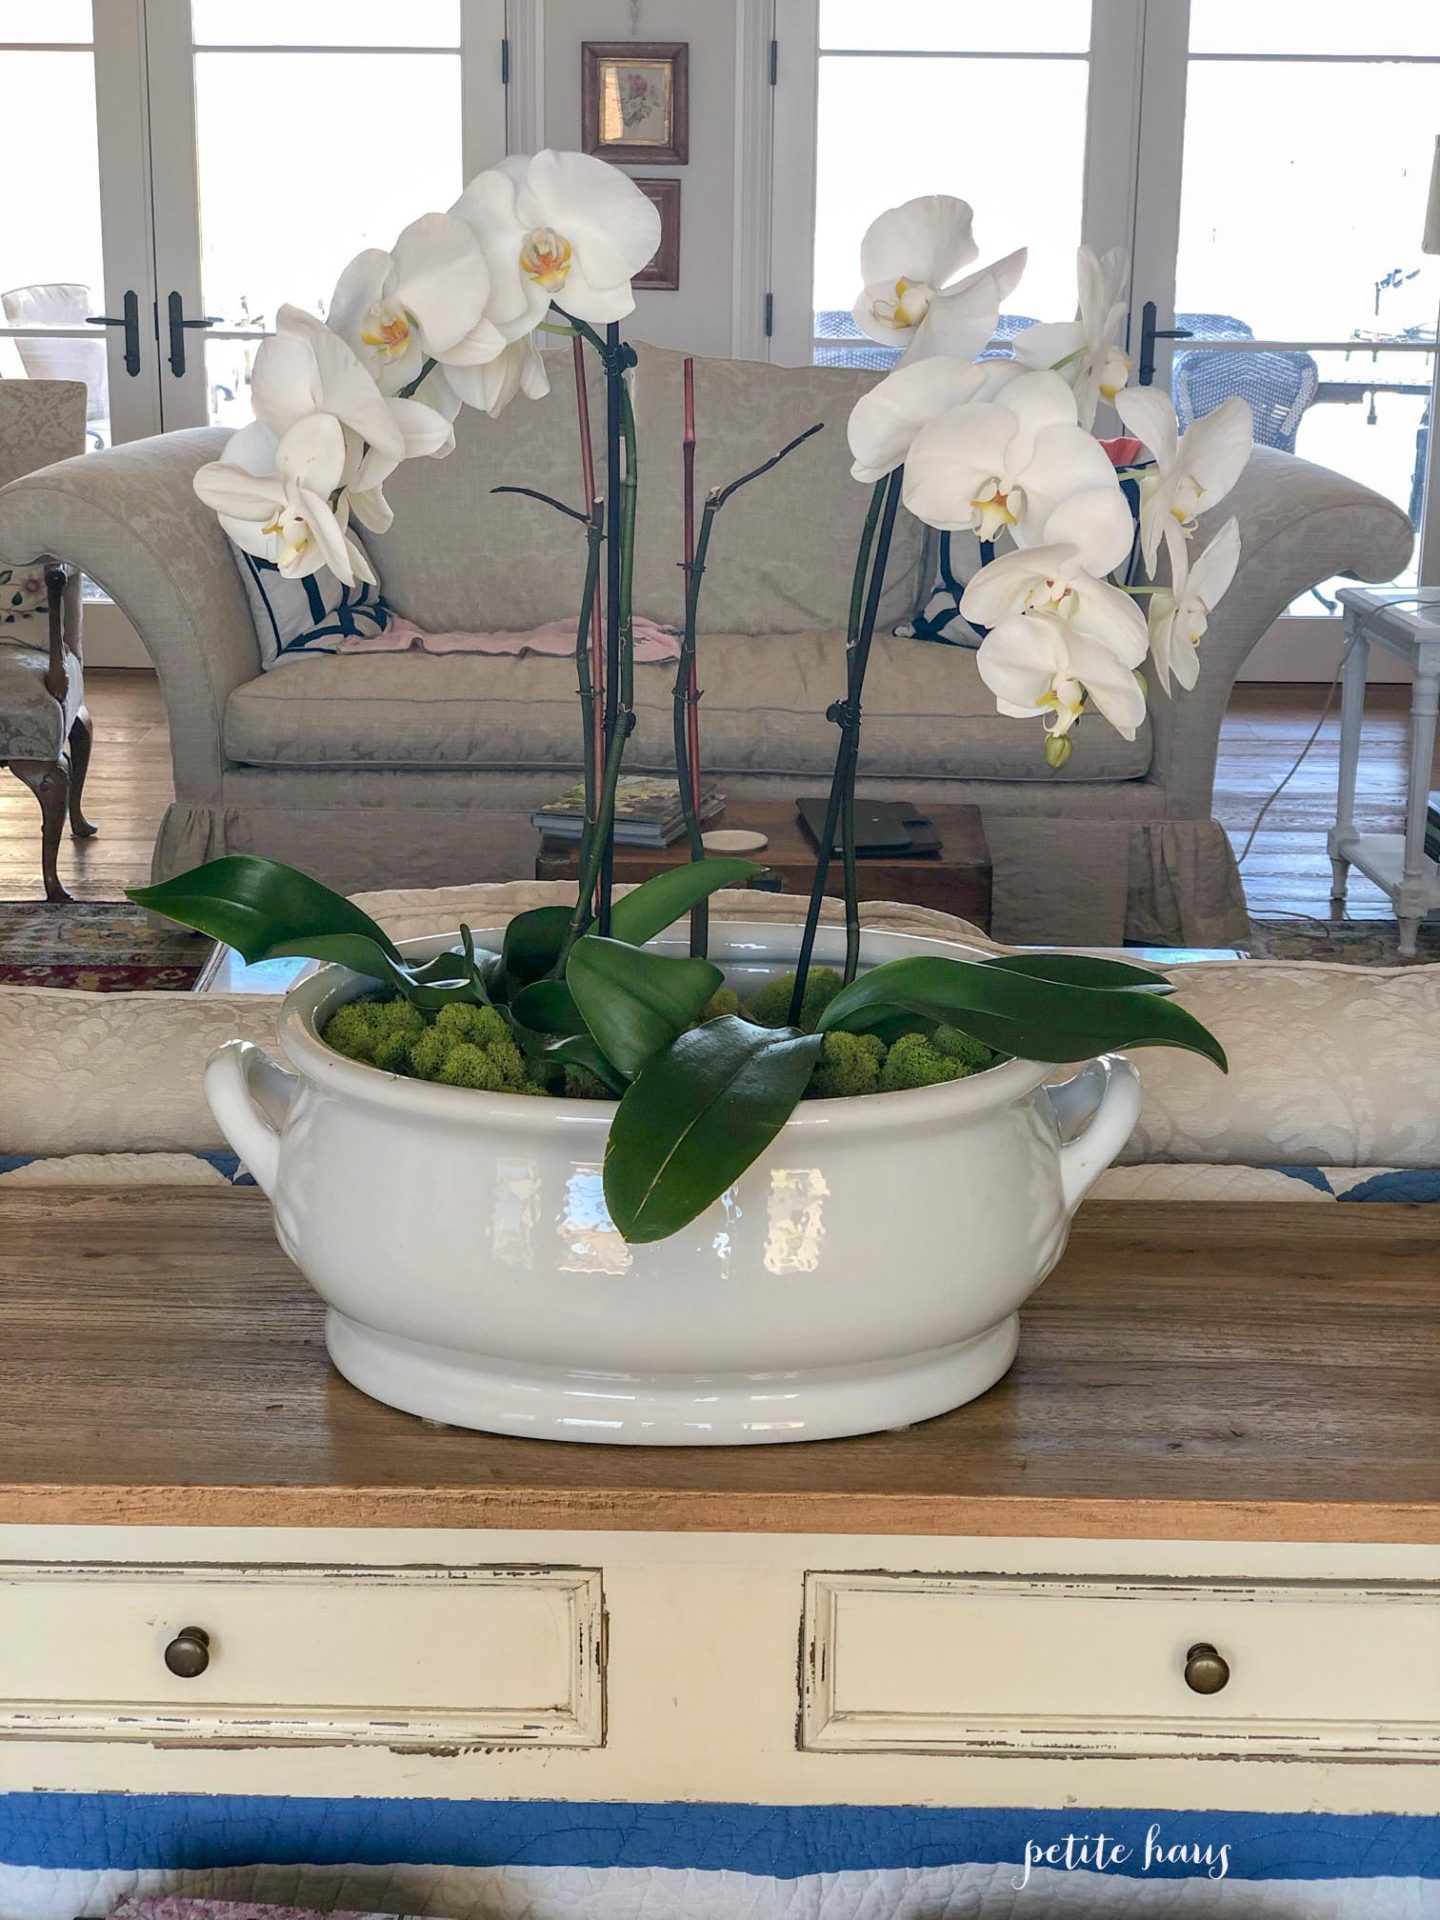
DIY orchid centerpiece in white ironstone bowl

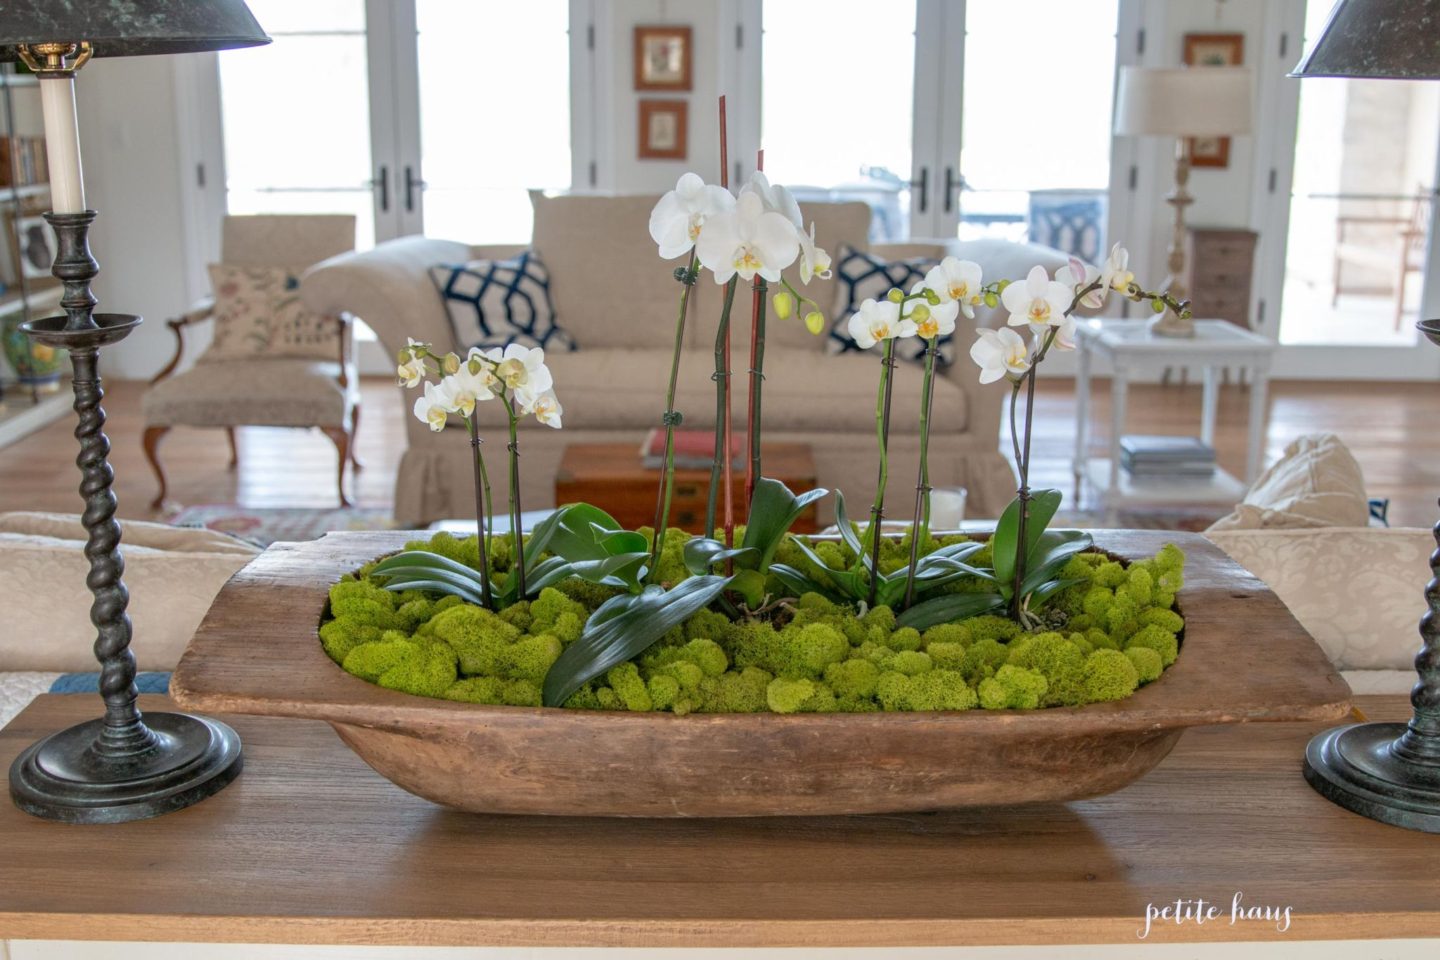
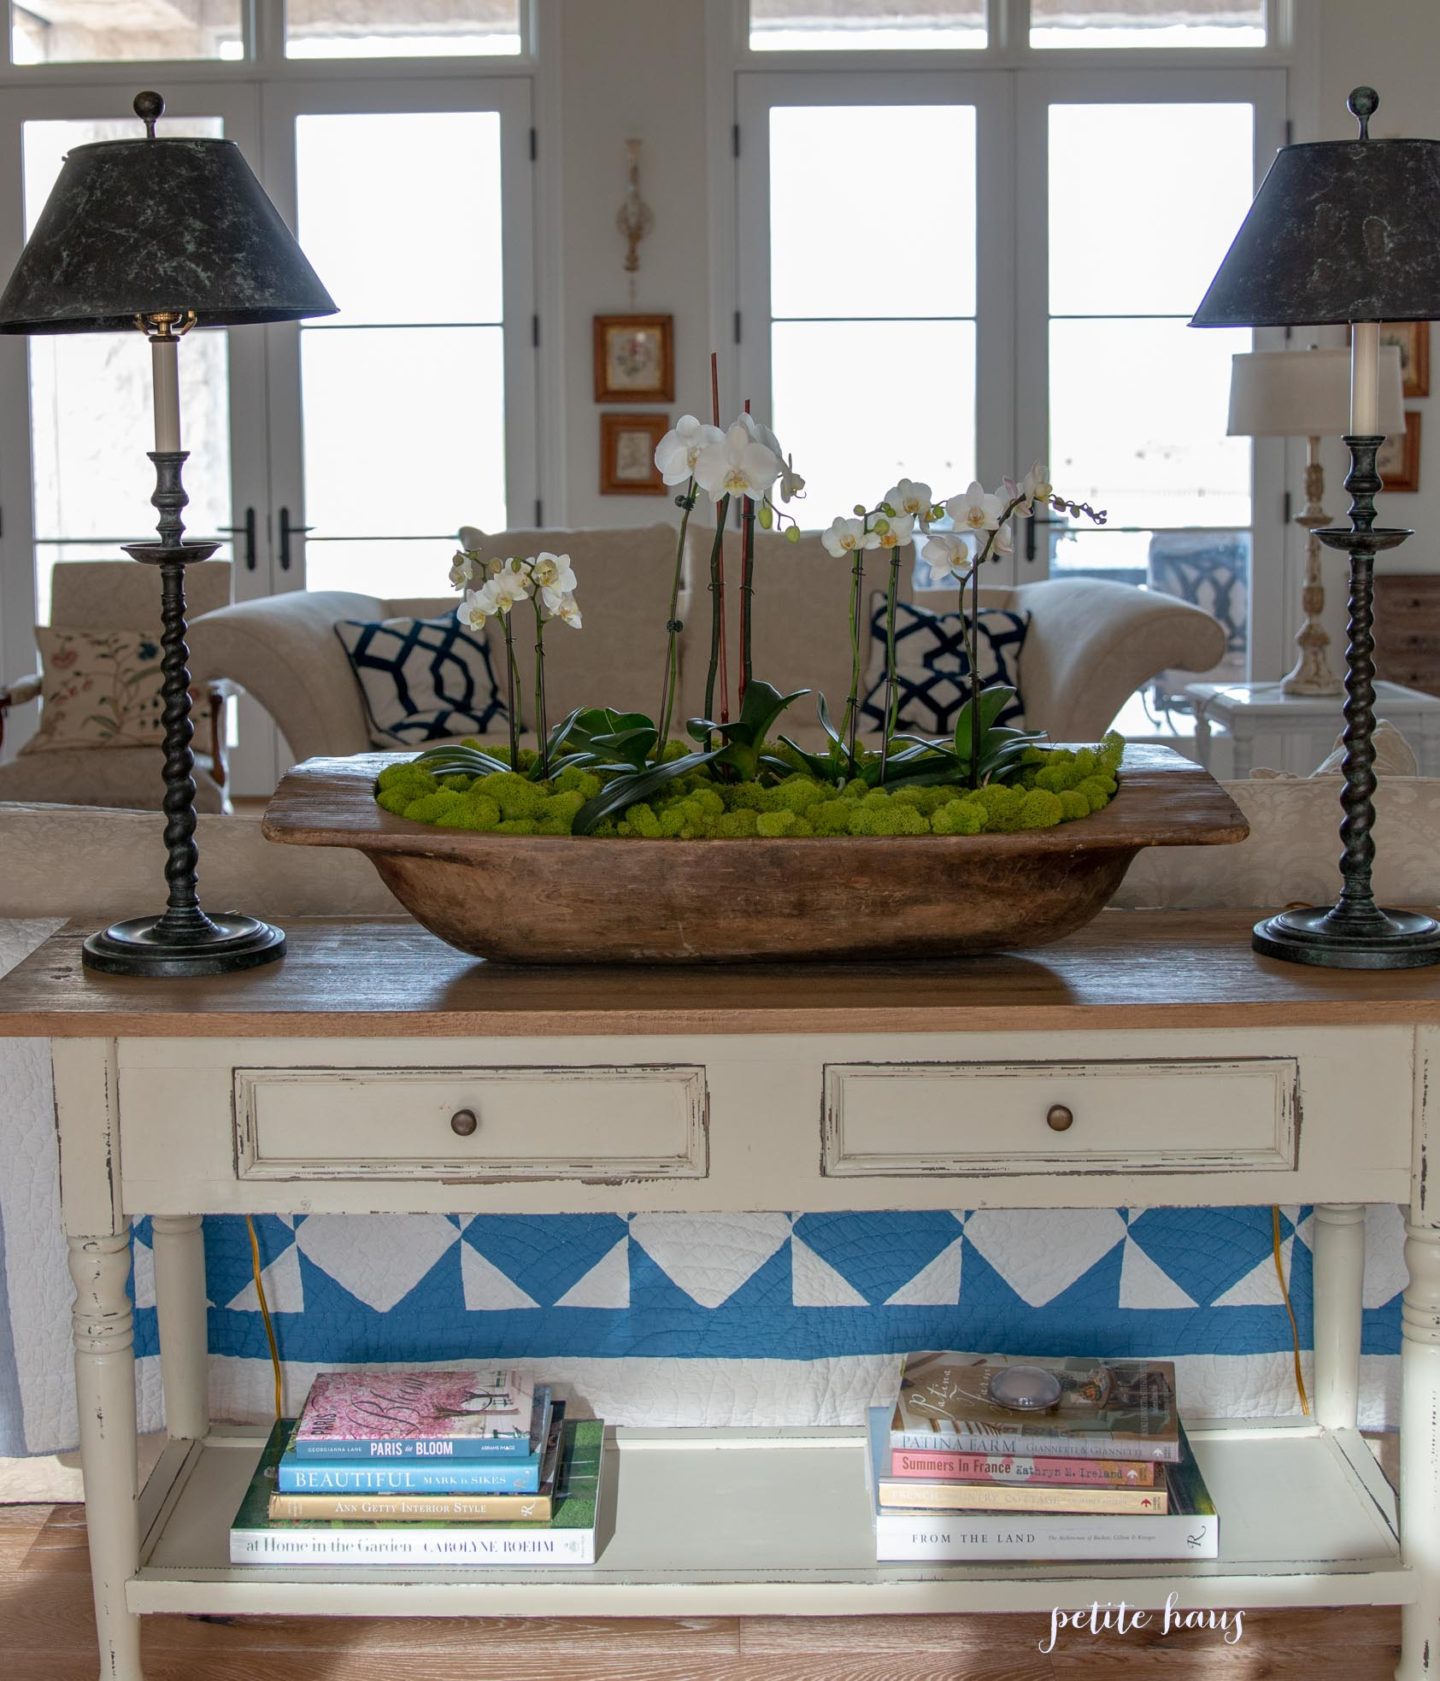
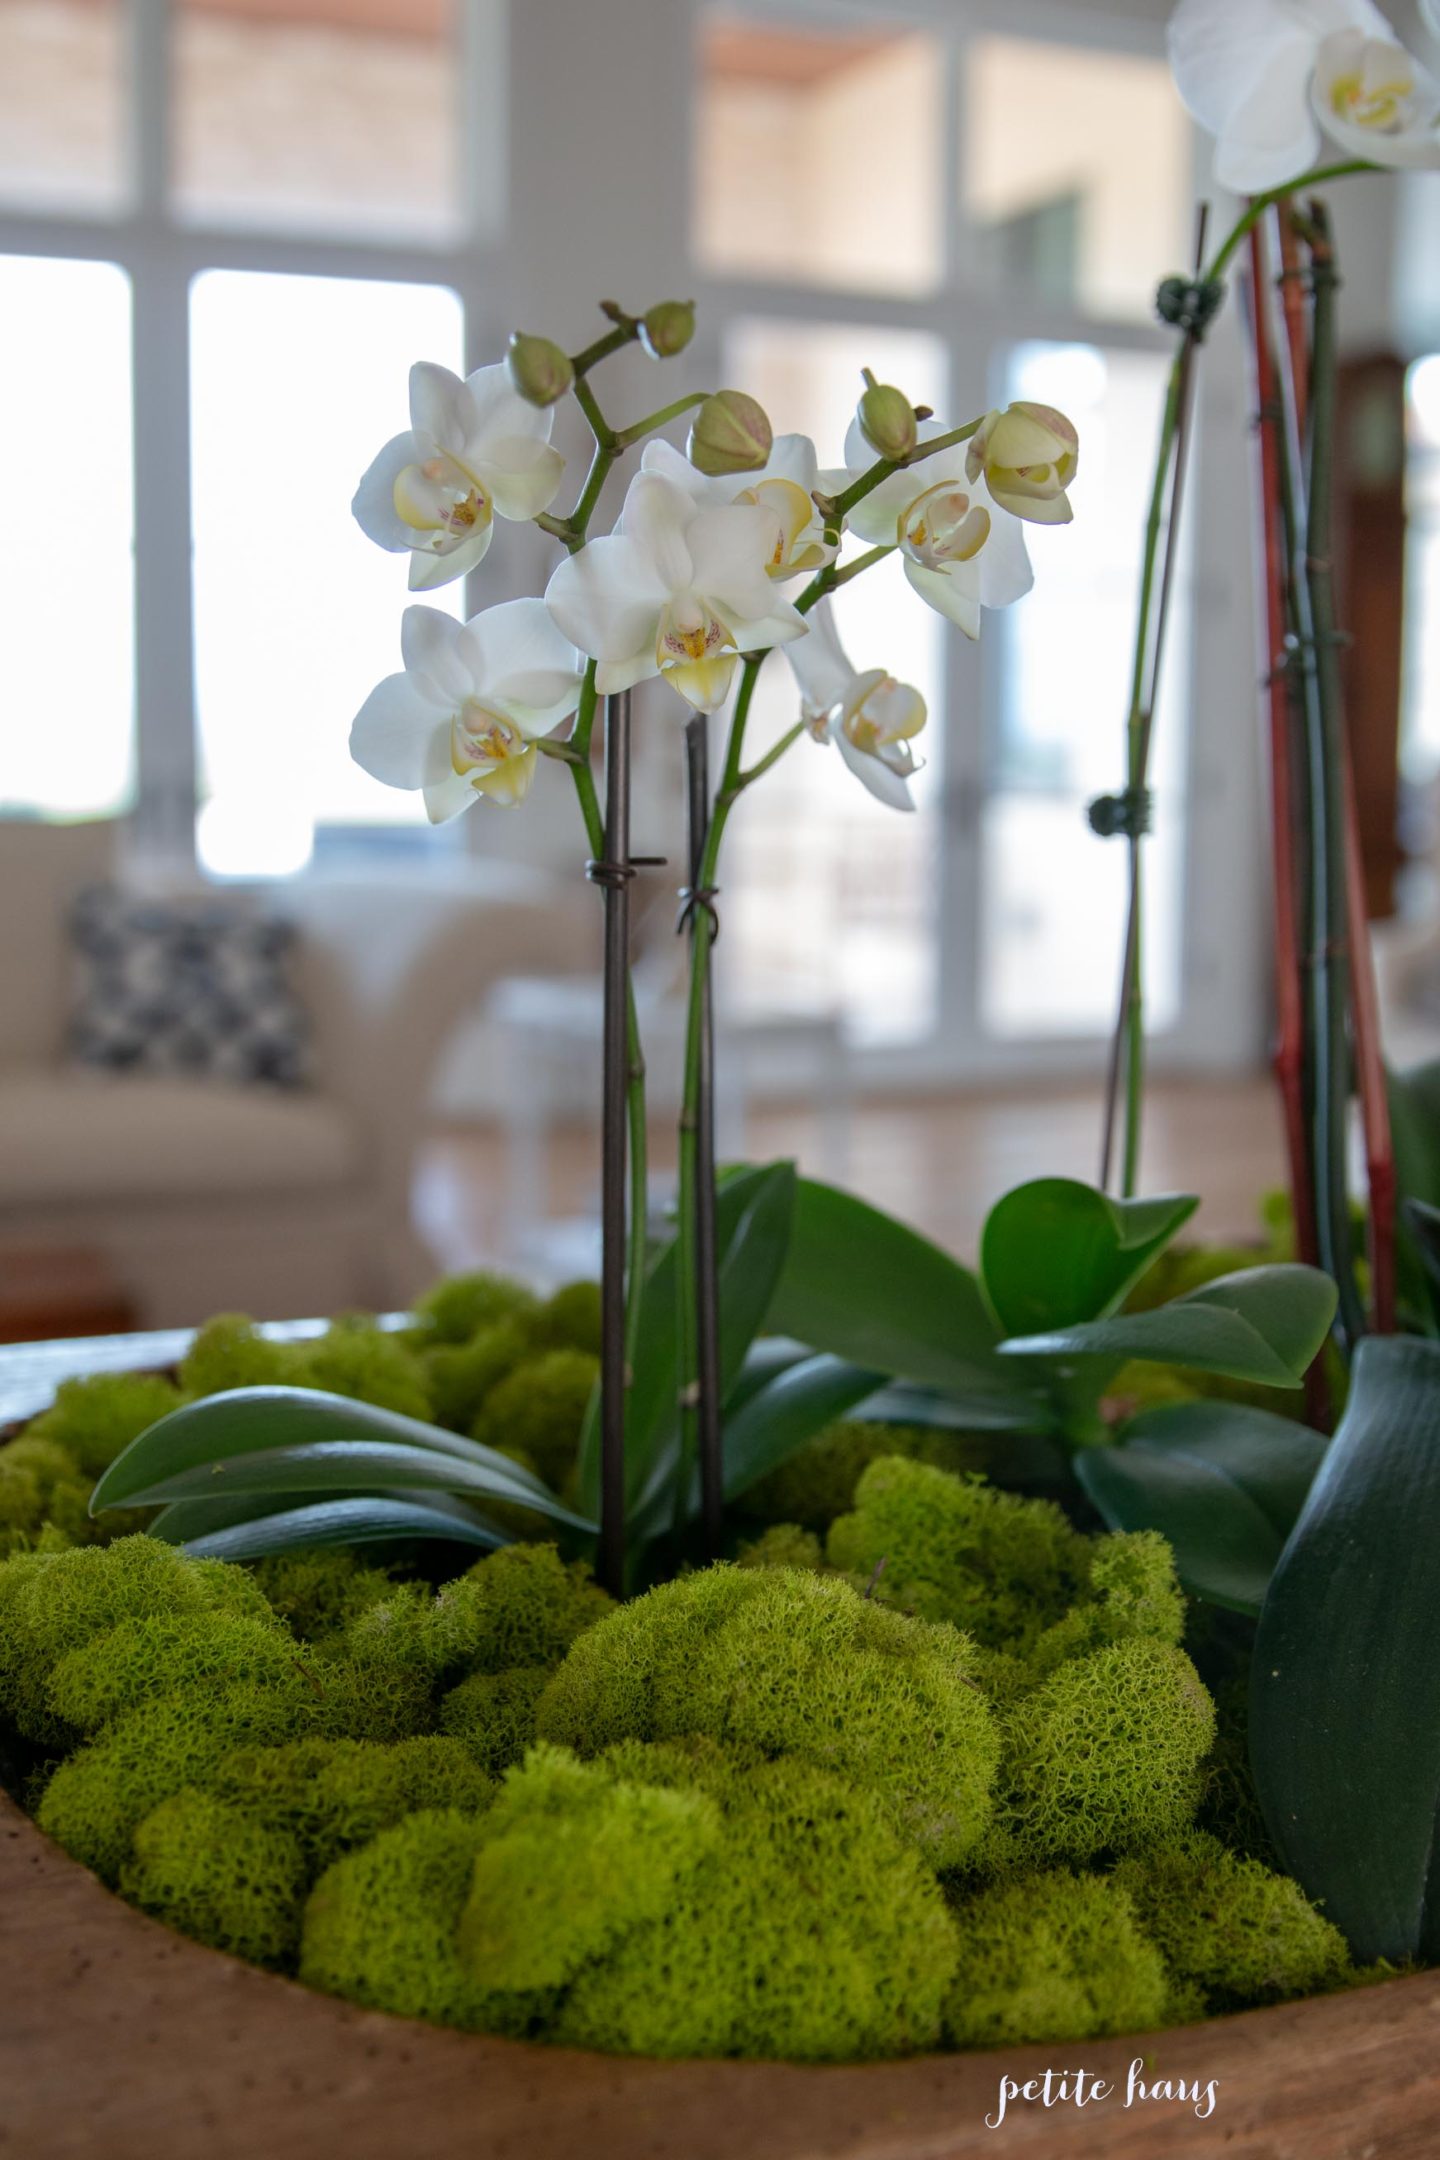
If you are regular follower of my blog, then you might remember by DIY orchid dough bowl centerpiece. The flowers on those orchids have wilted, so I updated my centerpiece!

DIY orchid centerpiece in white ironstone bowl

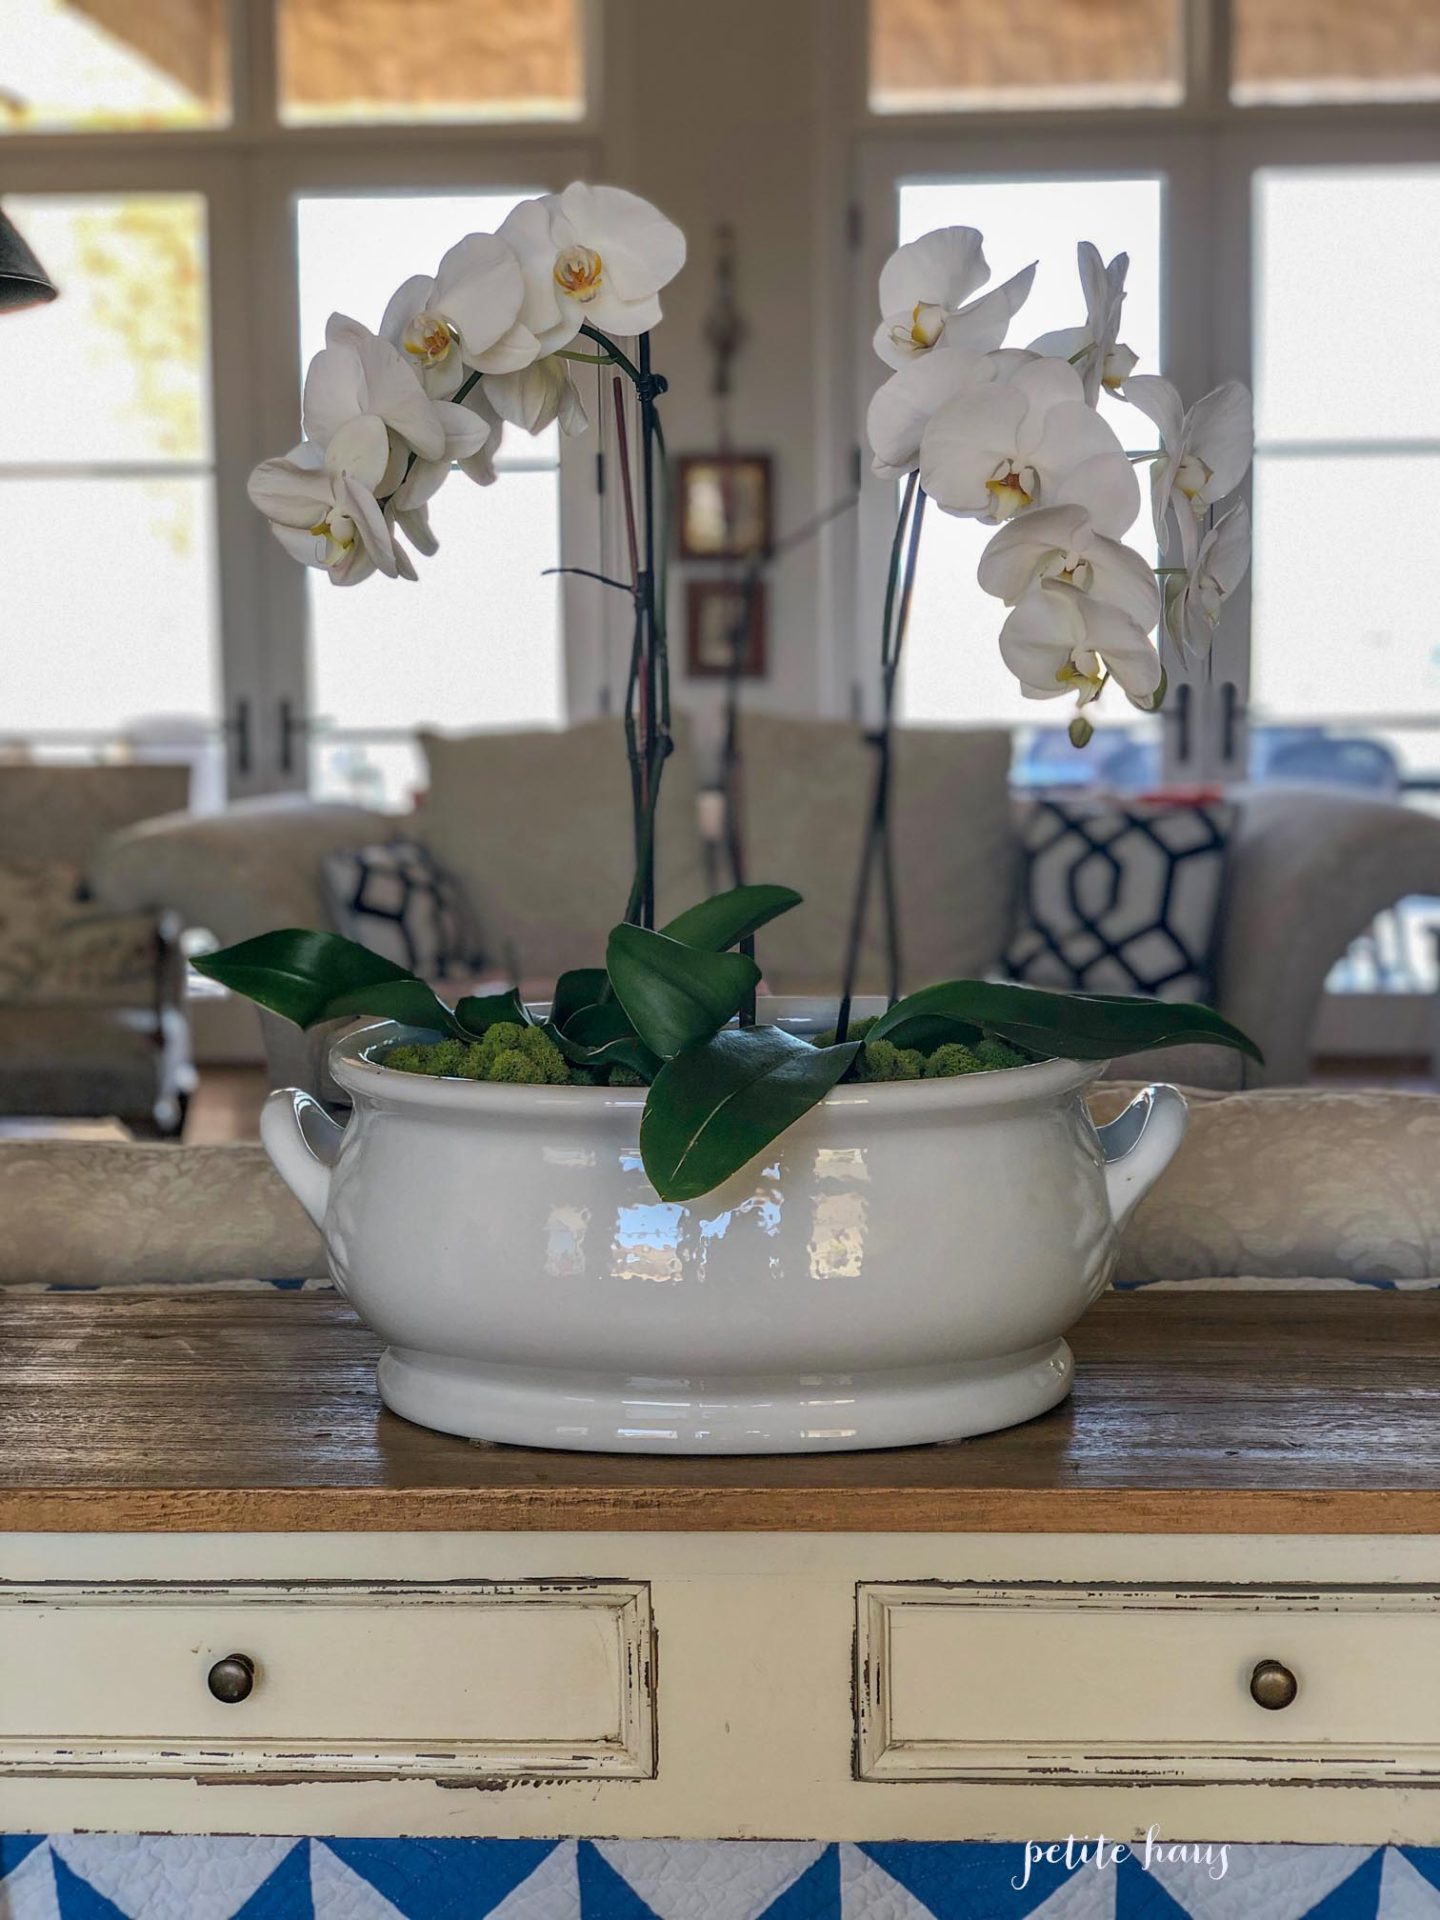
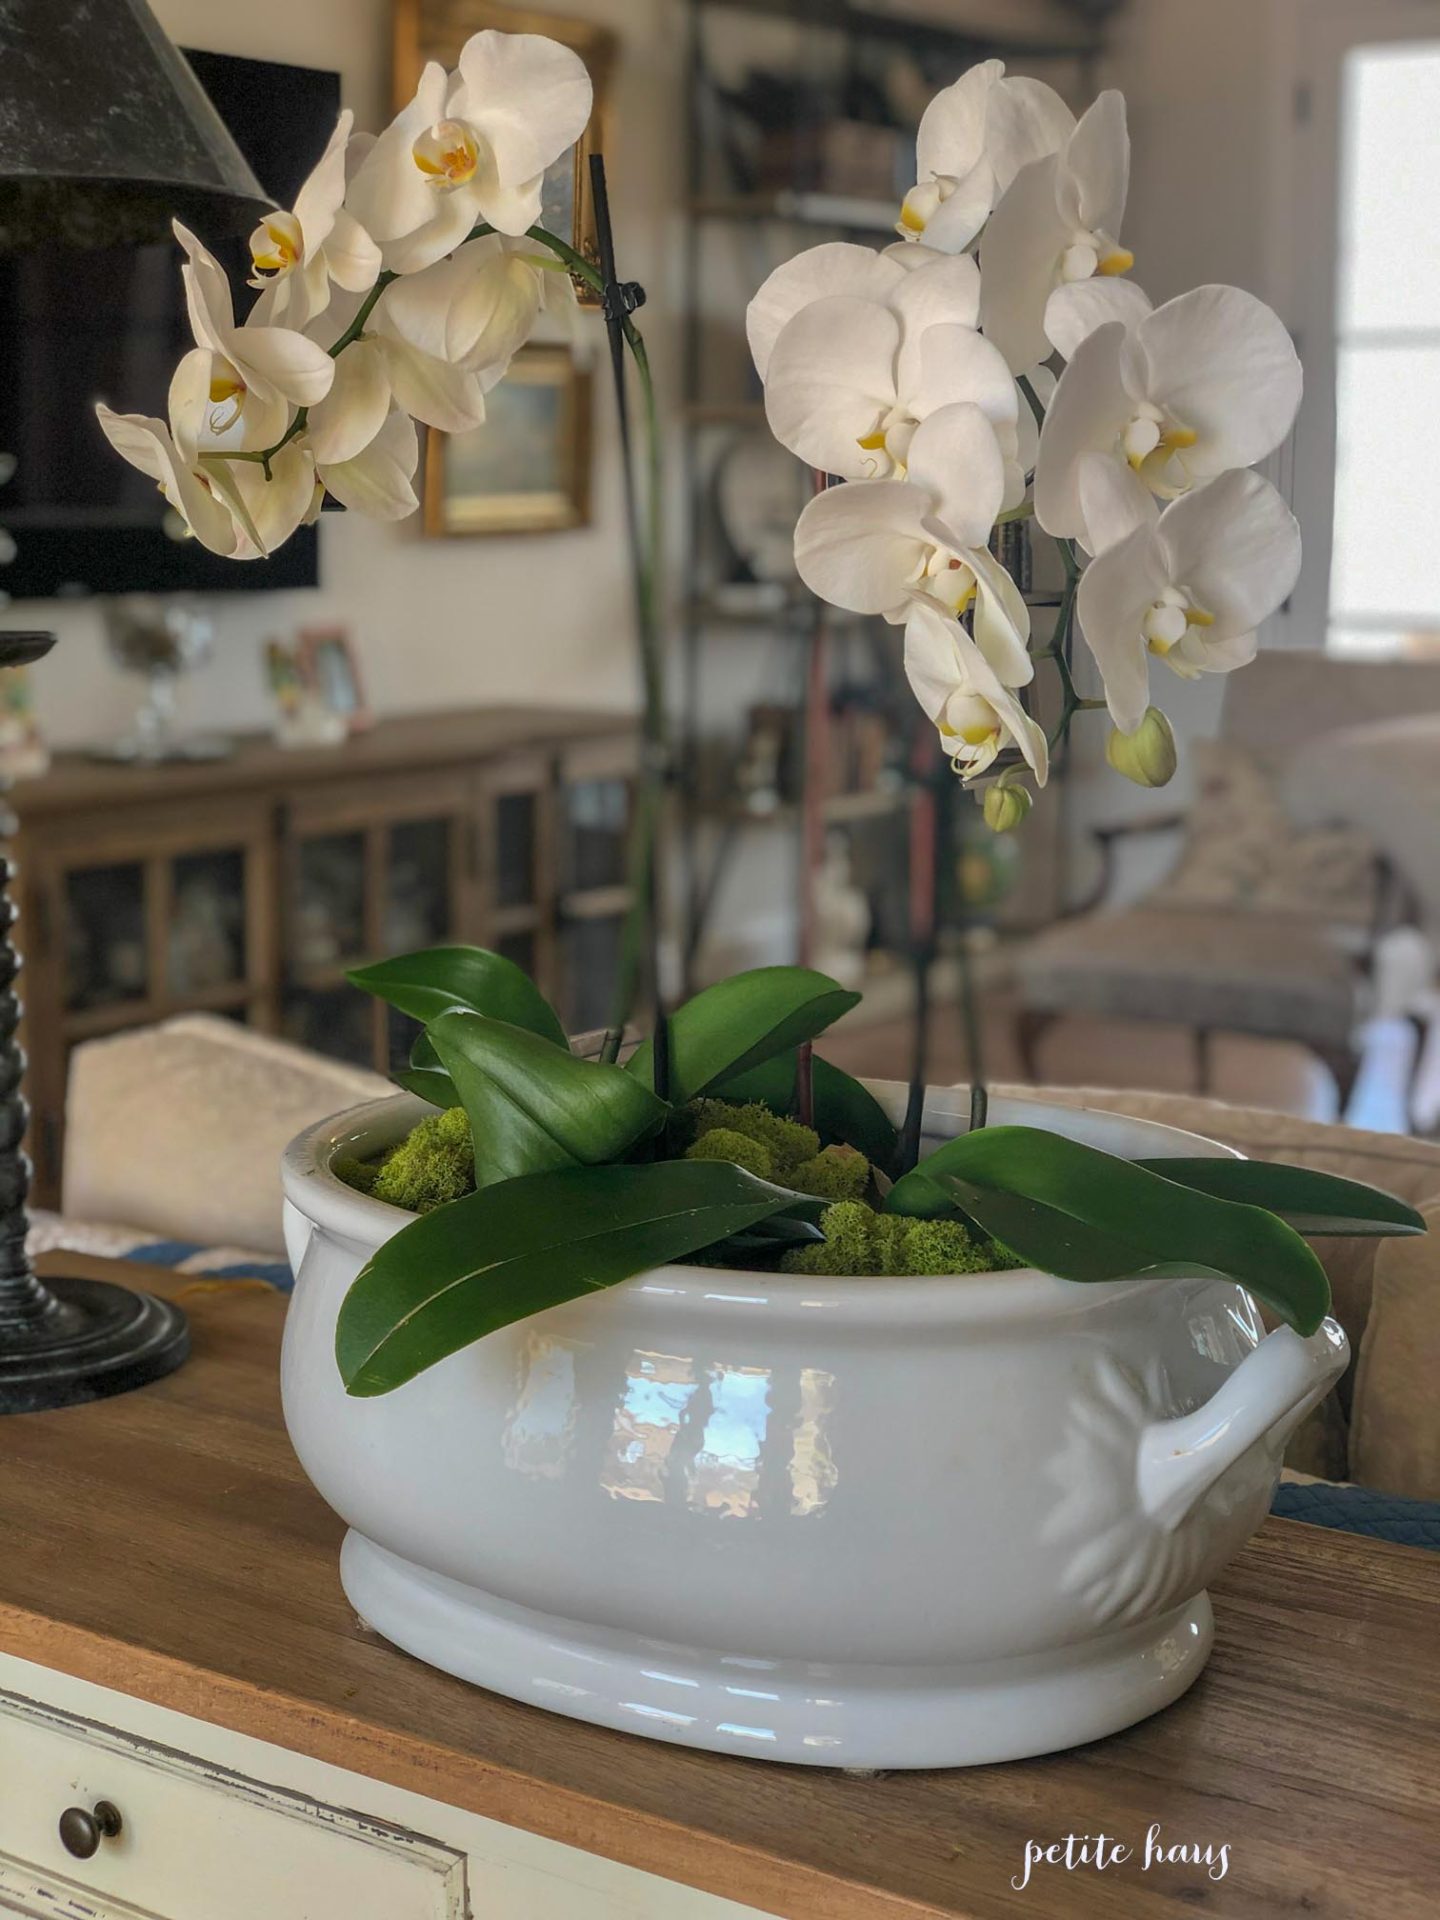
This time I used two large orchids I got at Trader Joe’s at $12.99/each. A third one sits in the back getting ready to bloom.  I didn’t even take them out of the pots they came in since my iron stone bowl is deep.  I sat them inside.  Then I used packing peanuts and sprinkled them around the orchids. Then for the top layer, I used chartreuse reindeer moss.

DIY orchid centerpiece in white ironstone bowl

Super easy and chic!

DIY orchid centerpiece in white ironstone bowl

Follow:

DIY Orchid Dough Bowl Centerpiece

We use affiliate links in our posts and our site. This means if you make a purchase using these links, we may earn a small commission. You don’t pay a cent more than you would otherwise! Our full disclosure is available under About.

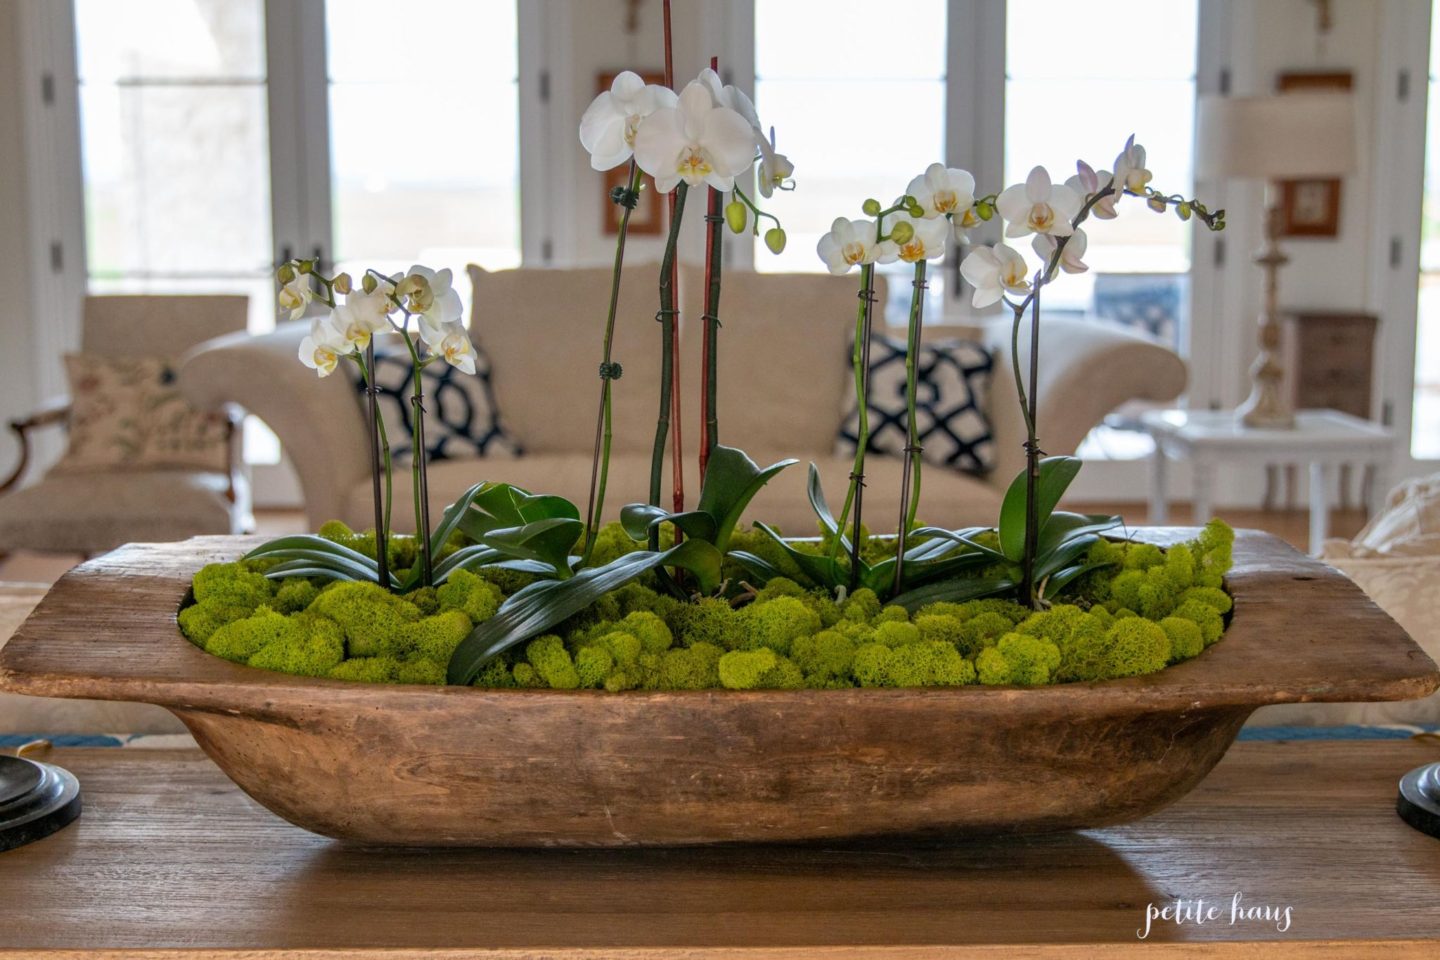
It seems everywhere I look online, magazines, and  in stores I see a bowl full of orchids (faux or real) with moss.  I love the look, but often times they are super pricey.

I thought, well, HEY, I could do that myself.  So I went on a hunt for white orchids.  I eventually found these at Trader Joe’s.  There are actually two different sizes here.  Three mini ones and one medium size one.  There is also a non-blooming orchid in the center that is large.

The mini ones were $6.99/each.  The medium one was $11.99. I first filled my dough bowl with peanuts until I got it to a level that I liked.

Then I put some cardboard to make a flat surface, and then plastic down so if the orchids leaked it wouldn’t ruin the dough bowl.  Next, I placed the orchids in their clear containers.  Then I filled the bowl with chartreuse reindeer moss until I was happy.

Voila!  This dough bowl is HUGE so it takes quite a few orchids.  You could easily do this in a smaller bowl – dough bowl or really any other bowl.  The orchids usually bloom for a month or two.  I love this fun pop of color in the living room!  I hope you enjoyed my DIY orchid dough bowl centerpiece

 

Follow:

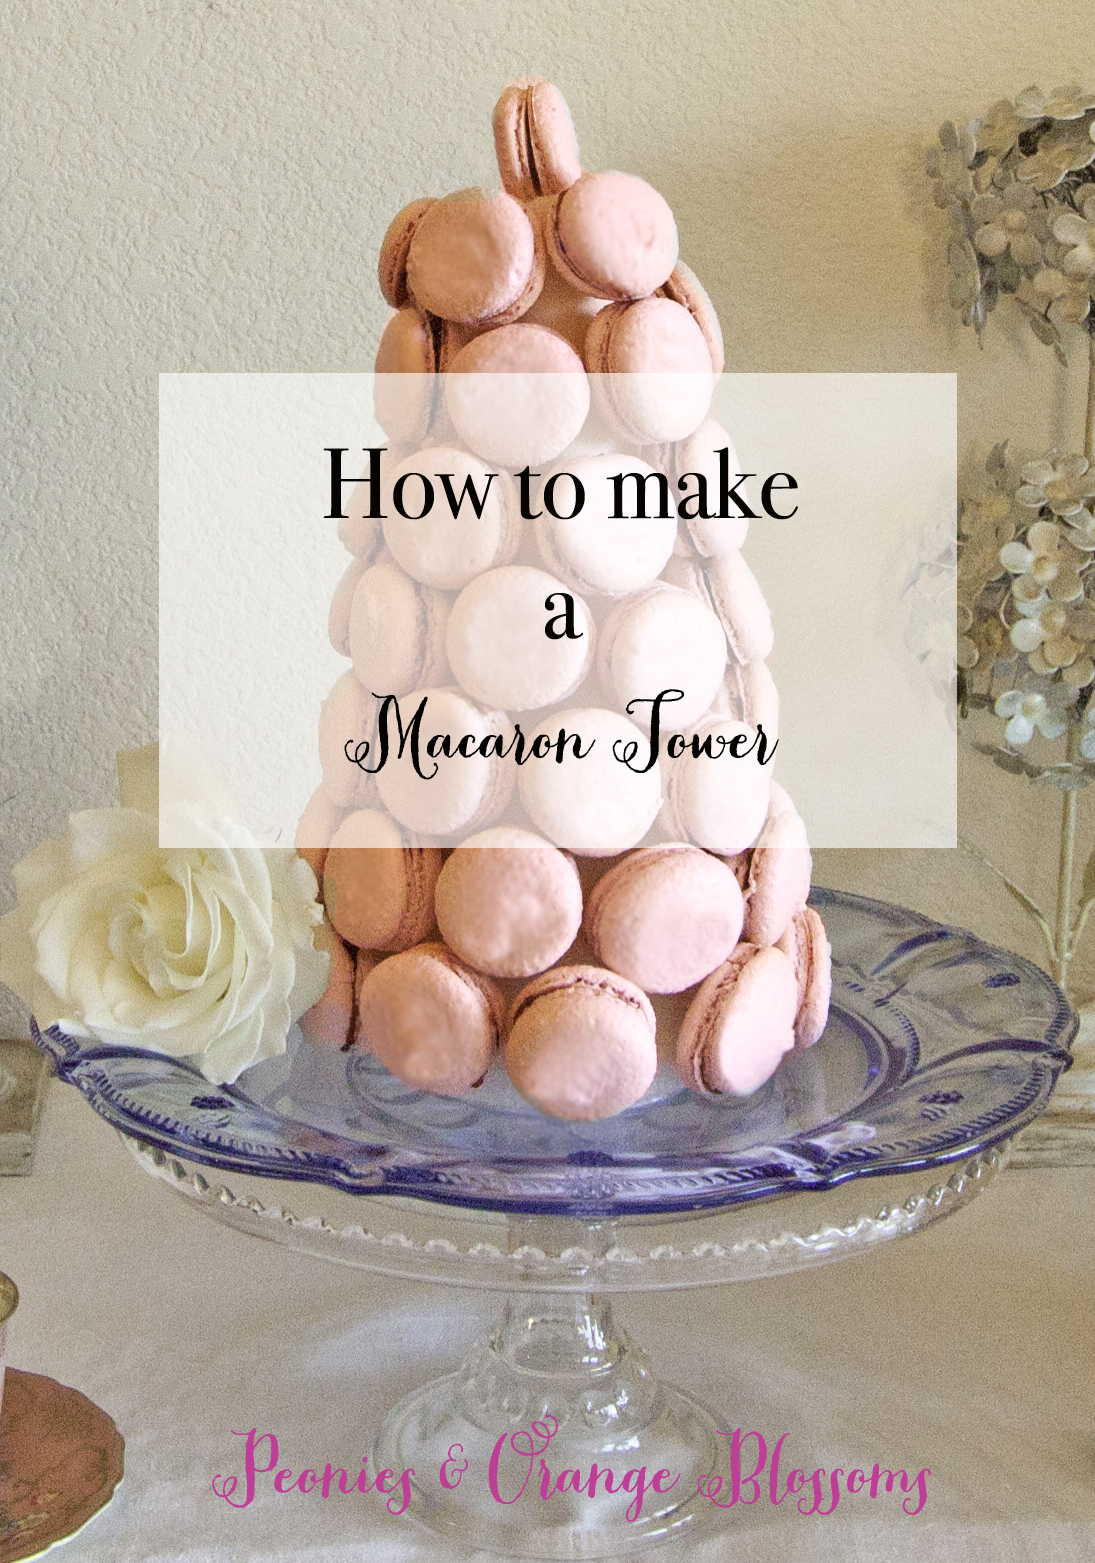
How to Make a Macaron Tower

We use affiliate links in our posts and our site. This means if you make a purchase using these links, we may earn a small commission. You don’t pay a cent more than you would otherwise! Our full disclosure is available under About.

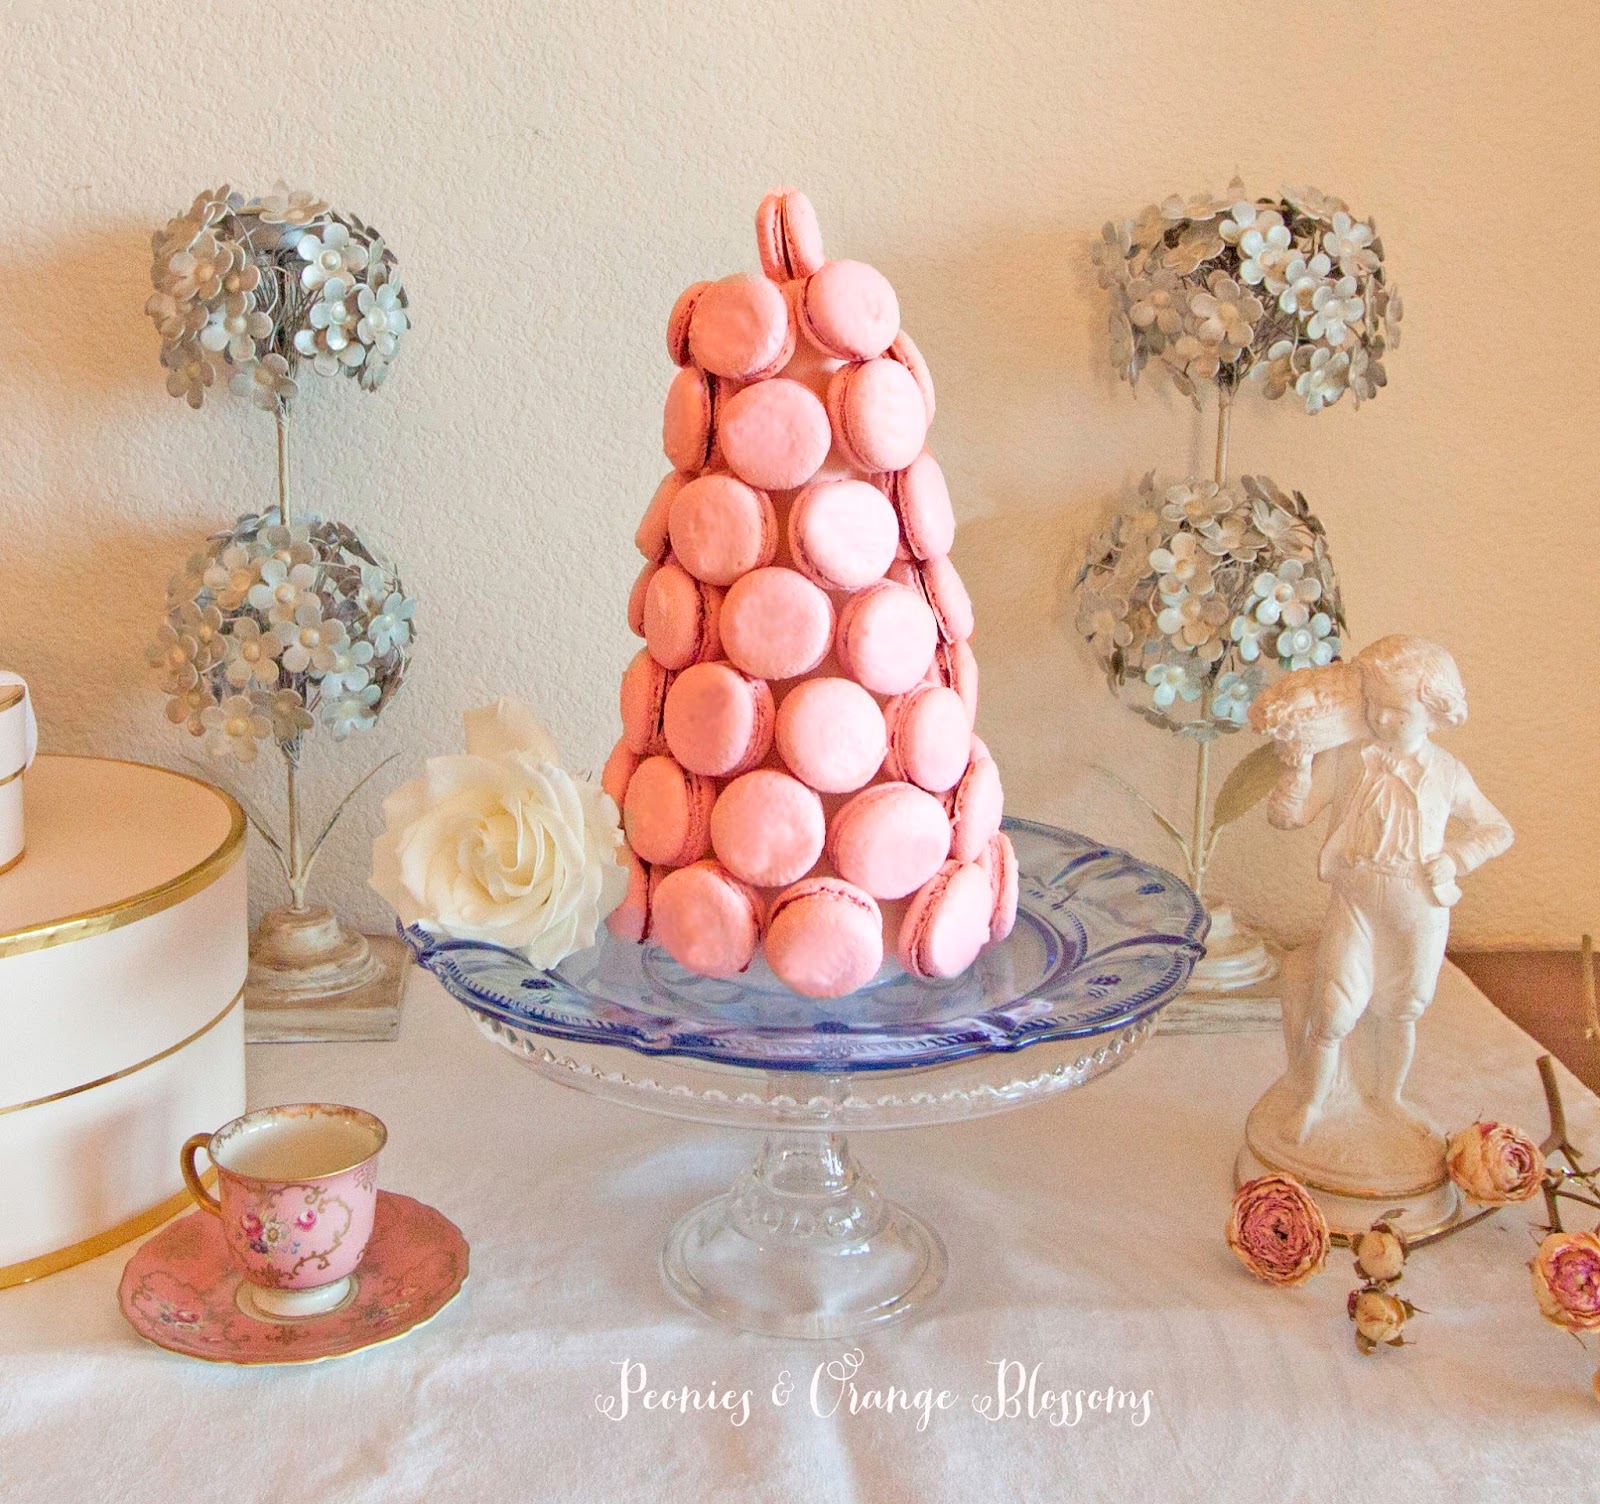
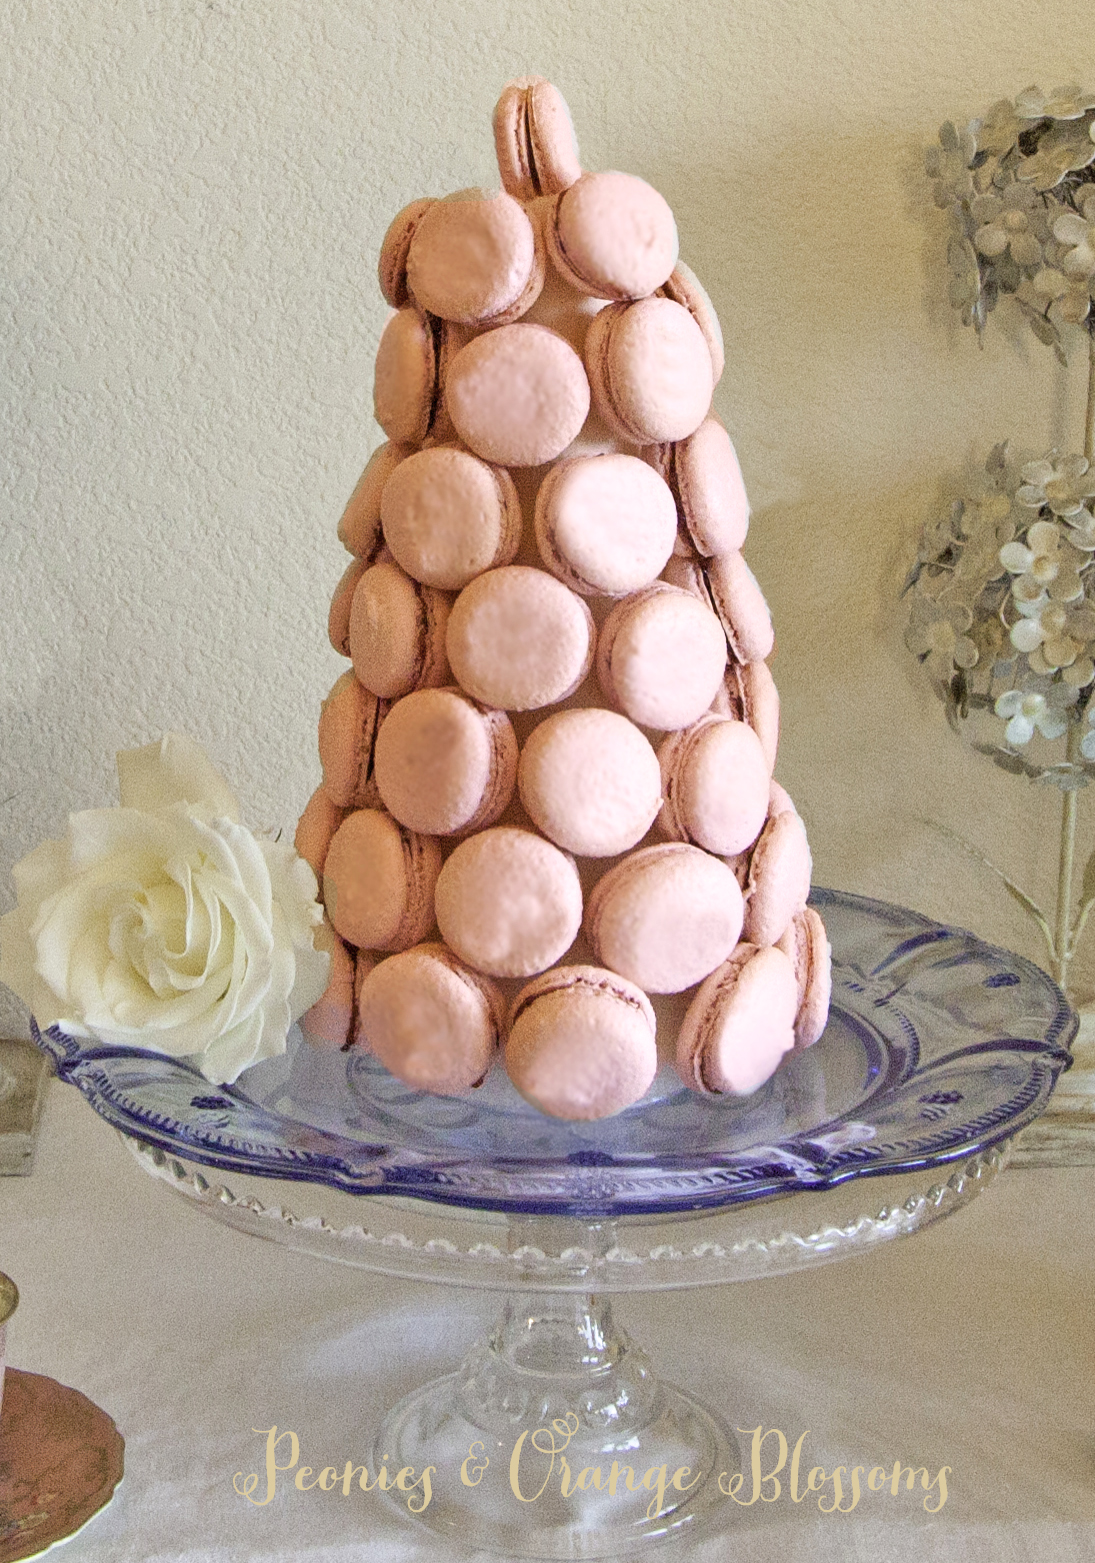
I have been wanting to make a macaron tower for a little while, so I set out to create one. It was surprisingly easy!

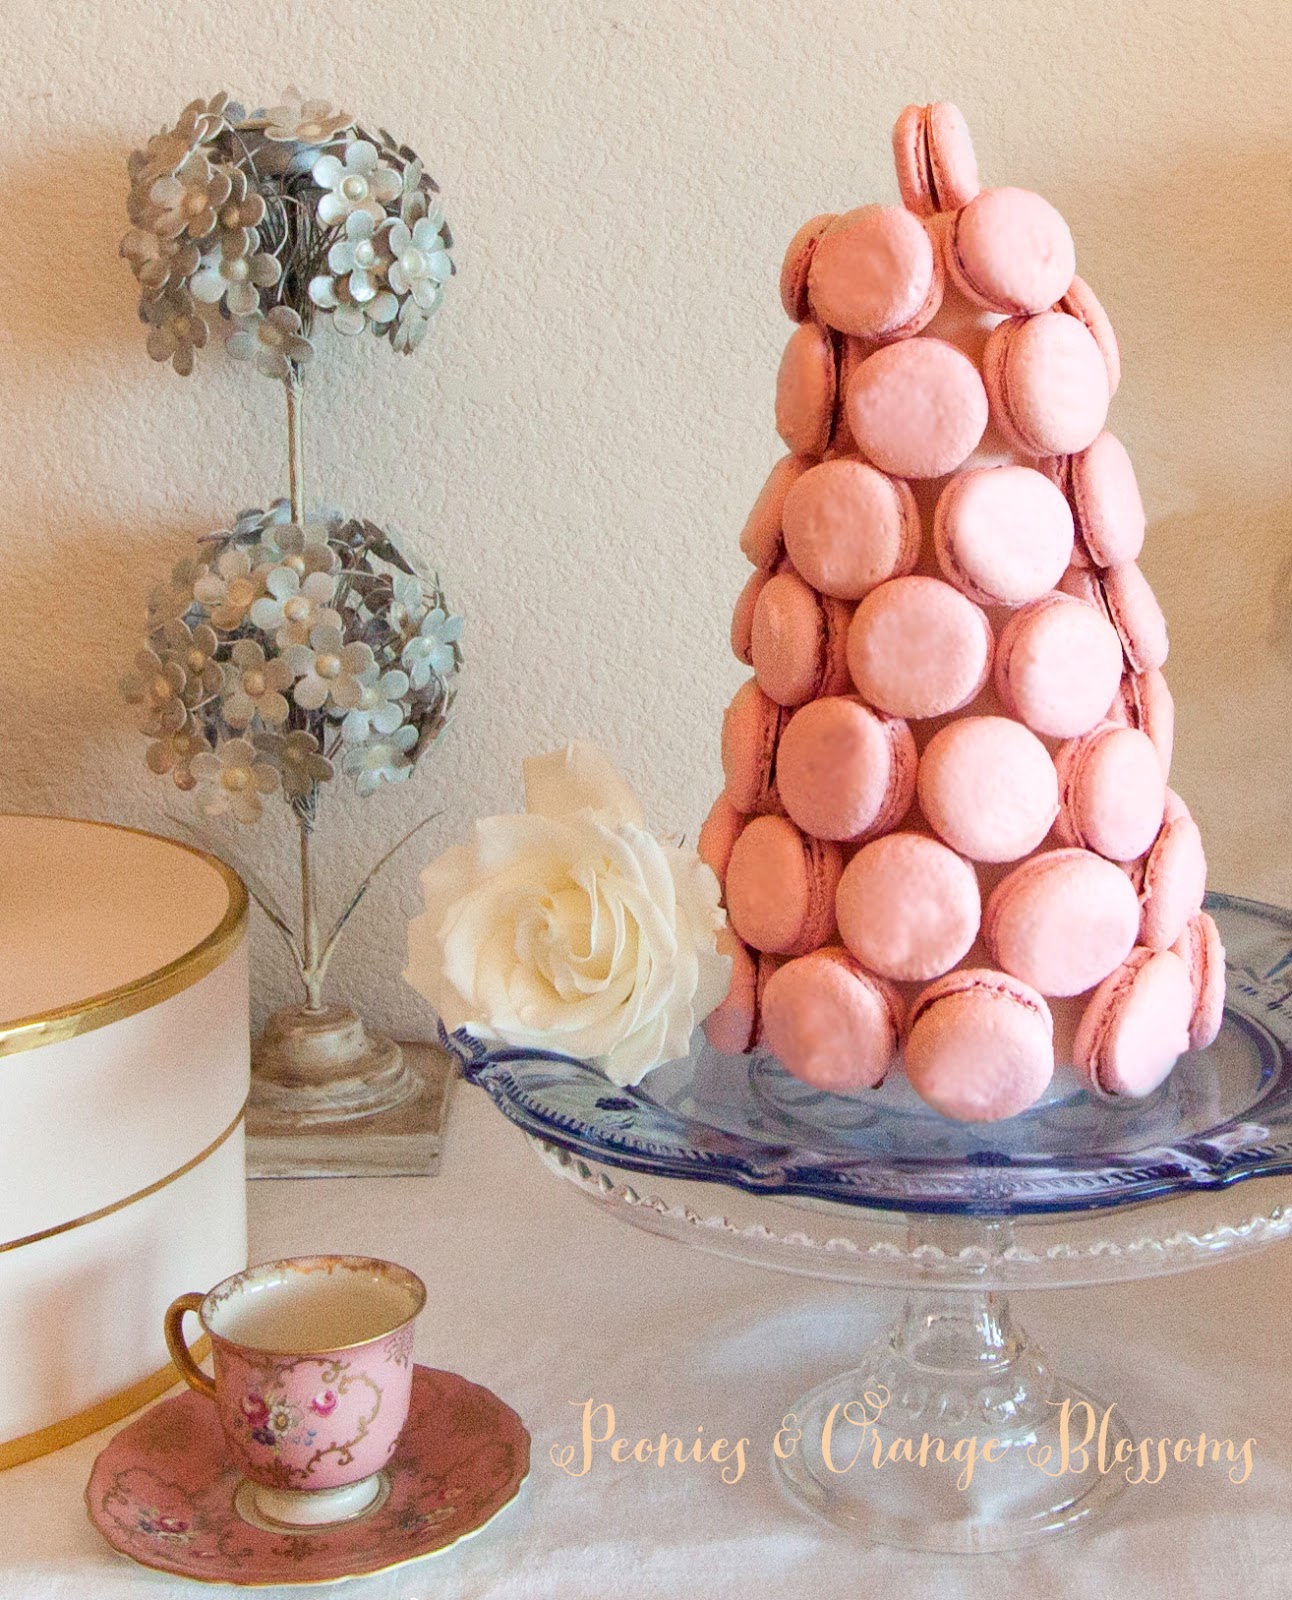
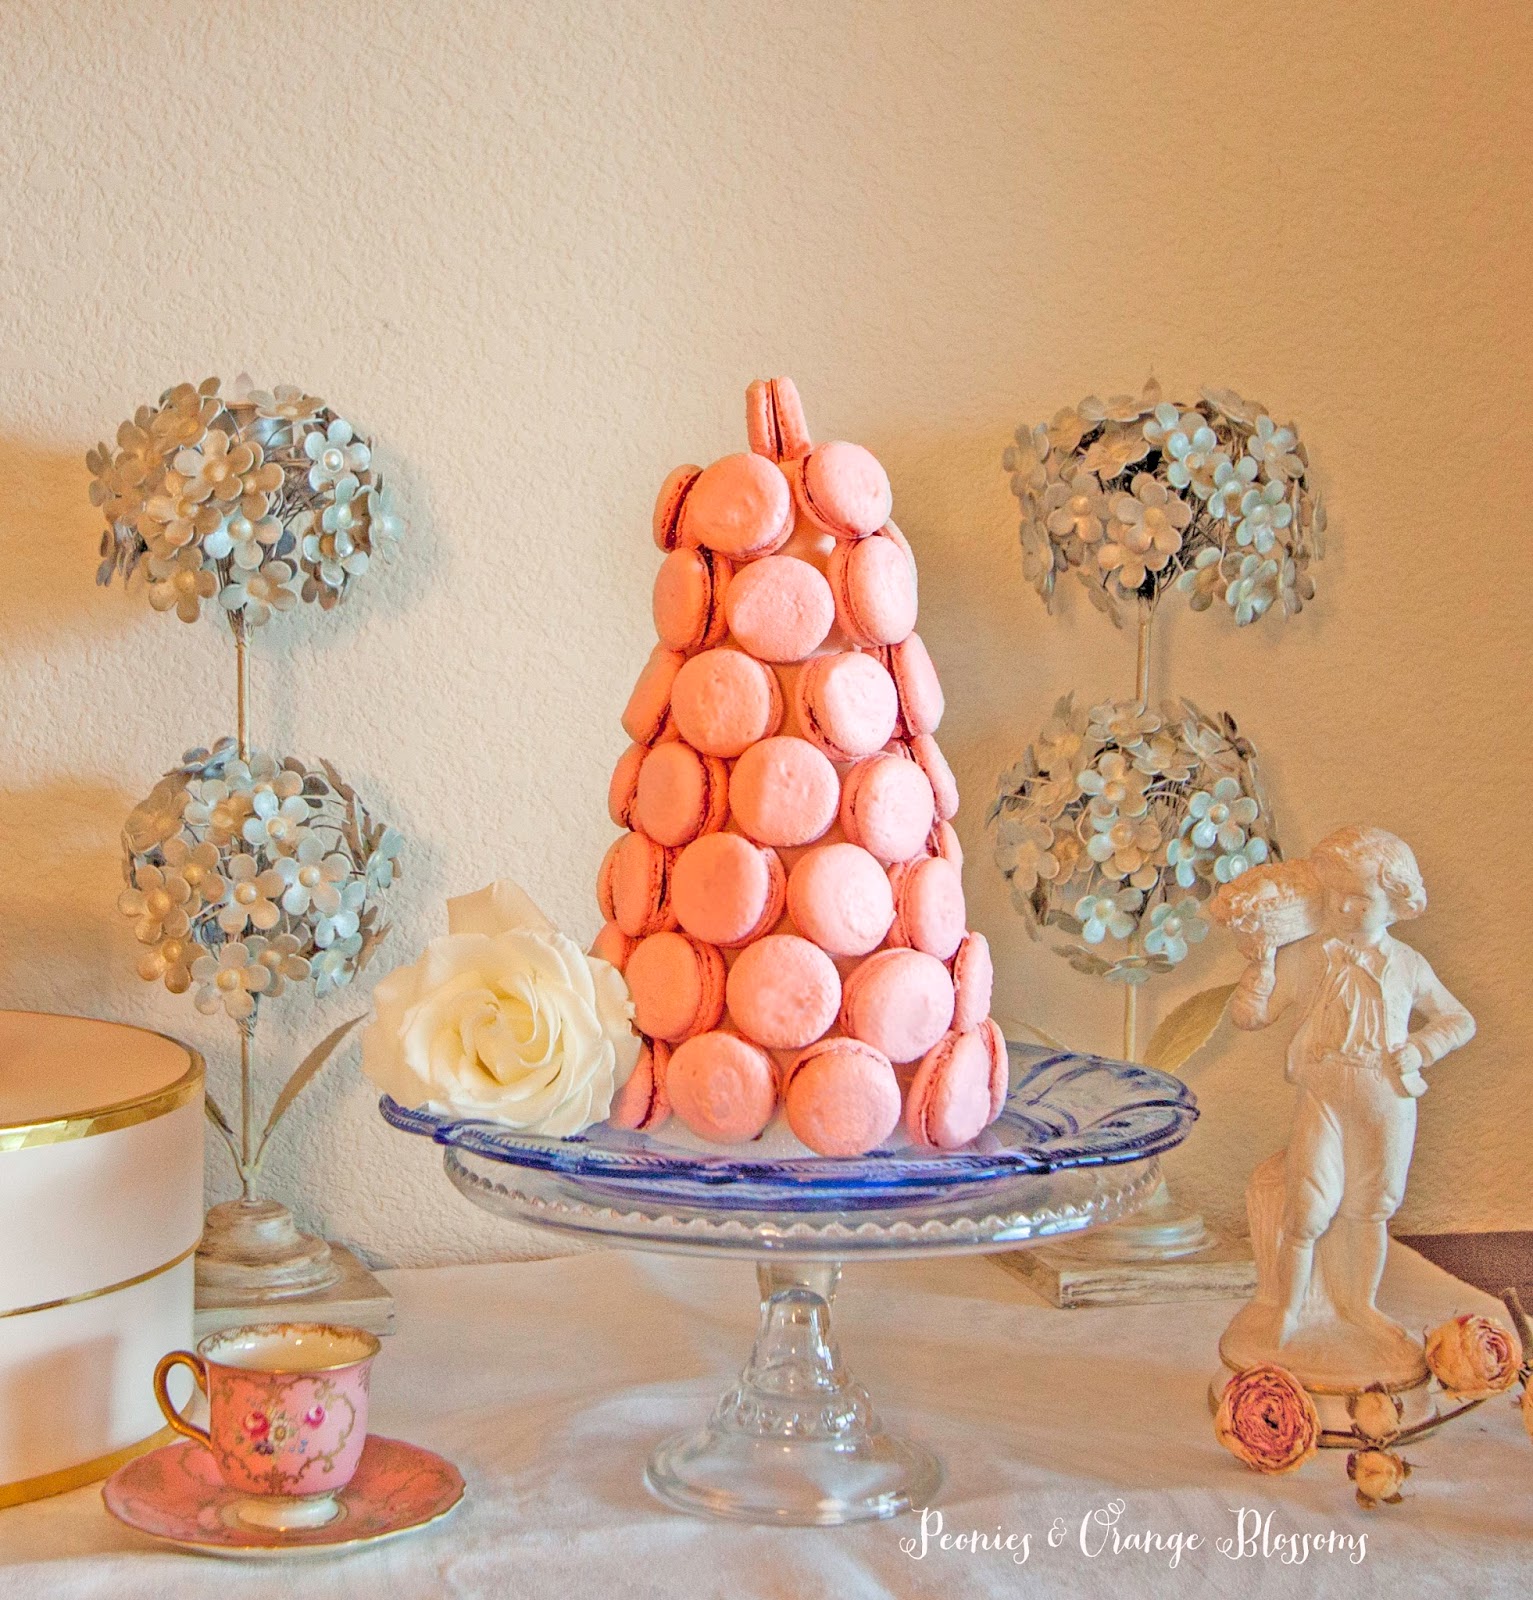
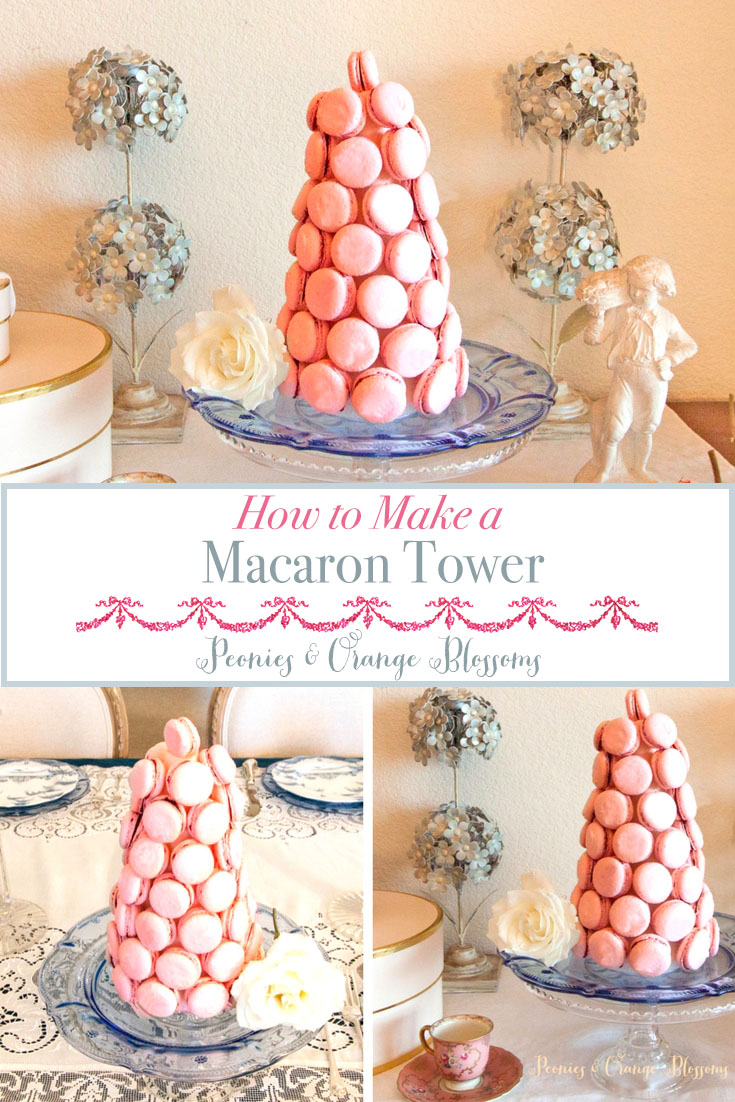
I was delighted when I saw my finished product – how pretty!

I thought this pretty pink tower was perfect for a Valentine’s Day post.

Finding a cone to as a base for this was not super easy.

I first went to a specialty cake supply store – but they did not have any.  I thought, great, I will just have to make it so they stack up on top of each other without a base. *rolls eyes* like I am skilled enough to do that. Nope I am not.

Then my Mom had the idea to get one of the floral foam cones – so off to Michael’s we went.

And we found one! Or two actually. I bought two sizes but decided to use the smaller one in this post.

Materials Needed

Foam floral cone

parchment paper

toothpicks

macarons

First, pictured below is the foam floral cone that I used.

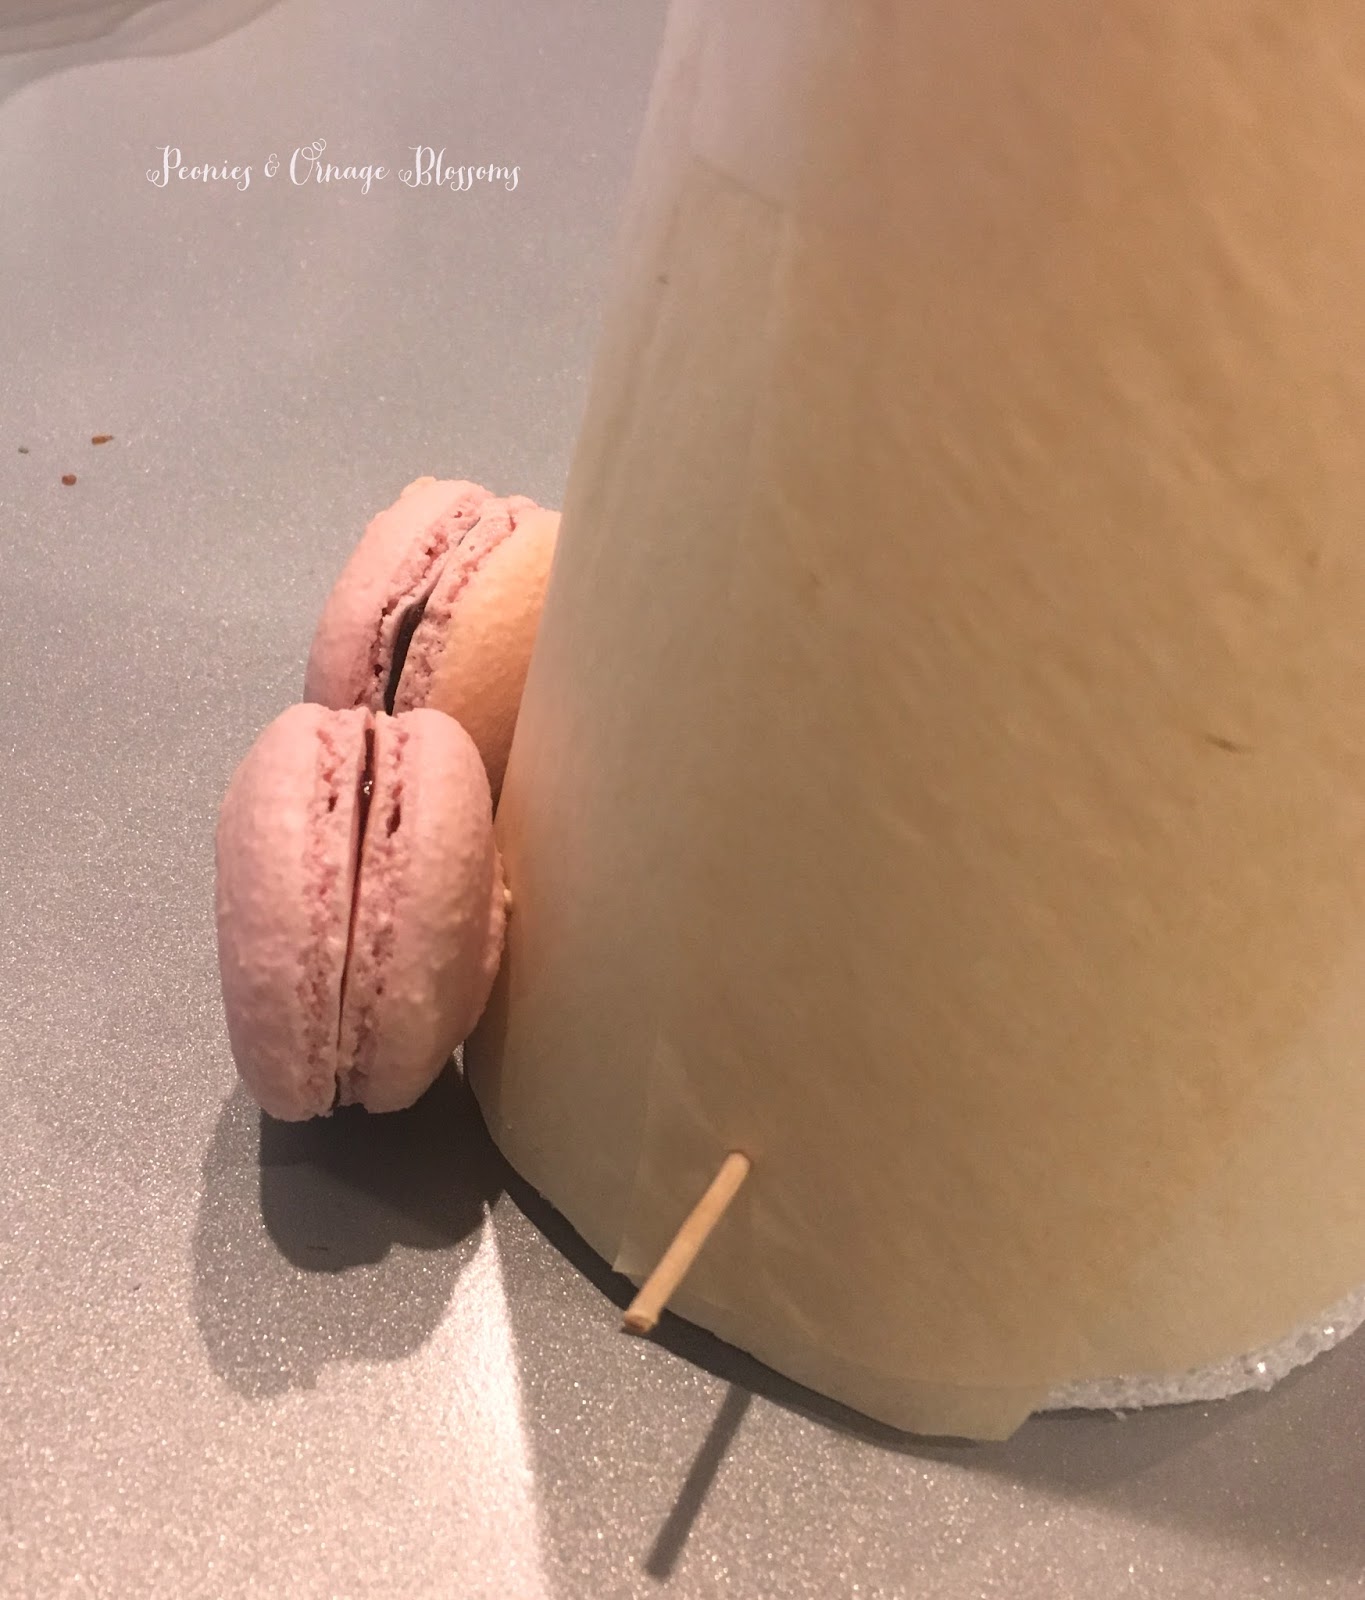
I wrapped parchment paper around the cone because the foam flakes off.  If you do not intend to eat the macarons off the tower, then you do not need to wrap the cone in parchment paper.

 Here, I cut the paper and taped it to the cone. The paper didn’t hold very well with tape, so eventually I just put a few toothpicks in it to hold it in place.


Next, cut your toothpicks in half.

Then poke one hole into the cone where you want your macaron.  It needs to stick out about halfway – you need enough toothpick sticking out so that it can fully support the macaron otherwise it will fall off.

Then, gently stick the macaron onto the toothpick. *gently*. It does not take much pressure to place it onto the toothpick!

Then, row by row, work your way up until you reach the top!

This tower was approximately 4 inches wide at the base by 9 inches tall.

 It took approximately 50 filled cookies to fill this size of cone in the pictures. I estimate, depending in the size of your cookie, it could take 50 +/- 2 cookies.

I used several different sizes of cookies – the largest ones are on the bottom and the smallest ones are at the top. You don’t have to do that… it just had to do with my inconsistent piping and it worked out well in the end!

You could also using frosting to attach the cookies to the foam if you do not have toothpicks. Or you could do both.

I would recommend making this the day of and just before any party you bring it to!

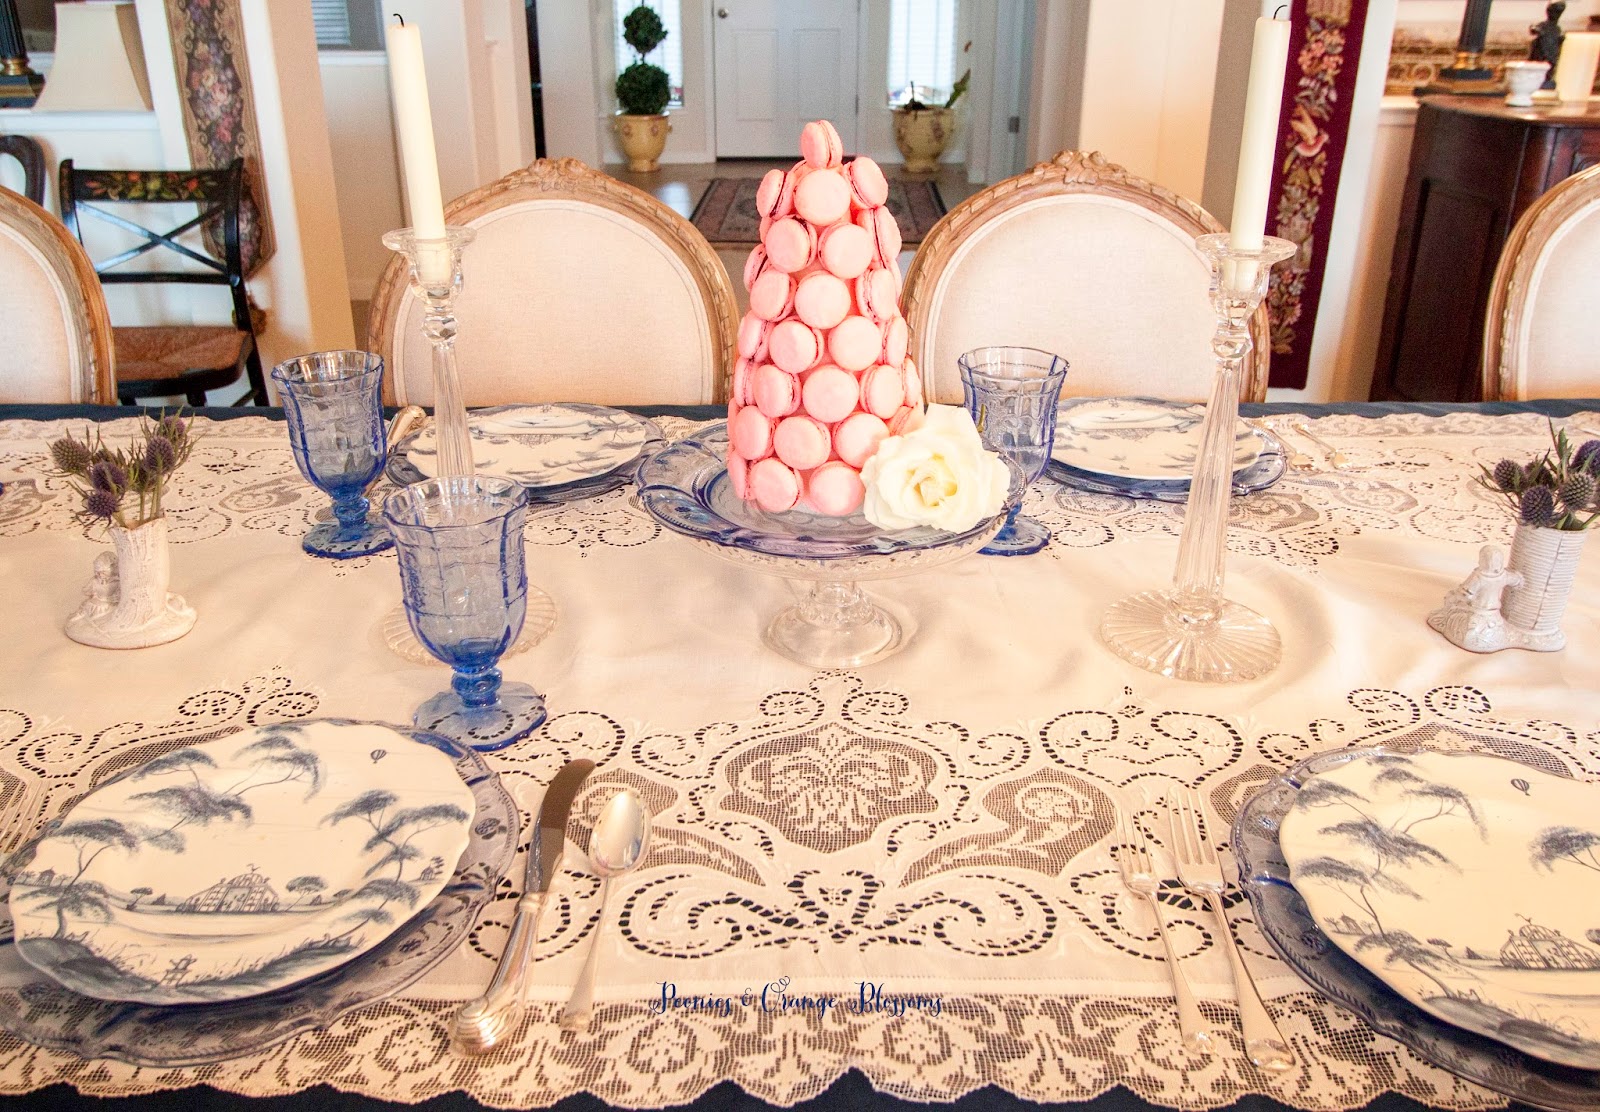
This is *perfect* for bridal showers, tea parties, birthday parties, or fun celebrations! It is a pretty centerpiece! I would love it if you pinned this image.

How to Make a Macaron Tower - a DIY tutorial for French Macaron Towers!
How to Make a Macaron Tower – a DIY tutorial for French Macaron Towers!

Also, if you are not up to making your ownmacarons, you could just get some store bought ones – for instance, the ones from Trader Joe’s in the freezer aisle would be perfect! It would take several boxes but you could do it!

How to Make a Macaron Tower

You might also enjoy these Valentine’s Heart Macarons


SaveSave

Follow:

How to Dry Lavender and DIY Lavender Decorating Ideas

We use affiliate links in our posts and our site. This means if you make a purchase using these links, we may earn a small commission. You don’t pay a cent more than you would otherwise! Our full disclosure is available under About.

I have been busy drying lavender this past month!  Do you grow your own lavender? If you do, I highly recommend harvesting it and using it around the house!  It so beautiful both alive and dried.

Drying your own lavender is easy to do.  It is easier than drying other flowers!

Here are the simple steps:

1. Harvest your lavender just before it’s fully in bloom.  Cut the lavender flowers just above the leaves. If you get some of the leaves, just pick them off.  Don’t cut the woody part of the plant. I harvest at dusk after the bees have gone home for the night.

2. Gather the lavender into a hand-size bunch.  Tie the stems with string, rubber band, etc.

3. Hang the lavender bunch upside down.  I attached my bunches to a hanger.

4. Find a cool dark place to allow the lavender to dry.  I put mine in my closet – it made the closet smell nice and it was cool and dark in there!

5. Allow to completely dry. Drying times vary depending on how big you made your bunches, where you stored them, etc. I let these hang for 2-3 weeks.

Decorating with lavender is one of my favorite things!  I filled my dough bowl this year’s harvest of lavender, as you can see below.  (Sorry for the picture quality, it was very difficult to get a good picture because it is so sunny here!)

Or, you can just wrap them up in a bunch and lay them on a table, like below…

You can make your own lavender sachets, like below.  This sachet I happened to receive as a party favor from my relatives… they have their own lavender farm!  It is very easy to make…. just dry your lavender as above. Then, once dry, you just pick off the flowers.

DIY lavender sachet - perfect for wedding favor or party favor.

Here, I set up a French country lavender table using our home grown lavender.

Here is another pretty lavender sachet… Antique Style Blog used her antique hankies and turned them into these pretty sachets.  Check out how she did that here.

How to make a burlap wreath blog teaches us how to make a dried lavender wreath! I love it!

Below in my centerpiece, you can see a dried lavender wreath too. I did not make it! Bought it at my favorite store in Napa!

This past Winter I trimmed the lavender so far back into the woody part all you could see was the woody party! I was afraid it wouldn’t grow back! But it DID! Do you grow your own lavender?

Here is a French farmhouse lavender tablescape I did!

SaveSave

SaveSaveSaveSave

Follow:

DIY Felted Wool Acorns

We use affiliate links in our posts and our site. This means if you make a purchase using these links, we may earn a small commission. You don’t pay a cent more than you would otherwise! Our full disclosure is available under About.

I’ve got an easy DIY project for you today that’s perfect for Fall!  Felted wool acorns! Aren’t they cute??

The inspiration for this project came from these velvet acorns that are made by Hot Skwash, pictured below.

Like velvet pumpkins, velvet acorns don’t come cheap!

So, my Mom and I had the idea to make our own! We didn’t have velvet laying around, but we did find some wool felt balls at a local fabric store.

We thought, wouldn’t those little wool felt balls work perfectly as little acorns? So, we bought some acorn “hats” off of etsy.

 The project is very easy: use a glue gun and glue the felted wool ball to the acorn hat. The acorn hats are from real acorns.


In real life, the seed of the acorn detaches from its little hat after it hits the ground. You can find acorn hats everywhere. DONE!

See? Instantly you have the same look for less!!  I love the fun colors.  I think the colors of the velvet ones do look a little richer, but I think this looks pretty good and it cost a fraction of the price!


While writing this post, I searched for wool felted acorn on Etsy… turns out a lot of people make them. But they sell for about $2 each per acorn! WOW!!  The velvet acorns go for more… approx $5 each!


Let’s look at the cost of making your own: the felted wool balls go for $10 for 50 balls. The acorn hats are $2 for 25… so you could have 50 homemade acorns for $14… the price of 6 premade wool acorns off of Etsy OR two velvet acorns. I think I’ll take mine, thank you! Plus, it didn’t take that long to make!

Hmm, maybe I need to make more and sell them… oh wait. I already have a full time job. Never mind.


Follow:

Easy DIY Pineapple Vase

We use affiliate links in our posts and our site. This means if you make a purchase using these links, we may earn a small commission. You don’t pay a cent more than you would otherwise! Our full disclosure is available under About.

In this post – Easy DIY Pineapple Vase

This post may contain affiliate links. 

YOU GUYS. I have got the COOLEST tool maybe…. ever.

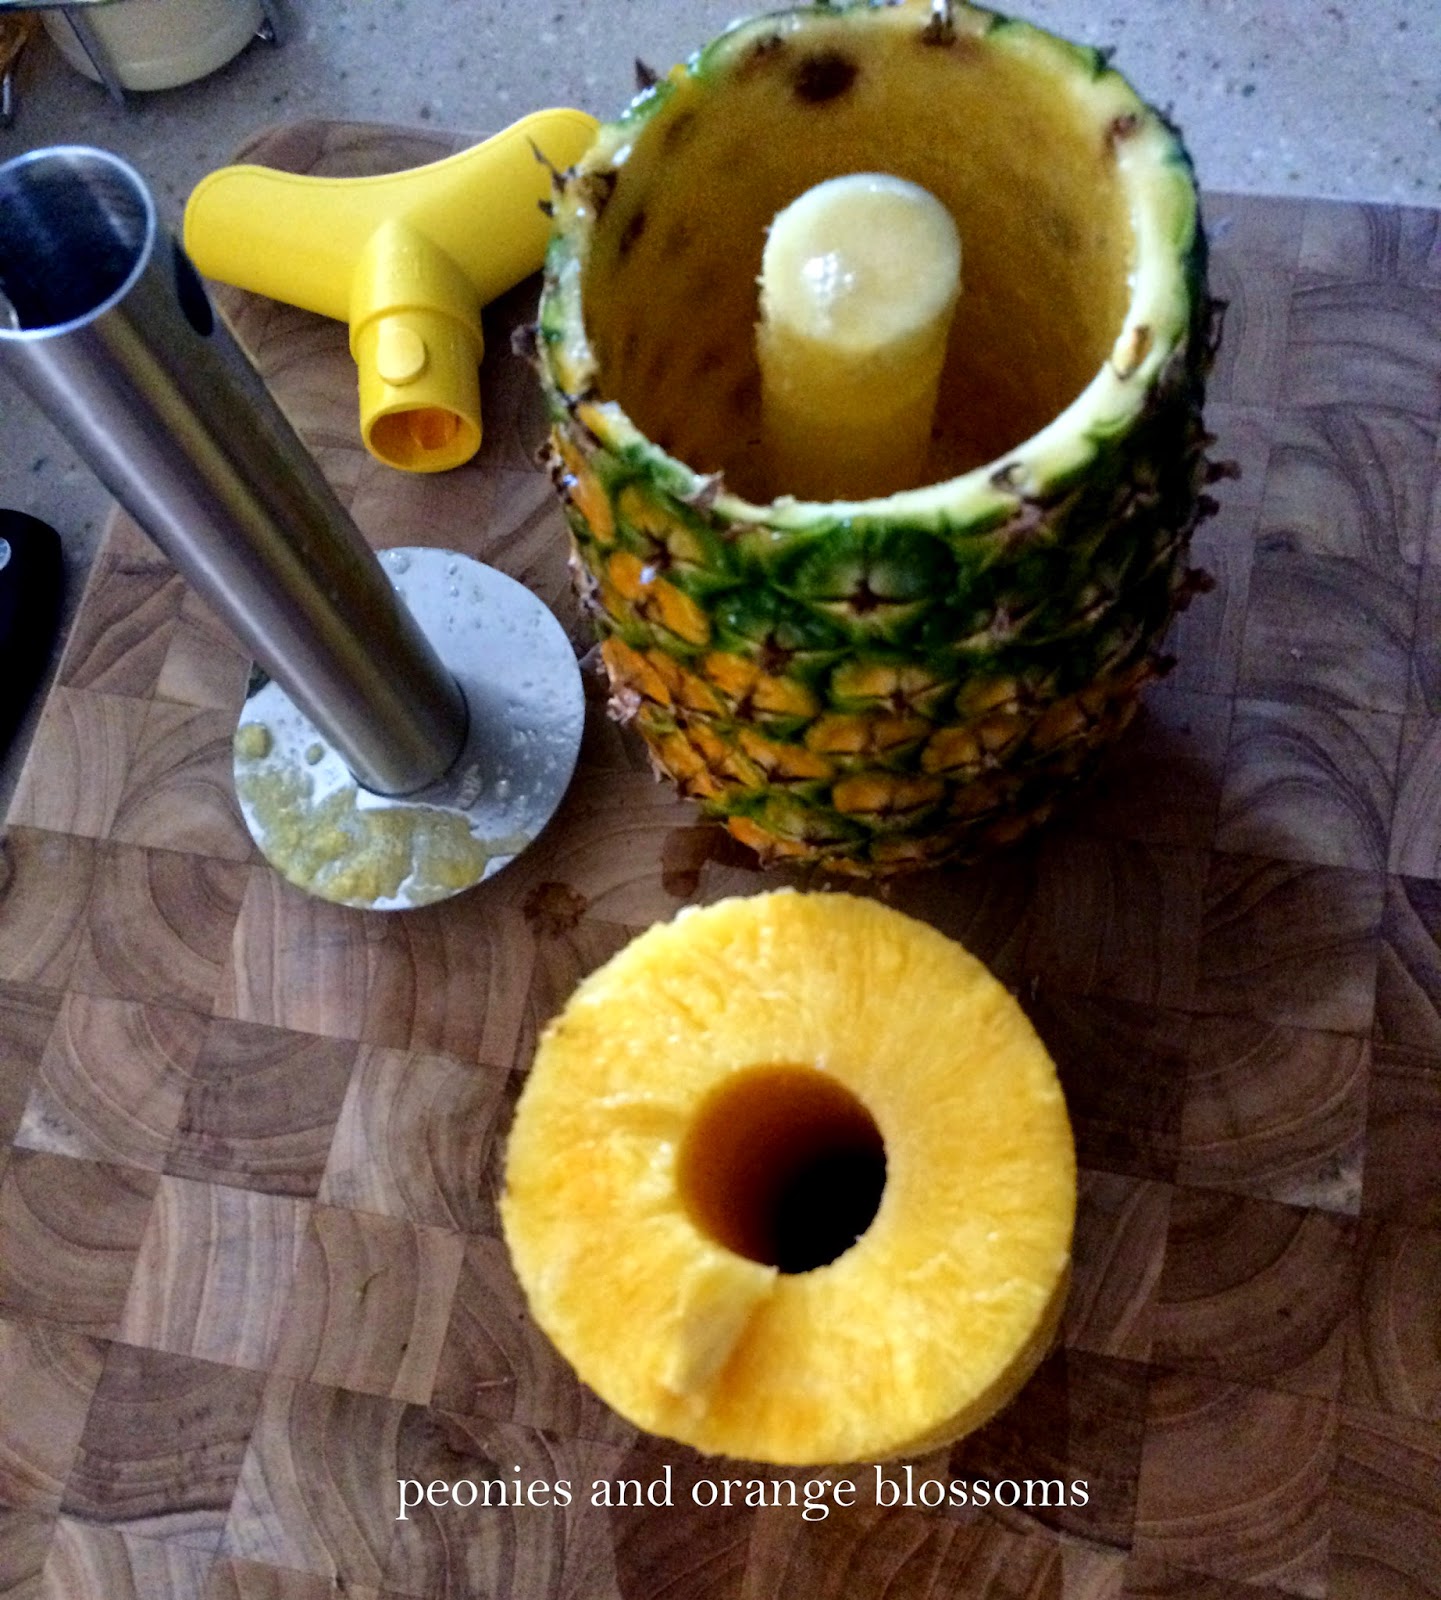
A Pineapple De-Corer and Slicer 

It did this:

At first I thought, oooh! A neat pineapple cup for drinks! How cool is that?

I thought of another use for this pineapple as well…

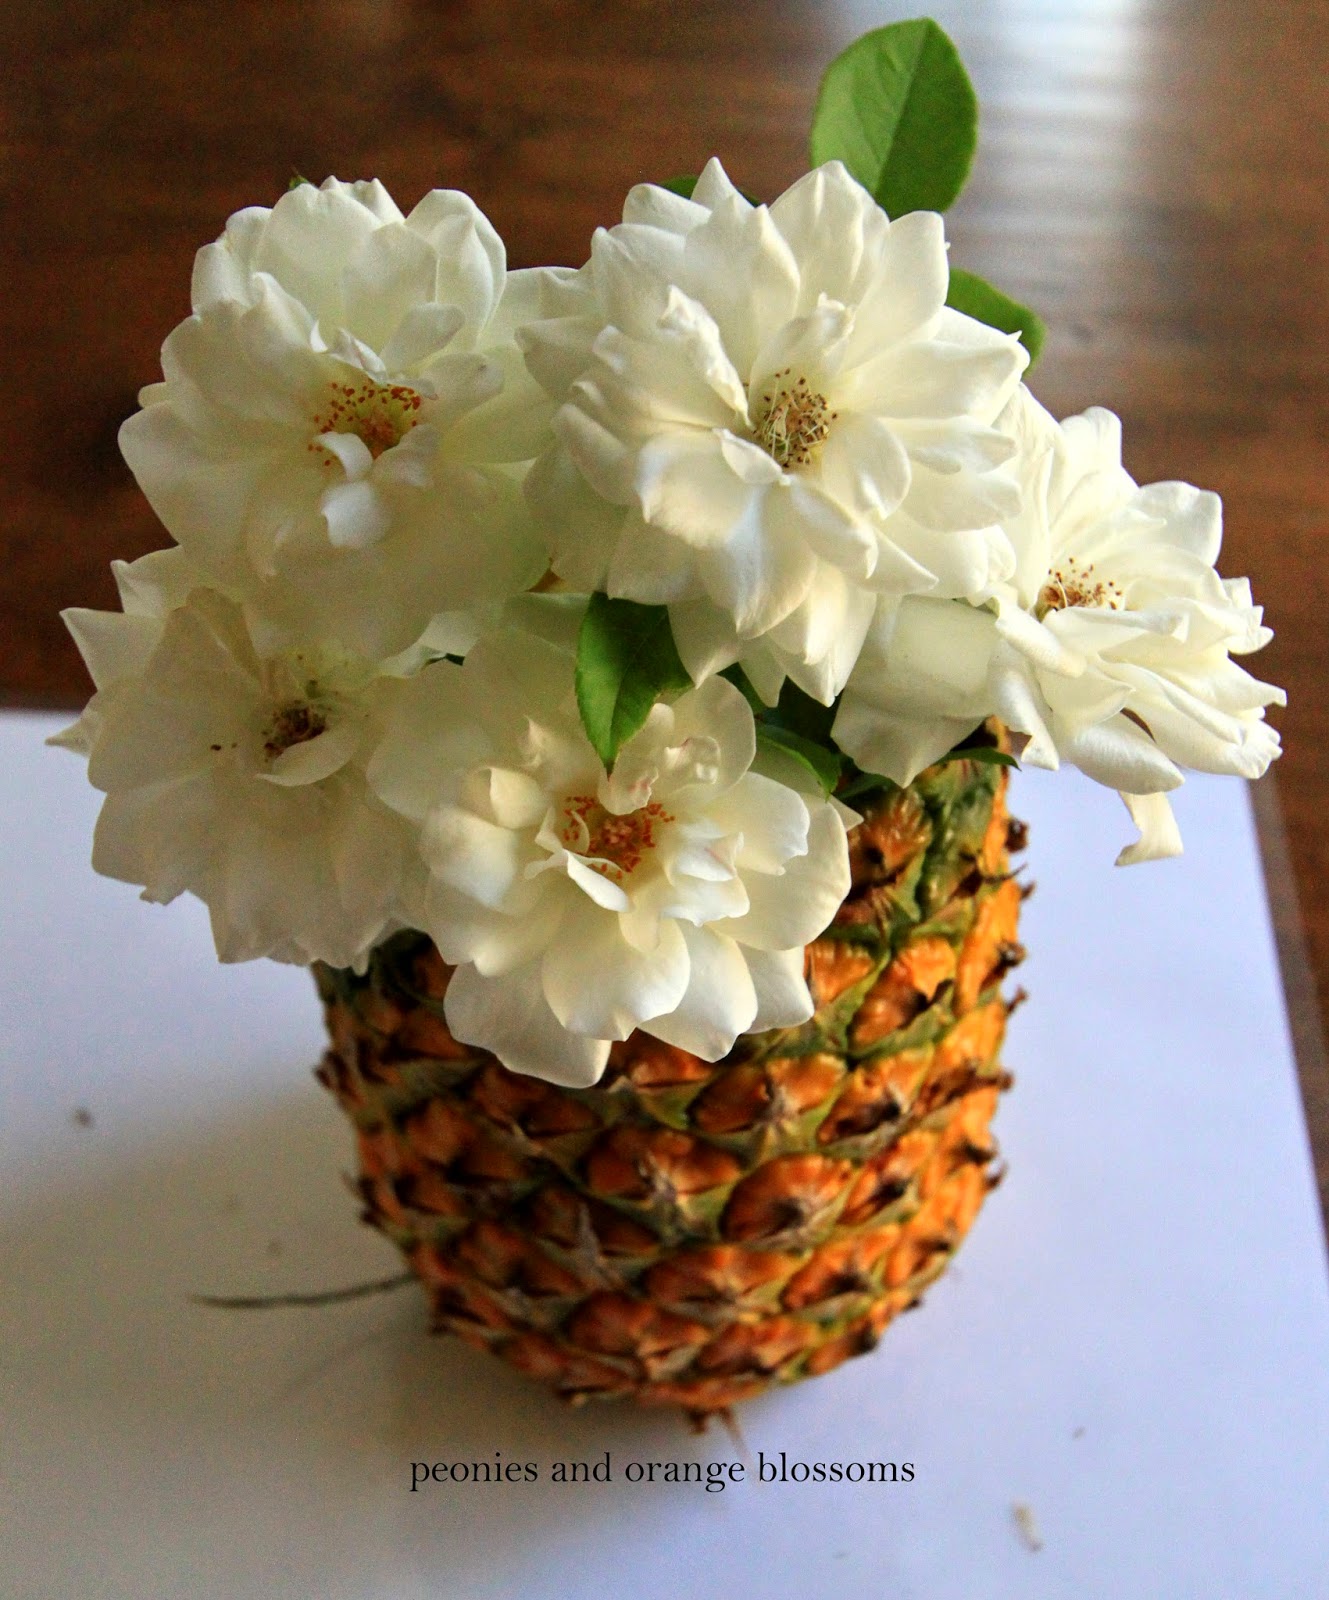
A pineapple vase! This would be great for tropical themed parties!

Perfect for luaus.

Or it would make a great vase for an outdoor BBQ or party because it can withstand the elements from the outdoors.

Get it here  or get it on Amazon.

You could put more tropical appearing flowers in it: protea, birds of paradise, orchids…

I just used some roses from the garden.


Follow:

From the Shop

I may earn a small commission if you purchase with these links

no products
Please note that I use ShopSense, LIKETOKNOW.it, Shareasale and Amazon affiliate links on this site. This means using them for purchases won’t cost you extra but may earn me a small commission.  Our full disclosure is available for viewing under About in the disclosure policy.
All rights reserved. Our graphics, images and text are all subject to copyright protection.