We use affiliate links in our posts and our site. This means if you make a purchase using these links, we may earn a small commission. You don’t pay a cent more than you would otherwise! Our full disclosure is available under About.
It’s been one year since the pandemic started. Are you wearing the same clothes that you used to? I think it’s time to clean out your closet!
Purge!
Let’s get real. Go through your closet and ask yourself… when is the last time I wore this? Am I going to wear it again (honestly!)? Lastly, DOES IT EVEN FIT? You might have gotten the covid 19 pounds from stress eating! If you don’t even want to try it on and see if it fits, then it’s time for it to go! Same goes with shoes!
Post Pandemic Professional
If you worked in an office and now don’t… are you going to put those office pants on? Again… do they even fit? For many, the professional scene is forever changed as many companies have found they can make do with many days working virtually from home.
Empty out your closet completely
Now that you’ve purged what you’re not going to keep, empty everything out of your closet so you can start fresh. Is there a better location in your closet for some of your most used items?
Get organized!
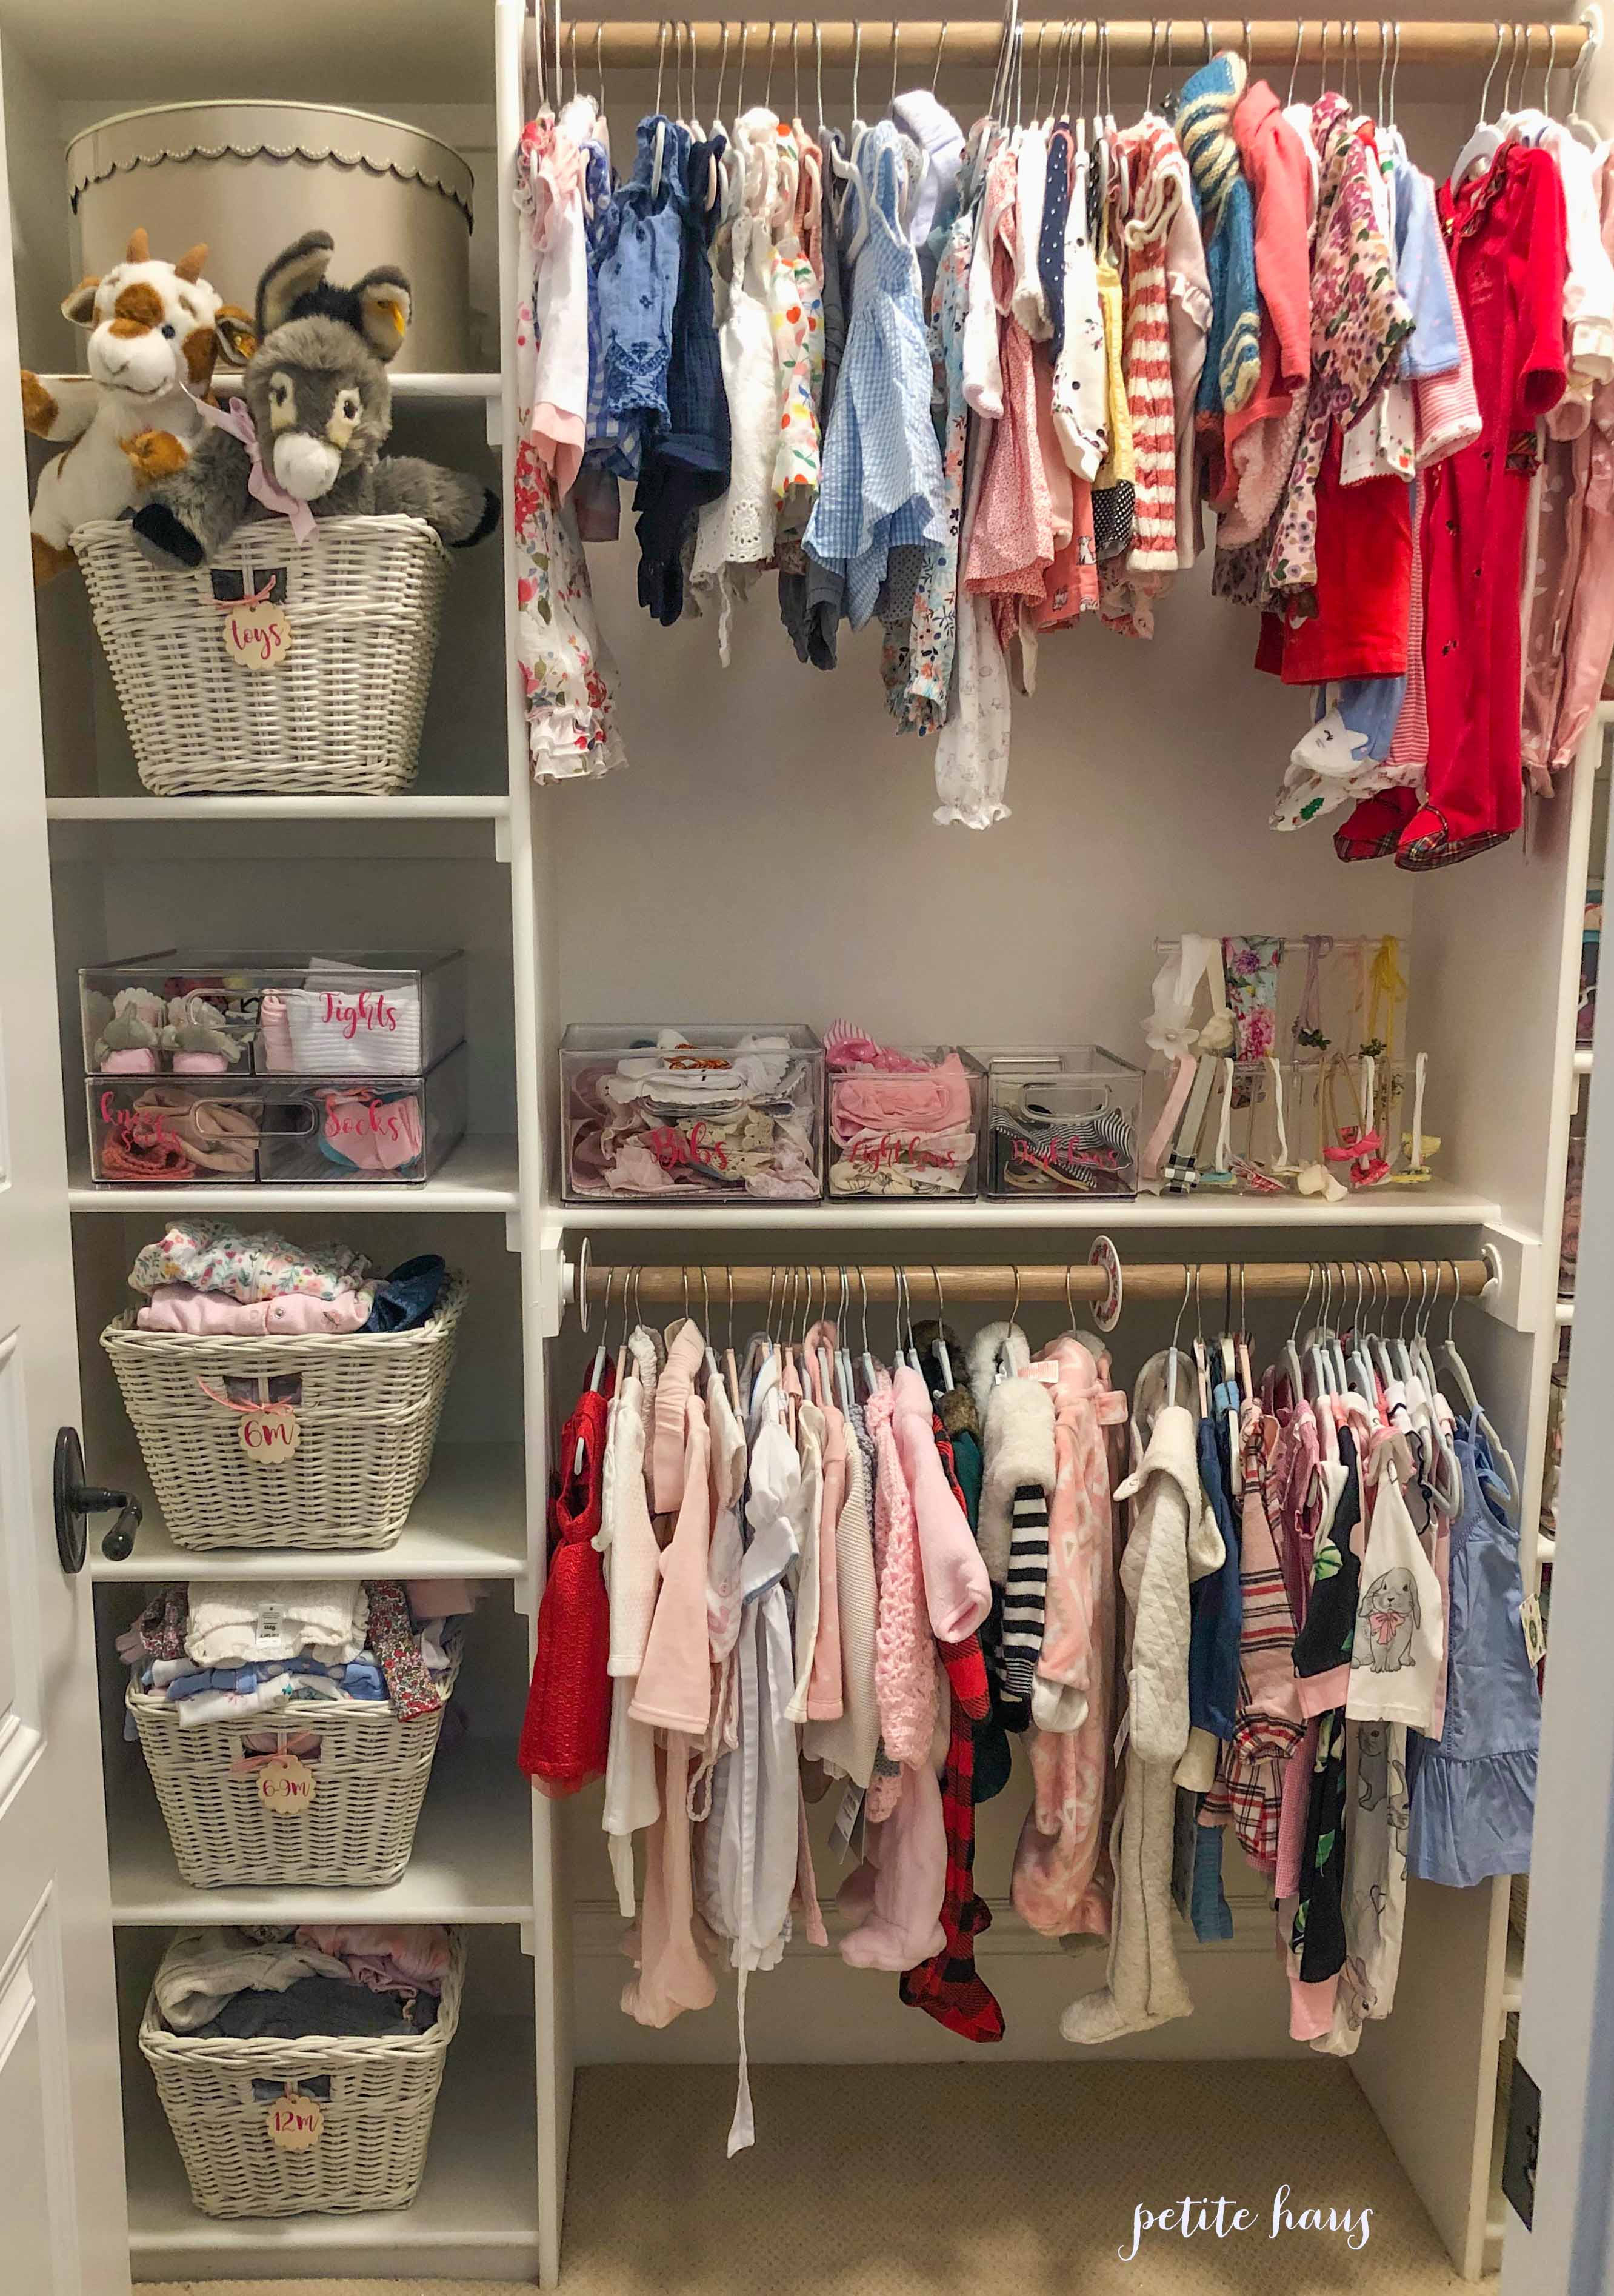
I’m talking baskets, bins, dividers. Measure your closet and figure out what size baskets/bins/dividers you may need. Use labels, if you would like! Also, a simple way to make your closet look great is to organize hanging clothes first based on color and then within that color range based on sleeveless, short sleeve, or long sleeve. This will save you so much time!
Use All The Same Hangers
An easy and not-too-expensive way to achieve a great looking closet is to use the same type of hanger for everything. This makes it looks like you had a professional organizer a la The Home Edit or Marie Kondo come in and do it!
We use affiliate links in our posts and our site. This means if you make a purchase using these links, we may earn a small commission. You don’t pay a cent more than you would otherwise! Our full disclosure is available under About.
In this post: Fall table decor ideas with nontraditional Fall colors of pink and green!
This is a sponsored post featuring Hot Skwash Pumpkins from LoveFeast Shop. All images and opinions are completely mine.
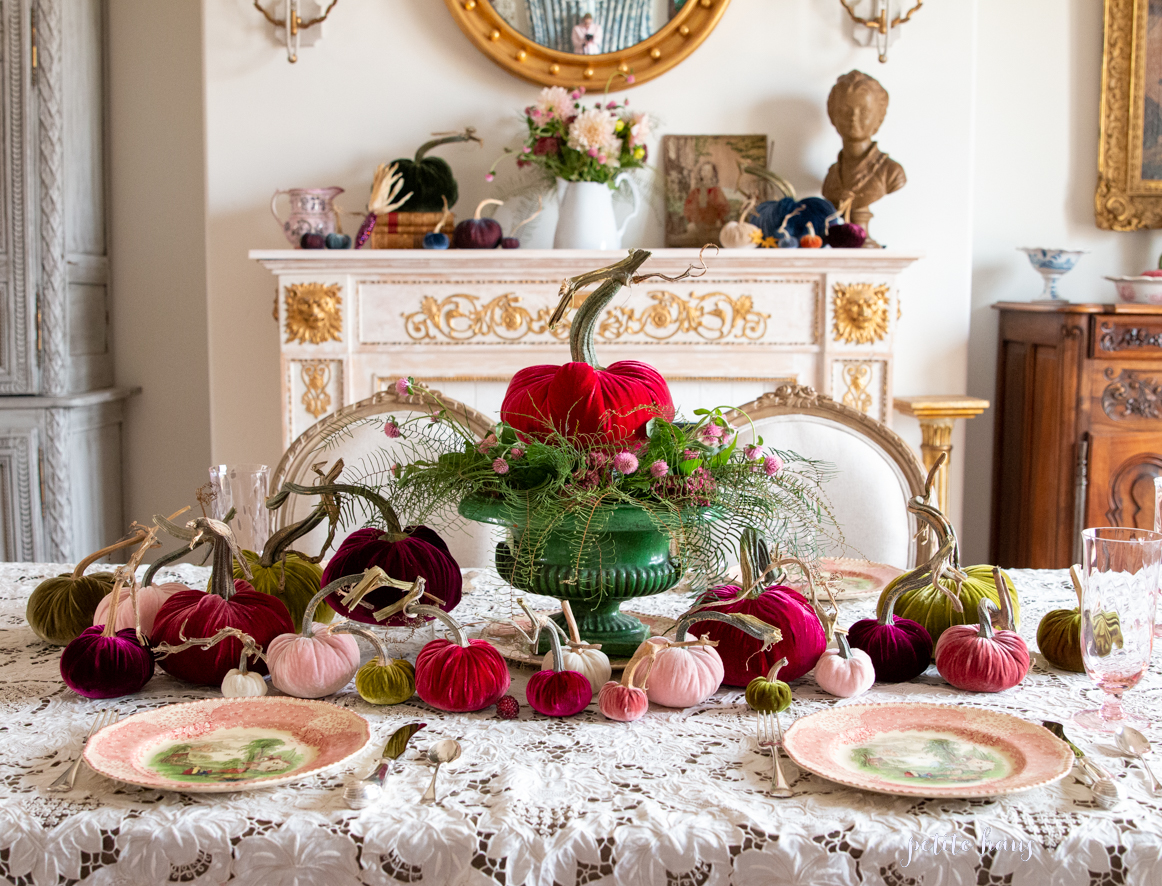
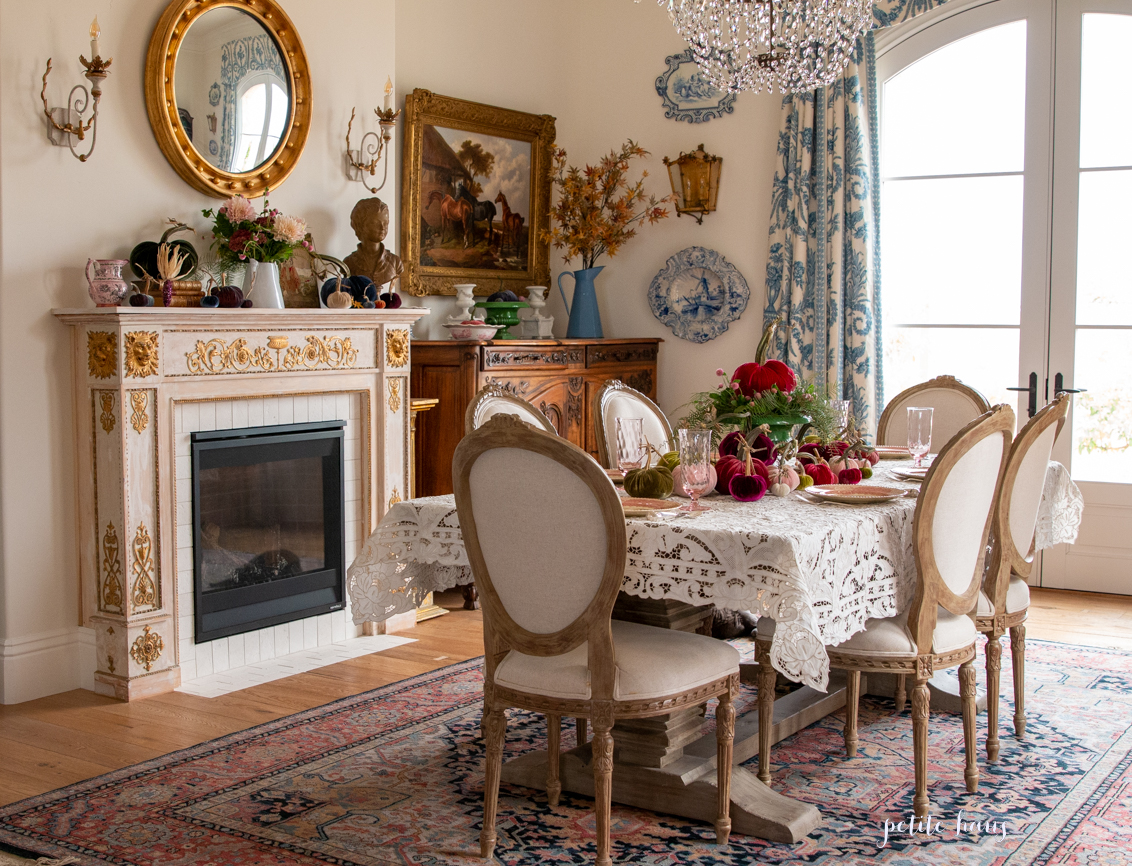
I am very excited to share with you my Fall tablescape for this year! This year I am partnering with LoveFeast shop to feature Hot Skwash velvet pumpkins. I received these beautiful pink pumpkins to feature in a post. Keep reading – I have a special discount code for you at the end of the post!
For years (seriously – search the blog… you will see!) I have slowly been purchasing and building my velvet pumpkin collection. Needless to say, I was thrilled when LoveFeast shop approached me with an opportunity to collaborate! Now that I think of it, I think I bought my first velvet pumpkin in 2008. So I REALLY like these pumpkins!
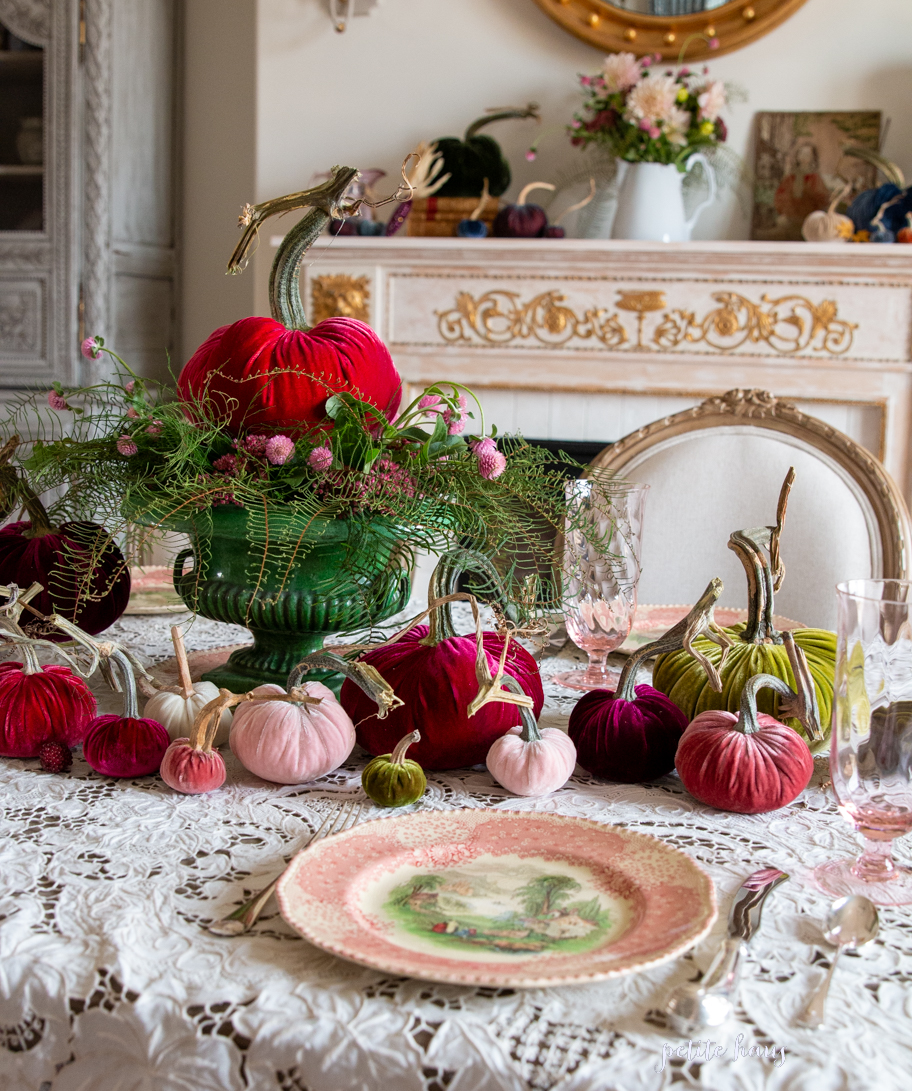
This year I was inspired by the pinks and greens of Fall colors. PINK?! Yes. I know. It is not a traditional Fall color. BUT if you look at a tree turning colors there is a myriad of colors: green, yellow, orange, dark pink, red, brown!
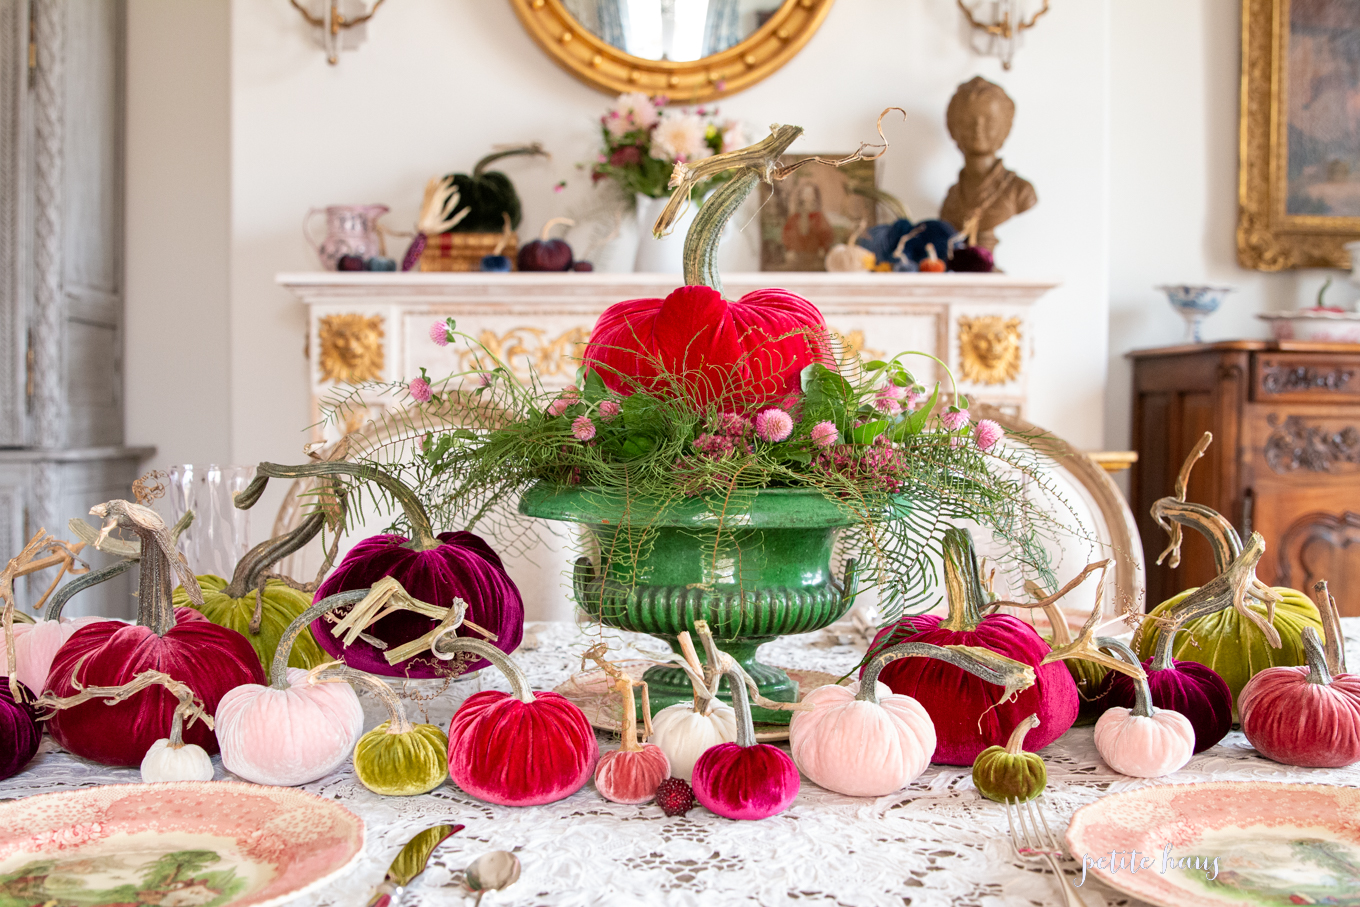
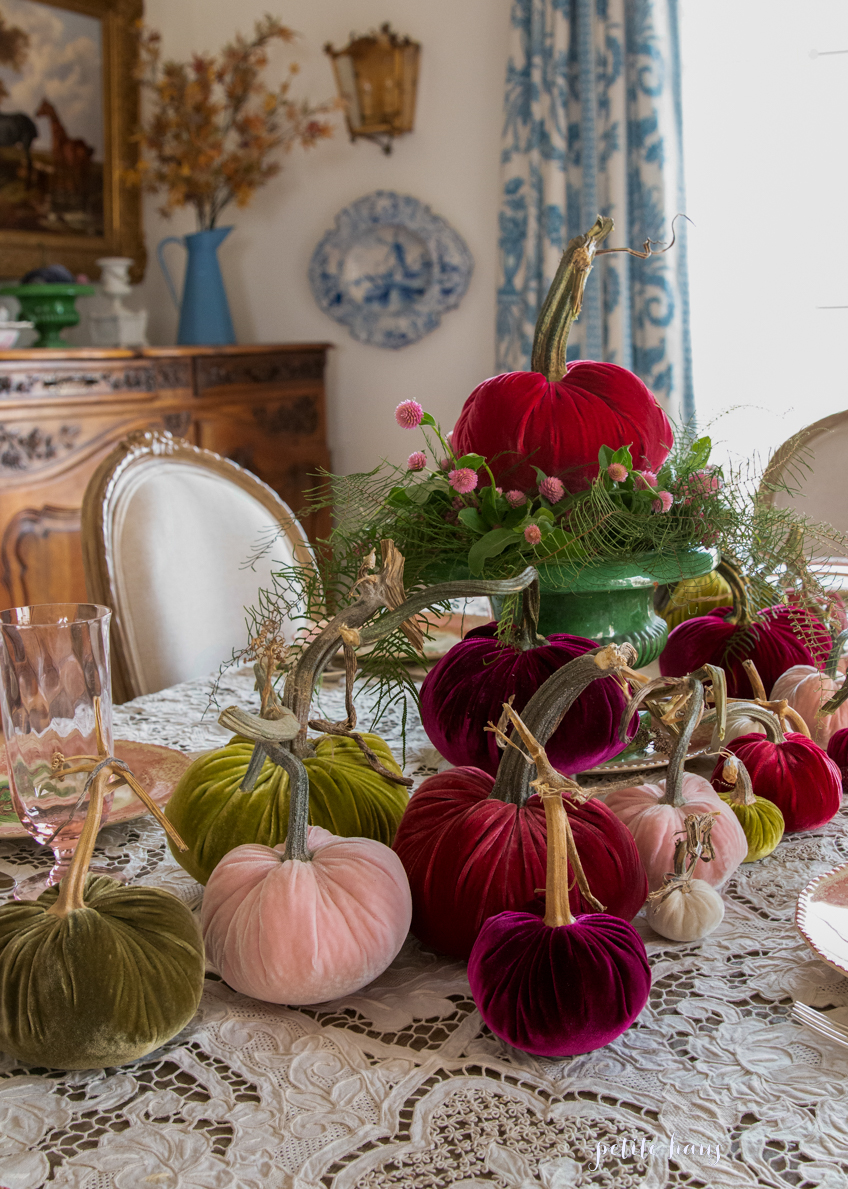
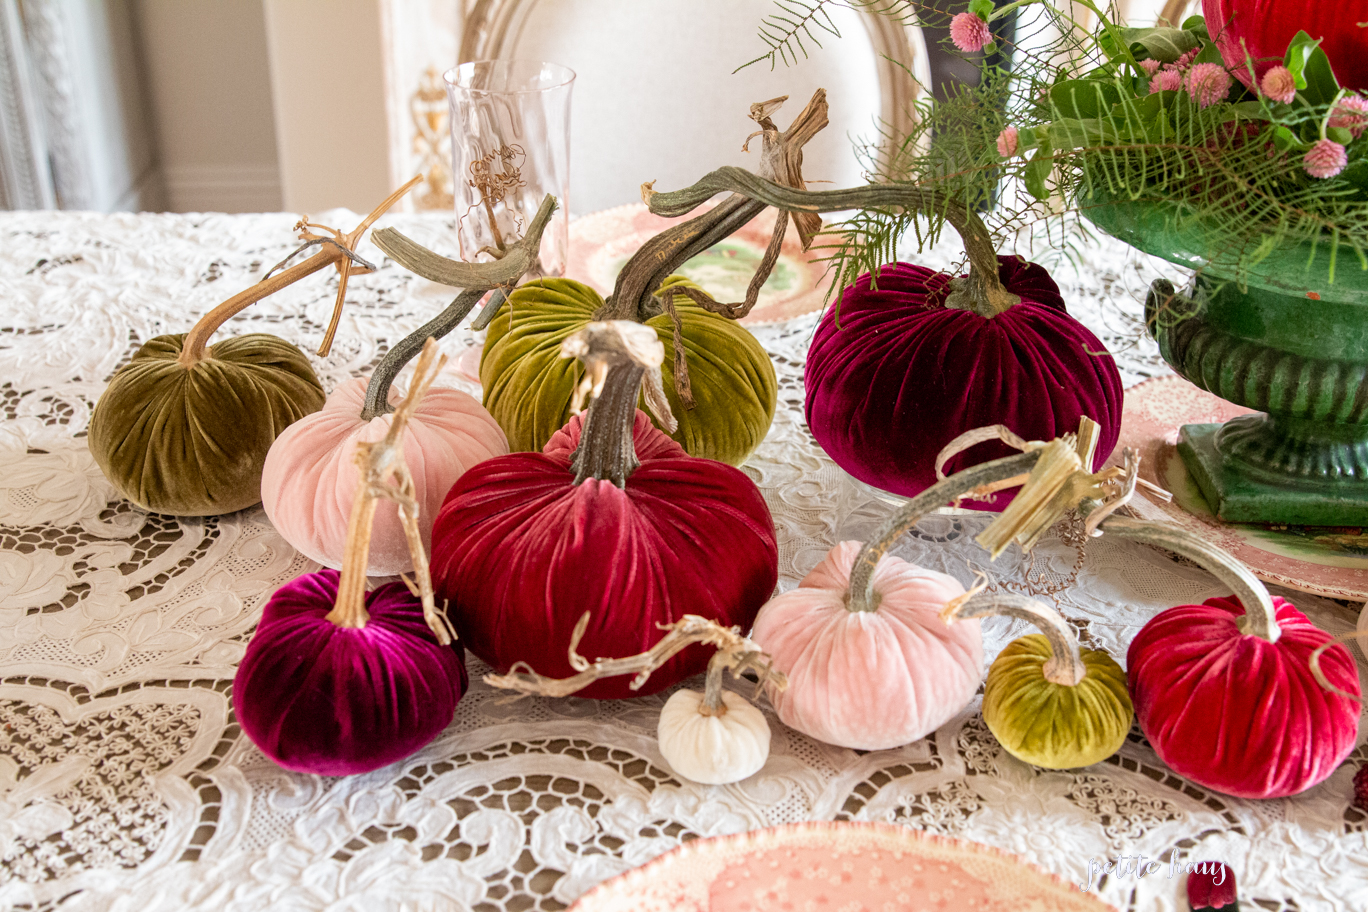
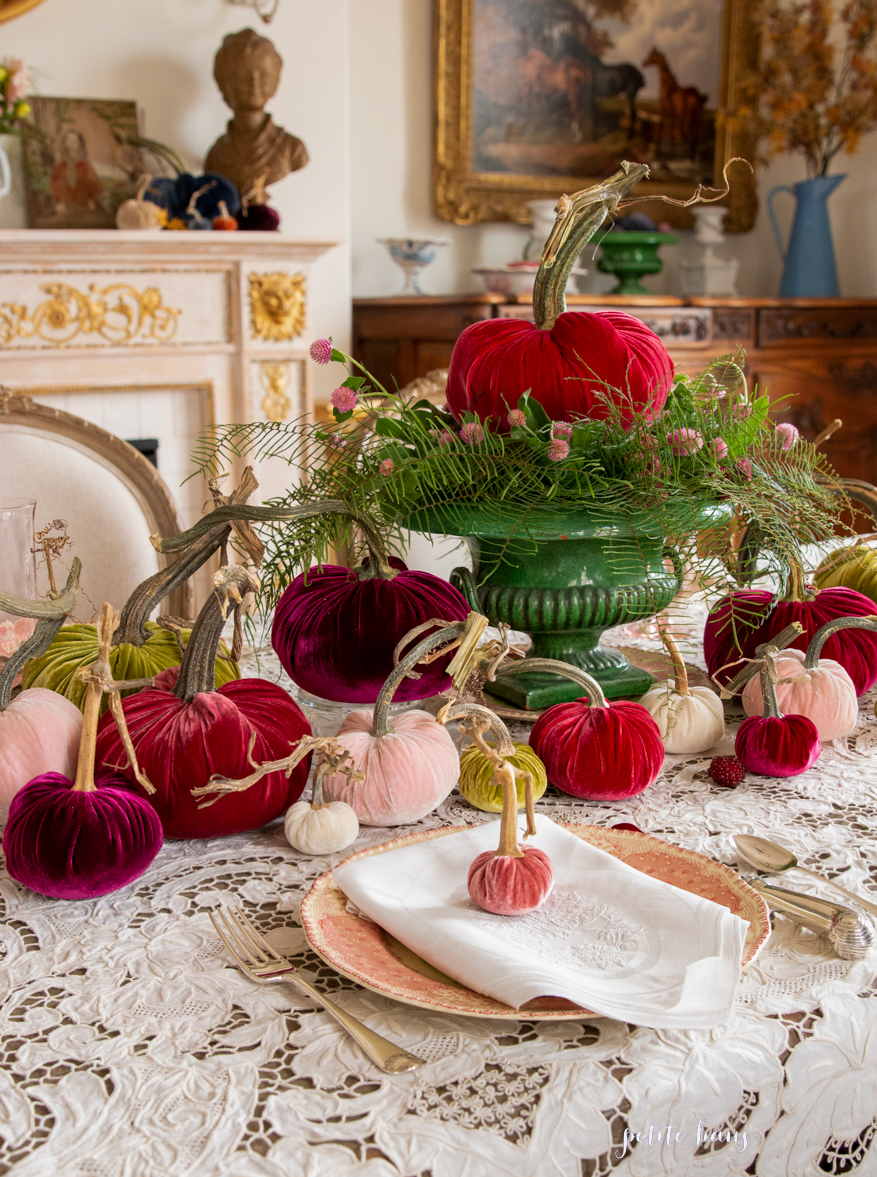
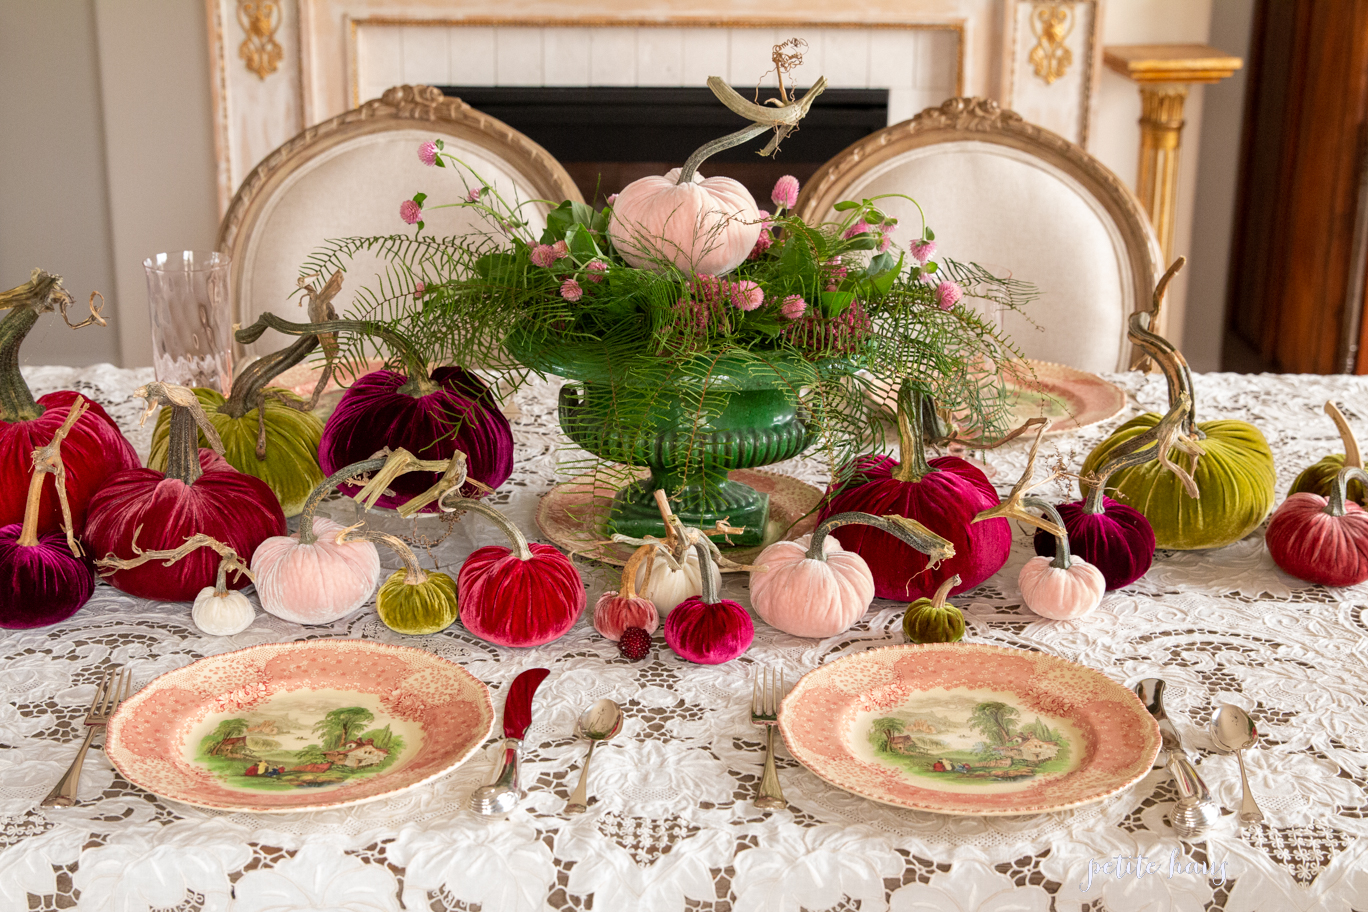
The velvet pumpkins come in tons of colors. On my table there is a combination of blush, guava, rose, magenta, lipstick, chartreuse and moss.
They also come in many sizes. They look best when you mix and match several colors with several sizes. If you have no idea what sizes and colors you would choose, LoveFeast Shop has some curated sets to choose from.
Decorating tip: Pair your pumpkins with some natural greenery or flowers to make them look their best, like I did for the centerpiece. The big pumpkin in the center is guava and is 8″ for size reference.
I love using velvet pumpkins in my Fall decor because they are so versatile! I like to use them on my mantel, as well as little vignettes throughout the house.
Decorating Tip: Place a small pumpkin on each place setting. Below is a 3″ Rose pumpkin on the plate.
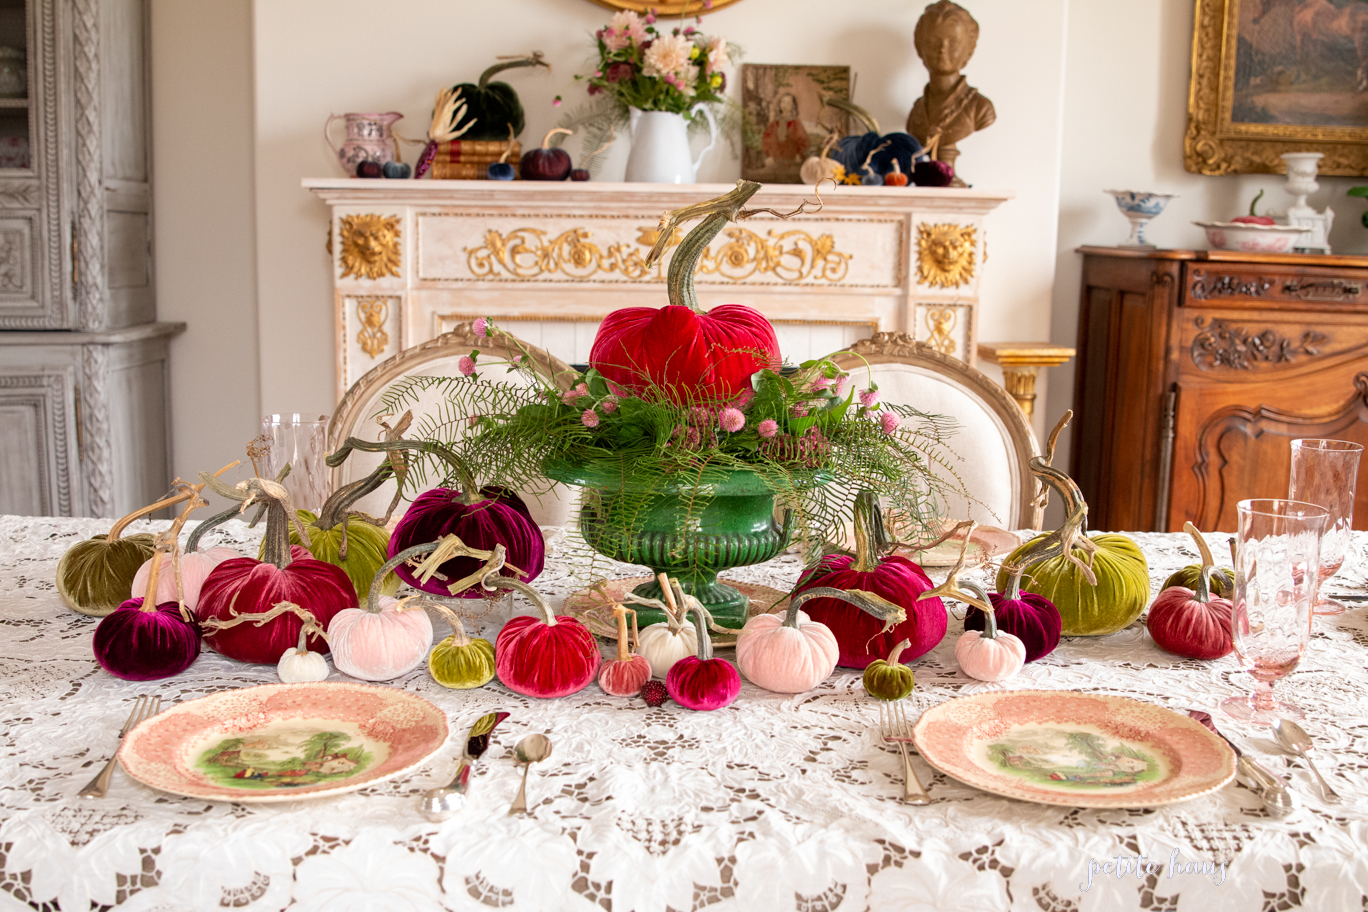
Here is a slightly different look. I placed a blush colored pumpkin in the centerpiece. It’s so easy to just mix and match them!
What I love about these pumpkins is that they are made of a silk velvet which make them luxurious and give them a really nice color. I also adore the real dried pumpkin stems that are used. The real pumpkin stem is what makes them so charming! I love the whimsical curls of the dried stem.
They are also nice because they never go rotten! To store them in the off season, I carefully place them in plastic storage bins.
Coupon Code
Get 15% off an order through LoveFeast Shop now through October 2020 using the code 20PH15.
You can also check out LoveFeast shop and their social media links here:
We use affiliate links in our posts and our site. This means if you make a purchase using these links, we may earn a small commission. You don’t pay a cent more than you would otherwise! Our full disclosure is available under About.
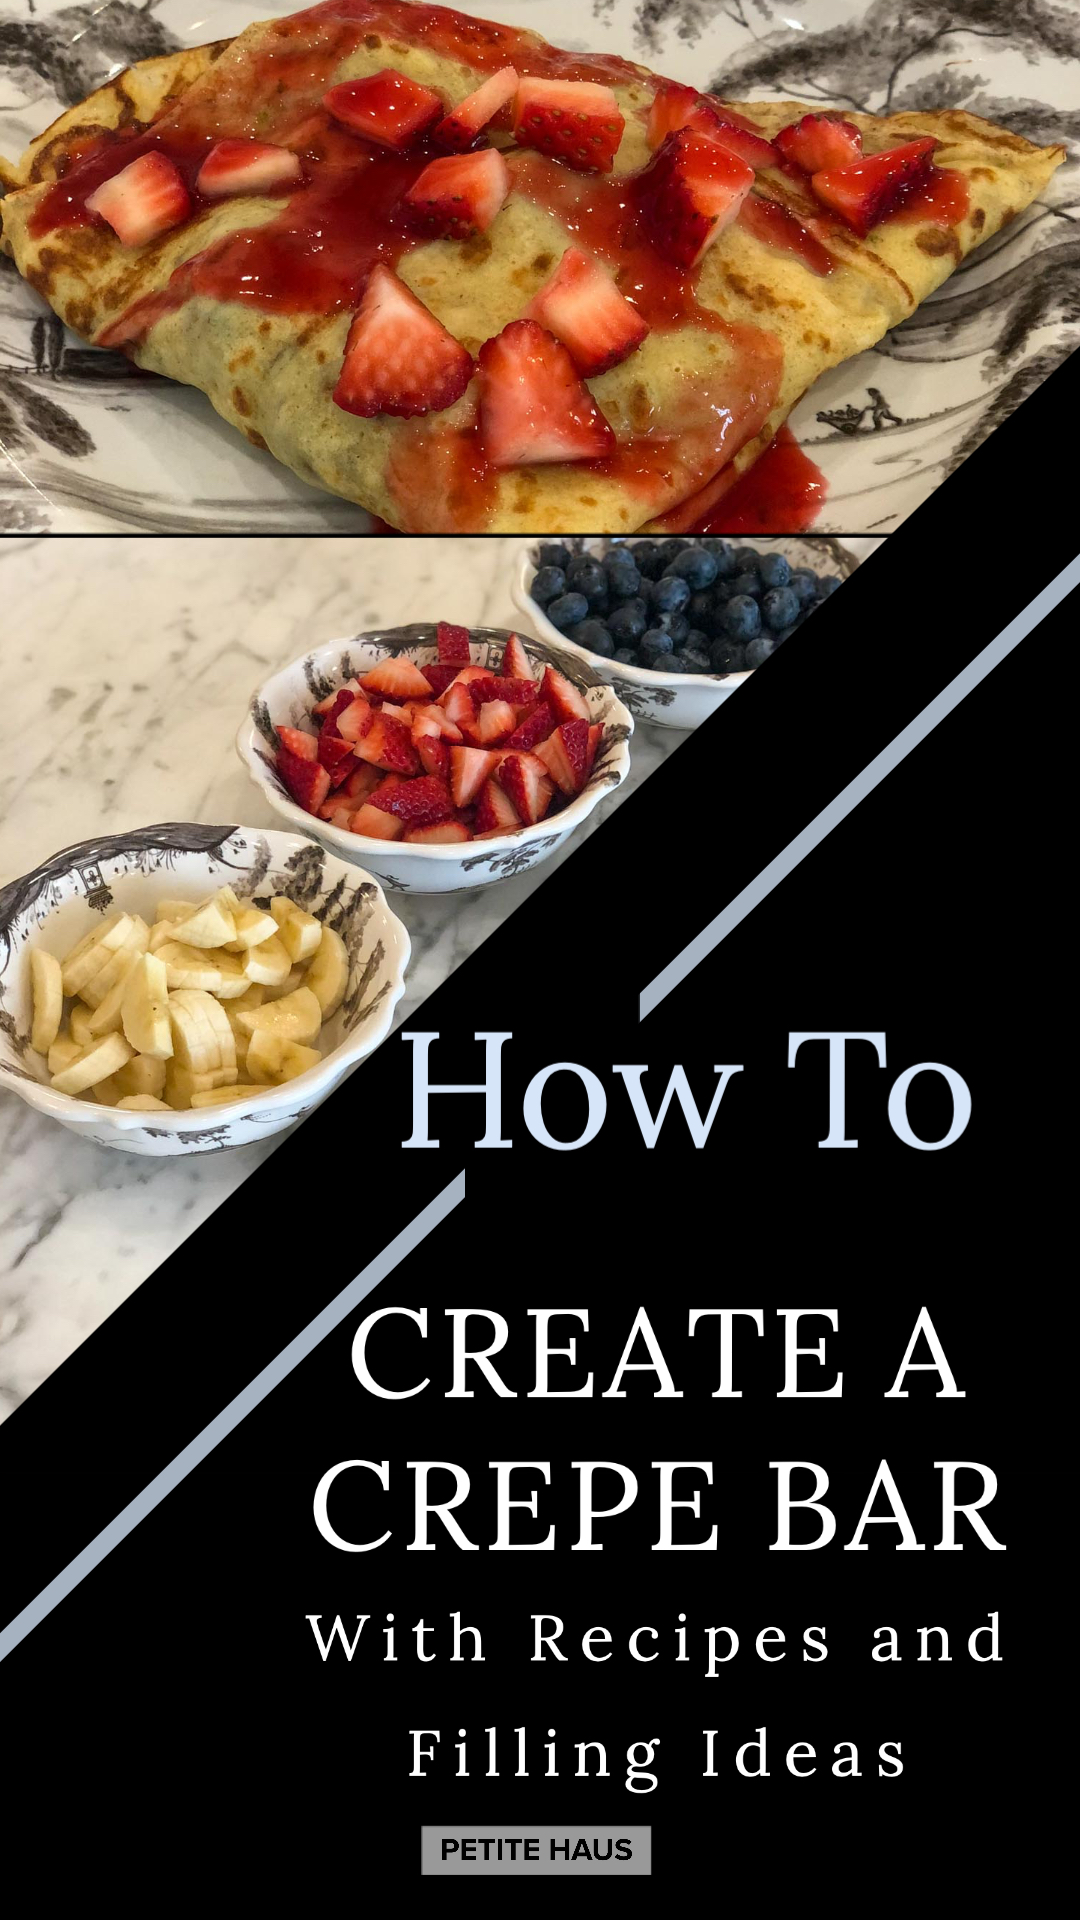
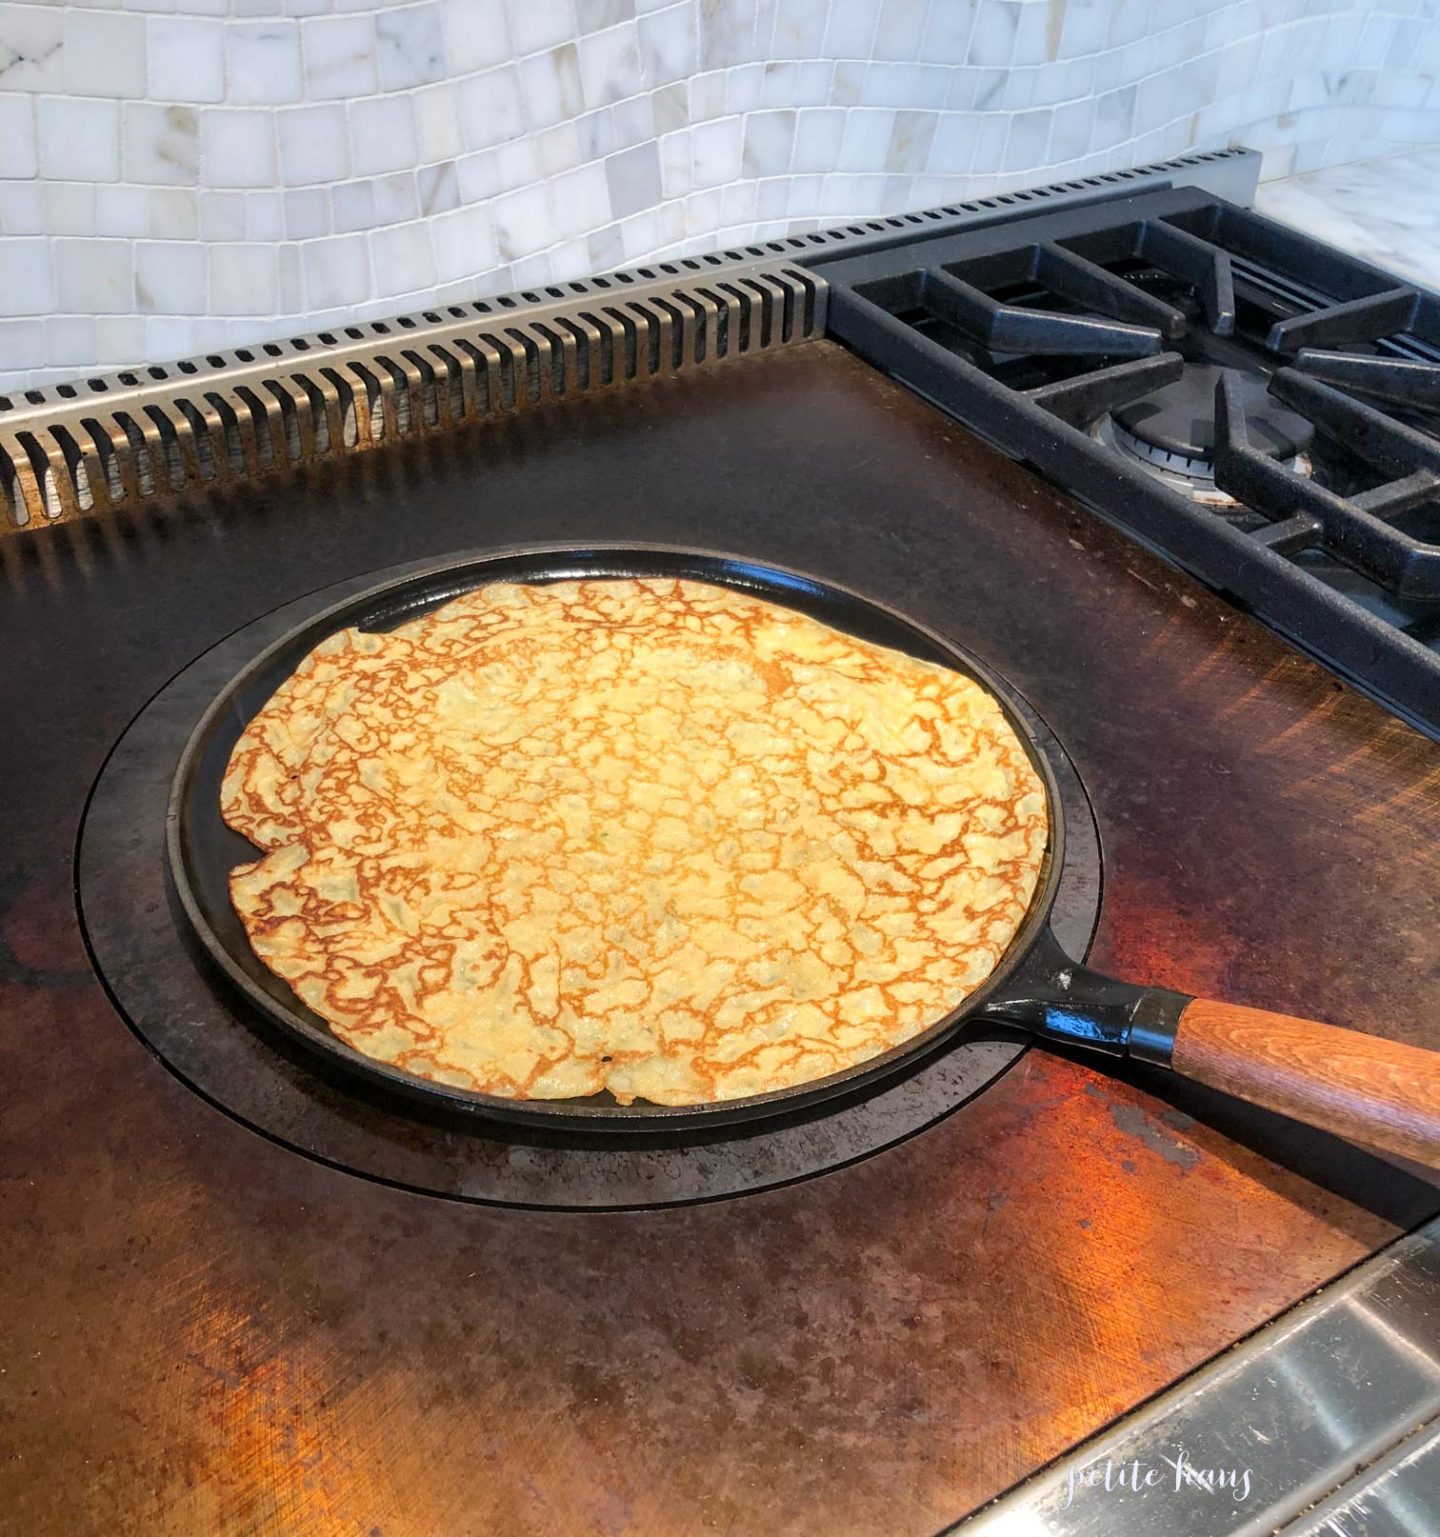
I absolutely love crepes and thought I would share my favorite recipe for making crepes and filling ideas for creating a crepe bar!
First though, let’s admire the finished product:
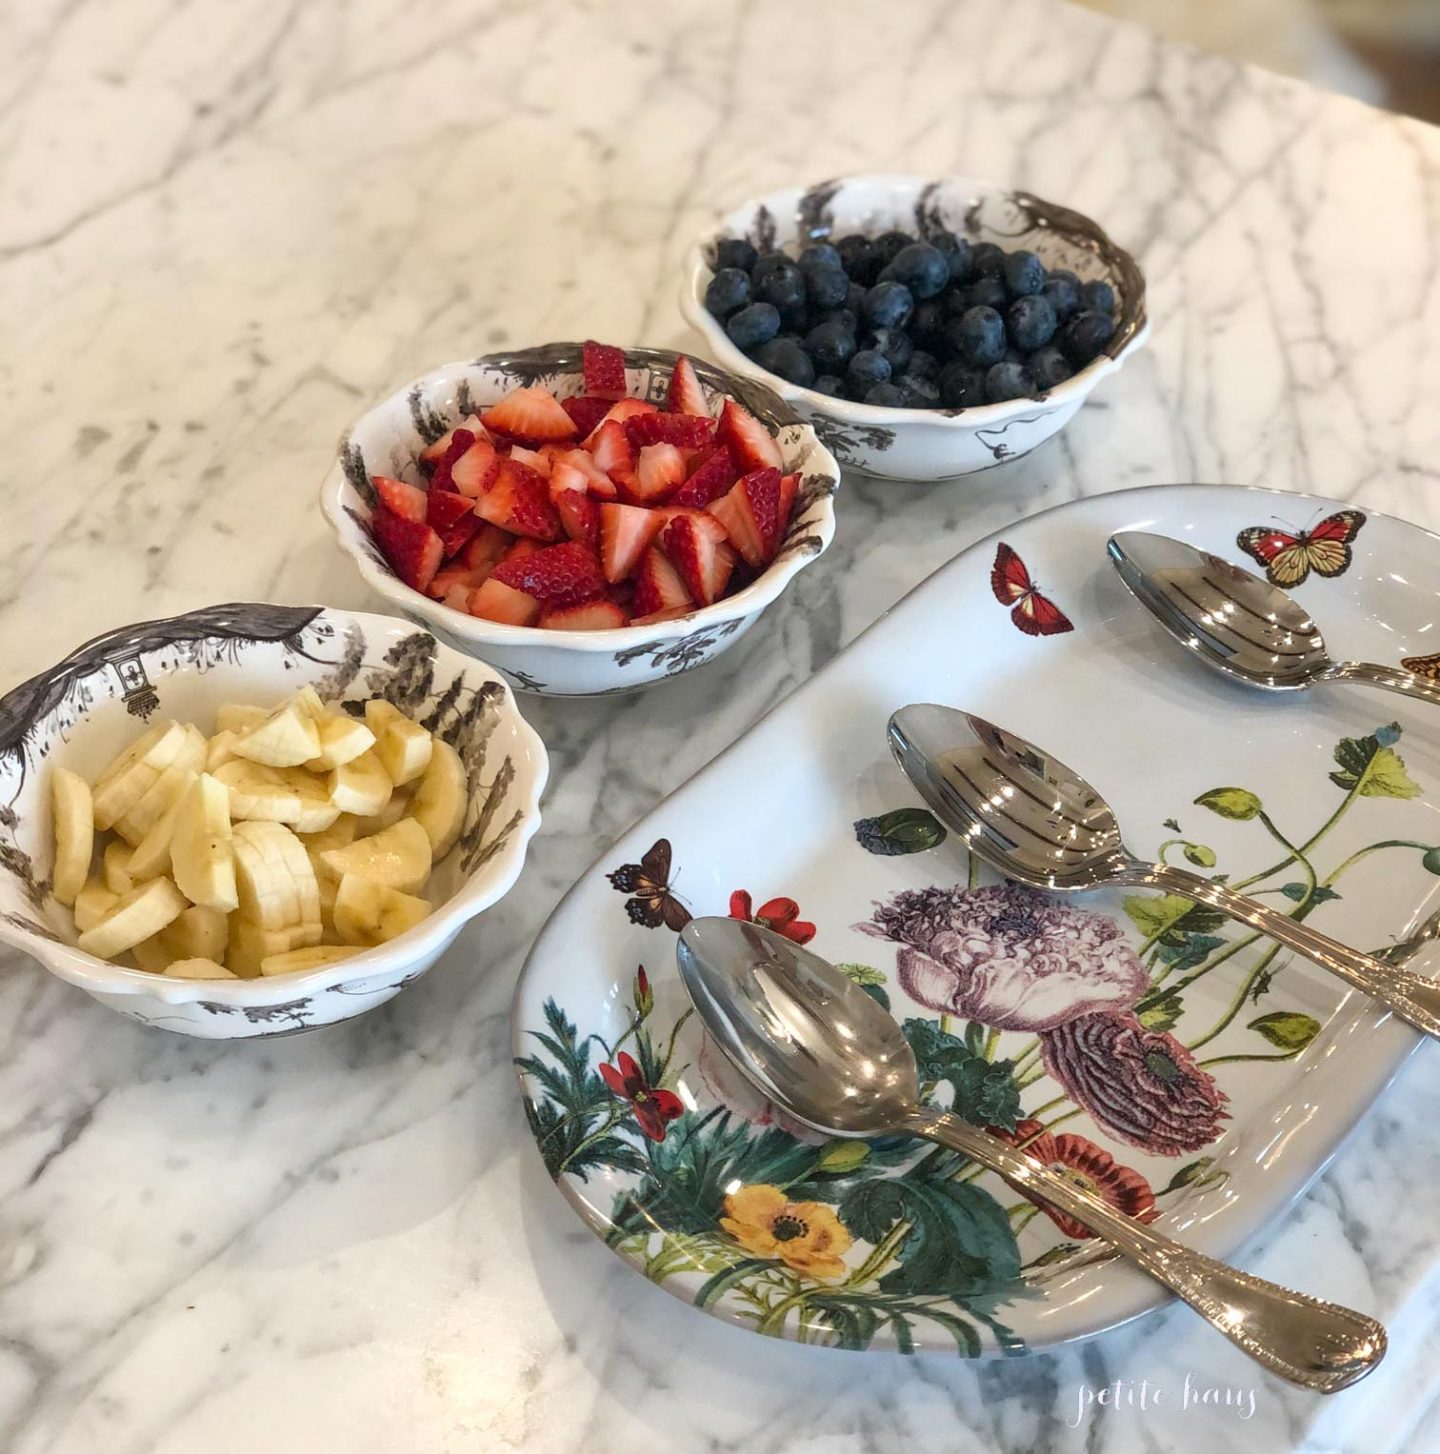
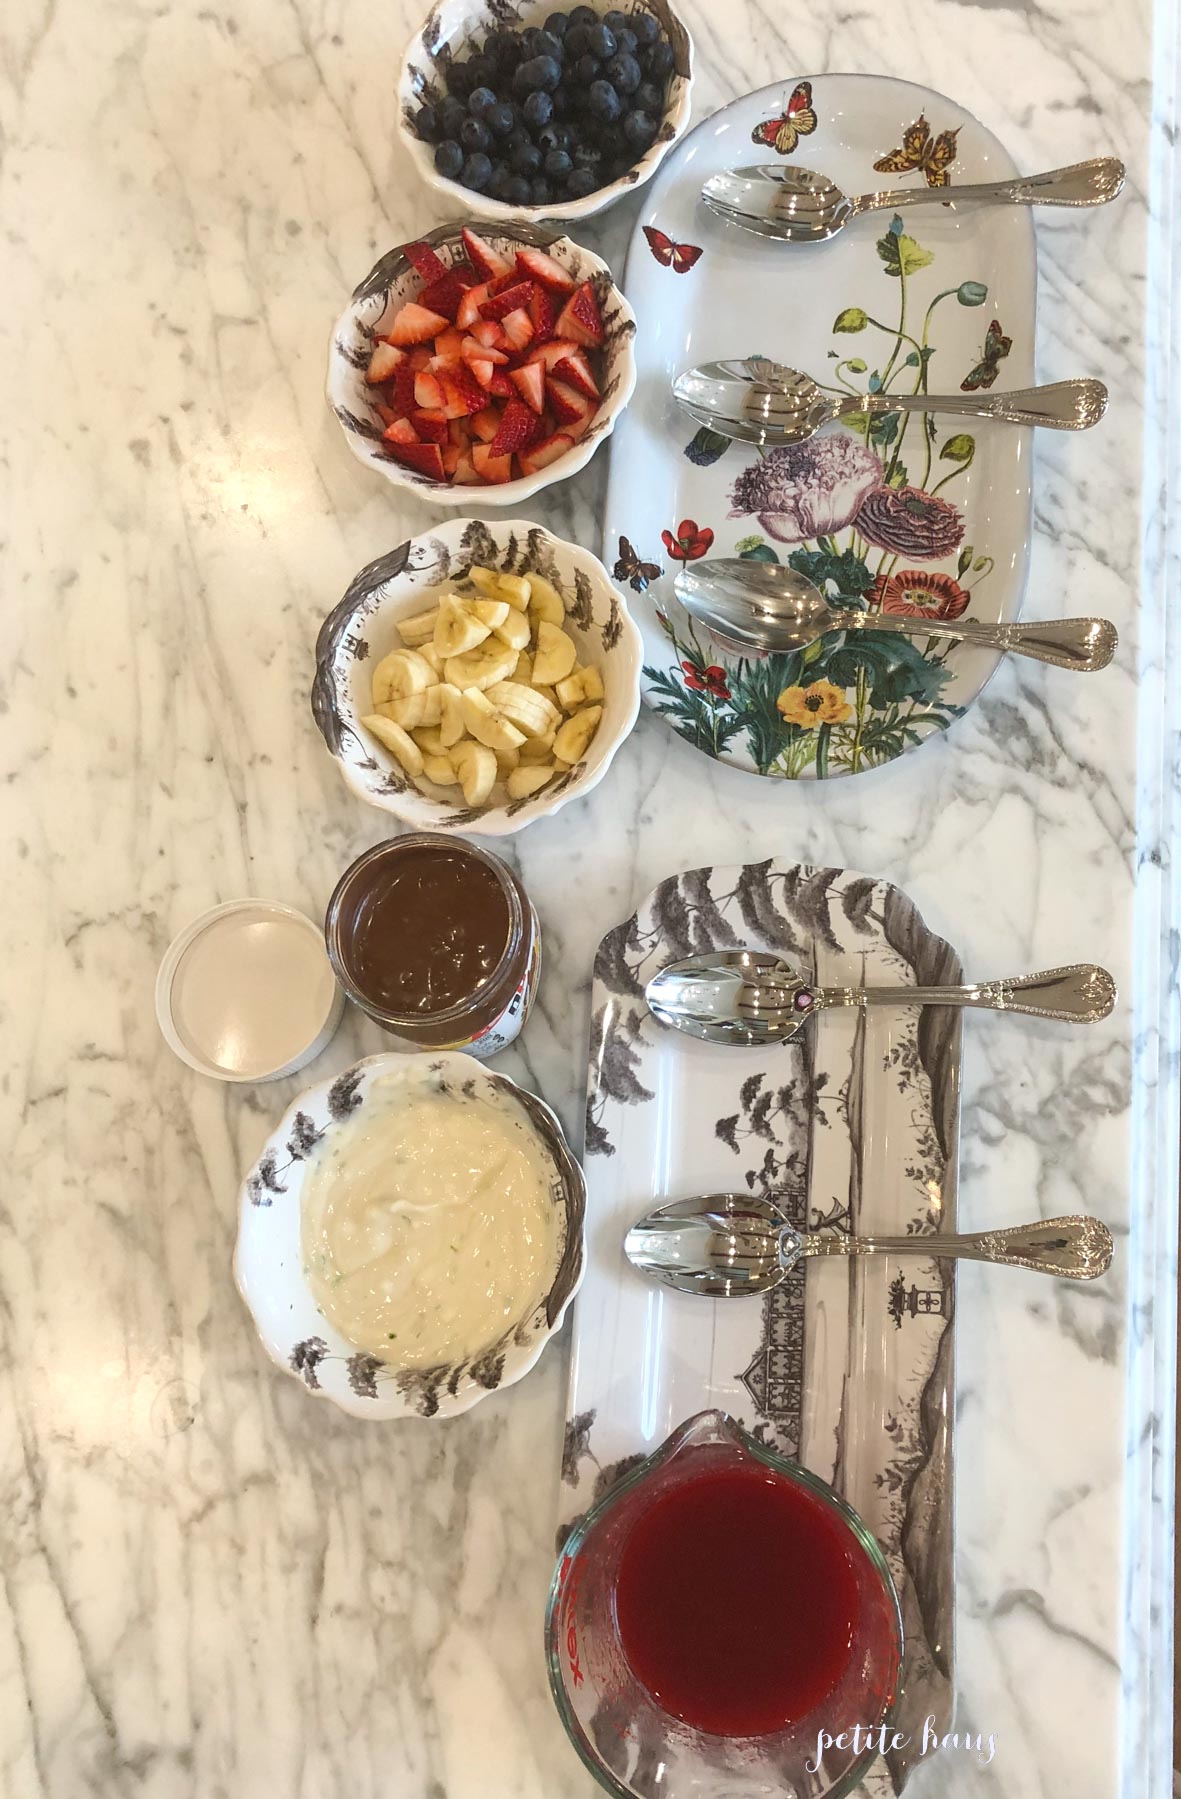
Filling Ideas:
Raspberries
Strawberries
Bananas
Blueberries
Blackberries
Peaches
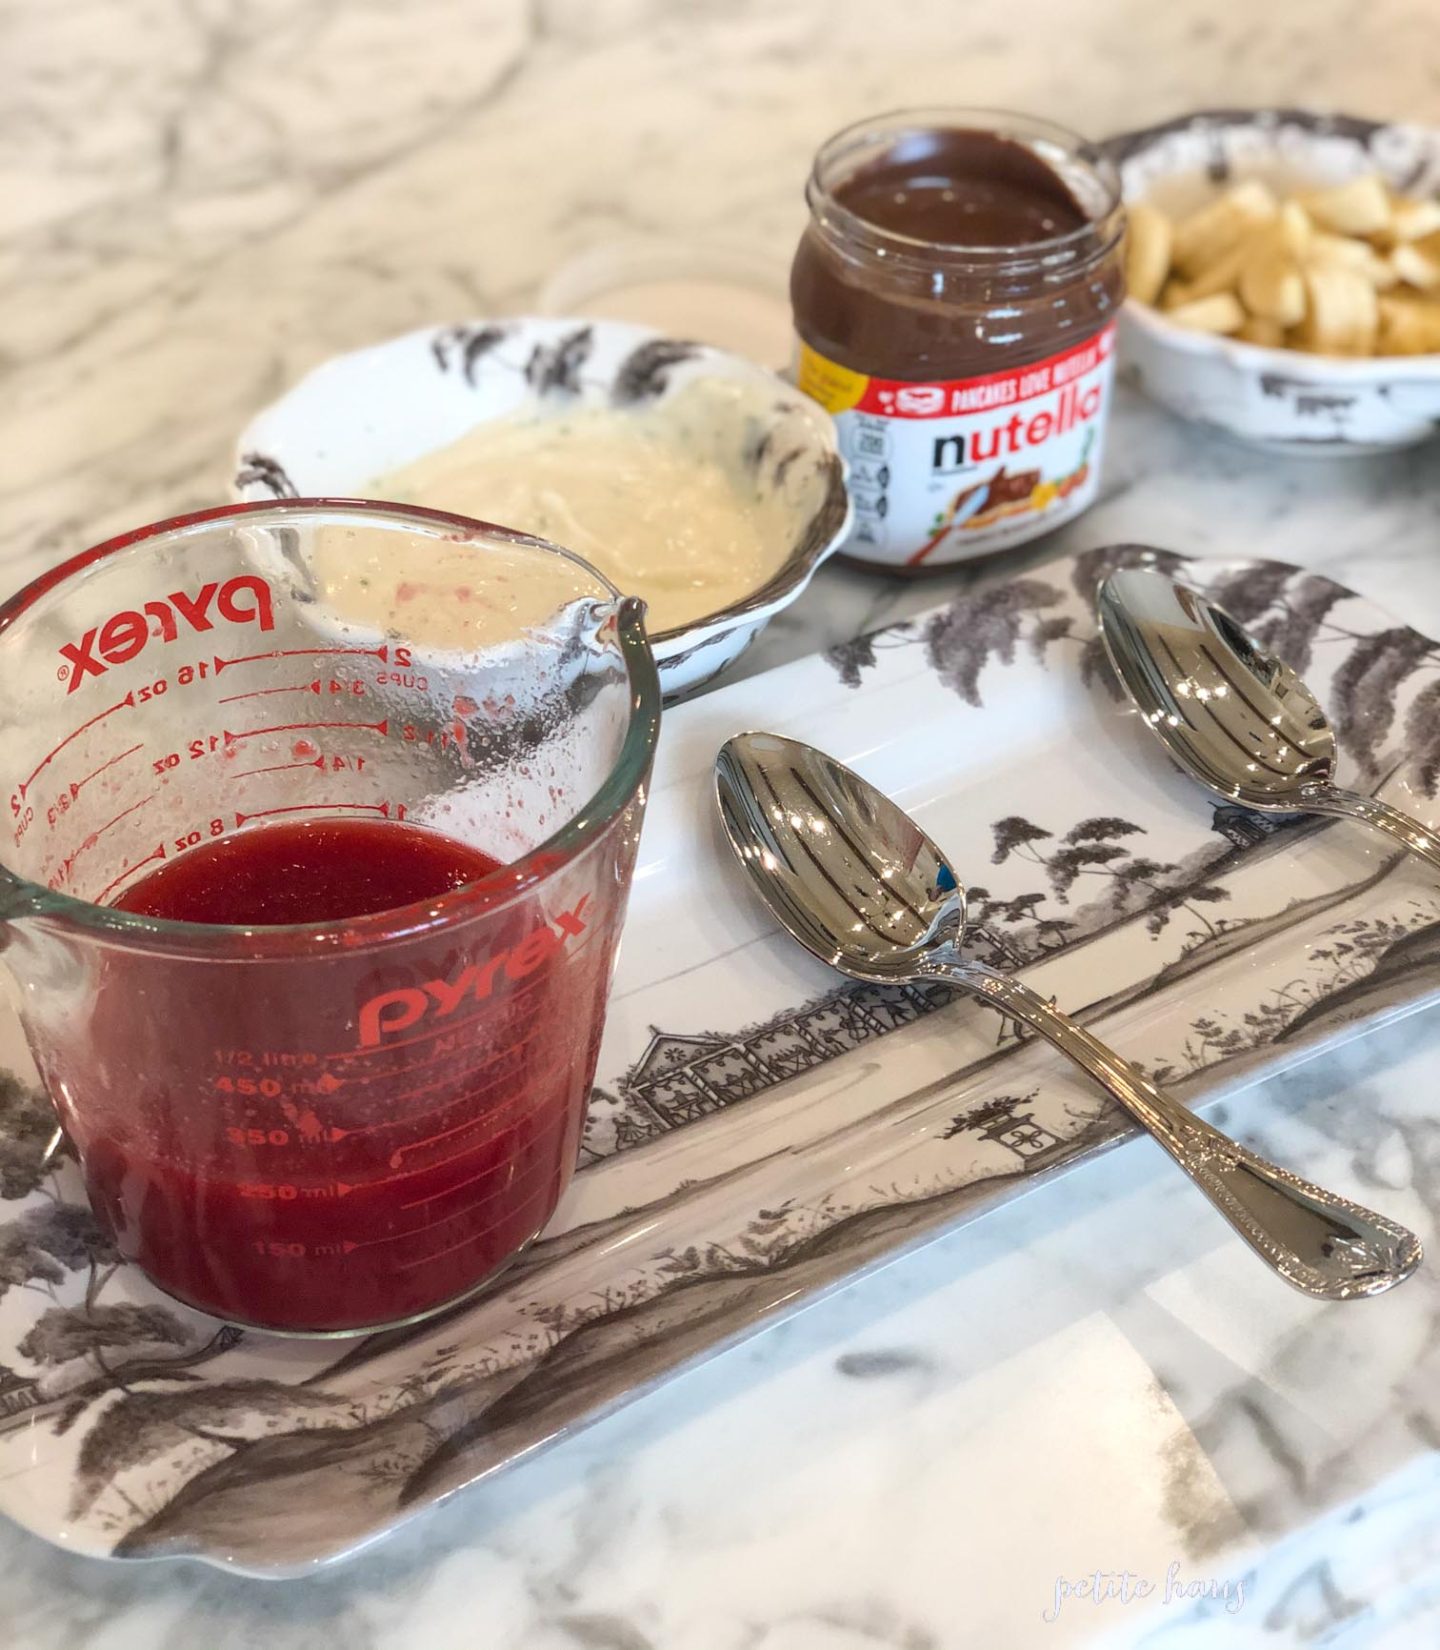
Nutella
Raspberry Coulis Sauce
Blueberry Sauce
Blackberry Sauce
Lemon or Lime yogurt Sauce
Caramel Sauce
Whipped Cream
Lemon Curd
Ricotta
Now, to make crepes a crepe pan is a must have. You can use a regular skillet but it just does not cook the same as a crepe pan, IMO. This is the crepe pan I have exactly, however there are a few other cheaper options: Here is just a crepe pan without the set OR you can just get the spreader and flipper here and use a skillet that you already own.
Cooking the crepe on the crepe pan!
Now fill your crepe with the goodness and enjoy!
Crepes With Raspberry-Cassis Sauce recipes by Martha Rose Shulman
YIELD 6 servings
Ingredients
For the crepes:
* 1 ¼ cups/300 milliliters low-fat milk, such as skim or 1 percent
* 2 large eggs
* ¼ teaspoon salt
* 1 tablespoon/15 grams sugar
* ⅓ cup plus 1 tablespoon/55 grams unbleached all-purpose flour, sifted
* ⅓ cup plus 1 tablespoon/55 grams whole wheat flour or whole wheat pastry flour, sifted
* 3 tablespoons unsalted butter, melted, plus butter for the pan
Step 1- To make crepe batter, place milk, eggs, salt and sugar in blender. Turn on and, with the motor running, add flours, then melted butter and blend at high speed for 1 minute, until well mixed and smooth. Transfer to a bowl, stir in lime zest, cover and let rest for at least 30 minutes. If resting batter longer, refrigerate. (Whisk again before making crepes.)
Step 2- While batter is resting, make raspberry sauce. Combine 1/3 cup water and sugar in small saucepan and bring to a boil. Reduce heat to medium low and simmer until sugar has dissolved. Remove from heat. Stir in rose water, raspberries and cassis liqueur. Return to heat, bring to a simmer, cover and simmer 10 minutes. Remove from heat and strain the mixture into a bowl. Press the raspberry pulp through strainer with a spatula and discard seeds. Whisk or stir to blend pulp and syrup and set aside.
Step 3- Make the yogurt filling: In a separate bowl, whisk together yogurt, honey, lime zest and juice. Taste and adjust sweetness. Set aside.
Step 4- To make crepes, heat 8-inch nonstick crepe pan or skillet over medium-high heat and brush lightly with butter. Pan must be hot when you add crepe batter. Lift pan off heat and pour or ladle in a scant 1/4 cup batter, enough to thinly coat bottom of pan. Tilt and swirl pan to distribute batter in an even layer. Return pan to heat and cook crepe for about 1 minute, until edges color and bottom of crepe is lightly browned. Crepe should not stick to pan. Flip crepe over and cook for 30 seconds on the other side, until speckled. Turn out onto a plate. Continue with remaining batter, brushing pan occasionally with butter if desired.
Step 5- If you want to serve crepes at their hottest, assemble them as they come out of the pan. Spread a rounded tablespoon of the yogurt mixture over each crepe, drizzle on 1/2 teaspoon raspberry sauce, fold crepe in half and then in half again. Place on plate or platter. When all crepes are made and filled, spoon or pour sauce over, garnish with raspberries, and, if desired, dust with powdered sugar. Serve.
* Crepes can be made ahead and filled and reheated in a 250-degree oven for 20 minutes before being topped with sauce.
It’s interesting to me that street food in Europe includes crepes, gelato, toasted nuts… but here in the USA it is elephant ears and corn dogs!
We use affiliate links in our posts and our site. This means if you make a purchase using these links, we may earn a small commission. You don’t pay a cent more than you would otherwise! Our full disclosure is available under About.
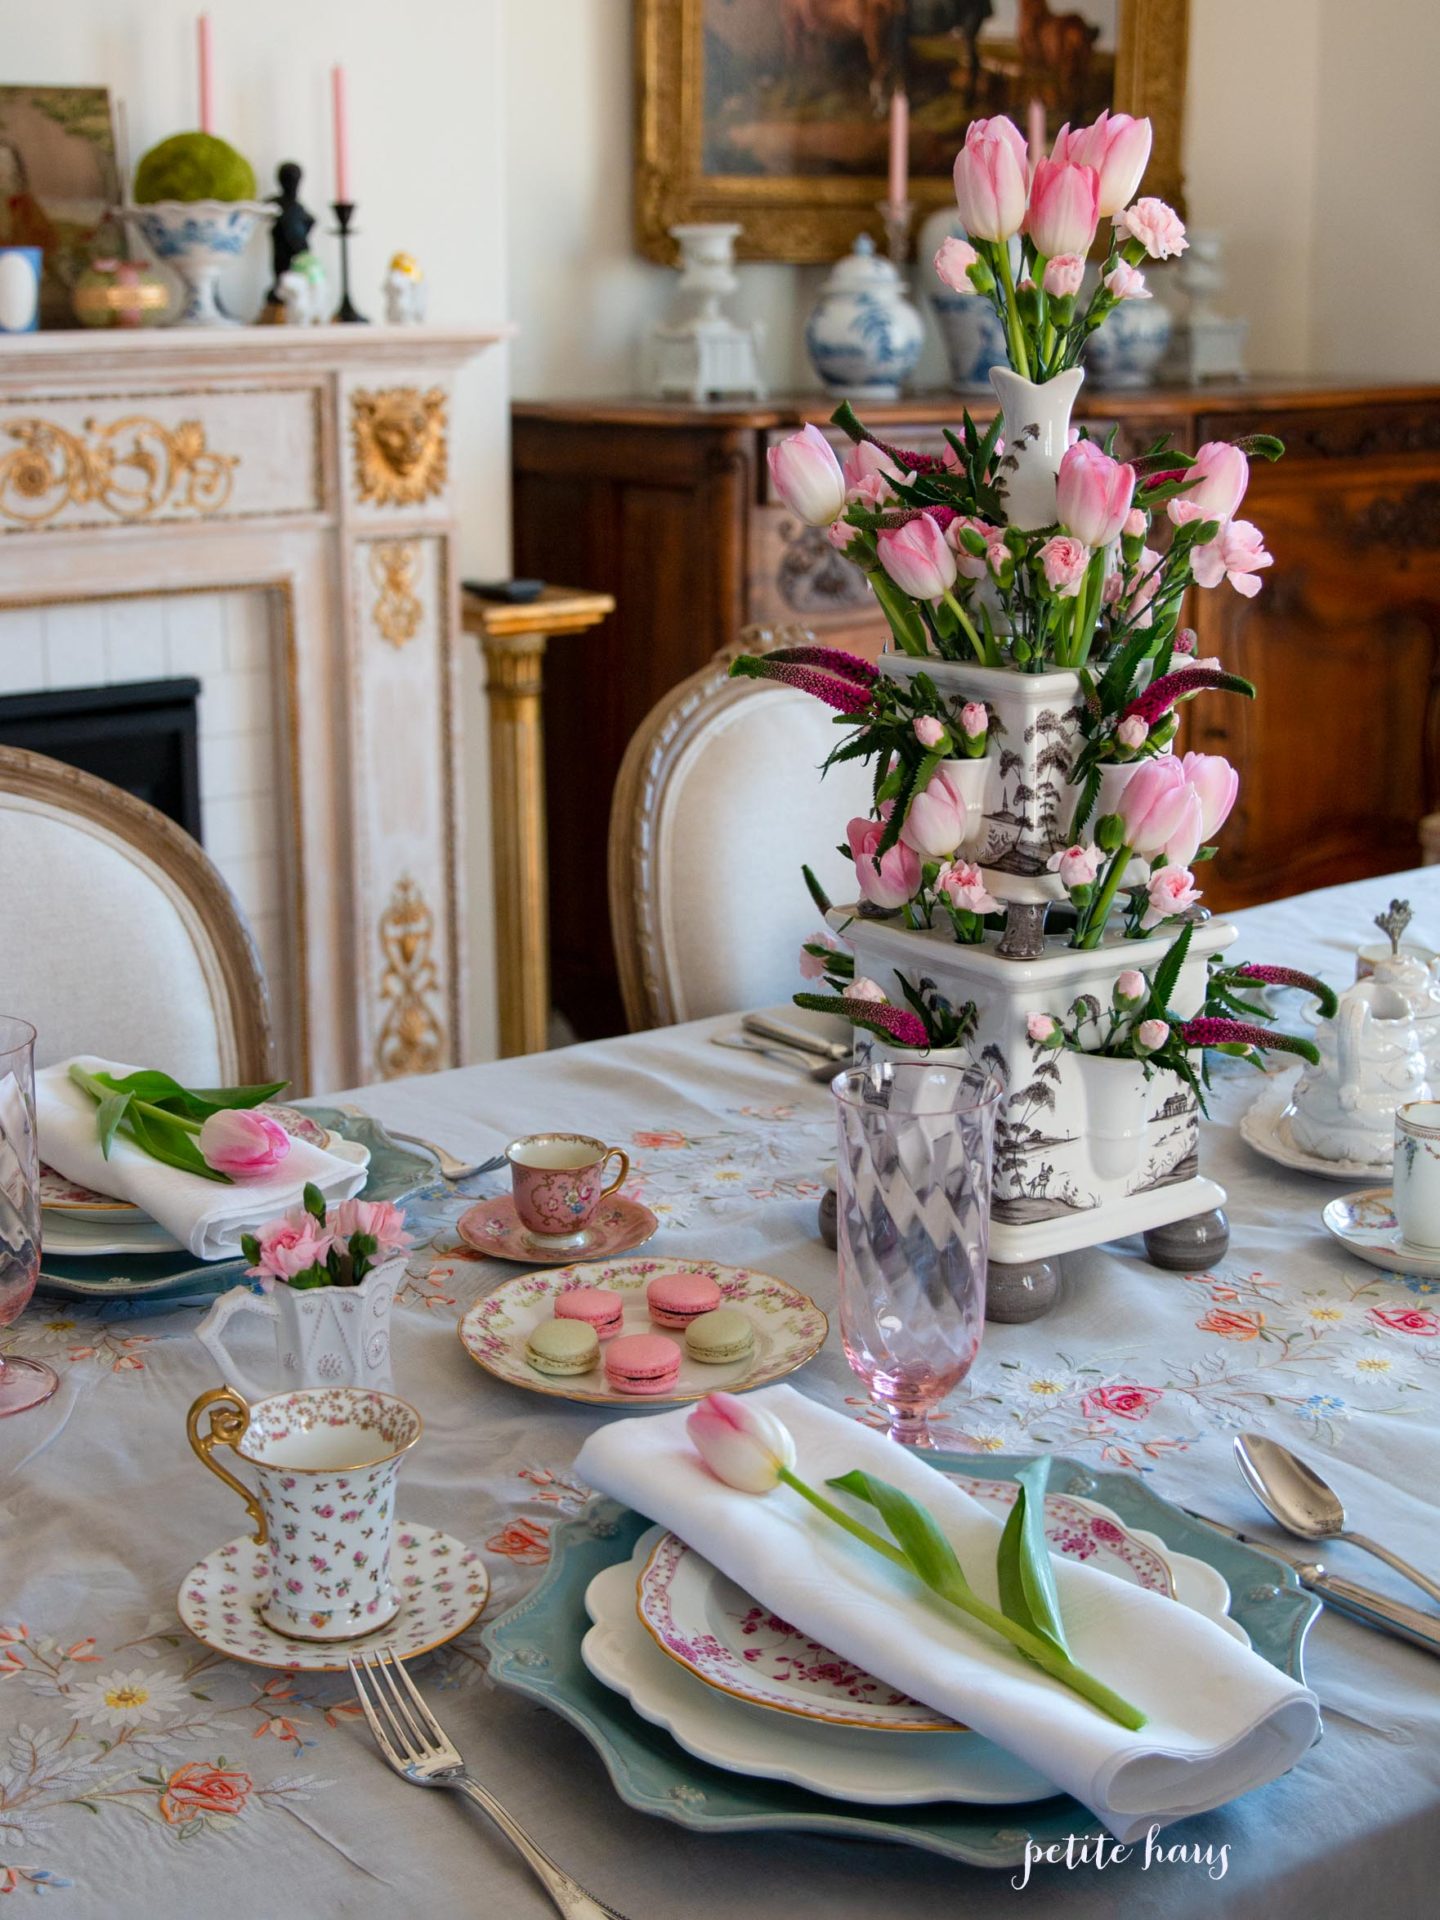
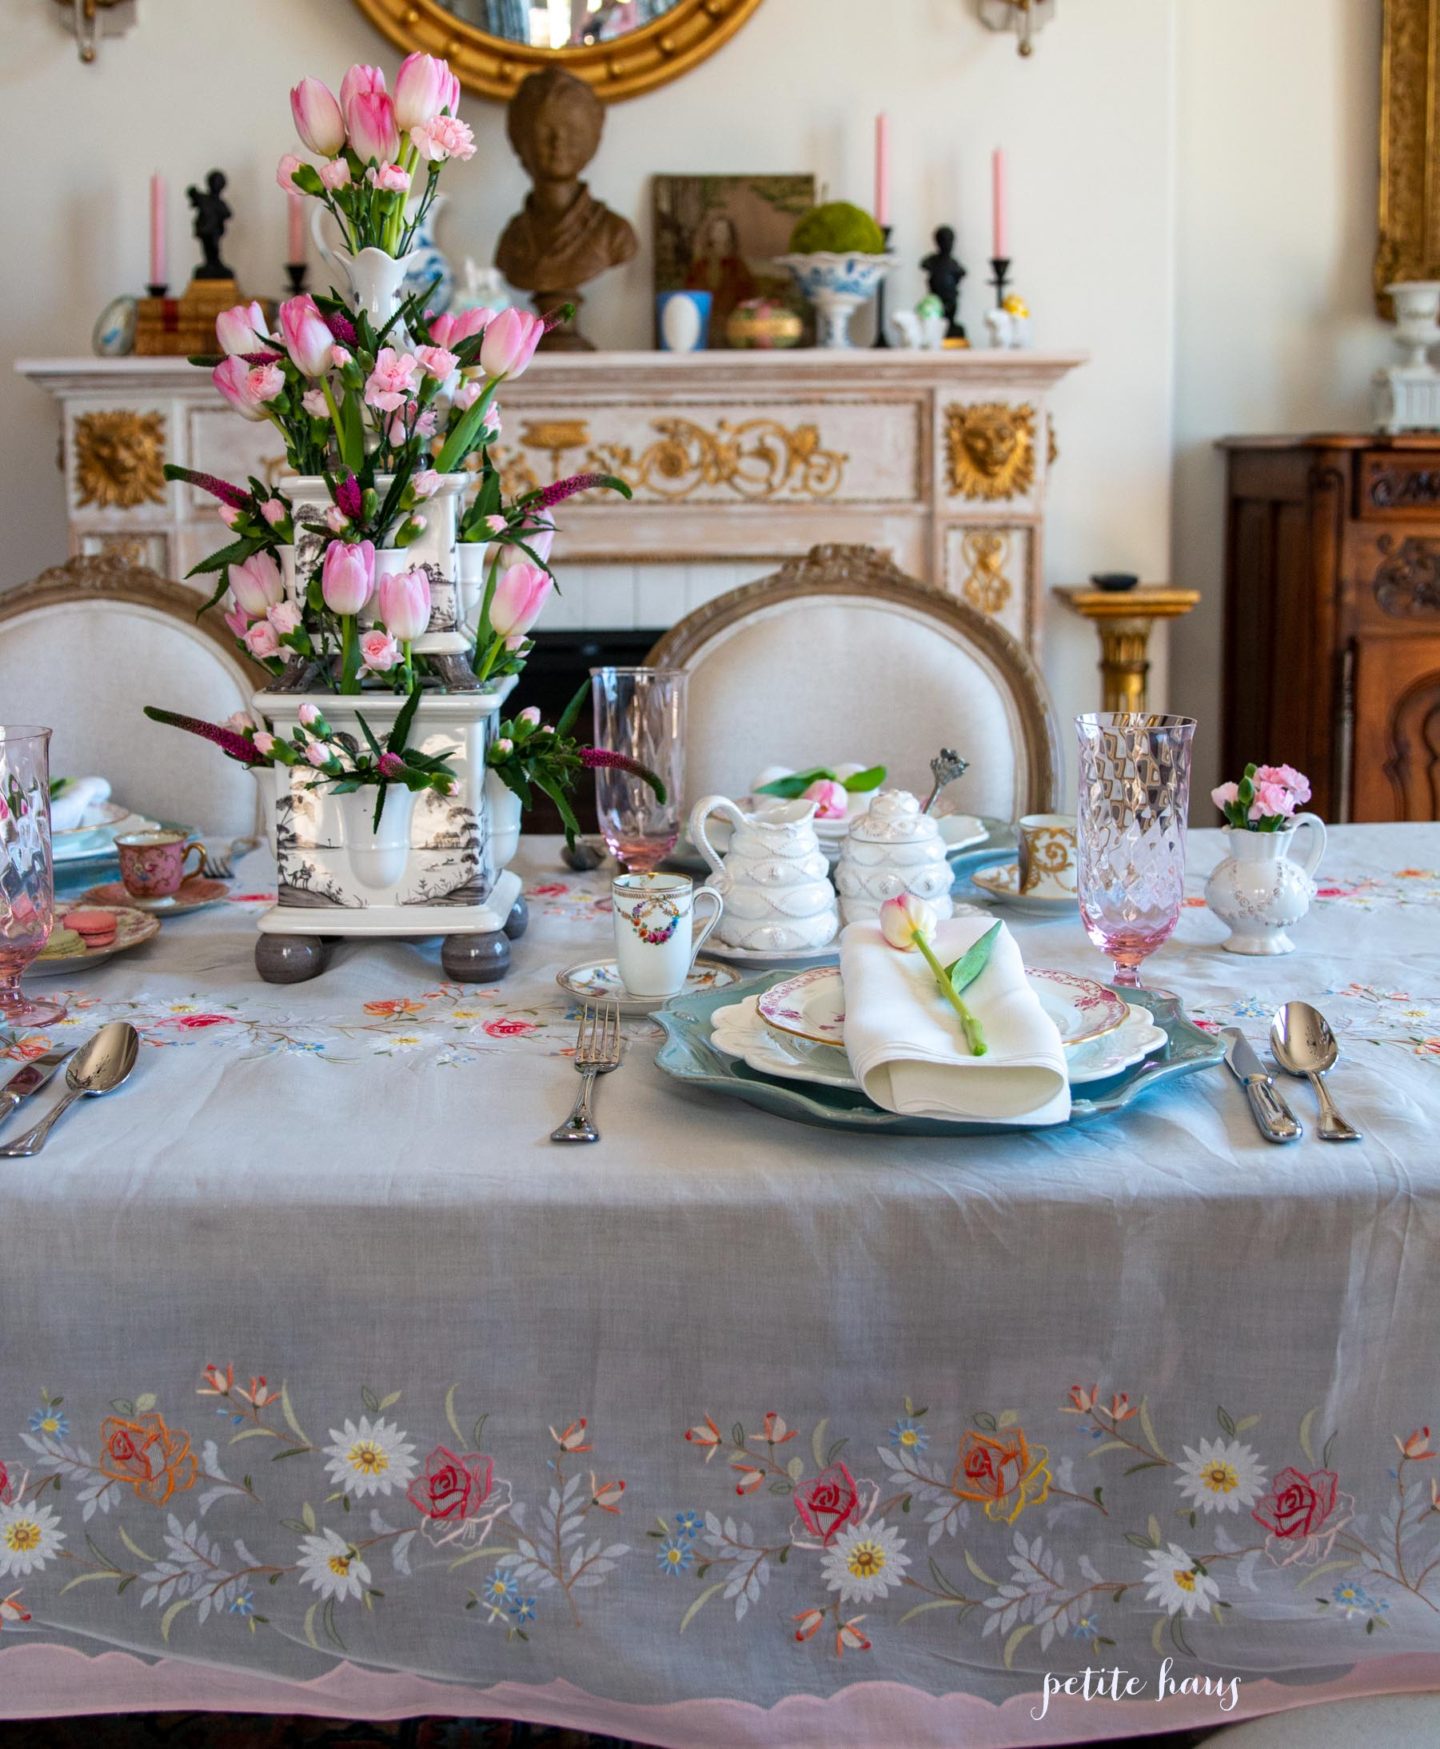
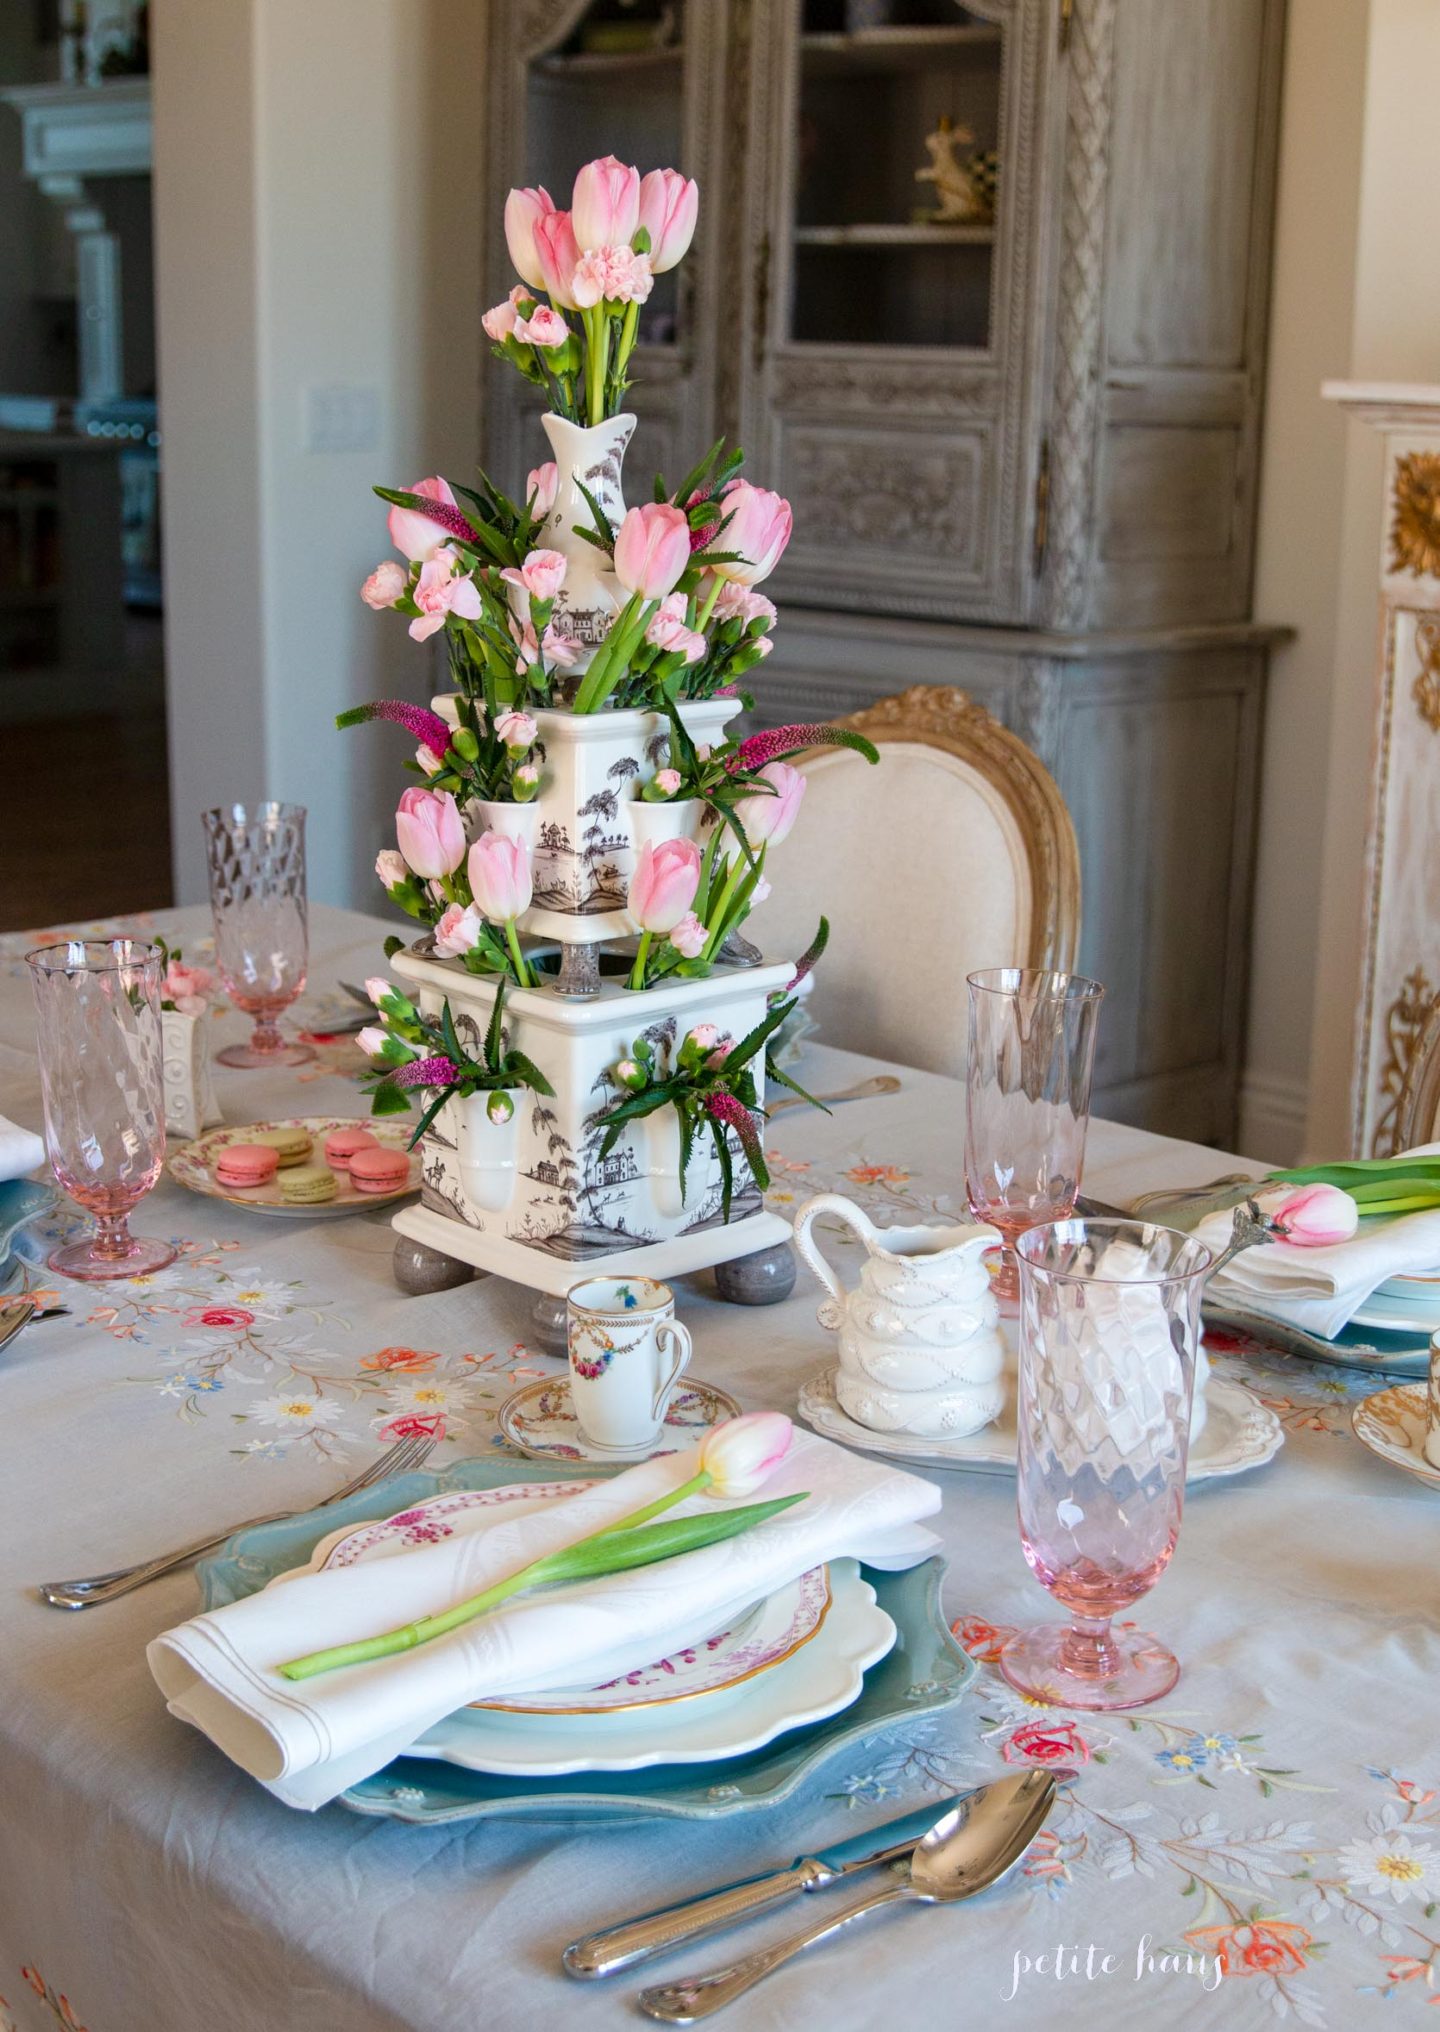
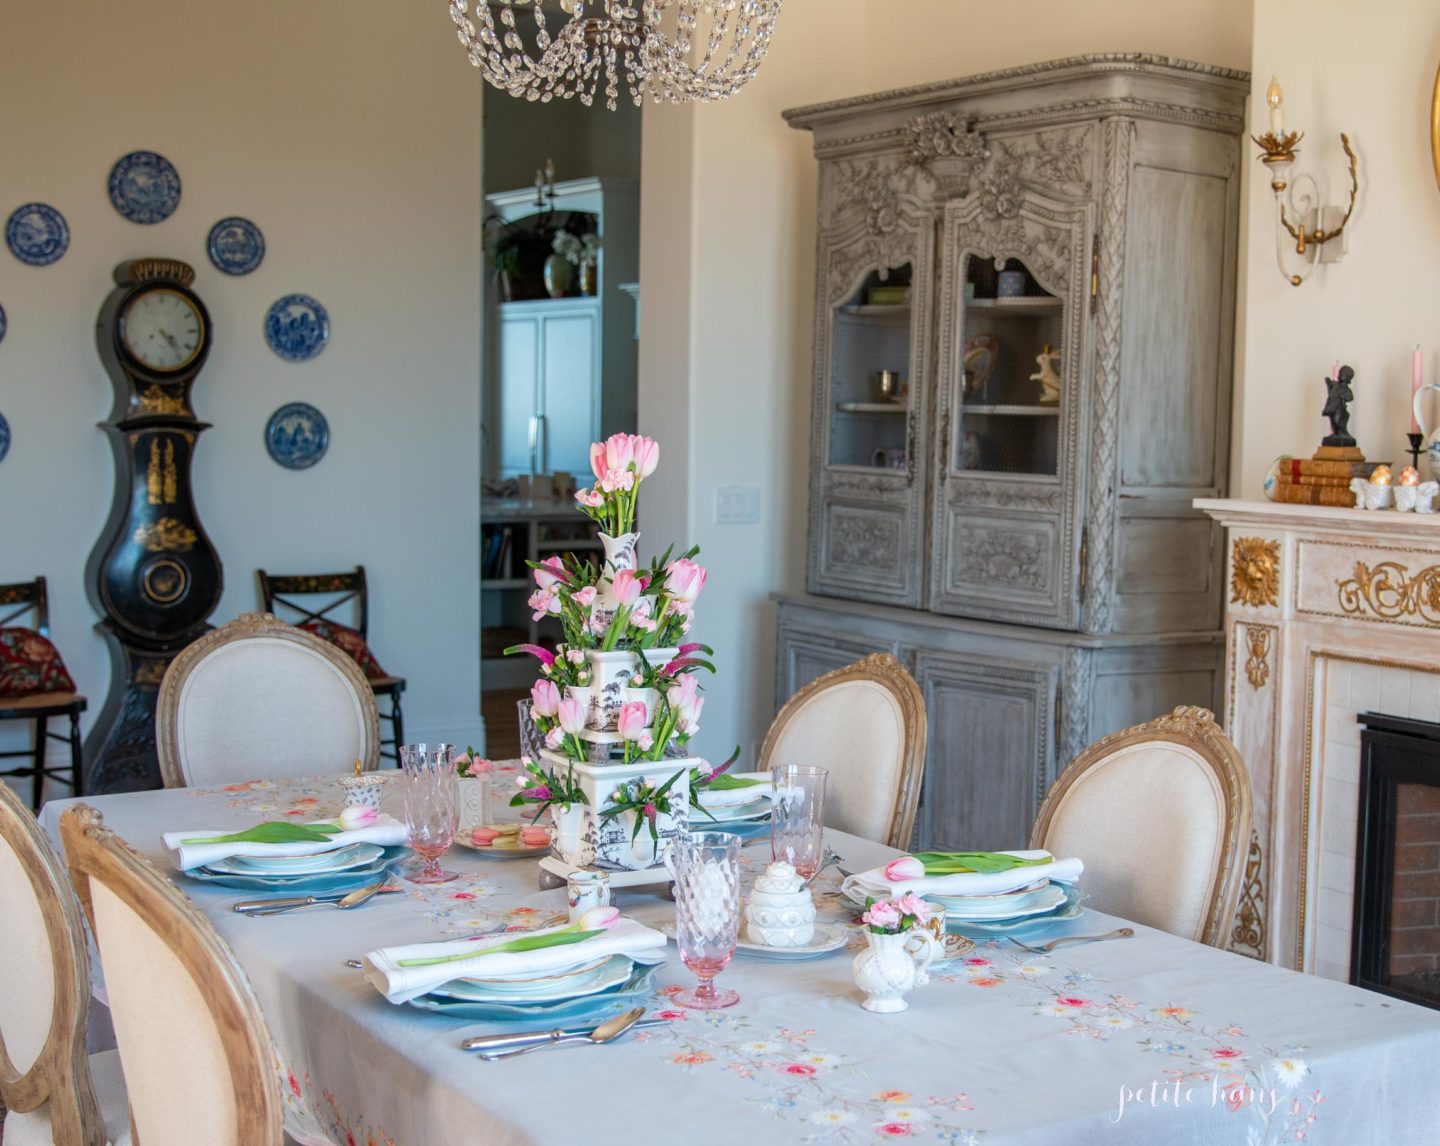
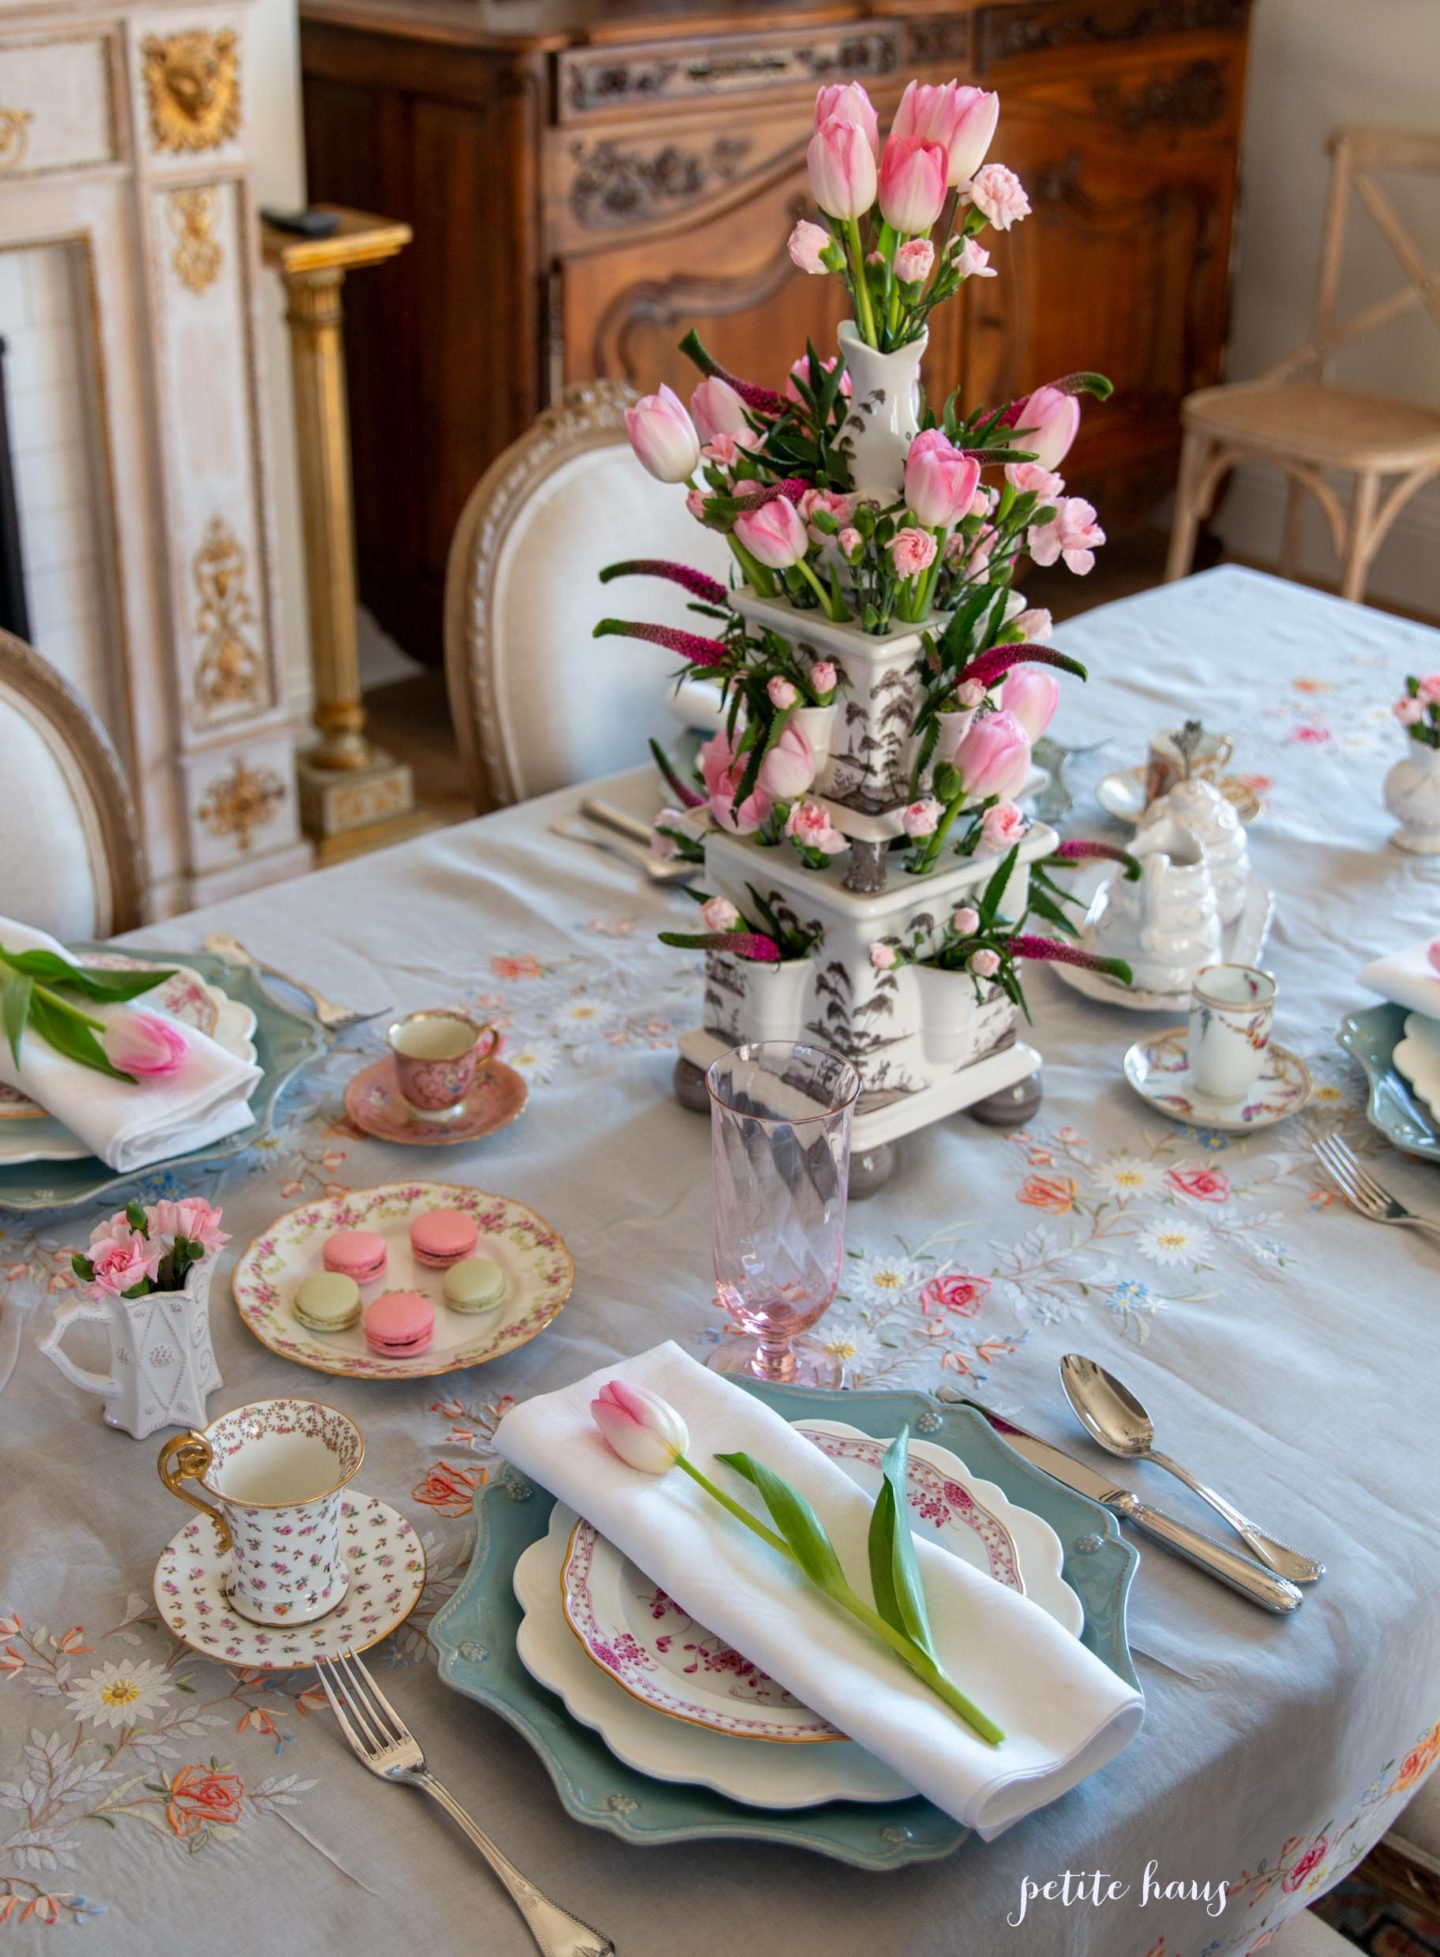
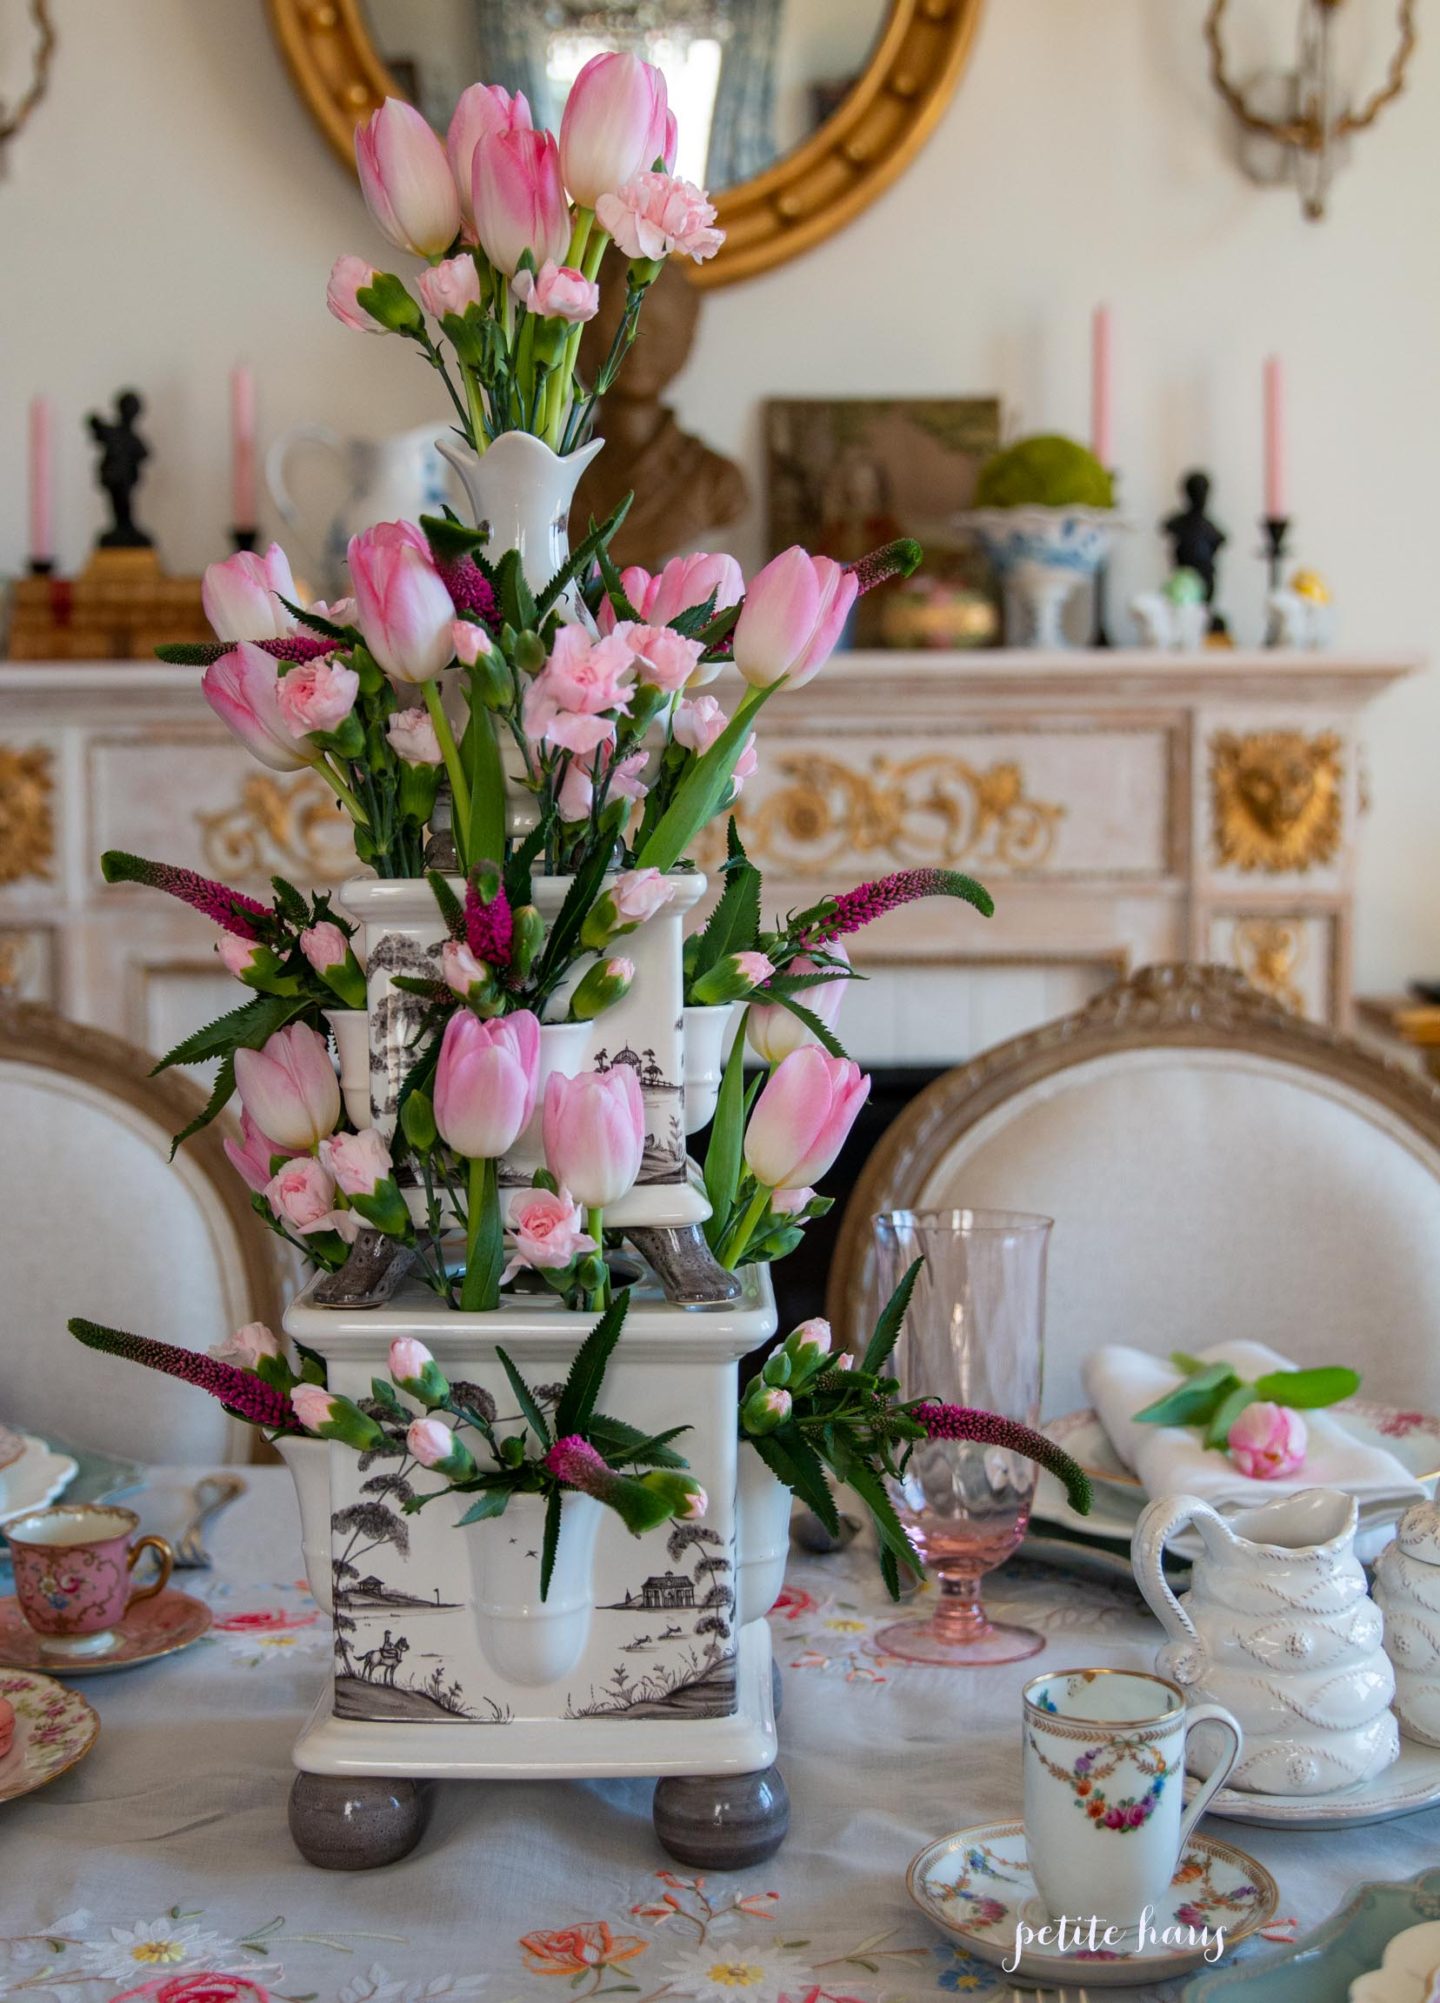
A pretty in pink tulip table setting!
The tulipiere really lets the tulips shine!
Each table setting has a tulip as well. I use my antique linen, plates and china to set this table.
We use affiliate links in our posts and our site. This means if you make a purchase using these links, we may earn a small commission. You don’t pay a cent more than you would otherwise! Our full disclosure is available under About.
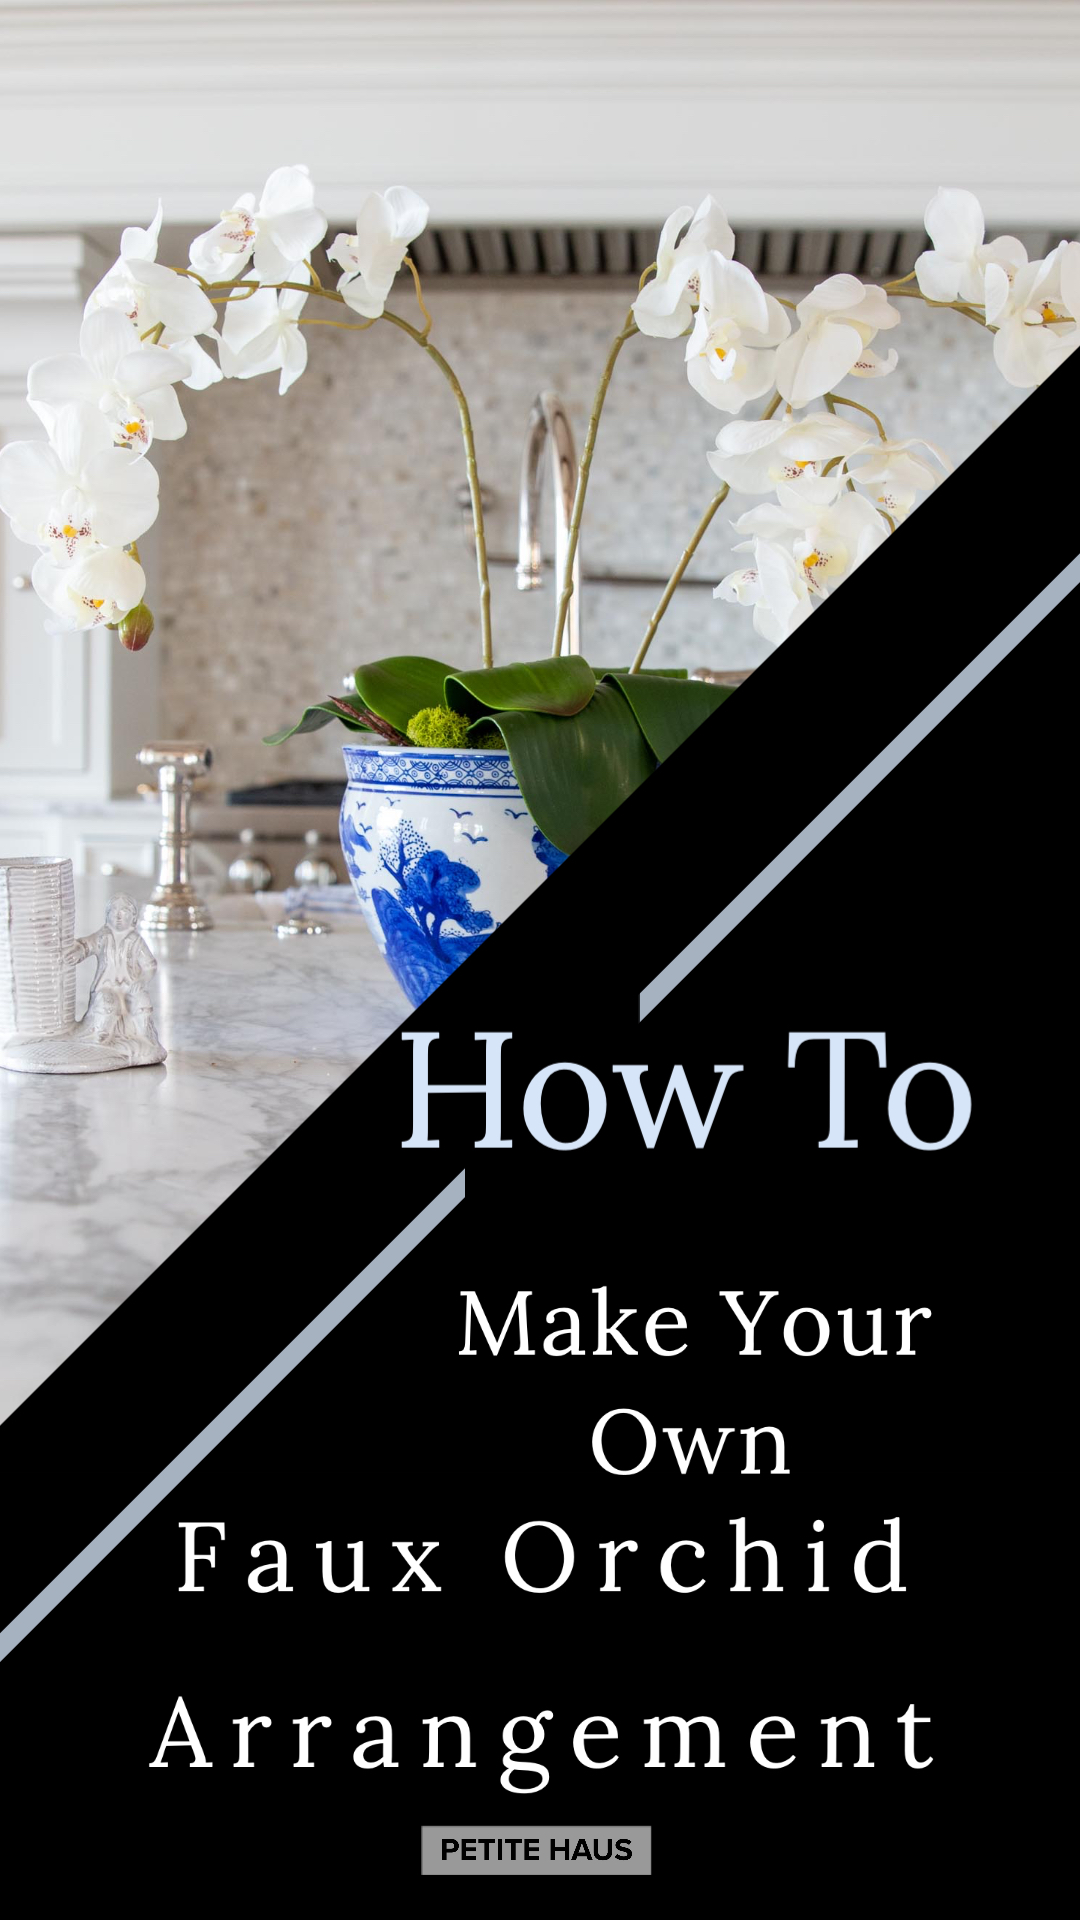
Last year I made my own real orchid arrangement – similar to ones you see in all the magazines, social media, etc!
Except, I have a brown thumb. It is also an accomplishment to kill every one of my indoor plants I have ever purchased.
So I got the idea to make a faux orchid arrangement as the ones that are available for purchase are quite pricey!
I purchased this set of Orchid stems– you get a set of 4 for under $20. I ended up doing this project for another vase and bought these orchid stems which were a little more expensive at 2 for $20 – they look a *bit* more real, but really they both look good.
I purchased this set of Orchid leaves – you get 3 plants for under $20.
The blue and white porcelain bowl I purchased at Home Goods for $20. Floral foam was $3.
Take your dry floral foam and cut a piece to wedge into your vase.
Poke and place your orchid stems into the foam.
Then place your orchid leaves into the foam.
Use reindeer moss to cover the foam.
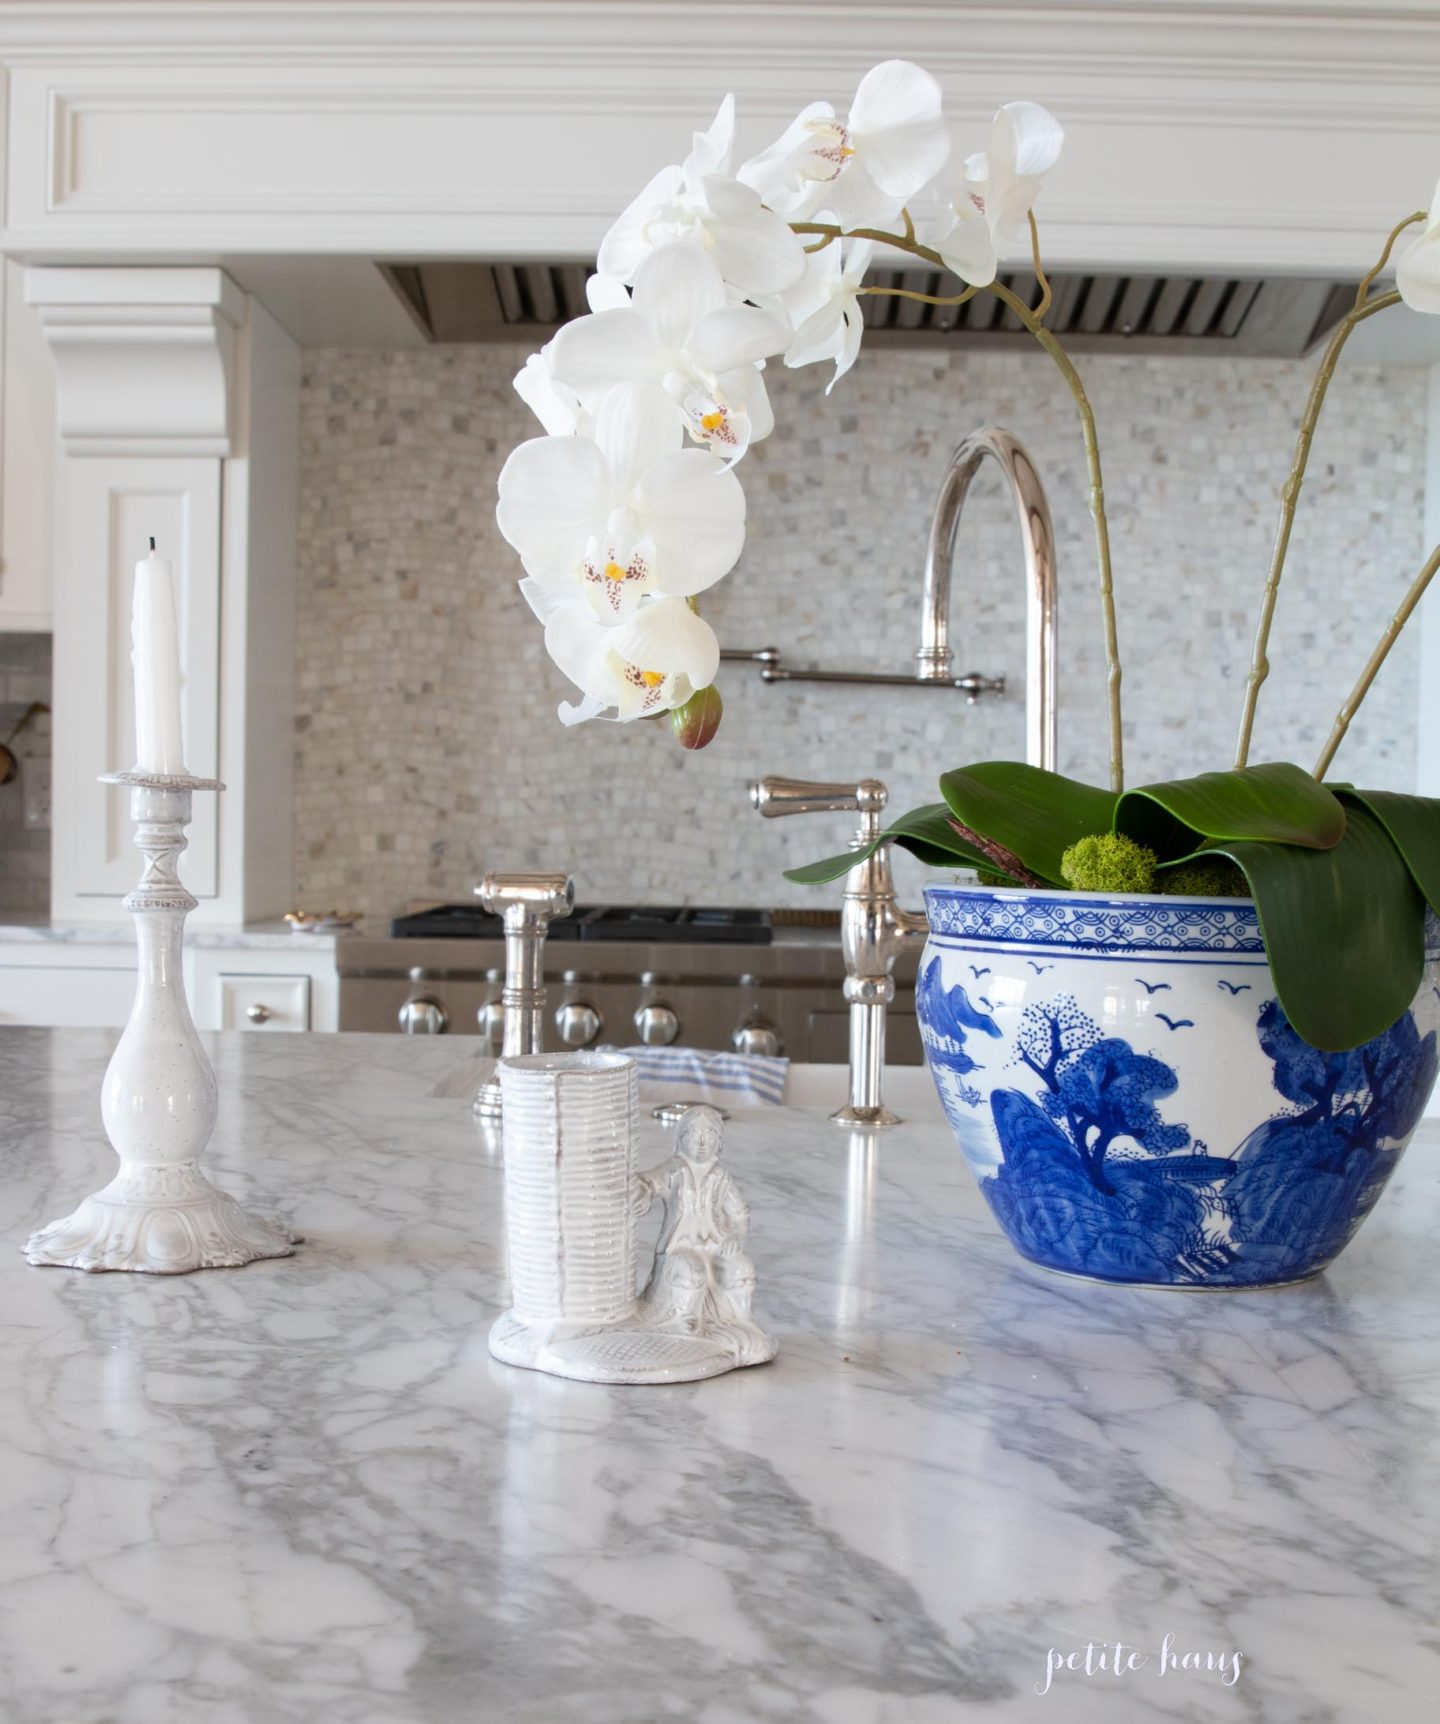
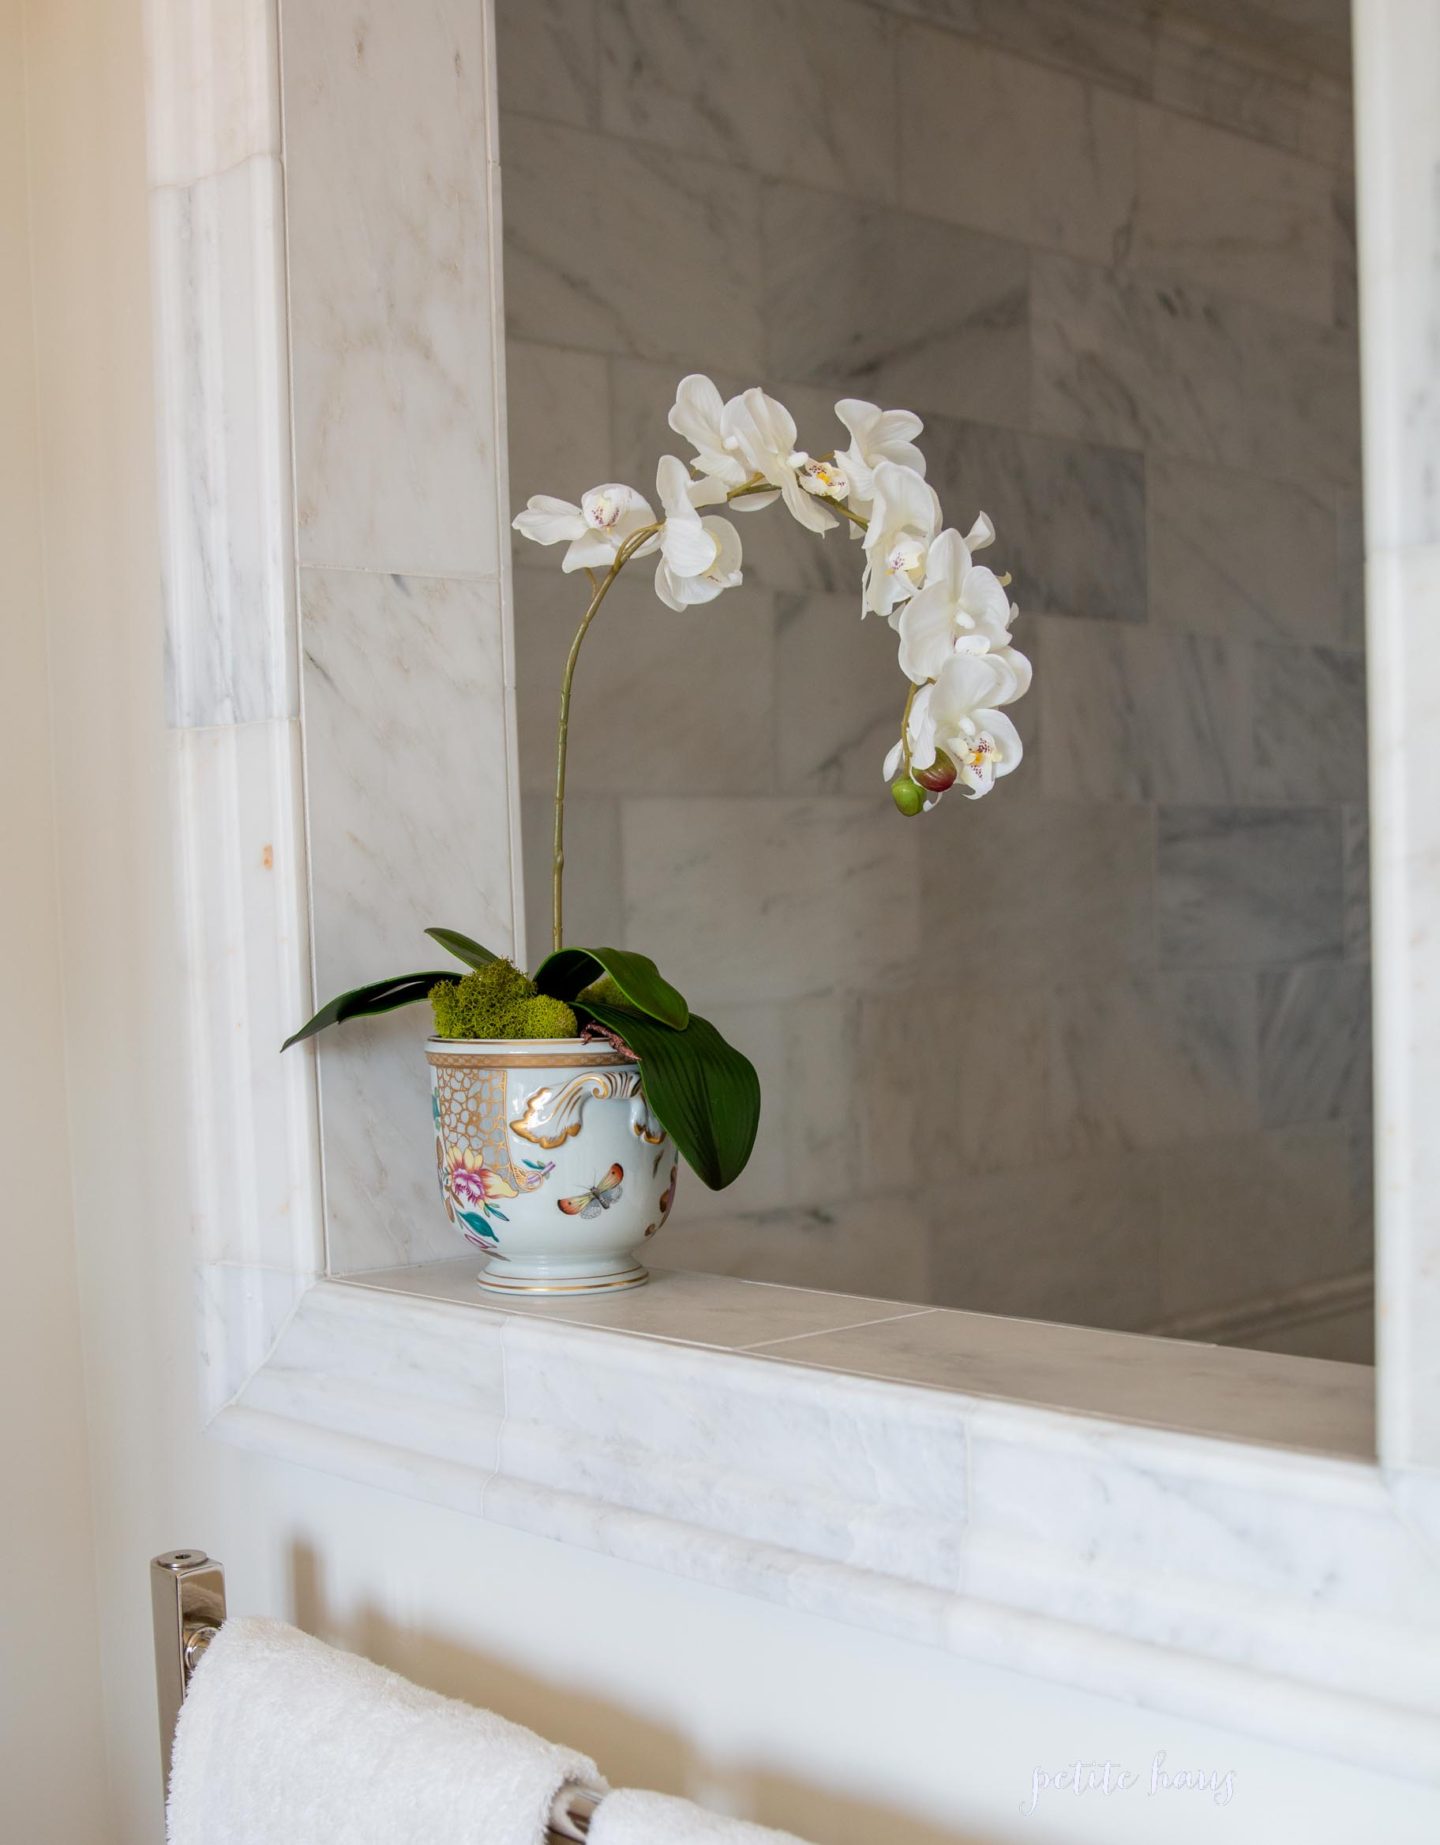
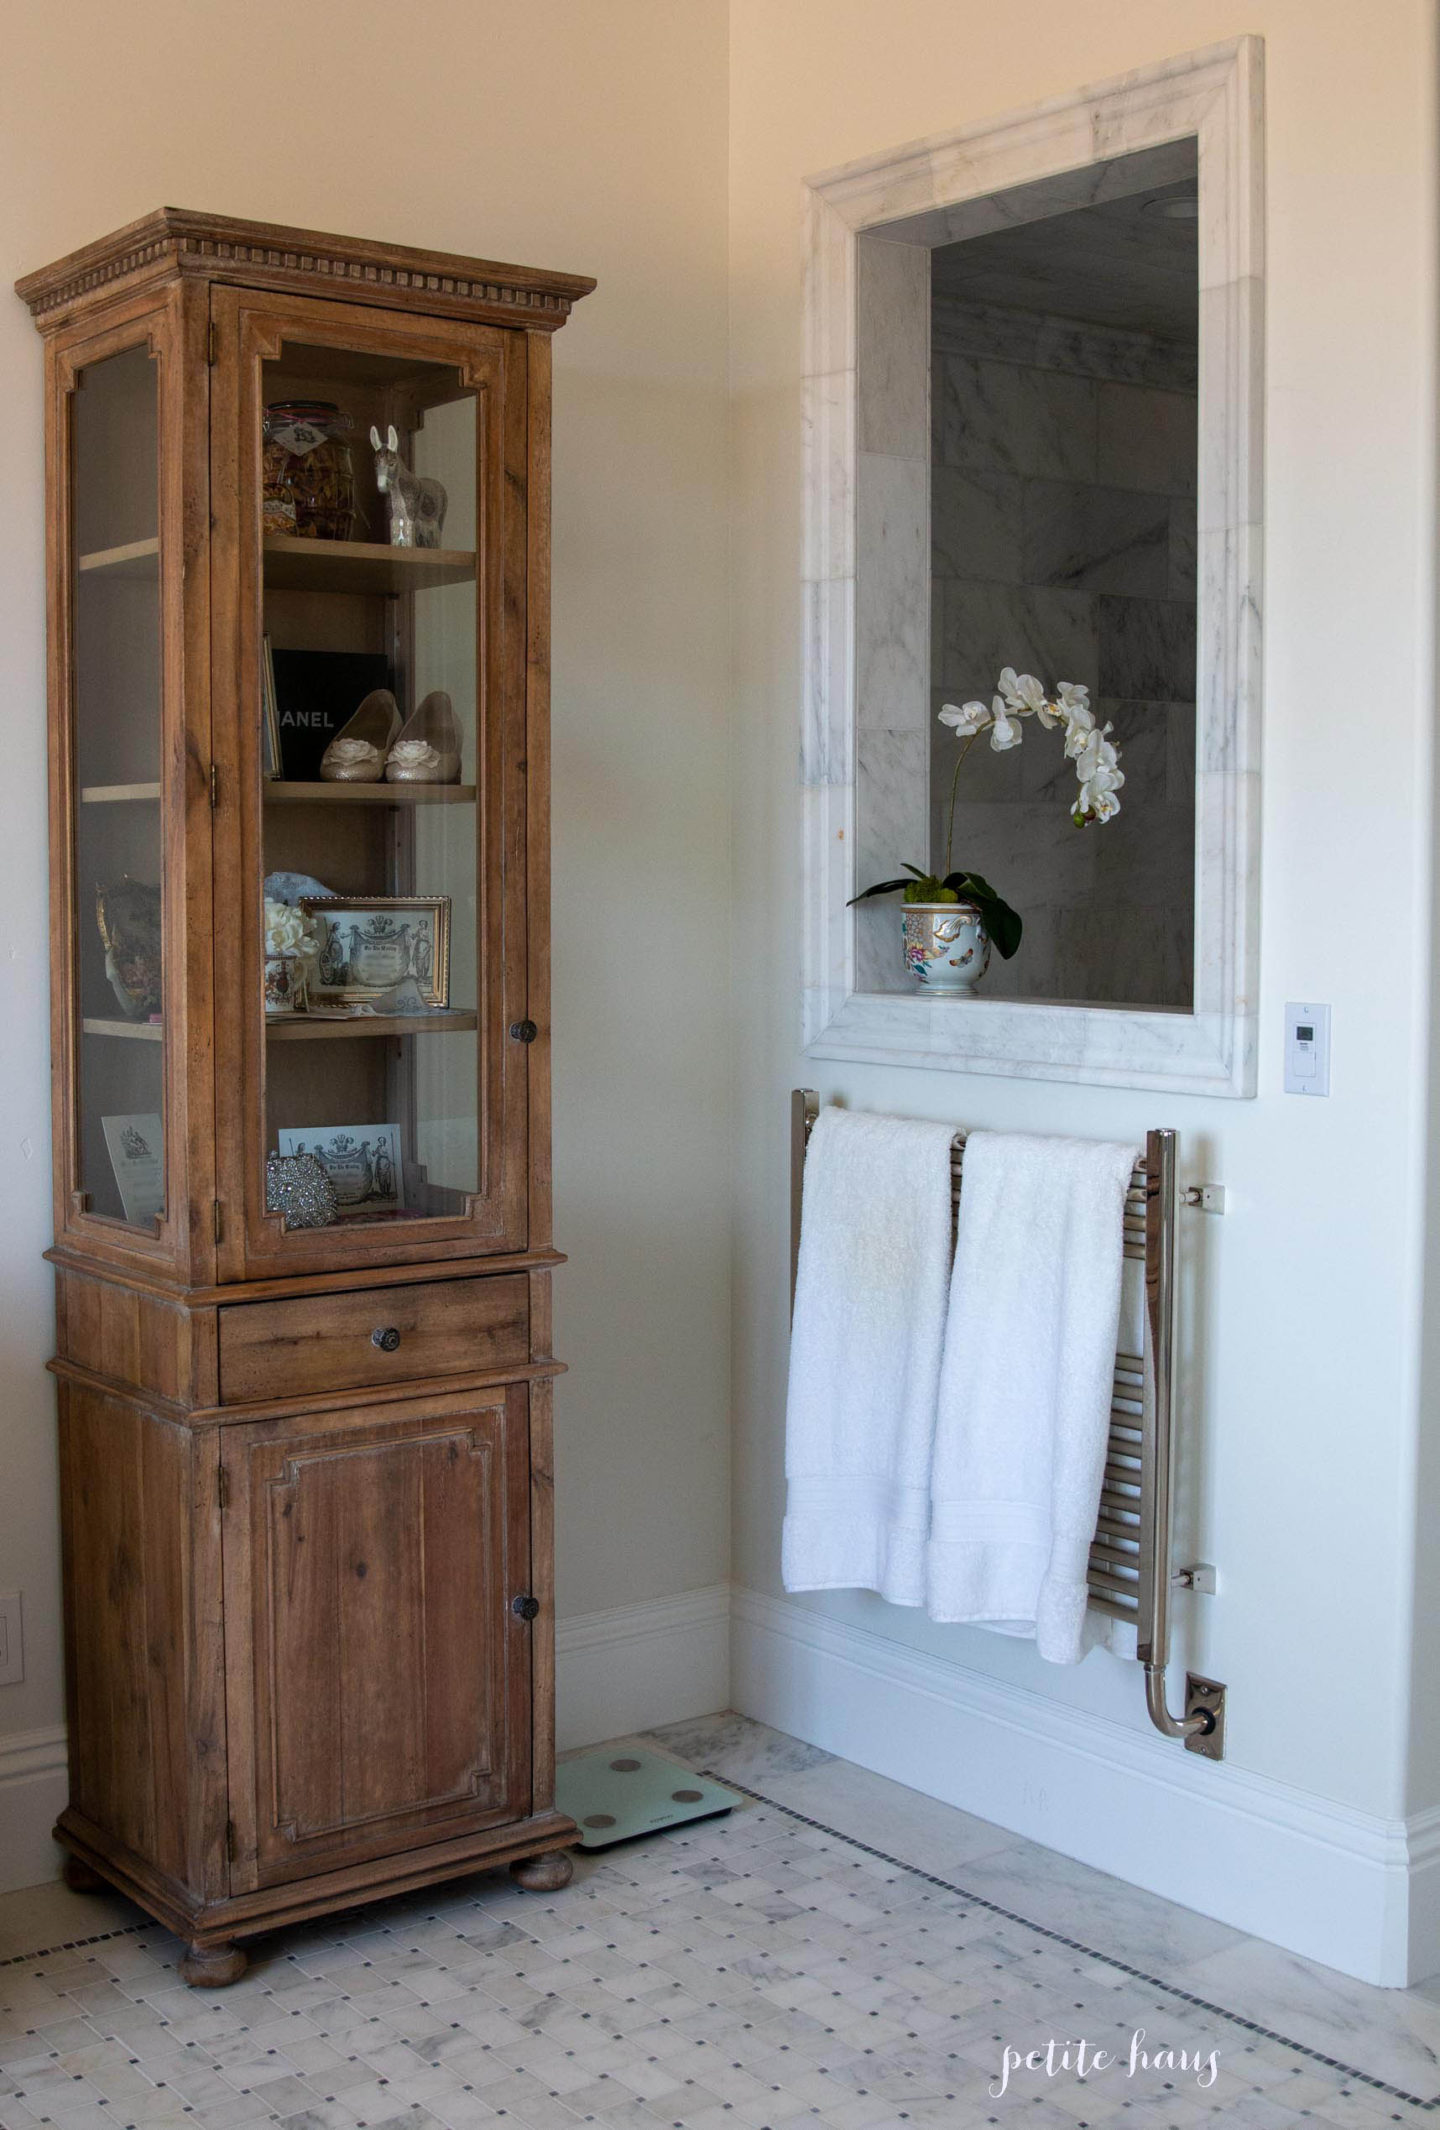
So I suppose project total was $63 – BUT listen… BONUS!! I made *TWO* orchid arrangements with the materials I bought! This one is sitting in my master bathroom! I already had this vase sitting here and had a faux rose that was looking… meh so I put this orchid stem here instead! I LOVE it!
We use affiliate links in our posts and our site. This means if you make a purchase using these links, we may earn a small commission. You don’t pay a cent more than you would otherwise! Our full disclosure is available under About.
I had written this post when we recently got back from vacation earlier. However, now more than ever, I feel that since many of us are stuck at home that these tips are even more useful! Whenever I get back from vacation I always think— ahh, there’s no place like home! Except, there are some things that I miss about staying at fancy hotels (like, the room service for instance ha!)
I’m sharing a few tips to make your house make it feel like you are always staying at a 5-star hotel!
Iron Your Sheets
Wait. I thought it’s supposed to feel like I’m staying at a hotel… now I’m doing MORE chores by ironing my sheets?? YES. Hear me out: There’s nothing like freshly laundered ironed sheets to sleep on… they are so smooth and feel oh-so-nice. Here are a few *tricks*if you don’t want to spend all of that time ironing… just iron your pillowcases. Also, damp dry your sheets! The wrinkles come out of damp sheets/pillowcases much easier than dry sheets. Put the bottom sheet over the mattress when it is still a little bit damp – this will also help stretch out wrinkles if you don’t want to iron the entire set!
What do you notice when you walk into a hotel? Why fresh flowers, of course!! You don’t need to break the bank on fresh flowers. I highly recommend carnations – mine always last 2 weeks (and often times 3 weeks!) so you really get some bang for your buck with them!
Signature Scent for Your Home
Scent memories are a real thing and transport us to different times and places. Create a scent memory of your home (no, not that wet dog smell!!)
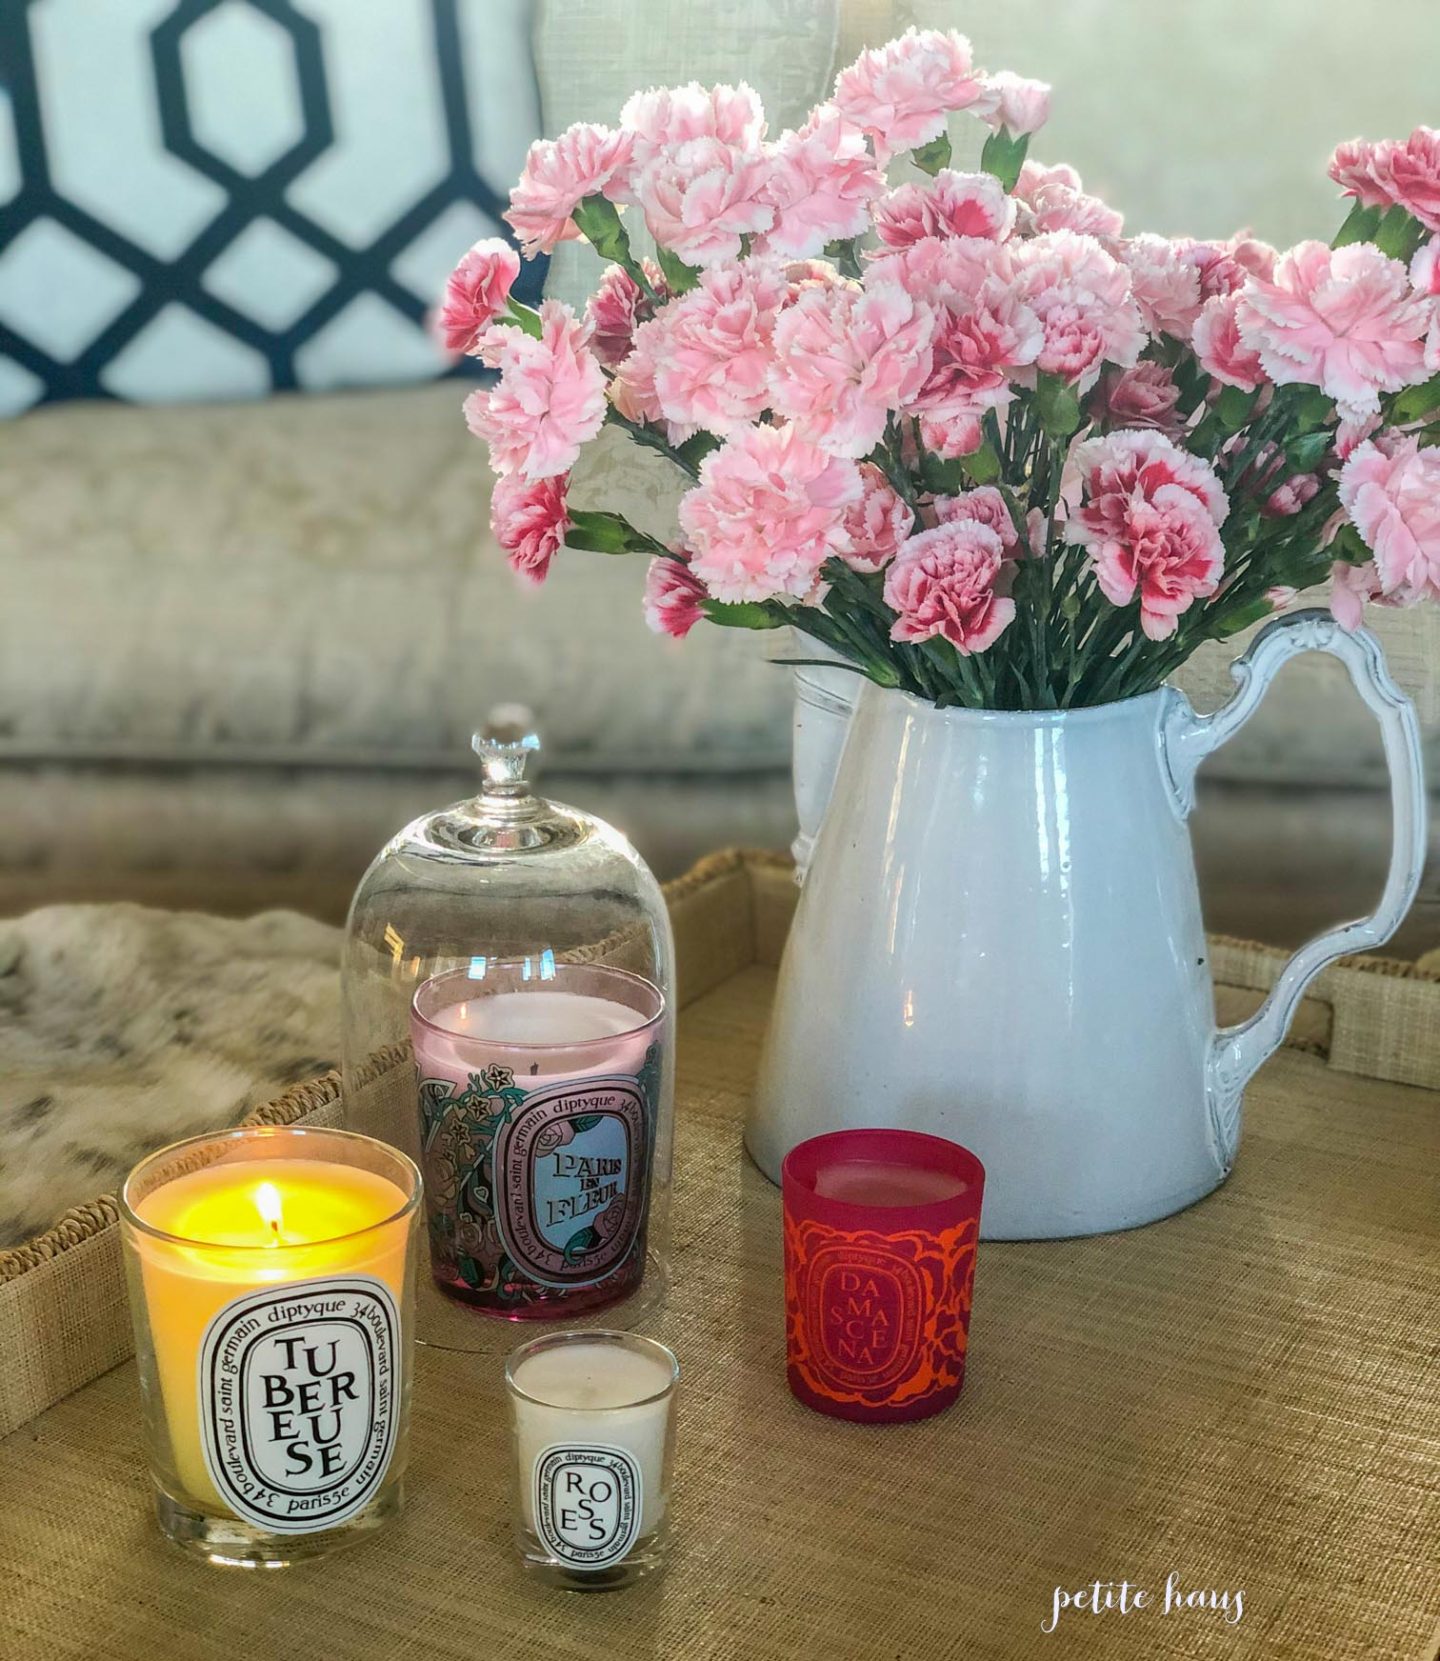
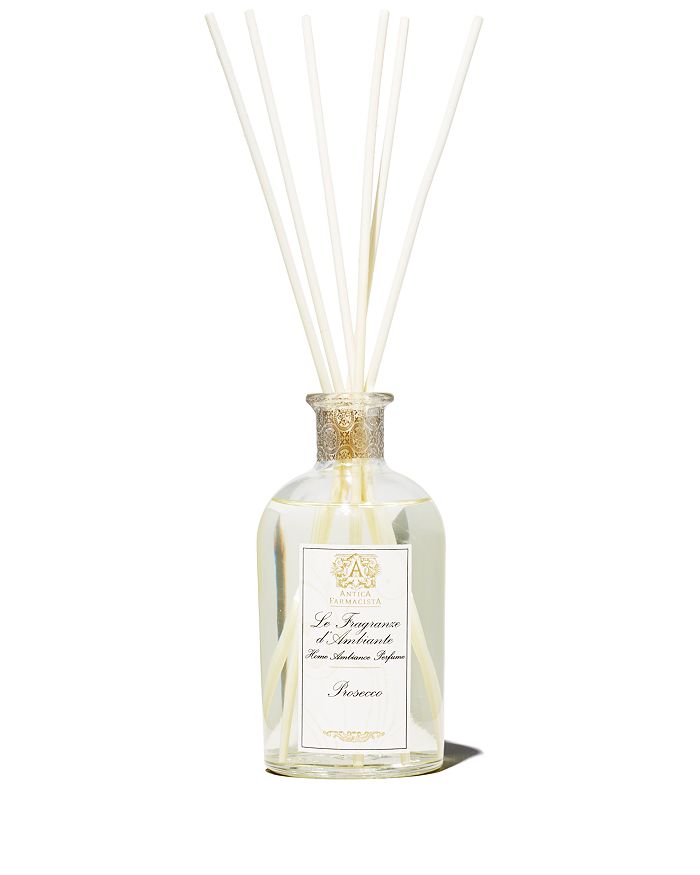
In my master bedroom, I use Diptyque Baies. I just use the room spray as opposed to the candle in the bedroom. If you love Diptyque, they also have the room spray in the 34 scent, Fleur d’Orangeur, Amber, Tuberose.
Luxurious Towels
Having a nice set of towels for your master bathroom is a great way to make your home feel like a hotel. I’m talking about the BIG bath towels, not the small “standard” size!
We use affiliate links in our posts and our site. This means if you make a purchase using these links, we may earn a small commission. You don’t pay a cent more than you would otherwise! Our full disclosure is available under About.
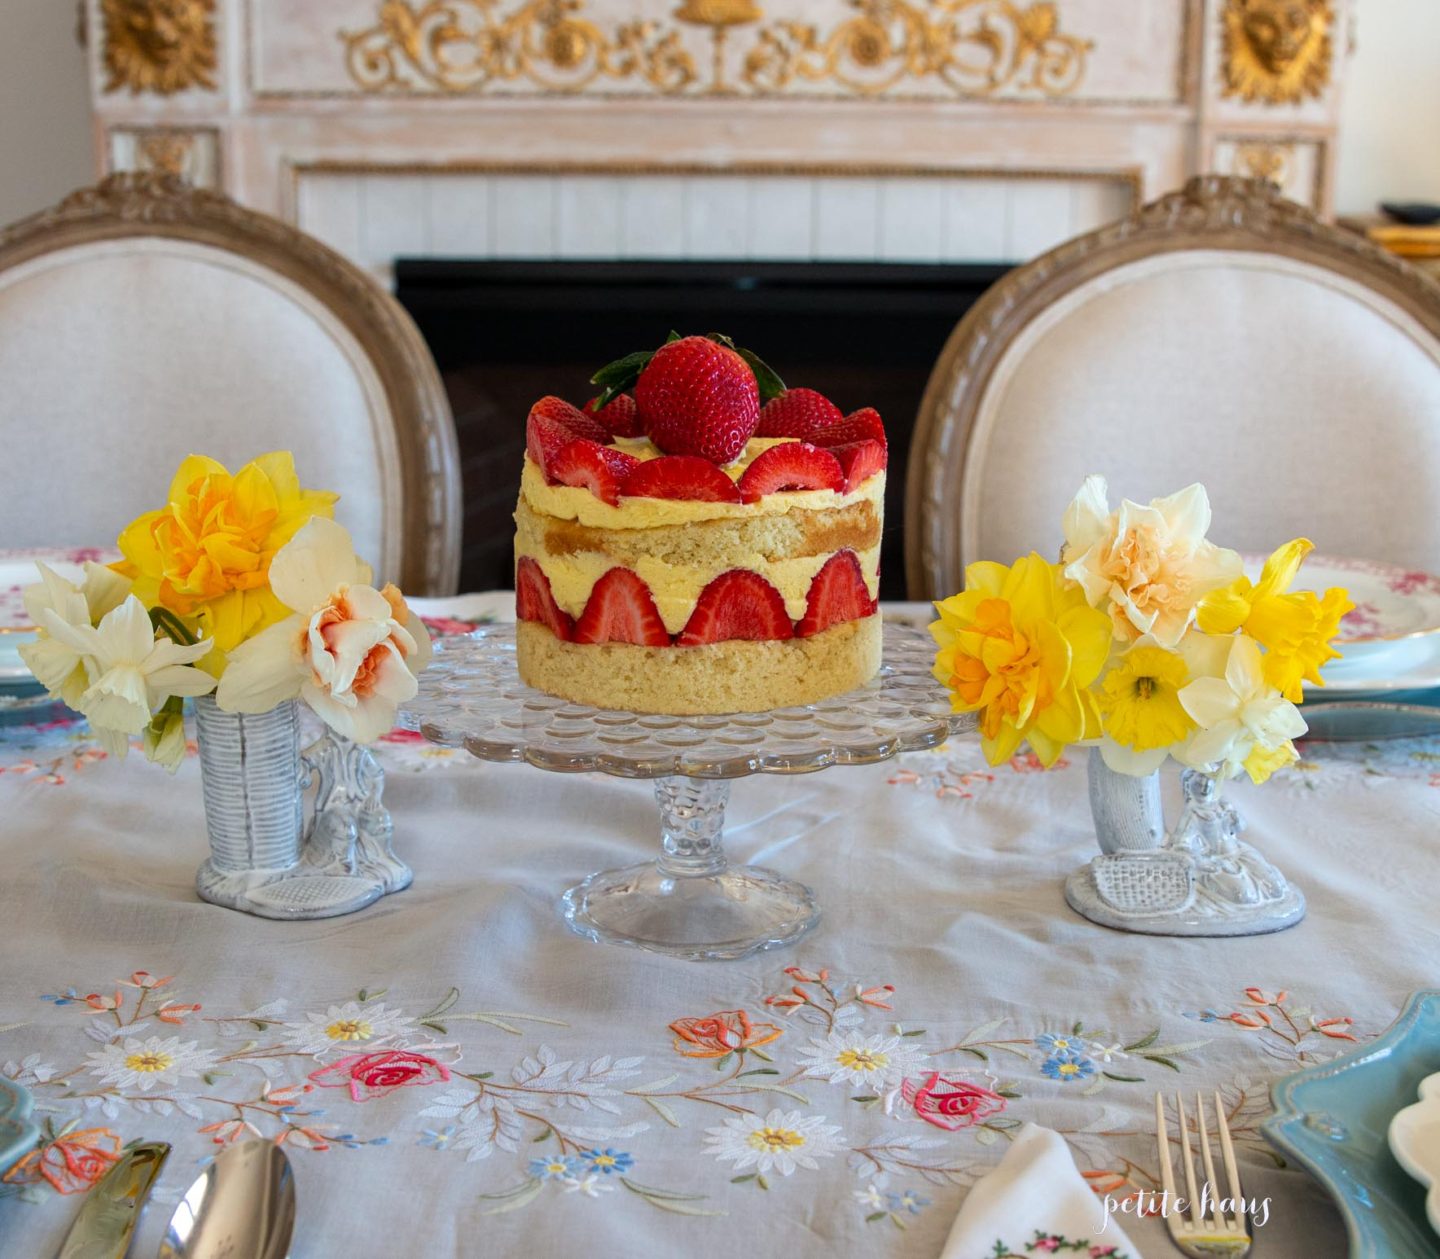
Doesn’t a French strawberry naked layer cake sound good? Well, let me tell you… it IS good. I made this recipe with the spirit of Le Fraisier in mind. I tried to simplify Le Fraisier and came up with this combination of a cake.
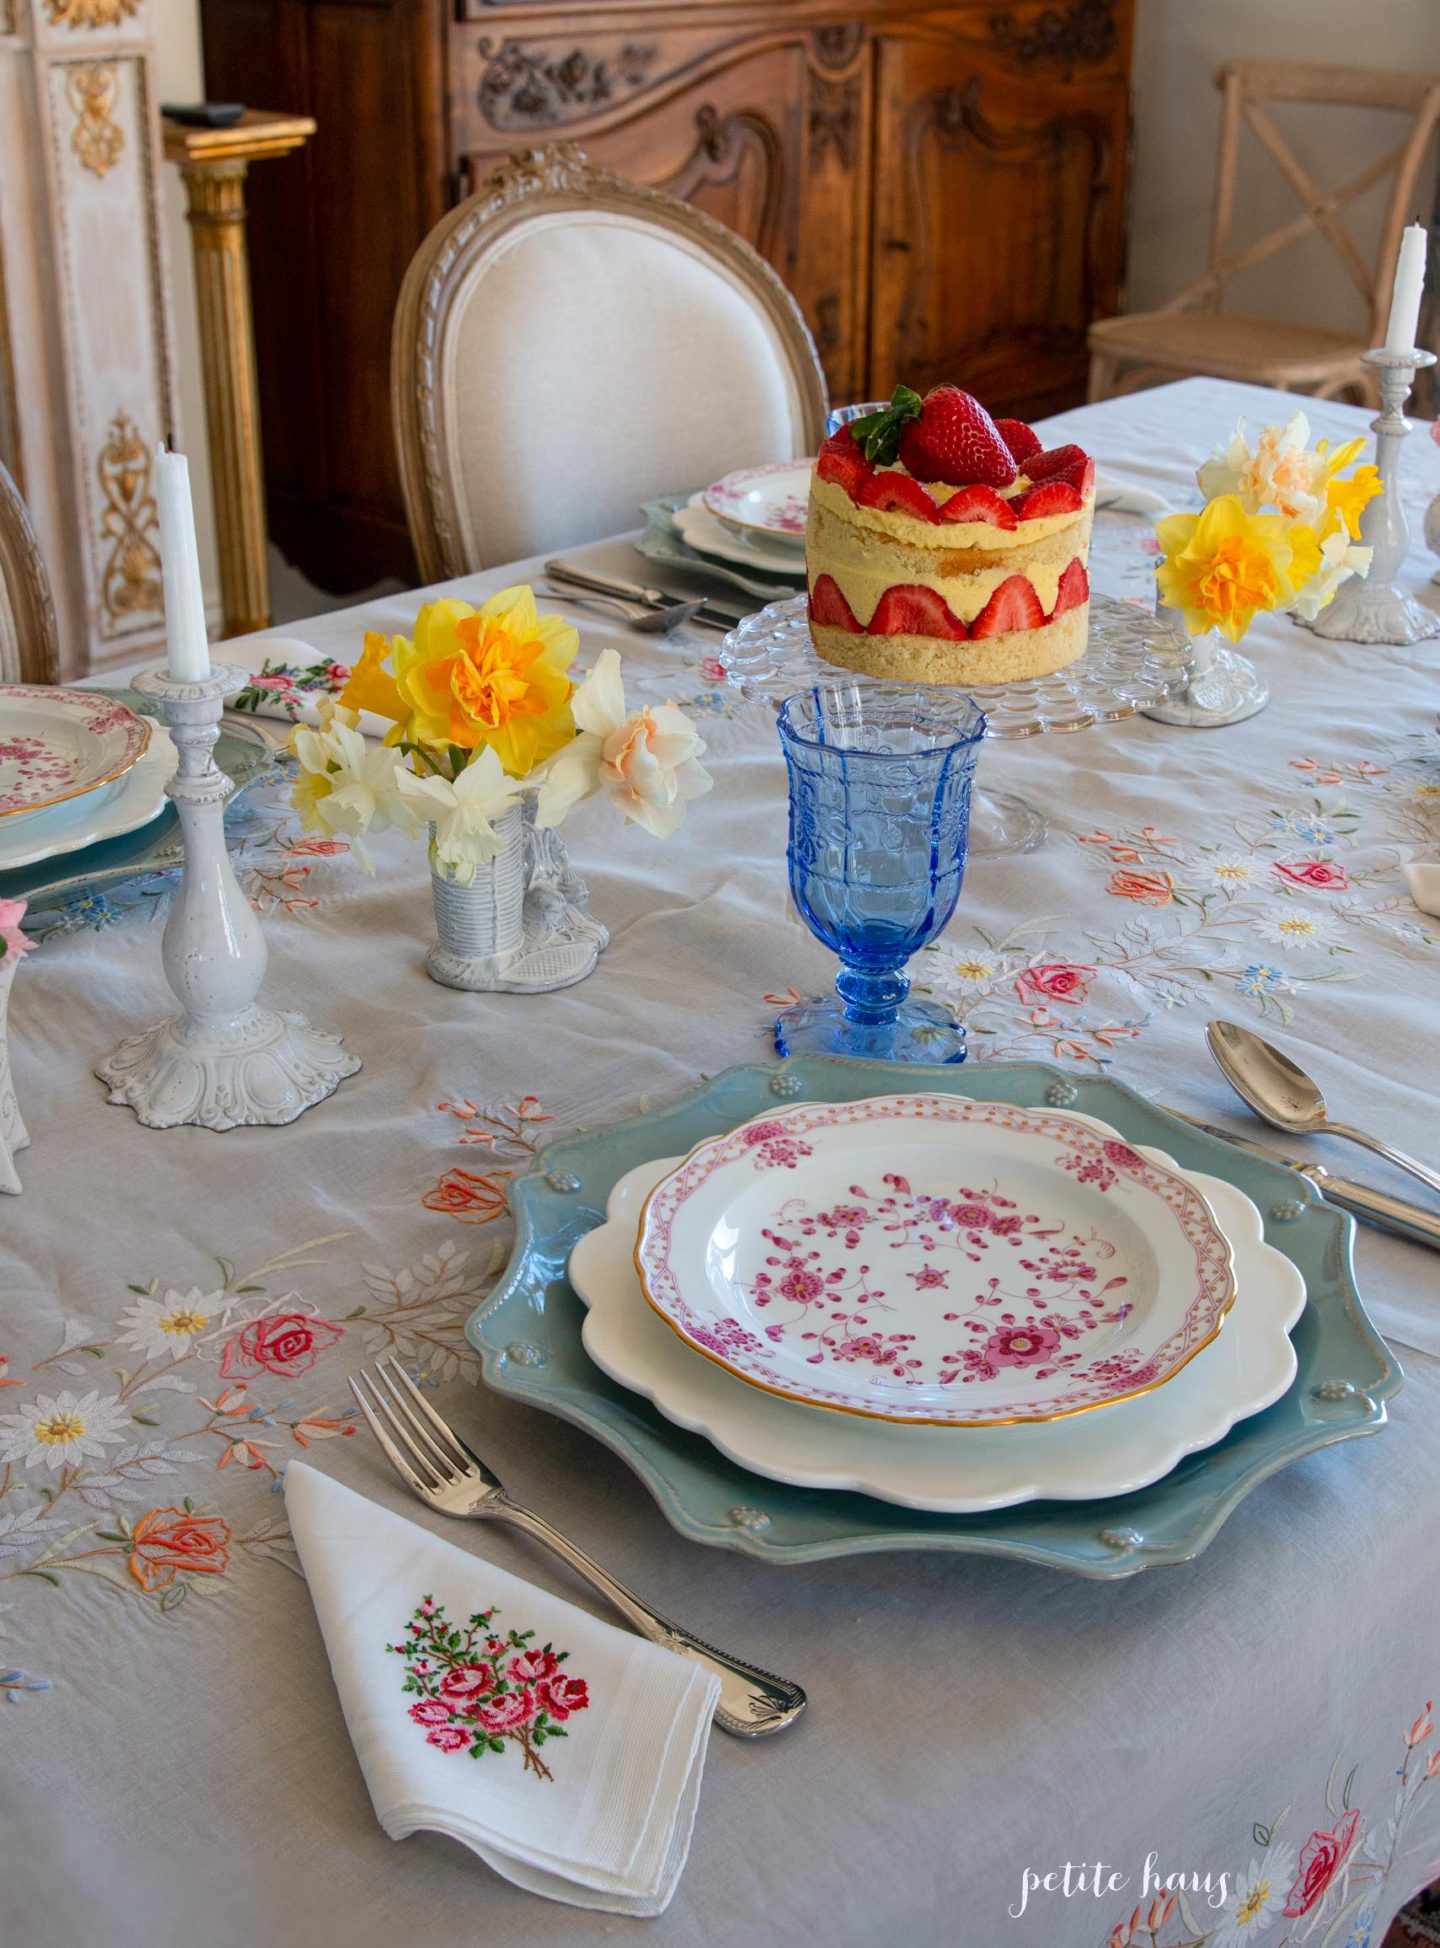
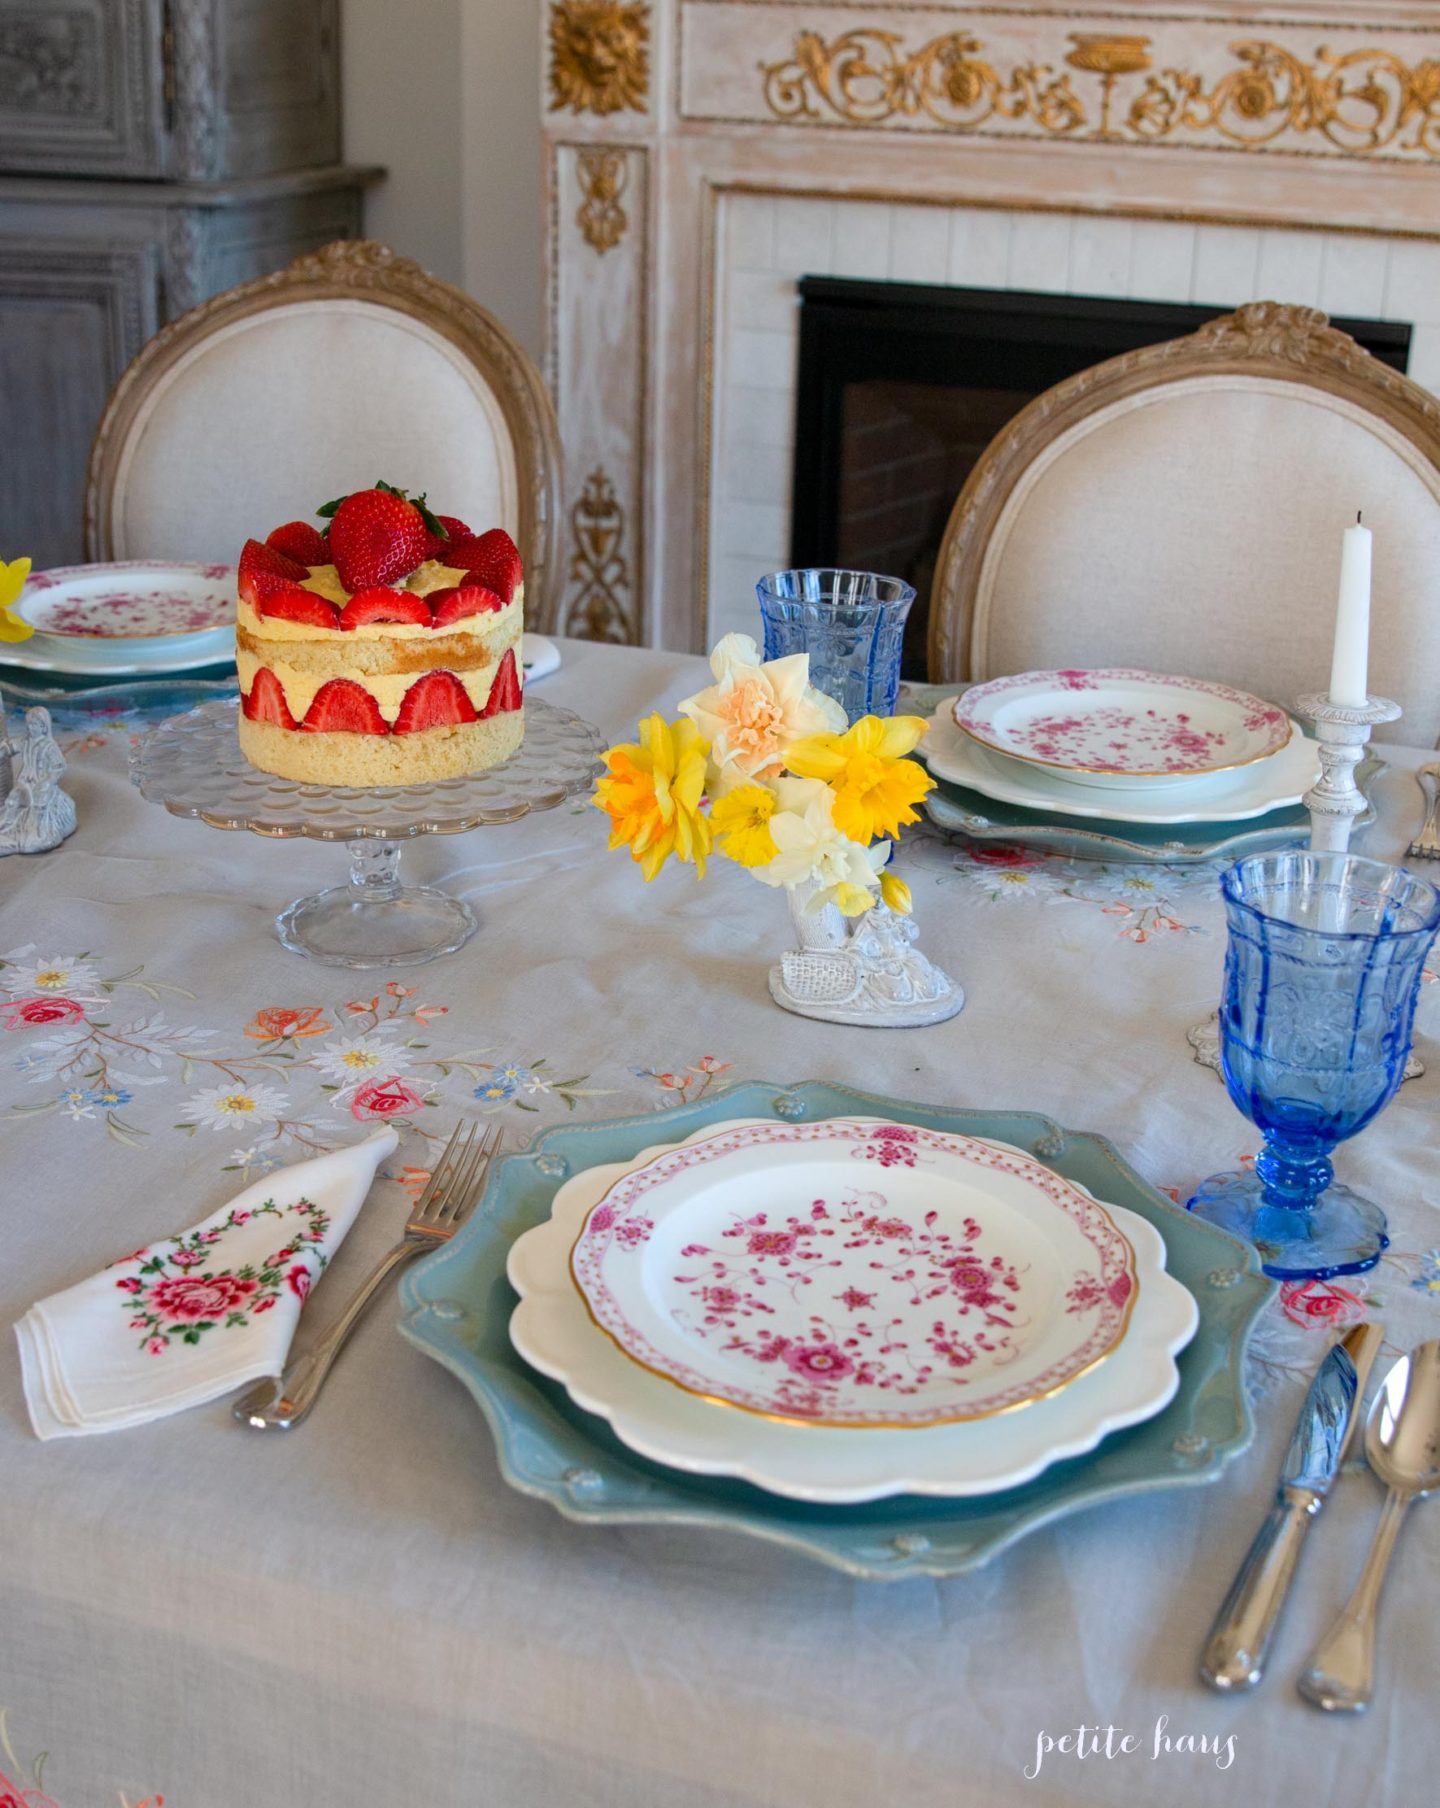
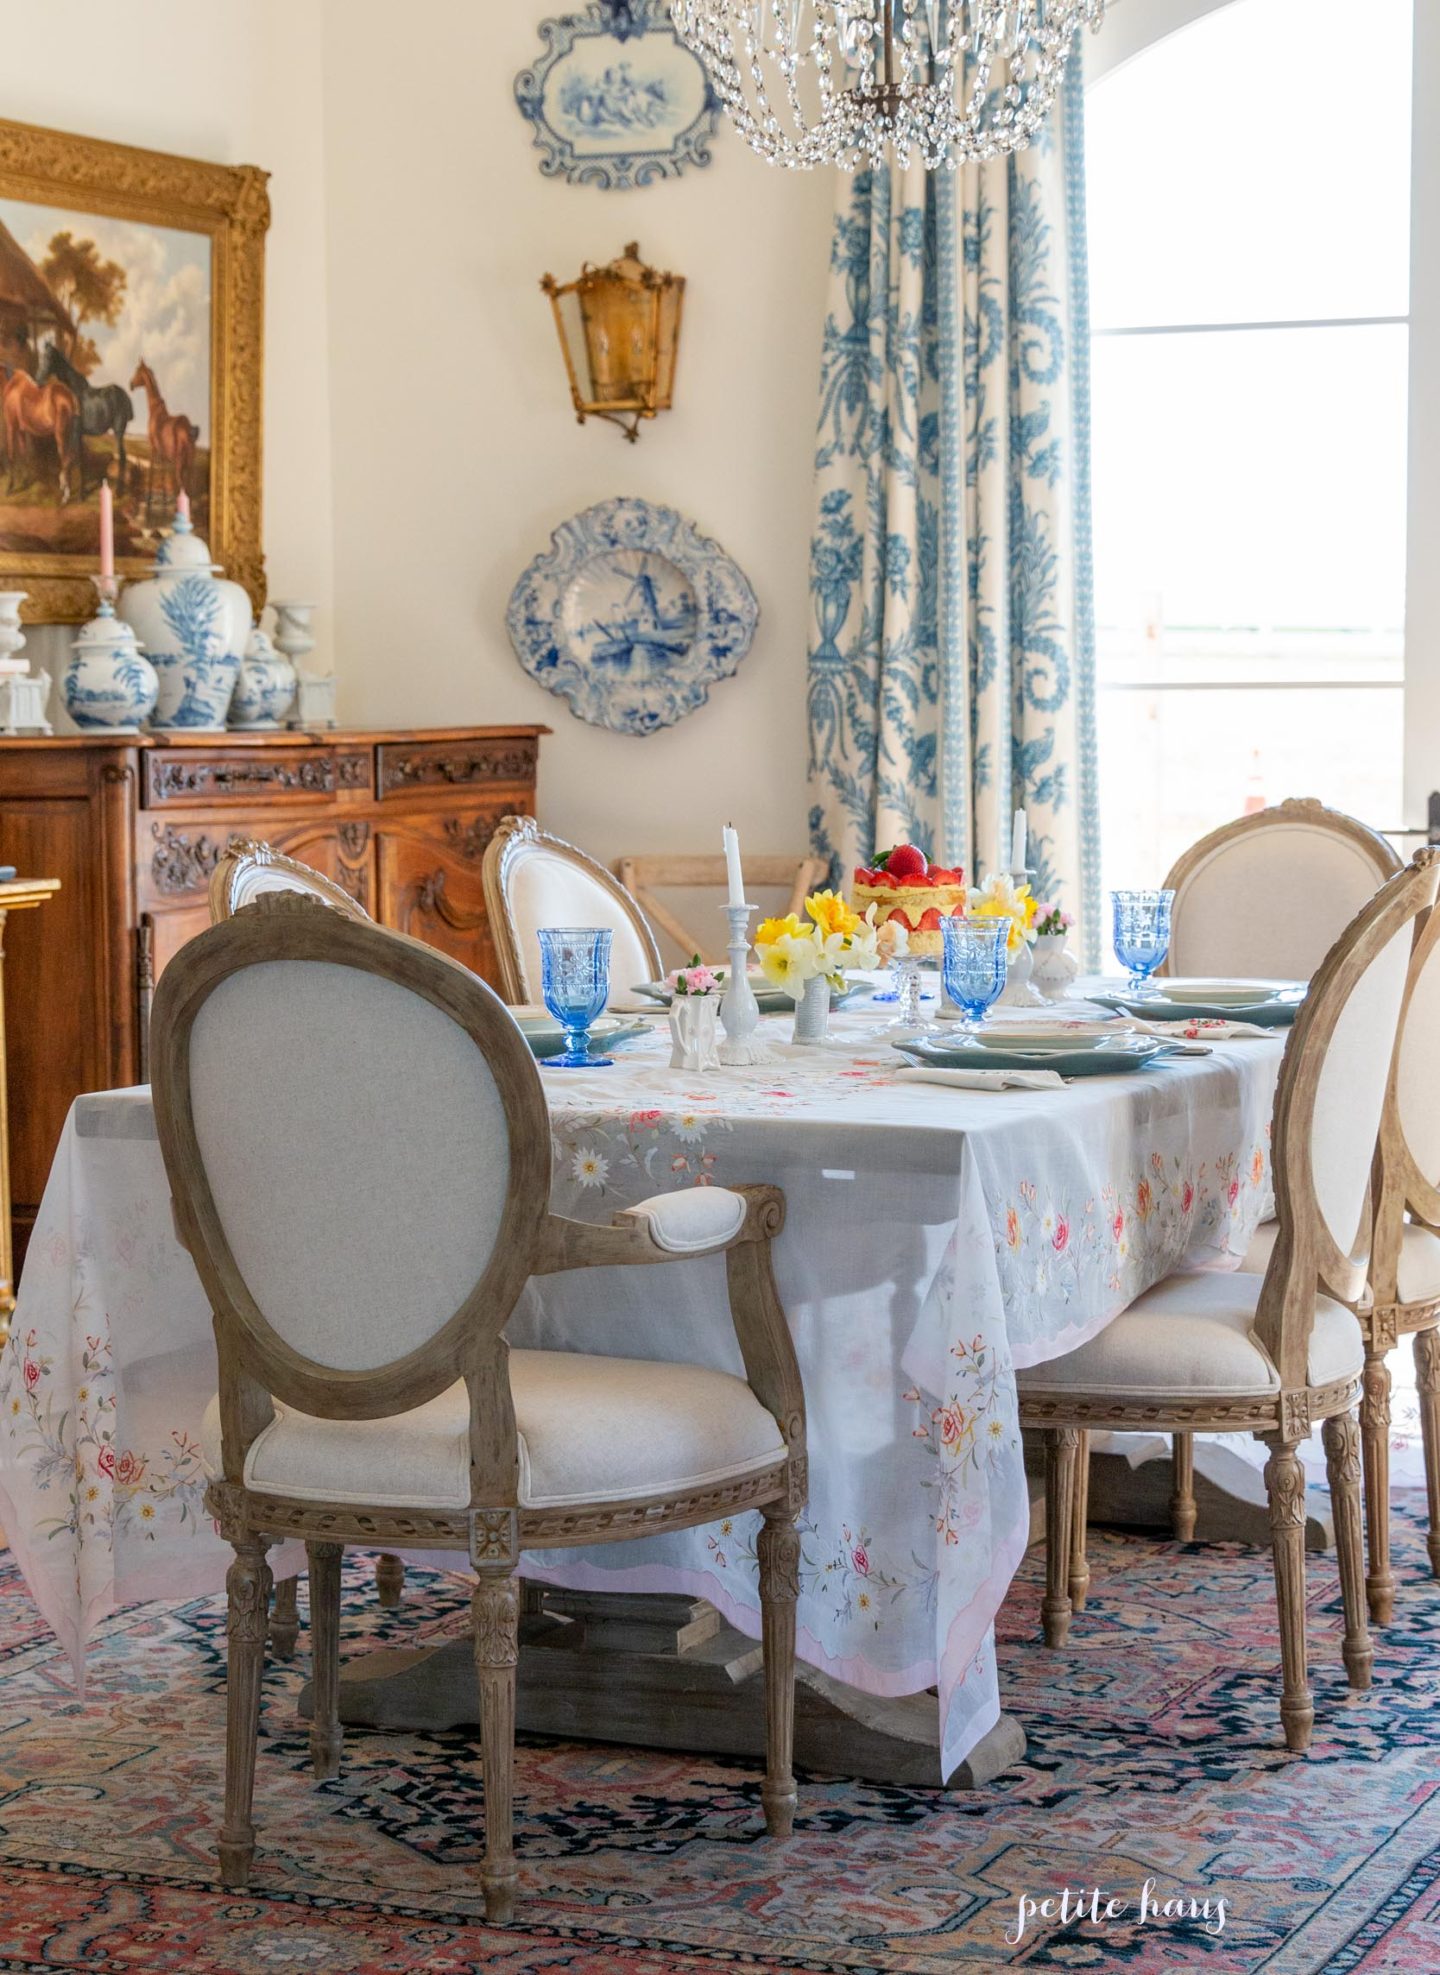
A cake as fancy as this requires a fancy table setting! Antique embroidered hankies were are as napkins.
I highly suggest eating this cake off of a fancy antique plate – just don’t use your knife (not that you would when eating a cake! – side note: If you are using antique china, don’t use metal knives on it as it will scratch the plate!)
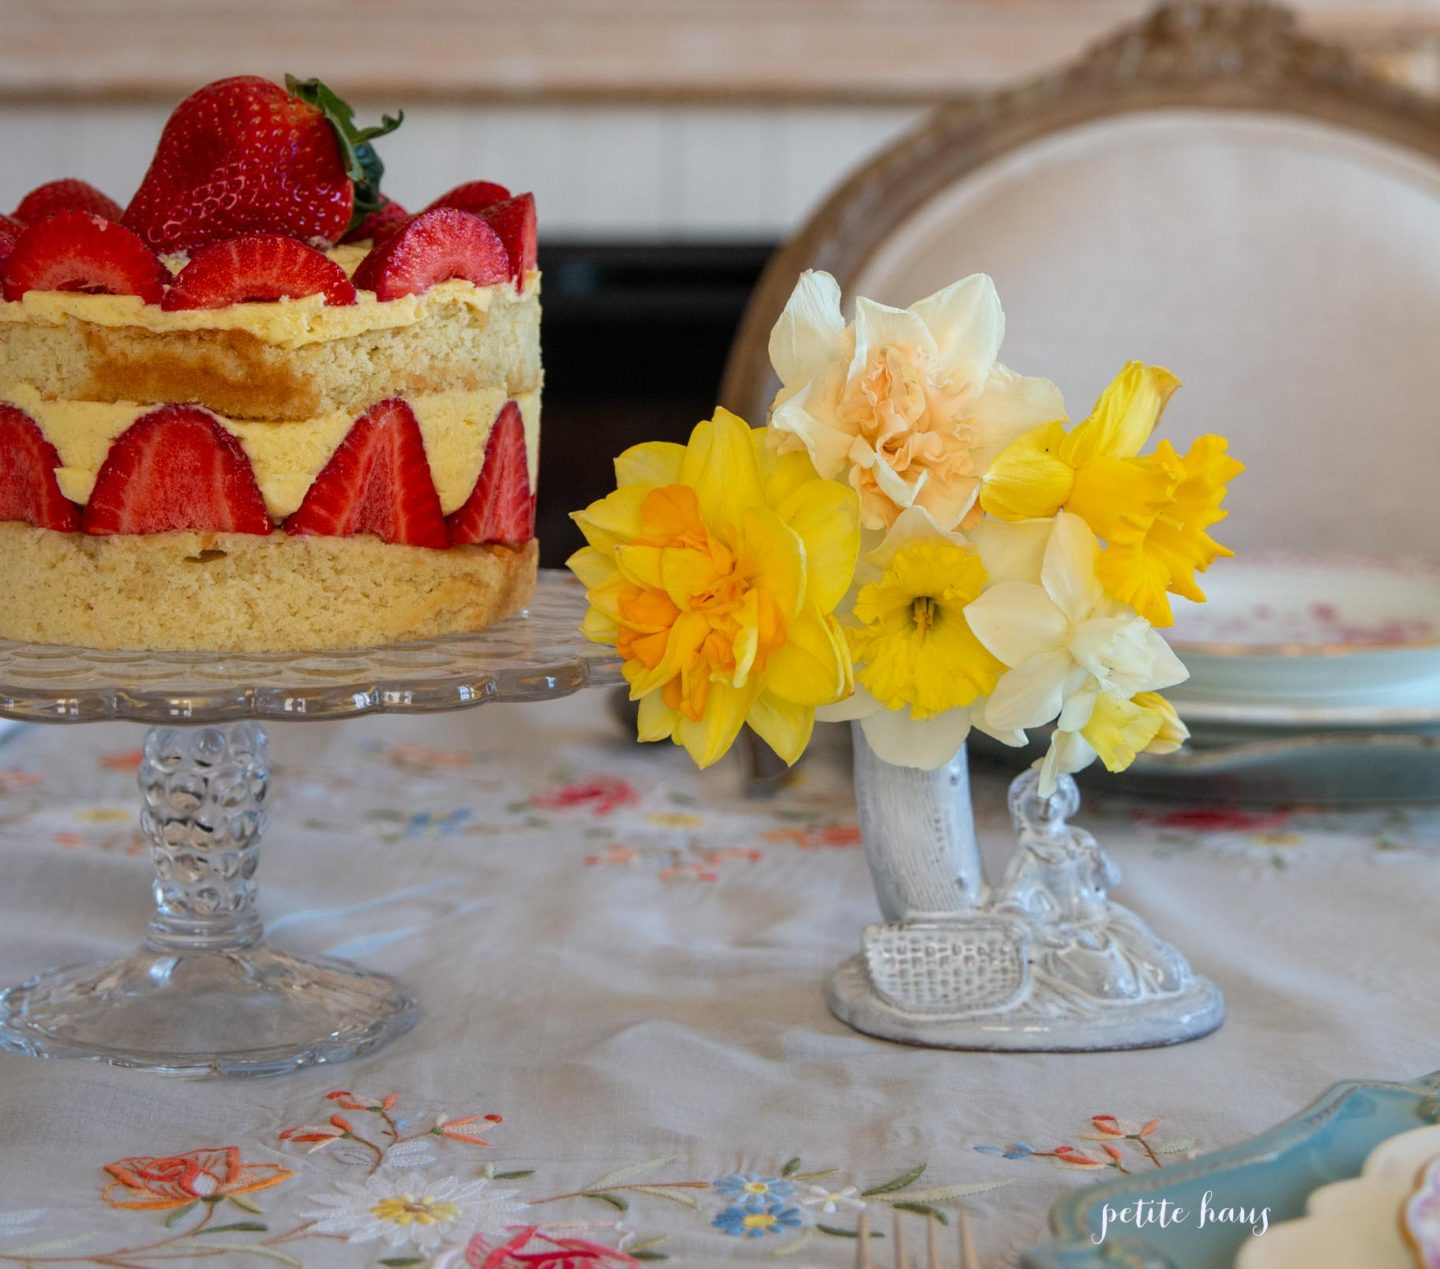
I picked the daffodils from my garden. Aren’t they pretty?
I made the filling with creme mousseline, recipe below.
Cut fresh strawberries, halved.
Crème Mousseline
350g whole milk
100g granulated sugar
1/2 a vanilla bean, split lengthwise and scraped for inside beans/seeds
4 egg yolks
35g plain flour
200g unsalted butter, softened
Making the creme
Place milk, vanilla bean and scraped seeds into a saucepan and bring to a boil. Then remove from heat and set aside.
In another bowl, whisk egg yolks and sugar until mixture is pale yellow. Mix int the flour until well combined.
Remove vanilla bean pod from milk mixture. Then pour the hot milk into the egg mixture, constantly whisking to combine.
Then pour the whole mixture back into the saucepan and place over high heat. Whisk constantly until it is thickened, smooth, and glossy. Then remove from heat and transfer pastry cream to a plate. Immediately cover with plastic cling wrap and place into the freezer to cool but only for 10 minutes. Do not allow it to freeze (If you don’t put the cling wrap on immediately, the pastry cream will get a film on it that’s lumpy and gross and you will have to strain it out later, so don’t miss this step)
While the cream is in the freezer, beat your butter until creamy. Then when the pastry cream is about room temperature, add the cream to the butter and mix until while combined.
Assembly
Using a 6″ cake ring, stamp out the ring into your sheet cake two times, one for each layer.
Then, place your cake ring on a stand. Next, line the cake ring with acetate.
Starting with the sheet cake you stamped out, place it in the center of the ring. Next, arrange the strawberries on the edge of the cake so the insides face the outside of the cake. Then fill the insides of the cake with strawberries.
Next, pour a layer of creme mousseline over the strawberries until they are all covered and the layer appears even.
Take the second sheet cake ring you cut out and place it over the creme layer.
On top of your second layer, spread more creme mousseline.
Top the creme with strawberries in any pattern you desire.
Place the cake in the fridge for 2 hours so that it may harden and will make it easier to take the acetate and cake ring off.
Final Thoughts… How does this compare to a Le Fraisier?
The Fraisier I felt displayed more of the strawberries’ flavor whereas this cake displays more of the white vanilla cake flavor. That said, I felt that this cake was easier as it did not include two steps that the Fraisier does: the kirsch syrup and marzipan layer. I do feel Le Fraisier is a little bit better in my opinion, however this still tastes GREAT and way better than any layer cake that I’ve had from the grocery store and even some bakeries.
We use affiliate links in our posts and our site. This means if you make a purchase using these links, we may earn a small commission. You don’t pay a cent more than you would otherwise! Our full disclosure is available under About.
We have had the Peloton Bike since 2016 and several months ago added the Peloton Tread to our home gym.
The PROS of the Tread
First, let’s talk about the looks – yes, it sleek modern looking treadmill.
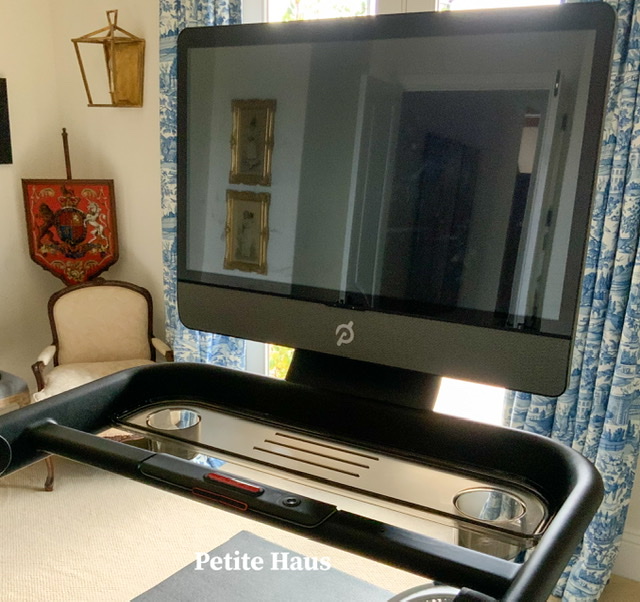
I love the big touchscreen on it. I also like the little shelf in front of the screen where there are two water bottle holders. I will frequently put some chapstick, my towel, and depending on the day – my kindle/book if I’m just doing some “lazier” walking. The screen can be tilted as well.
The knobs – the one on the right adjusts the speed and the left adjusts the incline. The incline goes up to 15% and the speed is 12.5mph! In the center of the knob is a “jump” button that you can manually set to different inclines and speeds. For me, when I hit the jump button on my incline it goes up 1% and my speed 0.5mph.
Photo from Peloton
I really like the slat belt – it feels really solid under your feet unlike the other standard treadmill belts. I think honestly this is my favorite feature of the treadmill.
Photo from Peloton
They have a variety of classes. They have sprints, intervals, runs, jogs, walk/runs, walking, power walking, hiking (so just walking at an incline), boot camps, strength training. Also there is yoga, meditation, and stretching.
I like the strength training classes – I know you can do these with the peloton bike, but we got the package with the peloton weights and we tend to do the strength classes more. We have other weights, but I actually recommend buying the Peloton weights because they are square and you tend to do a lot of push ups on the weights – our old weights were round and would roll so we couldn’t do some of their exercises properly.
A screenshot actually from the Peleton App on my IPad So you can see all the types of classes. Yes when you buy the Peloton bike or Tread you automatically get the app on your iPad as well. Perfect when you are on vacation or at another gym without the Peloton!
Here are my husband’s thoughts – the real RUNNER of the both of us:
The treadmill allows at high speeds to increase in increments of 0.1mph unlike most other treadmills when sprinting. It is unusual for treadmills to have the ability to do that when you are sprinting – usually they only increase in increments of 0.5mph.
The slat belt feels very sturdy but not clunky – it does not feel like a hard cement. The slat belt can easily take the impact of a heavier weighing person running full speed without any slippage or stoppage under your feet.
You need to find an instructor that works best for you and your exercise style – so if you have to try out every instructor 1-2x or more until you find your favorite, then so be it! There is an instructor for every one!
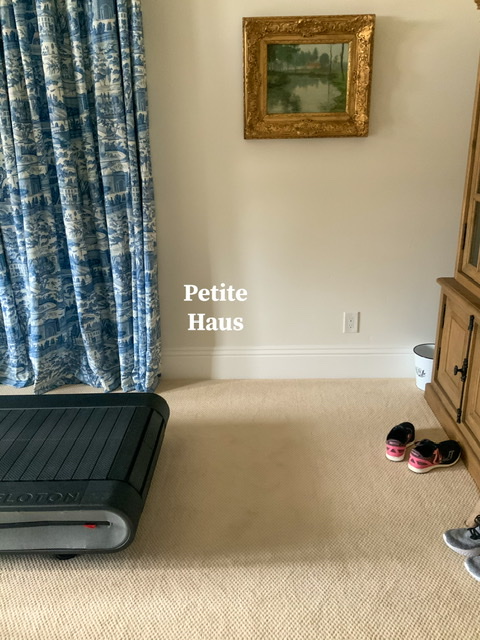
Below, just showing how much space we have behind the treadmill – enough to lay an exercise mat so we can do the boot camps and strength classes!
Let’s talk about the cons.
The price. Yes, it is expensive. I can’t really say the treadmill is “worth it” because of the price, but that said… it keeps us healthy and how much are you willing to pay for your health?? We already drank the Peloton Kool-Aid (Powerade?) with the Bike and were already paying for a Peloton subscription. If you have the bike, your $39/month bike subscription includes the treadmill subscription.
For me, the number of walking classes. I KNOW people buy treadmills to run, but I hate running but do like walking and wish that they had more walking classes of ALL lengths. I find that I sometimes have to do the run classes and just walk through them—not a HUGE deal, but hey, if I’m paying $4000 for a fancy treadmill, shouldn’t they produce content for everyone?
So our treadmill hasn’t had any mechanical problems, but my mom got the treadmill right when it came out and had some mechanical problems – the technicians have been out a total of 3 times. The screen wasn’t turning off. It was making a HORRIBLE clunking sound when the incline would go up/down. IMO, that is kind of ridiculous given the price and how new it was. I STRONGLY recommend purchasing the extended warranty because of this.
The scenic “runs or walks” are just copied over from the Peloton bike library – so they are filmed at a fast rate as if you were biking instead of running/walking. I wish they could slow the films down to go a slower speed for walking/running. Speaking of the scenic runs, there should also be a way to sort them. There is NO way to sort them currently (goes for the peloton bike too!)
I wish there was a way to hook the screen up to the tv – it is SO big, there should be a way to splint screen so you could watch tv on one half and then have the class on the other half.
I strongly recommend going to the local Peloton boutique to try it out before plunking down a few thousand dollars on this.
We use affiliate links in our posts and our site. This means if you make a purchase using these links, we may earn a small commission. You don’t pay a cent more than you would otherwise! Our full disclosure is available under About.
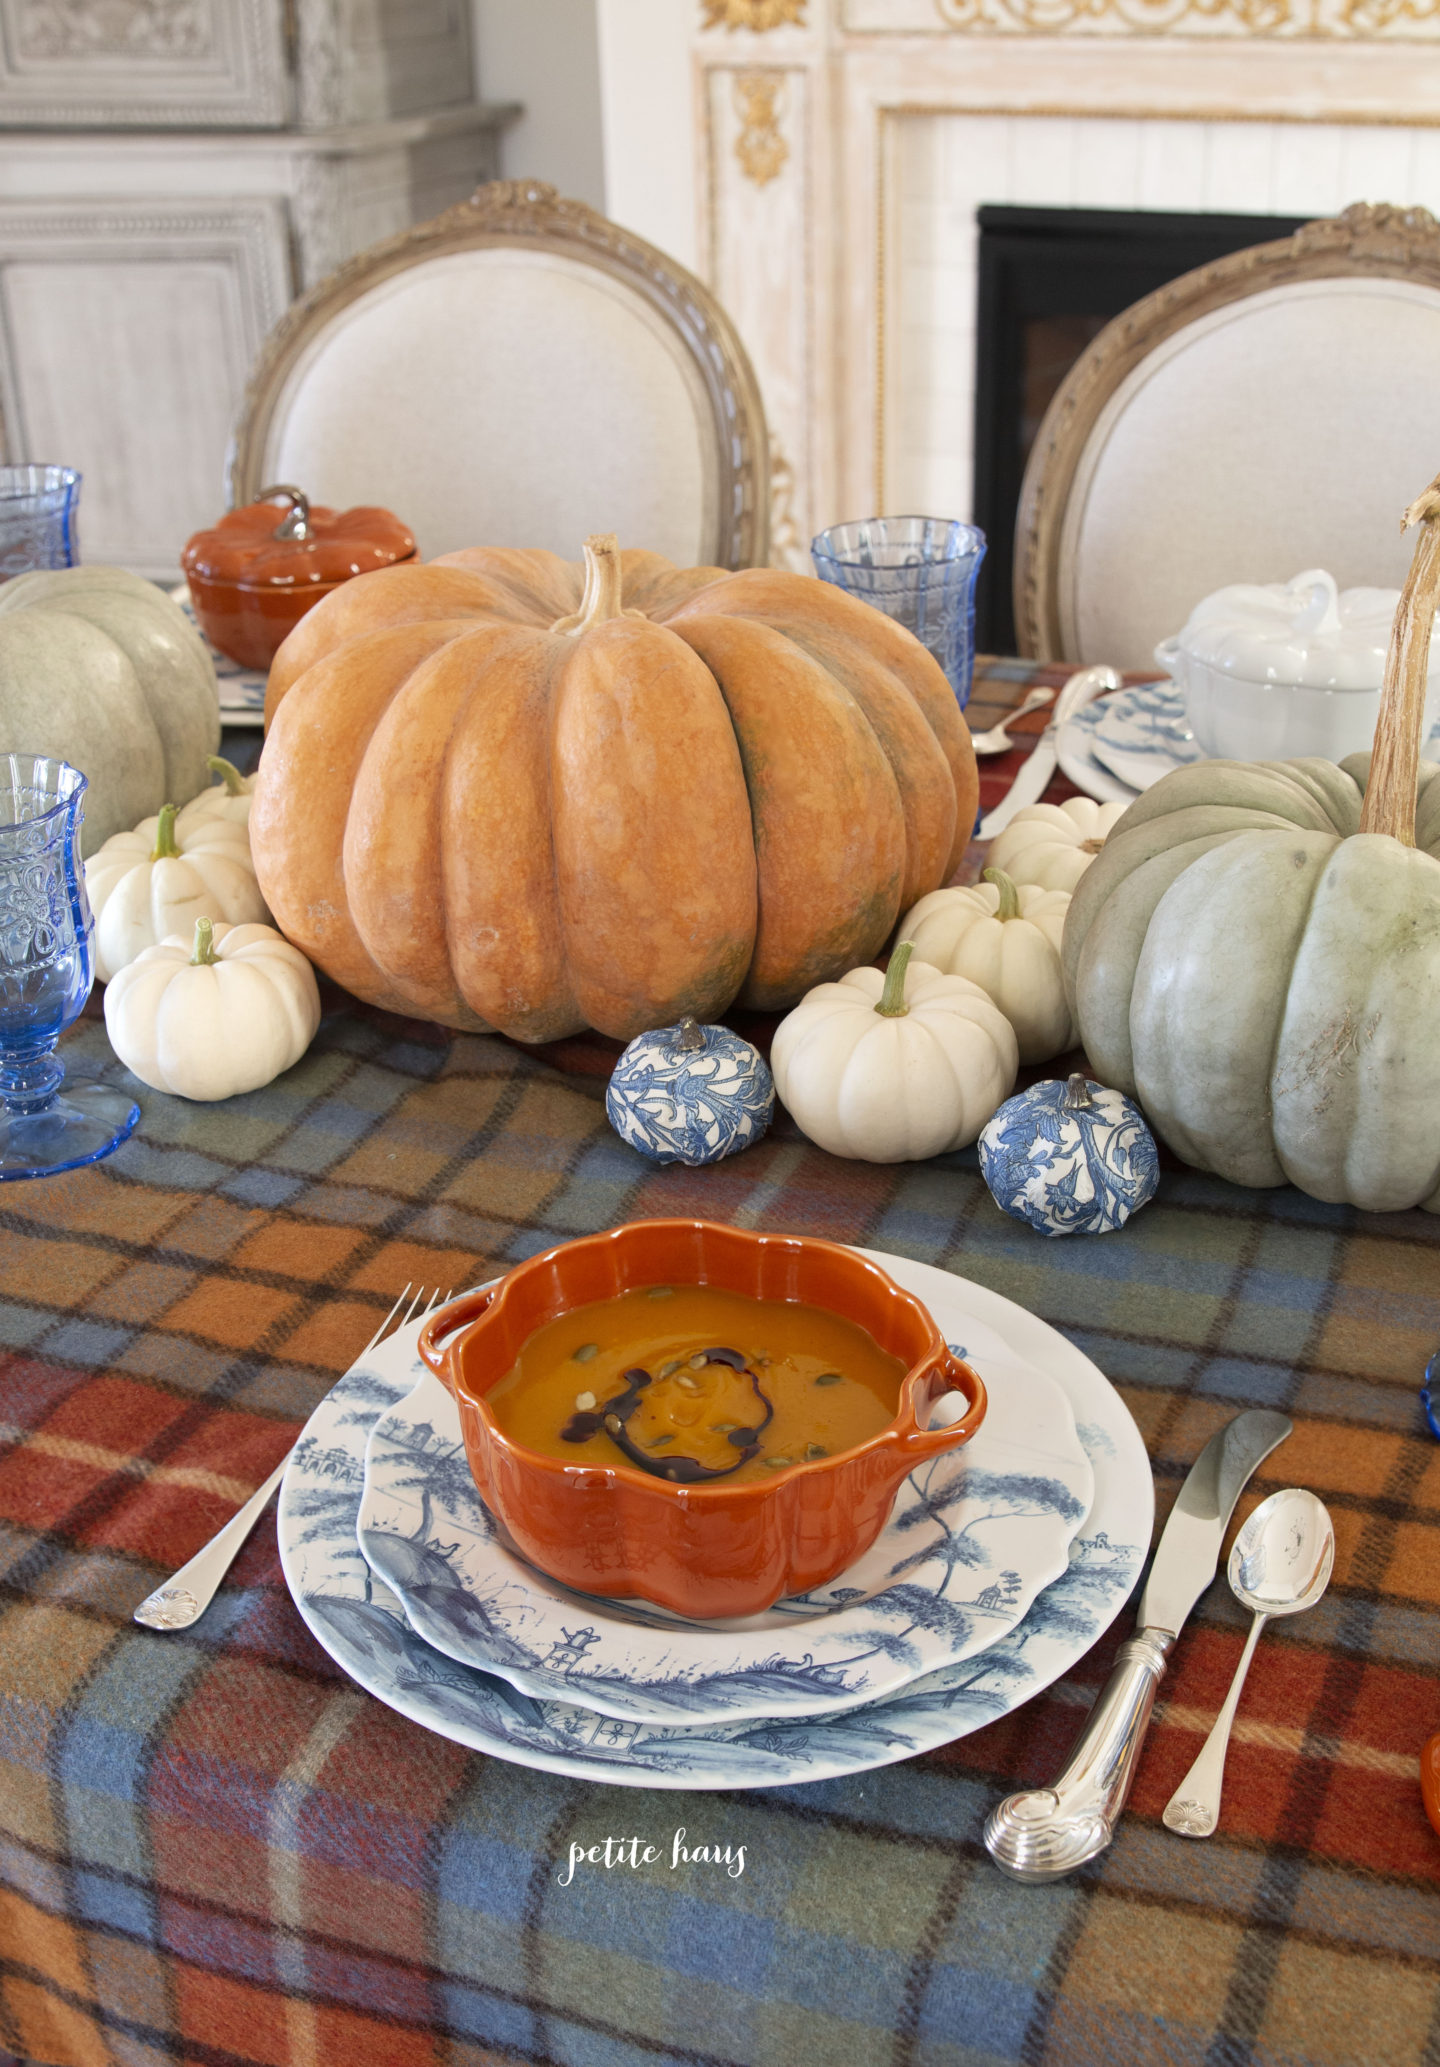
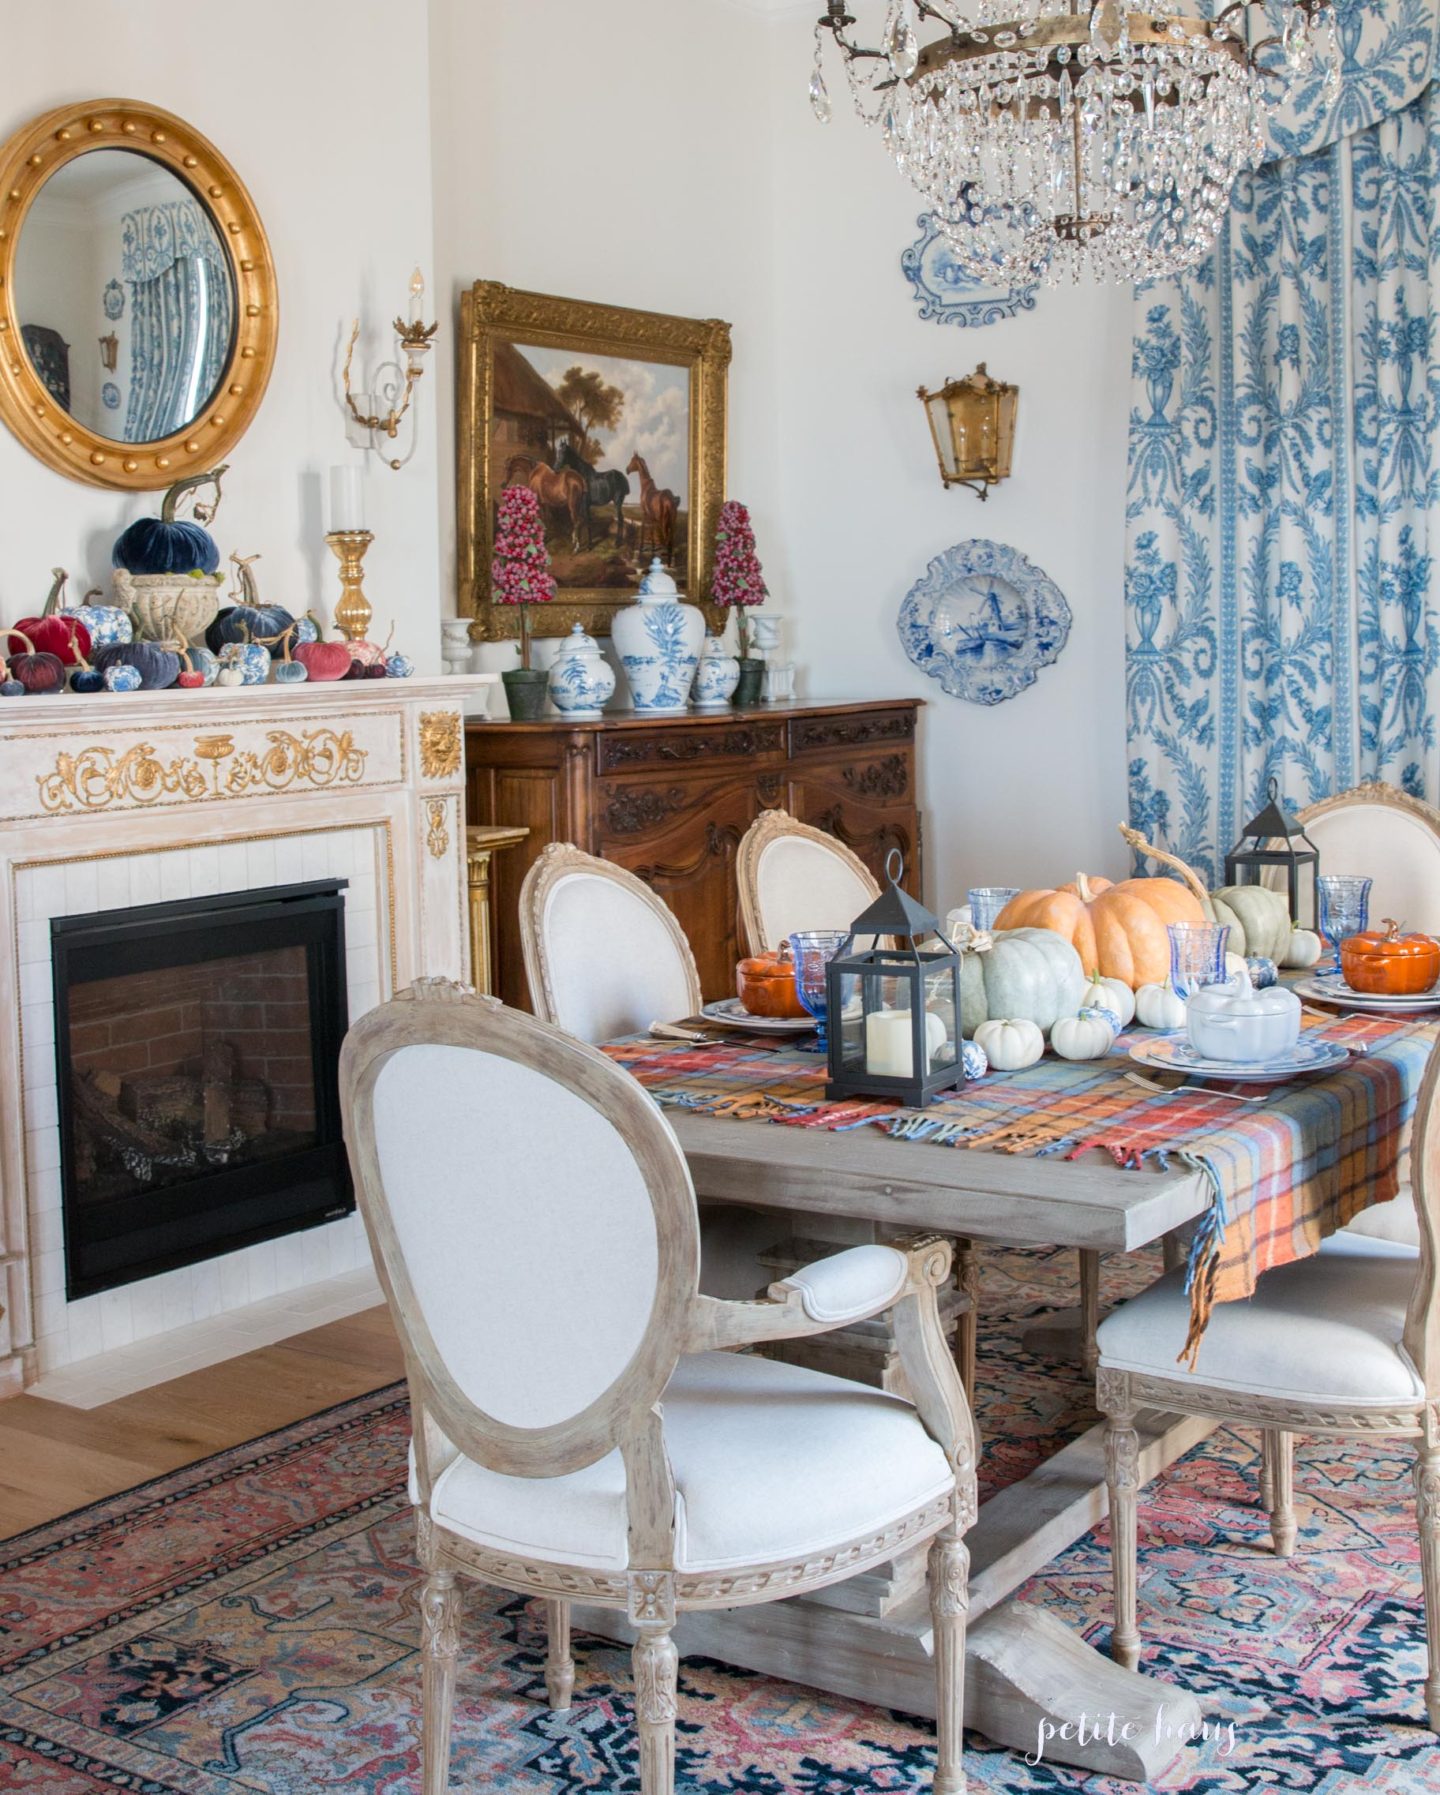
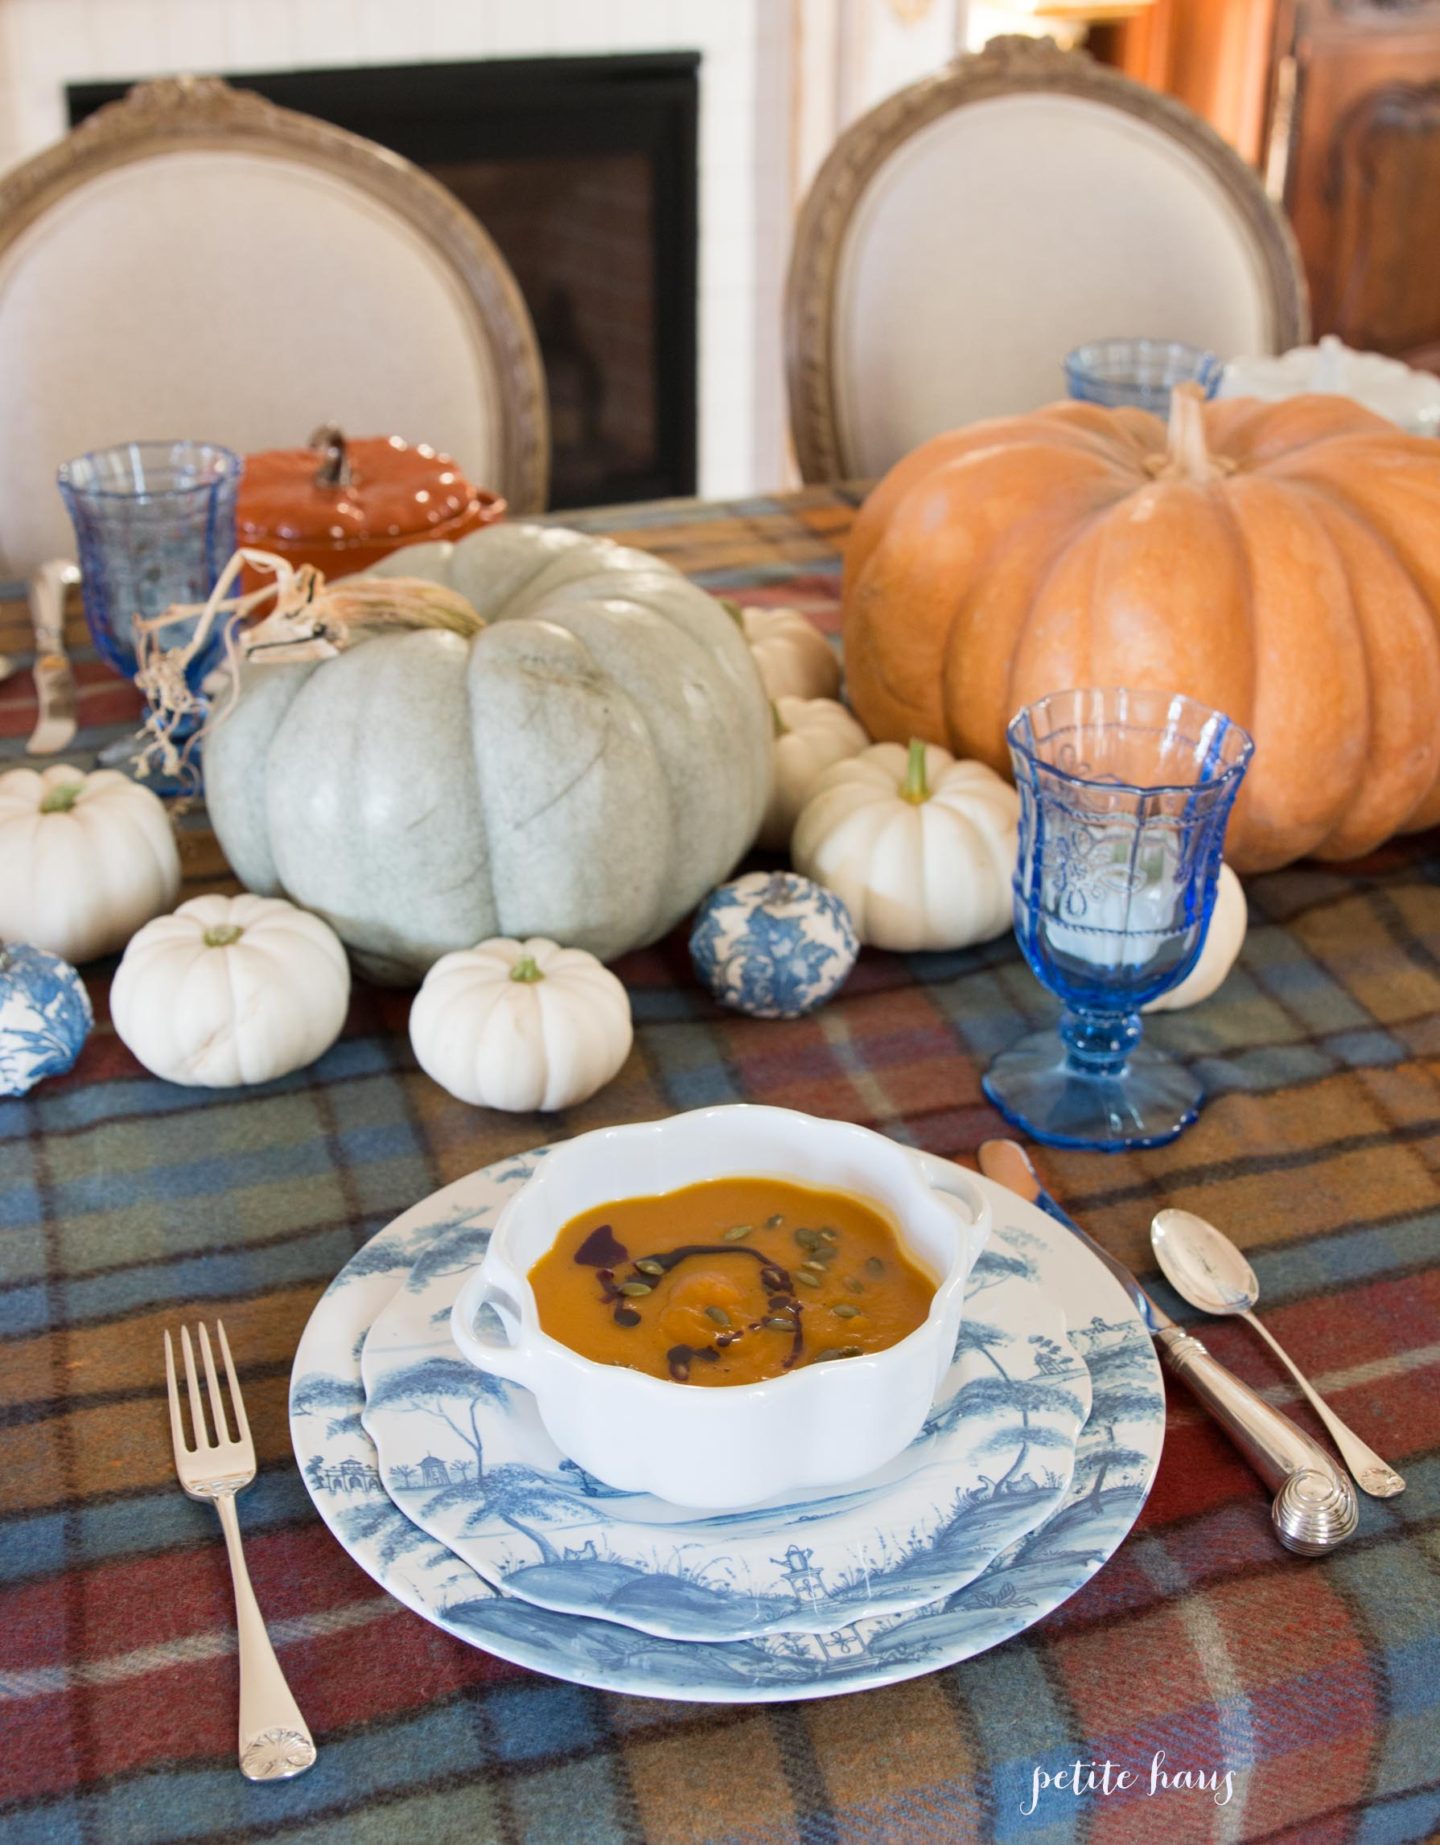
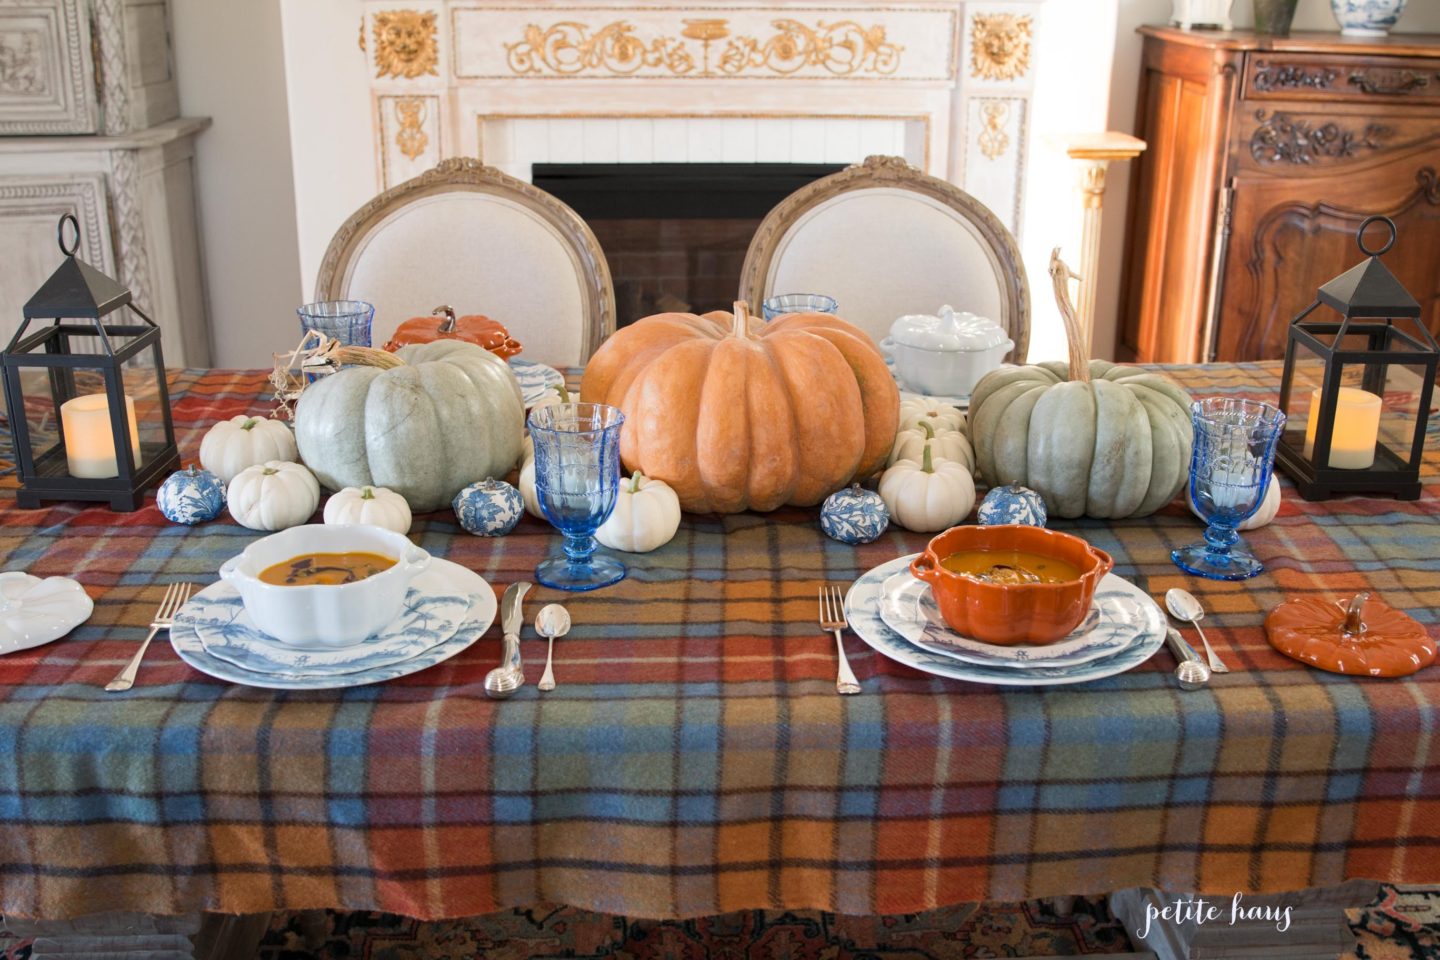
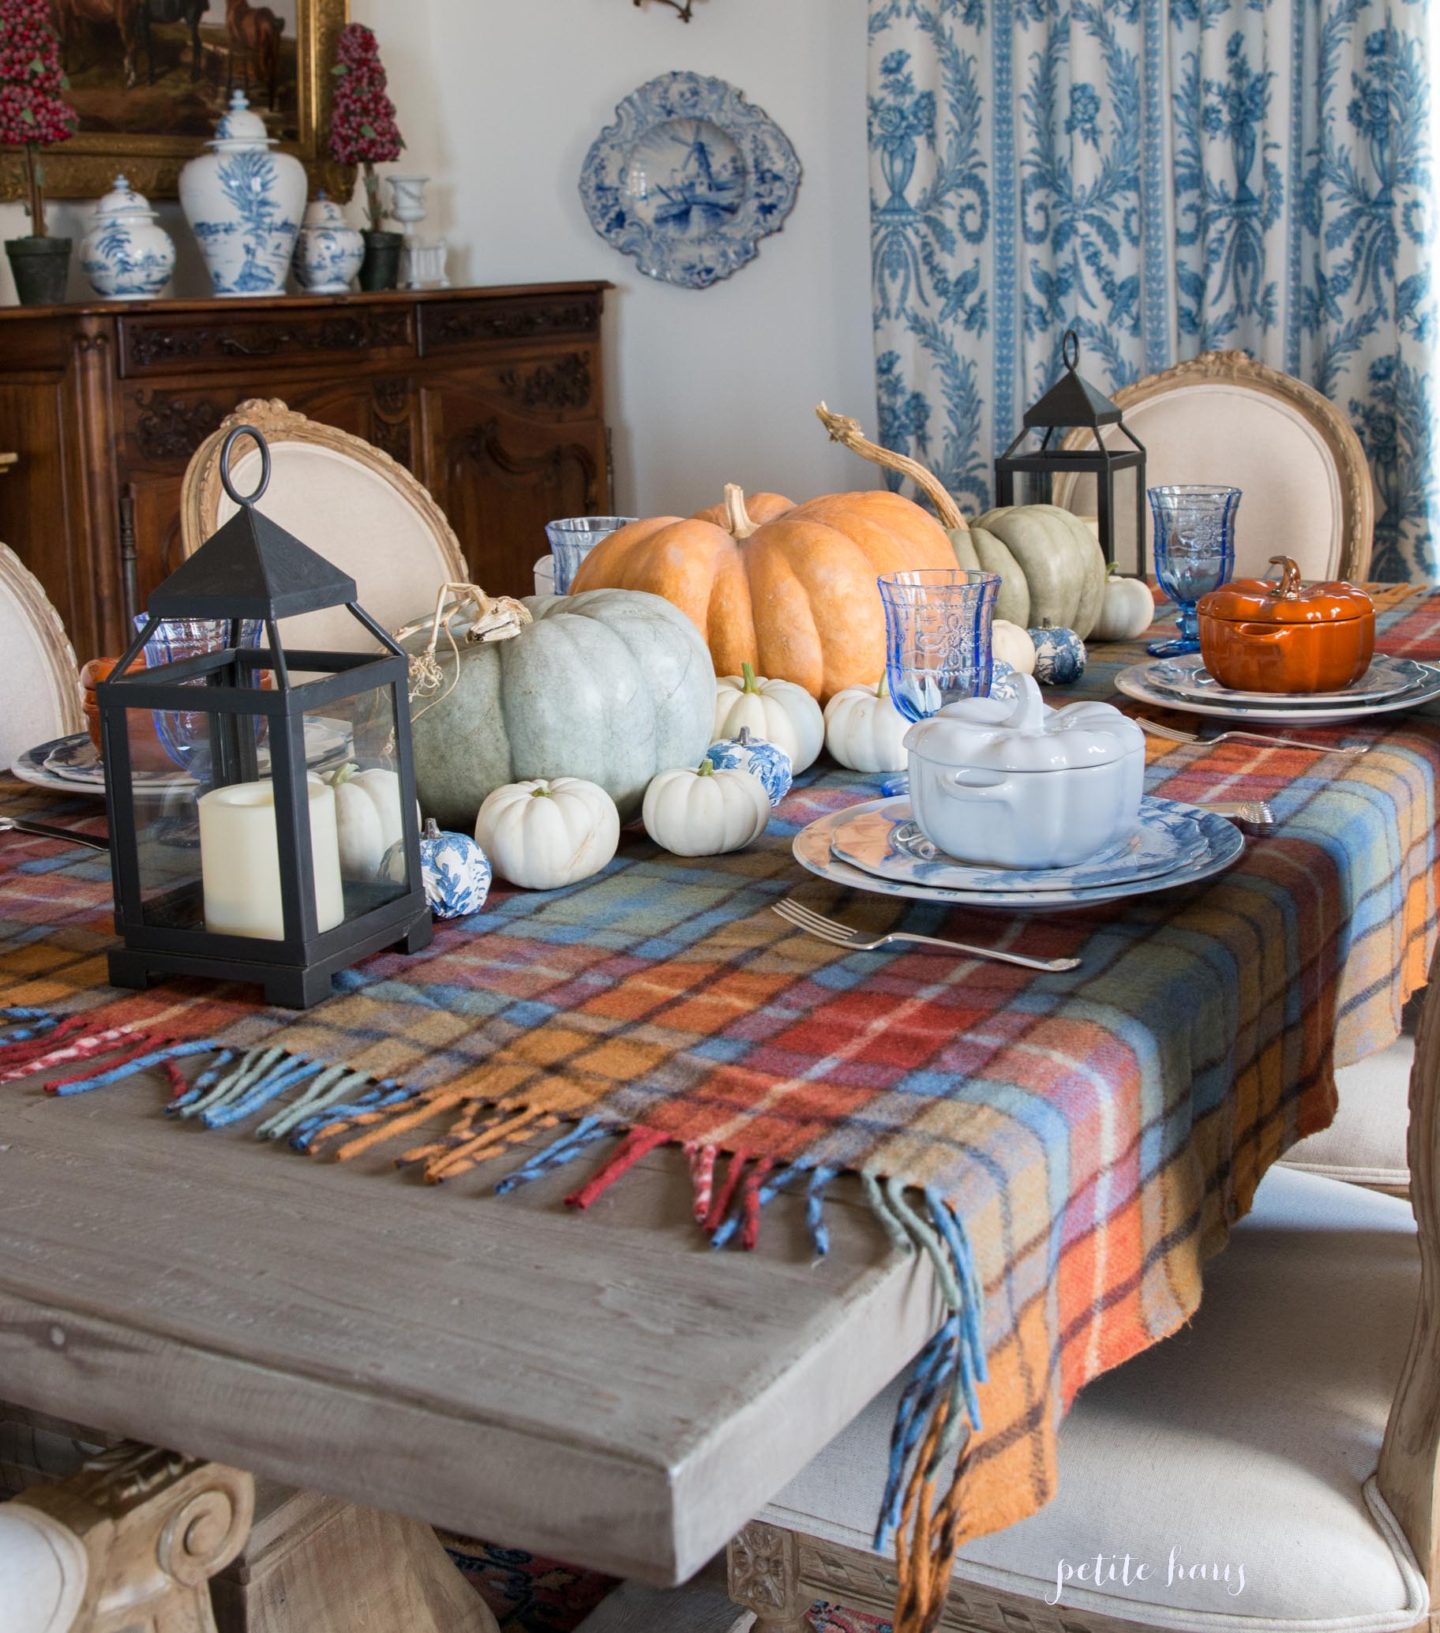
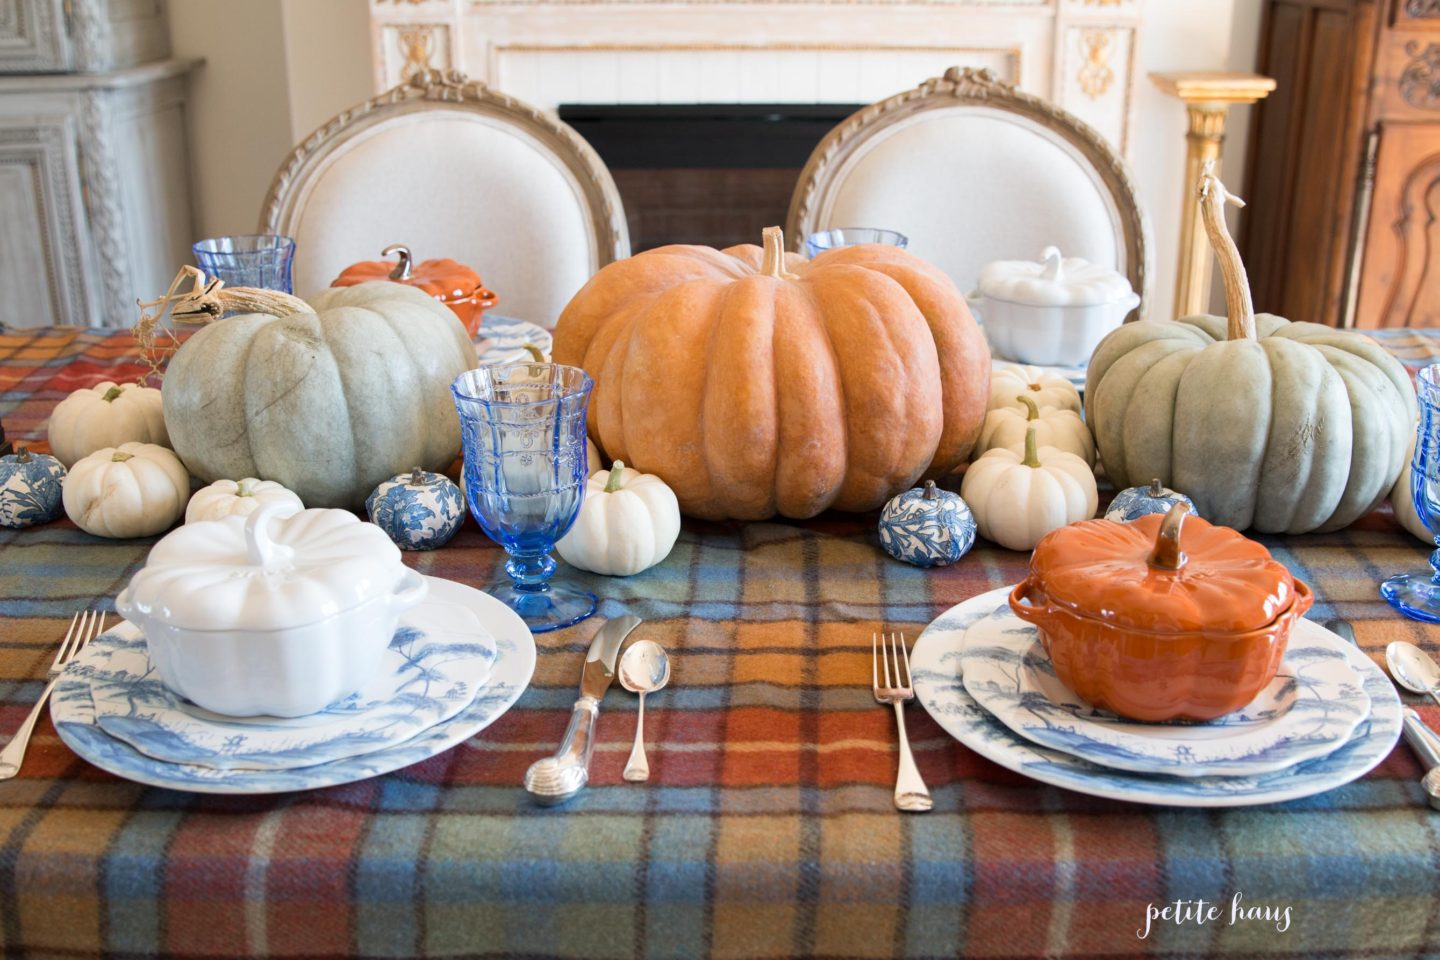
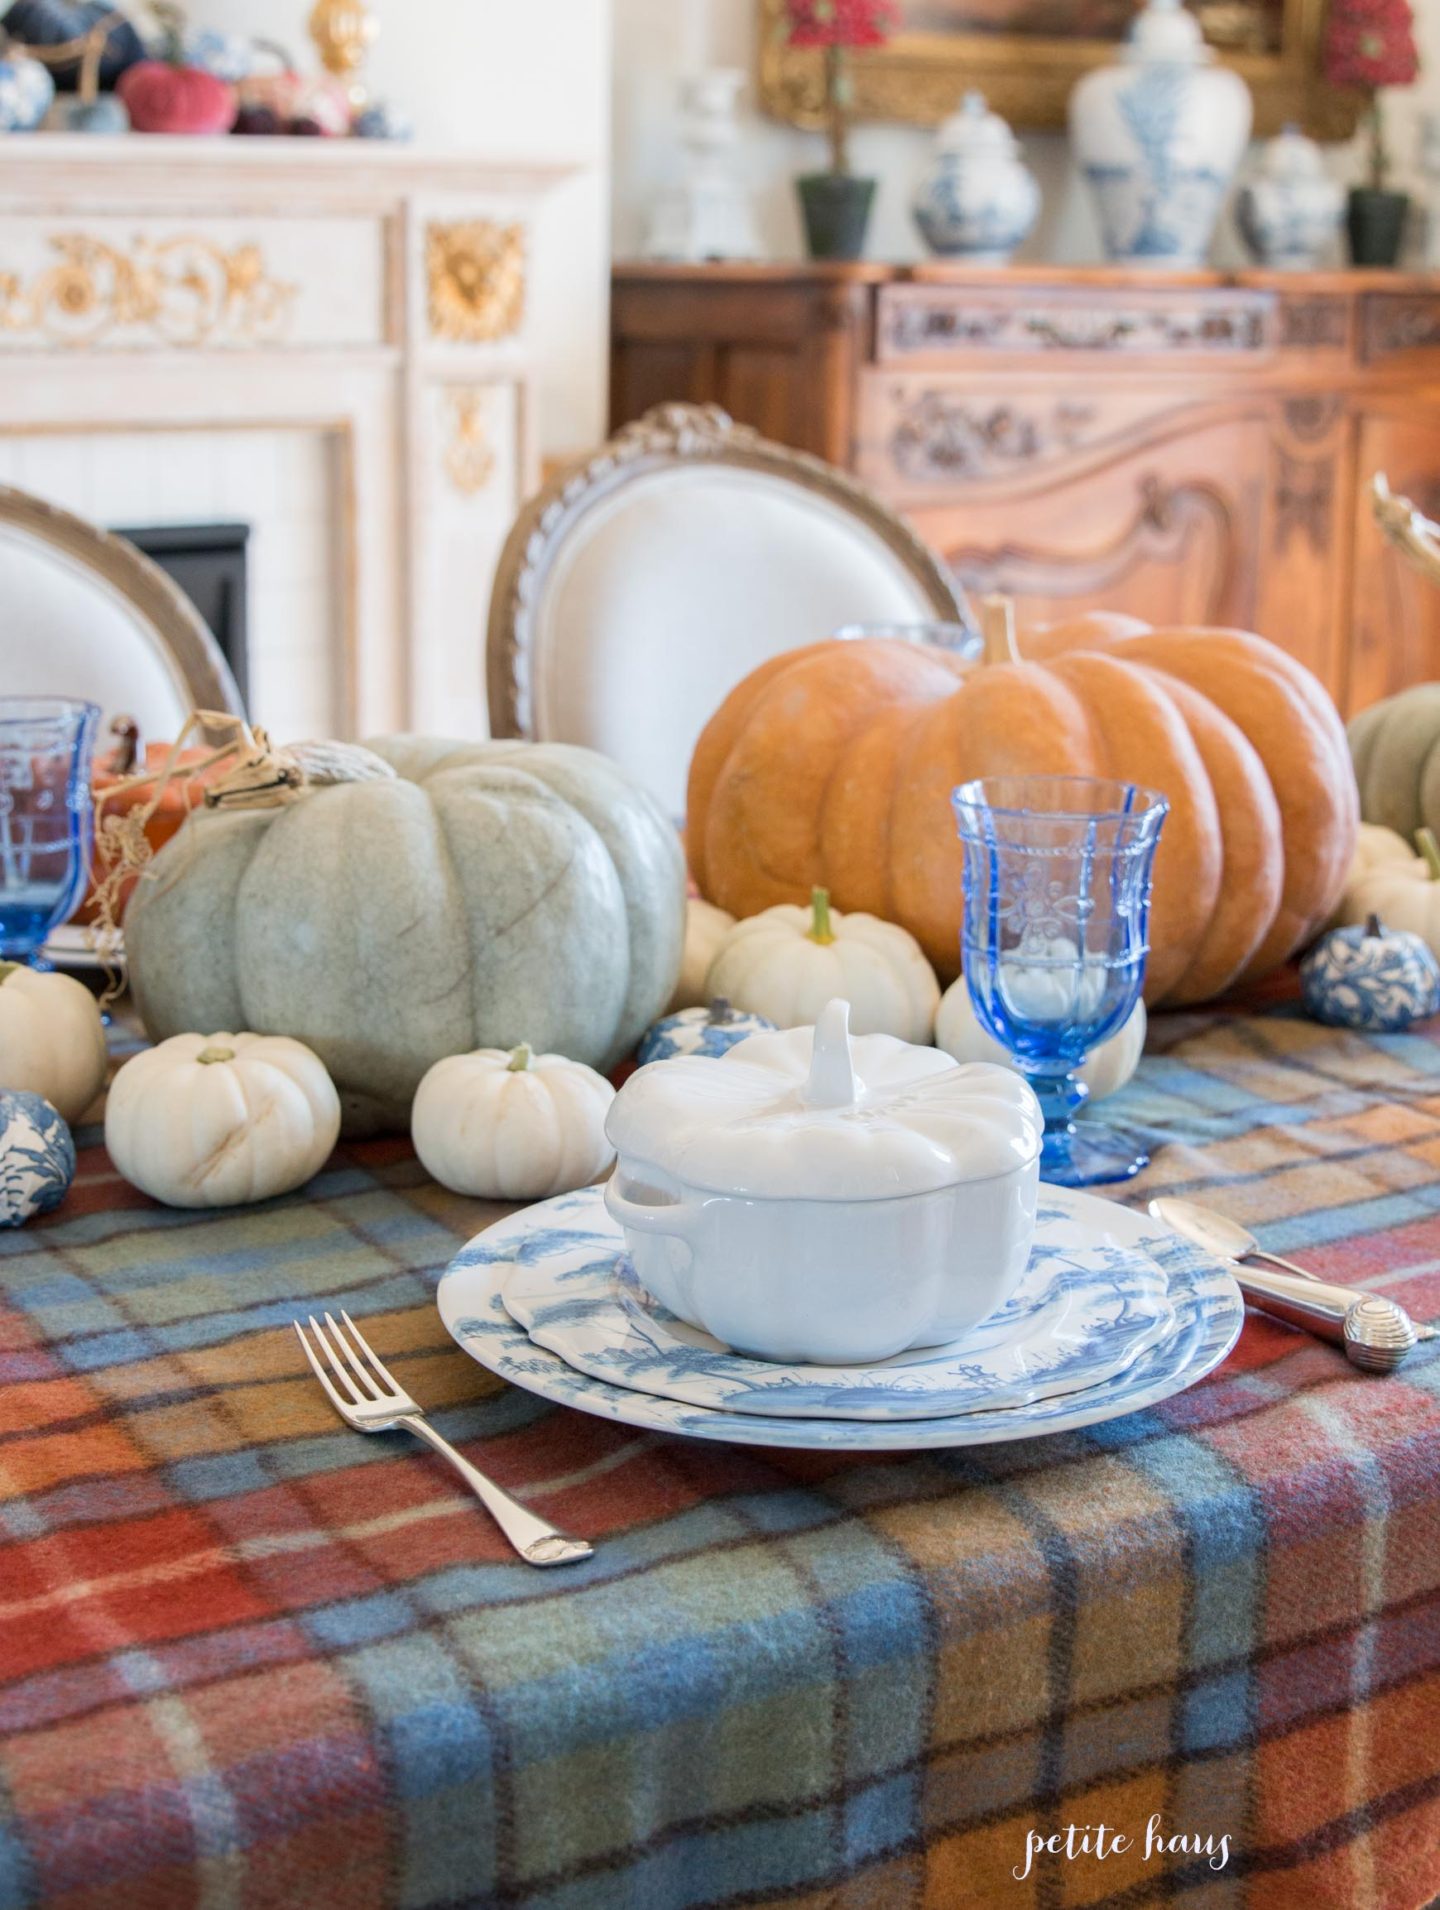
Sticking to the softer side of Fall this year.
Light blue and orange pumpkins decorate the table.
We use affiliate links in our posts and our site. This means if you make a purchase using these links, we may earn a small commission. You don’t pay a cent more than you would otherwise! Our full disclosure is available under About.
This weekend is the kick-off for Oktoberfest in Germany and we celebrated a weekend early!
Over the past few years we have made it a tradition to throw our own Oktoberfest. This year was our biggest party yet!
First, some quick Oktoberfest FAQ:
What exactly is Oktoberfest? It is a celebration that has been held nearly every year since 1810 in Munich, Germany. It is a 16-day festival that runs from late September into the first weekend in October. It was started on October 12, 1810 to celebrate the marriage of Crown Prince Ludwig to Princess Therese of Saxe-Hildburghausen on the Theresienwiese (Theresa’s Meadow). To this day, the celebrations are still held on the Theresienwiese! In Munich, an average of 6 million people visit during this festival.
Why is it called Oktoberfest when it starts in September? The festival was moved up to enjoy the nicer weather of September.
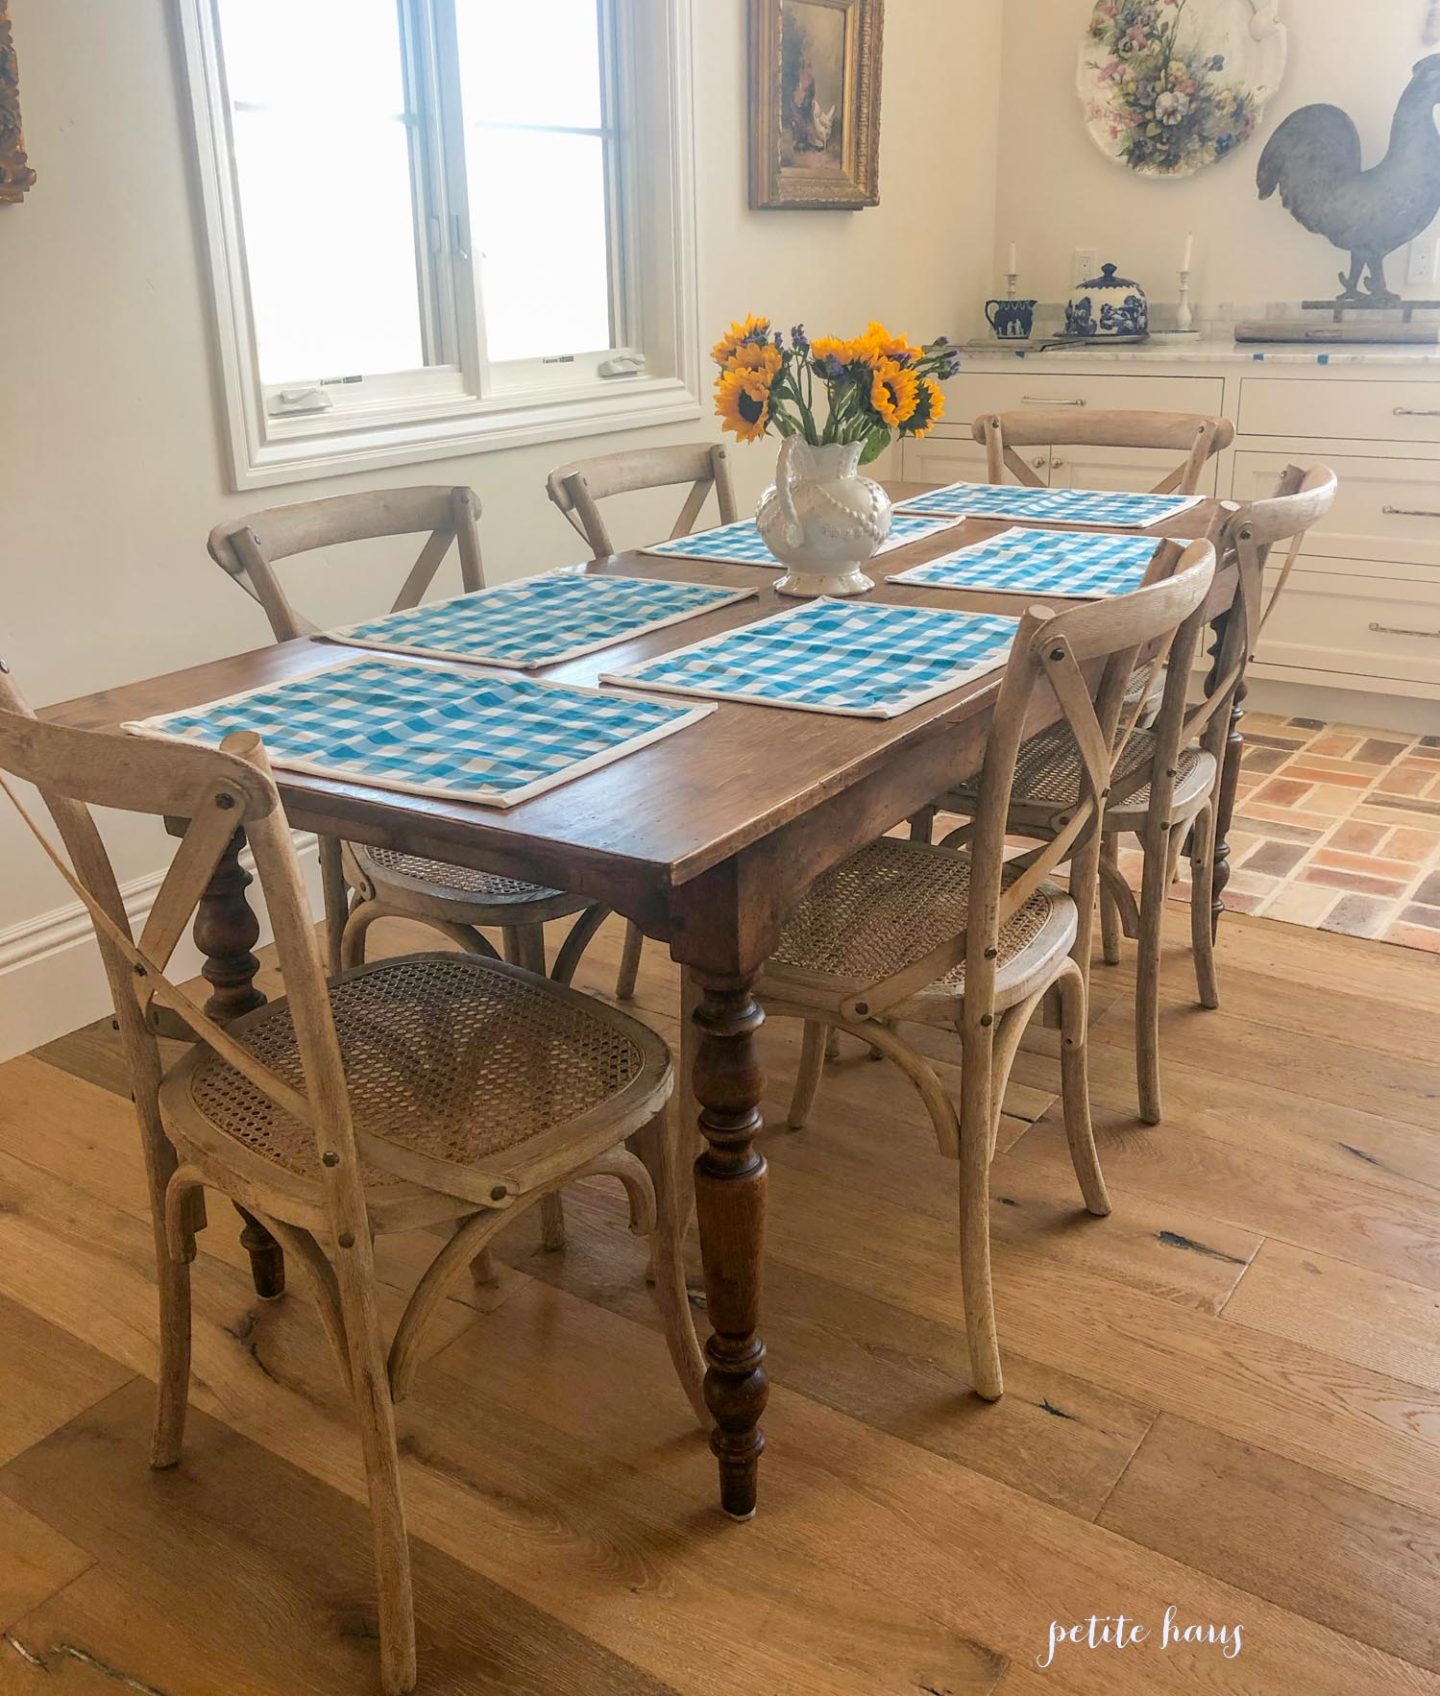
For the table, I used placemats that my mom made some years ago and some fresh sunflowers.
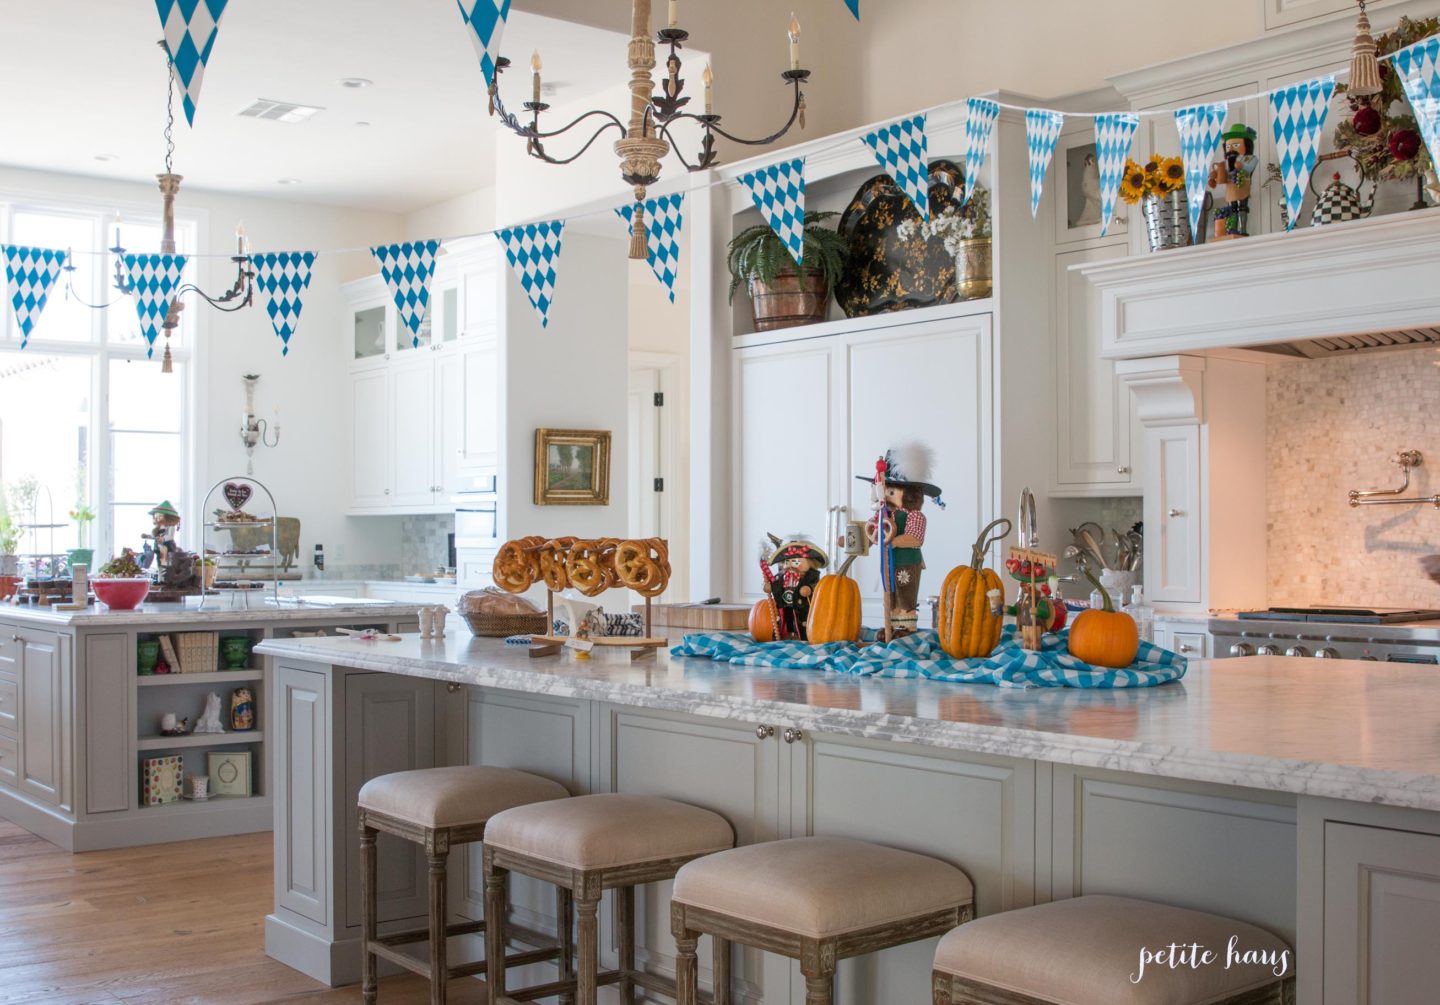
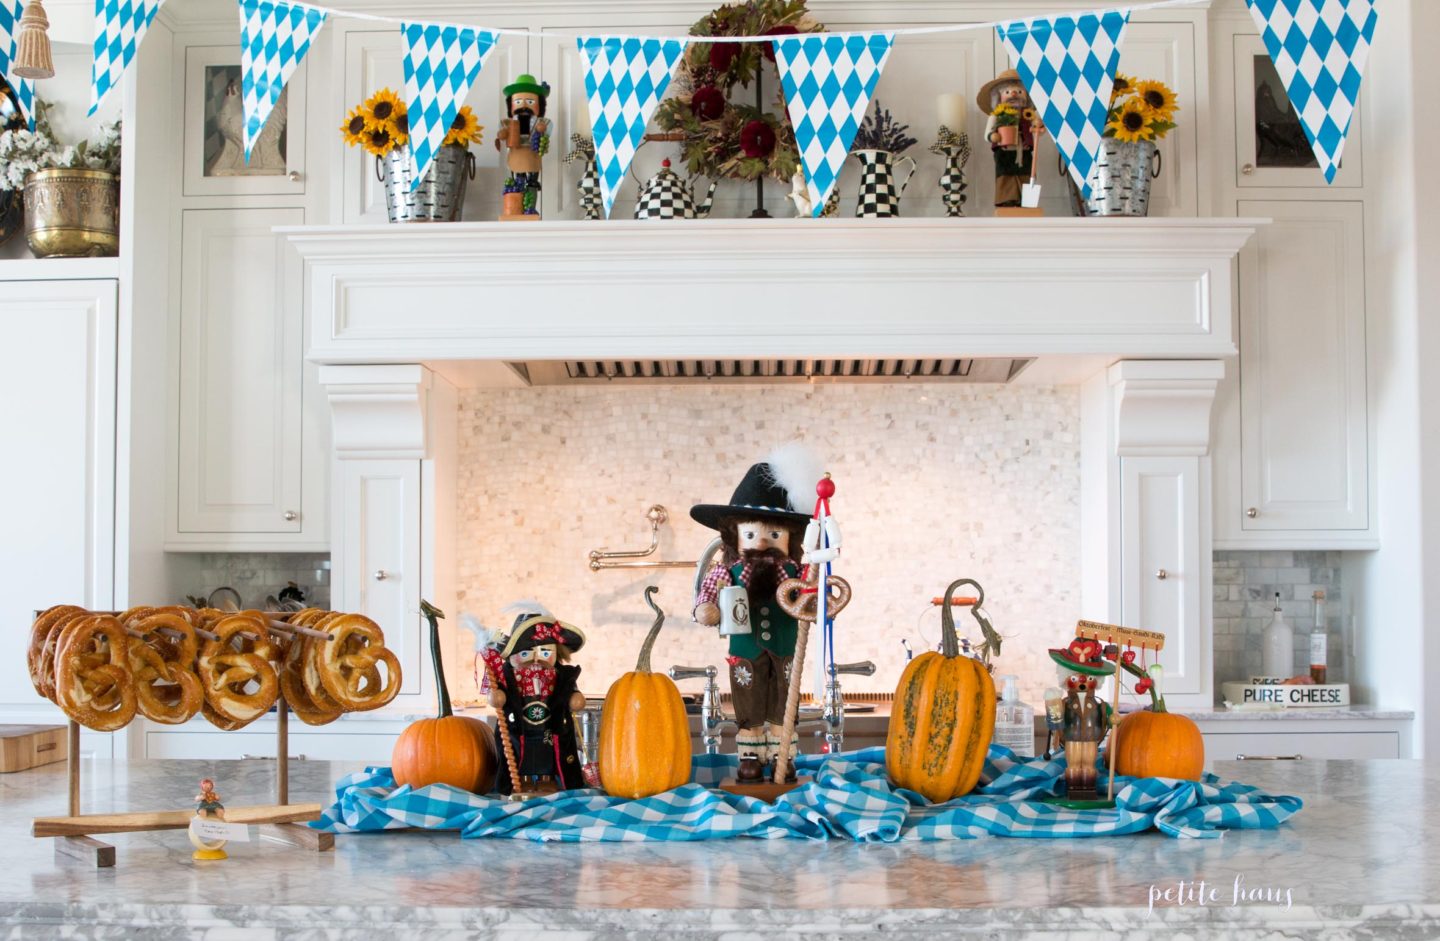
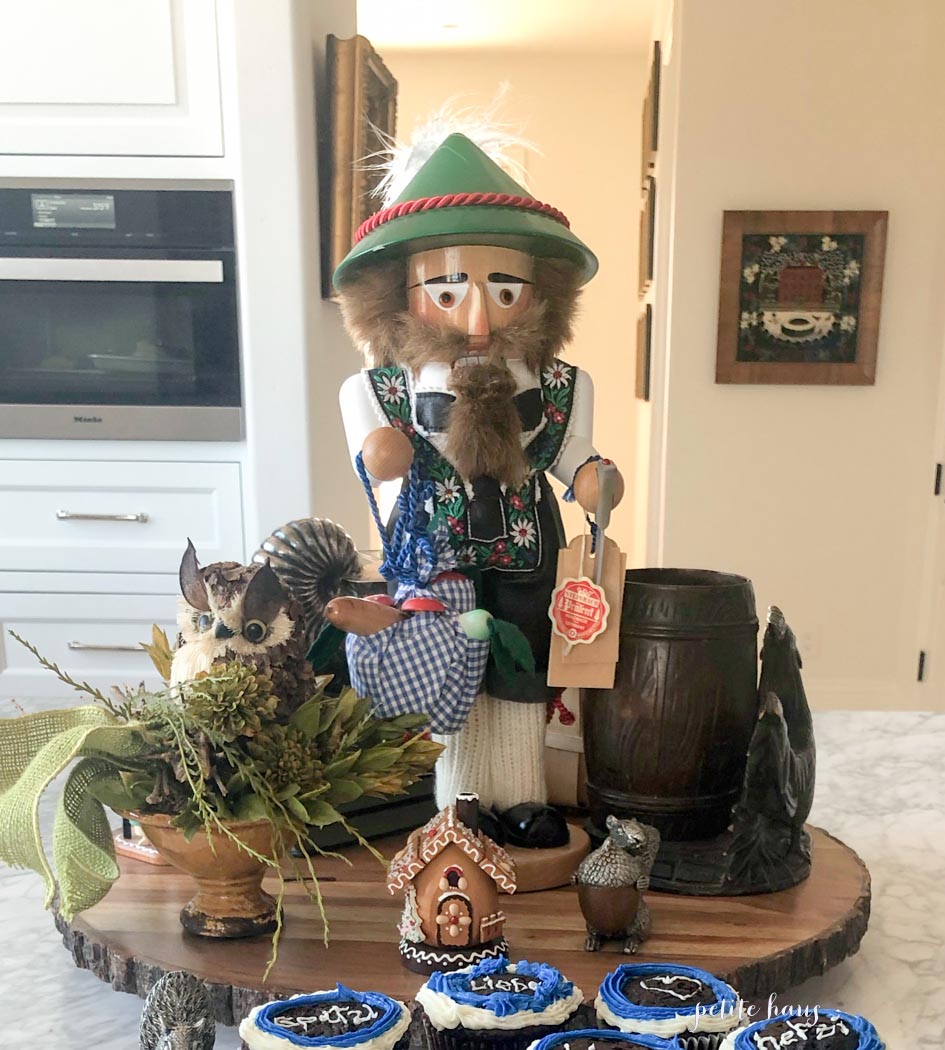
For party decorations, I simply took our nutcrackers out and put them on display. I only displayed the ones in traditional Bavarian/Tirolean costume.
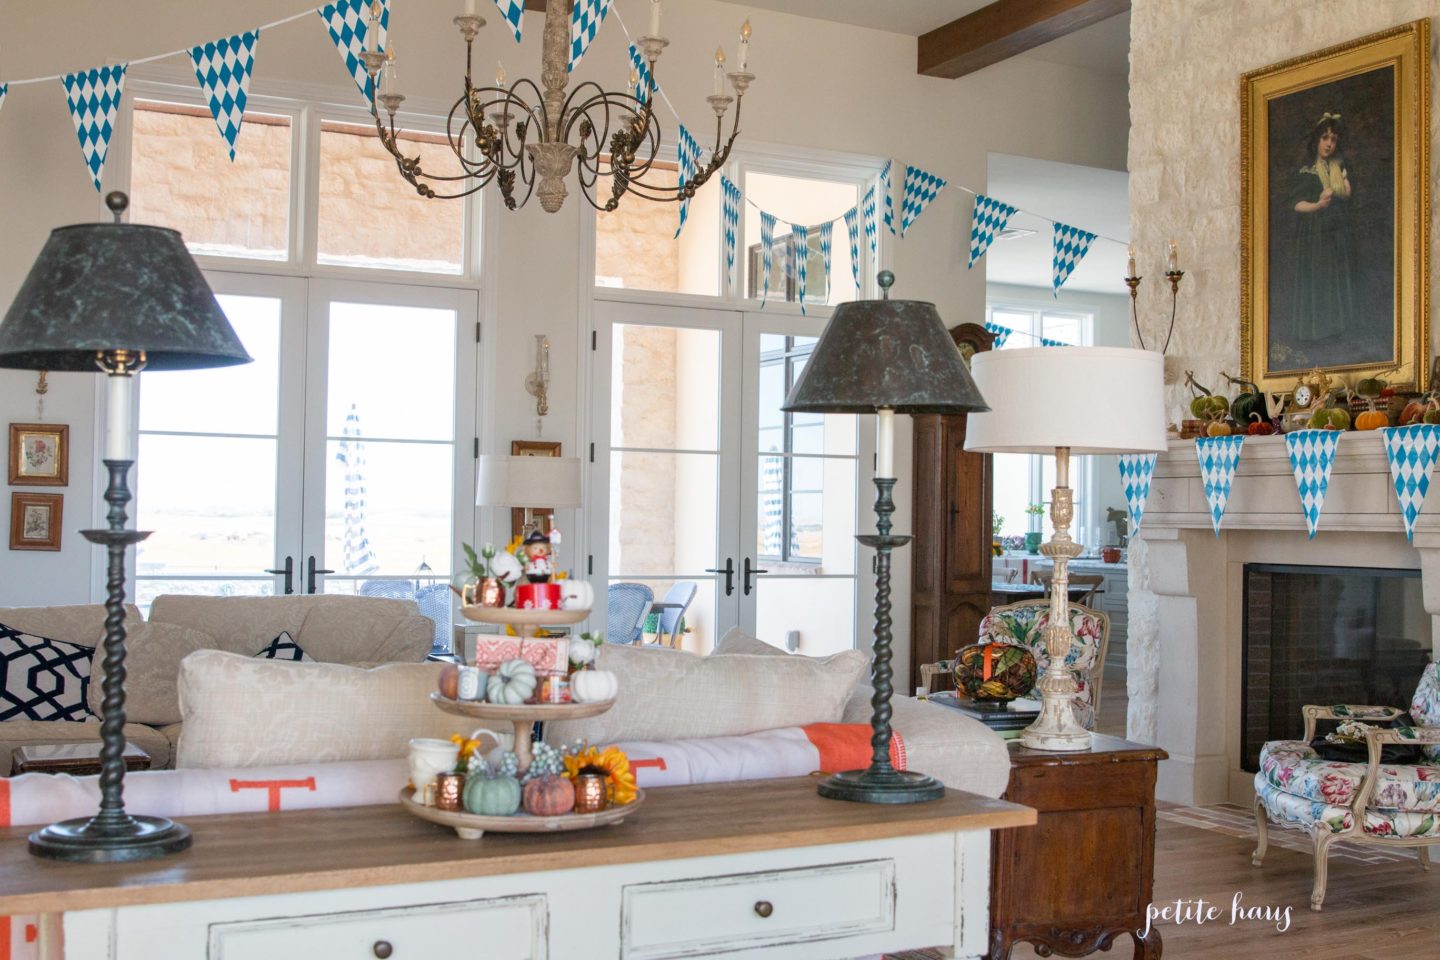
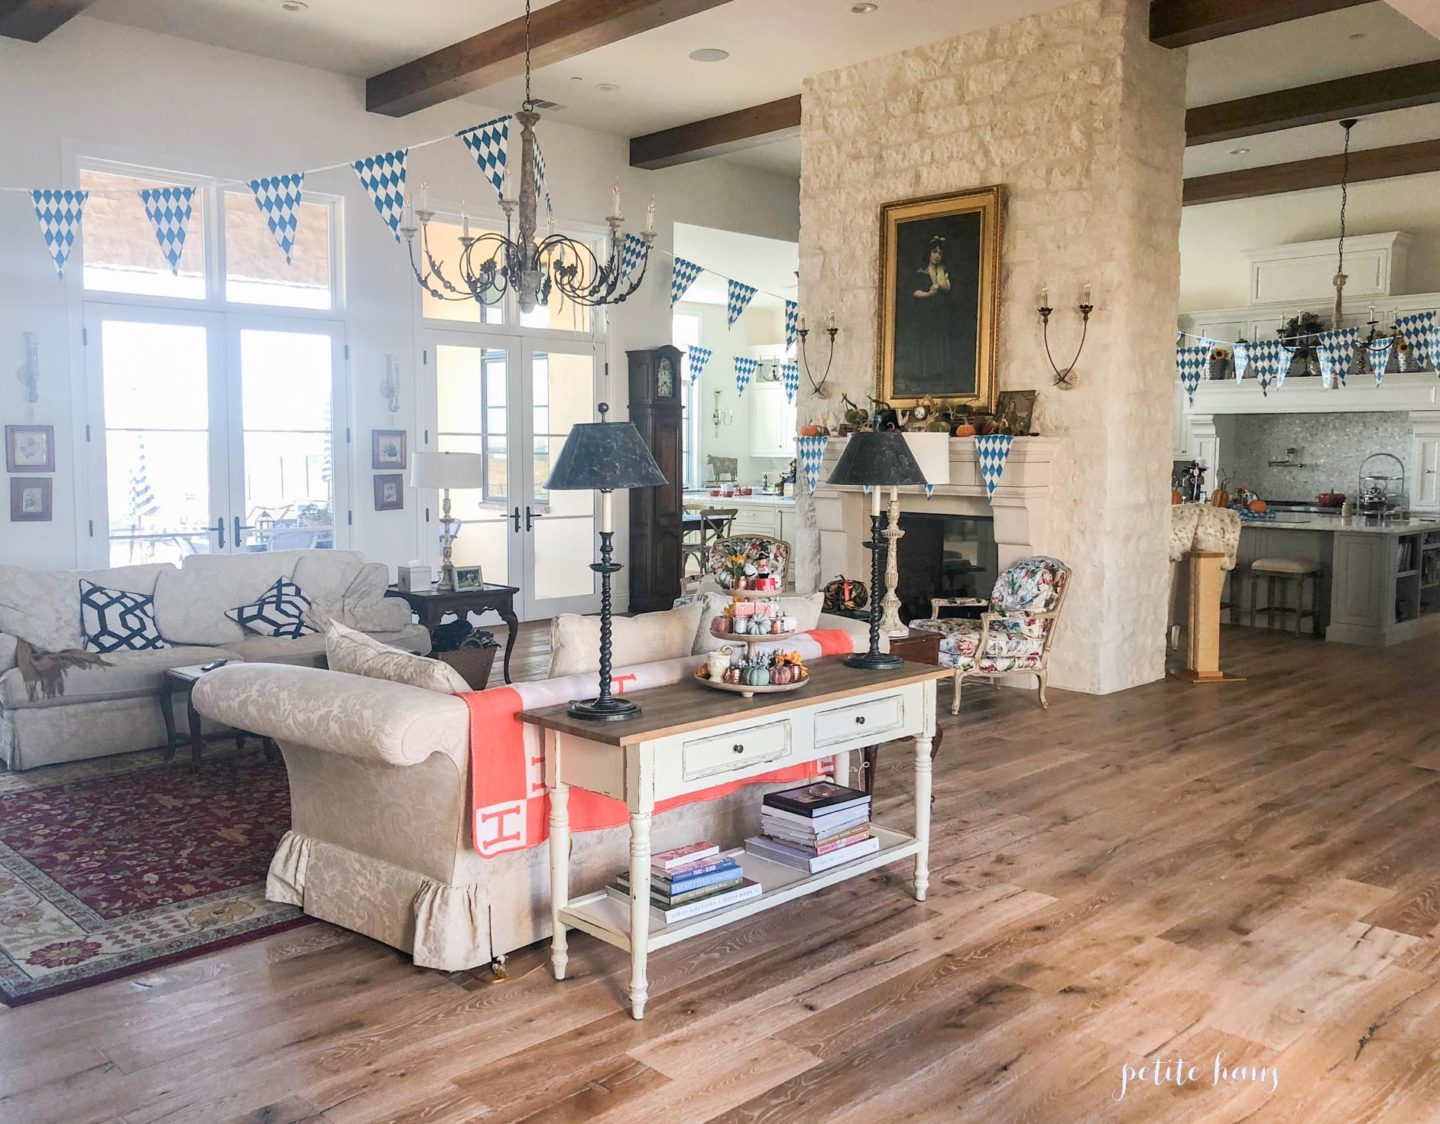
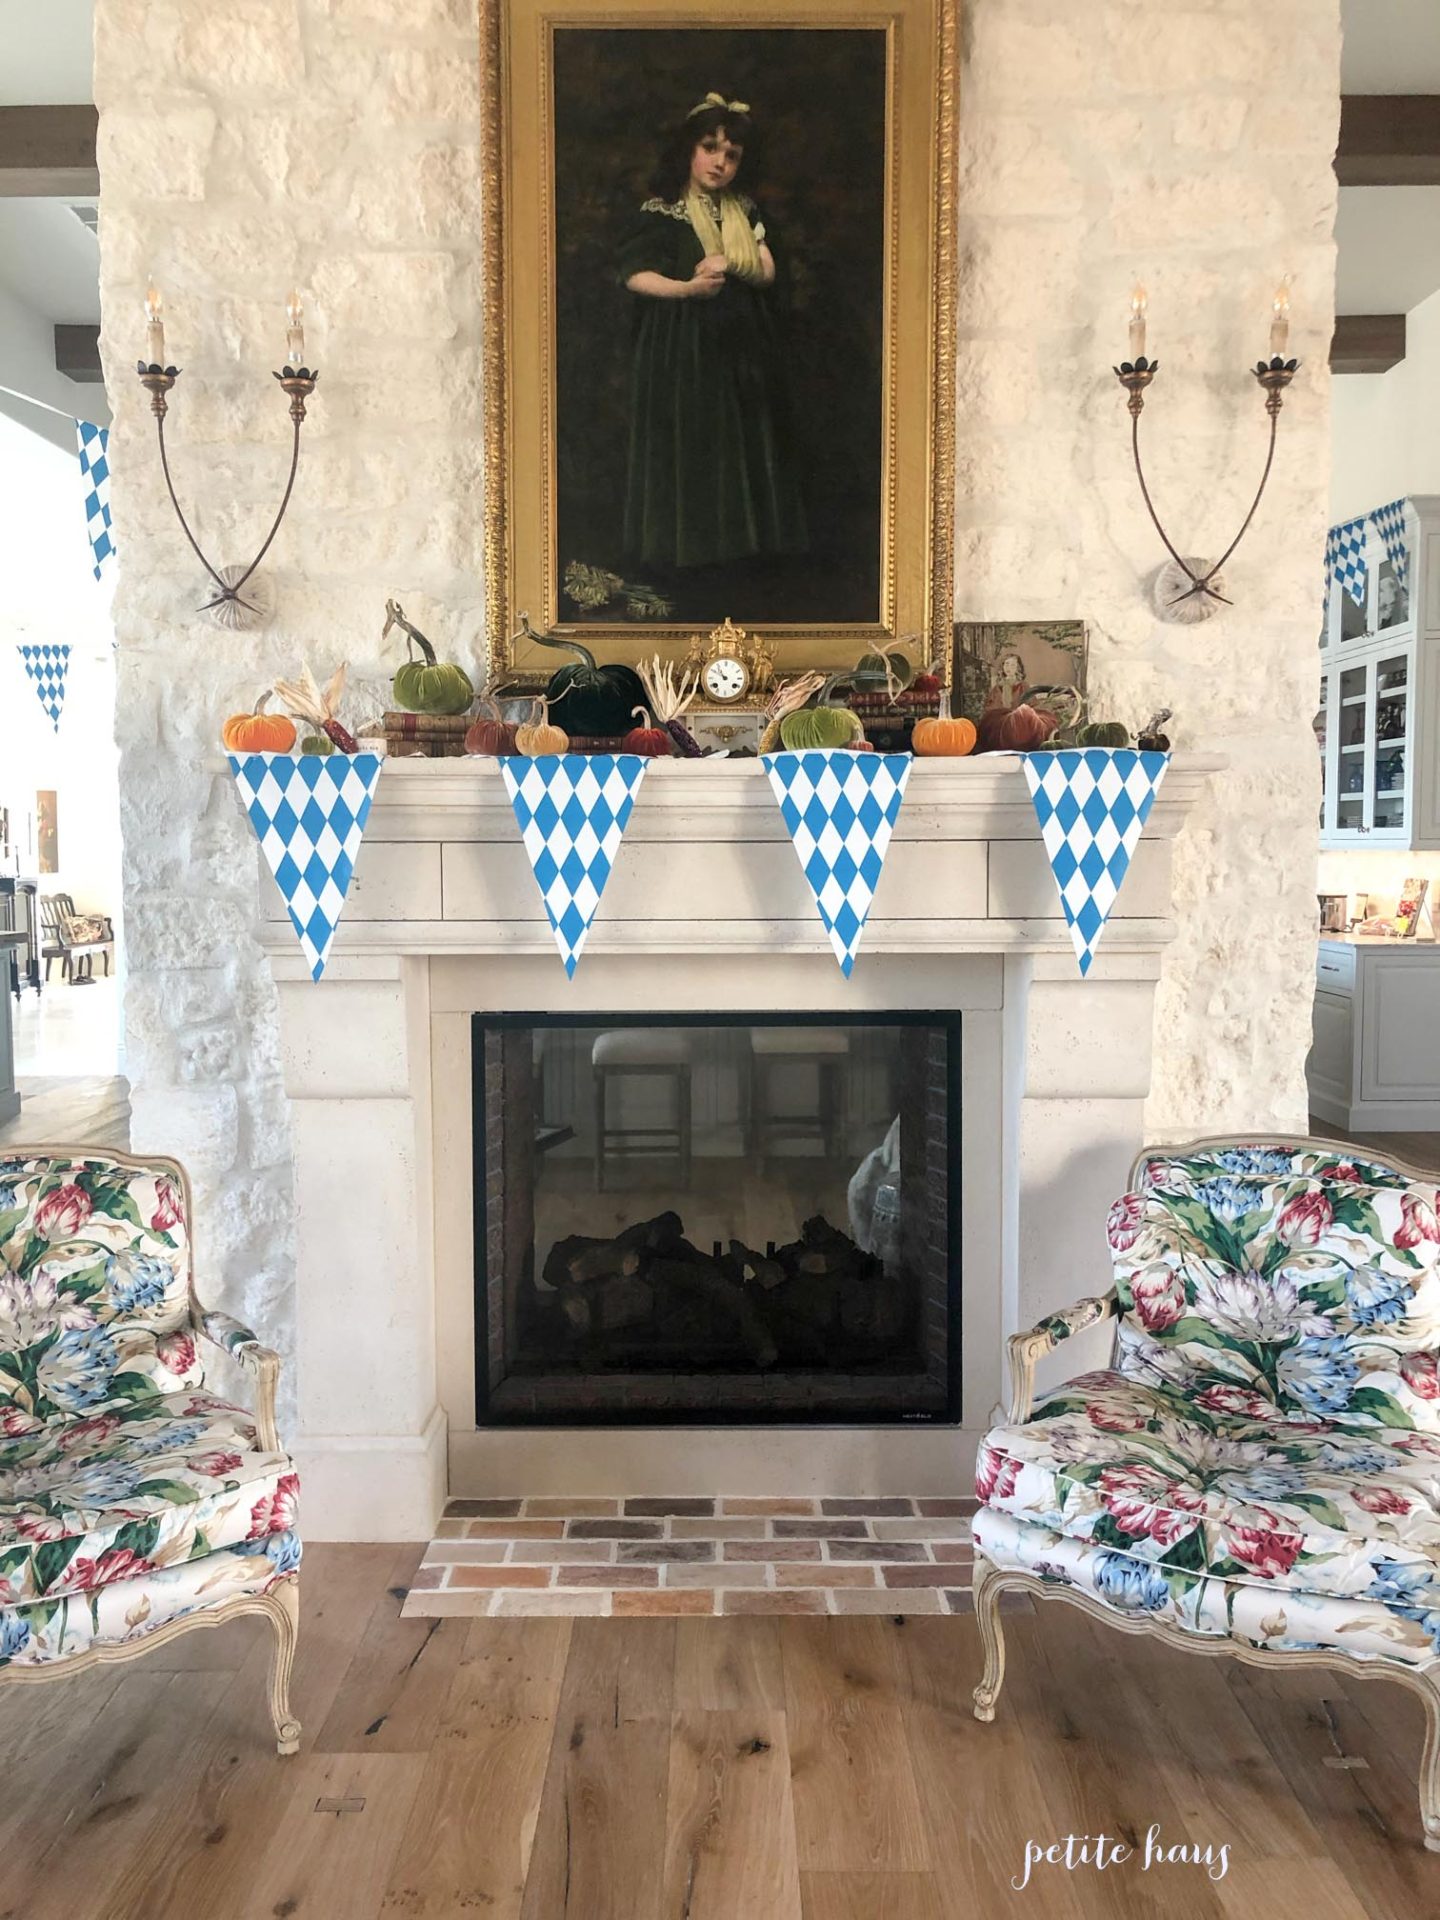
I also purchased a Bavarian flag banner and hung it up high to evoke the feeling of being in a German beer hall. As you can see the banner goes into the kitchen too.
The banner was a happy mistake – I thought I was buying 10 foot banner and instead accidentally purchased a 100 foot banner. Oh well, it worked out in the end!
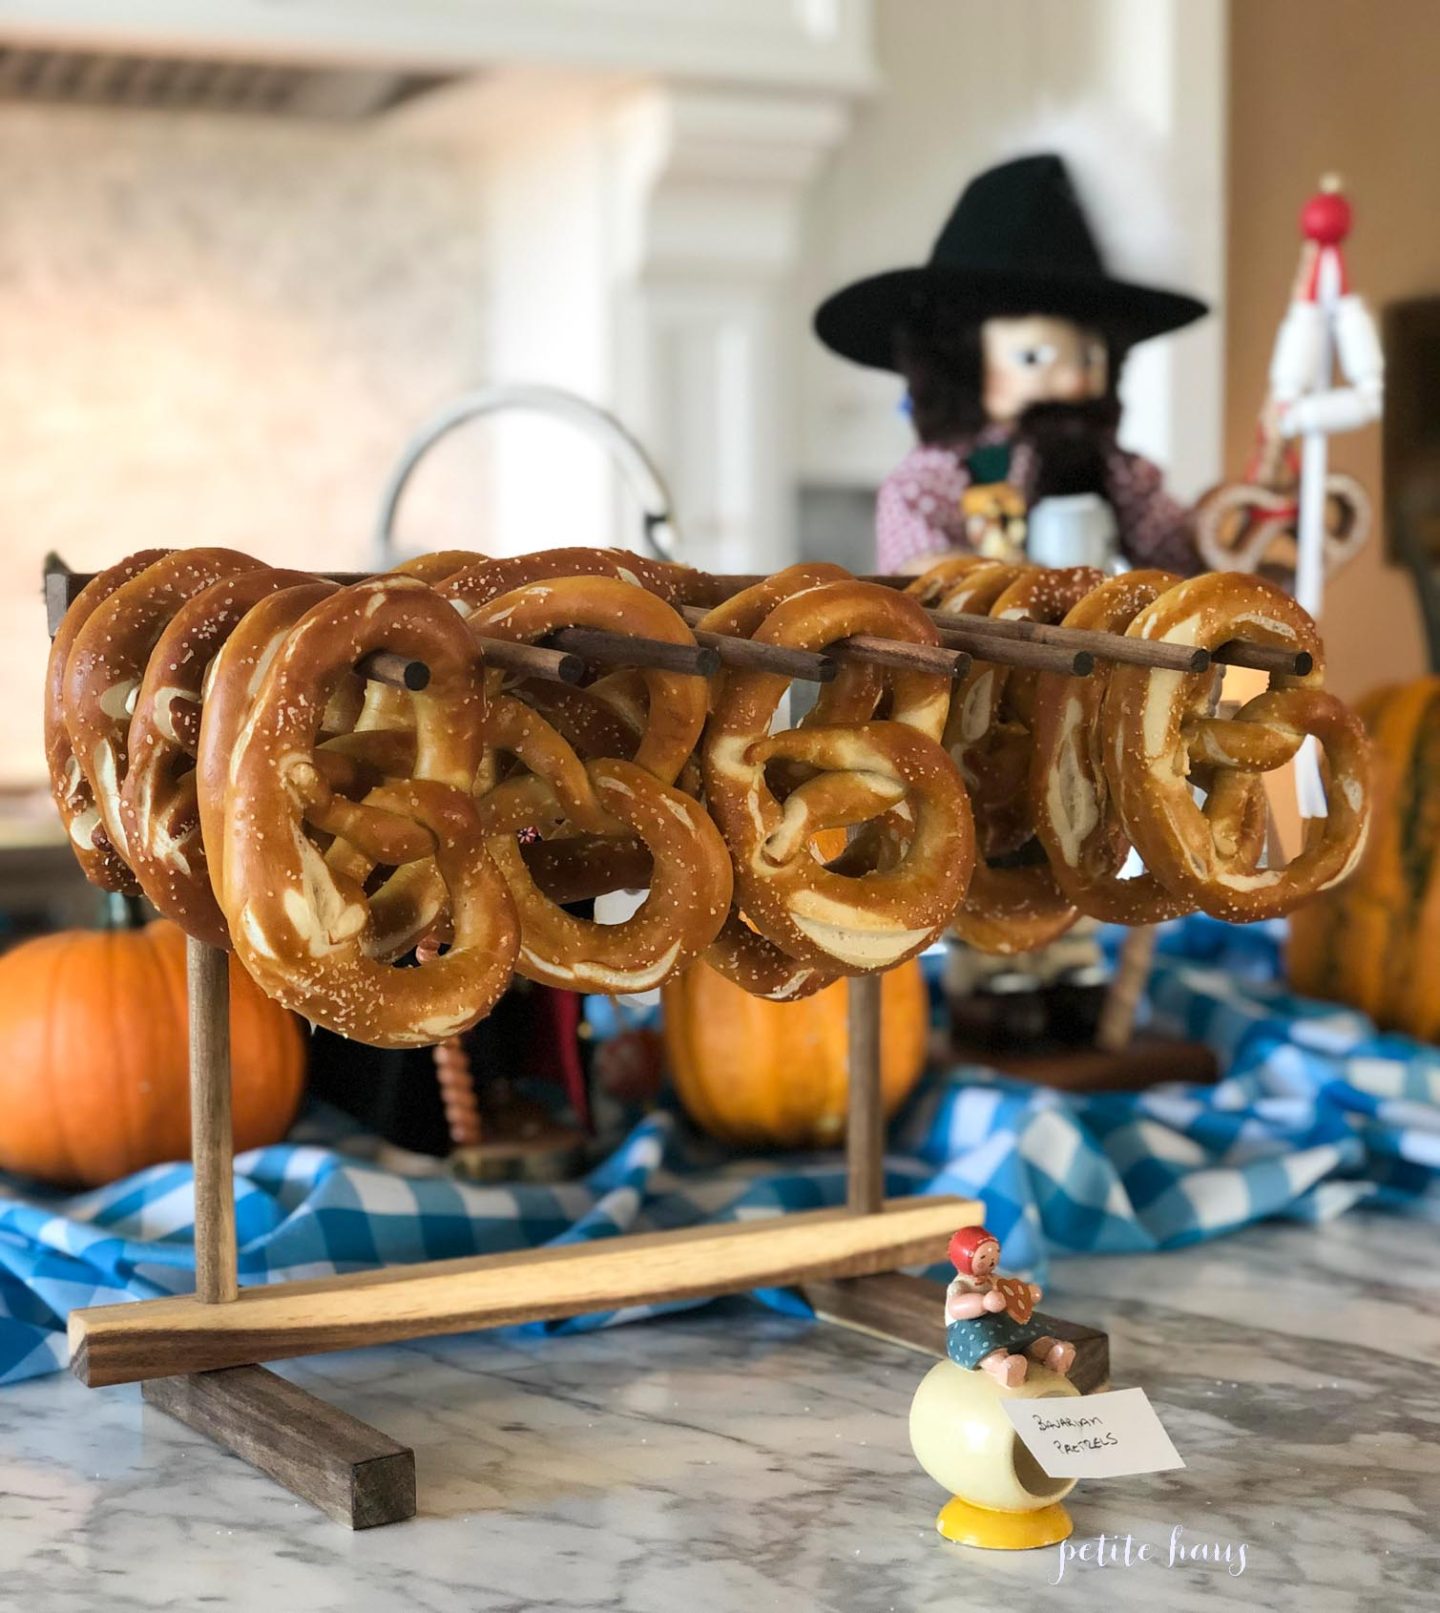
So, what food did we serve? Well, homemade Bavarian pretzels of course! I used my pasta drying rack to display the freshly baked pretzels.
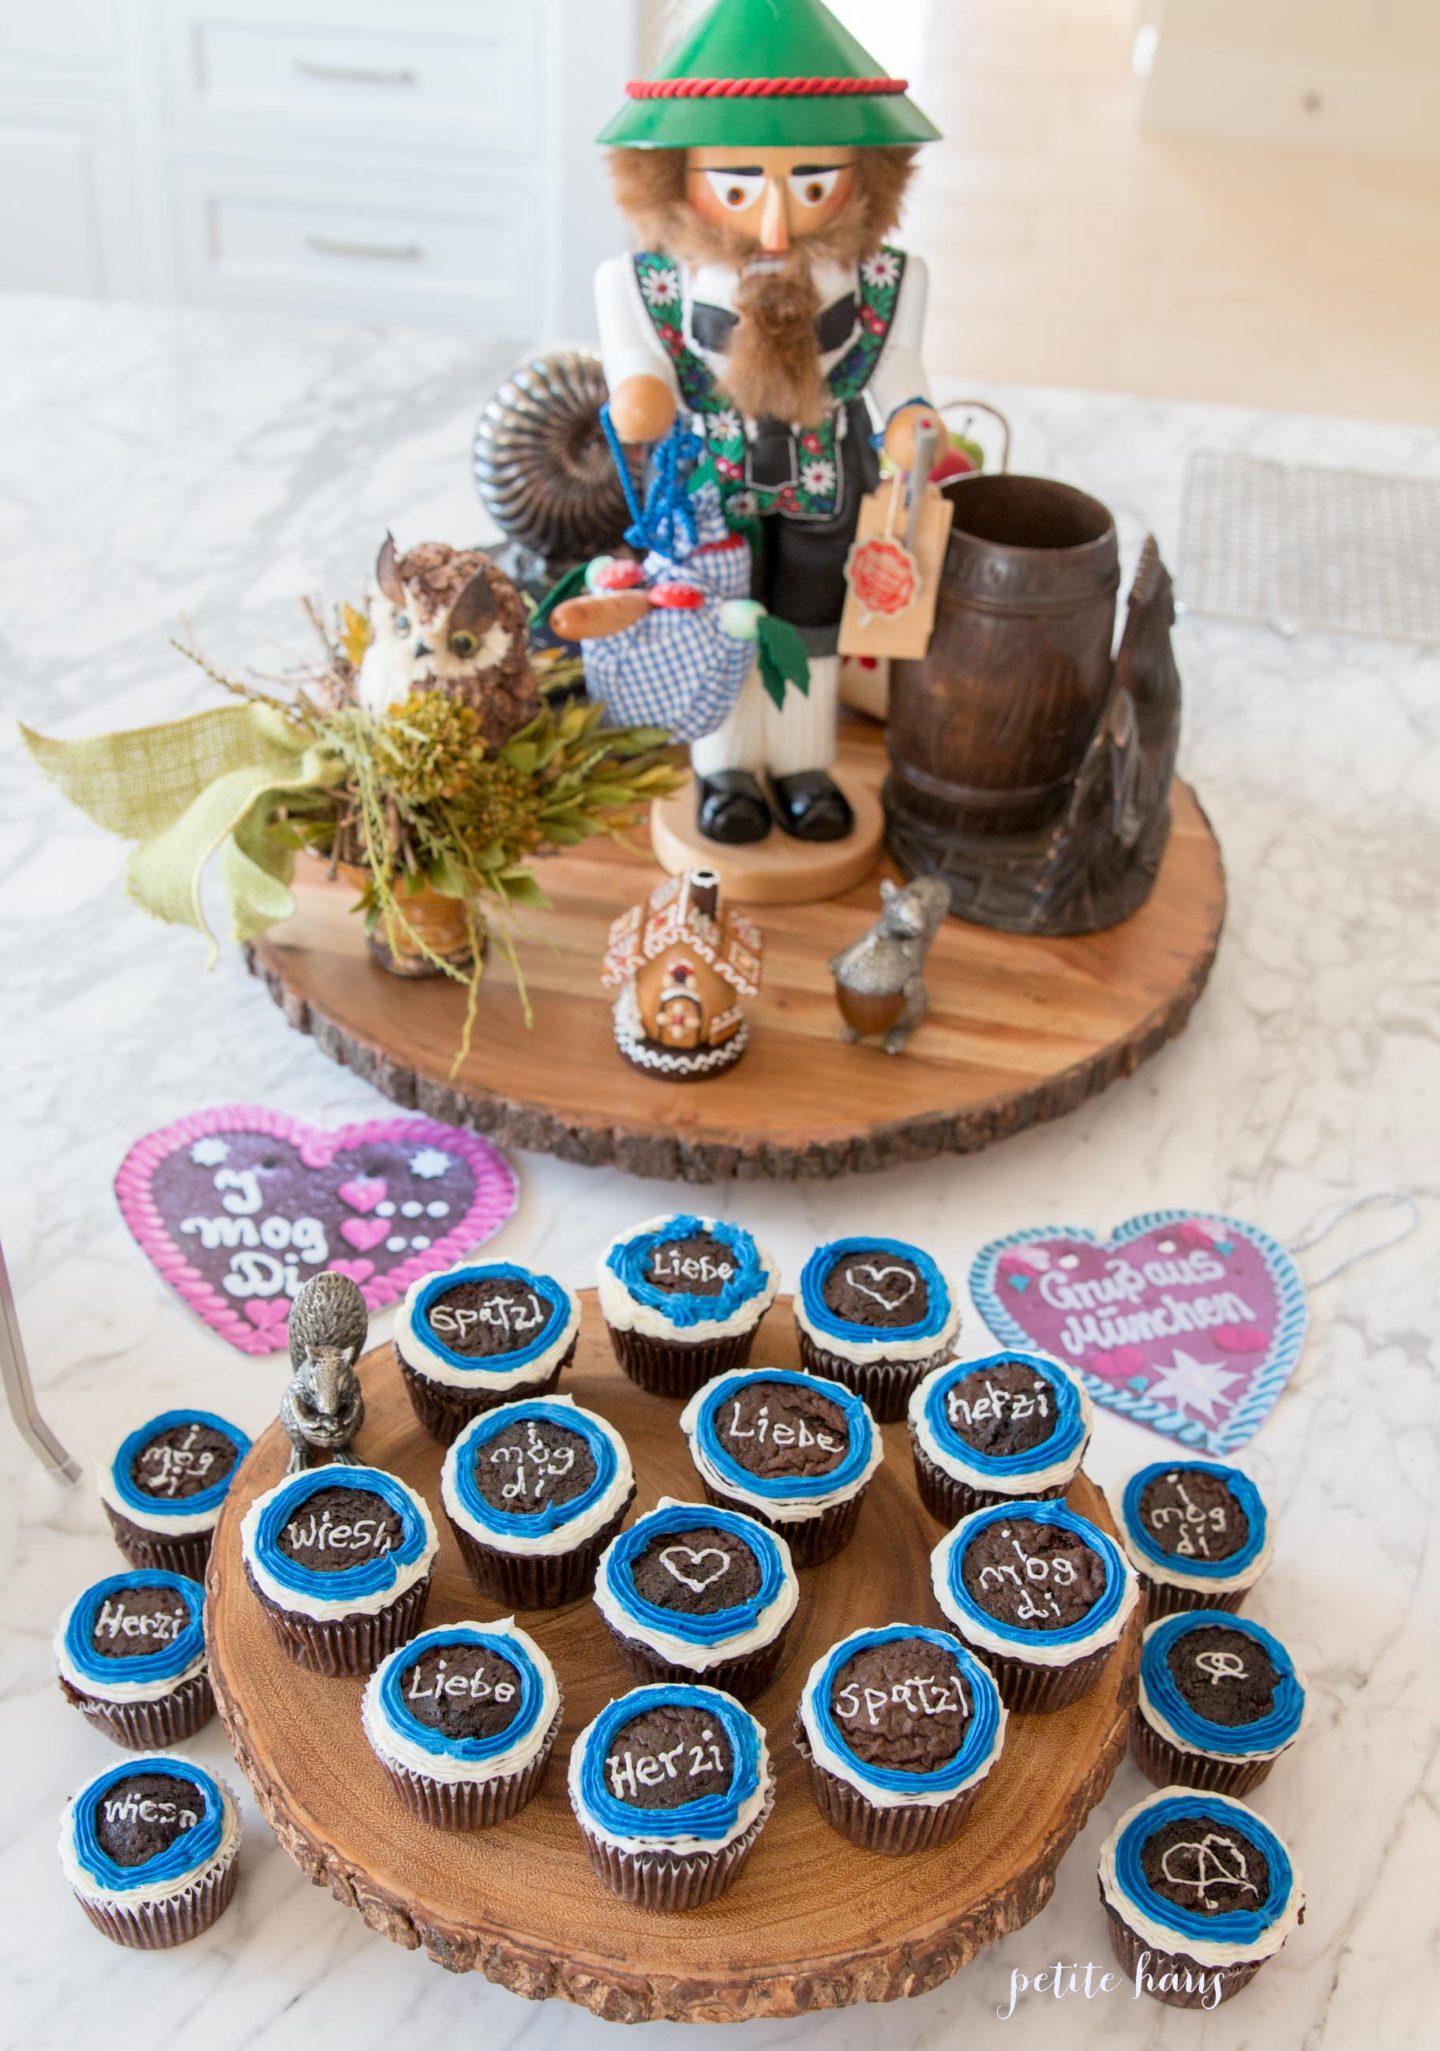
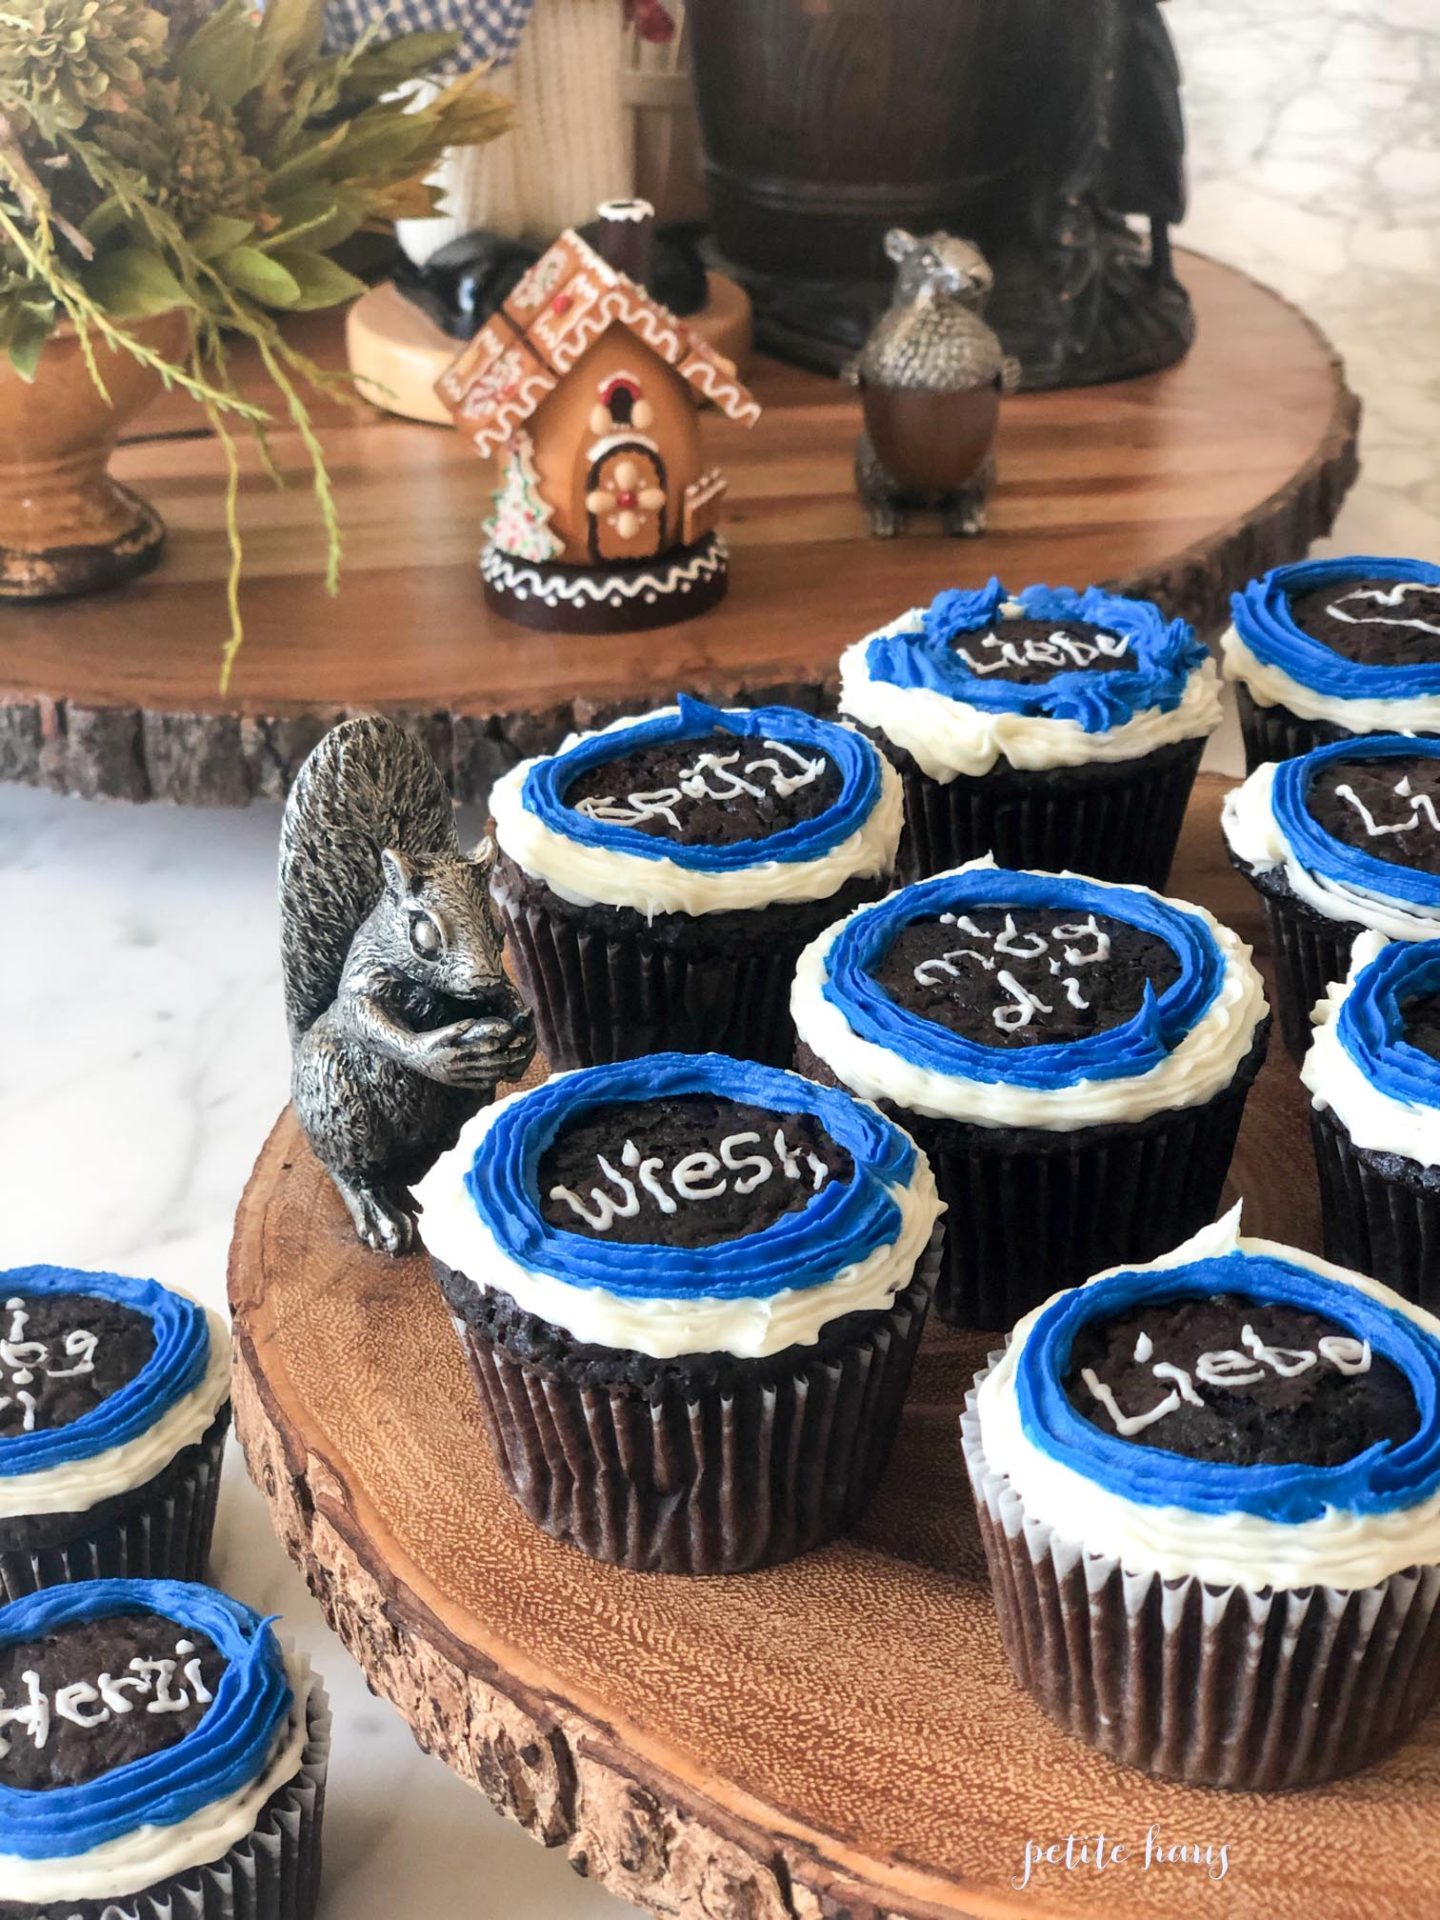
I made chocolate cupcakes decorated in the style of the German gingerbread hearts that are found all over Oktoberfest.
I would have made the hearts, but frankly, they don’t taste good. These chocolate cupcakes were super moist. I just used a chocolate cake mix.
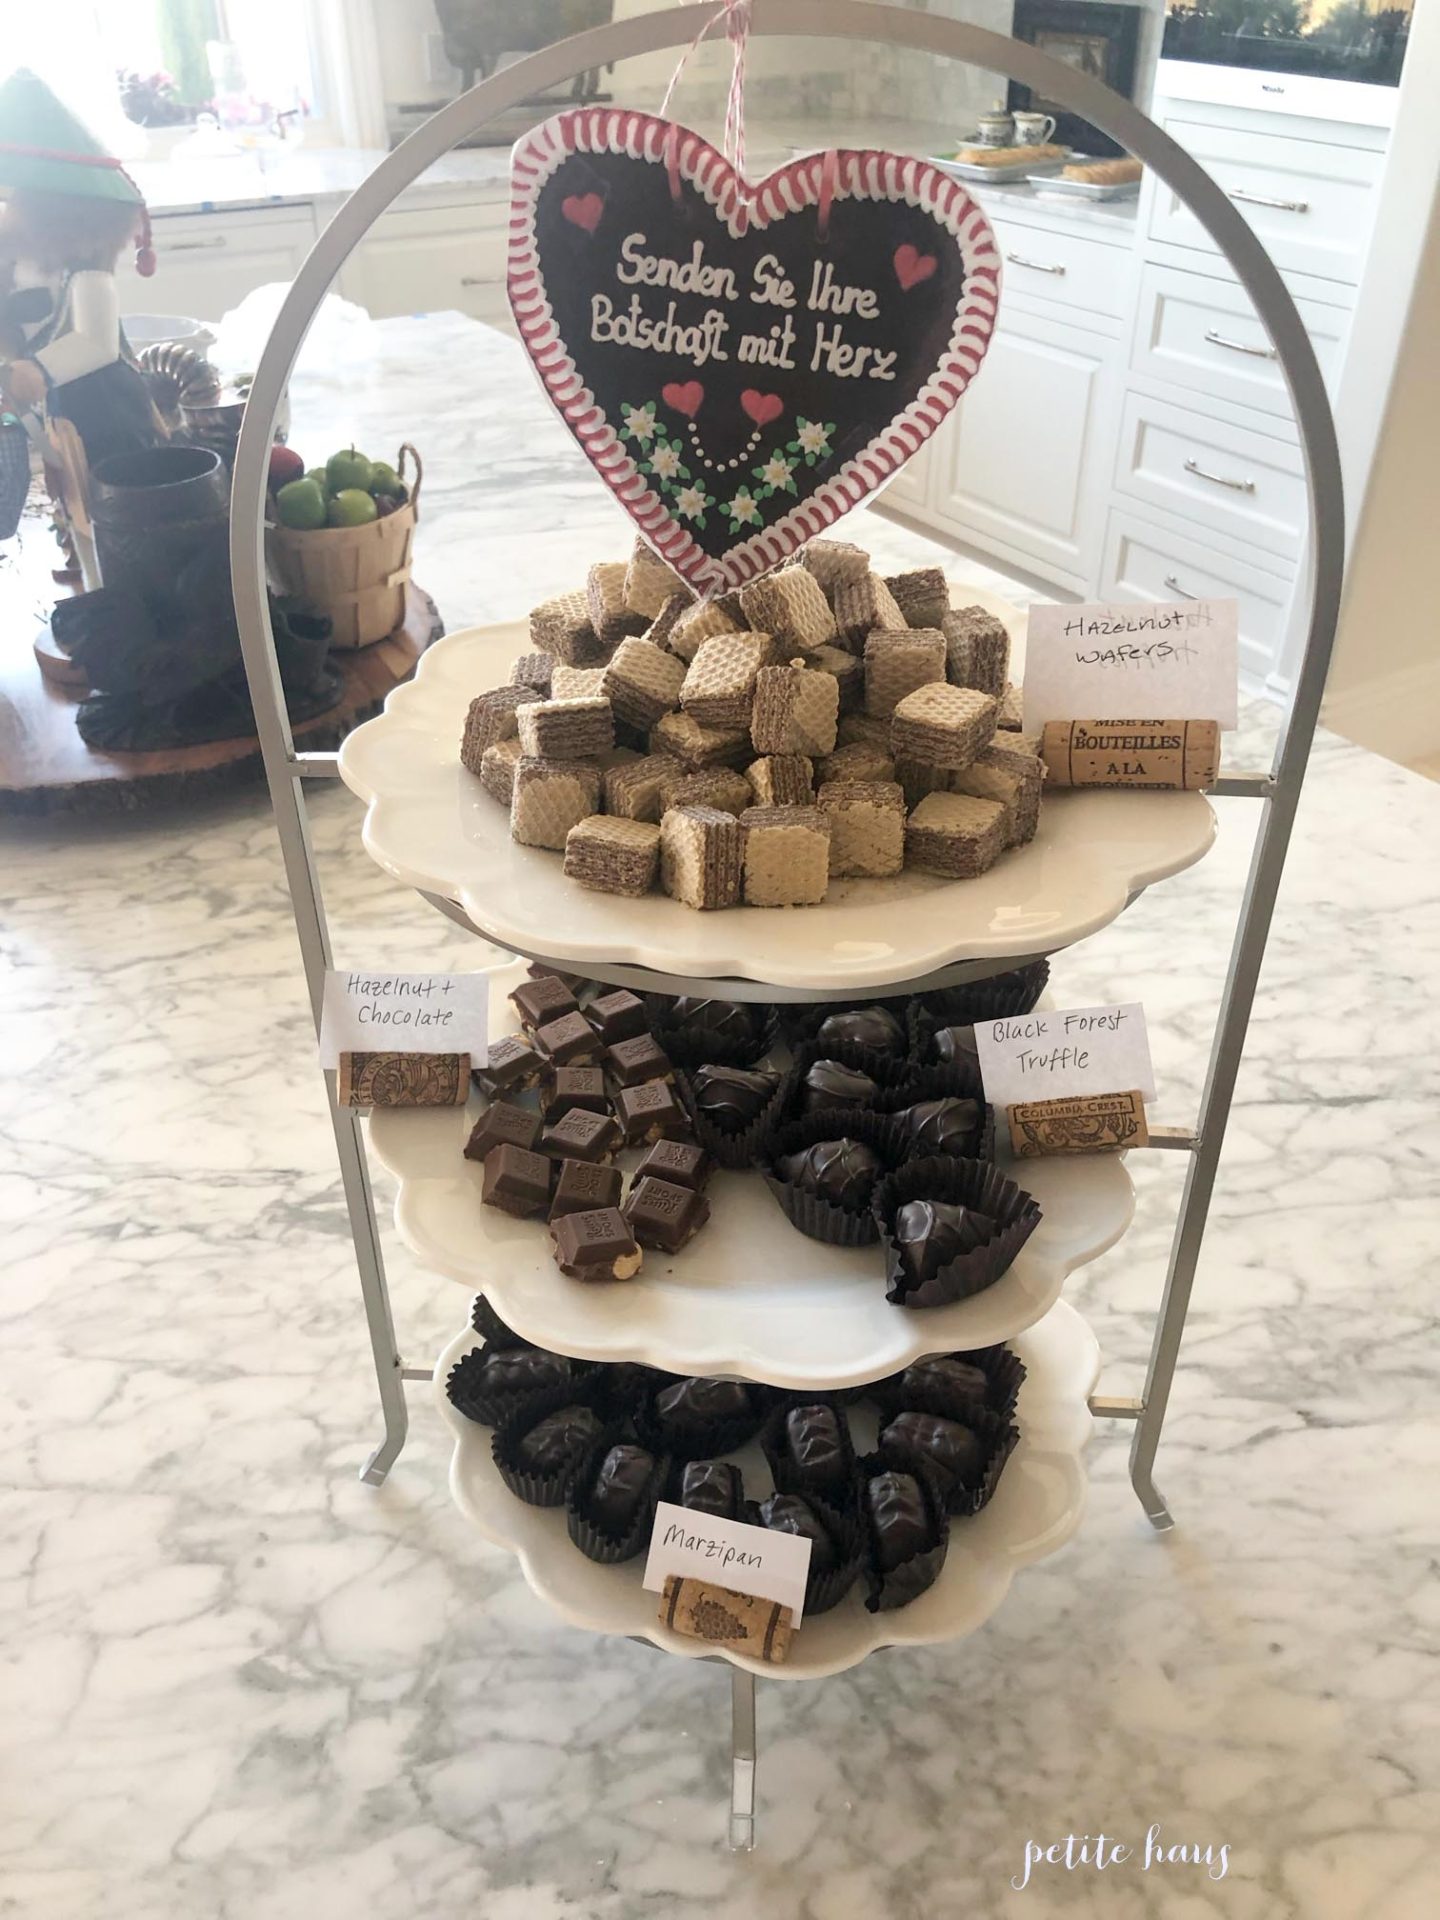
I also had marzipan, the chocolate hazelnut by Ritter Sport, chocolate hazelnut wafers, and black forest truffles.
Guests were encouraged to wear their traditional German wear – Dirndls and Lederhosen! (blurred faces for privacy). Here is a post I wrote about what to wear to the Oktoberfest.
The Menu
Bavarian Pretzels with selection of German mustards
Red Cabbage (Rotkohl) – purchased from a specialty grocery store
Bratwurst – purchased from a German speciality store
We use affiliate links in our posts and our site. This means if you make a purchase using these links, we may earn a small commission. You don’t pay a cent more than you would otherwise! Our full disclosure is available under About.
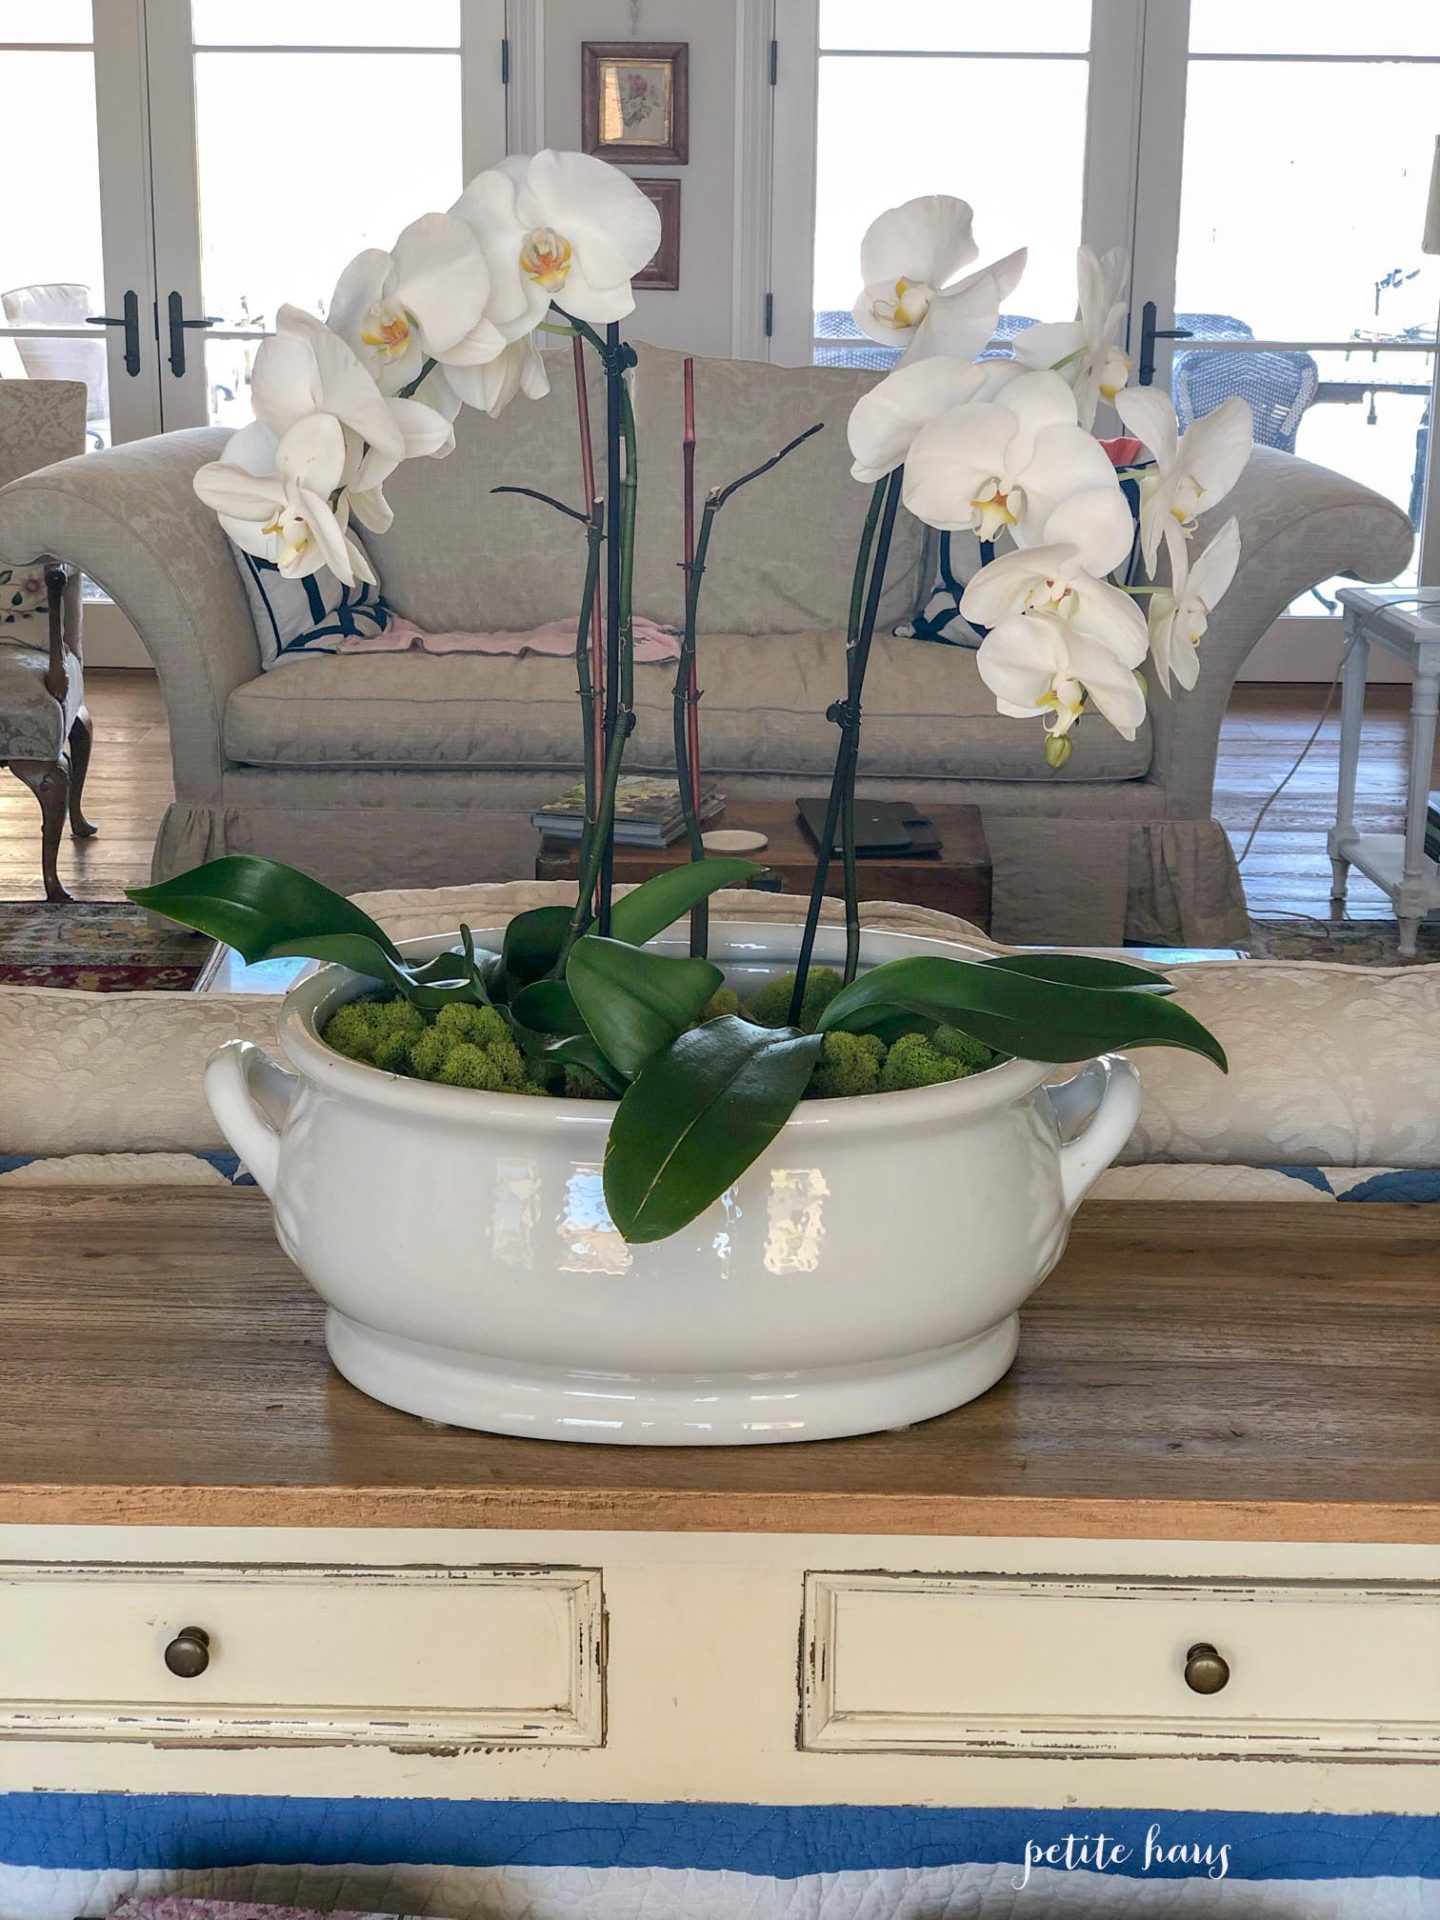
I recently updated my orchid centerpiece in my living room.
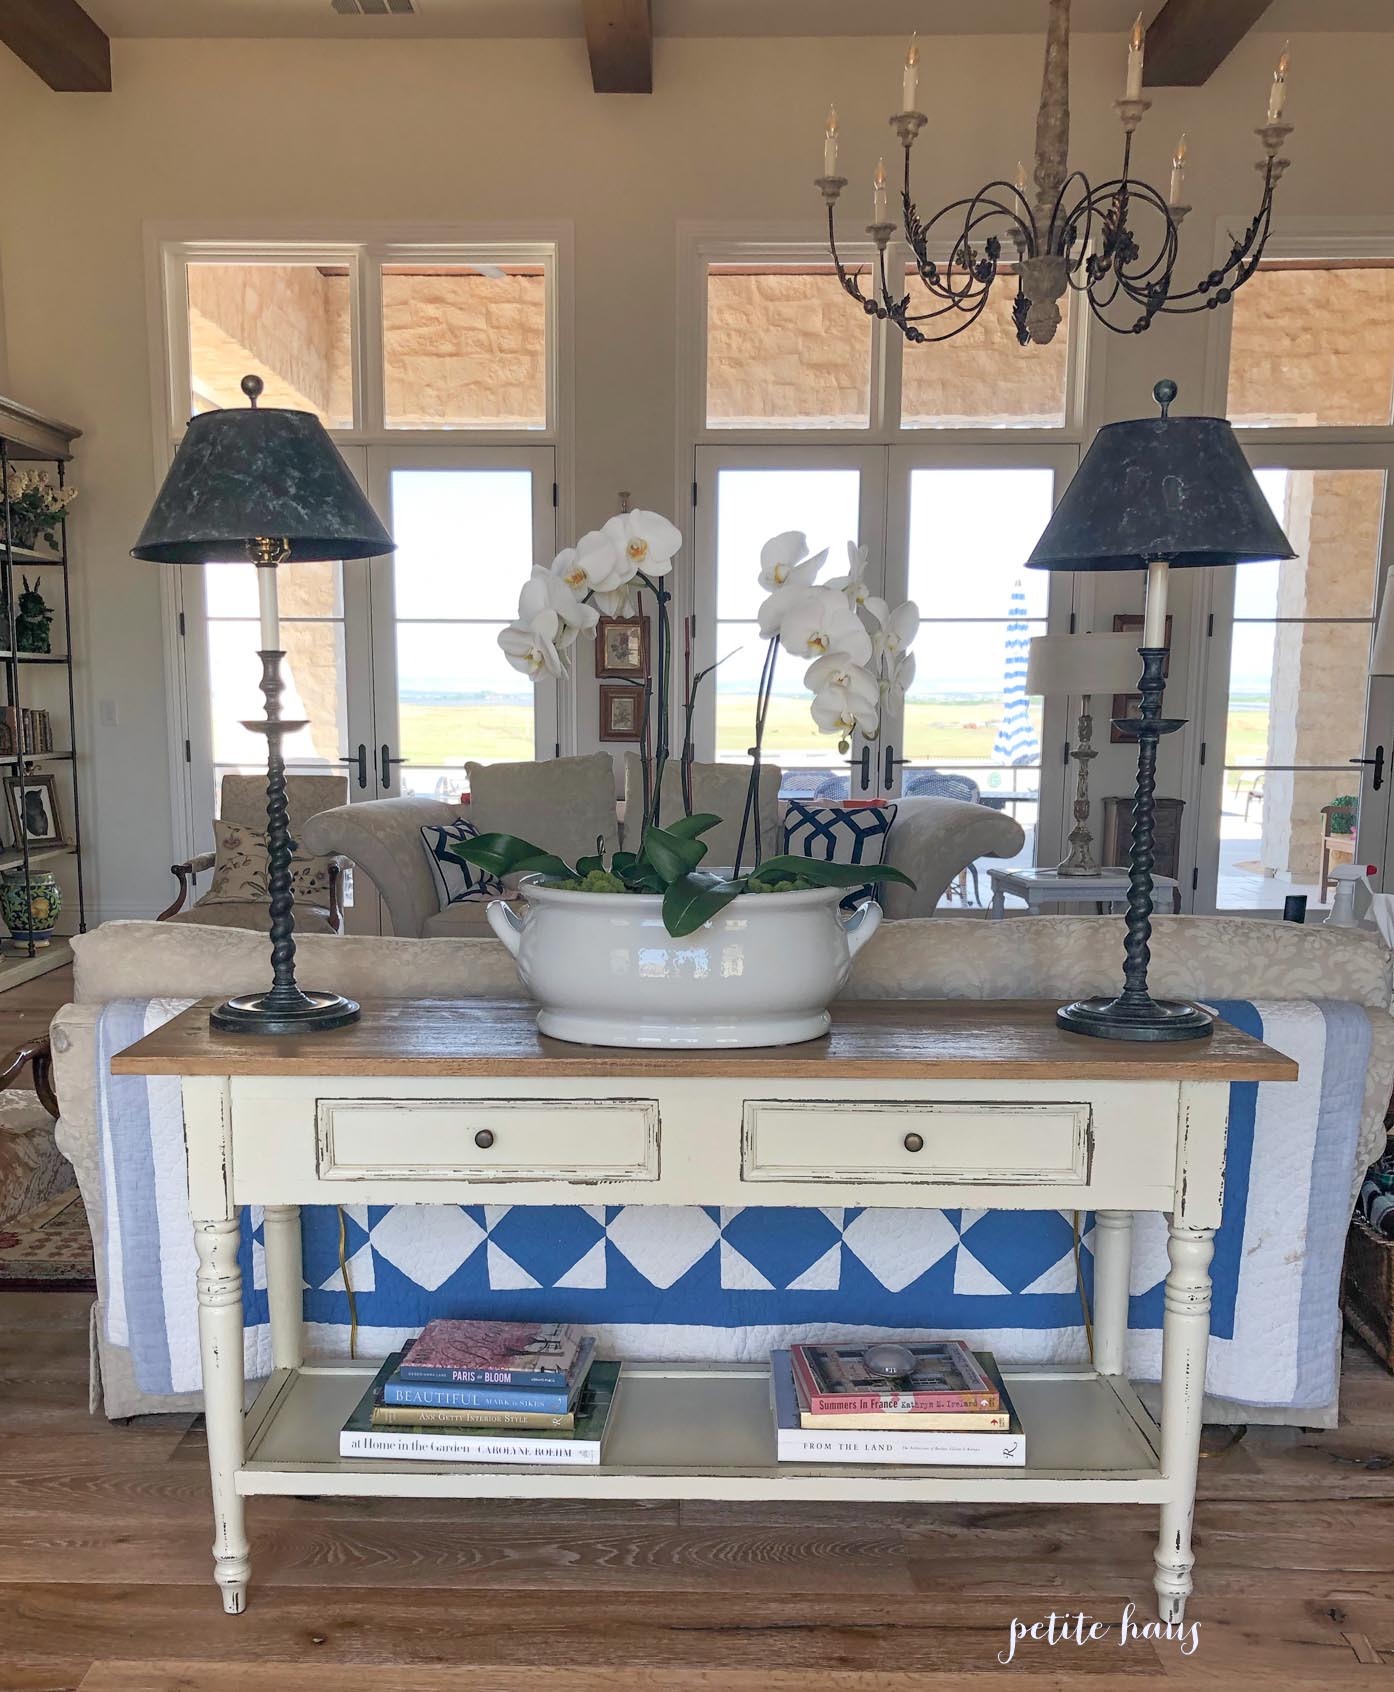
If you are regular follower of my blog, then you might remember by DIY orchid dough bowl centerpiece. The flowers on those orchids have wilted, so I updated my centerpiece!
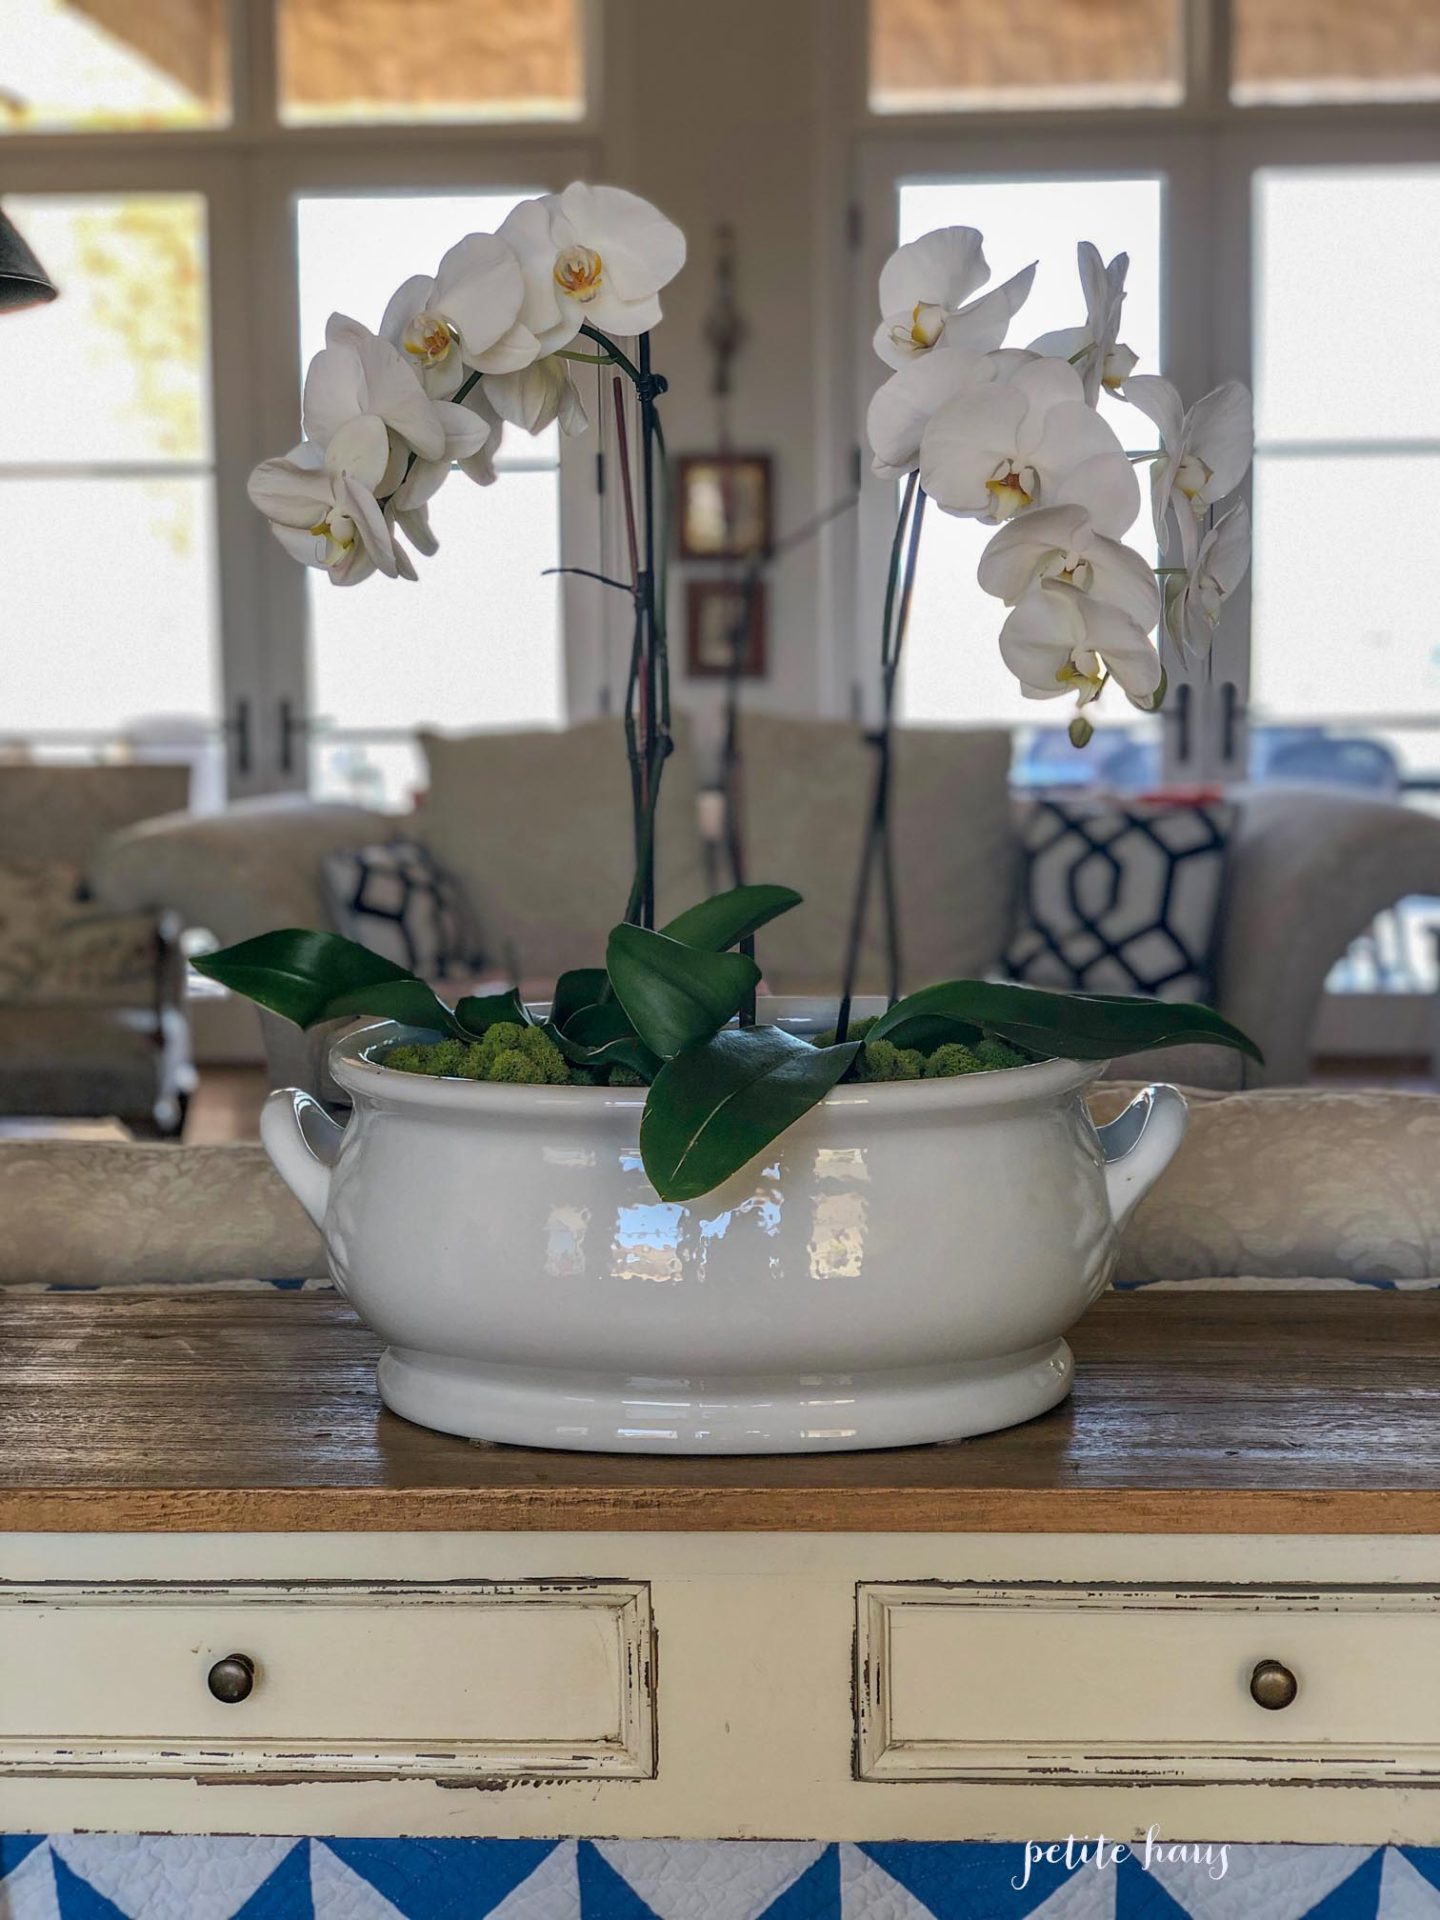
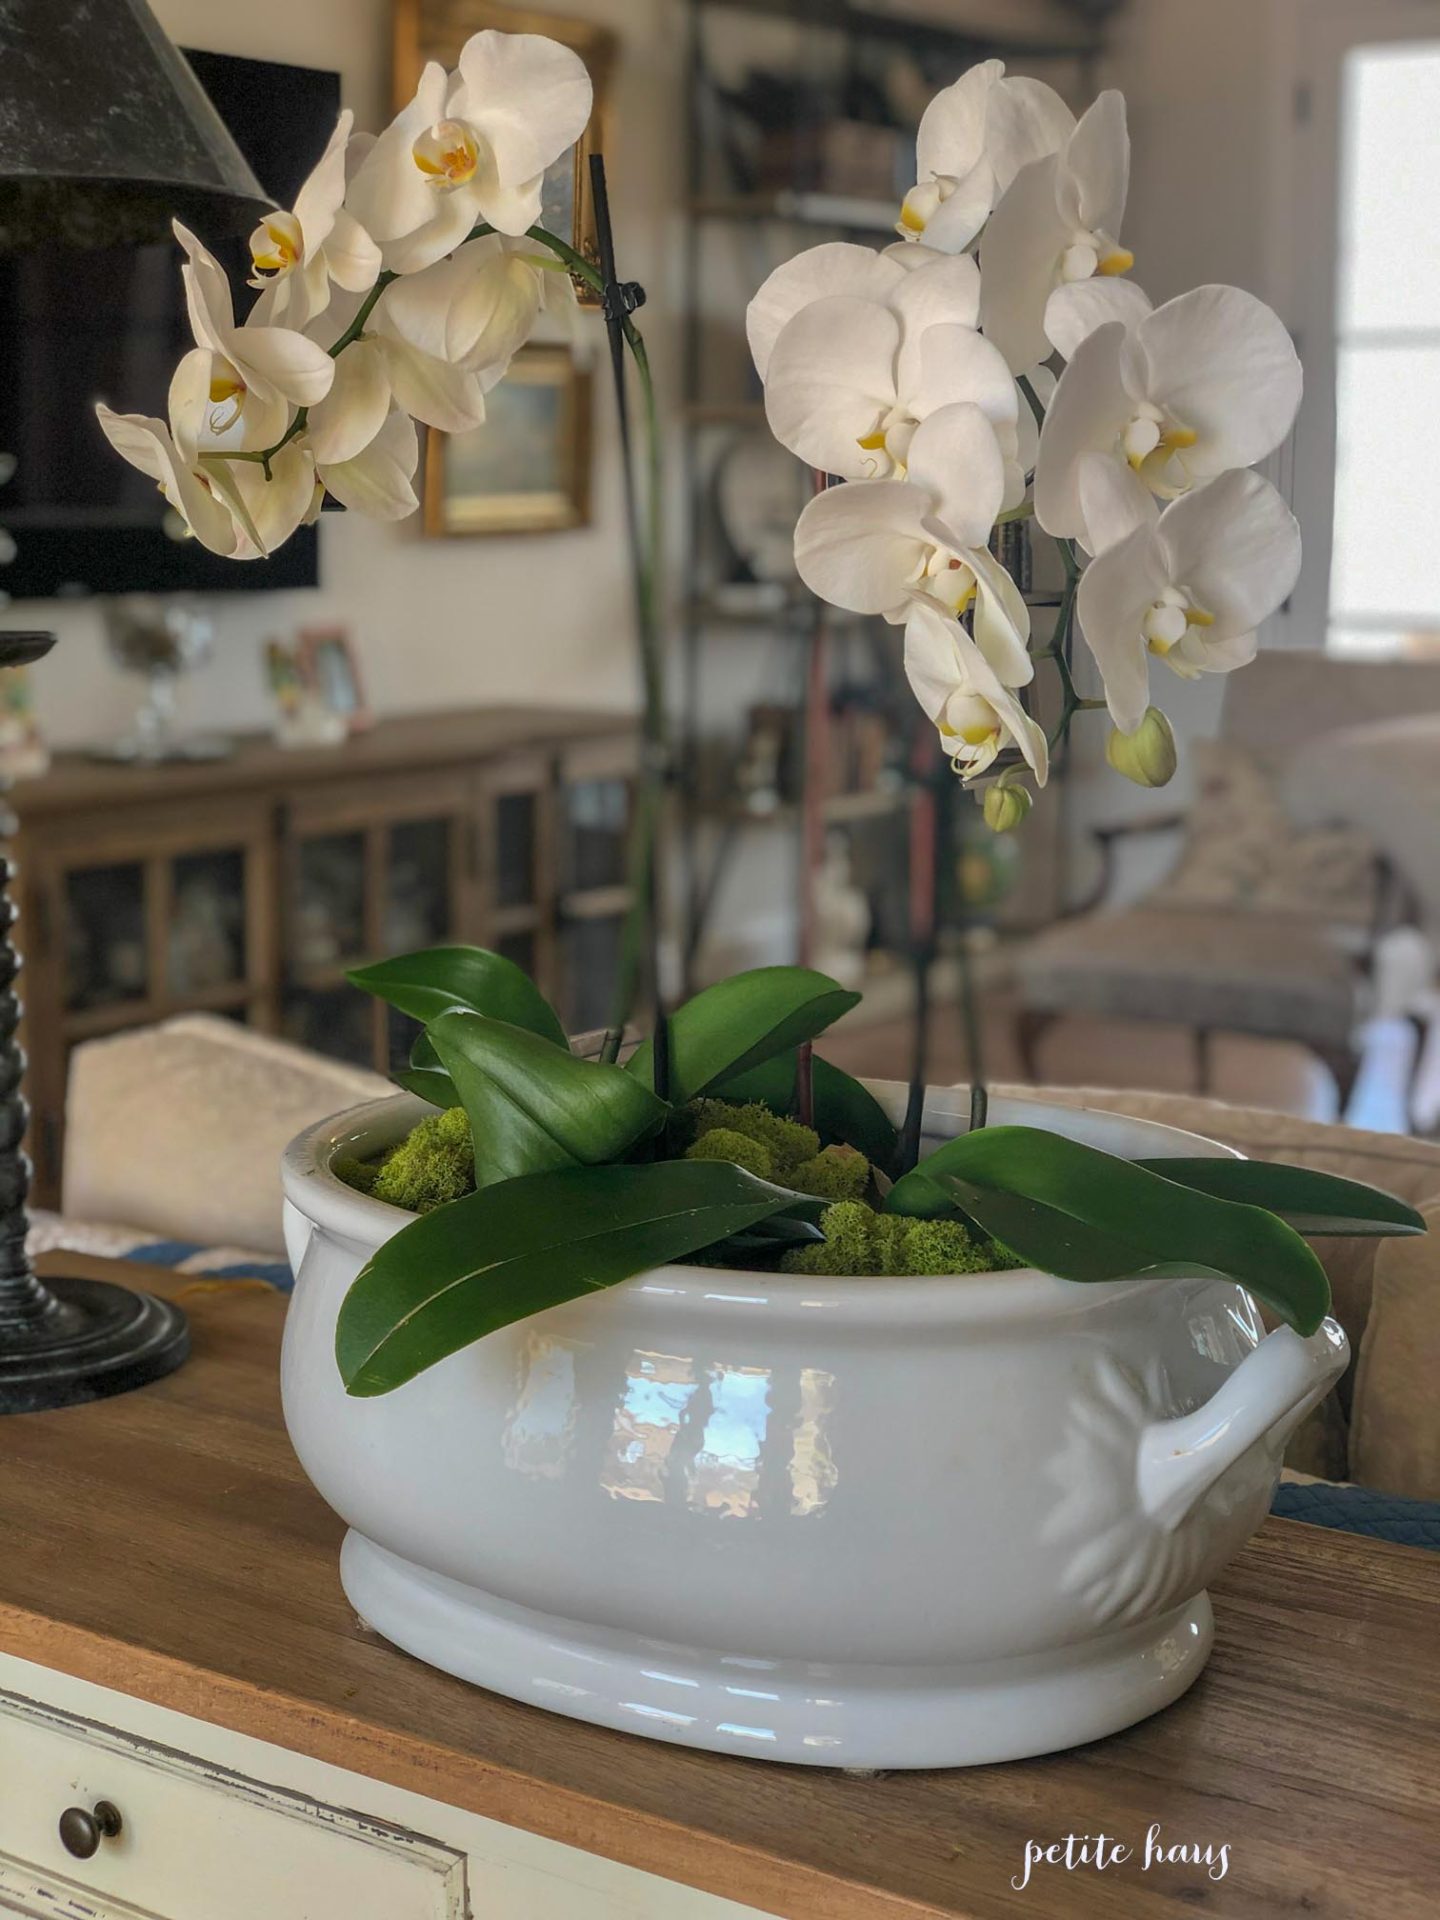
This time I used two large orchids I got at Trader Joe’s at $12.99/each. A third one sits in the back getting ready to bloom. I didn’t even take them out of the pots they came in since my iron stone bowl is deep. I sat them inside. Then I used packing peanuts and sprinkled them around the orchids. Then for the top layer, I used chartreuse reindeer moss.
We use affiliate links in our posts and our site. This means if you make a purchase using these links, we may earn a small commission. You don’t pay a cent more than you would otherwise! Our full disclosure is available under About.
Hop into Easter with us as many talented bloggers share our Easter decor this year! Amber from Follow the Yellow Brick Home organized this fun blog hop, thank you!
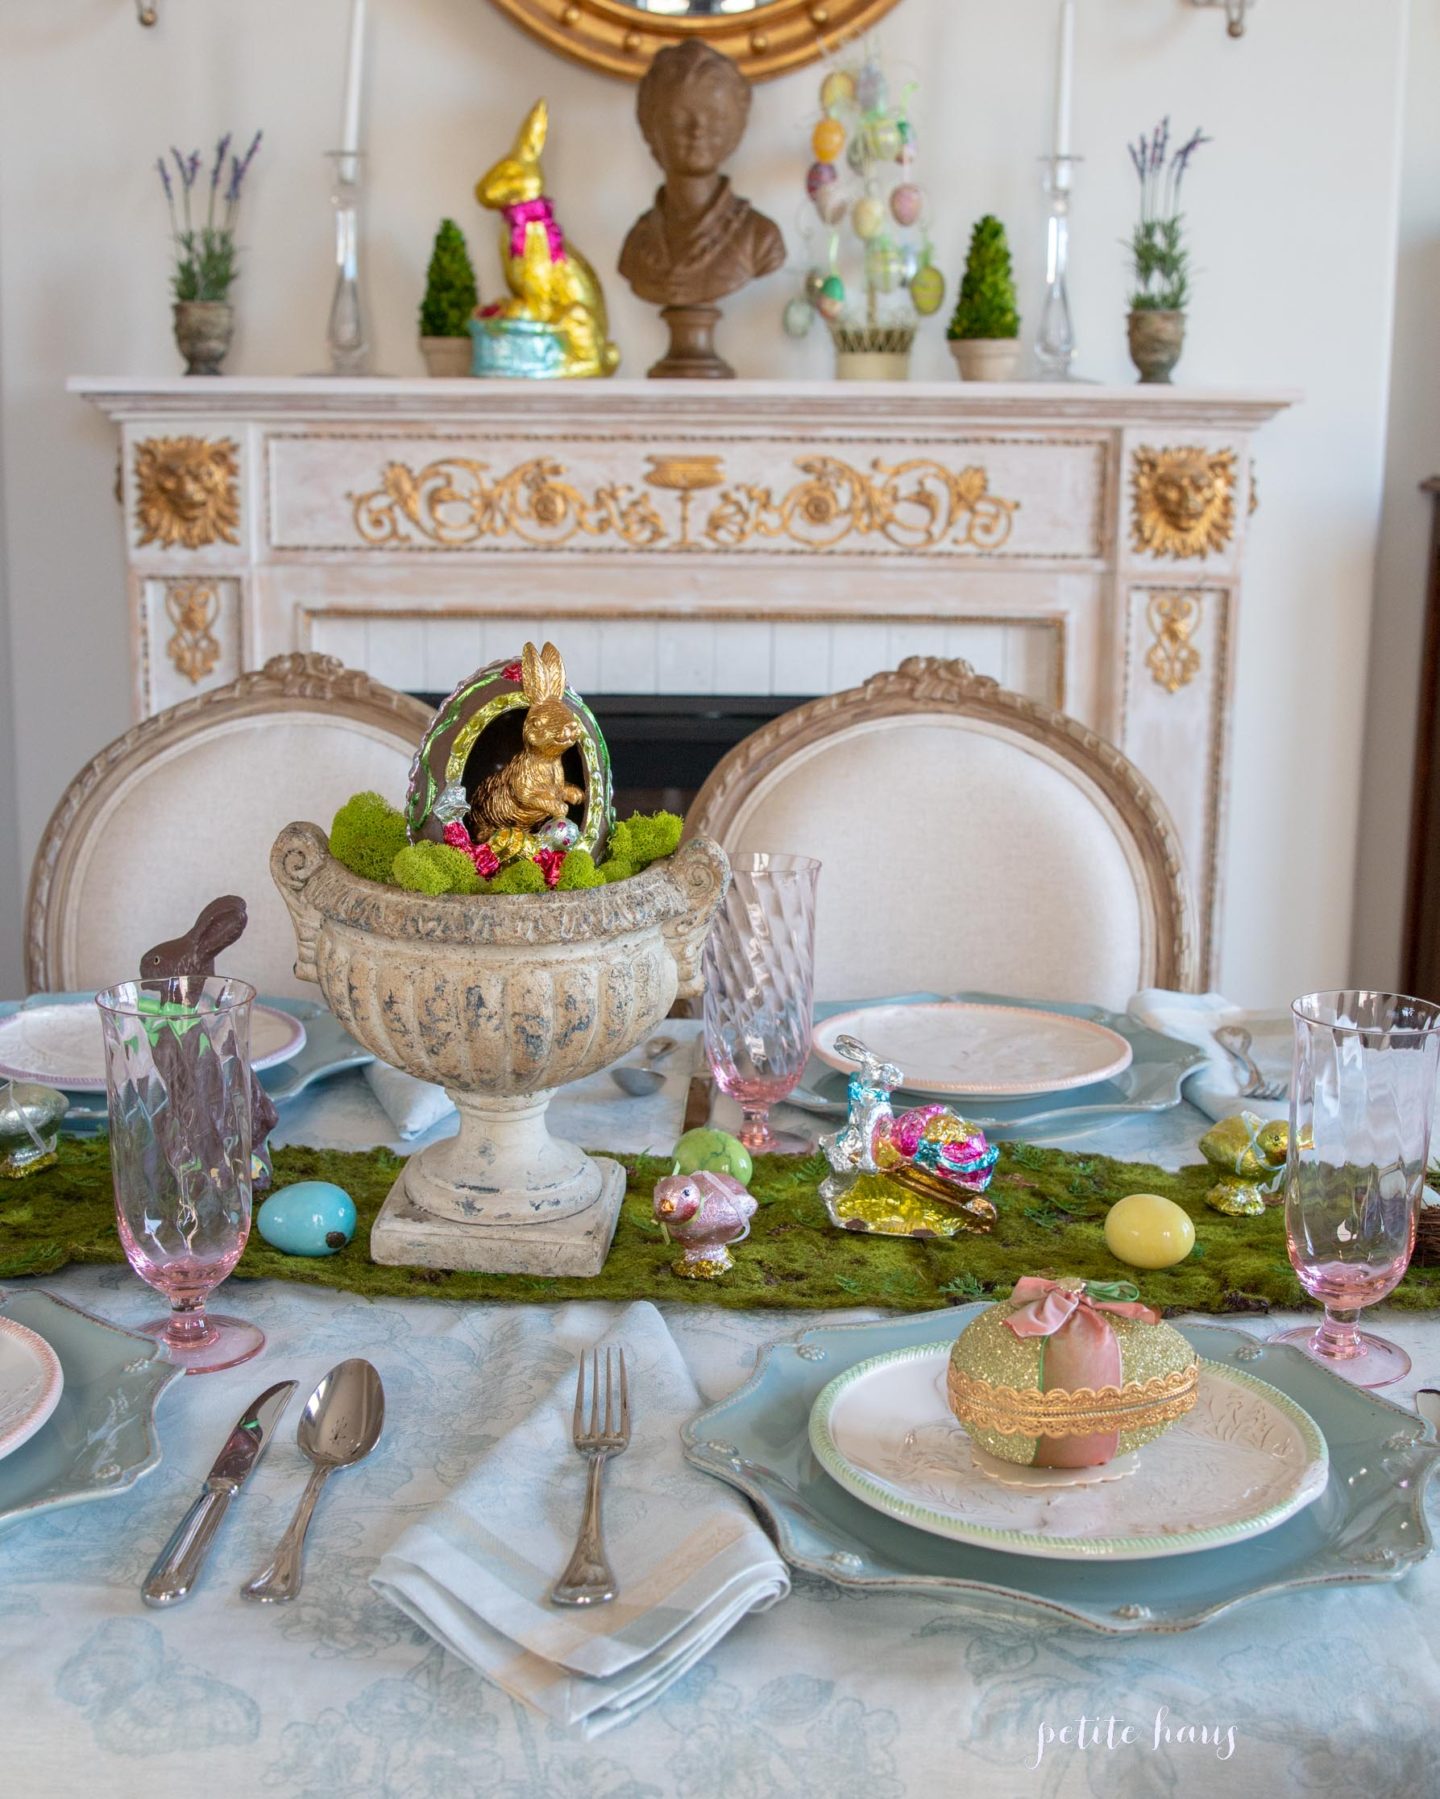
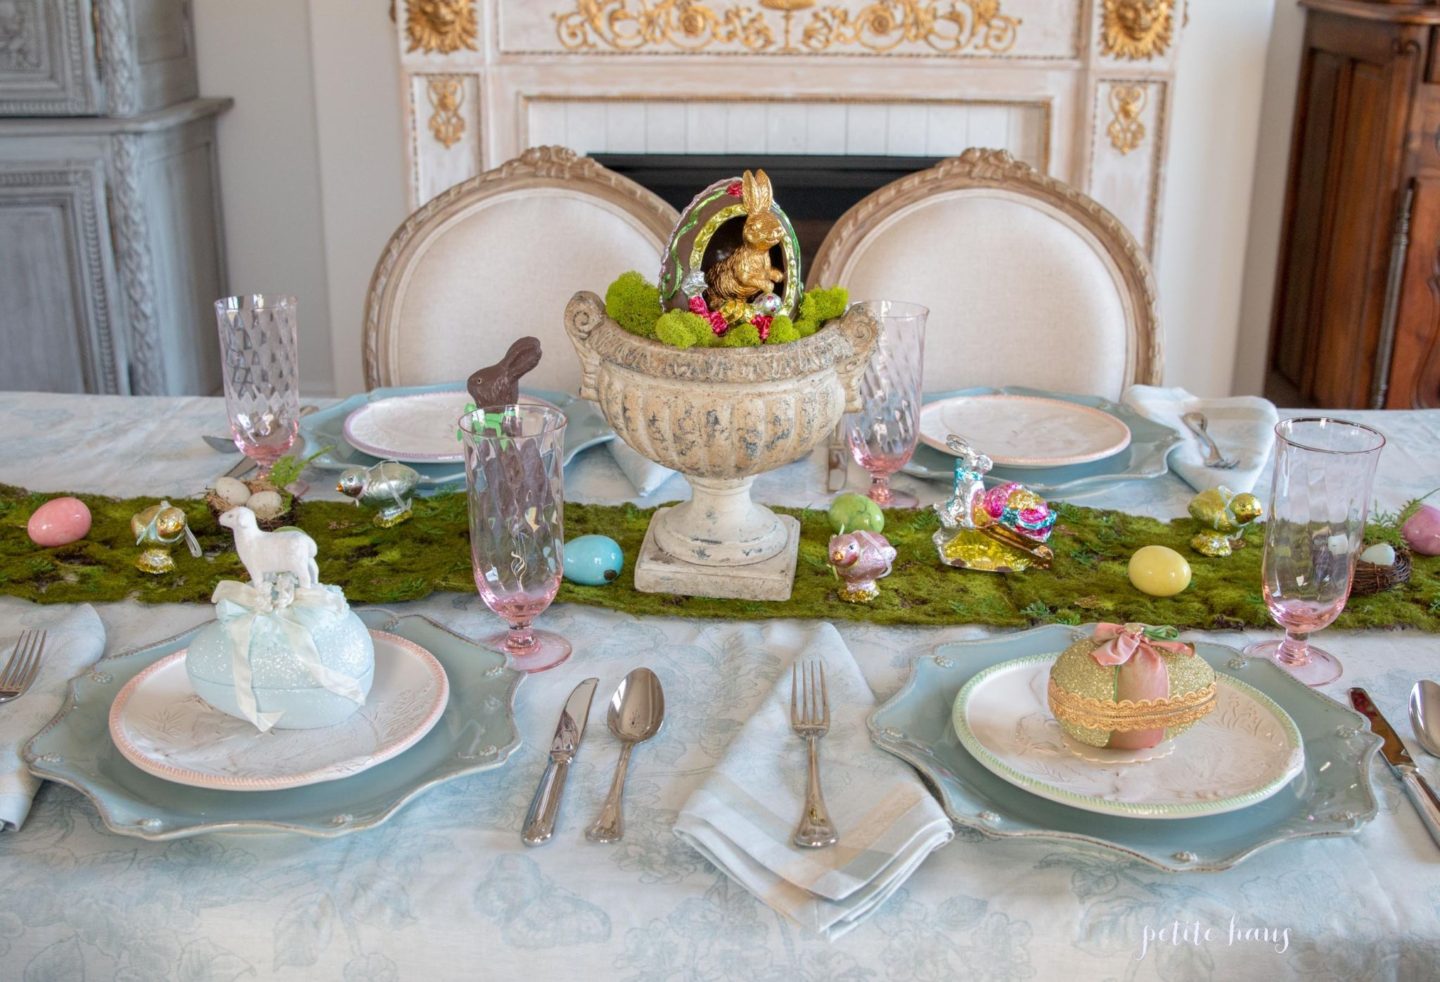
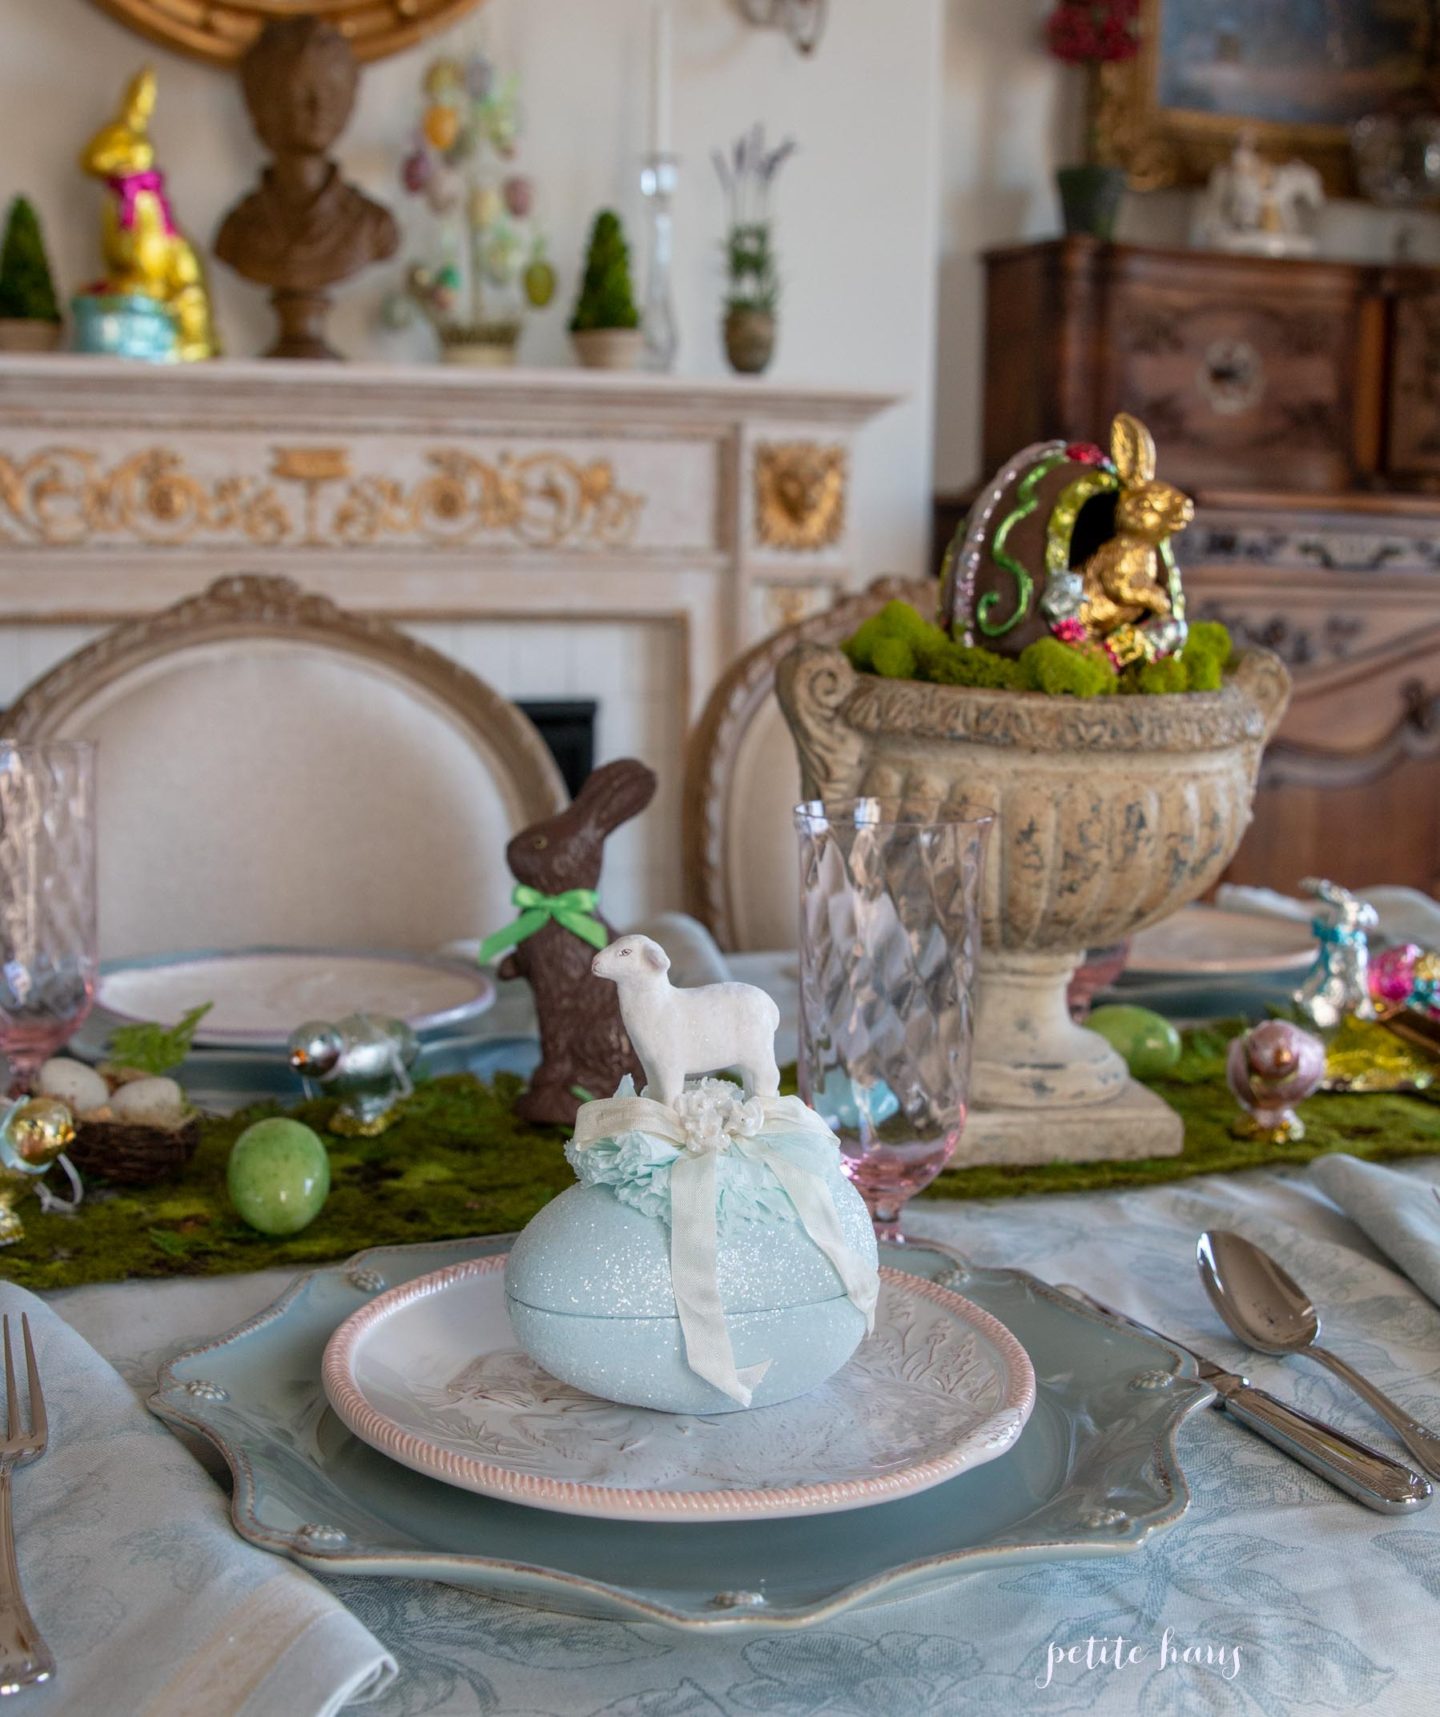
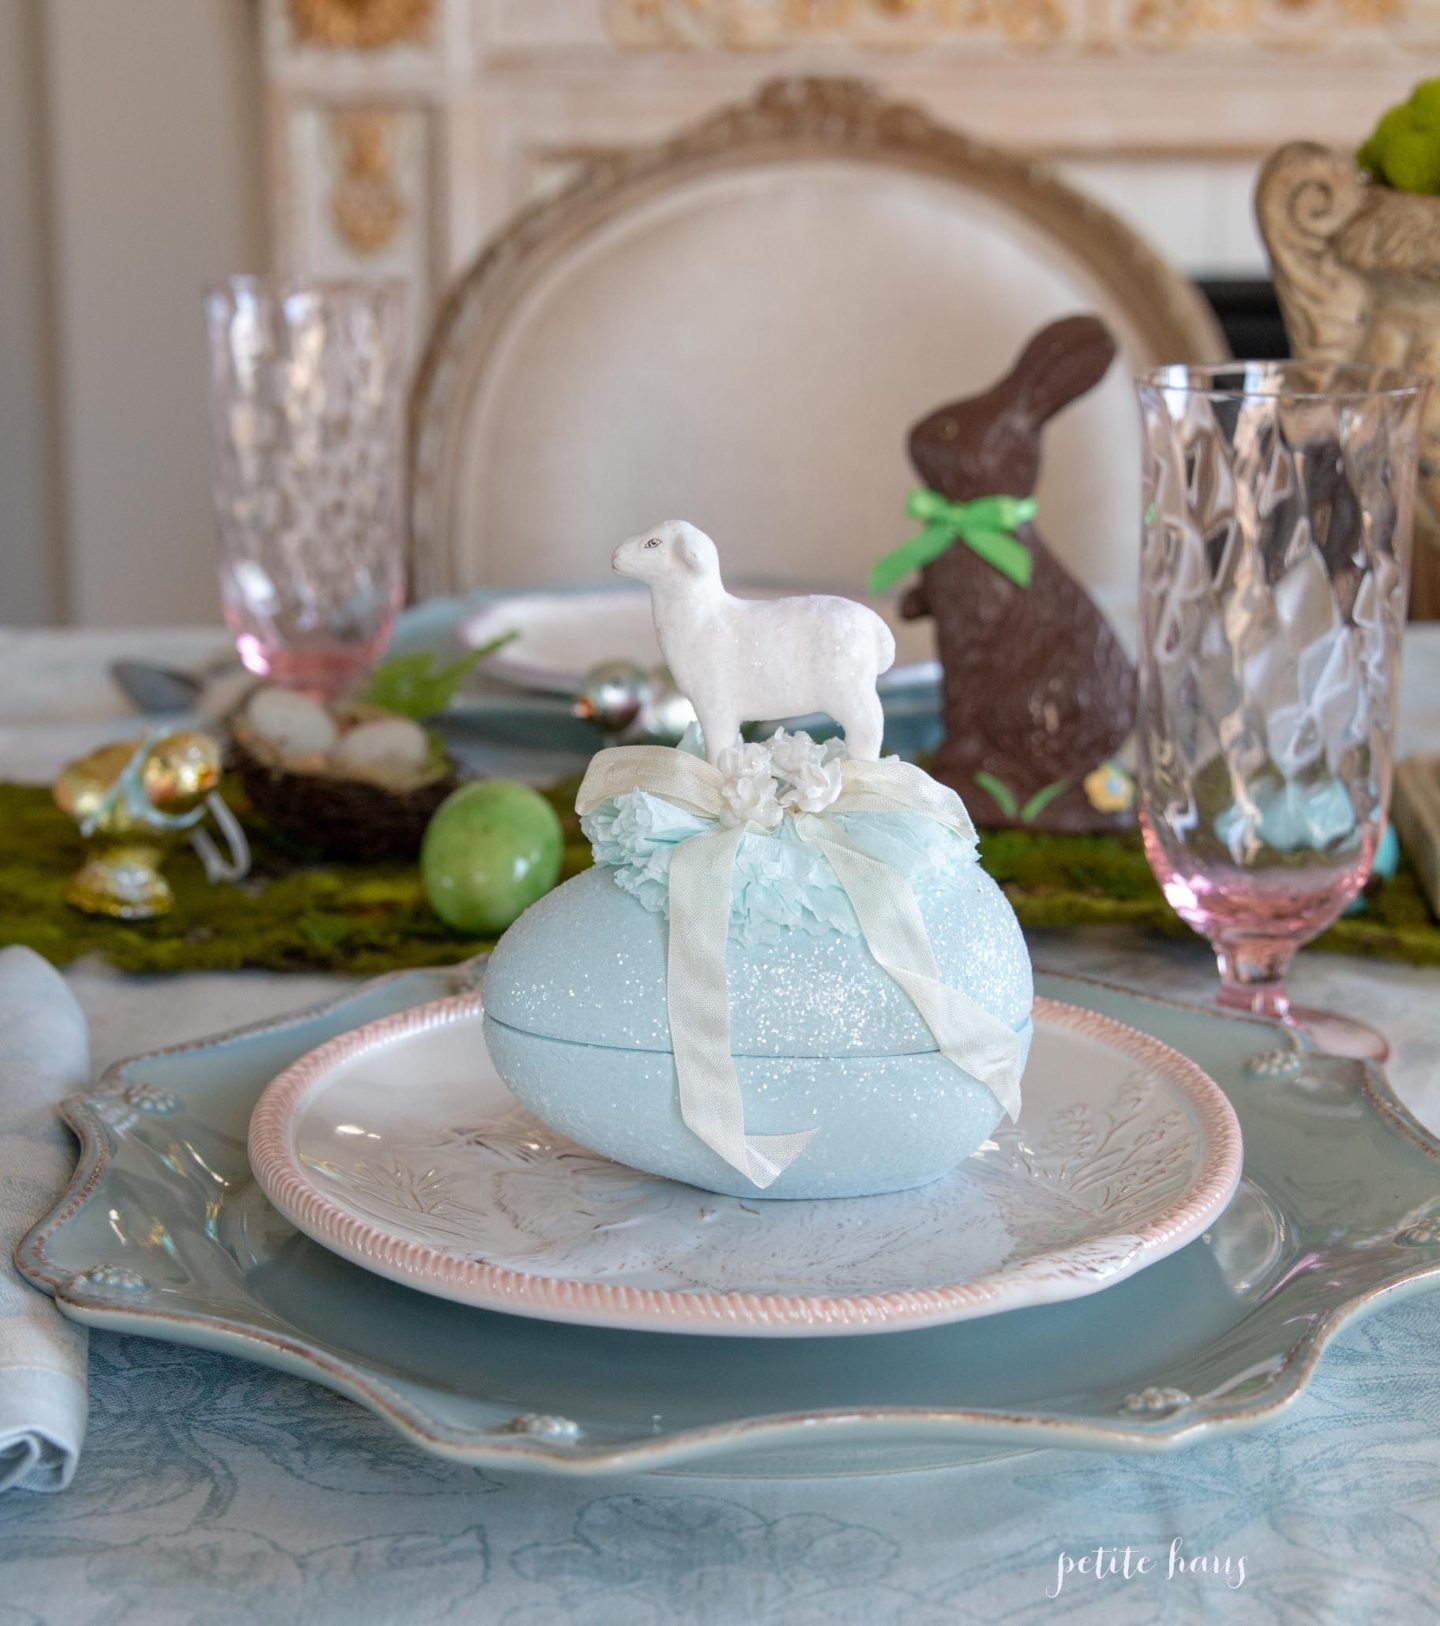
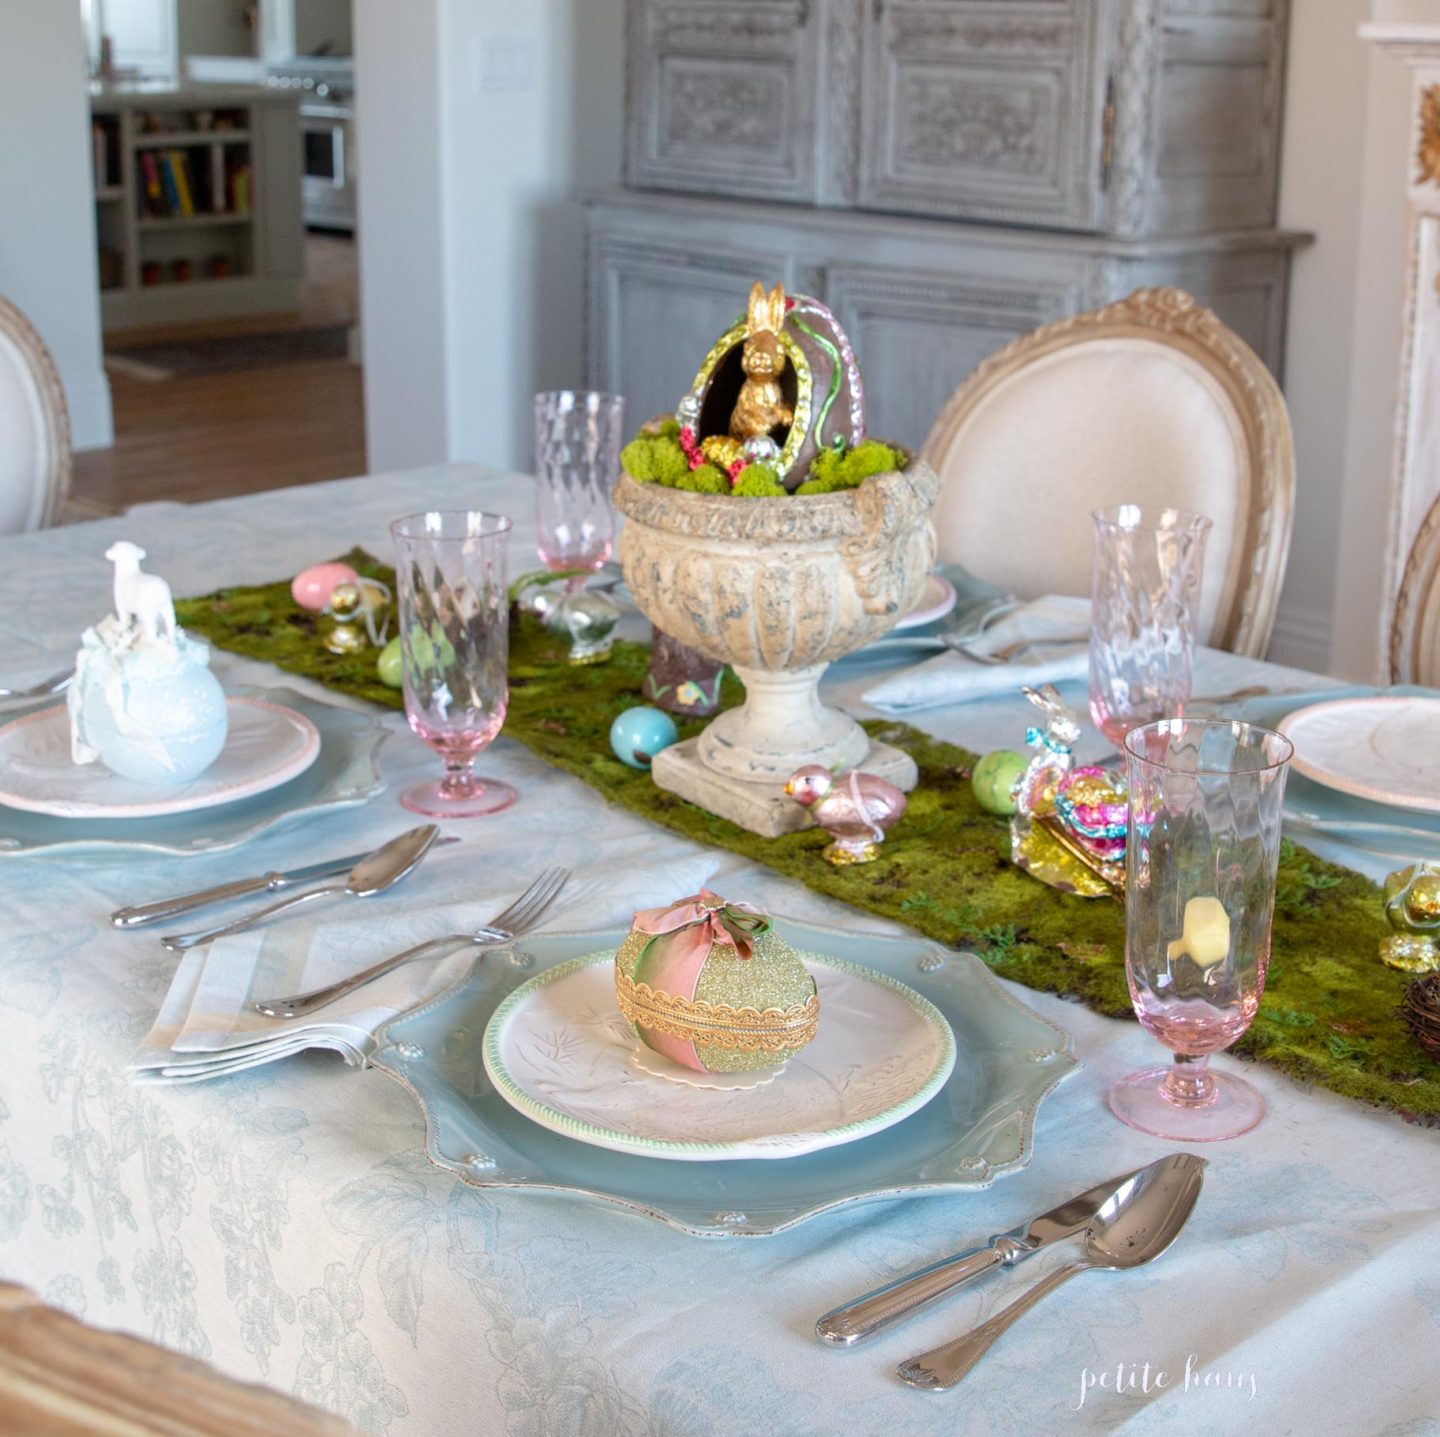
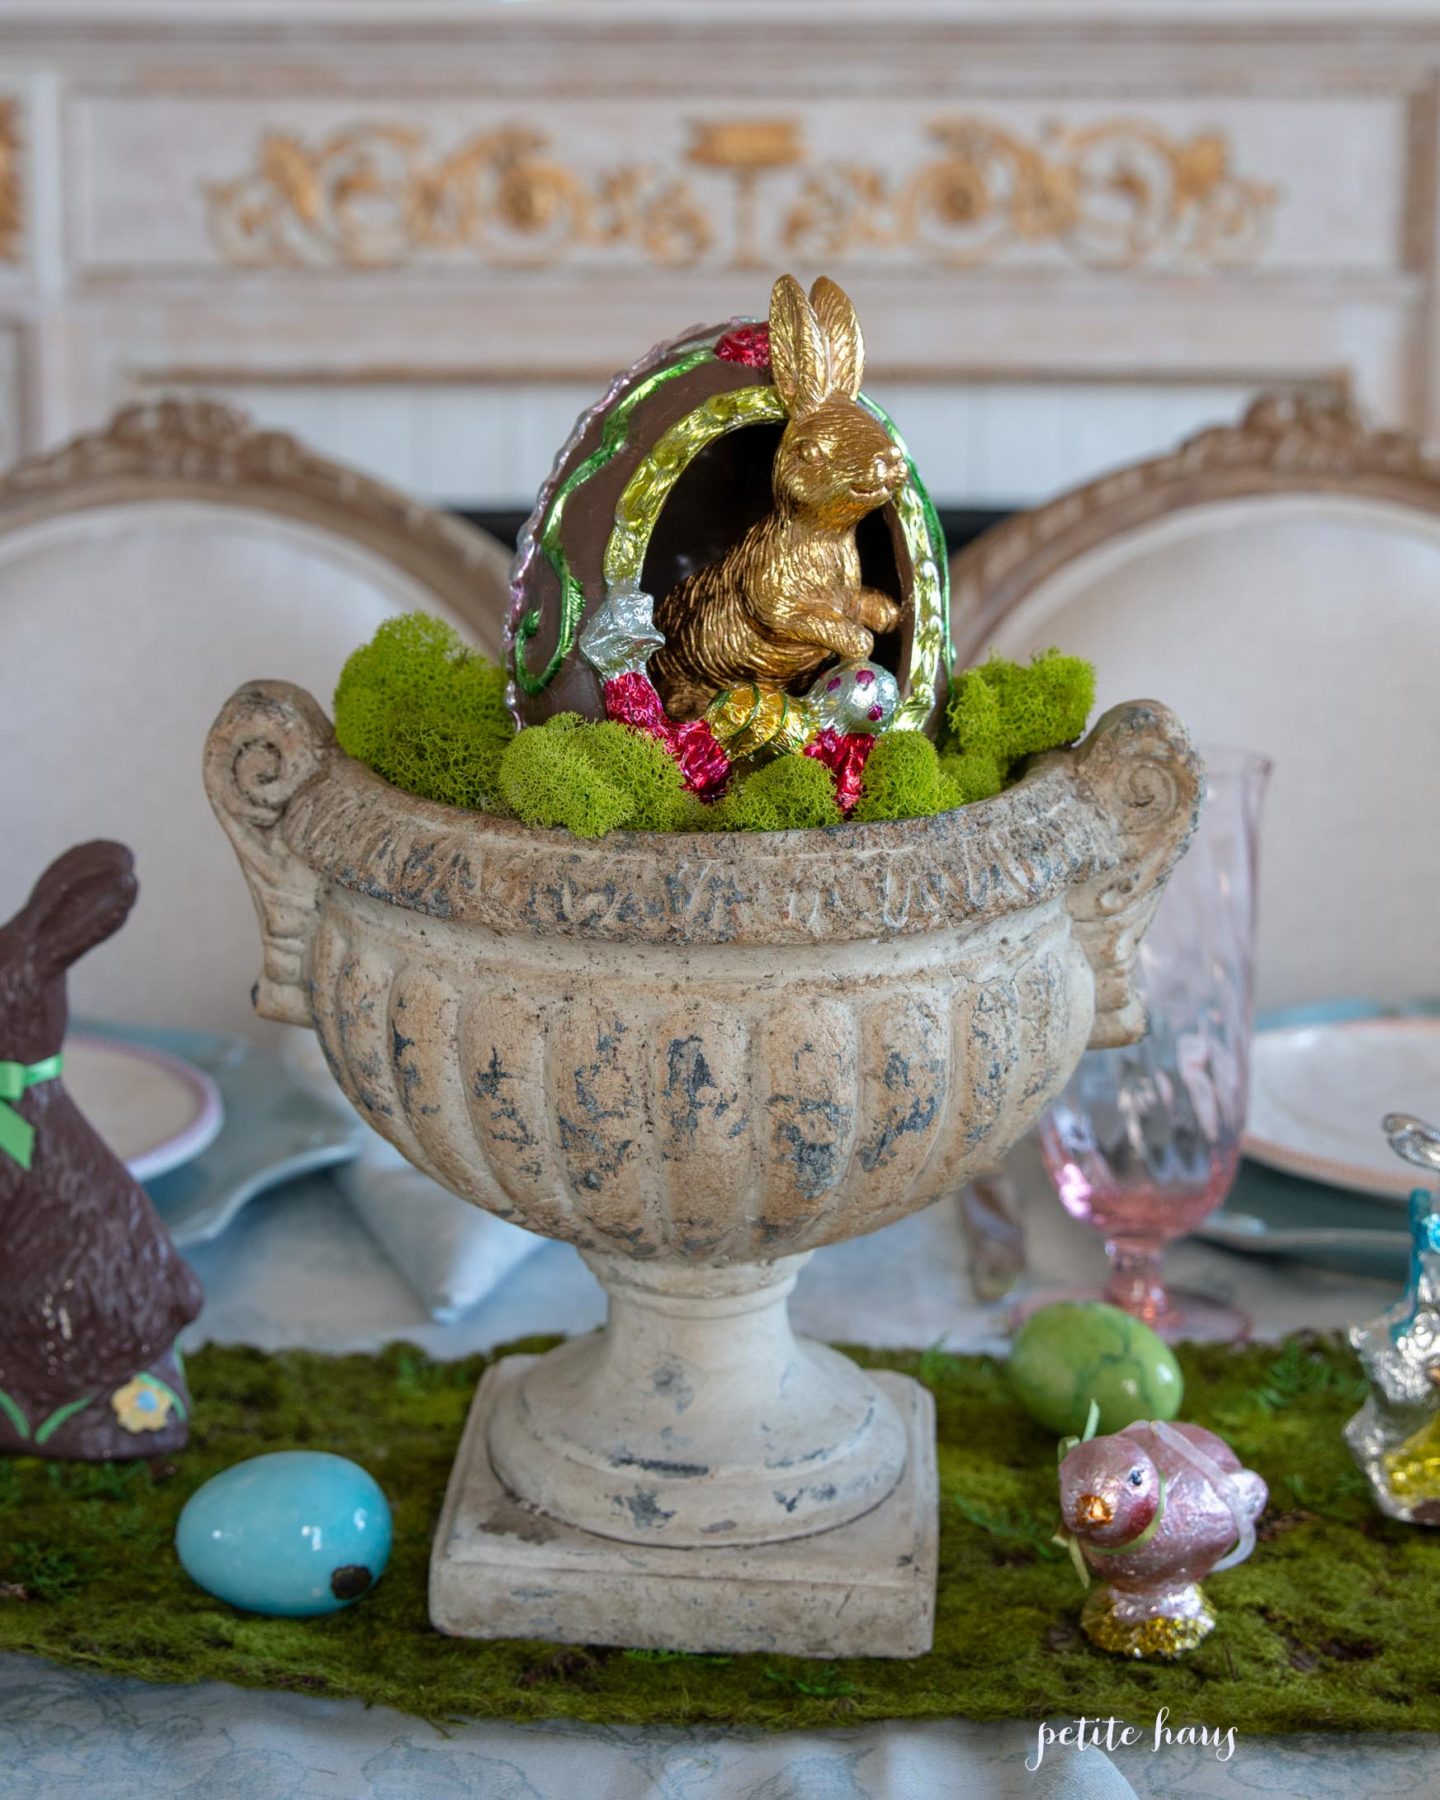
This year I was inspired by the chocolate bunnies, birdies, and the papier mâché candy eggs that I have.
I believe the papier mâché eggs started in Germany and become popular in the late 1800s. The ones I have are new, but I love the vintage look of them!
The idea is for each place setting to have an egg full of candy to take home! I need to grow my collection!
I love the foiled chocolates too! These ones I have are faux, but you could easily use real ones too! I love this little guy nested in the reindeer moss.
Do you like the pink goblets? They are iced tea glasses from Pottery Barn and I just got them. I love them! They are the perfect size for iced drinks!!
We use affiliate links in our posts and our site. This means if you make a purchase using these links, we may earn a small commission. You don’t pay a cent more than you would otherwise! Our full disclosure is available under About.
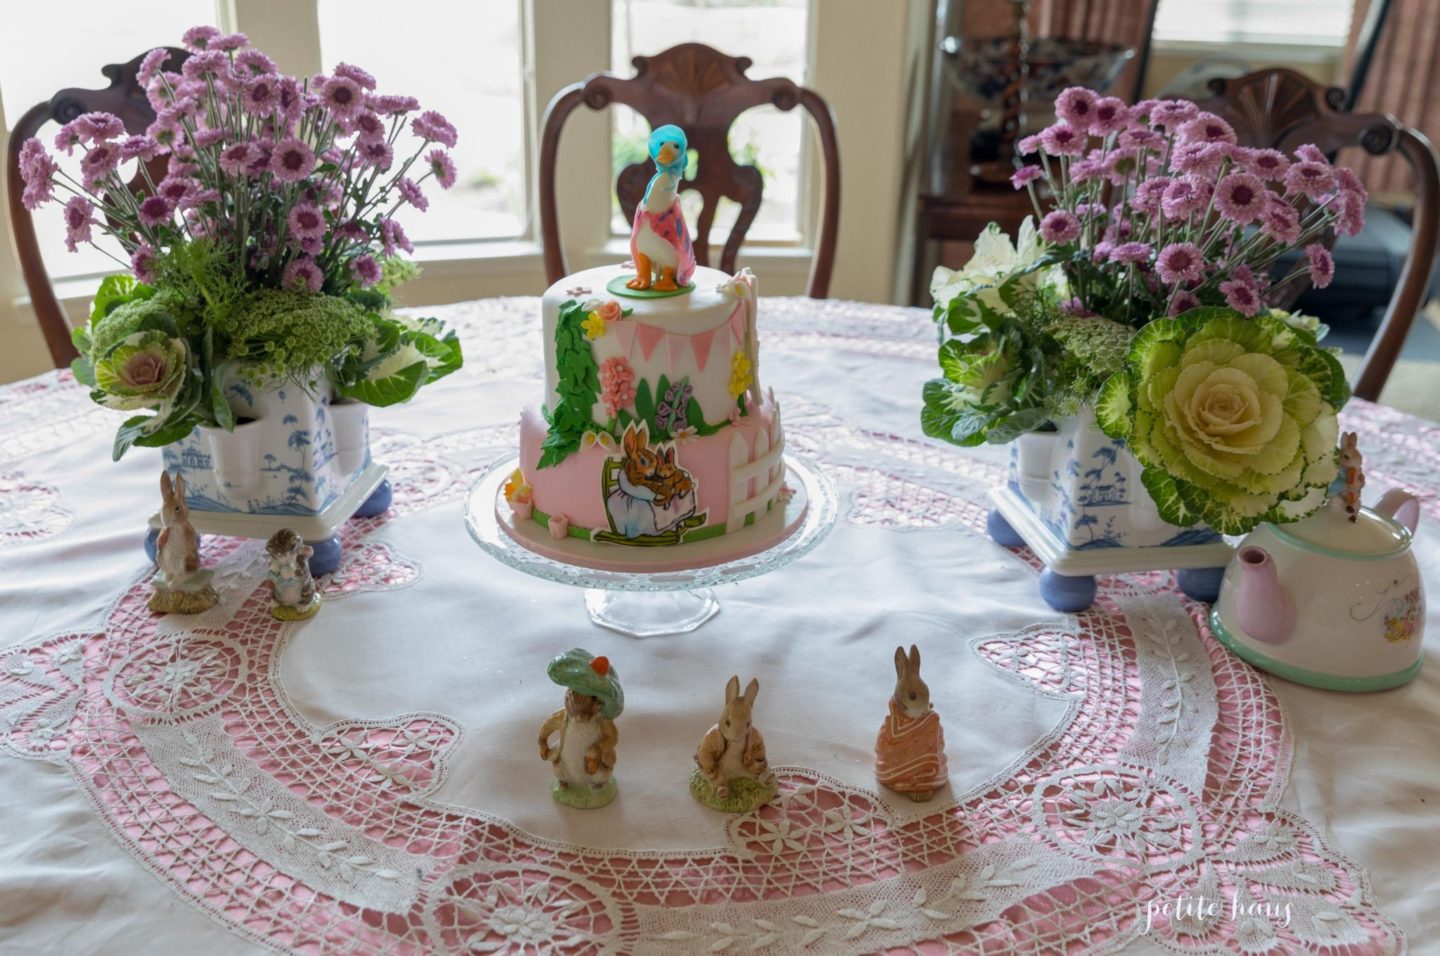
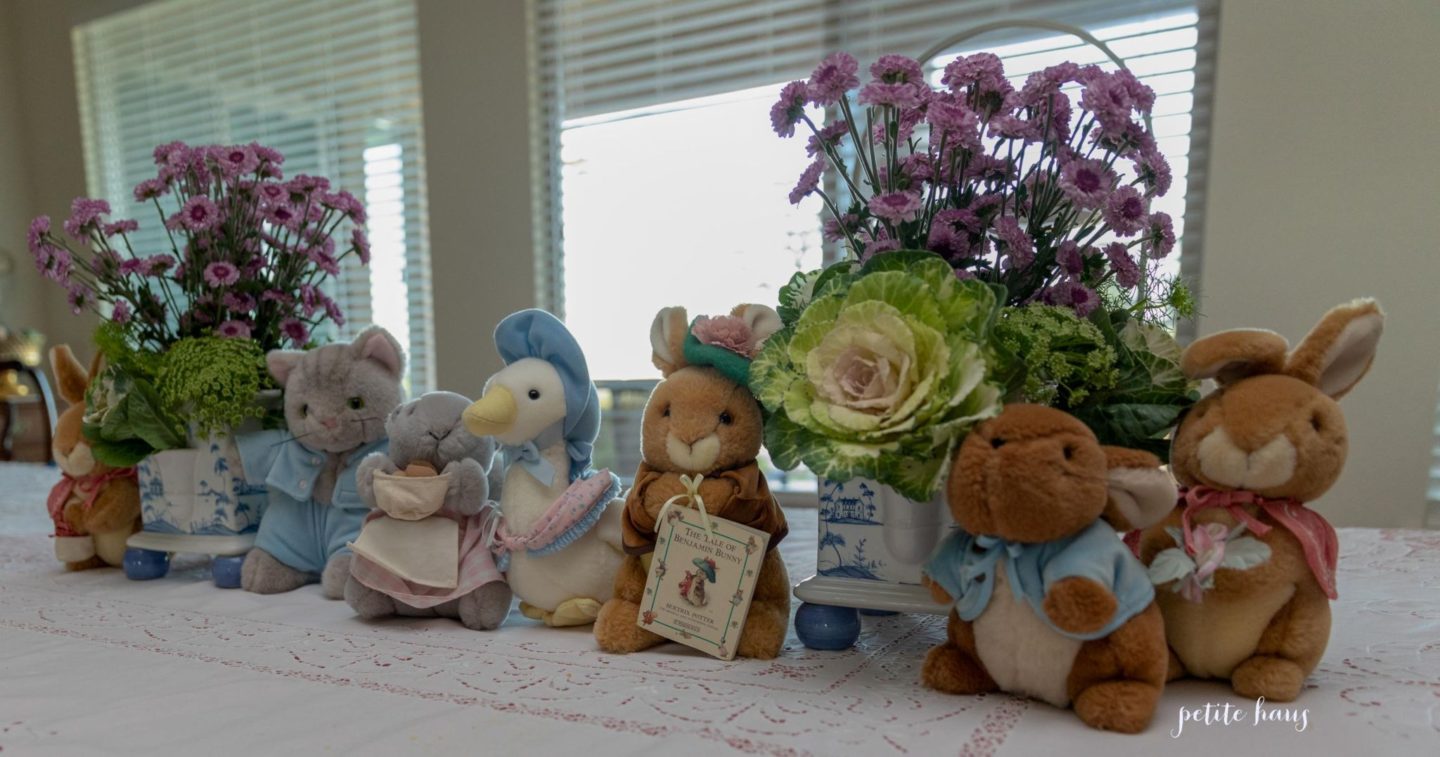
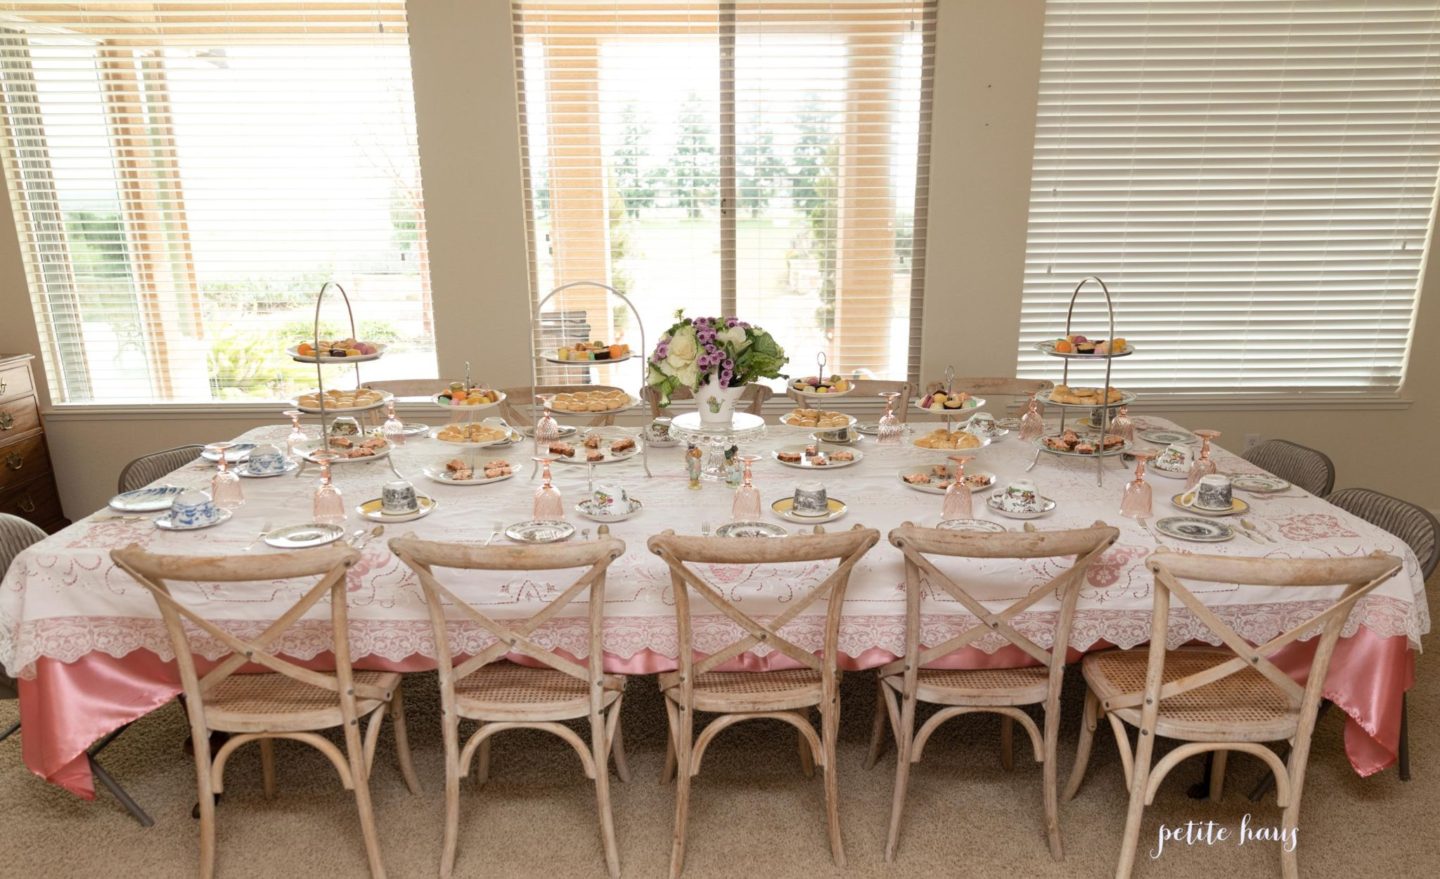
Recently, my Mom hosted a Peter Rabbit Themed Party. It was for my cousin’s baby shower. She decorated the nursery in a Beatrix Potter theme, so the theme was carried out into this baby shower! Although this was a baby shower, this party theme works for birthdays as well!
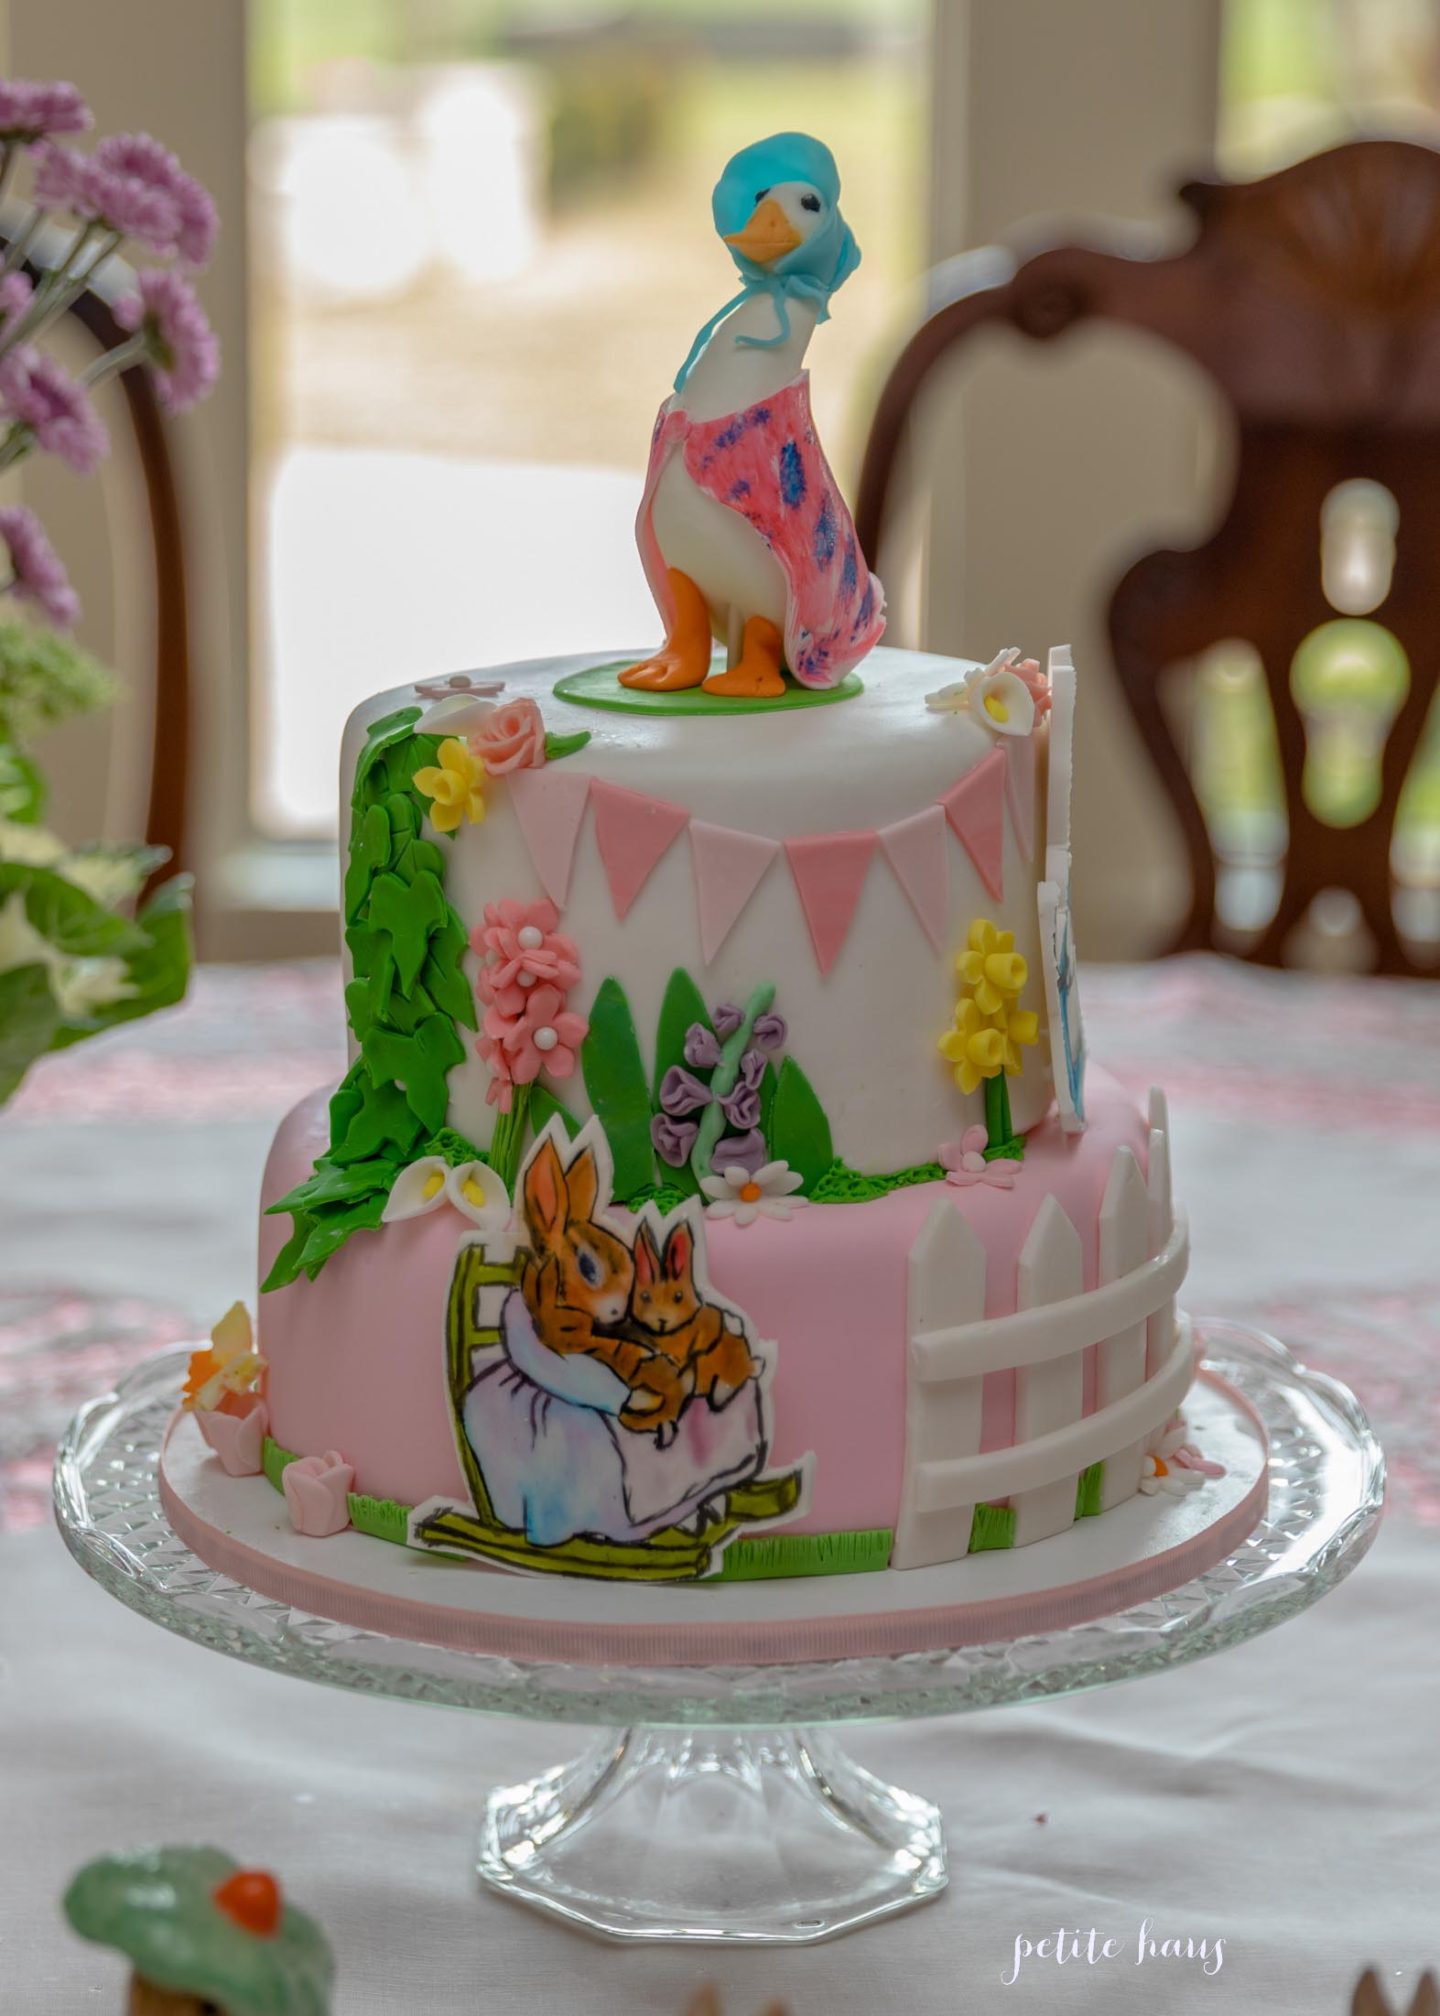
There was a lovely two tiered cake complete with Mother Goose on top!
Peter Rabbit and Benjamin Bunny were spotted nearby the “garden” floral arrangement.
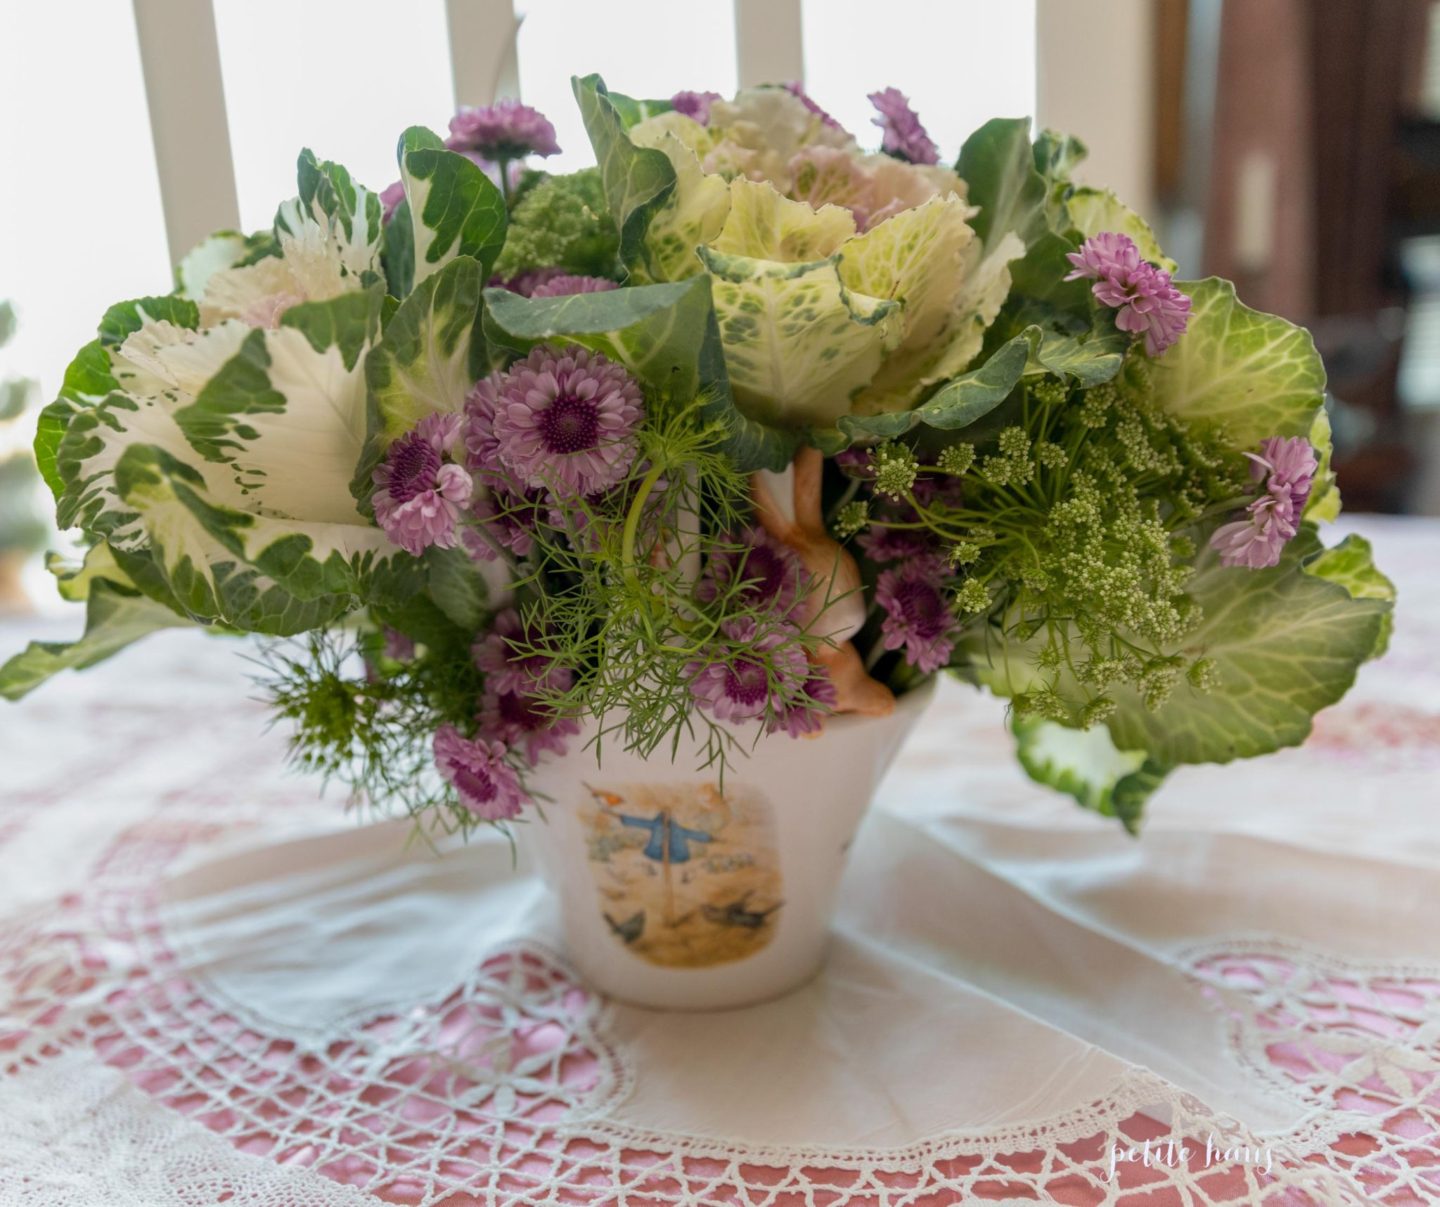
The floral arrangements contained lettuce and mums! There are a few other plants but I don’t remember their names. We wanted it to feel like you were hopping into Mr. McGregor’s garden.
Except this time we won’t chase the animals out of the garden!
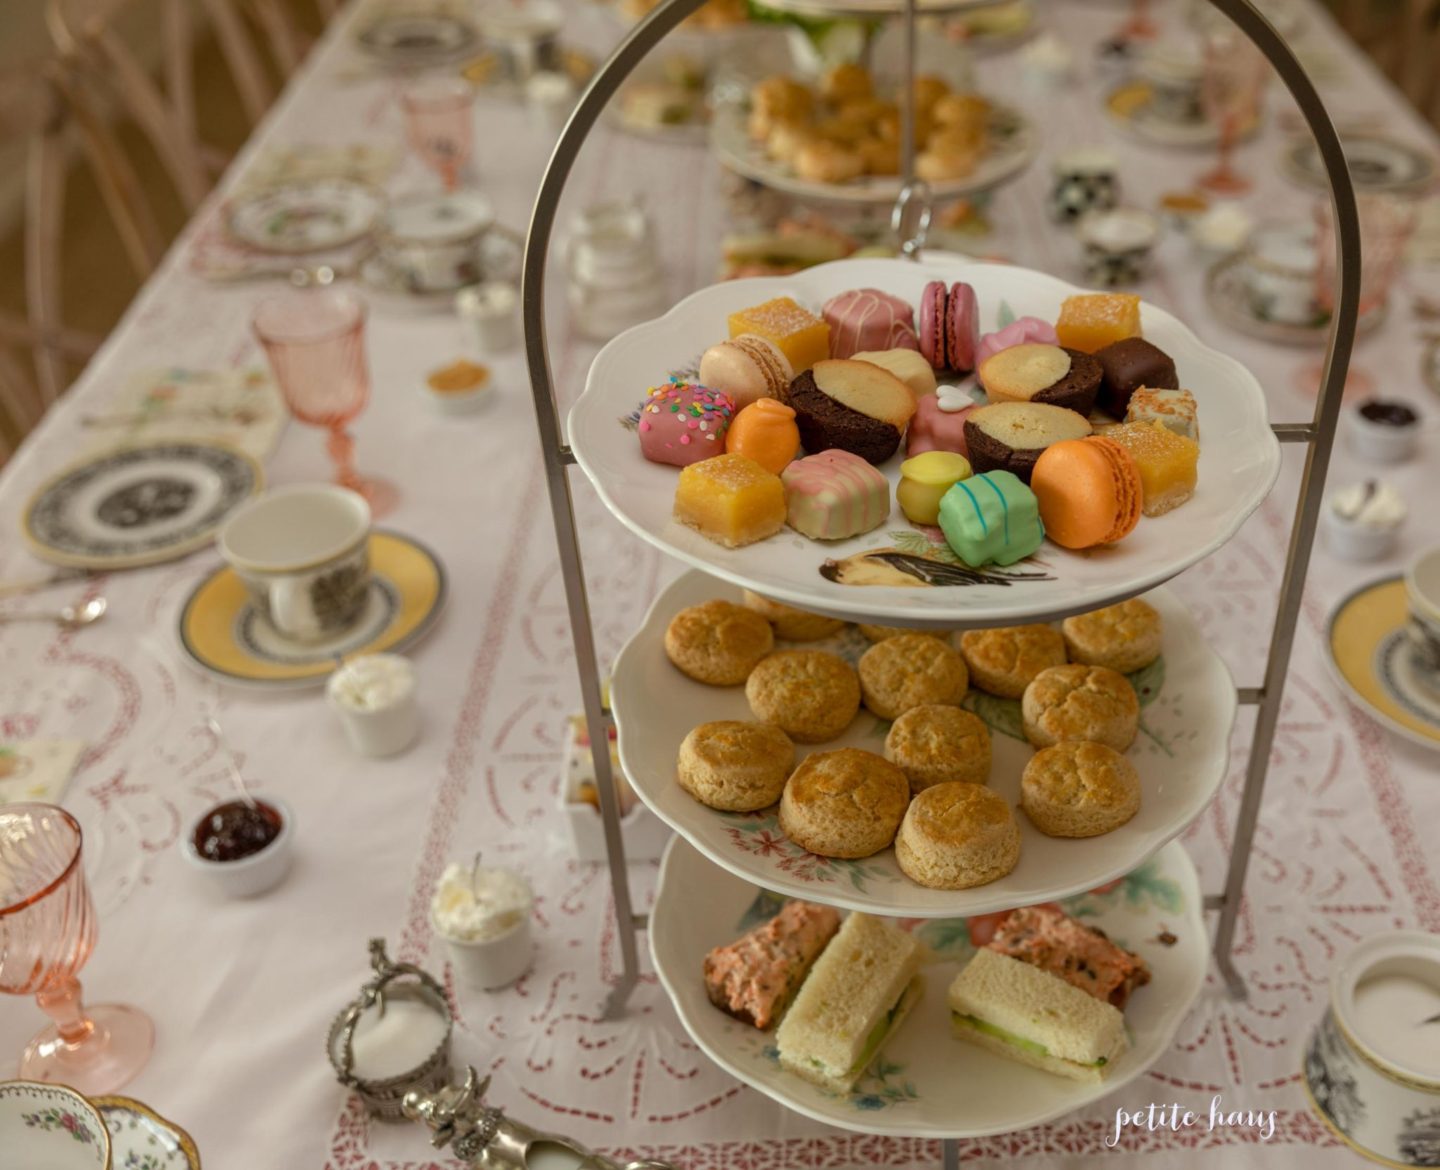
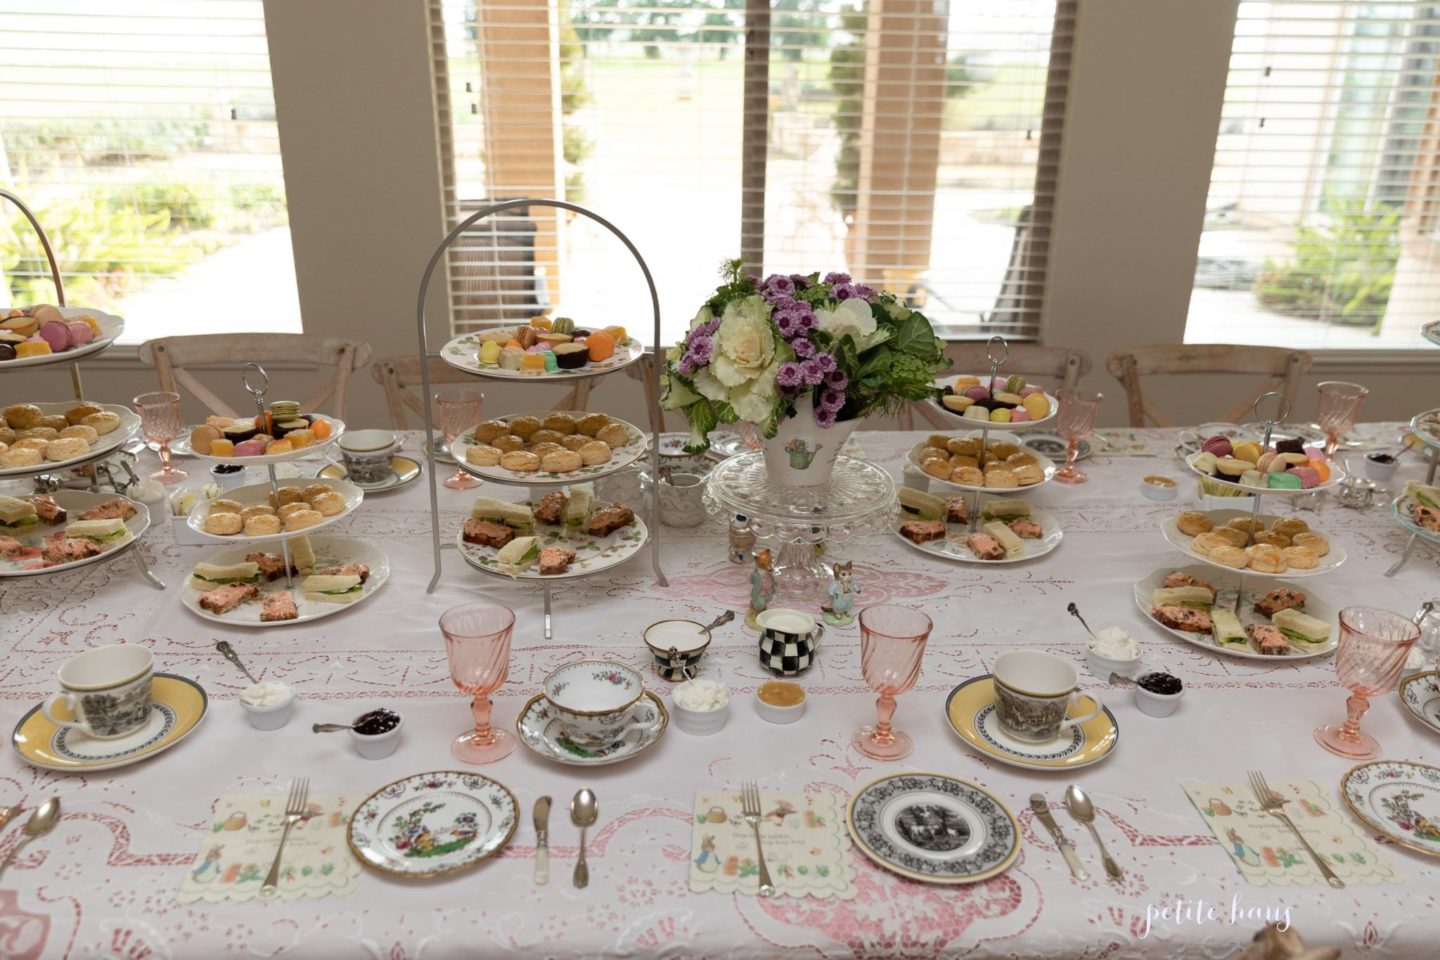
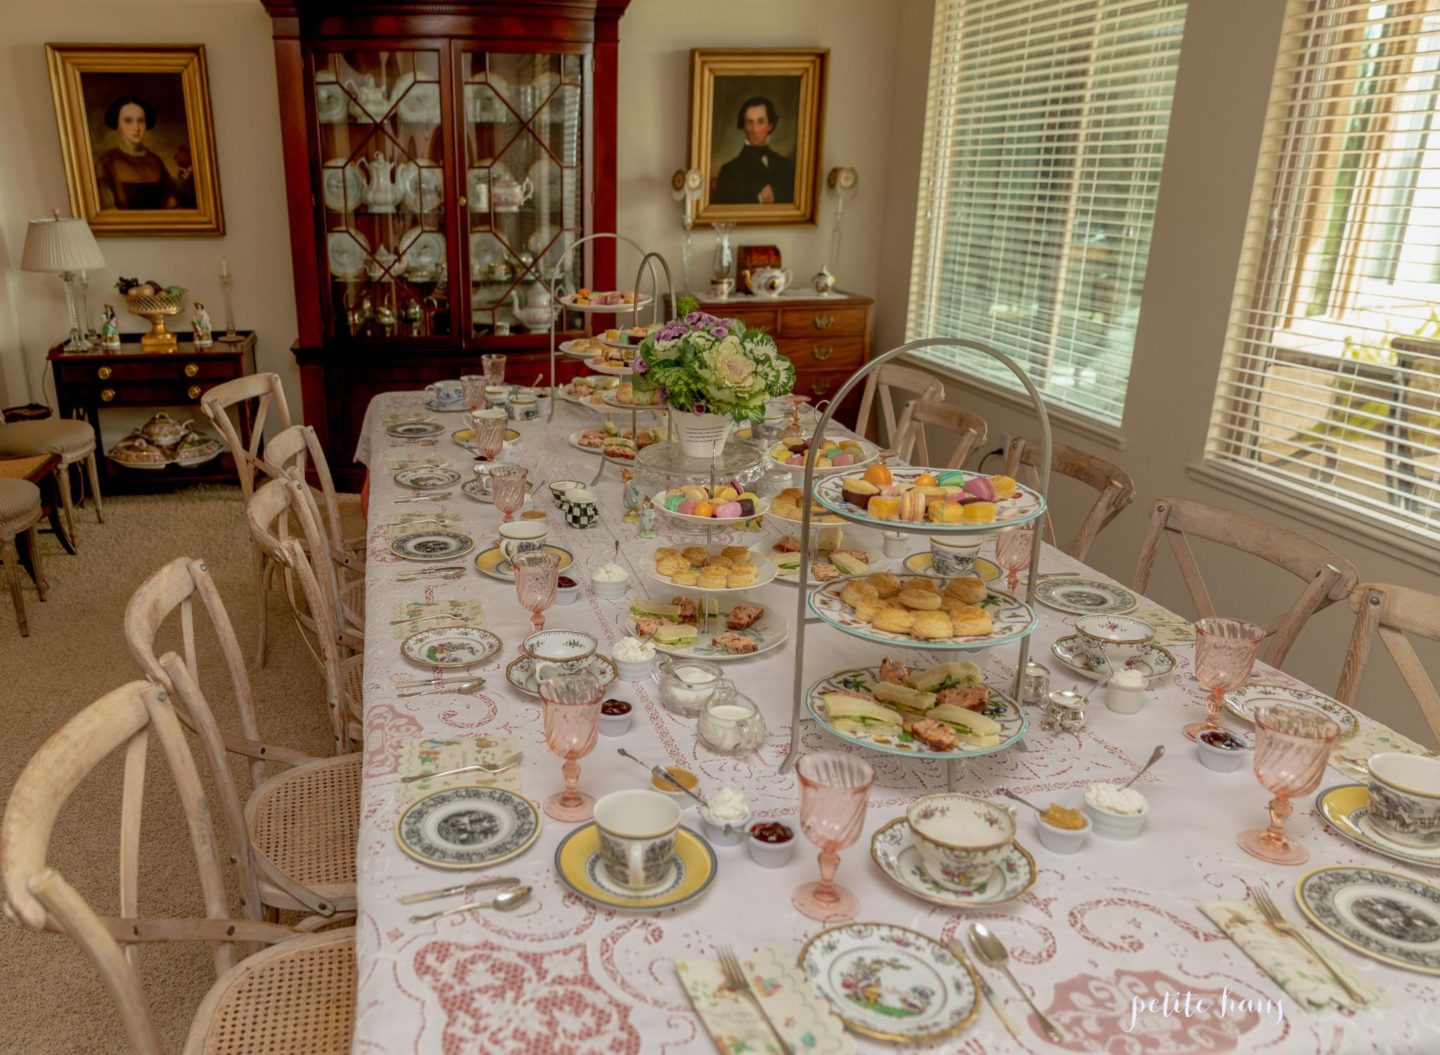
Since Beatrix Potter is from England, the food theme was a traditional English tea party.
The tea sandwiches were made from recipes from The Kitchen is my Playground… our favorite was the vegetable spread tea sandwiches! My mouth is watering thinking of them again. I’ll definitely make them for Easter.
Tea party was complete with homemade fresh scones and petit fours. The petit fours came from Harry and David. Petit fours as it turns out are hard to find!
Another shot of the party! The baby shower was for a girl… if it were a boy, I would have put blue underneath the lace table cloth!
We use affiliate links in our posts and our site. This means if you make a purchase using these links, we may earn a small commission. You don’t pay a cent more than you would otherwise! Our full disclosure is available under About.
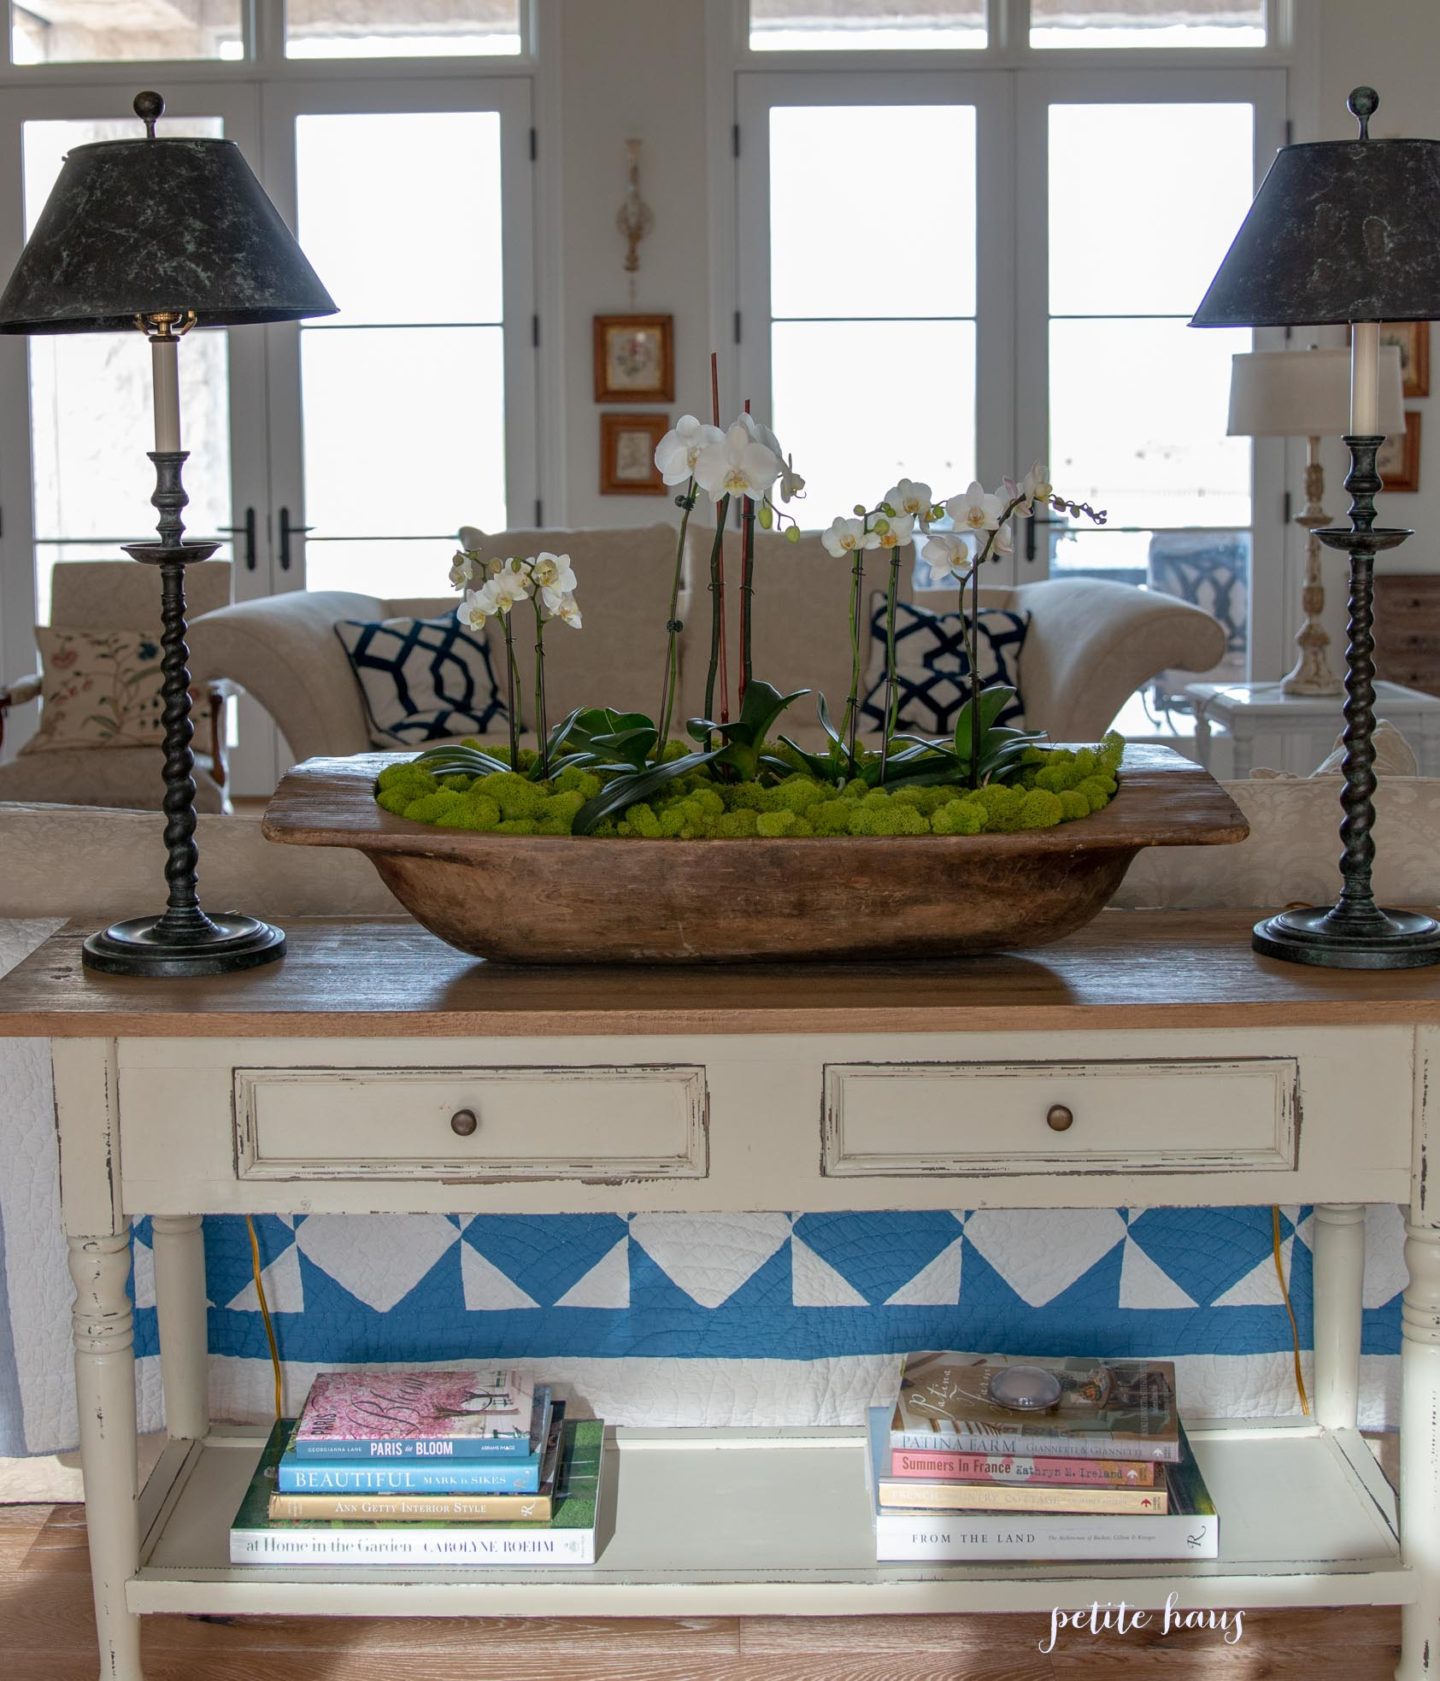
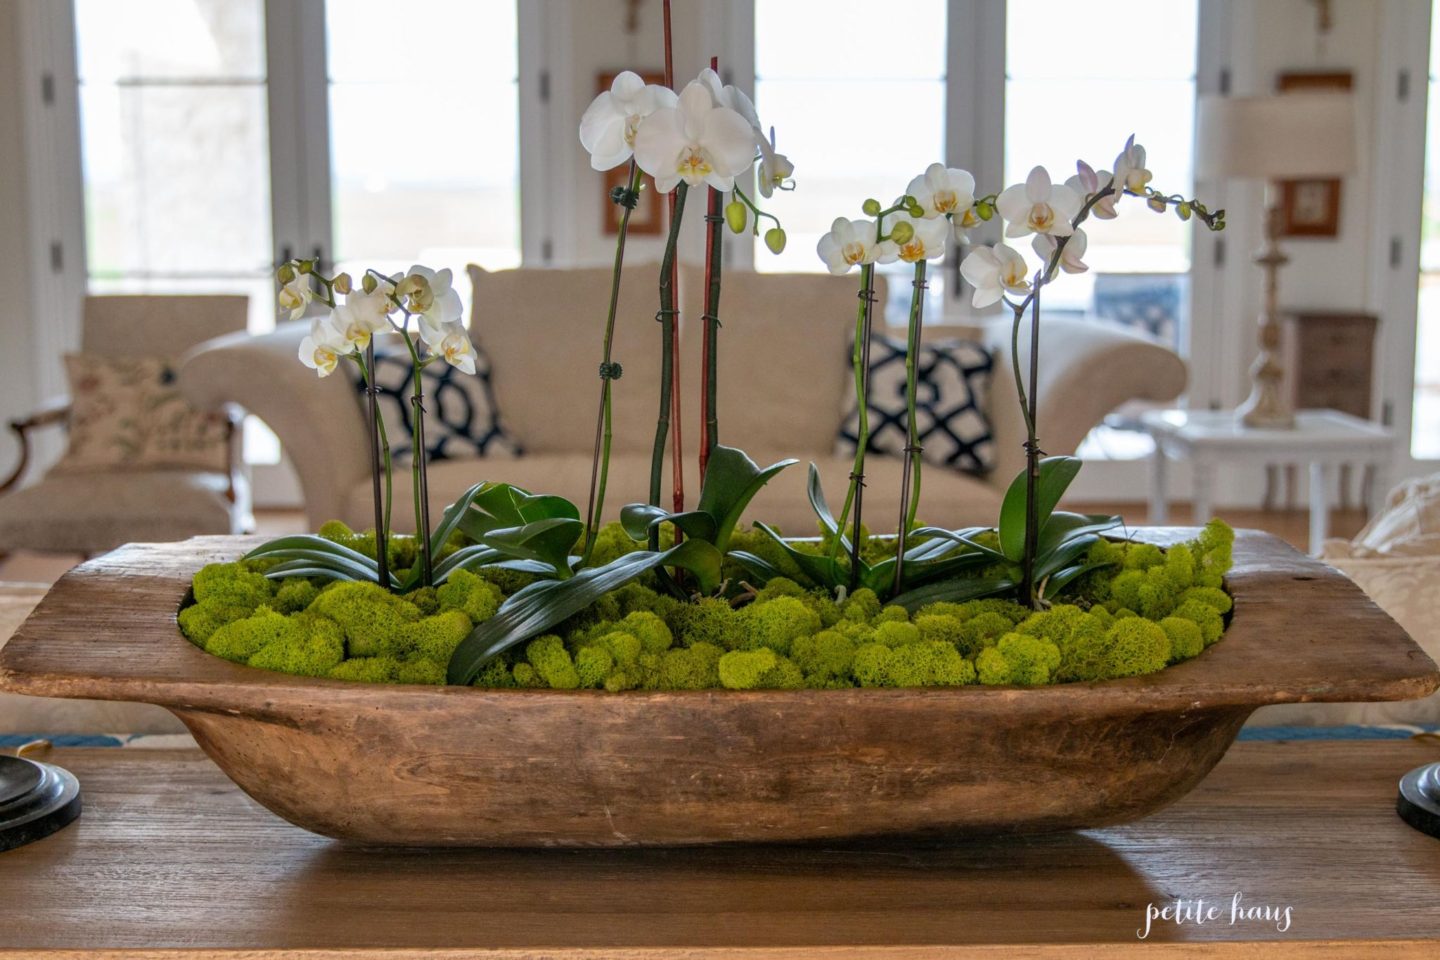
It seems everywhere I look online, magazines, and in stores I see a bowl full of orchids (faux or real) with moss. I love the look, but often times they are super pricey.
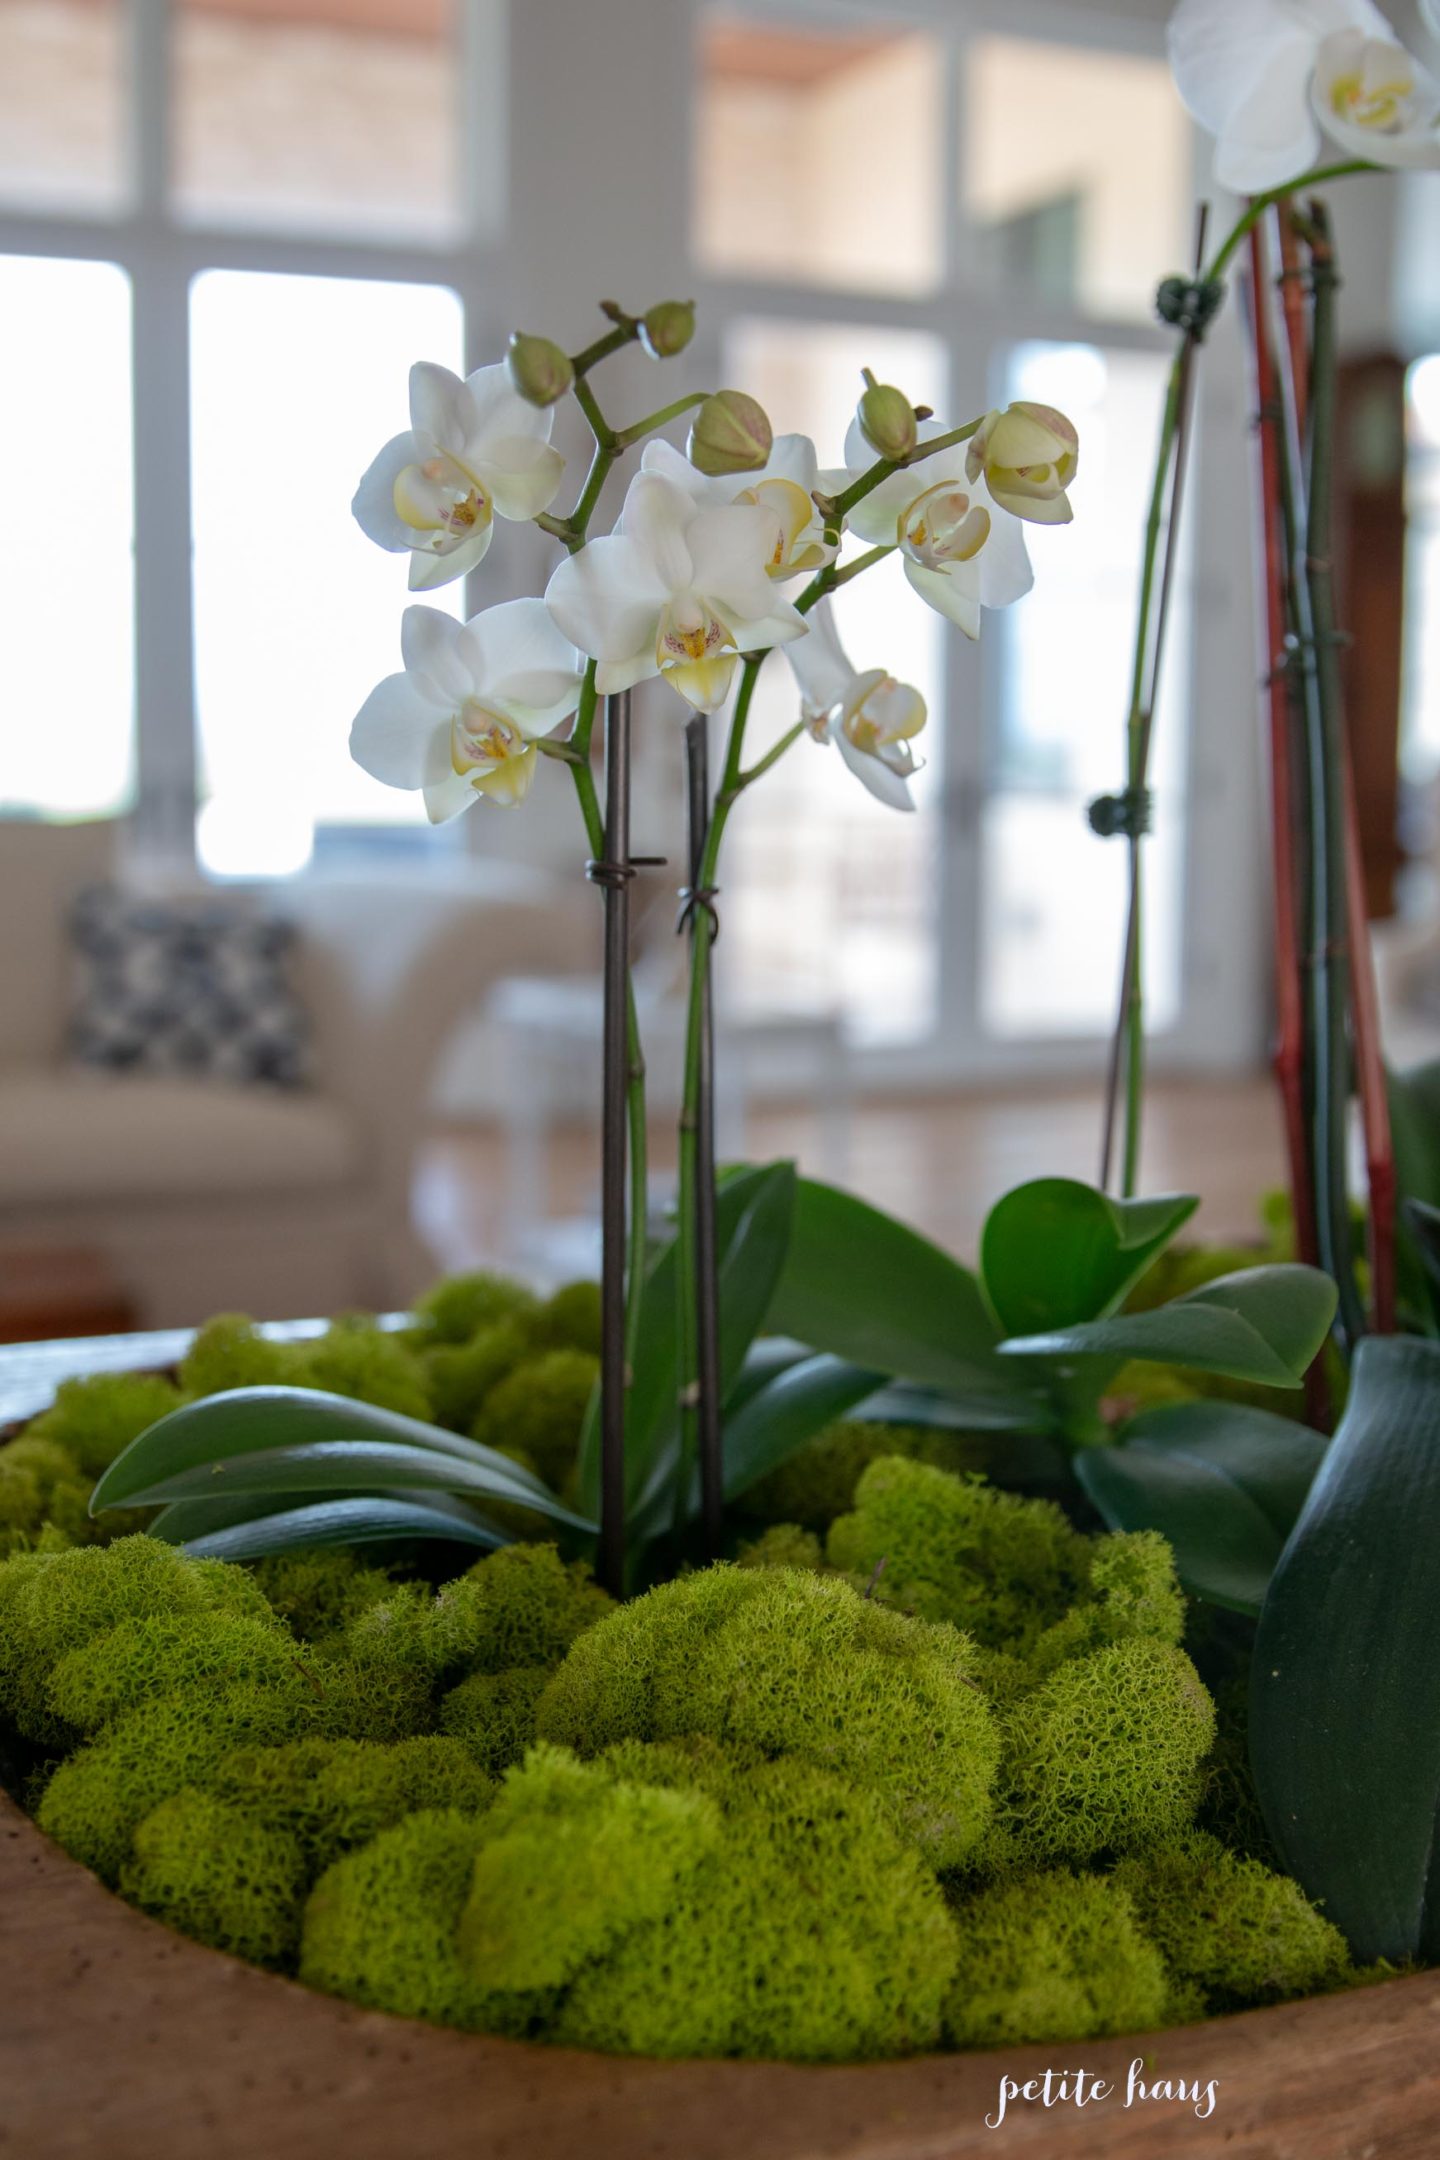
I thought, well, HEY, I could do that myself. So I went on a hunt for white orchids. I eventually found these at Trader Joe’s. There are actually two different sizes here. Three mini ones and one medium size one. There is also a non-blooming orchid in the center that is large.
The mini ones were $6.99/each. The medium one was $11.99. I first filled my dough bowl with peanuts until I got it to a level that I liked.
Then I put some cardboard to make a flat surface, and then plastic down so if the orchids leaked it wouldn’t ruin the dough bowl. Next, I placed the orchids in their clear containers. Then I filled the bowl with chartreuse reindeer moss until I was happy.
Voila! This dough bowl is HUGE so it takes quite a few orchids. You could easily do this in a smaller bowl – dough bowl or really any other bowl. The orchids usually bloom for a month or two. I love this fun pop of color in the living room! I hope you enjoyed my DIY orchid dough bowl centerpiece
We use affiliate links in our posts and our site. This means if you make a purchase using these links, we may earn a small commission. You don’t pay a cent more than you would otherwise! Our full disclosure is available under About.
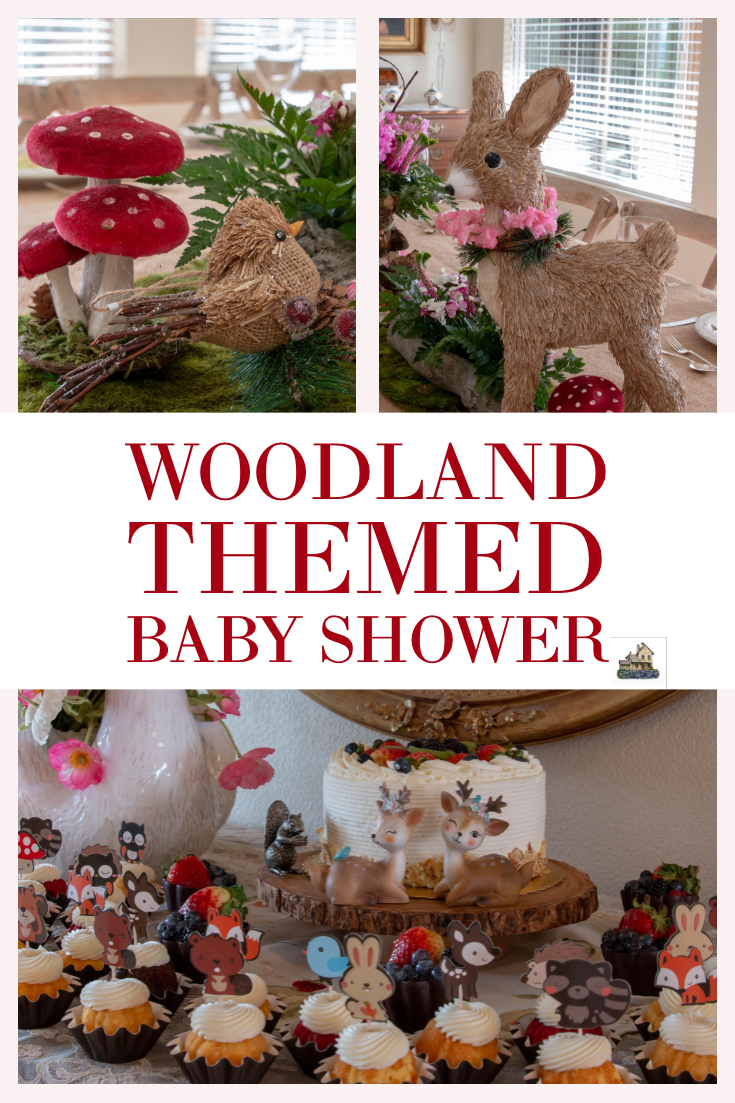
Recently my Mom hosted a baby shower that was Woodland themed! I just had to share some pictures from the shower because it is so cute!
The woodland themed party doesn’t have to be for *just* babies – this would be so cute for birthdays or really any party!
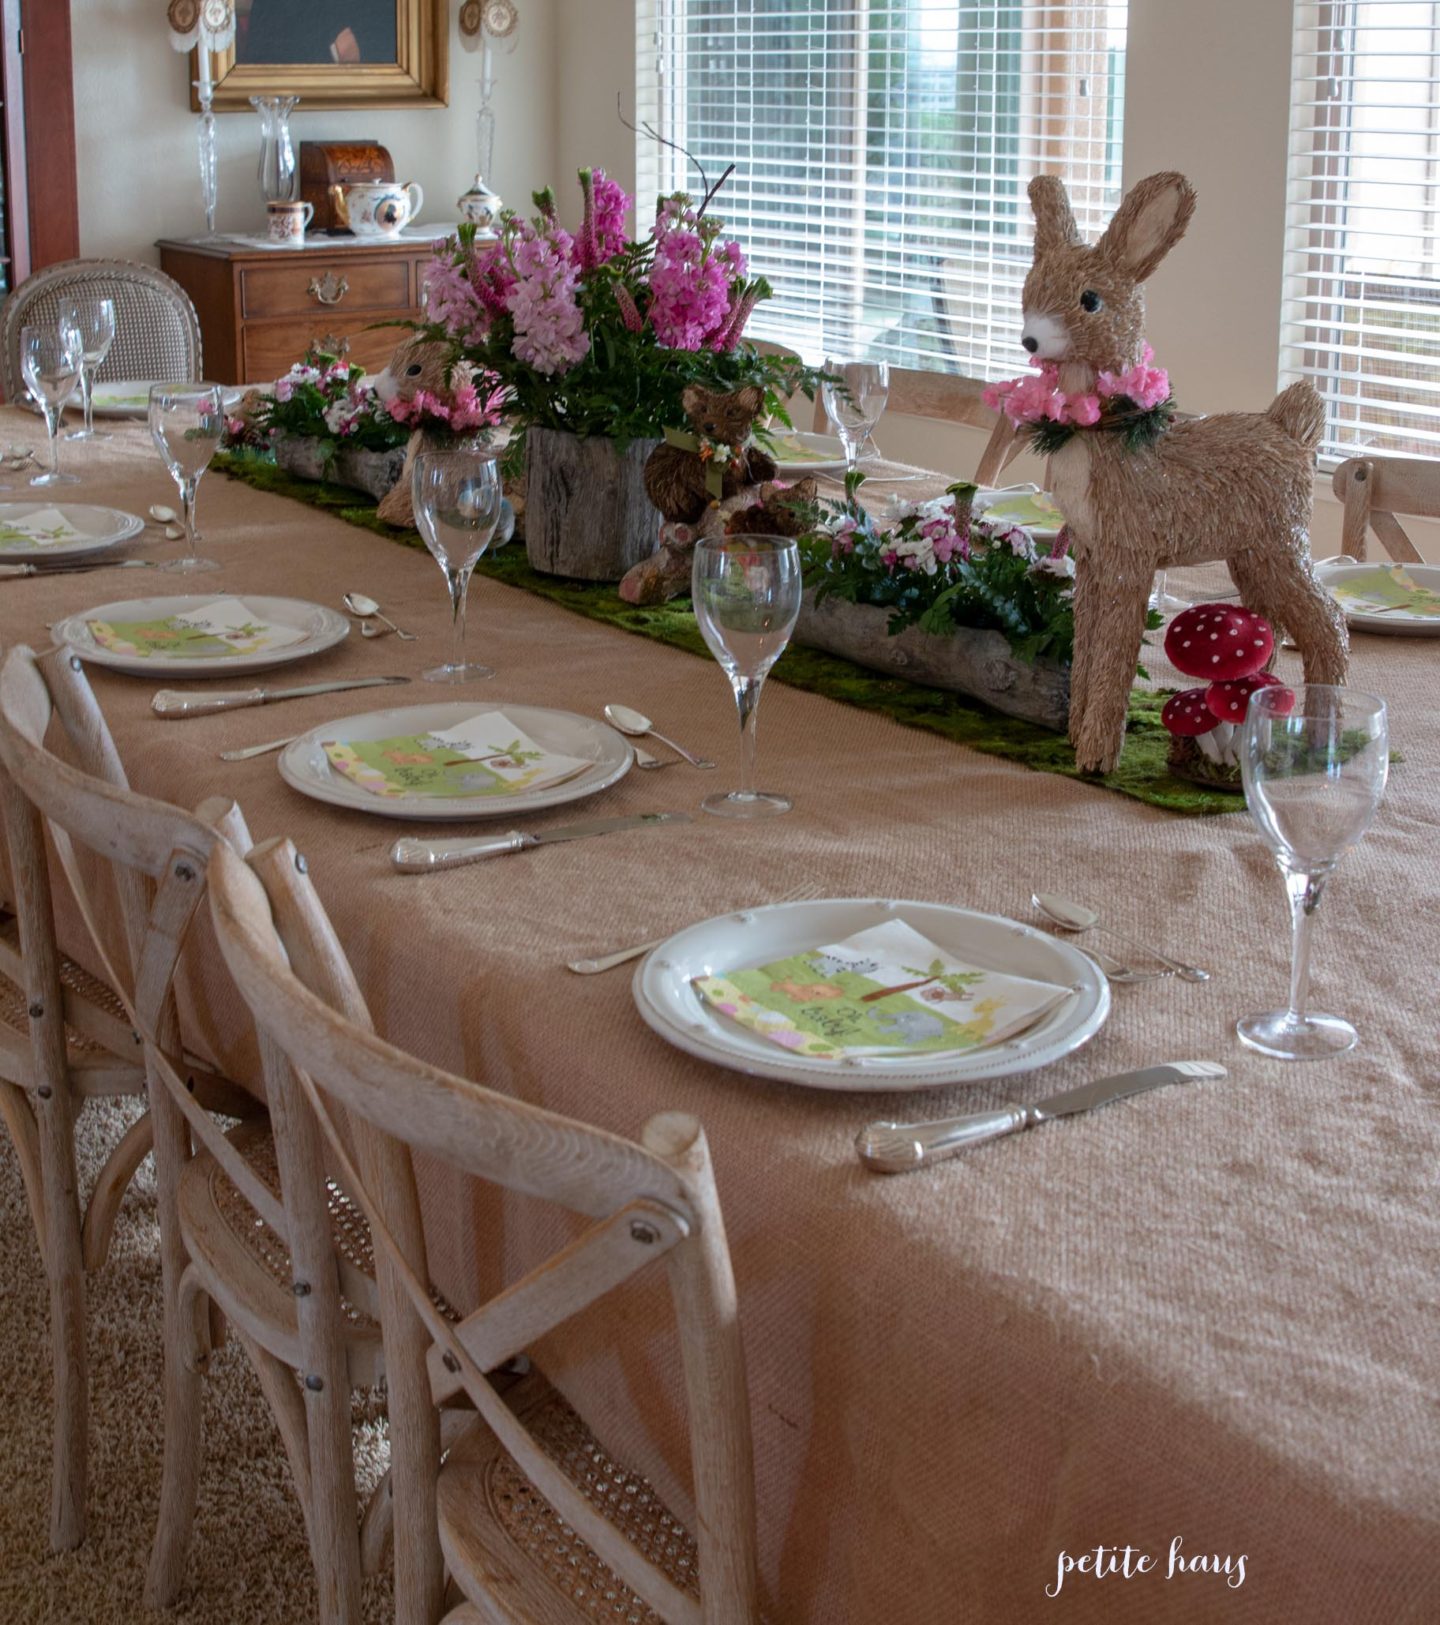
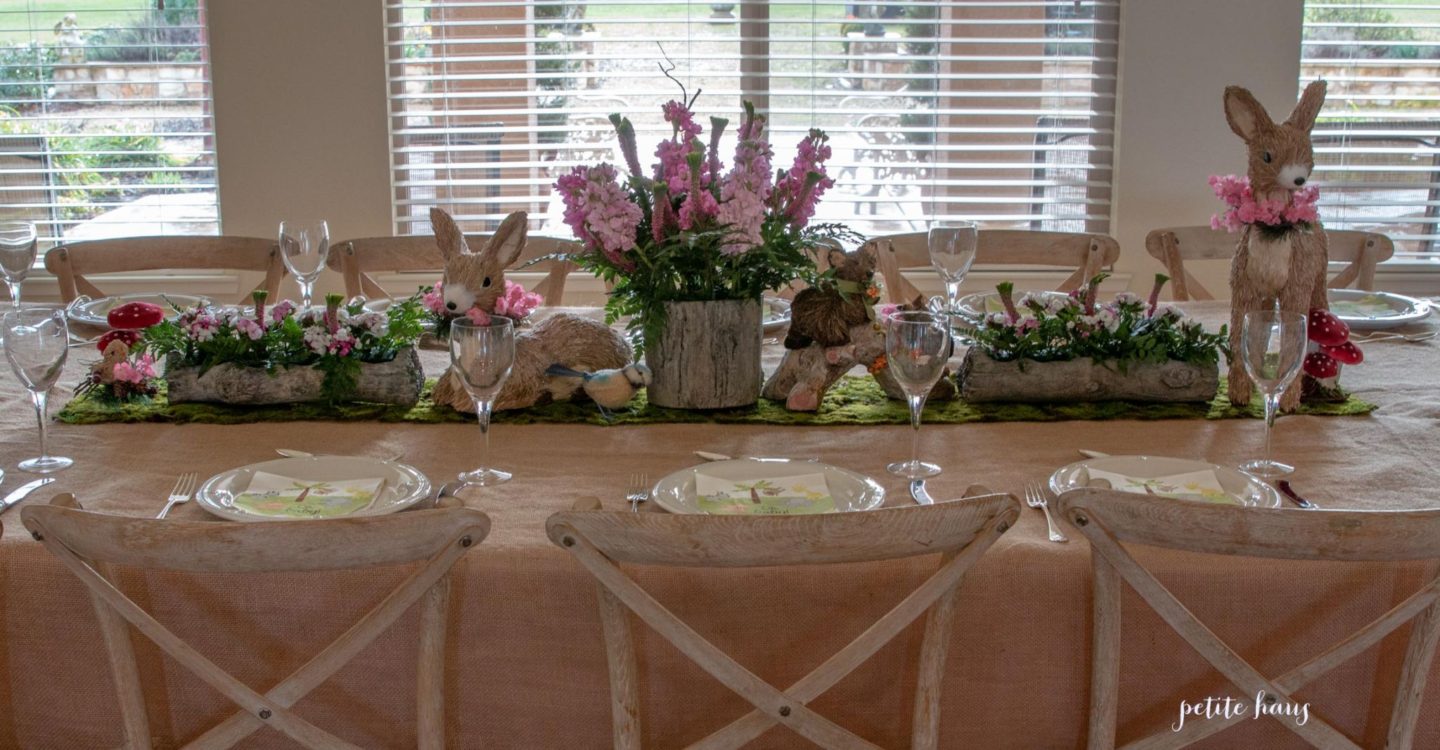
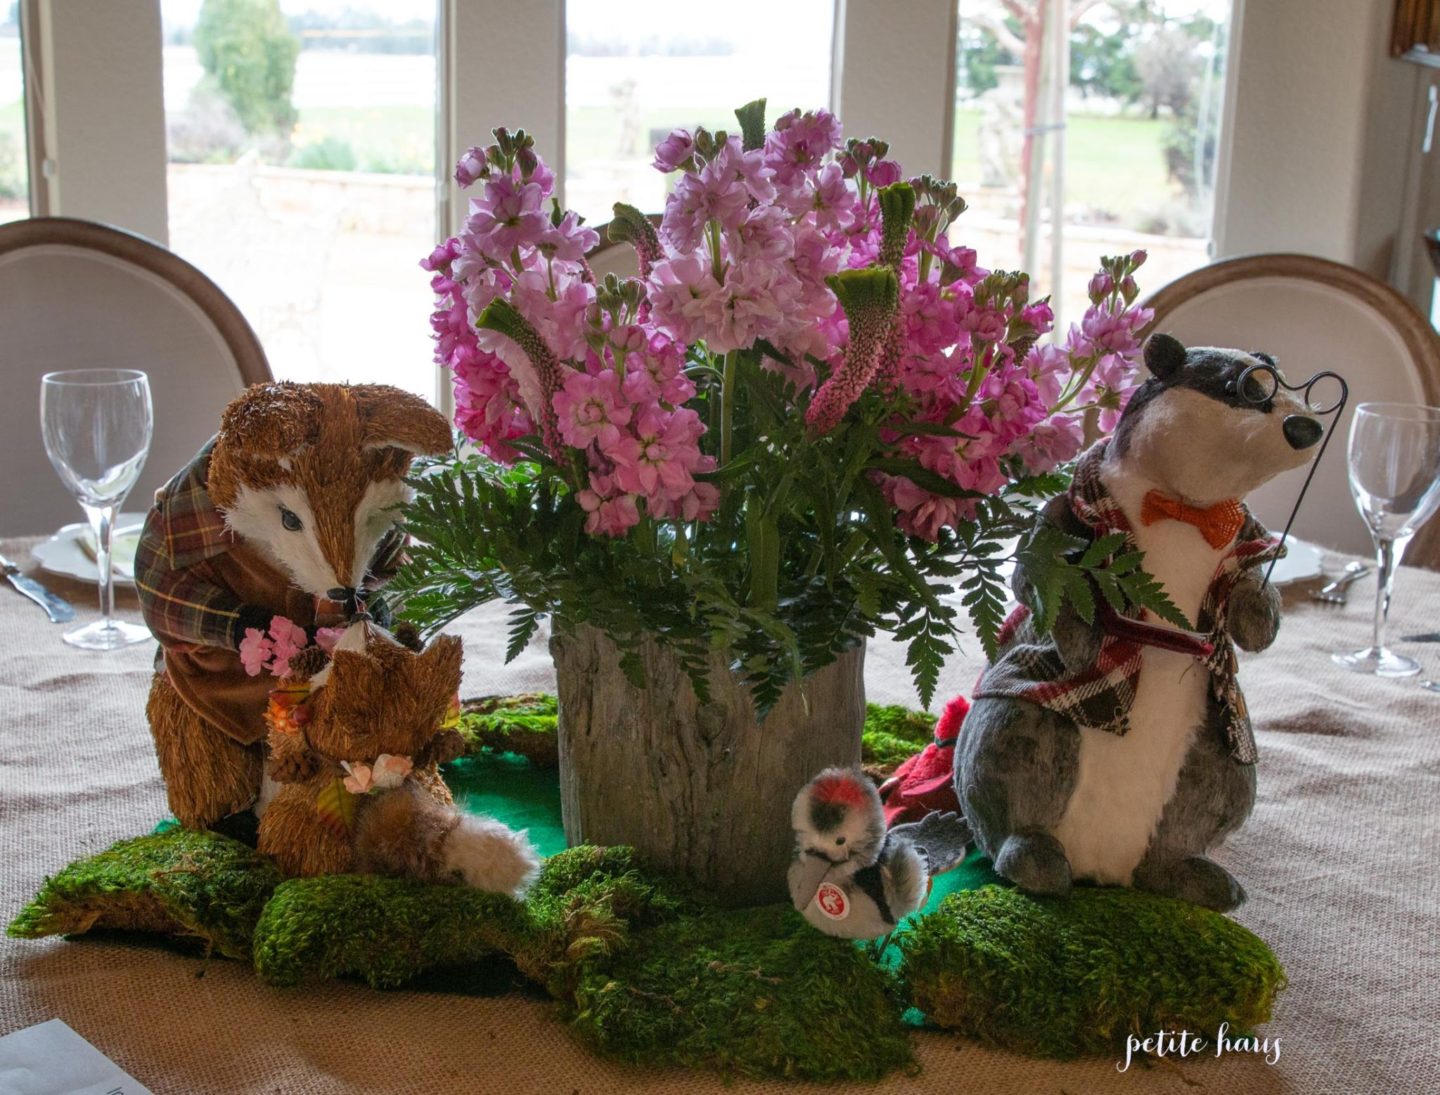
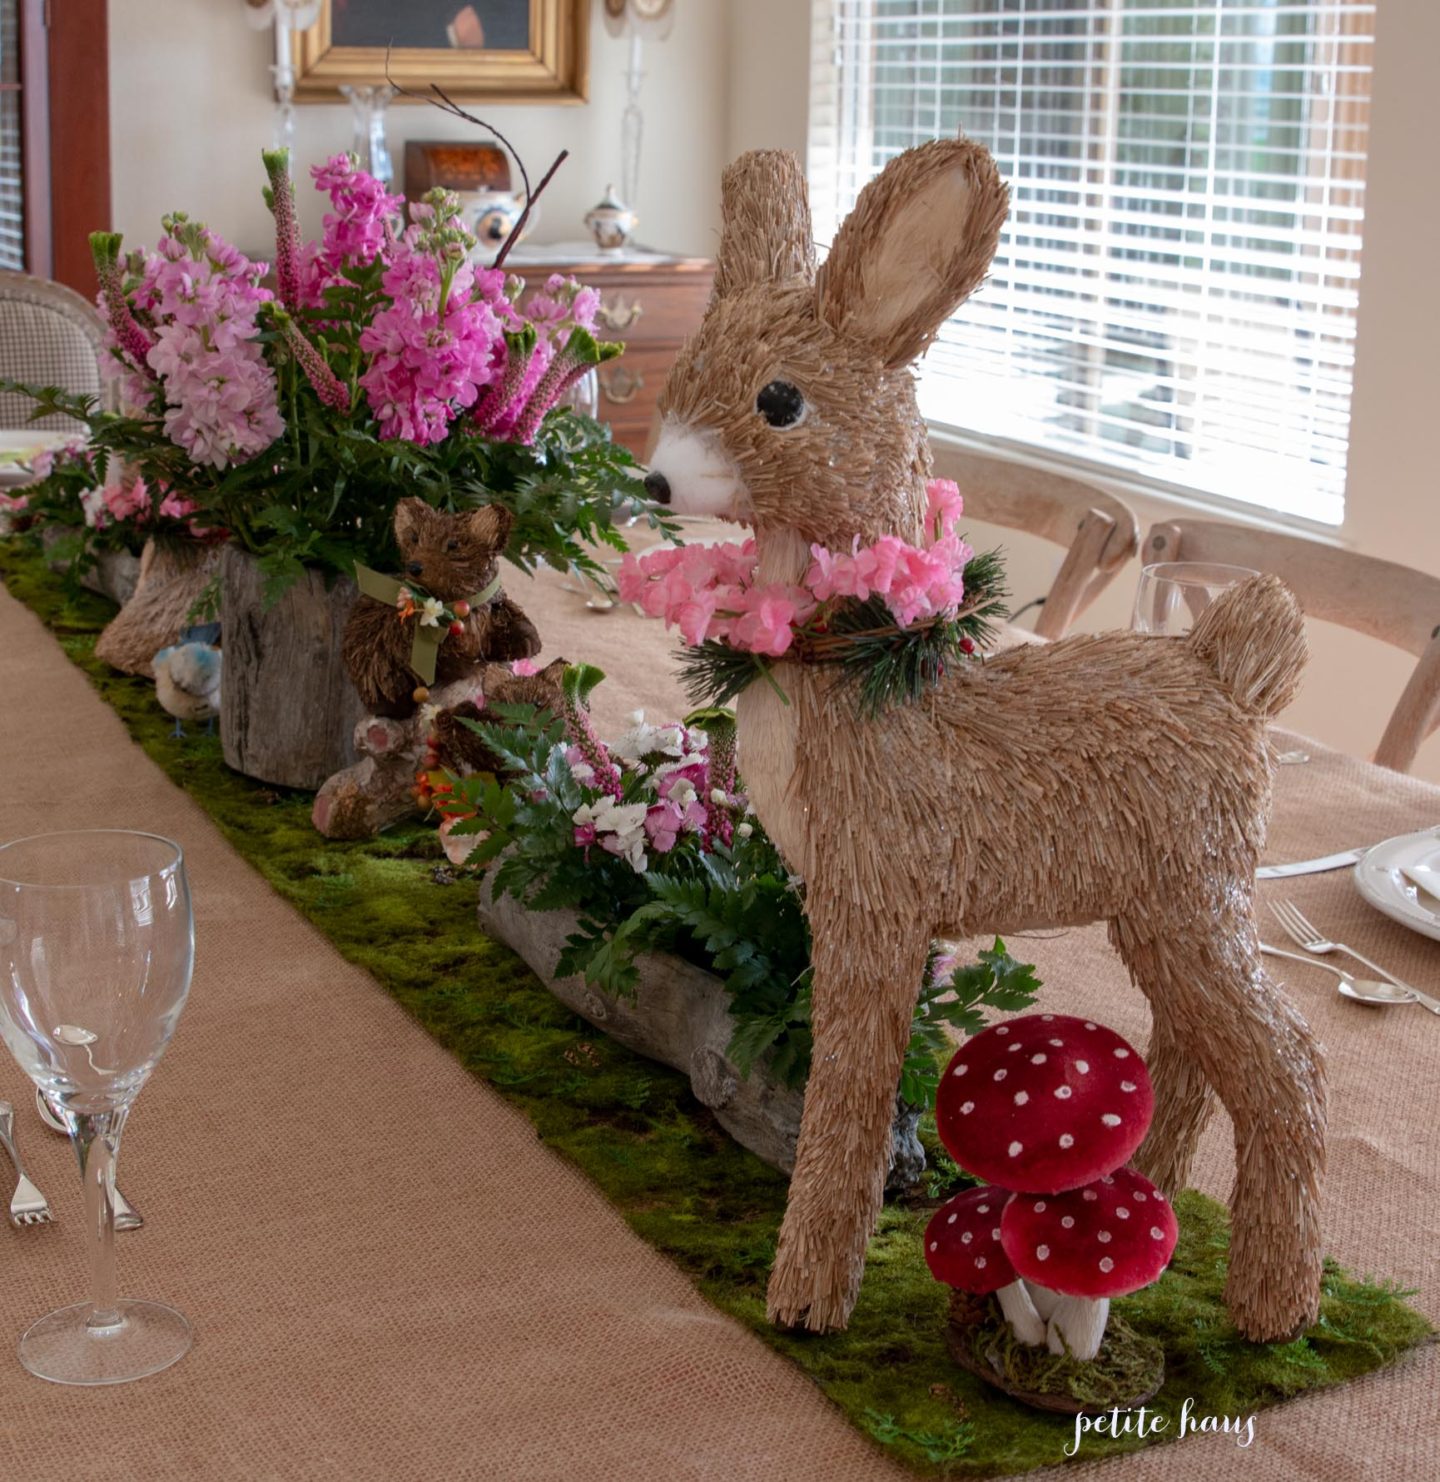
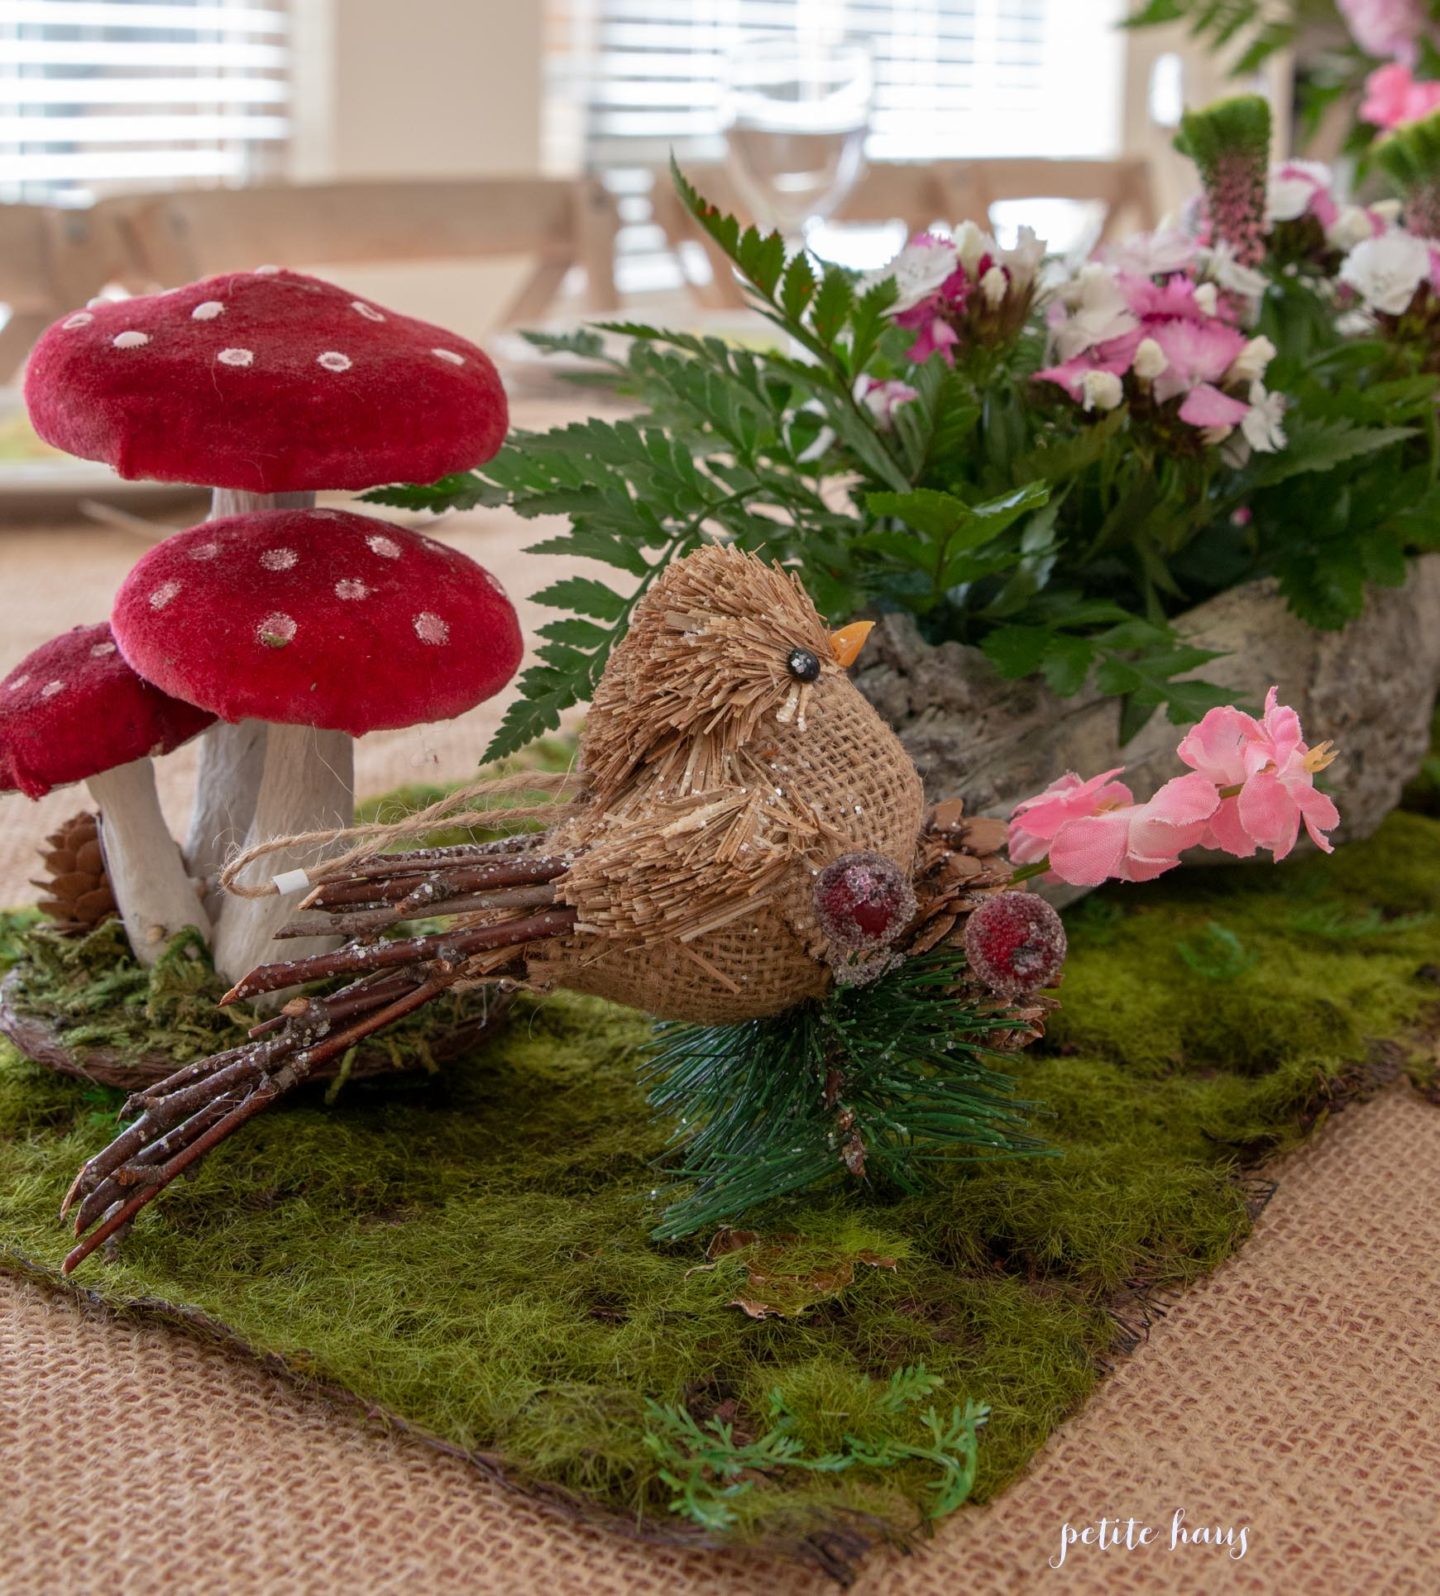
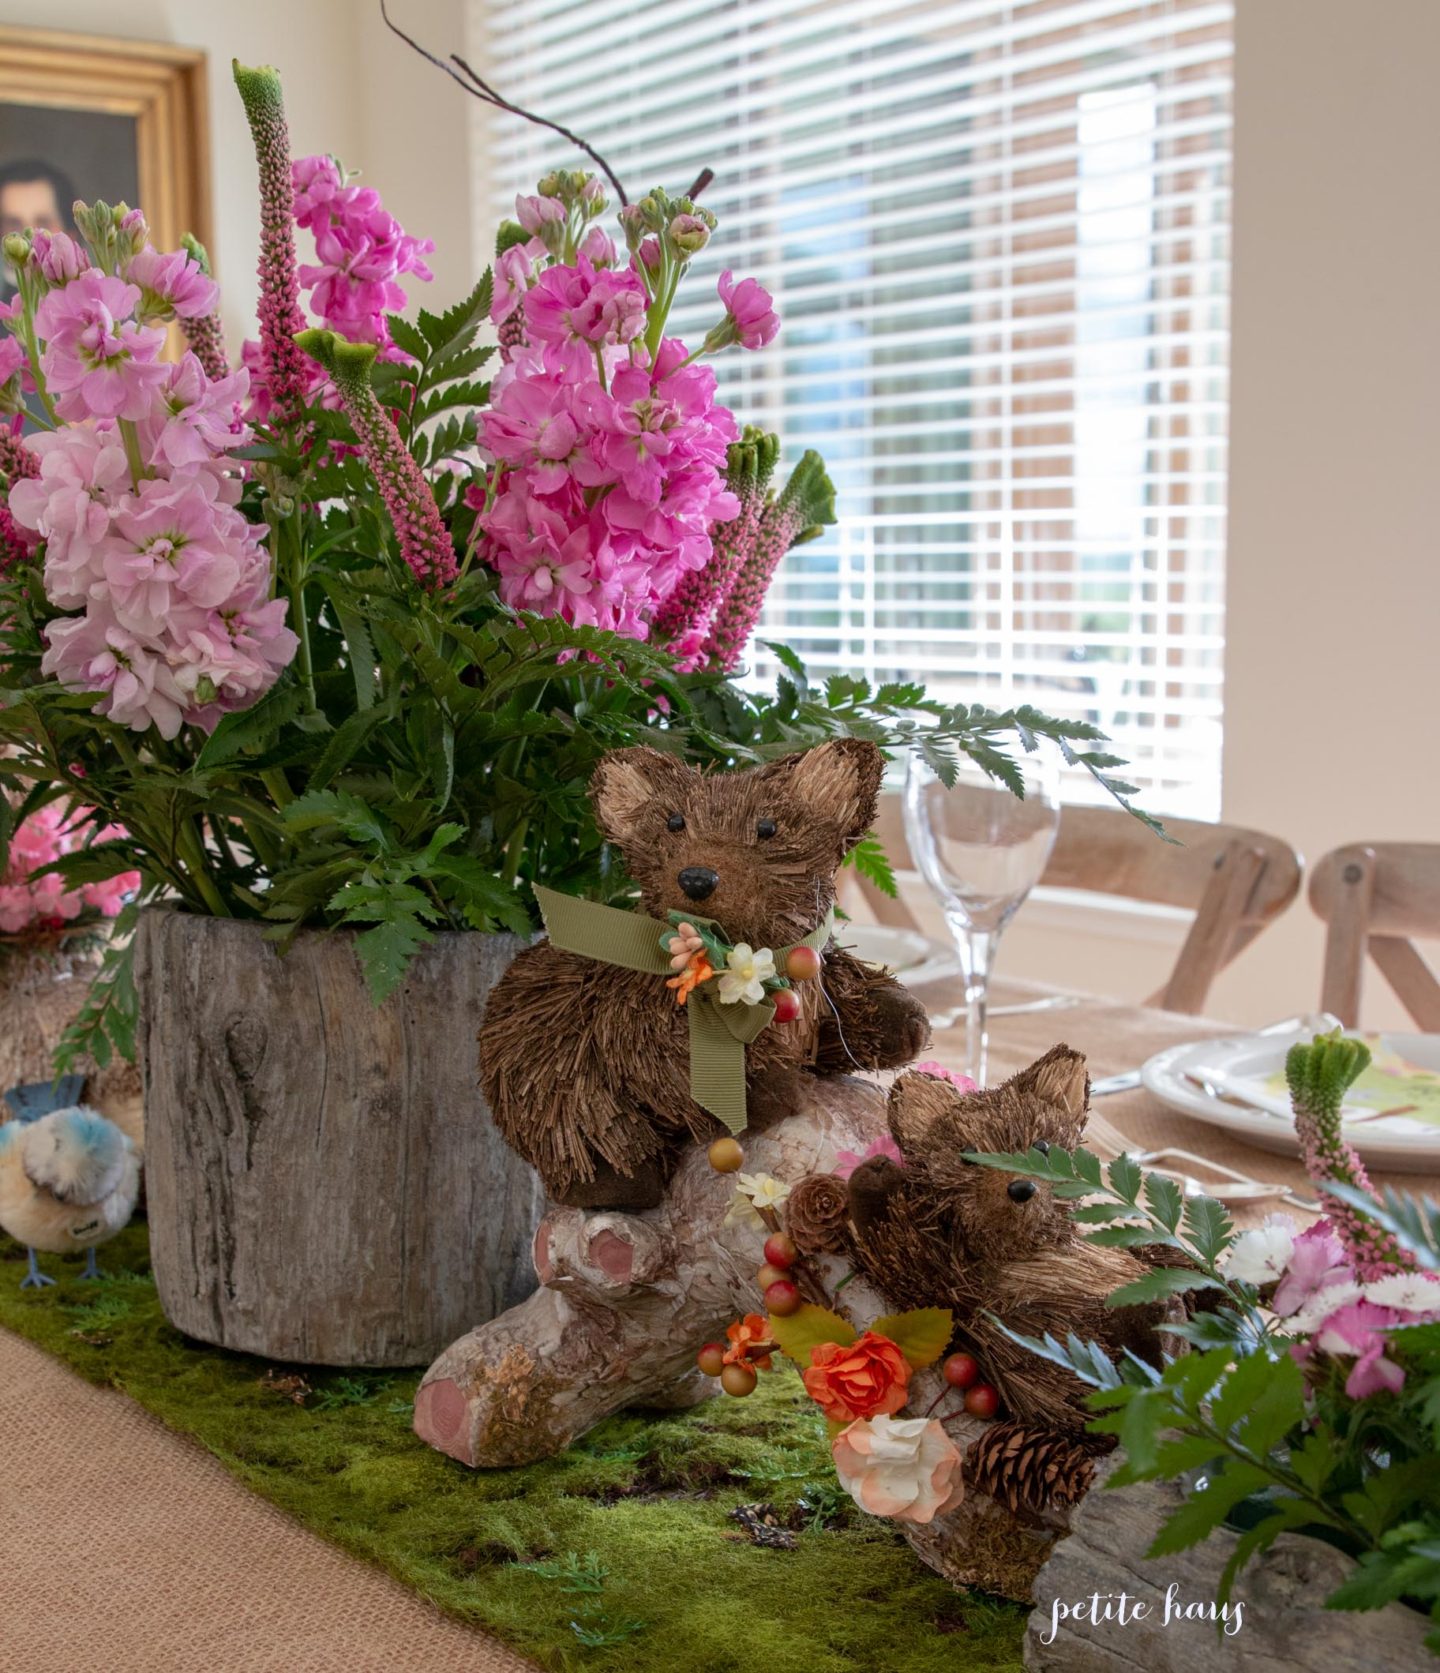
Woodland critters sit on top of a moss runner.
We took the woodland deer from Christmas and put faux flowers around their Christmas collars to dress them up for the party!
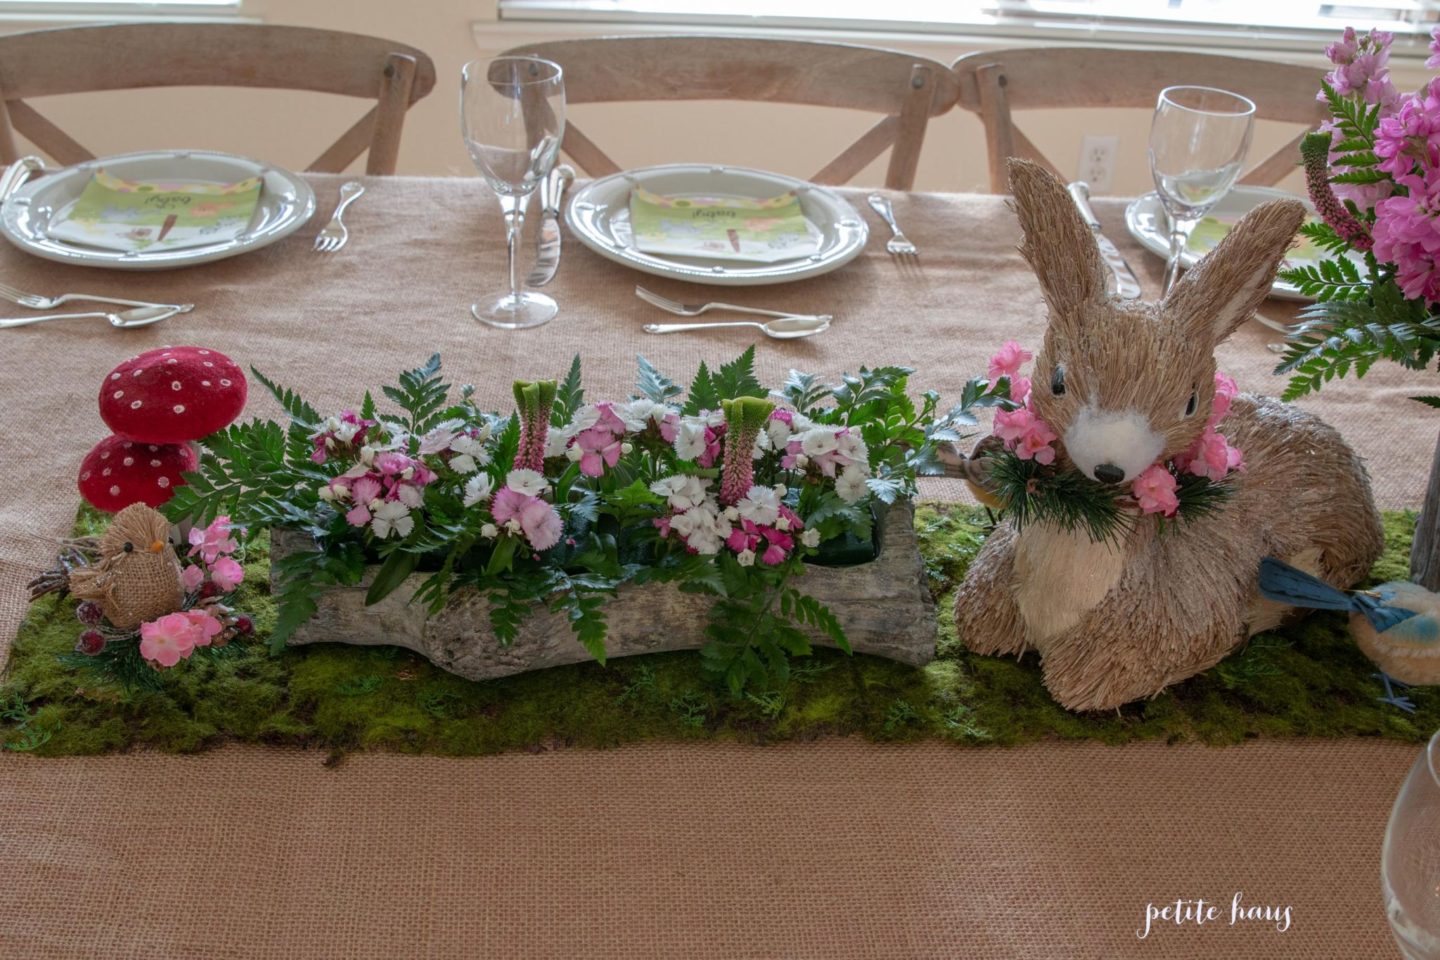
Faux bois vases found at the local floral market were used for the floral arrangements.
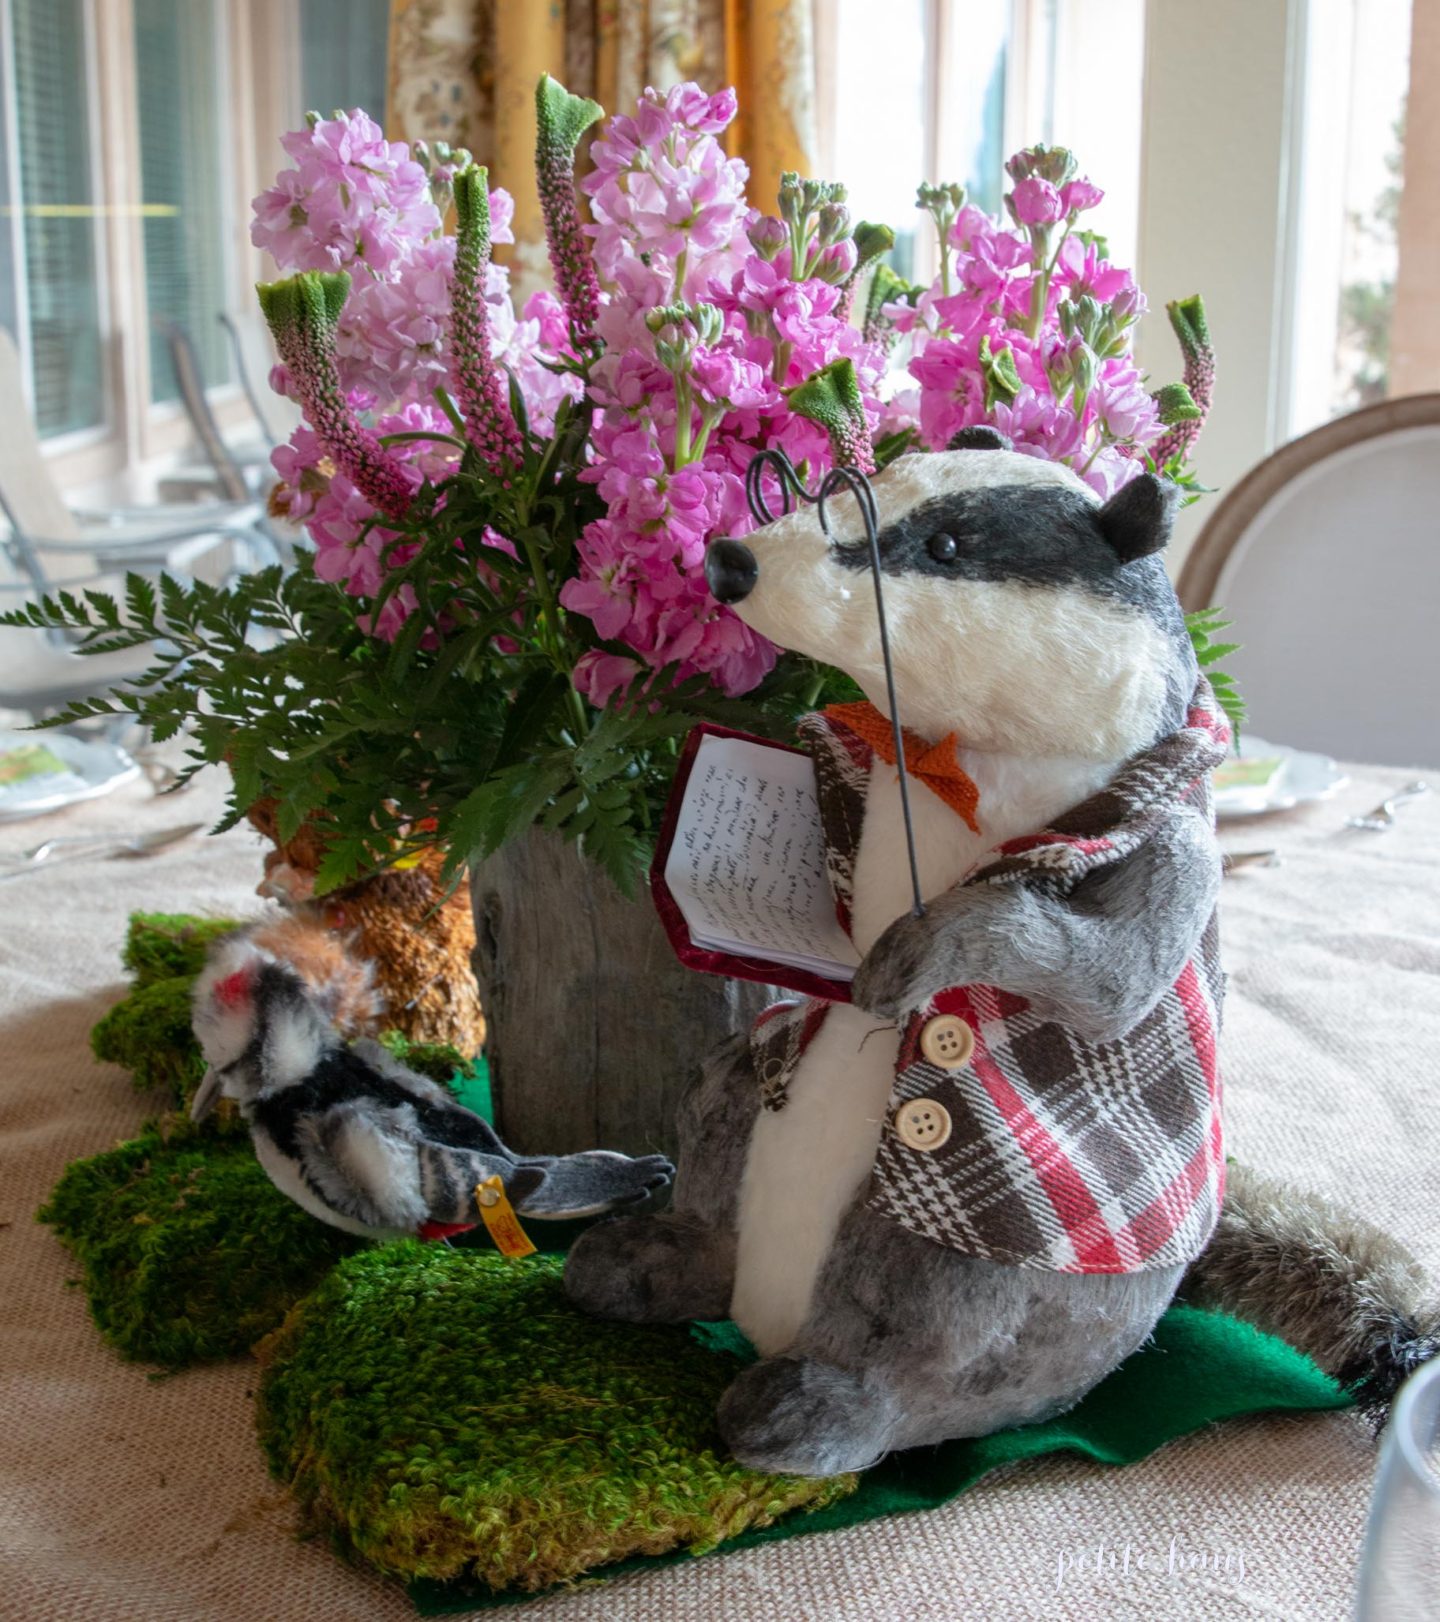
Stalks, ferns, and I think they are Celosia were used in the floral arrangements.
Looking at the centerpiece on the other table.
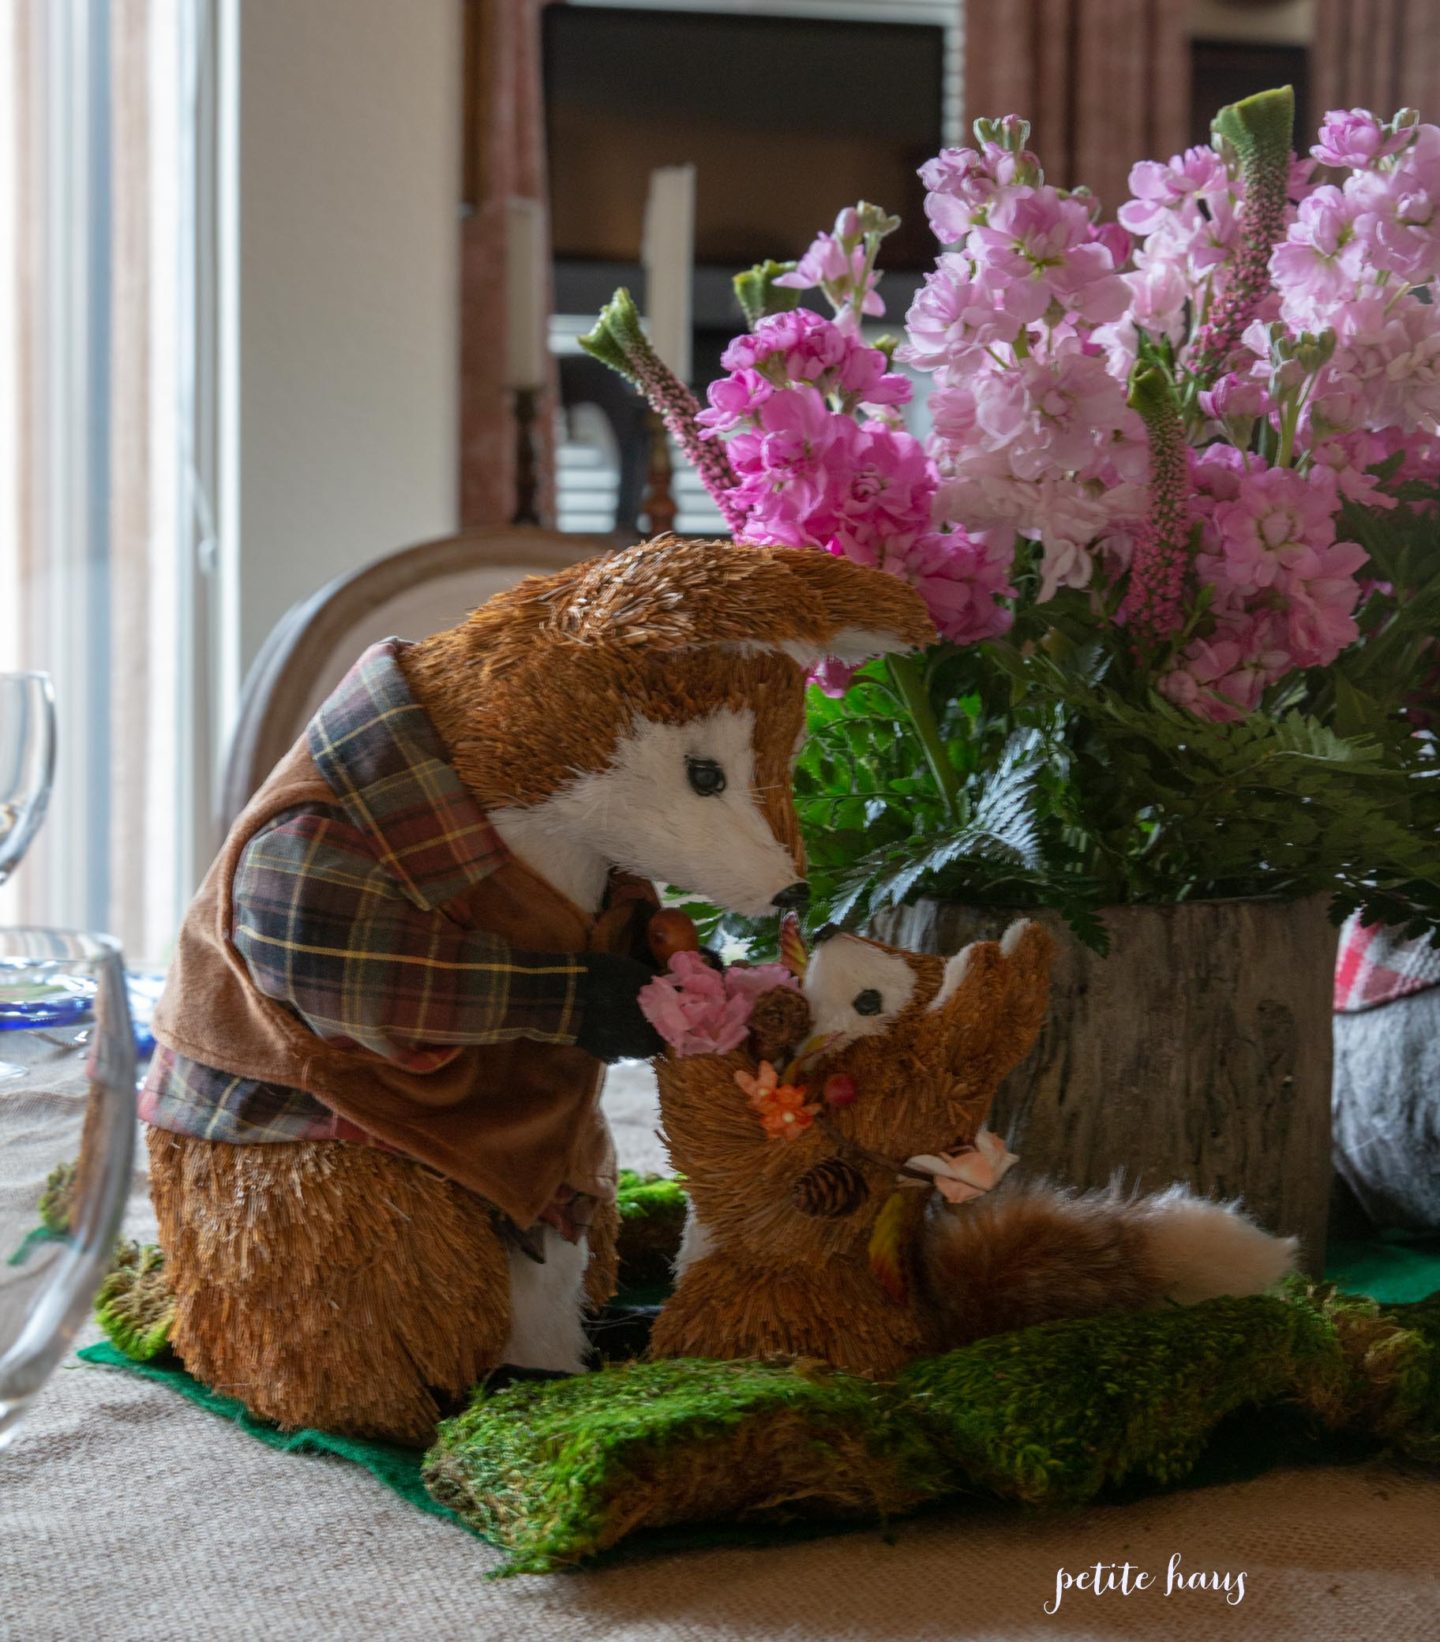
I love all of these woodland creatures!
Moss is sprinkled around the base too. The woodland creatures were a collection from my mom, aunt, and myself!
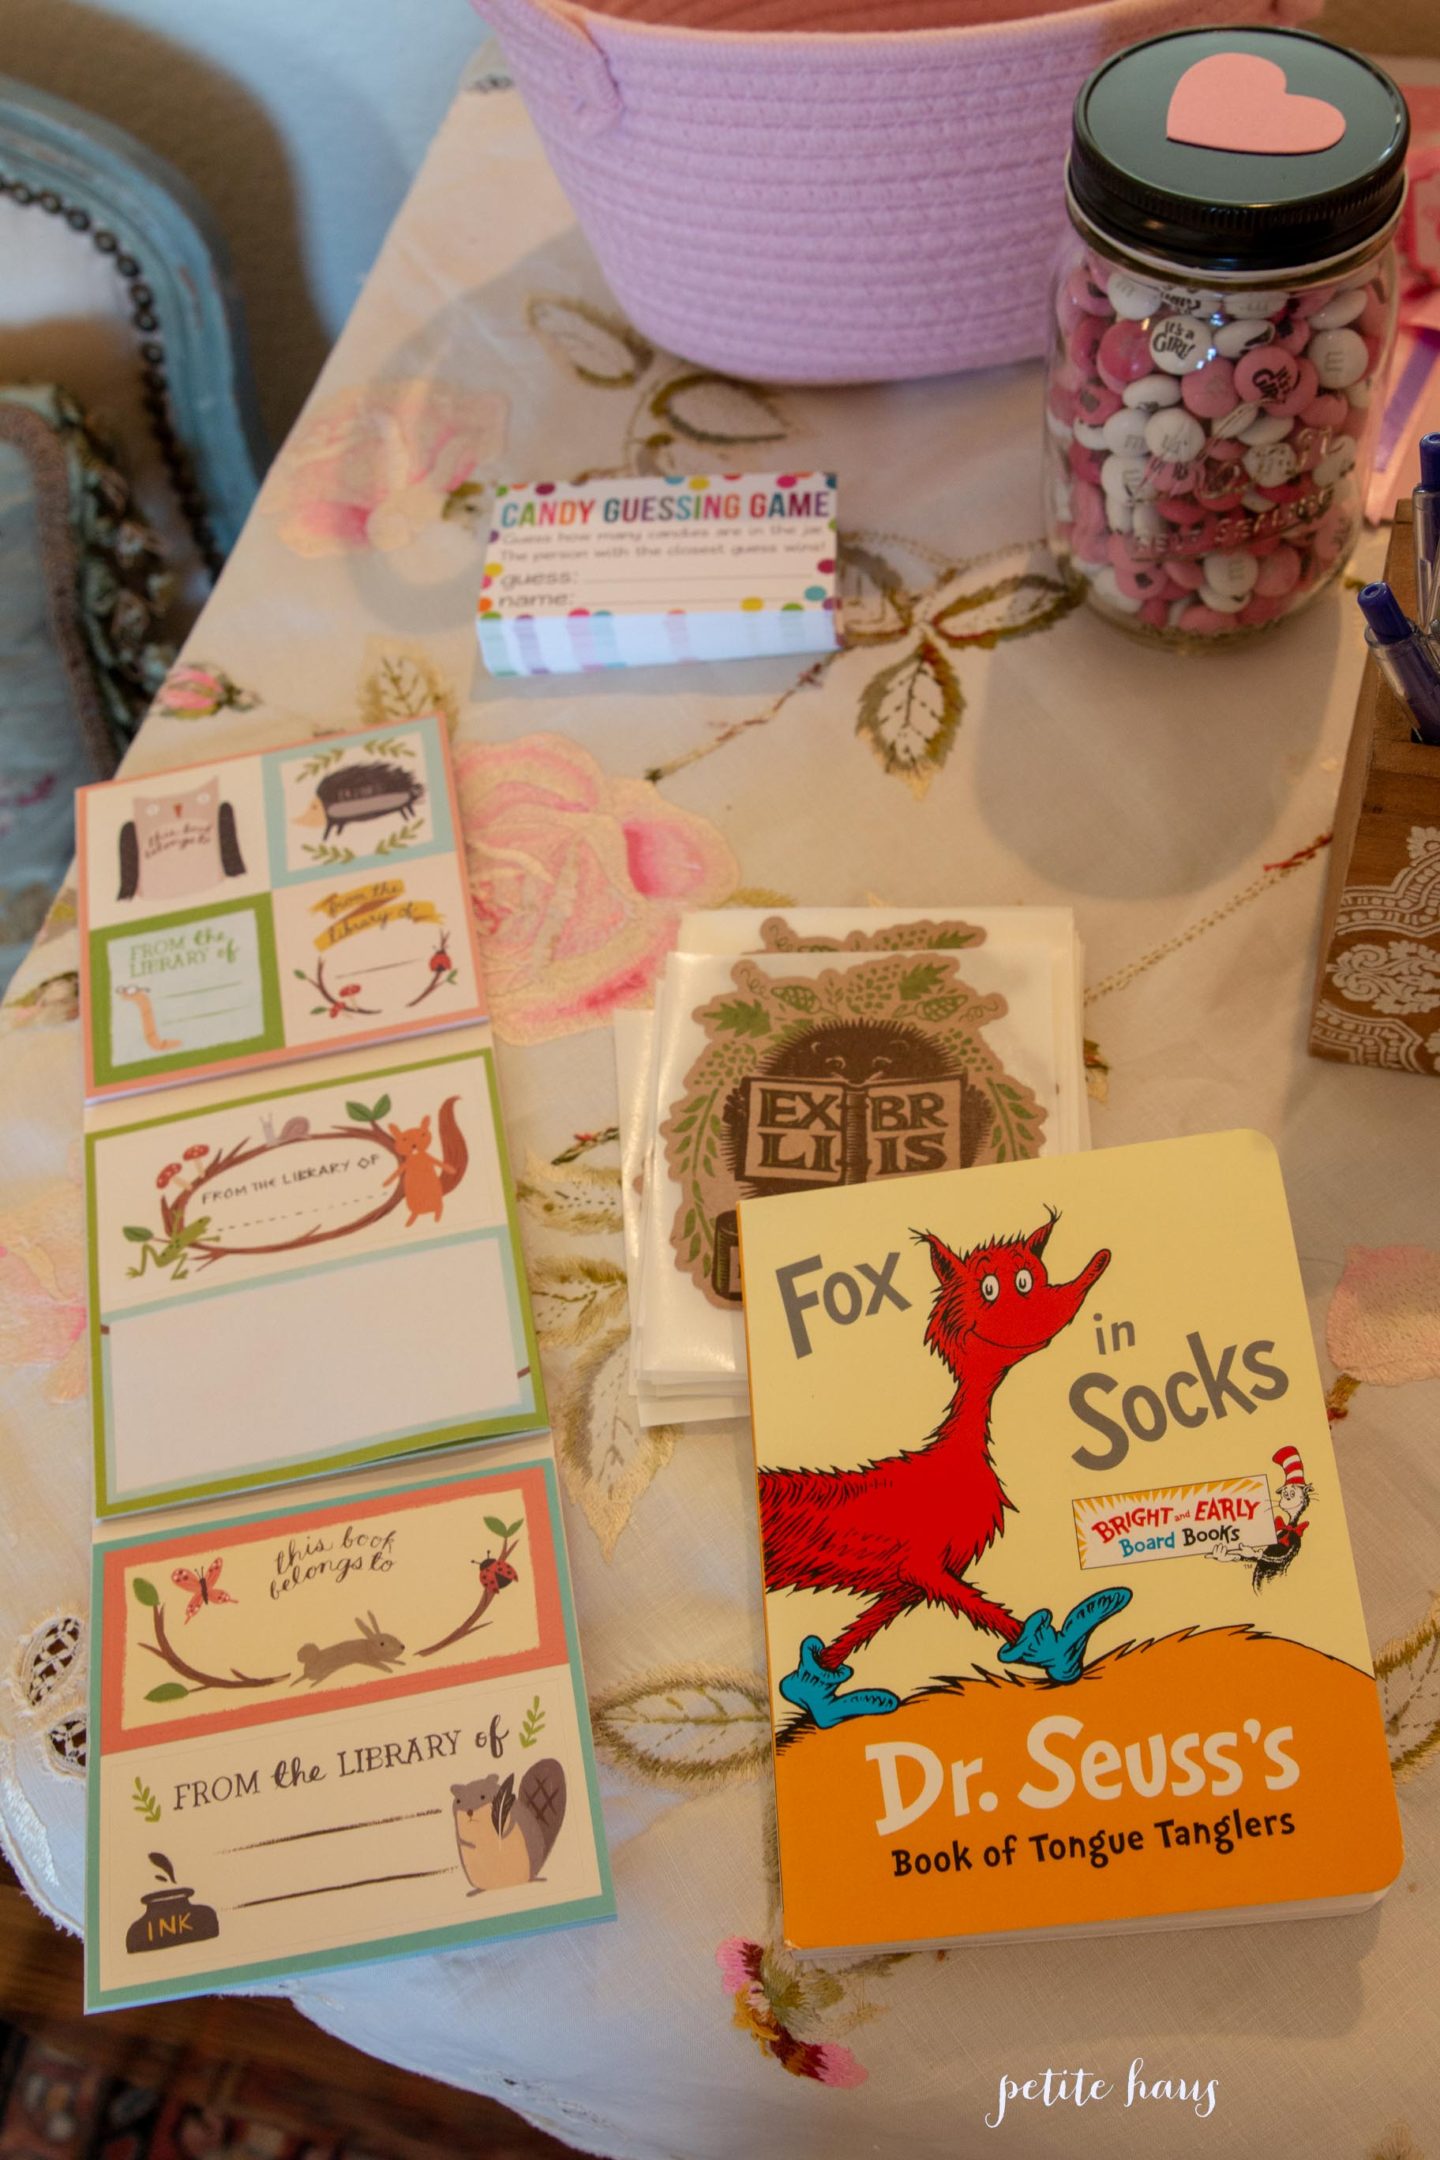
A party idea which I thought was really cute… instead of bringing cards we brought children’s books. Then we signed a bookplate for the baby so she will have a library of books!
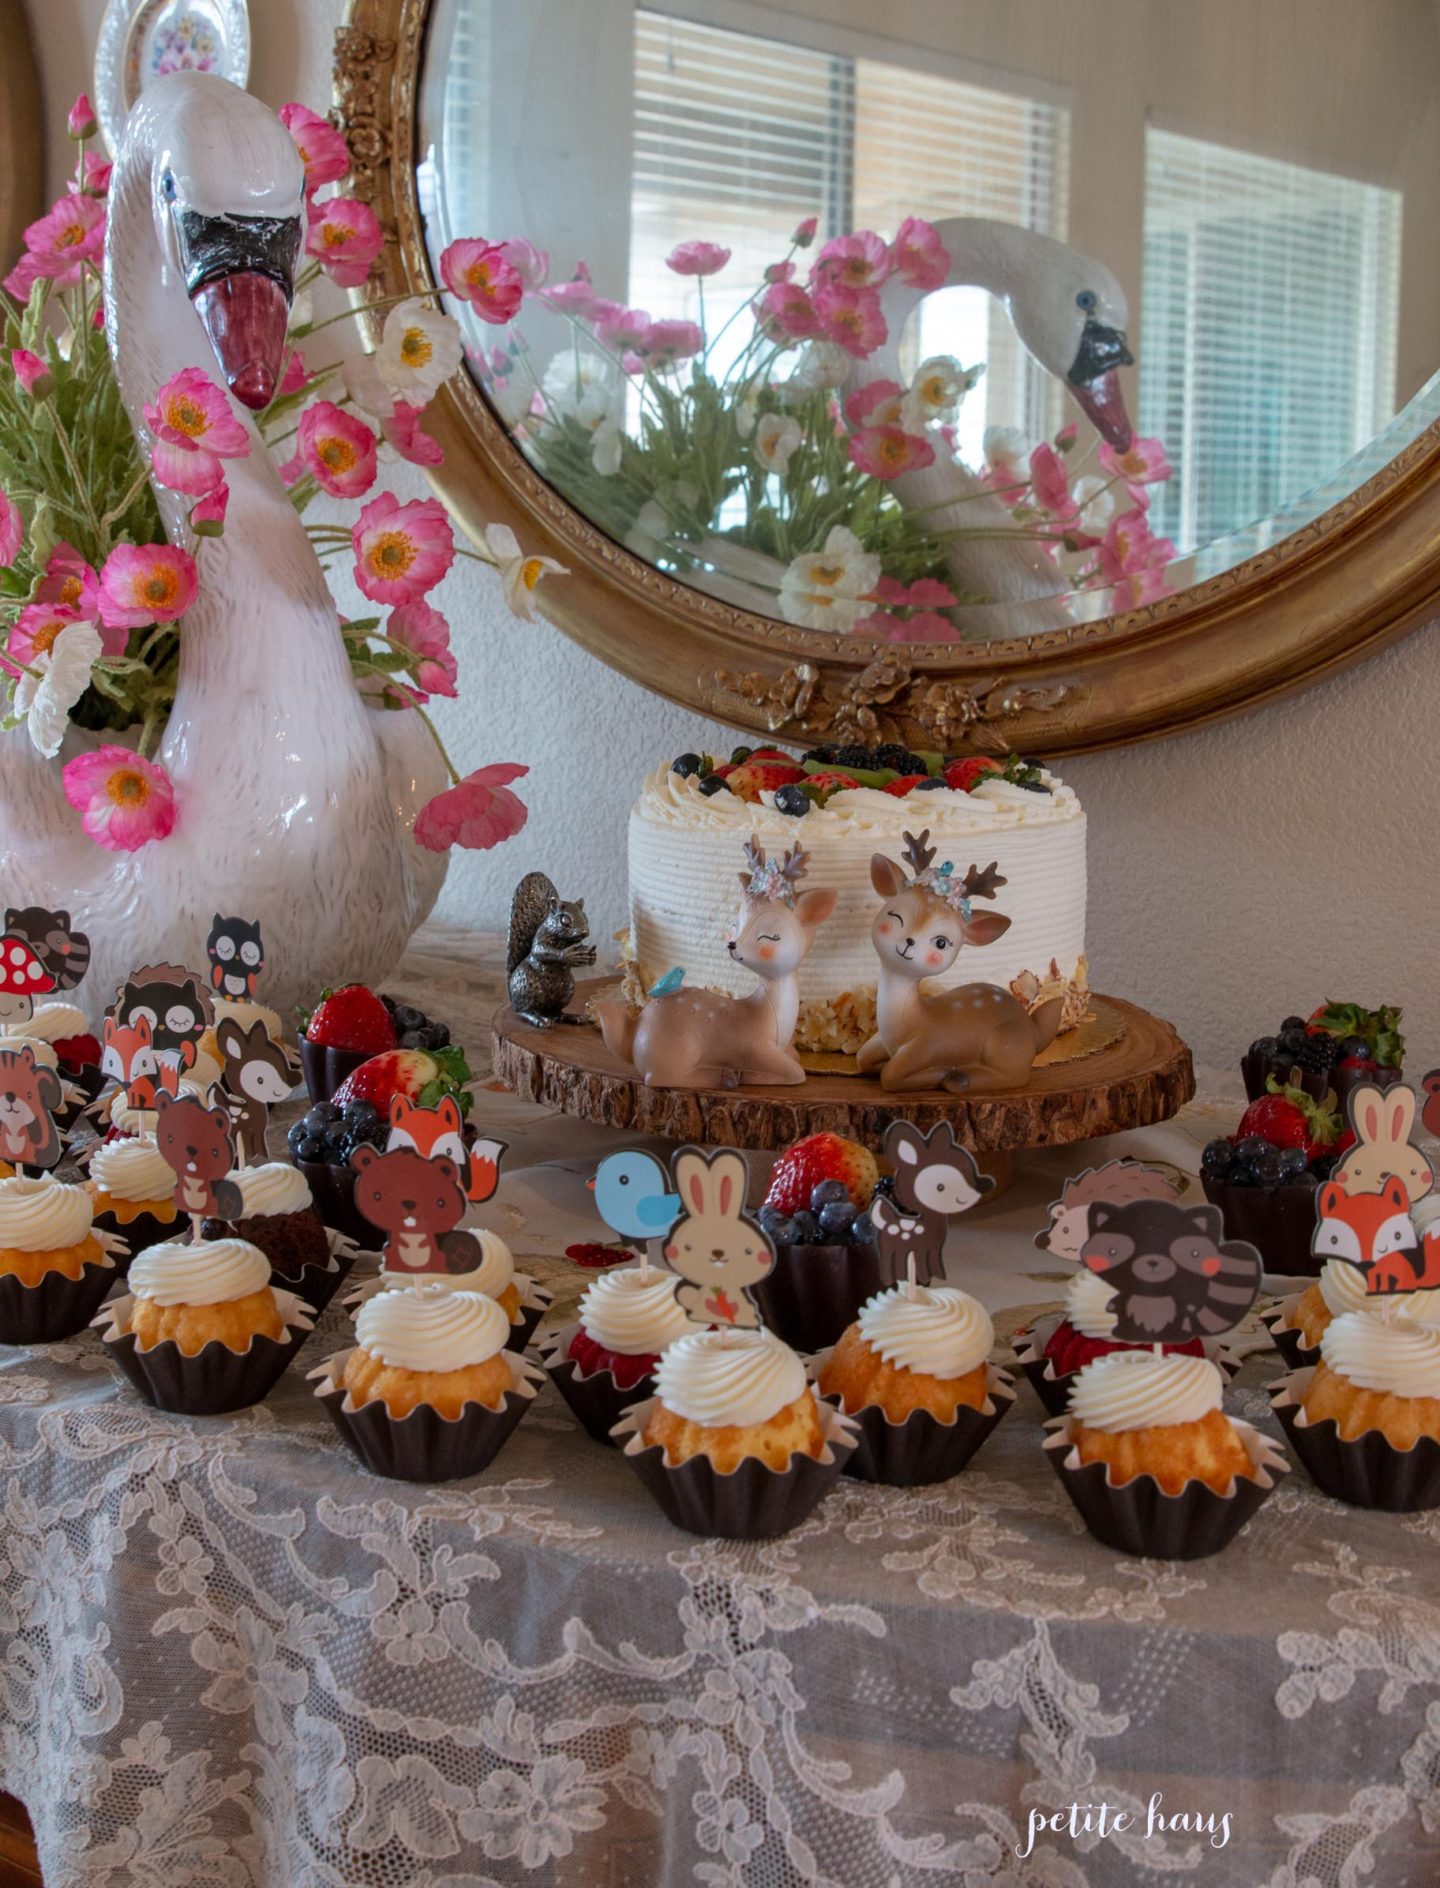
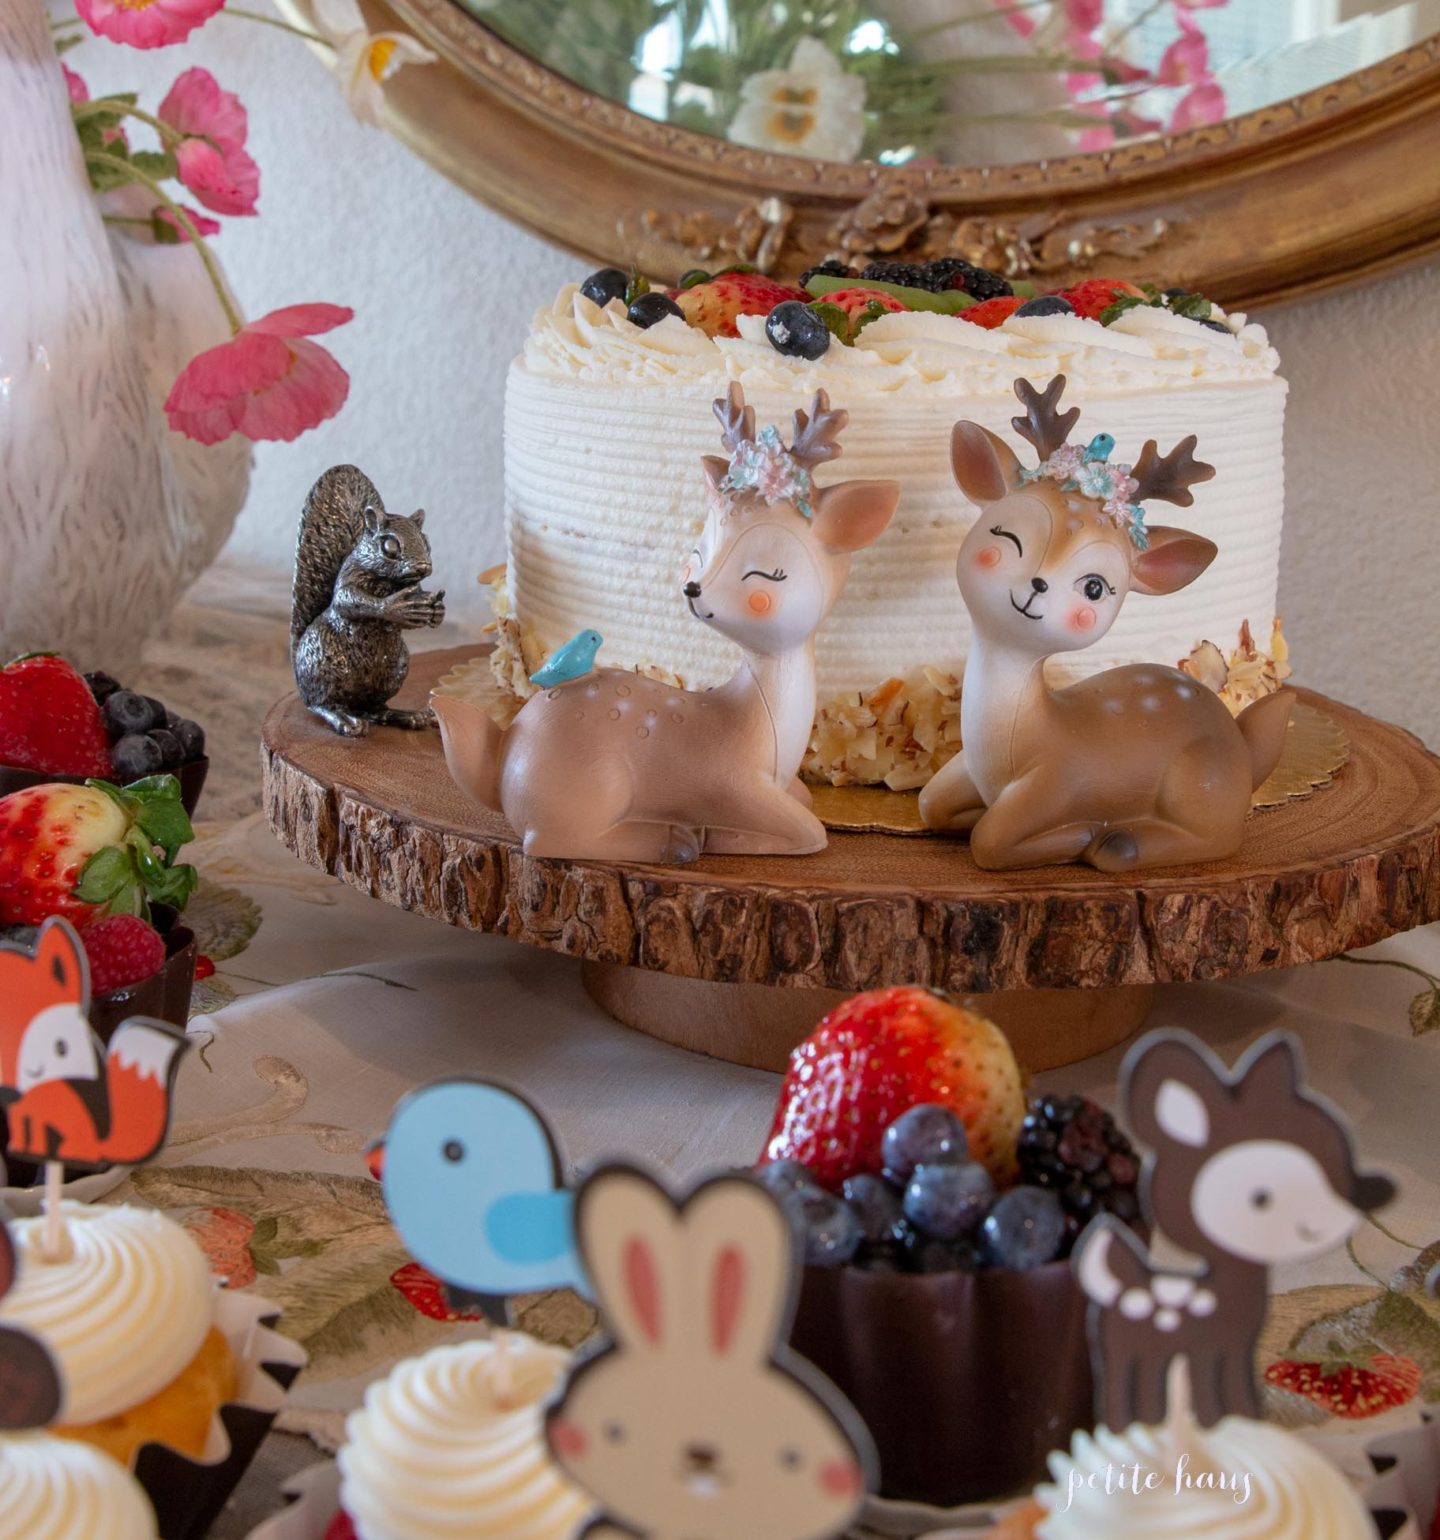
For parties, you don’t have to go fancy with the cake. This cake came from the grocery store (a fruit basket cake, yummm, delicious!!!) Then there are also mini bundt cake bites from Nothing Bundt Cakes.
The cake was displayed on my woodland cheese platter with cute vintage deer used for this adorable theme.
I hope you enjoyed the pictures from the party and took away some ideas for a woodland themed party!
I may earn a small commission if you purchase with these links
no products
Please note that I use ShopSense, LIKETOKNOW.it, Shareasale and Amazon affiliate links on this site. This means using them for purchases won’t cost you extra but may earn me a small commission. Our full disclosure is available for viewing under About in the disclosure policy.
All rights reserved. Our graphics, images and text are all subject to copyright protection.
 We use affiliate links in our posts and our site. This means if you make a purchase using these links, we may earn a small commission. You don’t pay a cent more than you would otherwise! Our full disclosure is available under About.

 We use affiliate links in our posts and our site. This means if you make a purchase using these links, we may earn a small commission. You don’t pay a cent more than you would otherwise! Our full disclosure is available under About.
 We use affiliate links in our posts and our site. This means if you make a purchase using these links, we may earn a small commission. You don’t pay a cent more than you would otherwise! Our full disclosure is available under About.







 We use affiliate links in our posts and our site. This means if you make a purchase using these links, we may earn a small commission. You don’t pay a cent more than you would otherwise! Our full disclosure is available under About.

 We use affiliate links in our posts and our site. This means if you make a purchase using these links, we may earn a small commission. You don’t pay a cent more than you would otherwise! Our full disclosure is available under About.







 Woodland critters sit on top of a moss runner.
 We took the woodland deer from Christmas and put faux flowers around their Christmas collars to dress them up for the party!