google.com, pub-5426958118371358, DIRECT, f08c47fec0942fa0

Caramelized Onion, Apple and Gruyere Appetizer Bites

We use affiliate links in our posts and our site. This means if you make a purchase using these links, we may earn a small commission. You don’t pay a cent more than you would otherwise! Our full disclosure is available under About.

This recipe that I’m sharing today is our #1 appetizer for Thanksgiving. When we pull it out of the oven… it gets gobbled up immediately!
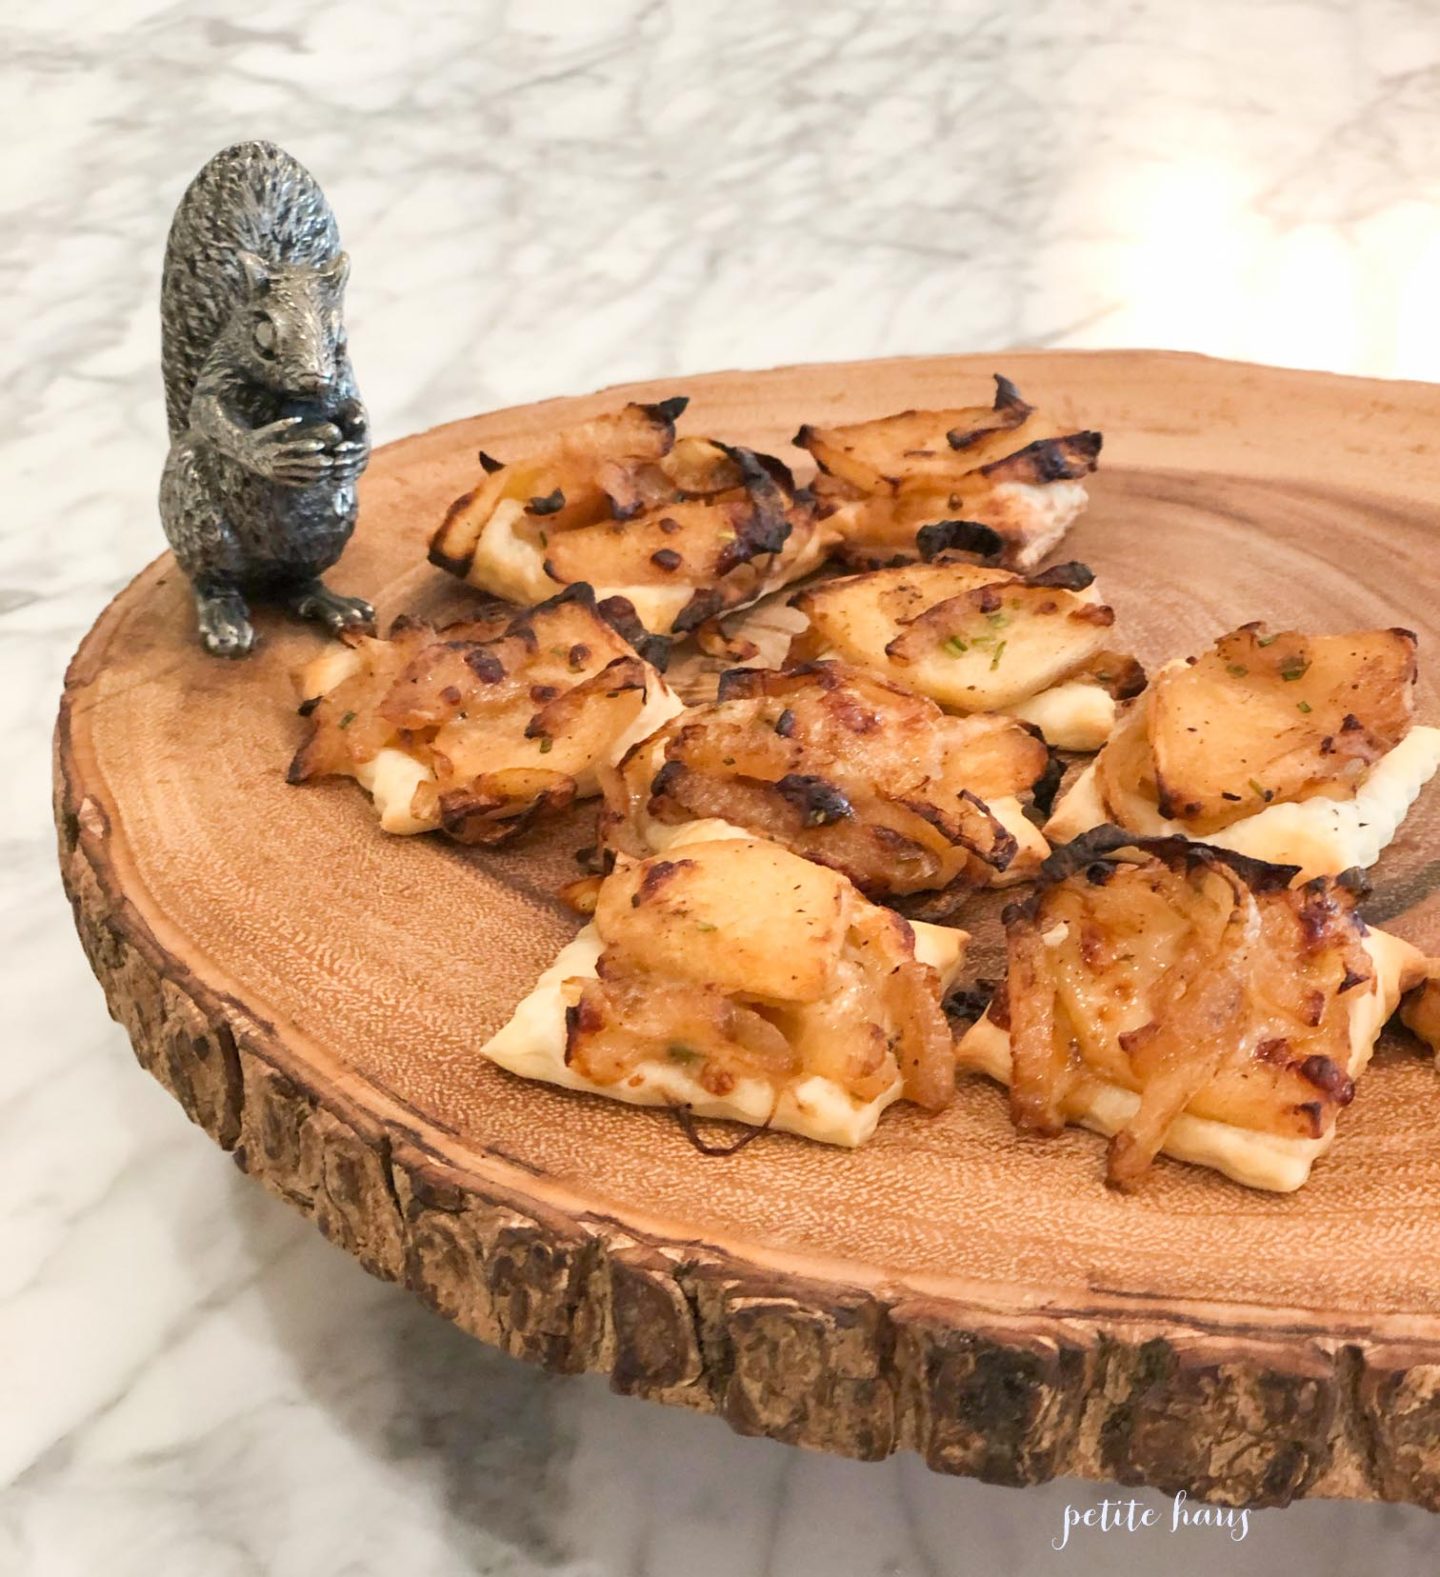
People who arrive late to our Thanksgiving feast often don’t get to try this wonderful appetizer as it is already gone!
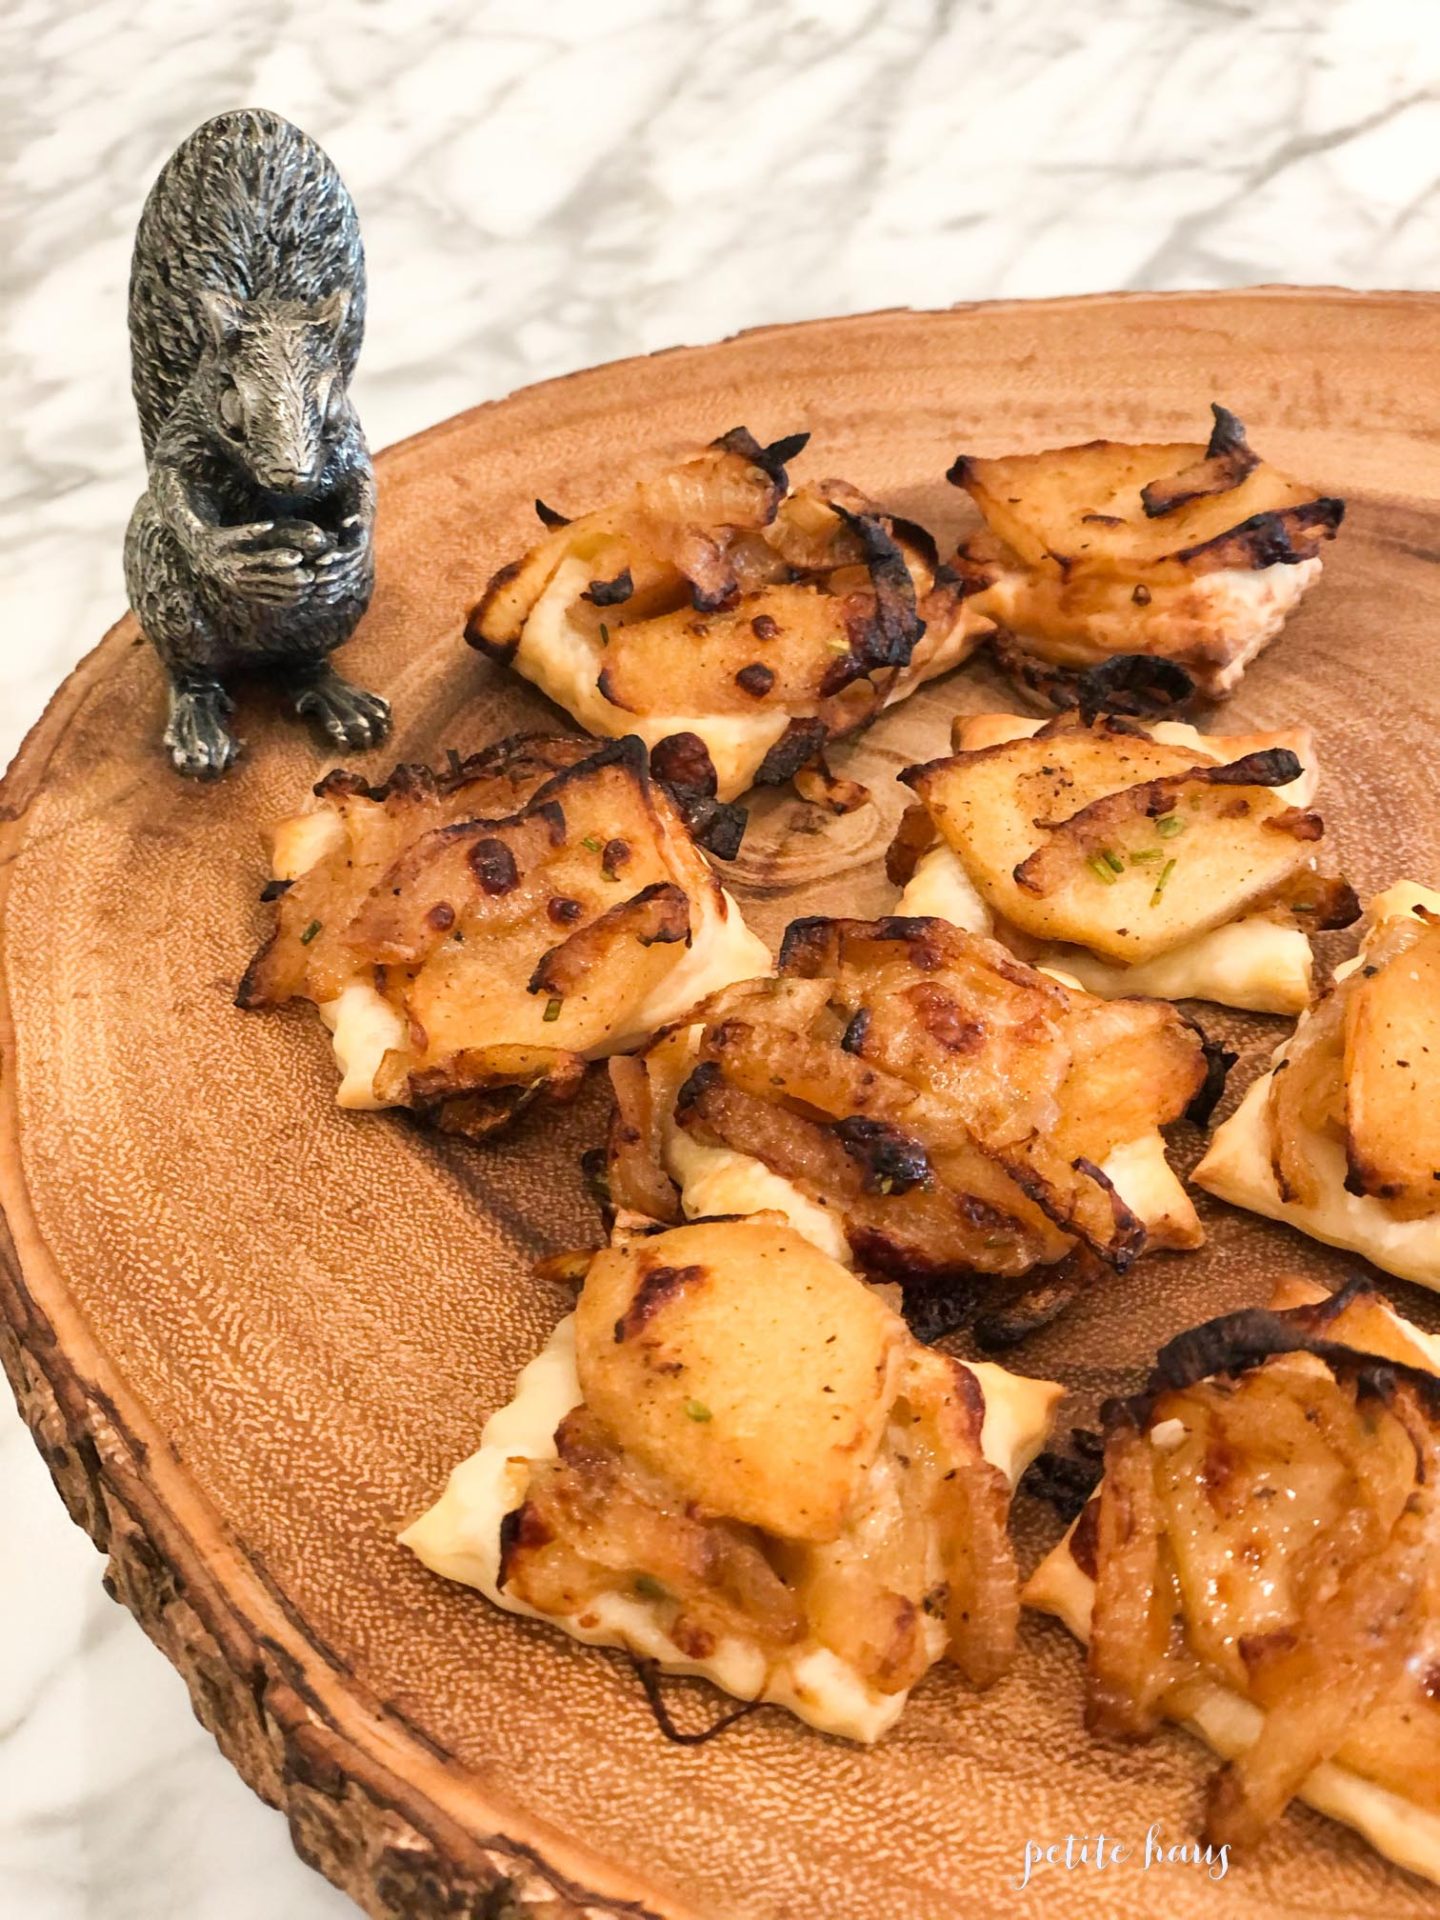
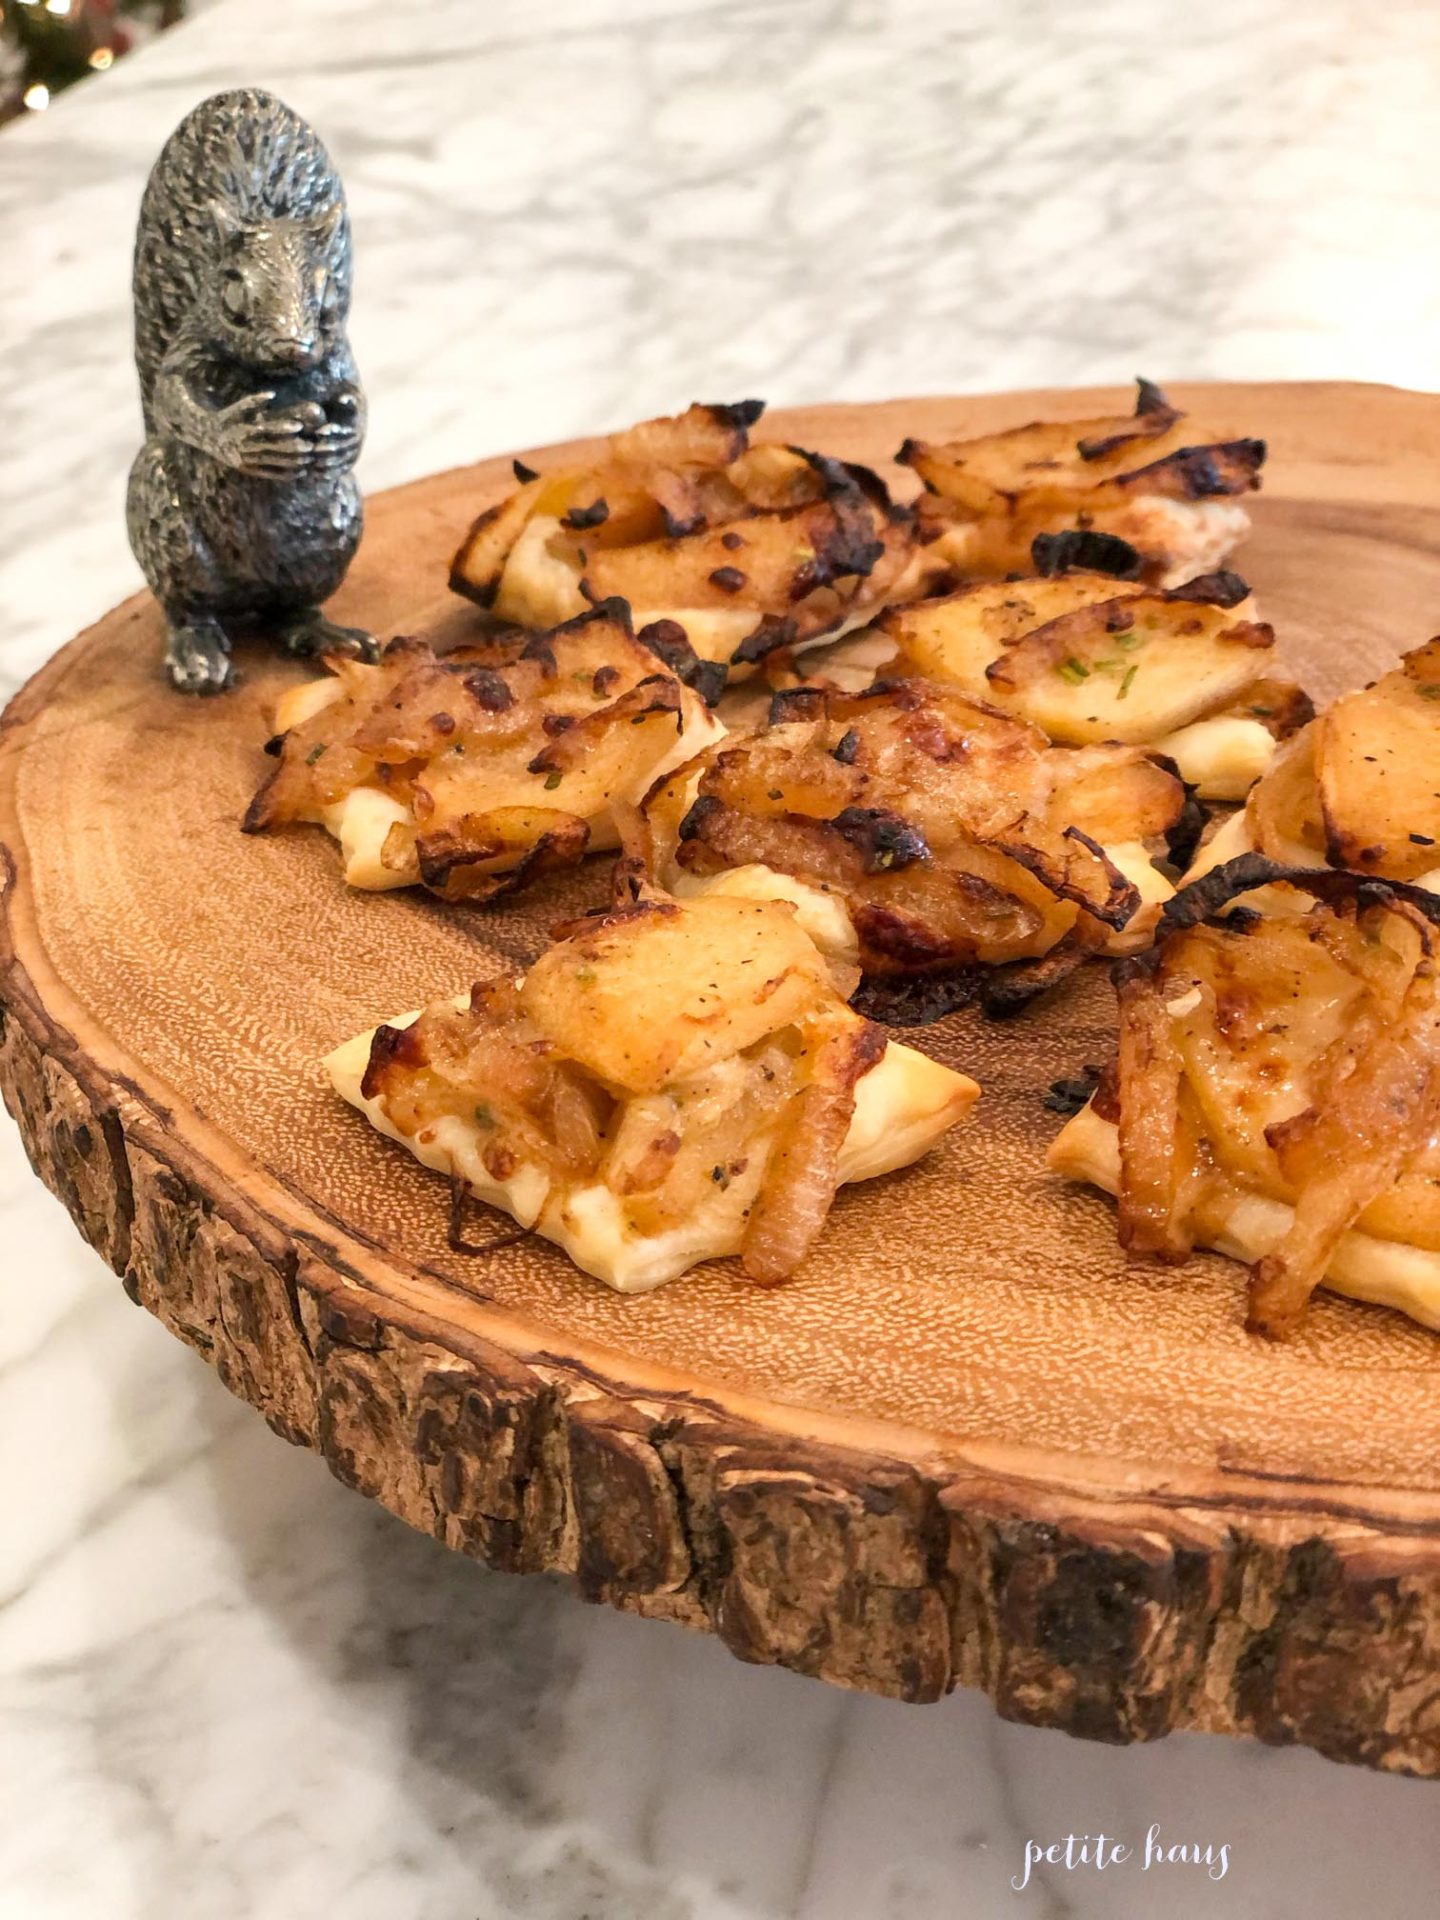
Yes, the onions here look a little burned, but I assure you they do not taste overdone! They are PERFECT! I’m drooling wishing I were eating these right now!
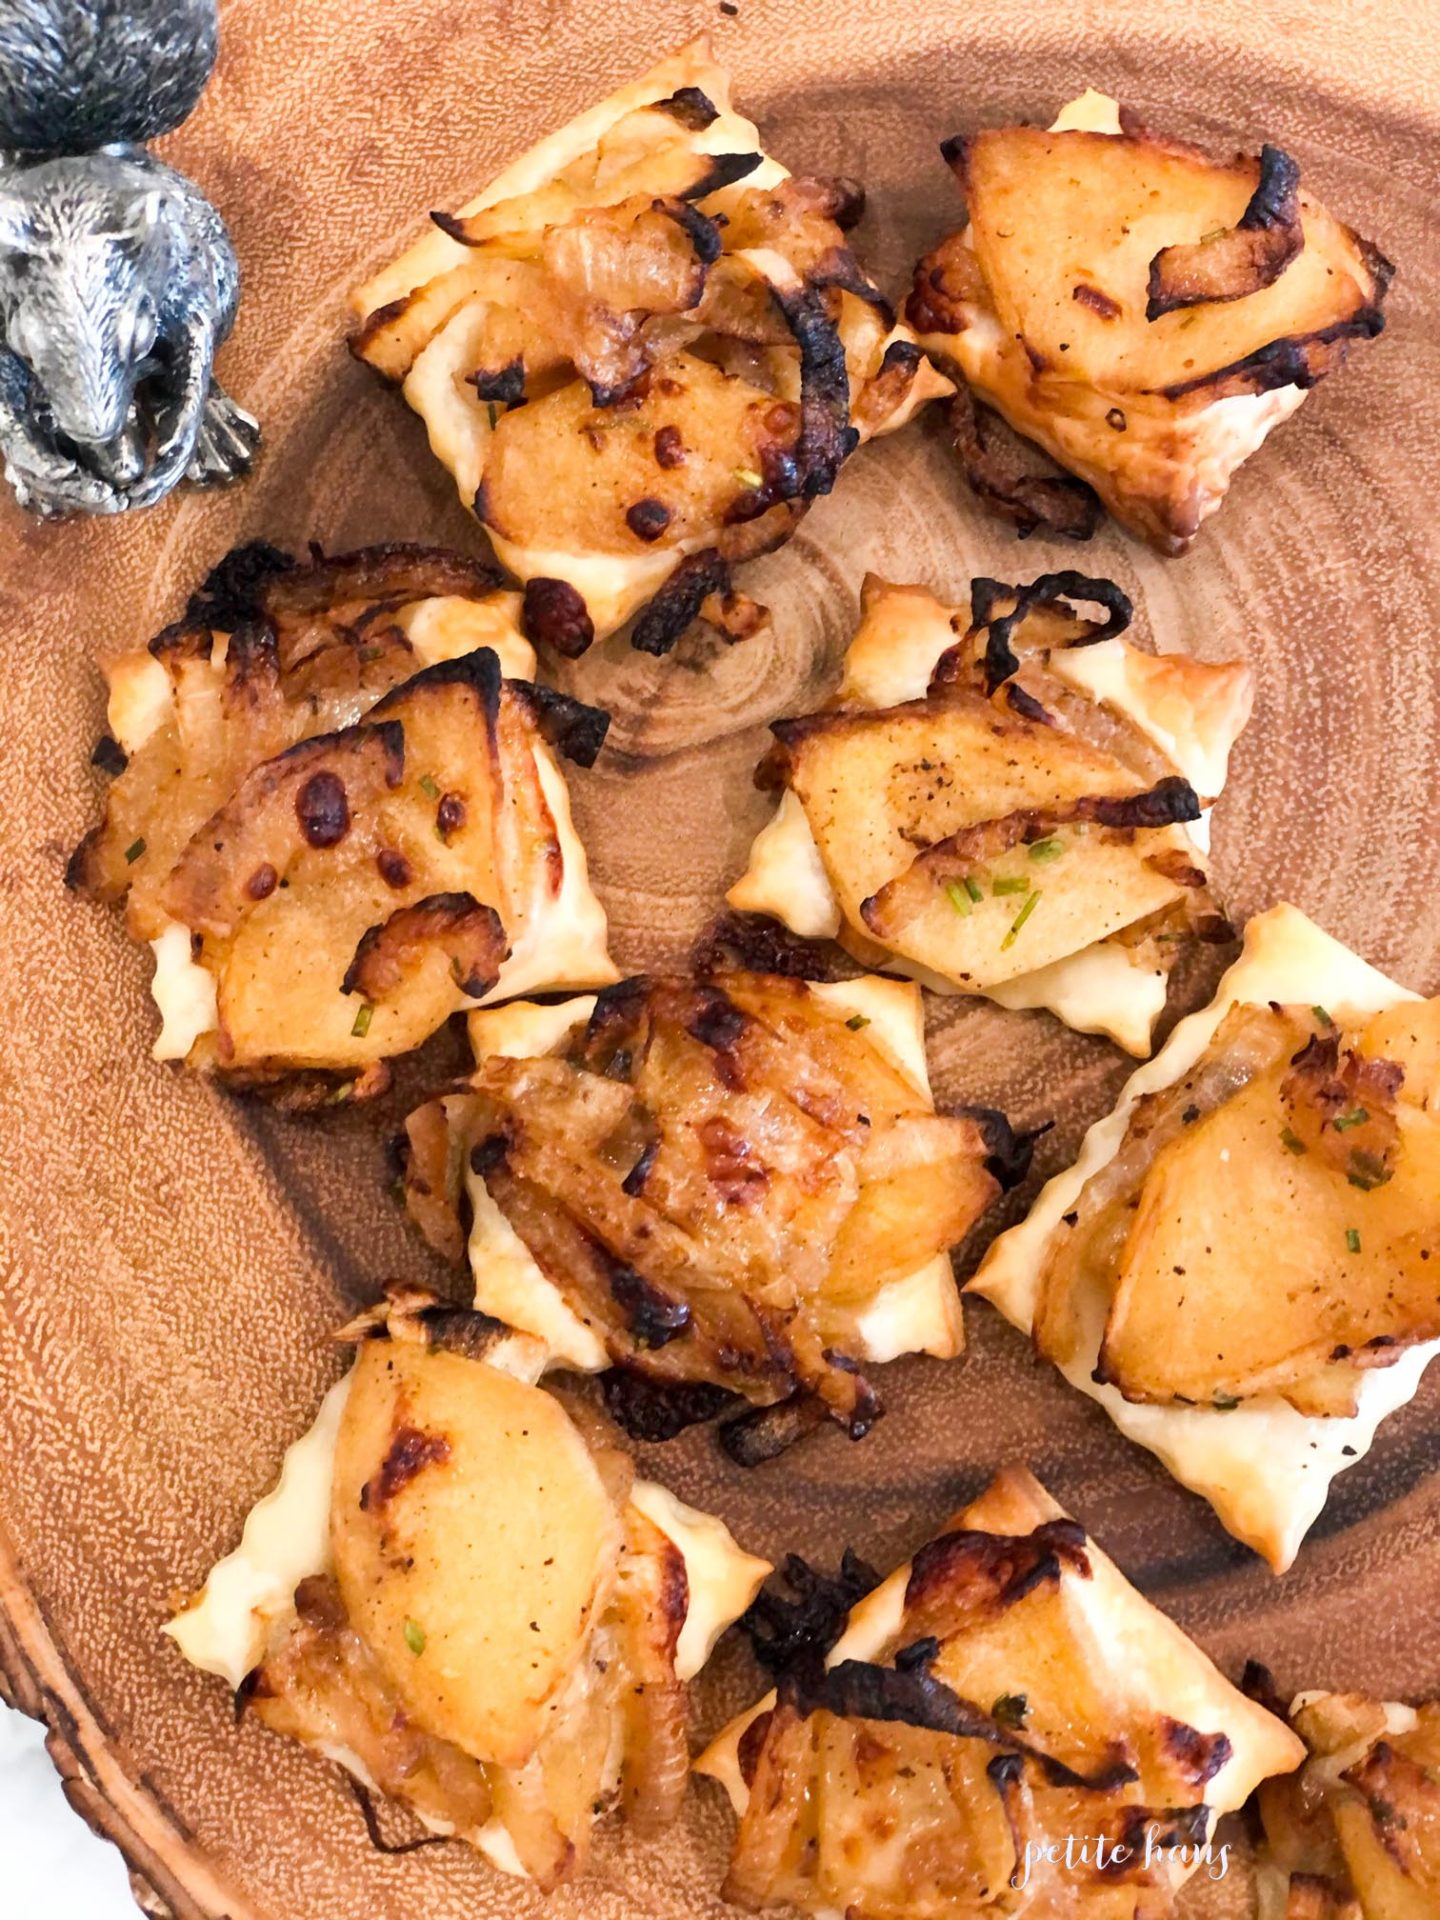
Recipe for caramelized onion, apple, and gruyere tarts – printable recipe here

Ingredients:

  • 2 Tbs. vegetable oil
  • 1 1/2 lb. yellow onions, thinly sliced
  • 1 tsp. kosher salt
  • 2 Tbs. unsalted butter
  • 1 lb. tart apples, peeled and sliced 1/8 inch thick (I usually use Granny Smith, but I have made it with Honeycrisp which was really nice too!)
  • 1 tsp. sugar
  • 1 1/2 oz. Gruyère cheese, coarsely grated
  • 2 Tbs. minced fresh chives
  • 1 tsp. chopped fresh thyme
  • 1/8 tsp. freshly ground pepper
  • 1 package frozen puff pastry dough, thawed
  • 1 egg, beaten with 2 Tbs. water

Directions:

In a large fry pan over medium heat, warm the oil. Add the onions and the salt and cook, stirring occasionally, until the onions are golden brown, about 30 minutes. Transfer to a large bowl and let the filling cool to room temperature.

Position 1 rack in the upper third and 1 rack in the lower third of an oven and preheat to 400°F. Line 2 baking sheets with parchment paper.

In the same pan over medium heat, melt the butter. Add the apples and sugar and stir to coat the apples. Cook, stirring, until the apples are just starting to caramelize and have softened, about 10 minutes. Transfer to the bowl with the onions and stir in the cheese, chives, thyme and the pepper.

Cut the puff pastry into 2-inch squares and place on the prepared baking sheets, spacing the squares about 1 inch apart. Brush the pastry squares with the egg mixture and place a heaping tablespoon of filling into the center of each square. Season lightly with additional salt and pepper.

Bake at 400F, rotating the baking sheets from top to bottom and front to back halfway through baking, until the pastry is crisp underneath and golden brown on top, about 25 minutes. Transfer the baking sheets to wire racks and let the tarts cool to room temperature. Serve at room temperature or warm. Makes 32 tarts.
A helpful HINT:

If you can, use Trader Joe’s Frozen Puff Pastry! It is made with REAL BUTTER. Pepperidge Farm’s puff pastry is made with oil and it just doesn’t quite have the same taste as puff pastry made with real butter. Trust me.
Follow:

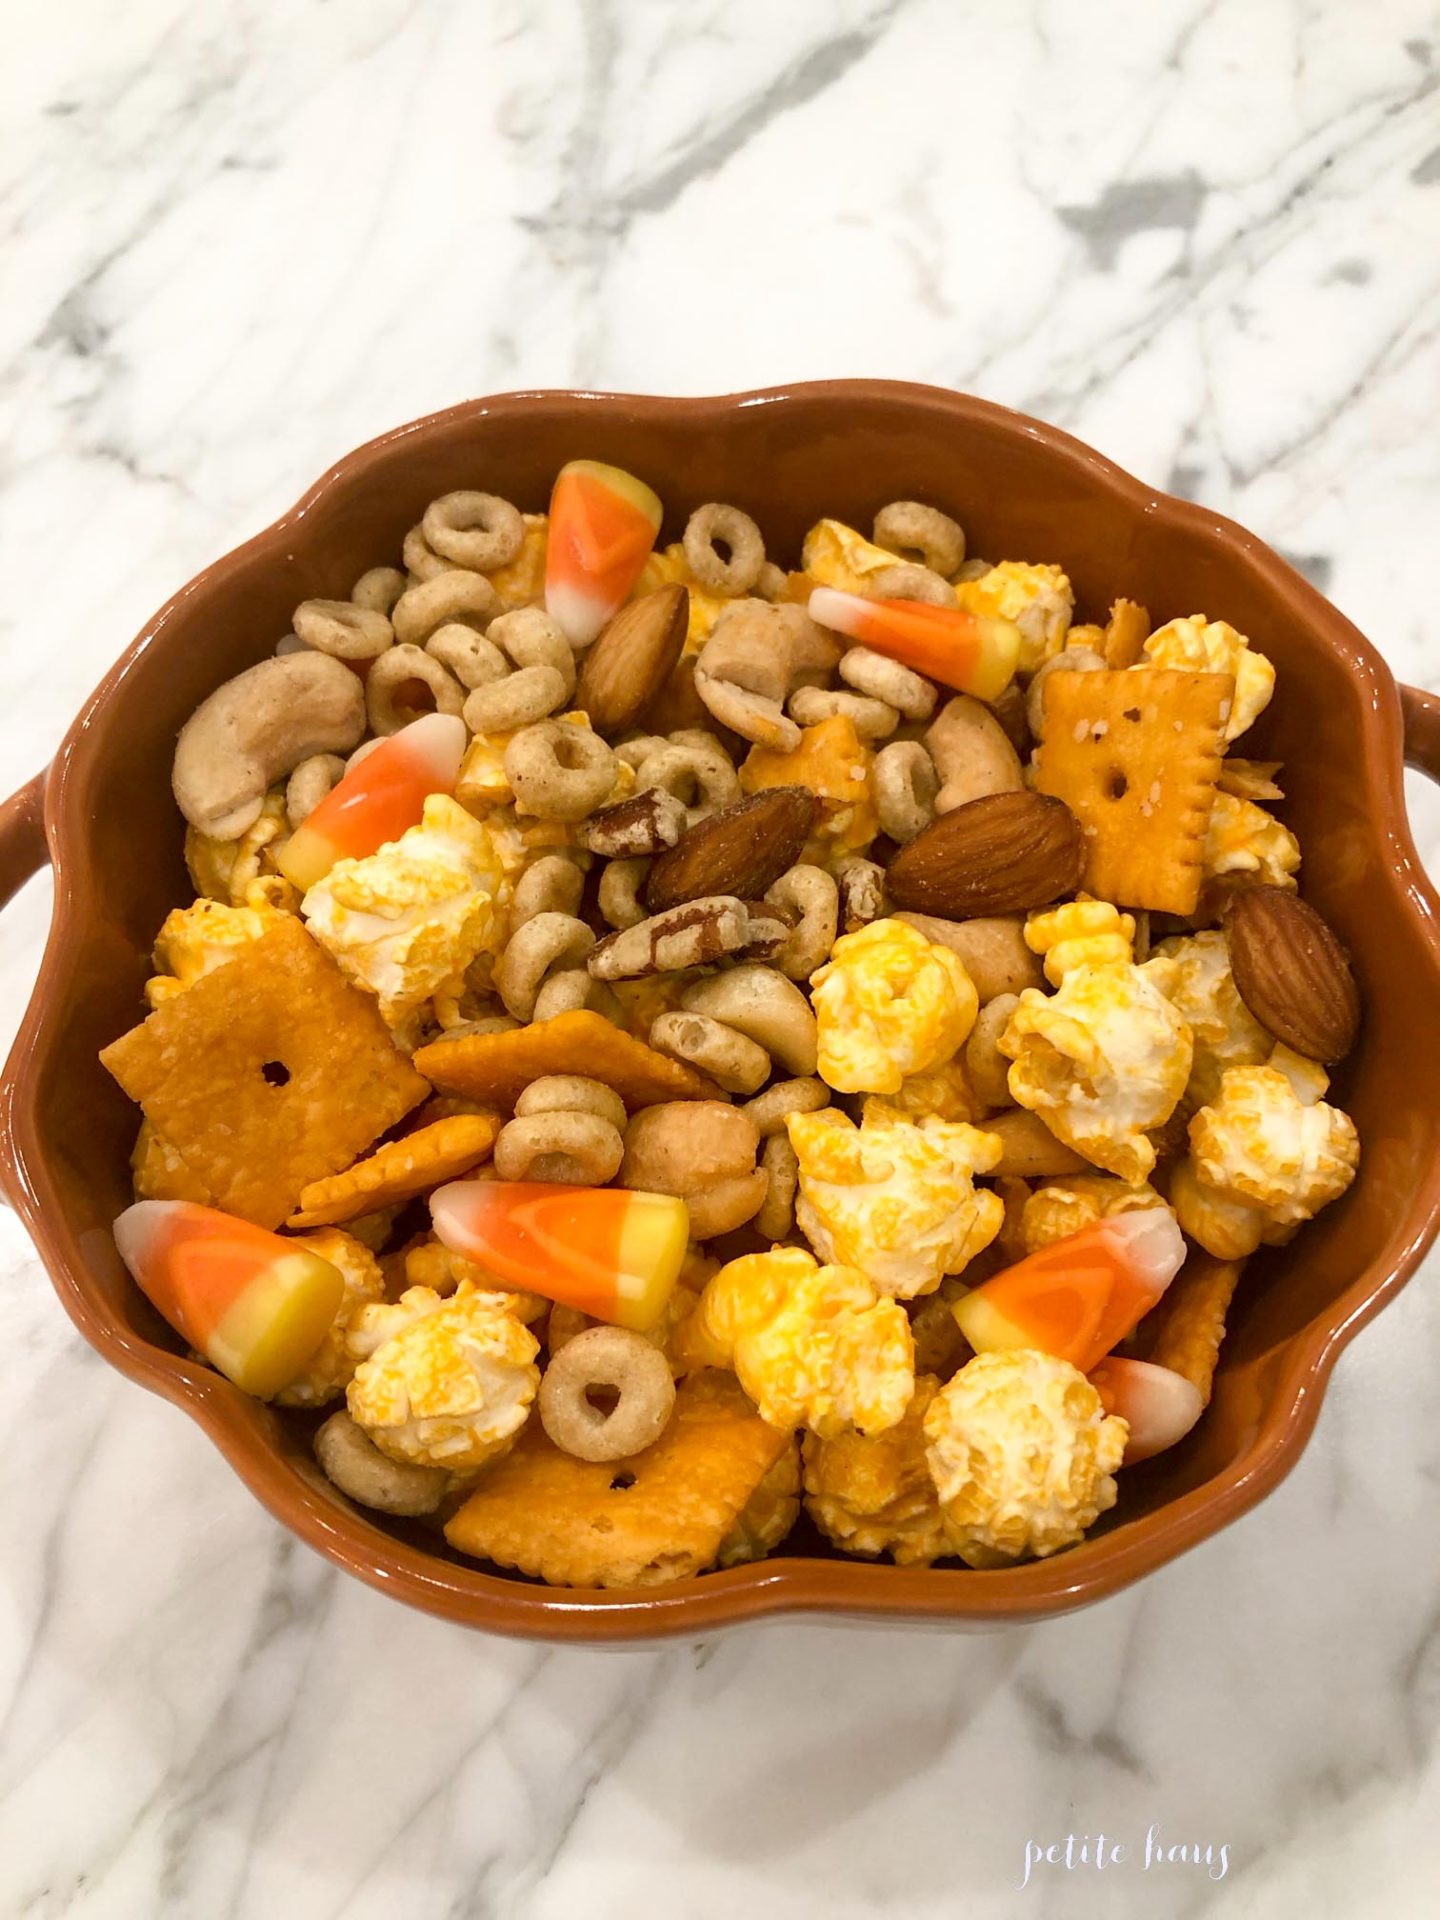
Fall & Halloween Snack Mix

We use affiliate links in our posts and our site. This means if you make a purchase using these links, we may earn a small commission. You don’t pay a cent more than you would otherwise! Our full disclosure is available under About.

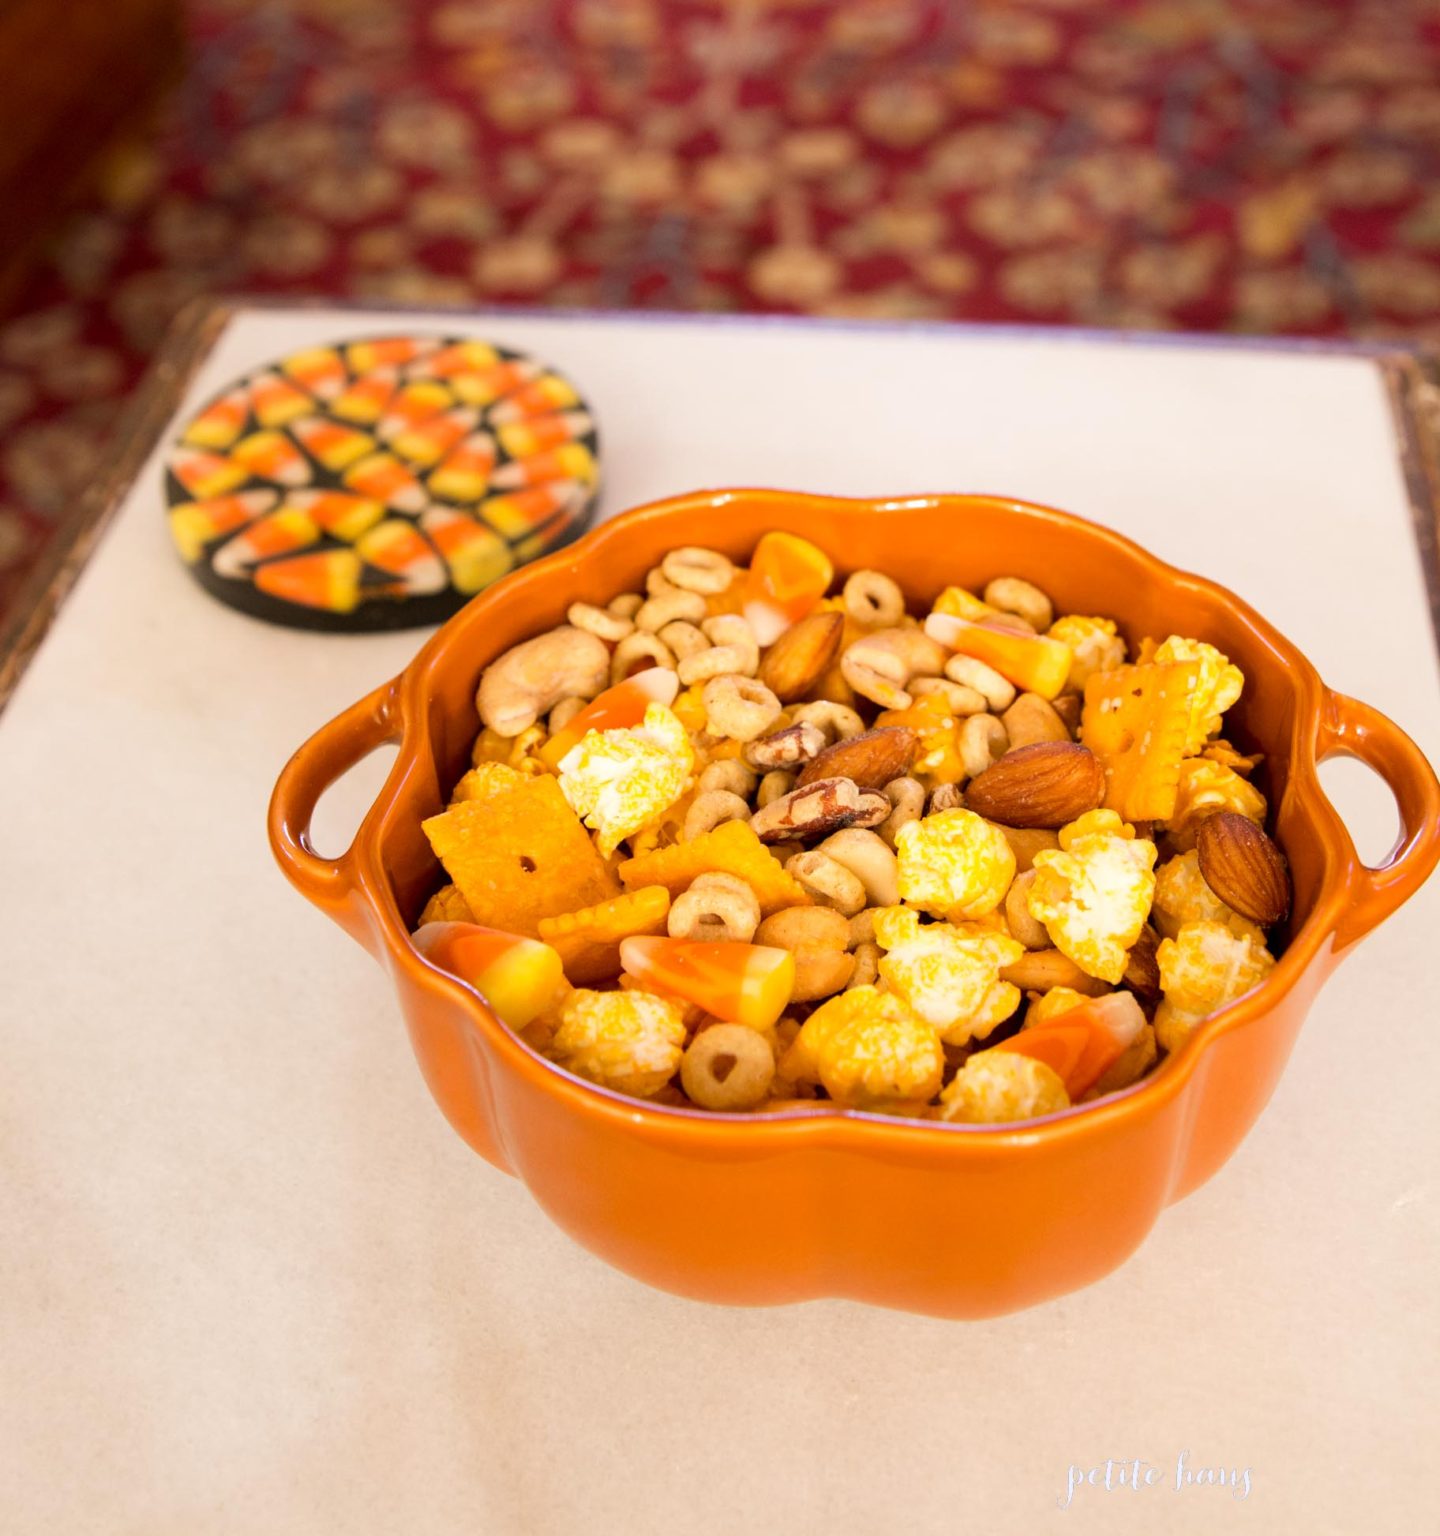
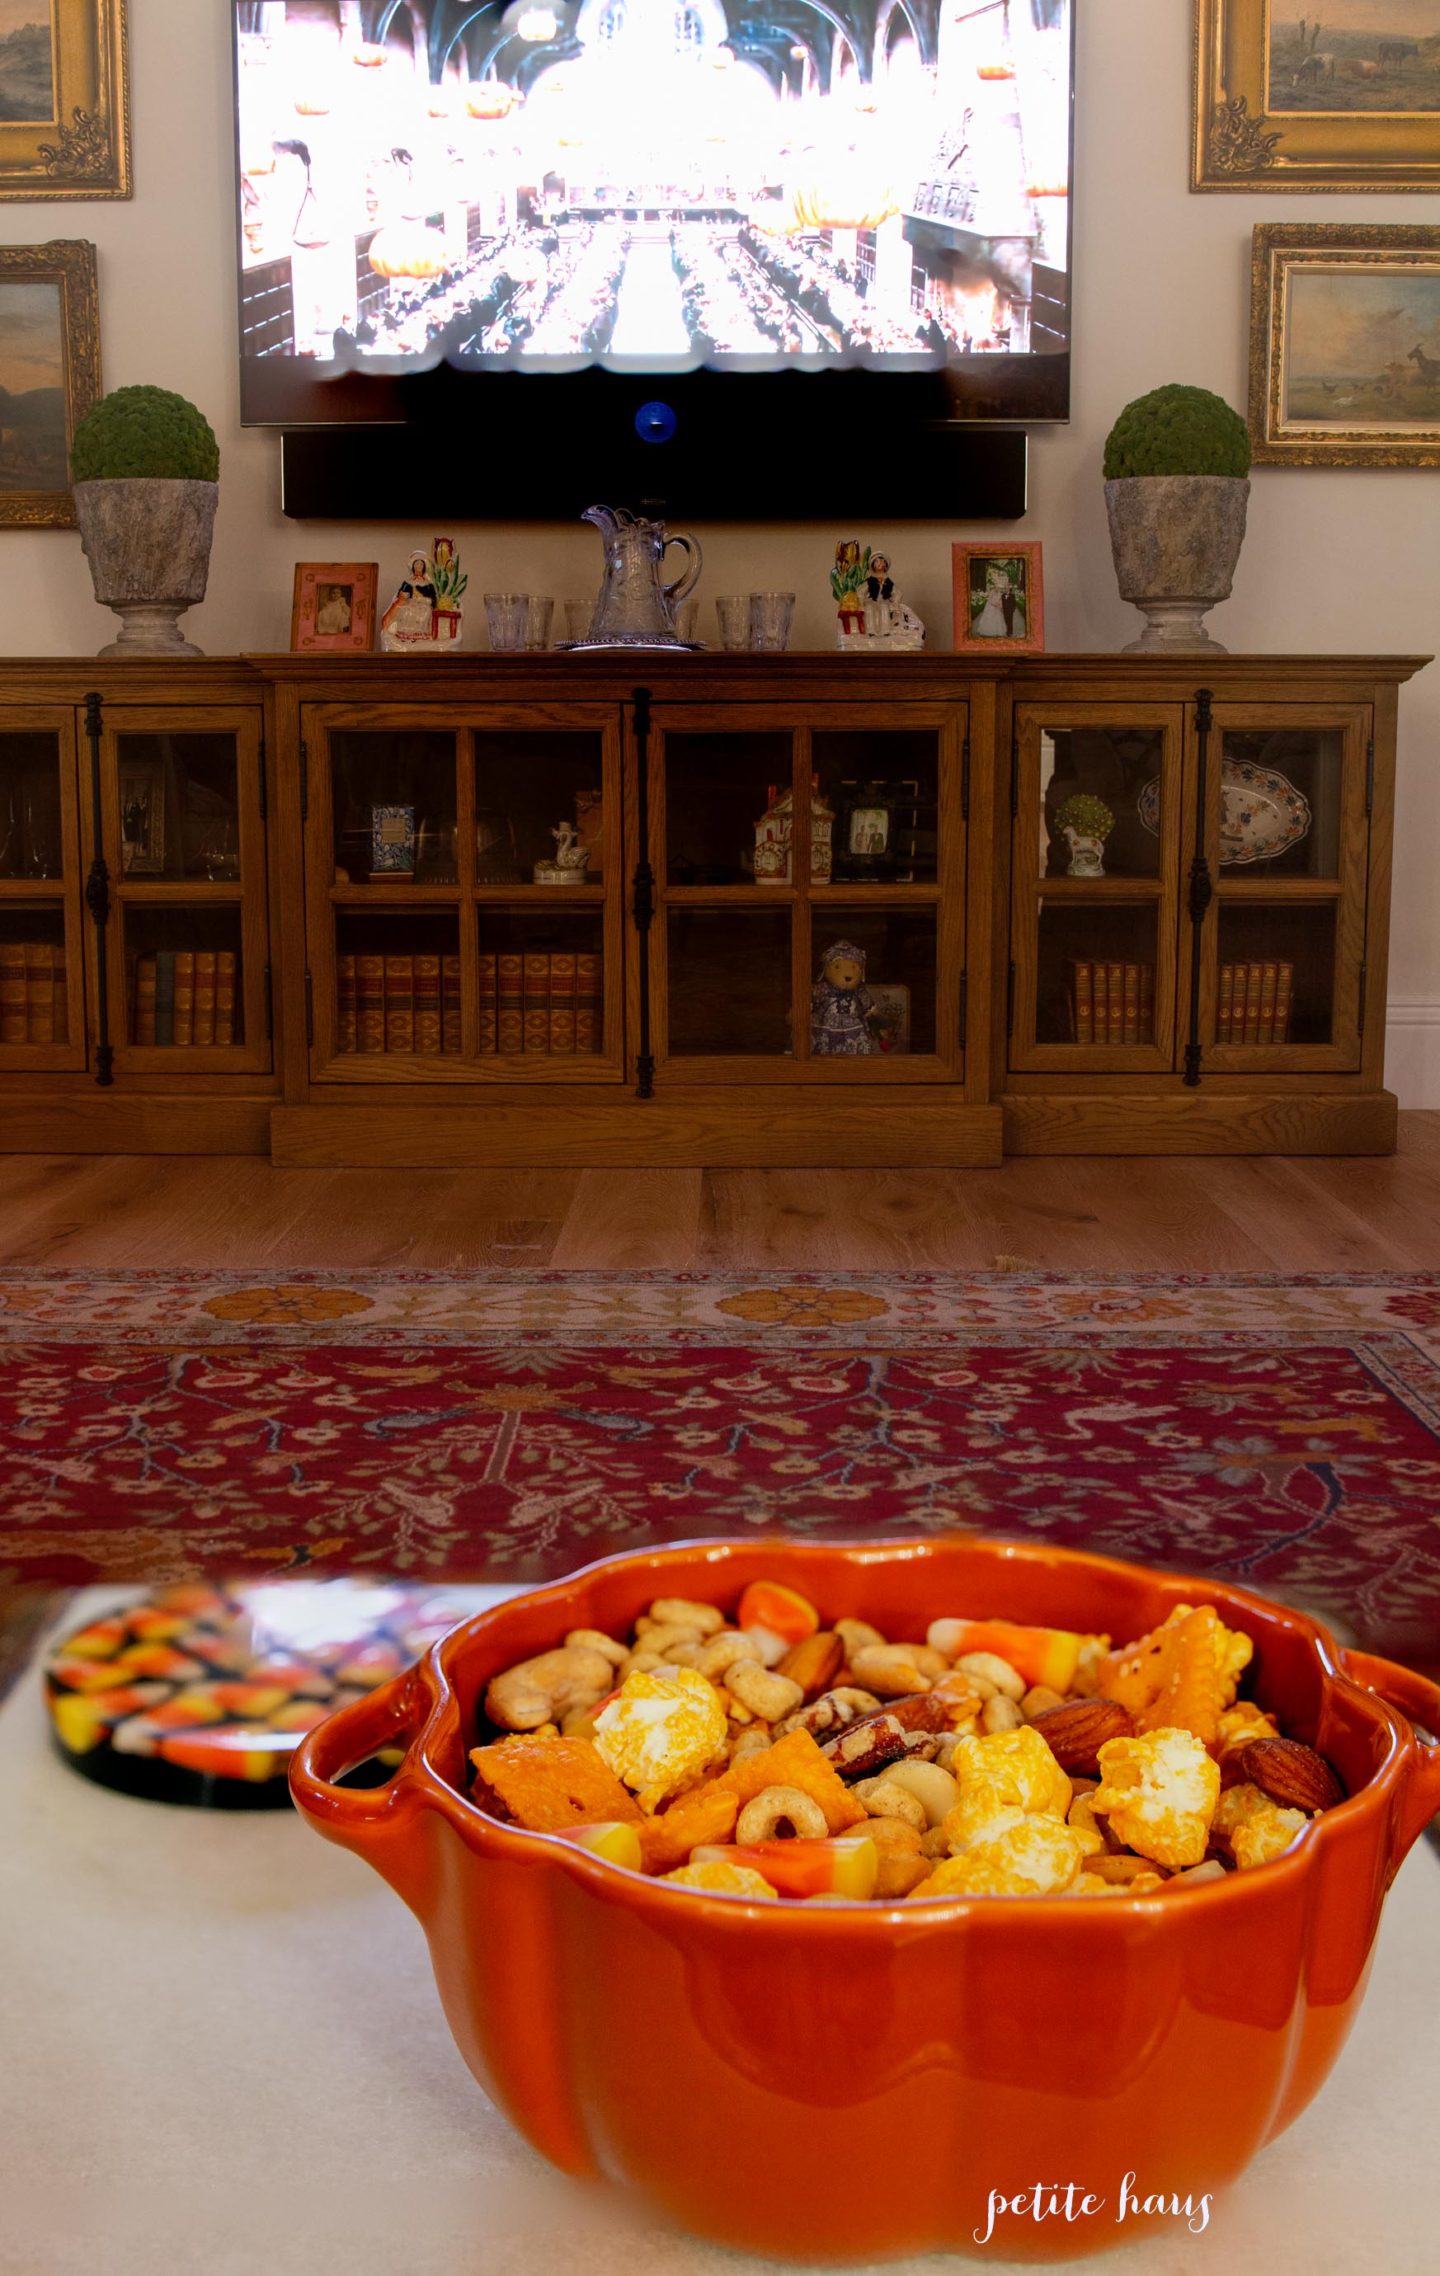
A quick and easy Fall / Halloween snack mix recipe for you today!

It has a mixture of sweet and salty. You can mix in literally whatever you want!

For this specific mix I used:

  • Cheez-Its
  • Mixed salted nuts
  • Cheerios (specifically maple cheerios)
  • cheese popcorn
  • candy corn

You can mix in whatever various snacks you want though! Just choose a blend of sweet and salty – that’s what makes it good!

Follow:

Caramelized Onion, Apple, and Gruyere Tart Recipe

We use affiliate links in our posts and our site. This means if you make a purchase using these links, we may earn a small commission. You don’t pay a cent more than you would otherwise! Our full disclosure is available under About.

Want to know our #1 Thanksgiving appetizer??  This caramelized onion, apple, and gruyere tart!  The second it comes out of the oven our family gobbles it on up… we have to make double batches so people that arrive a few minutes late can have a bite!  I’m now sharing the recipe with you all because it is SO GOOD.  The secret is out!

Recipe for caramelized onion, apple, and gruyere tartsprintable recipe here

Ingredients:

  • 2 Tbs. vegetable oil
  • 1 1/2 lb. yellow onions, thinly sliced
  • 1 tsp. kosher salt
  • 2 Tbs. unsalted butter
  • 1 lb. tart apples, peeled and sliced 1/8 inch thick
  • 1 tsp. sugar
  • 1 1/2 oz. Gruyère cheese, coarsely grated
  • 2 Tbs. minced fresh chives
  • 1 tsp. chopped fresh thyme
  • 1/8 tsp. freshly ground pepper
  • 1 package frozen puff pastry dough, thawed
  • 1 egg, beaten with 2 Tbs. water

Directions:

In a large fry pan over medium heat, warm the oil. Add the onions and the salt and cook, stirring occasionally, until the onions are golden brown, about 30 minutes. Transfer to a large bowl and let the filling cool to room temperature.

Position 1 rack in the upper third and 1 rack in the lower third of an oven and preheat to 400°F. Line 2 baking sheets with parchment paper.

In the same pan over medium heat, melt the butter. Add the apples and sugar and stir to coat the apples. Cook, stirring, until the apples are just starting to caramelize and have softened, about 10 minutes. Transfer to the bowl with the onions and stir in the cheese, chives, thyme and the pepper.

Cut the puff pastry into 2-inch squares and place on the prepared baking sheets, spacing the squares about 1 inch apart. Brush the pastry squares with the egg mixture and place a heaping tablespoon of filling into the center of each square. Season lightly with additional salt and pepper.

Bake at 400F, rotating the baking sheets from top to bottom and front to back halfway through baking, until the pastry is crisp underneath and golden brown on top, about 25 minutes. Transfer the baking sheets to wire racks and let the tarts cool to room temperature. Serve at room temperature or warm. Makes 32 tarts.

Yes, the onions got a bit burned in the oven in the picture above but guess what – there were still no leftovers!

Follow:

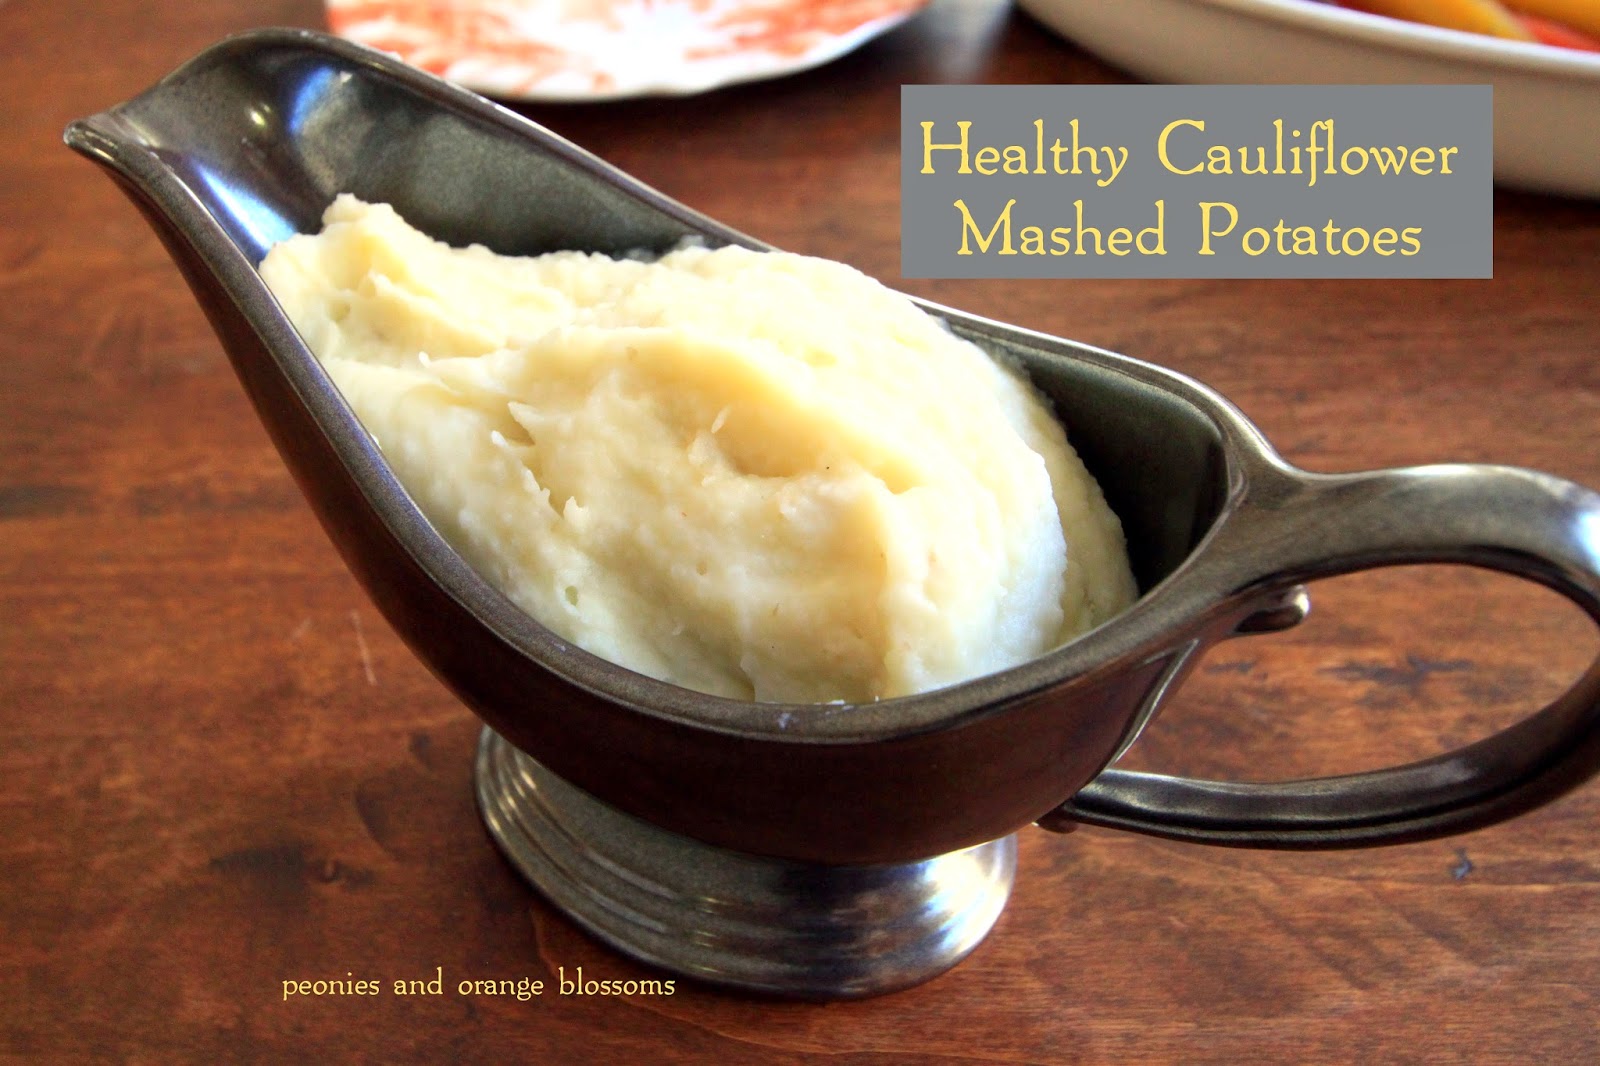
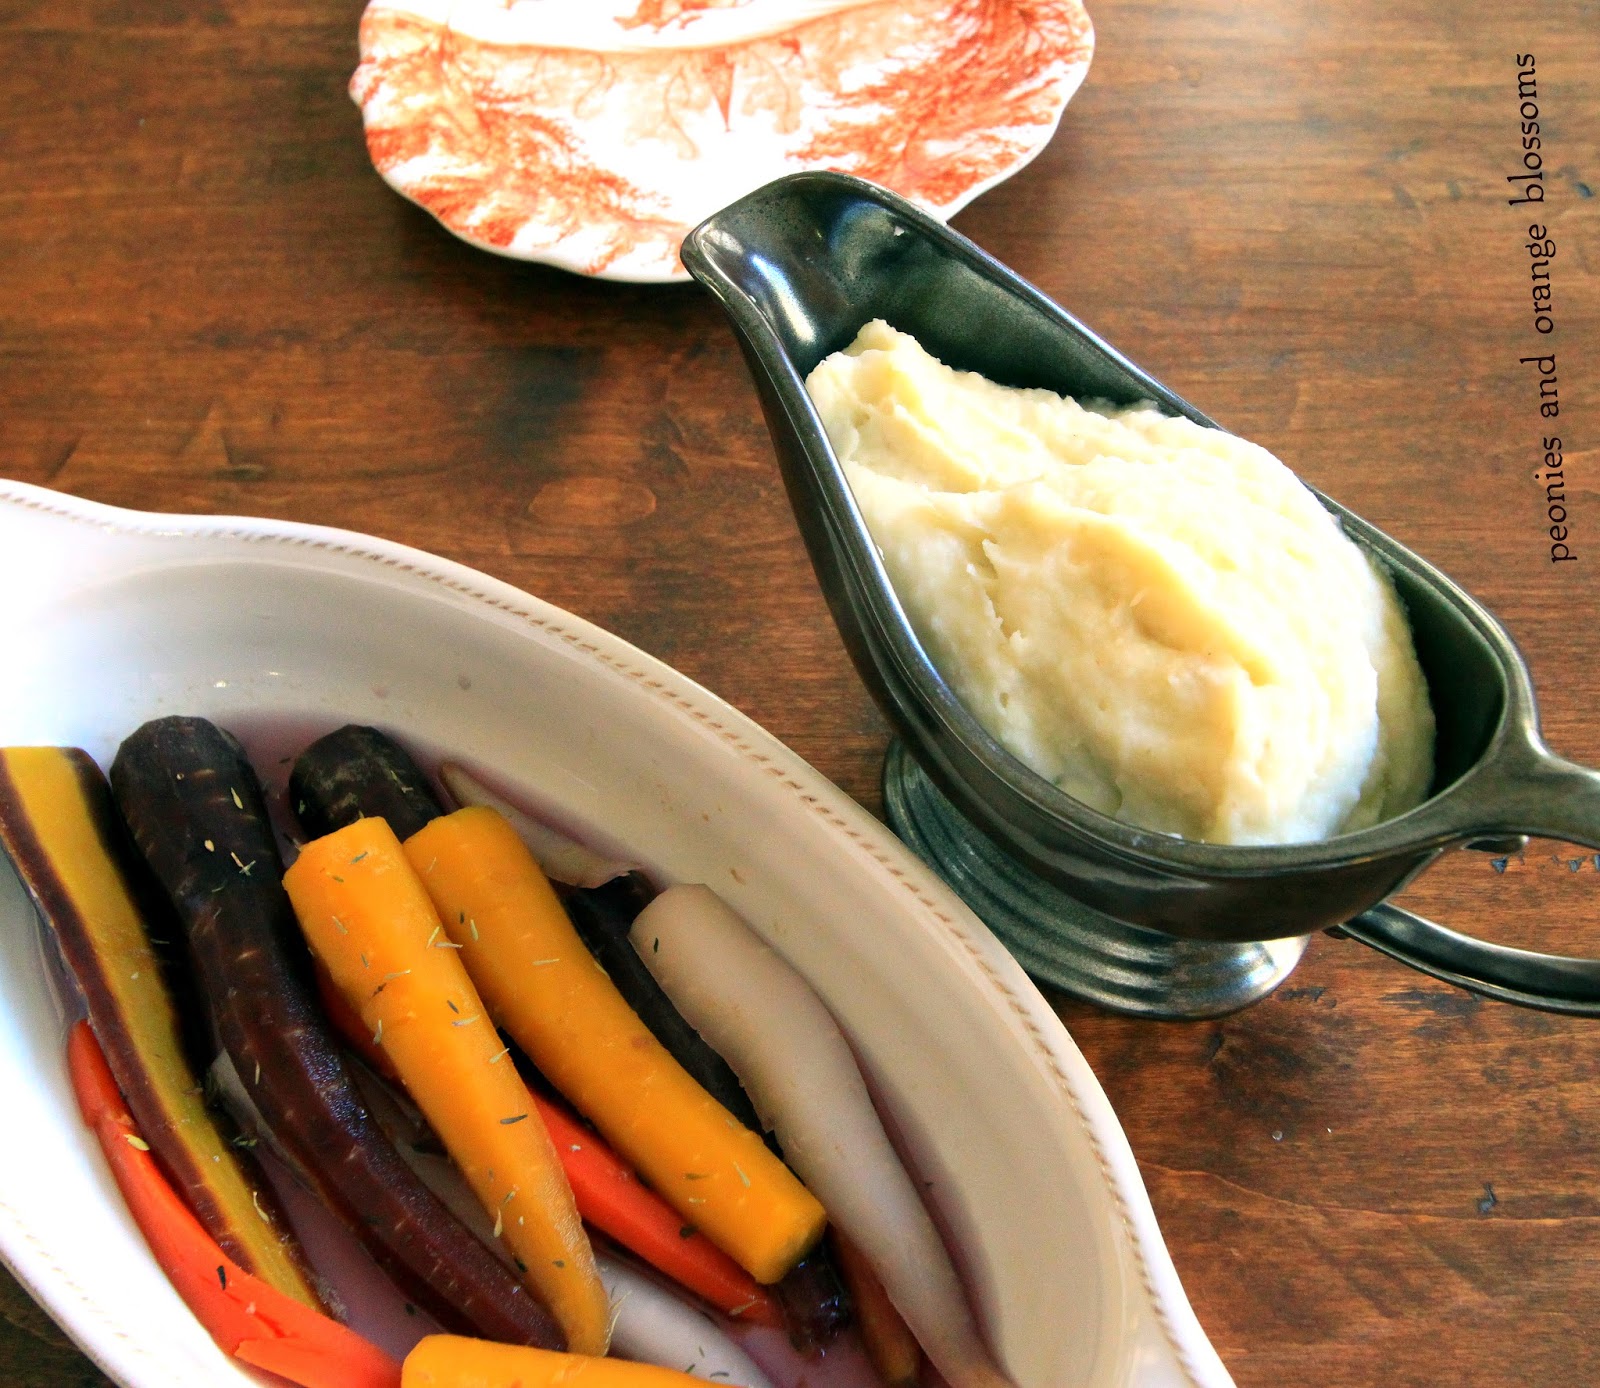
Healthy Cauliflower Mashed Potatoes

We use affiliate links in our posts and our site. This means if you make a purchase using these links, we may earn a small commission. You don’t pay a cent more than you would otherwise! Our full disclosure is available under About.

With Thanksgiving just around the corner, I’ve been looking for some healthier alternatives to Thanksgiving Dinner.  While I LOVE mashed potatoes, I know they are full of carbs and fat.  I have been playing around with some cauliflower mashed potato recipes and came up with one that I think is really good AND could fool your guests too!!

Healthy Cauliflower Mashed Potato Recipe

I think the secret to this mashed cauliflower recipe is that it actually includes potato with the mashed cauliflower.  So many of the recipes that contain only cauliflower don’t quite taste right.

Ingredients:

  • 1 small head cauliflower that is trimmed, cored, and cut into small florets.
  • 1-2 small red or golden potatoes, chopped
  • 1 tbsp fat free sour cream
  • 2 tbsp skim milk
  • 1-2 tbsp light butter
  • salt and pepper to taste

Directions
1. Bring a pot of water to boil.  Add the cauliflower and potato to the water.
2. Reduce heat to a simmer. Cover and cook for approximately 20 minutes until vegetables are cooked through.
3. Drain well and move to your food processor. Process until smooth.
4. Return the cauliflower/potato puree to a hot pan on medium high heat.  Stirring frequently, you will need to cook off the excess liquid. This takes about 5 minutes or so.  Once excess water has evaporated, stir in the sour cream, milk, and butter.
5. Add salt and pepper to taste.  Then garnish with green onions, rosemary, or thyme! Enjoy!

My husband wasn’t too keen on this “faux” mashed potato recipe when we were making it.  Then he ended up liking it when we were done!  The great part it is that it tastes good and you won’t feel guilty with seconds!

Linking up with these fabulous link parties: The Scoop!,   Inspire Me Tuesday,Wow us Wednesdays!Foodie Friday

written at http://peoniesandorangeblossoms.blogspot.com

Follow:

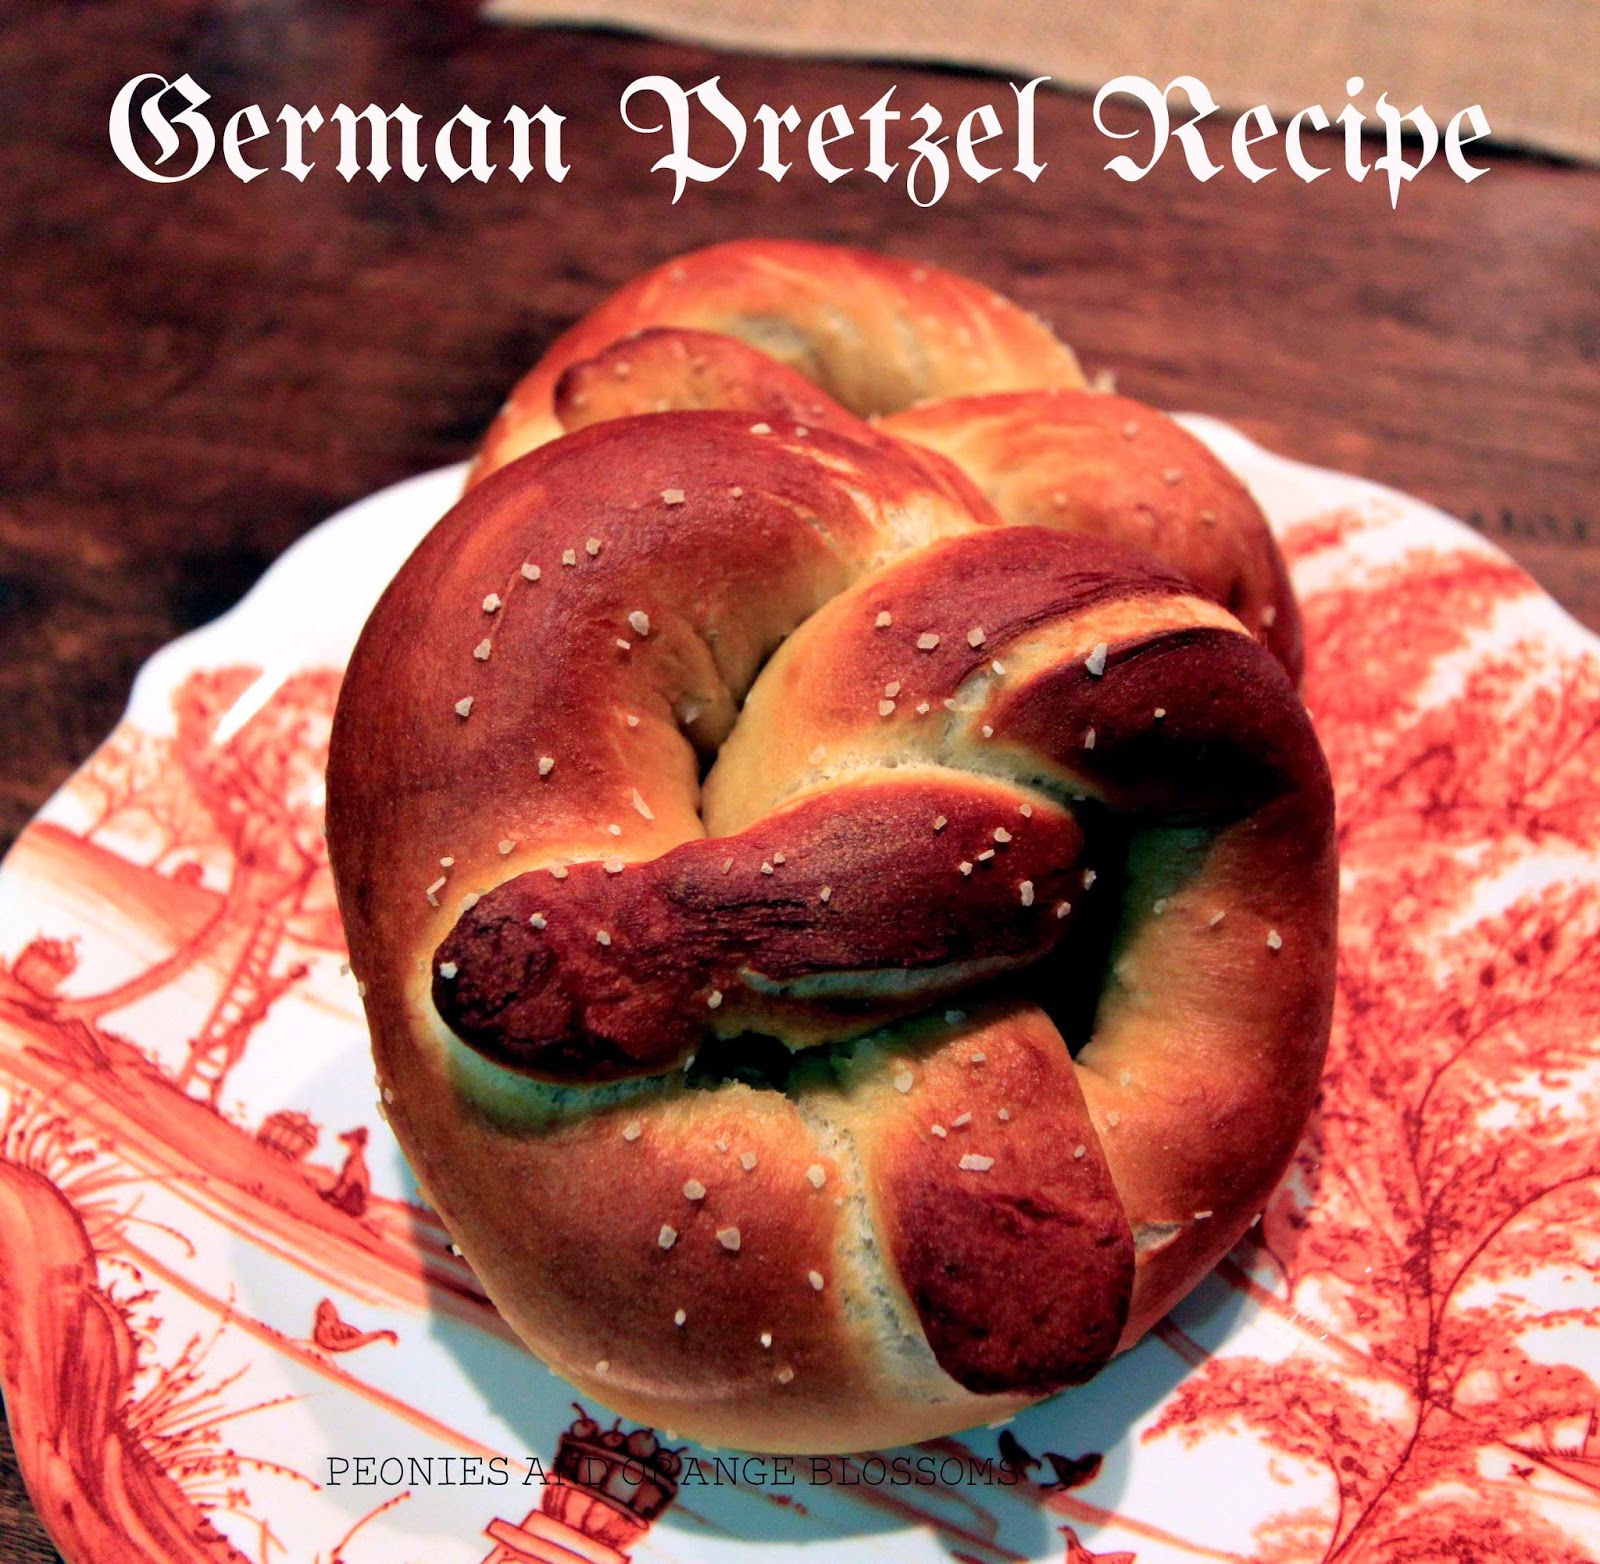
Authentic German Pretzel Recipe

We use affiliate links in our posts and our site. This means if you make a purchase using these links, we may earn a small commission. You don’t pay a cent more than you would otherwise! Our full disclosure is available under About.

With Oktoberfest currently going on, I thought I’d try my hand at German pretzels. Now, the *authentic* German pretzel recipe calls for a dip in a bath of lye. I’m not going to risk my health with a lye bath in order to enjoy pretzels.  The much safer alternative is a baking soda bath.


German pretzel recipe

Authentic German Pretzel Recipe- printable recipe here

Ingredients

  • 4 cups all-purpose flour
  • 1 1/2 teaspoons salt
  • 1 tablespoon sugar
  • 1 packet active yeast
  • 1 1/2 cups warm water
  • 1/2 cup baking soda
  • 2 quarts water for bath
  • coarse salt

Instructions


  • Add yeast to warm water.  Let it settle for about 5 minutes.  Then add the sugar and salt to the yeast and mix in.
  • Add the yeast, sugar, and salt mixture to the flour. Mix together. I used the dough hook on my kitchenaid and mixed for about 5 minutes on speed #2.  Let dough rest for 30 minutes.
  • Cut dough into about 5-6 equal parts. Roll out on a clean surface.  Don’t need to flour the surface, the dough shouldn’t stick.  Roll the dough in a line until it is about 1/2 inch in diameter, and approx. 16 inches in length.  Then, make a U shape, twist the ends at the top one time, and fold over.
  • Place the baking sheet uncovered in the fridge for approx. 1 hour. This is key. This helps build a skin making it have that nice crust.
  • Preheat the oven to 425 degrees F.
  • Bring 2 quarts of water to boil. SLOWLY add in baking soda into the boiling water little bits at a time. *caution* this creates quite a bubbly reaction for a few seconds so stand back and don’t get burned!  It will eventually simmer down after a few seconds.  Then add more.  You have been warned!
  • Add the pretzels one at a time into the soda bath.  Let it sit for about 10-20 seconds and then remove. Place on baking sheet.
  • Sprinkle with coarse salt.  Bake the pretzels for 12-15 minutes until golden brown.  Move to a cooling rack. Grab some honey mustard, nacho cheese, or a slice of cheese and enjoy!
  • To enjoy the next day, refrigerate and place in the toaster oven.

hint: I had only rolled out the dough to about 1 inch in diameter and 14-16 inches long and then folded.  As you can see in the pictures, they puffed up quite a bit.  I suggest making it even thinner, maybe about 1/2 inch.  However, they still tasted fantastic!

German pretzel recipe

cooling on the rack


SaveSave

Follow:

Mexican-style Corn with Serrano Crema

We use affiliate links in our posts and our site. This means if you make a purchase using these links, we may earn a small commission. You don’t pay a cent more than you would otherwise! Our full disclosure is available under About.

I ate at Rick Bayless’ Red O Mexican restaurant and LOVED it.  My favorite dish they served there was something called “deconstructed Mexican street corn”.  I don’t care what it’s called, it’s absolutely delicious.  My husband and I sat there and studied the flavors.  We think we came up with a recipe that closely resembles it.

We call it… Mexican style corn with serrano crema.

AKA Mexican corn-off-the-cob

AKA deconstructed Mexican street corn

AKA get-in-my-mouth-now corn.  We had a hard time naming this dish!  Enough chat, time for the recipe!

Mexican Style Corn with Serrano Crema recipe- printable recipe here!

Serrano Crema Recipe

Ingredients

  • 3 serrano chile peppers, seeded and chopped.
  • 3 cloves garlic
  • 1/2 bunch of cilantro, coarsely chopped with the stems removed
  • 1 cup mayonnaise (may substitute greek yogurt for a lighter version)
  • 1 cup heavy cream (may susbstitute milk, but won’t be nearly as good!)
  • salt and pepper, to taste.

Directions

  1. Place all ingredients into a blender and blend until smooth. Done! Now set this aside and get ready for the corn.

Mexican style corn

Ingredients

  • 3 ears of corn with husks on
  • 1 poblano pepper, julienned
  • 1/2 red onion, julienned
  • cilantro, for garnish
  • queso fresco cheese, grated

Directions

  1. Soak corn with the husks still on in cold water for approx. 1 hour.
  2. BBQ the corn in the husk until all sides of the husk are charred.
  3. Meanwhile, saute the onions and peppers in a little bit of EVOO.
  4. Remove ear from husks.
  5. Place corn cobs back on BBQ, and cook until outsides are lightly browned.
  6. Cut the kernels off the cob, leaving as big as chunks as possible (see pics below).
  7. Add the cut corn to the pepper/onion mixture and saute until warm.
  8. Serve the mixture on a plate.  Drizzle the serrano crema on top (careful, this crema is spicy).
  9. Sprinkle the queso fresco on top.  The cheese is key! If you don’t get this cheese it won’t taste right.
  10. Add cilantro for garnish.
  11. Enjoy!


sauteing the peppers and onions
How you remove the corn from the cob.

Finished product! Yum!!

SaveSave

Follow:

Mexican Street Corn Recipe

We use affiliate links in our posts and our site. This means if you make a purchase using these links, we may earn a small commission. You don’t pay a cent more than you would otherwise! Our full disclosure is available under About.

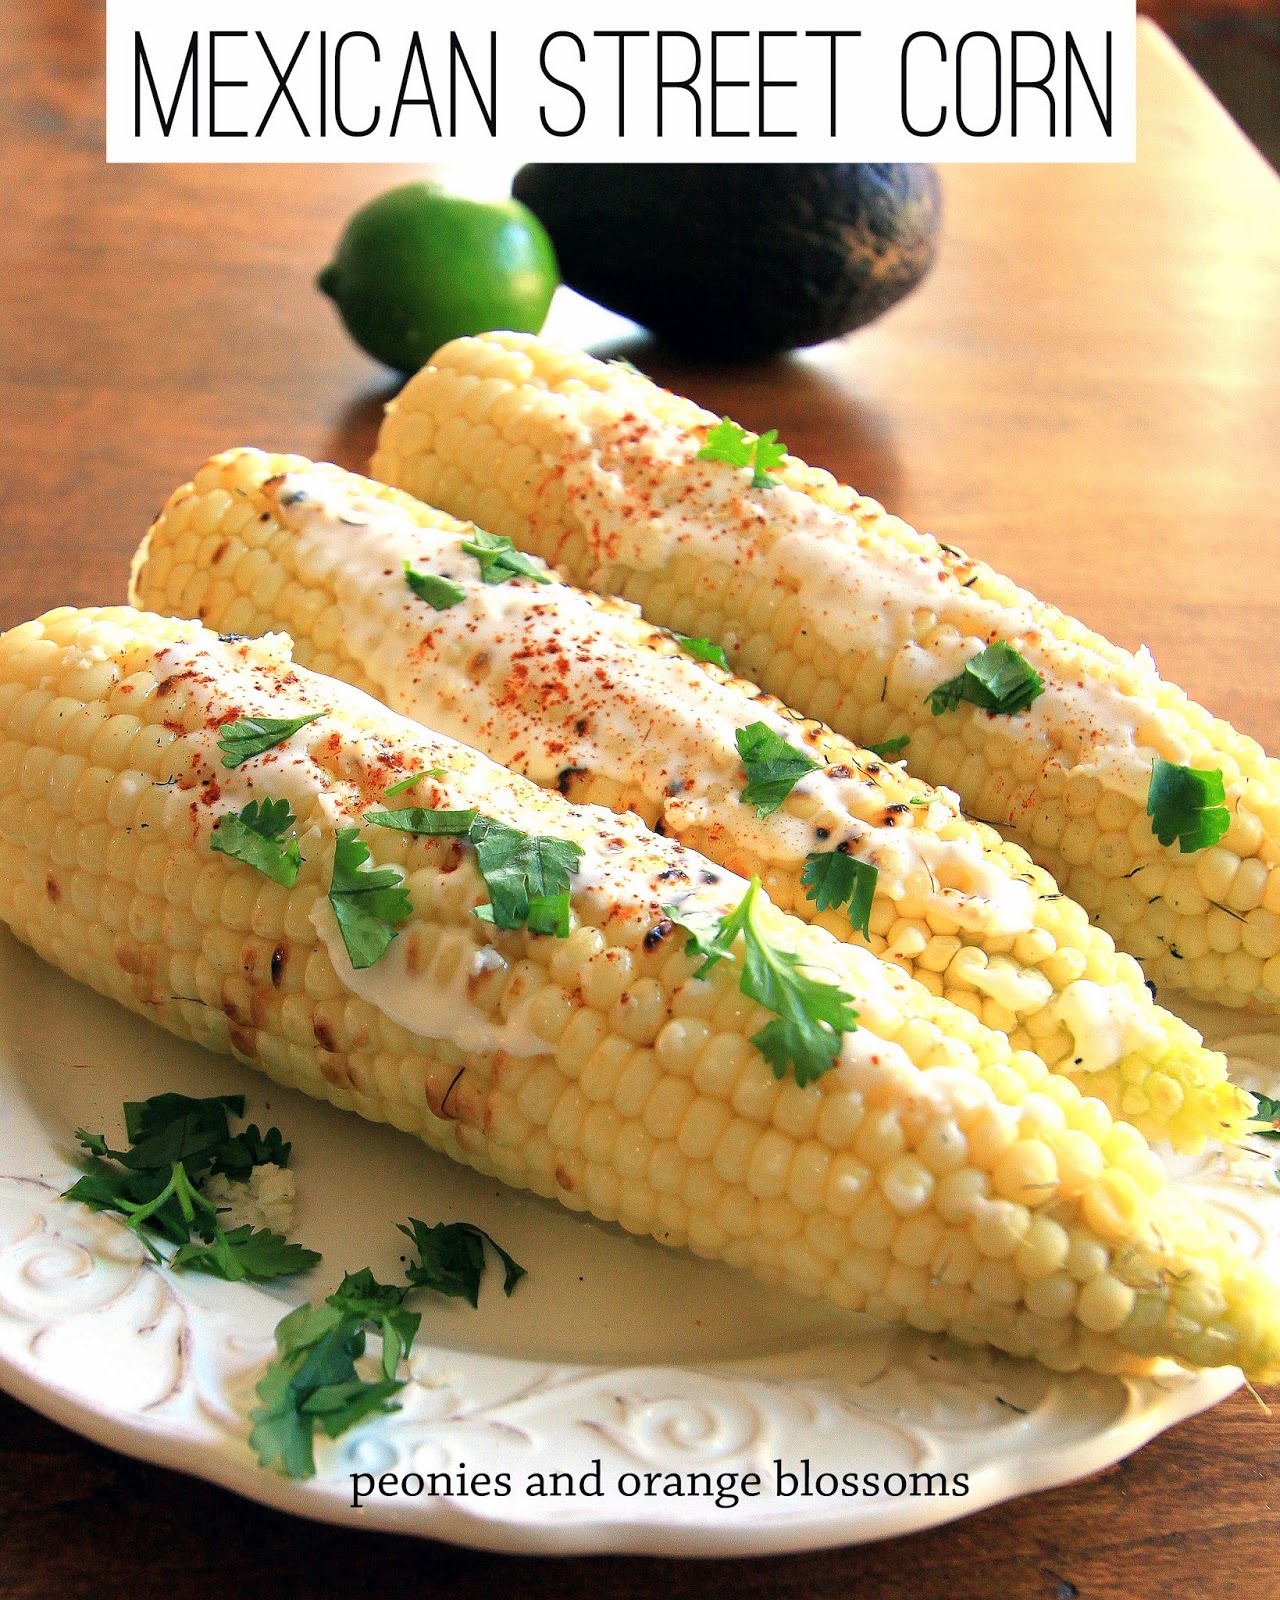
I have to share this Mexican Street Corn recipe!  It takes corn-on-the-cob to the next level.  Ever seen the street vendors in major cities or tried the chili-lime corn at Disneyland? Well now you can make your own… it’s so much better and a lot cheaper!

Mexican Street Corn recipe adapted from Rick Bayless. Perfect for BBQs!

The recipe is adapted from Rick Bayless, Top-Chef winner and Mexican Food Expert.

Mexican Street Corn – printable recipe here

Ingredients

  • 6 ears of fresh sweet corn, still in their husks
  • 3 tbsp butter, melted
  • 1/2 cup of Mexican crema (or sour cream mixed with a little bit of milk so it is easily spreadable)
  • 1/3 cup crumbed Mexican queso anejo, queso fresco, or parmesan, feta, or farmer’s cheese
  • 1 tbsp chili powder
  • 1 lime
  • A few sprigs of fresh cilantro

Directions

  1. About an hour before serving, soak the ears of corn with their husks on in a deep bowl of cold water.  Place a plate on top to keep them submerged.
  2. Heat your grill.  Now lay the corn on the grill (with their husks still on) and roast for about 15-20 minutes, turning frequently until the outer leaves are blackened.  Remove.
  3. Let cool for several minutes, then remove the husks and silk.
  4. About 10 minutes before serving, brush the melted butter onto the corn and then return corn to the grill.  Turn frequently until corn is nicely browned.
  5. Serve right away, applying some cream, cheese, chili powder.  Then sprinkle with a little juice of a lime and a few sprigs of fresh cilantro.


Mexican Street Corn recipe adapted from Rick Bayless. Perfect for BBQs!

Grilling the corn…

Mexican Street Corn recipe adapted from Rick Bayless. Perfect for BBQs!

One last look… This is perfect for BBQs and just about any other time! Cinco de mayo, Fourth of July, graduation parties, Memorial Day/Labor Day, random Saturday…

Mexican Street Corn recipe adapted from Rick Bayless. Perfect for BBQs!


SaveSave

Follow:

Best German Pretzel Bite Recipe!

We use affiliate links in our posts and our site. This means if you make a purchase using these links, we may earn a small commission. You don’t pay a cent more than you would otherwise! Our full disclosure is available under About.

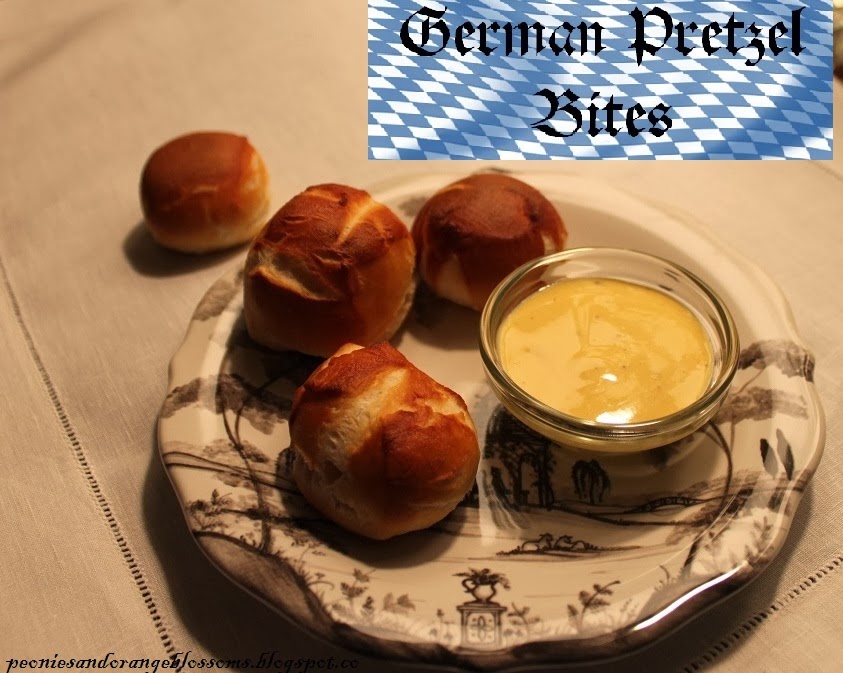
I had been craving a good fresh pretzel for a while.  After a bit of time, I finally have an excellent authentic German pretzel recipe to share!  I made pretzel bites with it as it is a little easier, but the same recipe will do for pretzels too!

yum!!

Here’s the recipe: (or get the printable version here)

Ingredients

  • 4 cups all-purpose flour
  • 1 1/2 teaspoons salt
  • 1 tablespoon sugar
  • 1 packet active yeast
  • 1 1/2 cups warm water
  • 1/2 cup baking soda
  • 2 quarts water for bath

Instructions

1. Add yeast to warm water.  Let it settle for about 5 minutes.  Then add the sugar and salt to the yeast and mix in.
2. Add the yeast, sugar, and salt mixture to the flour. Mix together. I used the dough hook on my kitchenaid and mixed for about 5 minutes on speed #2.  Let dough rest for 30 minutes.
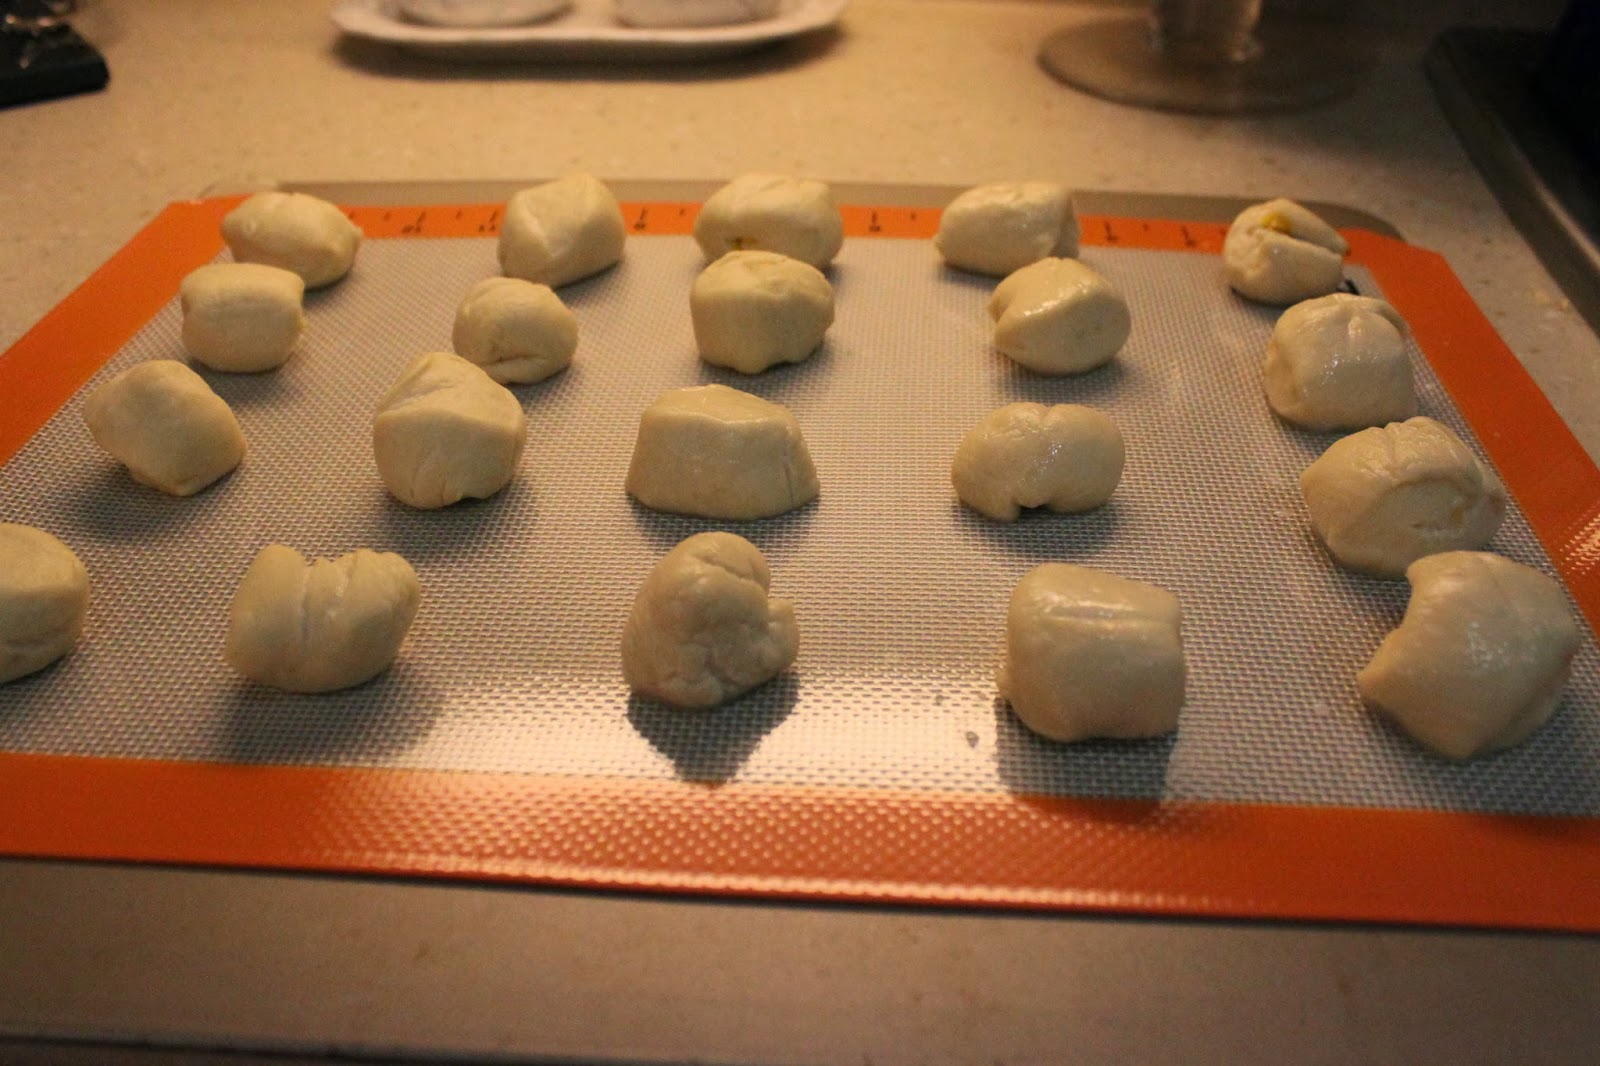
3. Cut dough into about 5-6 equal parts. Roll out on a clean surface.  Don’t need to flour the surface, the dough shouldn’t stick.  Roll the dough in a line until it is about 1 inch in diameter.  Cut 1.5-2 inch pieces and place on a lined baking sheet.
4. Place the baking sheet uncovered in the fridge for approx. 1 hour. This is key. This helps build a skin making it have that nice crust.
5. Preheat the oven to 425 degrees F.
6. Bring 2 quarts of water to boil. SLOWLY add in baking soda into the boiling water little bits at a time. *caution* this creates quite a bubbly reaction for a few seconds so stand back and don’t get burned!  It will eventually simmer down after a few seconds.  Then add more.  You have been warned!
7. Add the pieces of dough into the soda bath.  Let it sit for about 10-20 seconds and then remove. I used a pasta server to remove it and found it to be the perfect tool.
8. Sprinkle with coarse salt (I like mine unsalted, so I didn’t).  Bake the pretzels for 8-10 minutes until golden brown.  Move to a cooling rack. Grab some honey mustard, nacho cheese, or a slice of cheese and enjoy!

Pictures of the process:

the pieces freshly out of their soda bath!

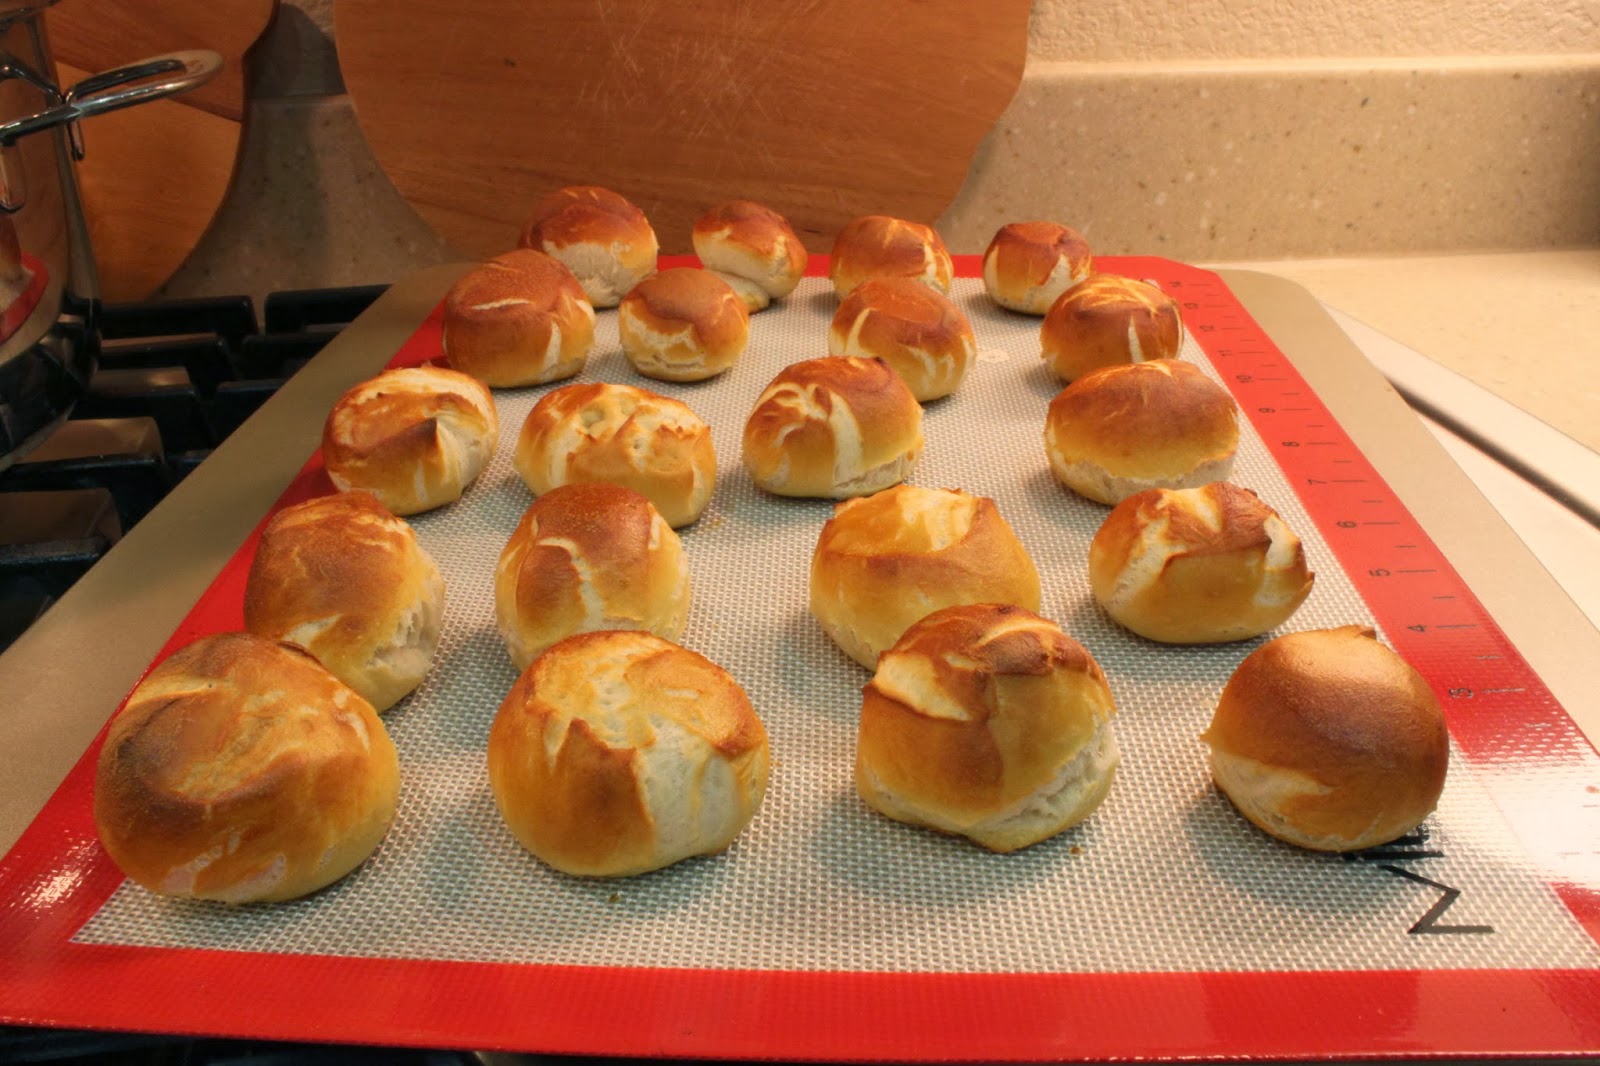
 Look how nice and brown they turned out… too hot to eat!

nice and done!

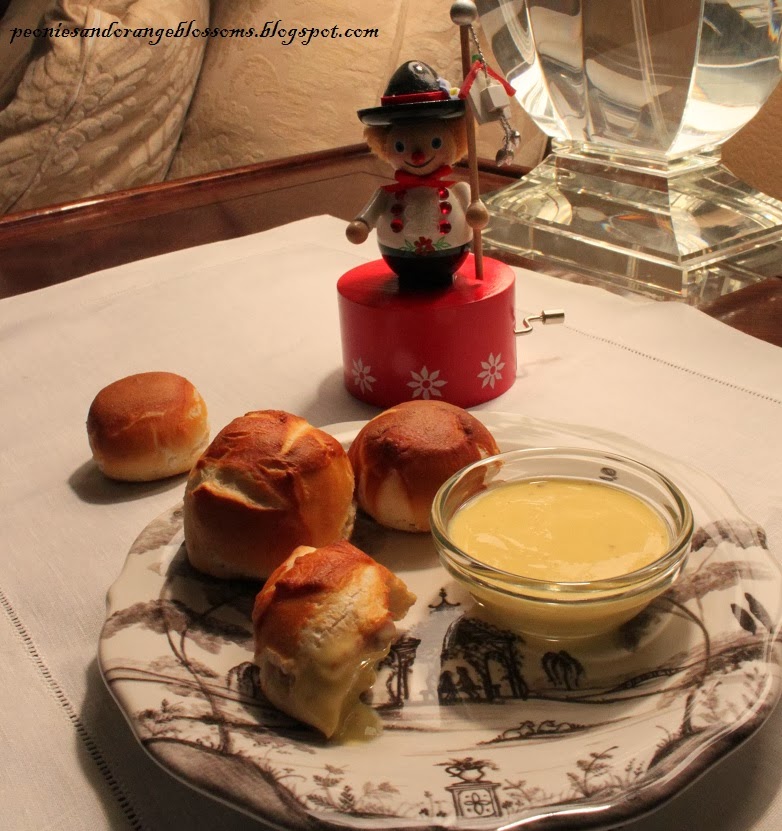
Now grab some honey mustard and enjoy!  My Bavarian figure loves to eat pretzels!

Now for some tips, tricks, and other info regarding German pretzels.

  • The traditional German recipe calls for a bath made of lye (yes, lye!!).  The baking soda is a safer alternative.  It tastes *almost* as good.  I’m not willing to go playing around with lye just to make my own pretzel.  Go figure, the real German pretzel is dangerous to make. 
  • Letting the dough rest in the fridge allows a nice skin to form which is key.
  • You can use this recipe to make pretzel shapes. Just row out about 20 inches of dough and then fold.
  • Some recipes call for an egg wash prior to baking.  I tested the pretzel bites with and without an egg wash.  I honestly couldn’t tell a difference in appearance or in taste.  Obviously not needed! 

I’ve linked up with The Scoop!, Tablescape ThursdayWow us Wednesdays!Open House Party Feathered Nest FridaSeasonal Sundays & Oh the places I have been,  life of the party the style sisters, Favorite Things Blog Hop, and What’s it Wednesdays. Be sure to check out all of these fabulous blogging parties! A big thank you to all of the wonderful hosts!

Follow:

From the Shop

I may earn a small commission if you purchase with these links

no products
Please note that I use ShopSense, LIKETOKNOW.it, Shareasale and Amazon affiliate links on this site. This means using them for purchases won’t cost you extra but may earn me a small commission.  Our full disclosure is available for viewing under About in the disclosure policy.
All rights reserved. Our graphics, images and text are all subject to copyright protection.