Mexican Street Corn Recipe

We use affiliate links in our posts and our site. This means if you make a purchase using these links, we may earn a small commission. You don’t pay a cent more than you would otherwise! Our full disclosure is available under About.

I have to share this Mexican Street Corn recipe!  It takes corn-on-the-cob to the next level.  Ever seen the street vendors in major cities or tried the chili-lime corn at Disneyland? Well now you can make your own… it’s so much better and a lot cheaper!
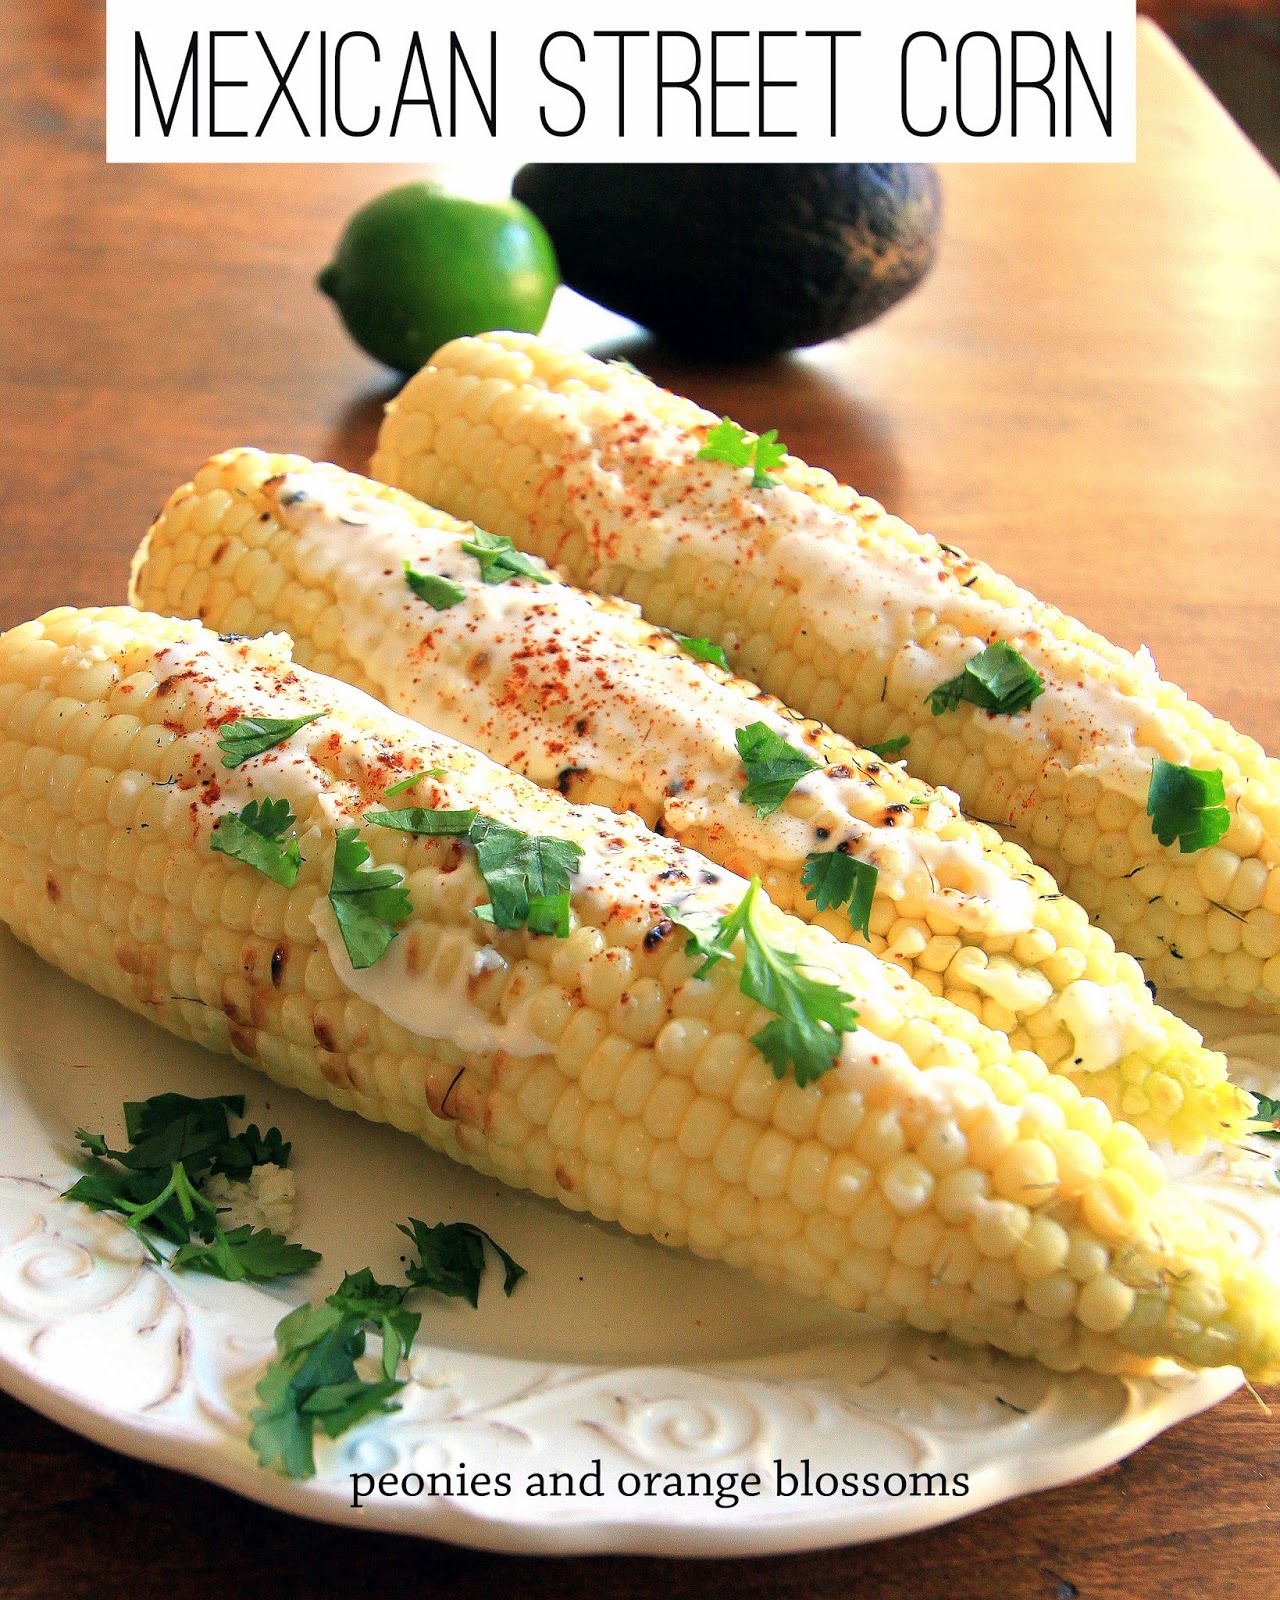
Mexican Street Corn recipe adapted from Rick Bayless. Perfect for BBQs!

The recipe is adapted from Rick Bayless, Top-Chef winner and Mexican Food Expert.

Mexican Street Corn – printable recipe here

Ingredients

  • 6 ears of fresh sweet corn, still in their husks
  • 3 tbsp butter, melted
  • 1/2 cup of Mexican crema (or sour cream mixed with a little bit of milk so it is easily spreadable)
  • 1/3 cup crumbed Mexican queso anejo, queso fresco, or parmesan, feta, or farmer’s cheese
  • 1 tbsp chili powder
  • 1 lime
  • A few sprigs of fresh cilantro

Directions

  1. About an hour before serving, soak the ears of corn with their husks on in a deep bowl of cold water.  Place a plate on top to keep them submerged.
  2. Heat your grill.  Now lay the corn on the grill (with their husks still on) and roast for about 15-20 minutes, turning frequently until the outer leaves are blackened.  Remove.
  3. Let cool for several minutes, then remove the husks and silk.
  4. About 10 minutes before serving, brush the melted butter onto the corn and then return corn to the grill.  Turn frequently until corn is nicely browned.
  5. Serve right away, applying some cream, cheese, chili powder.  Then sprinkle with a little juice of a lime and a few sprigs of fresh cilantro.


Mexican Street Corn recipe adapted from Rick Bayless. Perfect for BBQs!

Grilling the corn…

Mexican Street Corn recipe adapted from Rick Bayless. Perfect for BBQs!

One last look… This is perfect for BBQs and just about any other time! Cinco de mayo, Fourth of July, graduation parties, Memorial Day/Labor Day, random Saturday…

Mexican Street Corn recipe adapted from Rick Bayless. Perfect for BBQs!


SaveSave

Follow:

Cheesy Rosemary Pretzel Bites

We use affiliate links in our posts and our site. This means if you make a purchase using these links, we may earn a small commission. You don’t pay a cent more than you would otherwise! Our full disclosure is available under About.

I made some German pretzel bites. They were good. I thought, what else could I do with these?  I know, add cheese. Cheese makes everything better.  Then came along… Cheesy Rosemary Pretzel Bites.  I only have a picture of a few because, they kept disappearing…

yum!

Ingredients (PRINTABLE RECIPE HERE)

  • 4 cups all-purpose flour
  • 1 1/2 teaspoons salt
  • 1 tablespoon sugar
  • 1 packet active yeast
  • 1 1/2 cups warm water
  • sliced cheese, your choice. 
  • fresh rosemary
  • 1/2 cup baking soda
  • 2 quarts water for bath

Instructions

1. Add yeast to warm water.  Let settle for about 5 minutes.  Then add the sugar and salt to the yeast and mix in.
2. Add the yeast, sugar, and salt mixture to the flour. Mix together. I used the dough hook on my kitchenaid and mixed for about 5 minutes on speed #2.  Let dough rest for 30 minutes.
3. Cut dough into about 5-6 equal parts. Roll out on a clean surface.  Don’t need to flour the surface, the dough shouldn’t stick.  Then make a line in the dough and add cheese to the middle (see picture).    Roll until it is about 1 inch in diameter.  Cut pieces that approx 1.5-2 inches and place on a lined baking sheet.
4. Place the baking sheet with dough uncovered in the fridge for approx. 1 hour. This is key. This helps build a skin making it have that nice crust.
5. Preheat the oven to 425 degrees F.
6. Bring 2 quarts of water to boil. SLOWLY add in baking soda into the boiling water. *caution* this creates quite a bubbly reaction for a few seconds, so add a little bit at a time.  Stand back.  It will eventually simmer down.
7. Add the pieces of dough into the soda bath.  Let it sit for about 10-20 seconds and then remove. I used a pasta server to remove it and found it to be the perfect tool.
8. Sprinkle with rosemary. Bake the pretzels for 8-10 minutes until golden brown.  Move to a cooling rack. Enjoy!

the dough rolled out

open the dough, add cheese, and then close. 

All done baking!

The finished product.  Cheesy Rosemary Pretzel Bites. Mmm, good! Perfect for a party!

This post was featured at:

Featured on 5/7/14! See the feature HERE


I’ve linked up with:
The Scoop! at Confessions of a Plate Addict/Stone Gable, Metamorphosis Monday’s at Between Naps on the Porch, Inspire Me Tuesday at a Stroll Thru Life, Do Tell Tuesday at a Vintage Zest,  Wow us Wednesdays! at Savvy Southern Style, What’s it Wednesdays at Ivy & Elephants, Tablescape Thursday at Between Naps on the Porch, Oh the places I have been at the Tablescaper, Treasure Hunt Thursday at From My Front Porch To Yours,
Feathered Nest Fridays at French Country Cottage, Be Inspired at Common Ground, Seasonal Sundays at the Tablescaper, 
Sunday Best Showcase at Twigg Studios. Be sure to check out all of these fabulous blogging parties! A big thank you to all of the wonderful hosts!
Written by Orange Blossom at http://peoniesandorangeblossoms.blogspot.com

Follow:

Best German Pretzel Bite Recipe!

We use affiliate links in our posts and our site. This means if you make a purchase using these links, we may earn a small commission. You don’t pay a cent more than you would otherwise! Our full disclosure is available under About.

I had been craving a good fresh pretzel for a while.  After a bit of time, I finally have an excellent authentic German pretzel recipe to share!  I made pretzel bites with it as it is a little easier, but the same recipe will do for pretzels too!

yum!!

Here’s the recipe: (or get the printable version here)

Ingredients

  • 4 cups all-purpose flour
  • 1 1/2 teaspoons salt
  • 1 tablespoon sugar
  • 1 packet active yeast
  • 1 1/2 cups warm water
  • 1/2 cup baking soda
  • 2 quarts water for bath

Instructions

1. Add yeast to warm water.  Let it settle for about 5 minutes.  Then add the sugar and salt to the yeast and mix in.
2. Add the yeast, sugar, and salt mixture to the flour. Mix together. I used the dough hook on my kitchenaid and mixed for about 5 minutes on speed #2.  Let dough rest for 30 minutes.
3. Cut dough into about 5-6 equal parts. Roll out on a clean surface.  Don’t need to flour the surface, the dough shouldn’t stick.  Roll the dough in a line until it is about 1 inch in diameter.  Cut 1.5-2 inch pieces and place on a lined baking sheet.
4. Place the baking sheet uncovered in the fridge for approx. 1 hour. This is key. This helps build a skin making it have that nice crust.
5. Preheat the oven to 425 degrees F.
6. Bring 2 quarts of water to boil. SLOWLY add in baking soda into the boiling water little bits at a time. *caution* this creates quite a bubbly reaction for a few seconds so stand back and don’t get burned!  It will eventually simmer down after a few seconds.  Then add more.  You have been warned!
7. Add the pieces of dough into the soda bath.  Let it sit for about 10-20 seconds and then remove. I used a pasta server to remove it and found it to be the perfect tool.
8. Sprinkle with coarse salt (I like mine unsalted, so I didn’t).  Bake the pretzels for 8-10 minutes until golden brown.  Move to a cooling rack. Grab some honey mustard, nacho cheese, or a slice of cheese and enjoy!

Pictures of the process:

the pieces freshly out of their soda bath!

 Look how nice and brown they turned out… too hot to eat!

nice and done!

Now grab some honey mustard and enjoy!  My Bavarian figure loves to eat pretzels!

Now for some tips, tricks, and other info regarding German pretzels.

  • The traditional German recipe calls for a bath made of lye (yes, lye!!).  The baking soda is a safer alternative.  It tastes *almost* as good.  I’m not willing to go playing around with lye just to make my own pretzel.  Go figure, the real German pretzel is dangerous to make. 
  • Letting the dough rest in the fridge allows a nice skin to form which is key.
  • You can use this recipe to make pretzel shapes. Just row out about 20 inches of dough and then fold.
  • Some recipes call for an egg wash prior to baking.  I tested the pretzel bites with and without an egg wash.  I honestly couldn’t tell a difference in appearance or in taste.  Obviously not needed! 

I’ve linked up with The Scoop!, Tablescape ThursdayWow us Wednesdays!Open House Party Feathered Nest FridaSeasonal Sundays & Oh the places I have been,  life of the party the style sisters, Favorite Things Blog Hop, and What’s it Wednesdays. Be sure to check out all of these fabulous blogging parties! A big thank you to all of the wonderful hosts!

Follow:

Thanksgiving Onion Rolls

We use affiliate links in our posts and our site. This means if you make a purchase using these links, we may earn a small commission. You don’t pay a cent more than you would otherwise! Our full disclosure is available under About.

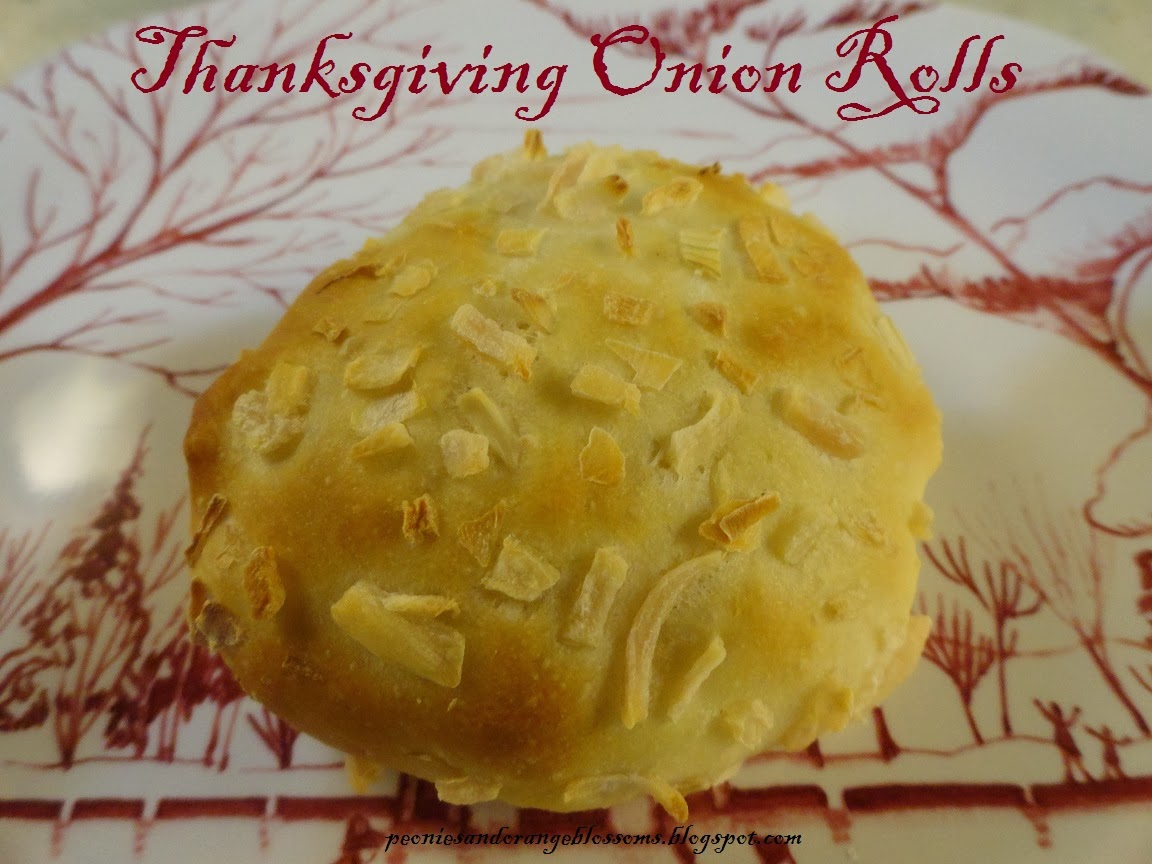
Thanksgiving Onion Rolls

We are making our own bread rolls this Thanksgiving… and boy are they good!  They take some prep time but a majority of the time is just waiting for the bread to rise. 

Ingredients

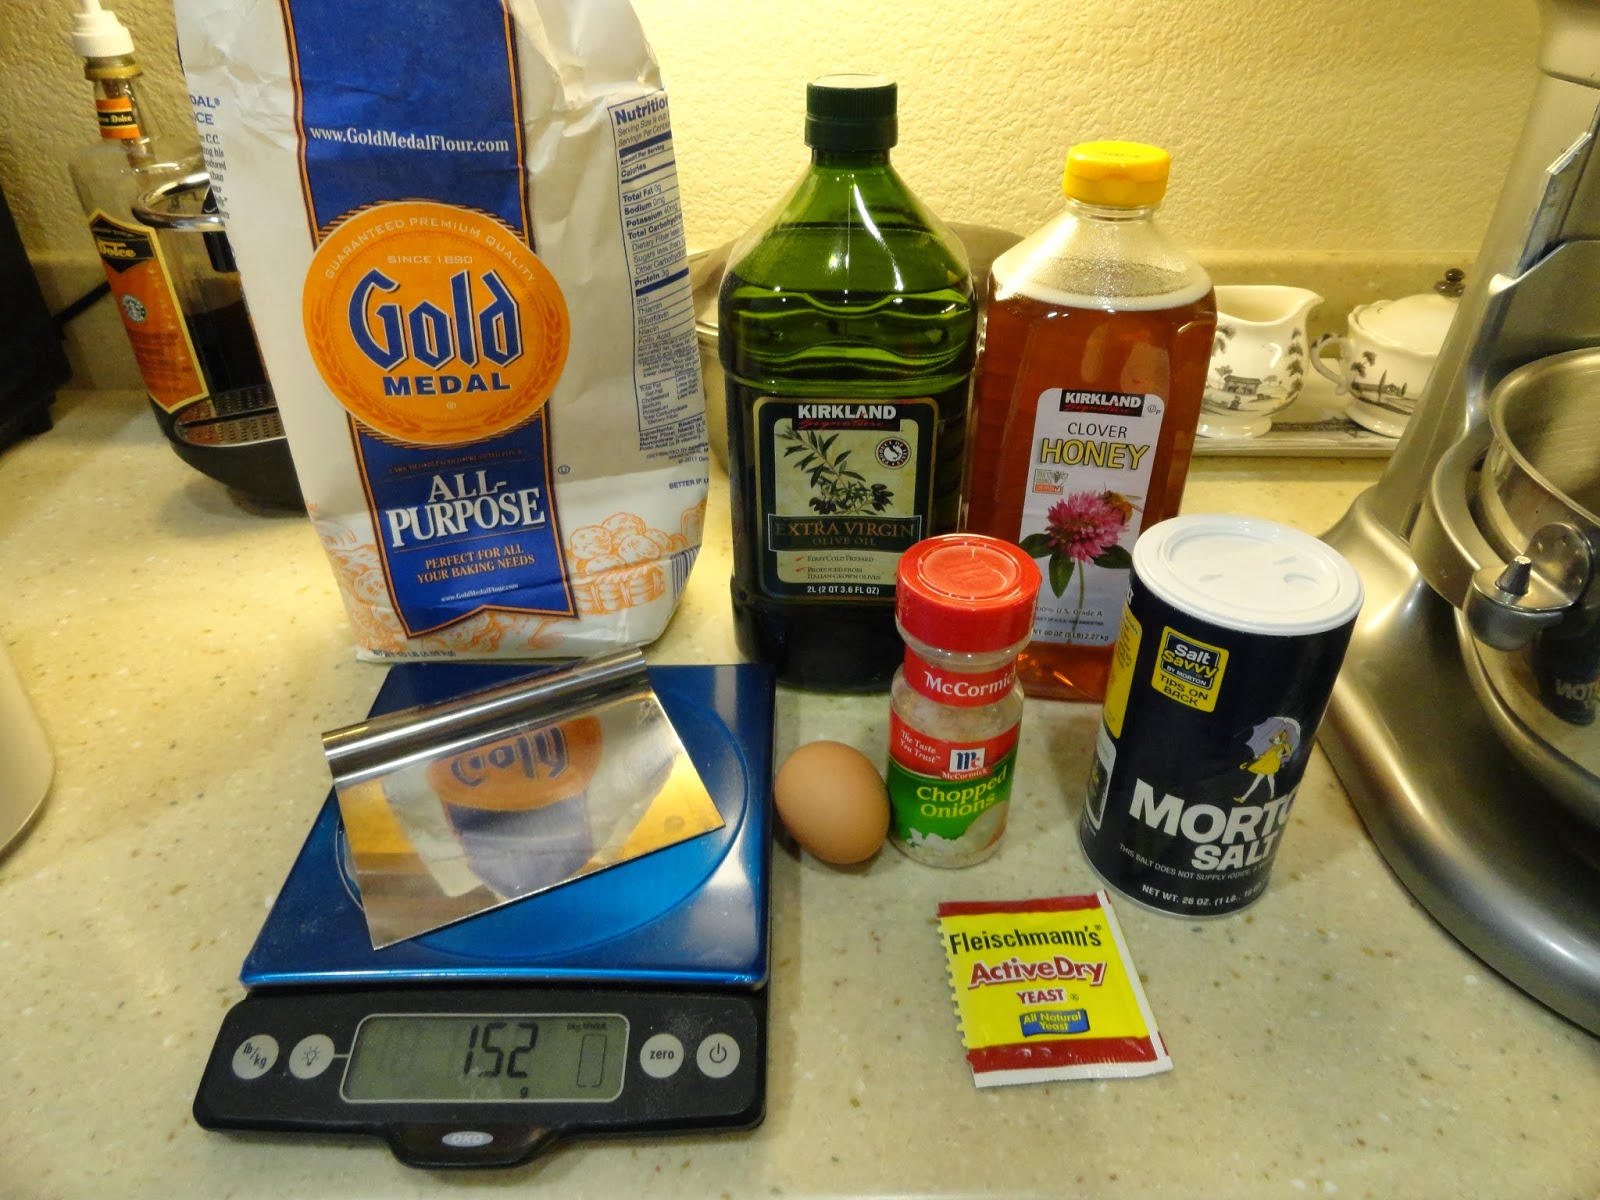
  • 1/3 cup dried onions (preferred chopped onions)
  • 21g honey
  • 7g salt
  • 21g whisked whole egg
  • 21g oil
  • 7g yeast
  • 450g flour
  • 240g water

Makes 24-28 rolls

Directions

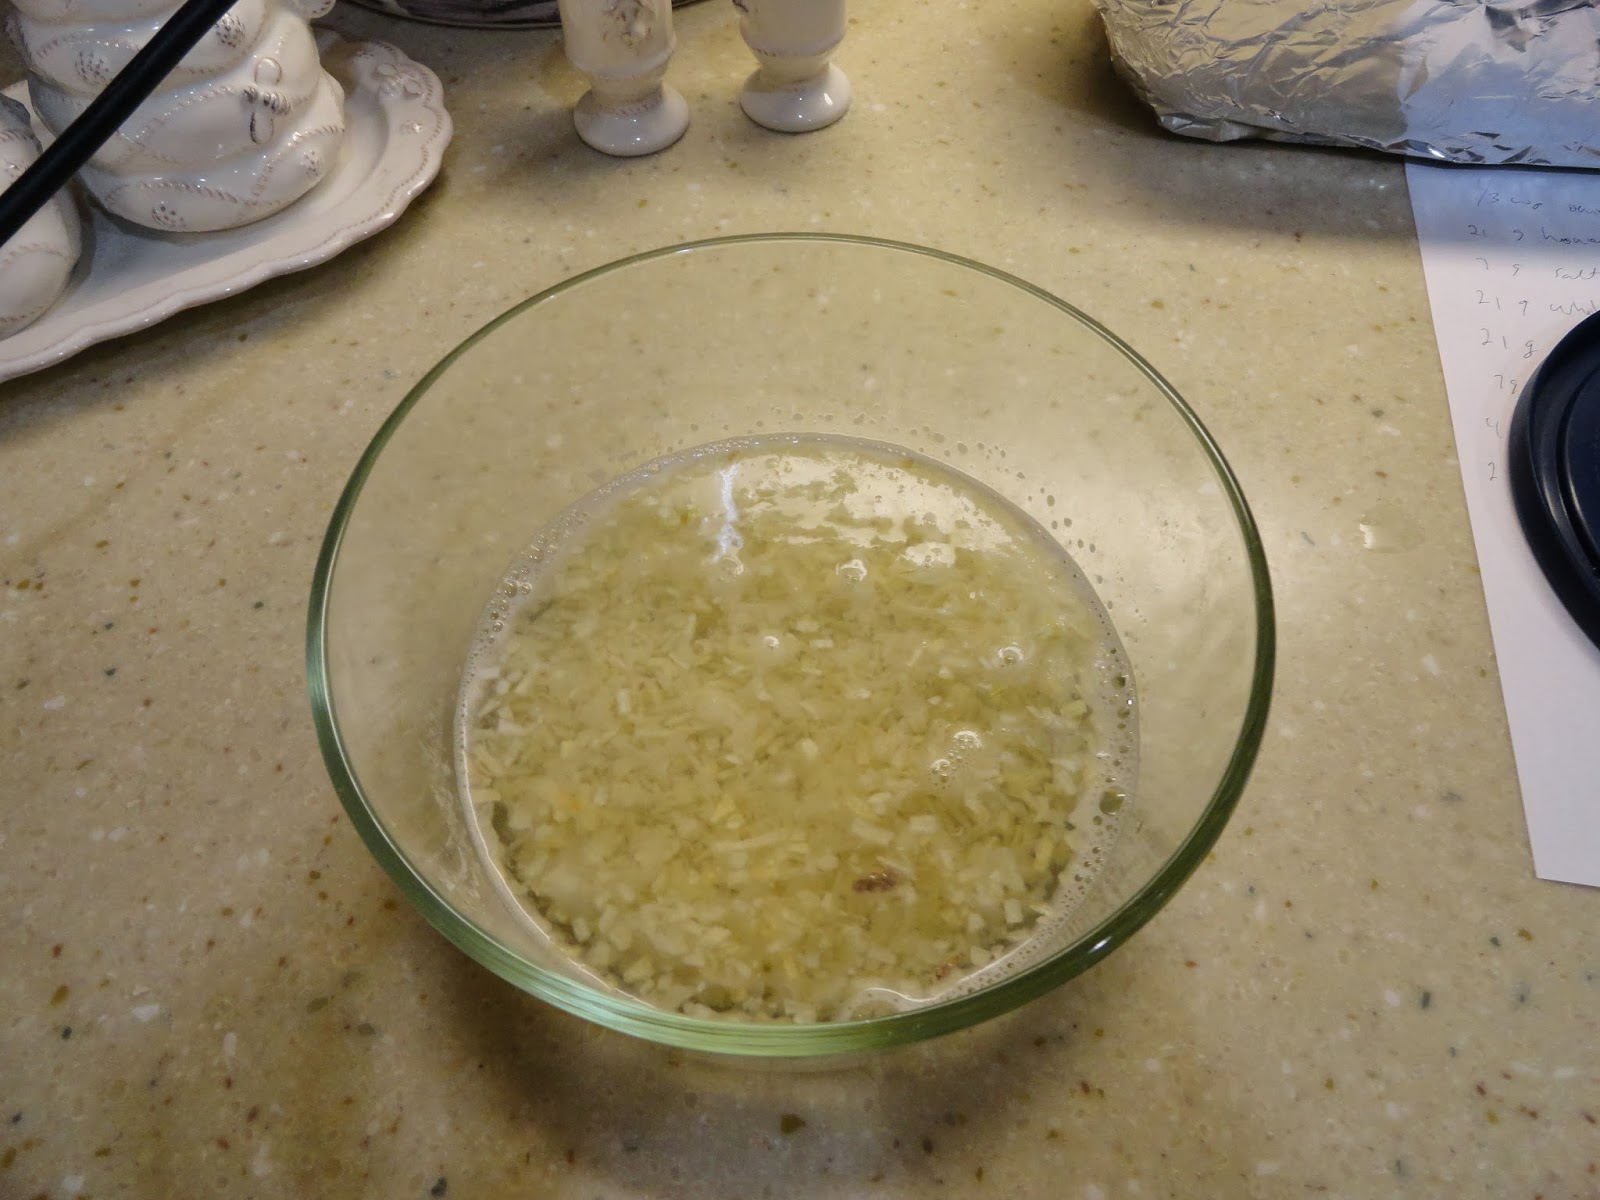
  1. Hydrate onions with boiling hot water. 

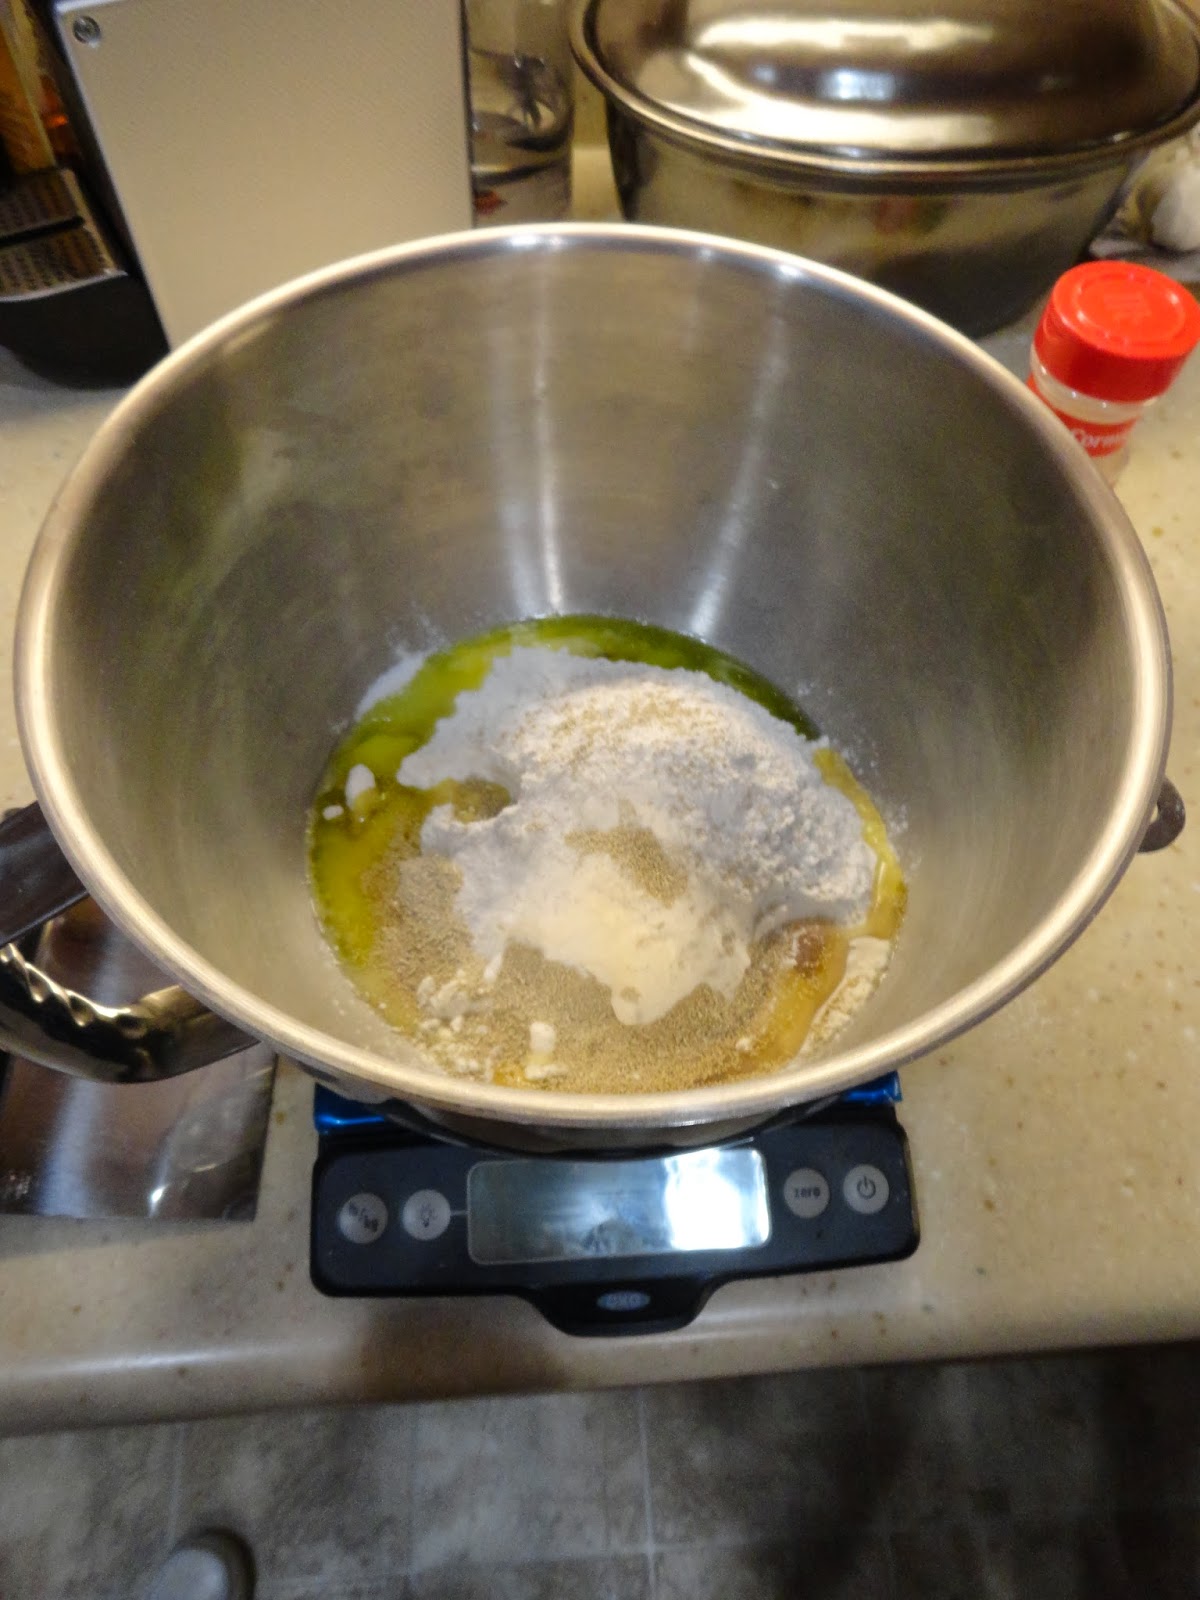
2. In a separate bowl, mix together honey, salt, whole egg, oil, yeast, and flour.

It’s easier to place the bowl in the scale and then tare and weigh each ingredient as it is added.

3. Set onions aside.  Use the extra onion water as part of the 240g of water.  Then add however much water you need to in order to have 240g water.


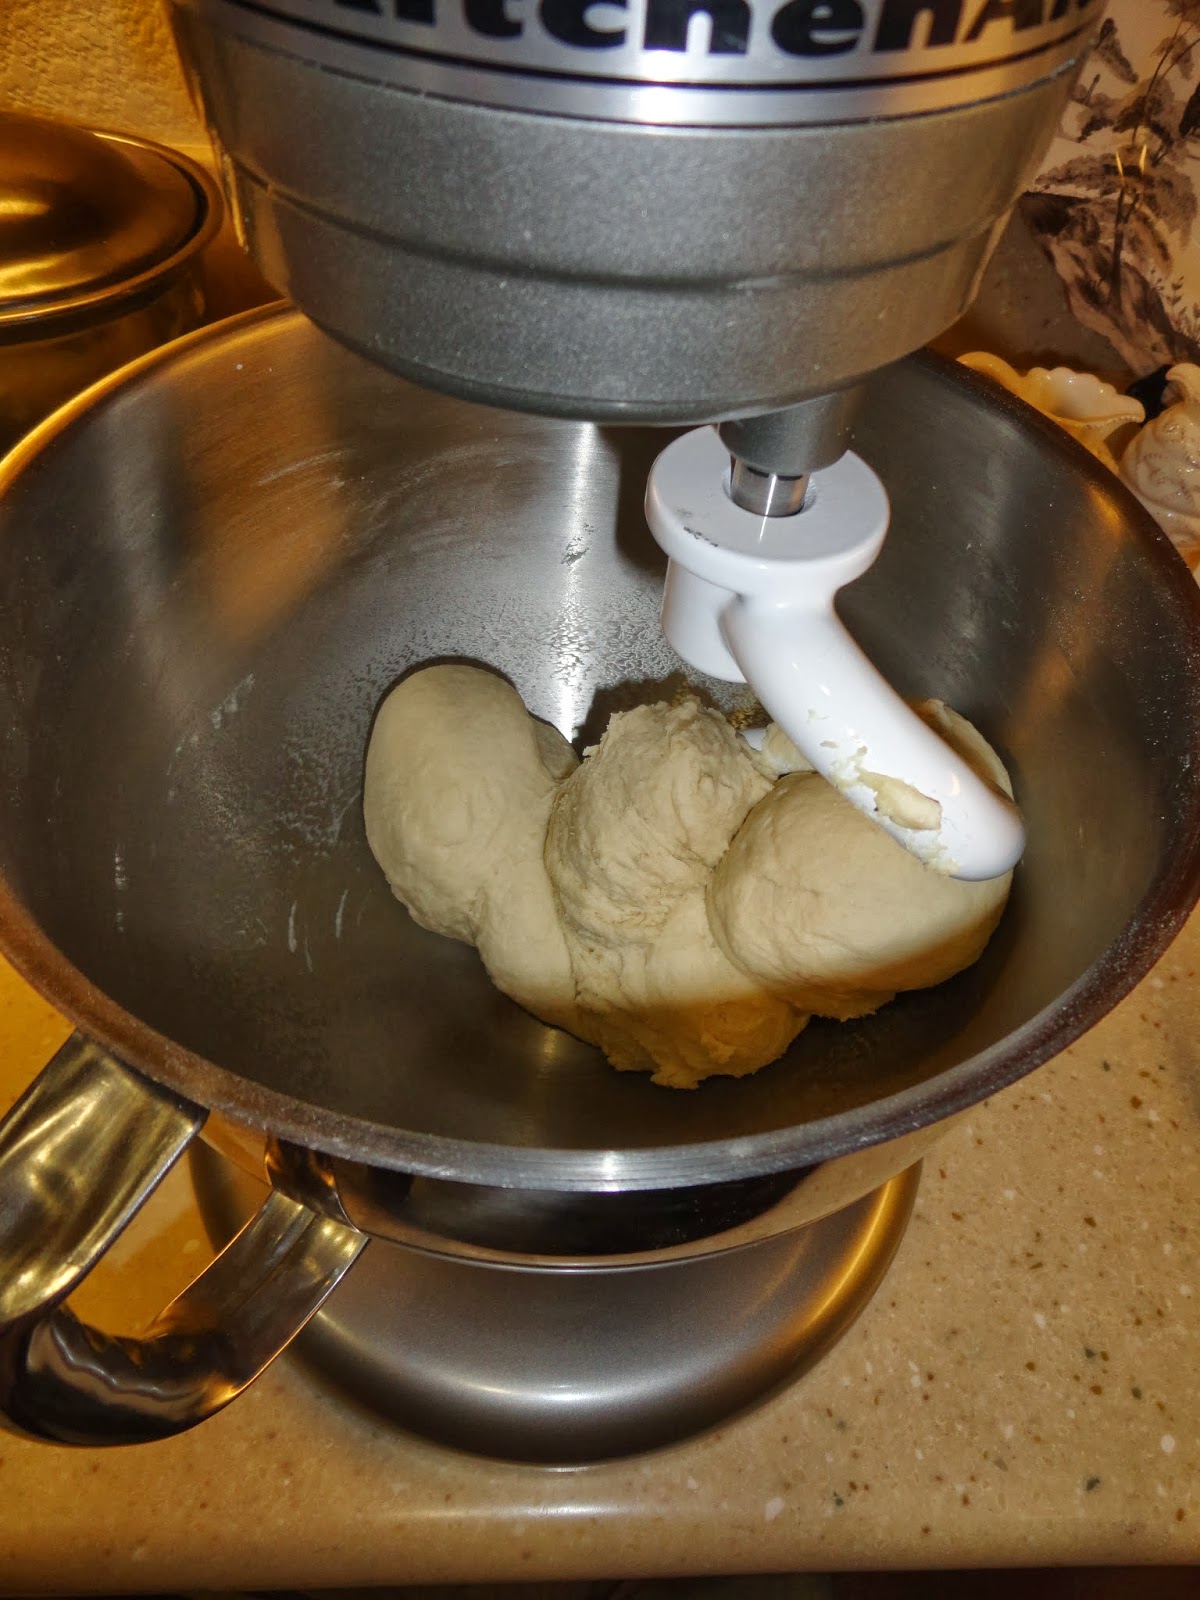
4. Mix together.  If using a mixer, use the dough hook on the 2nd speed for about 10 minutes.

the kitchenaid working hard for you!

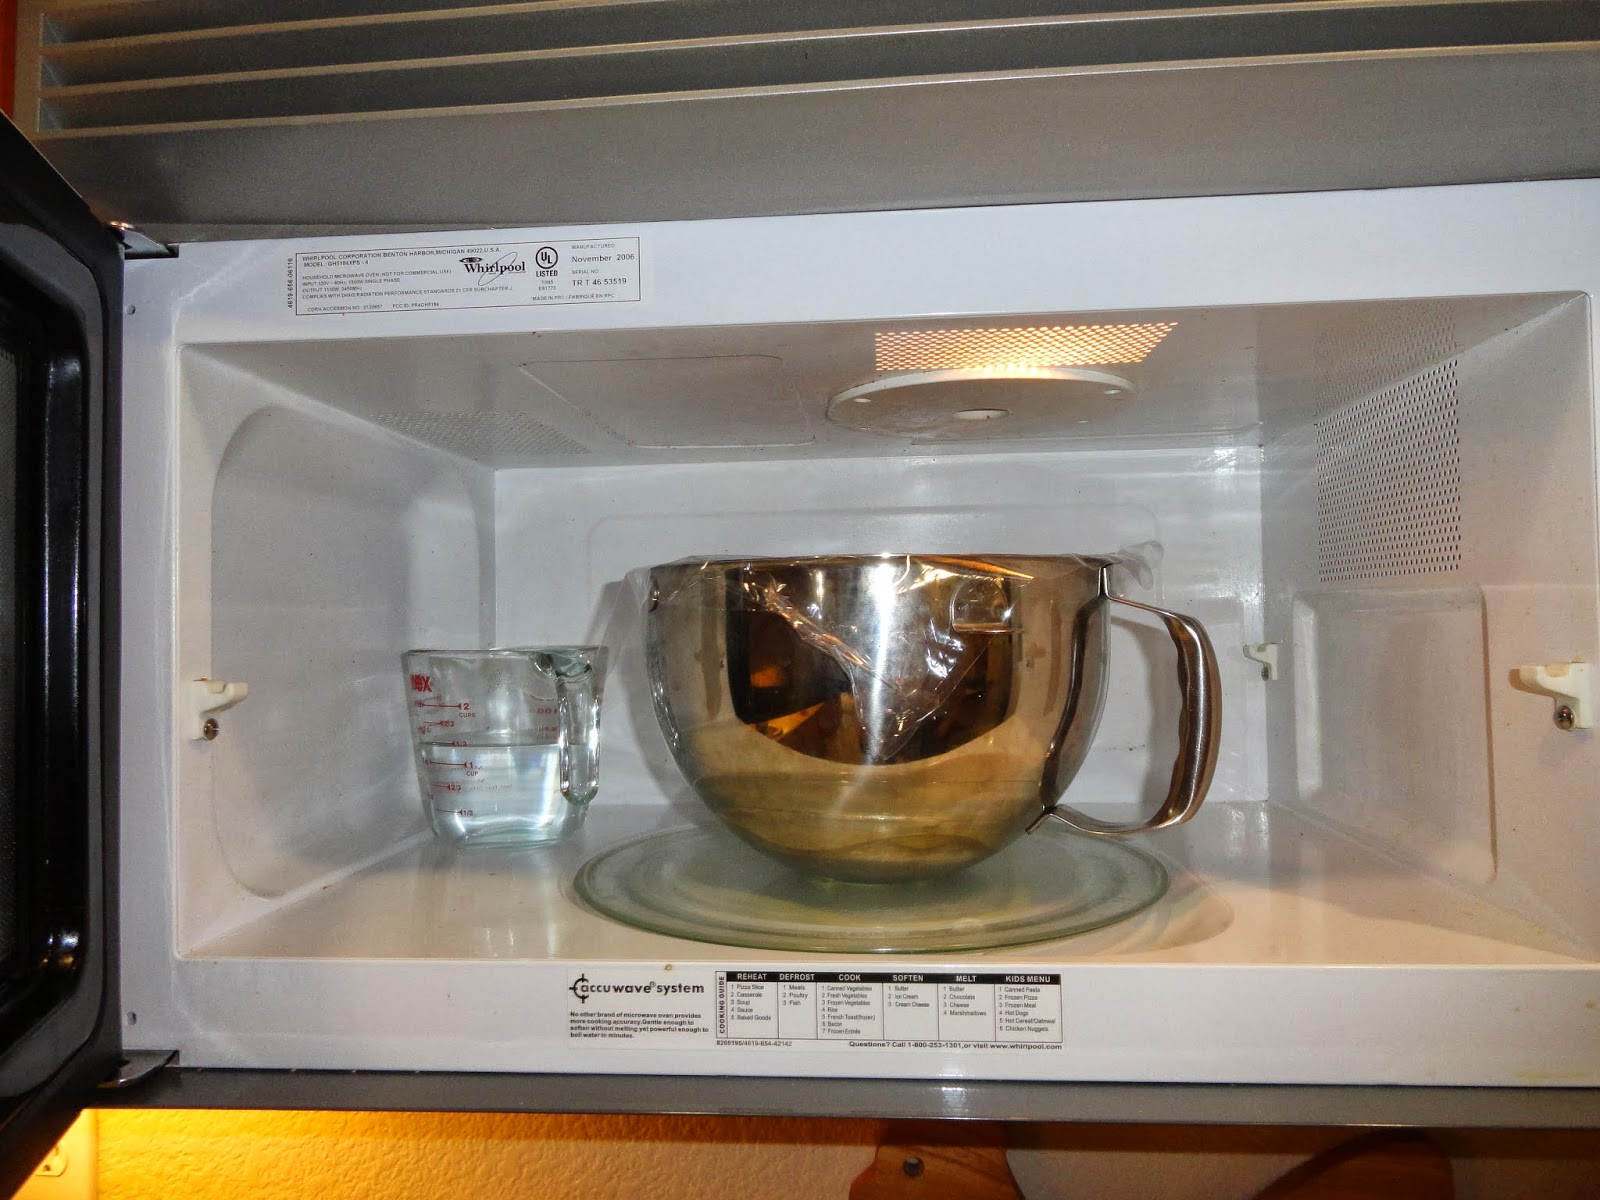
5. Cover container with plastic wrap and place mixed dough container into a warm place for 2 hours and let it rise.  

for our warm place, we heated a cup of water and then placed the warm water and bowl in the microwave and closed the door for 2 hours

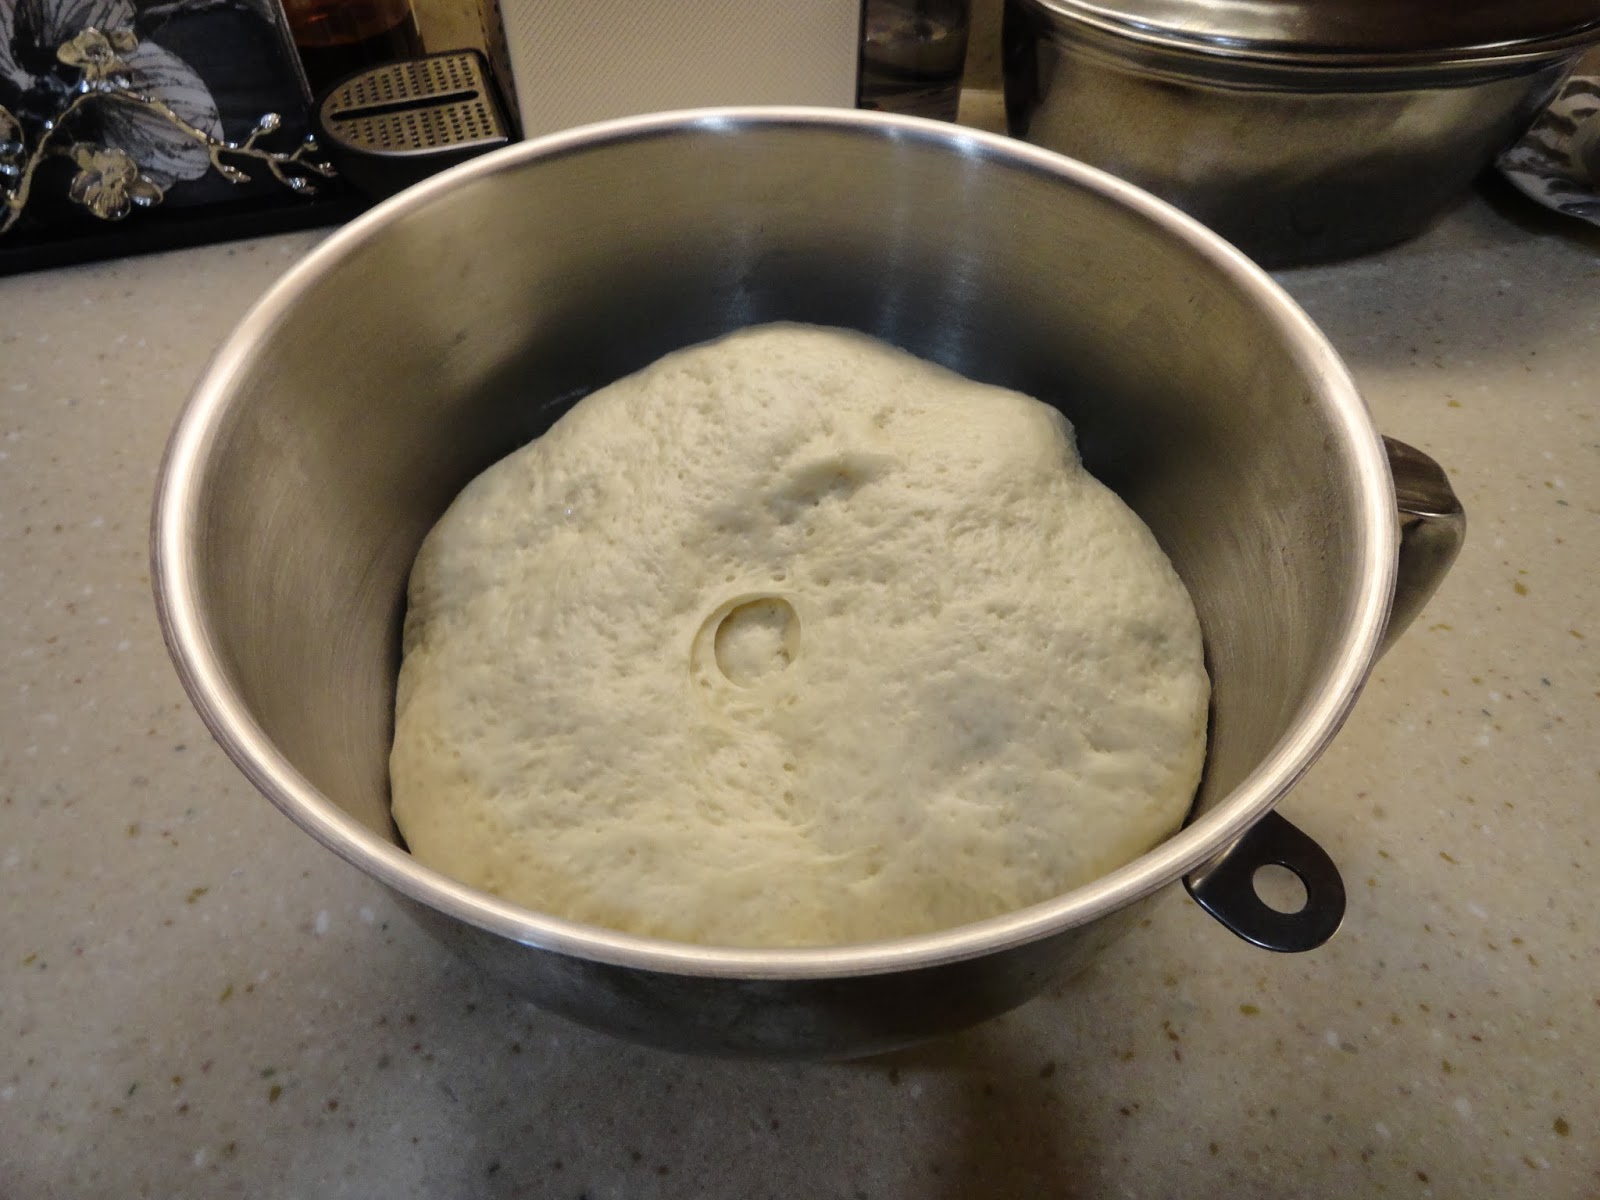
after 2 hours of rising! It’s ALIVE! 


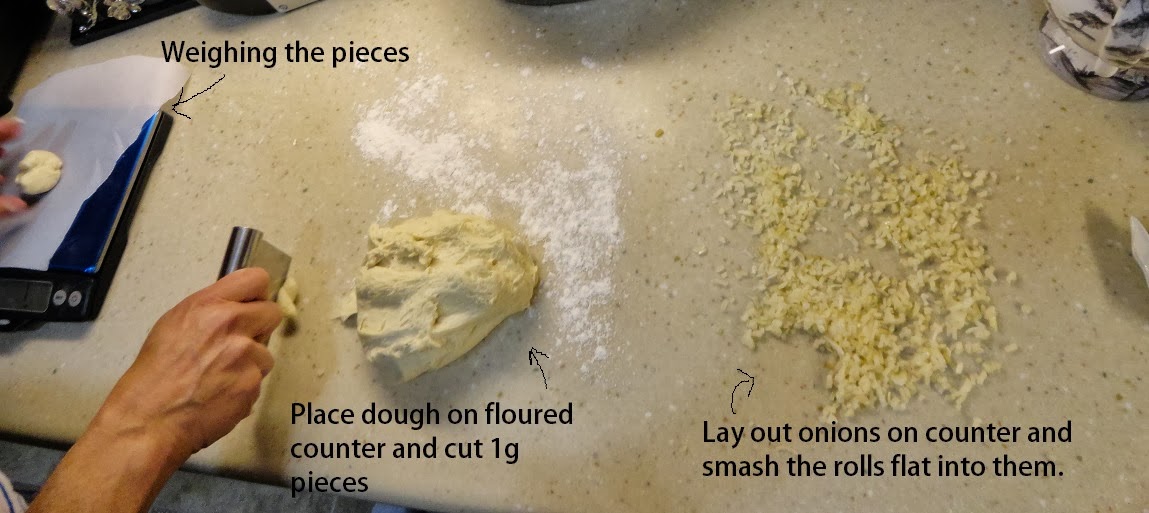
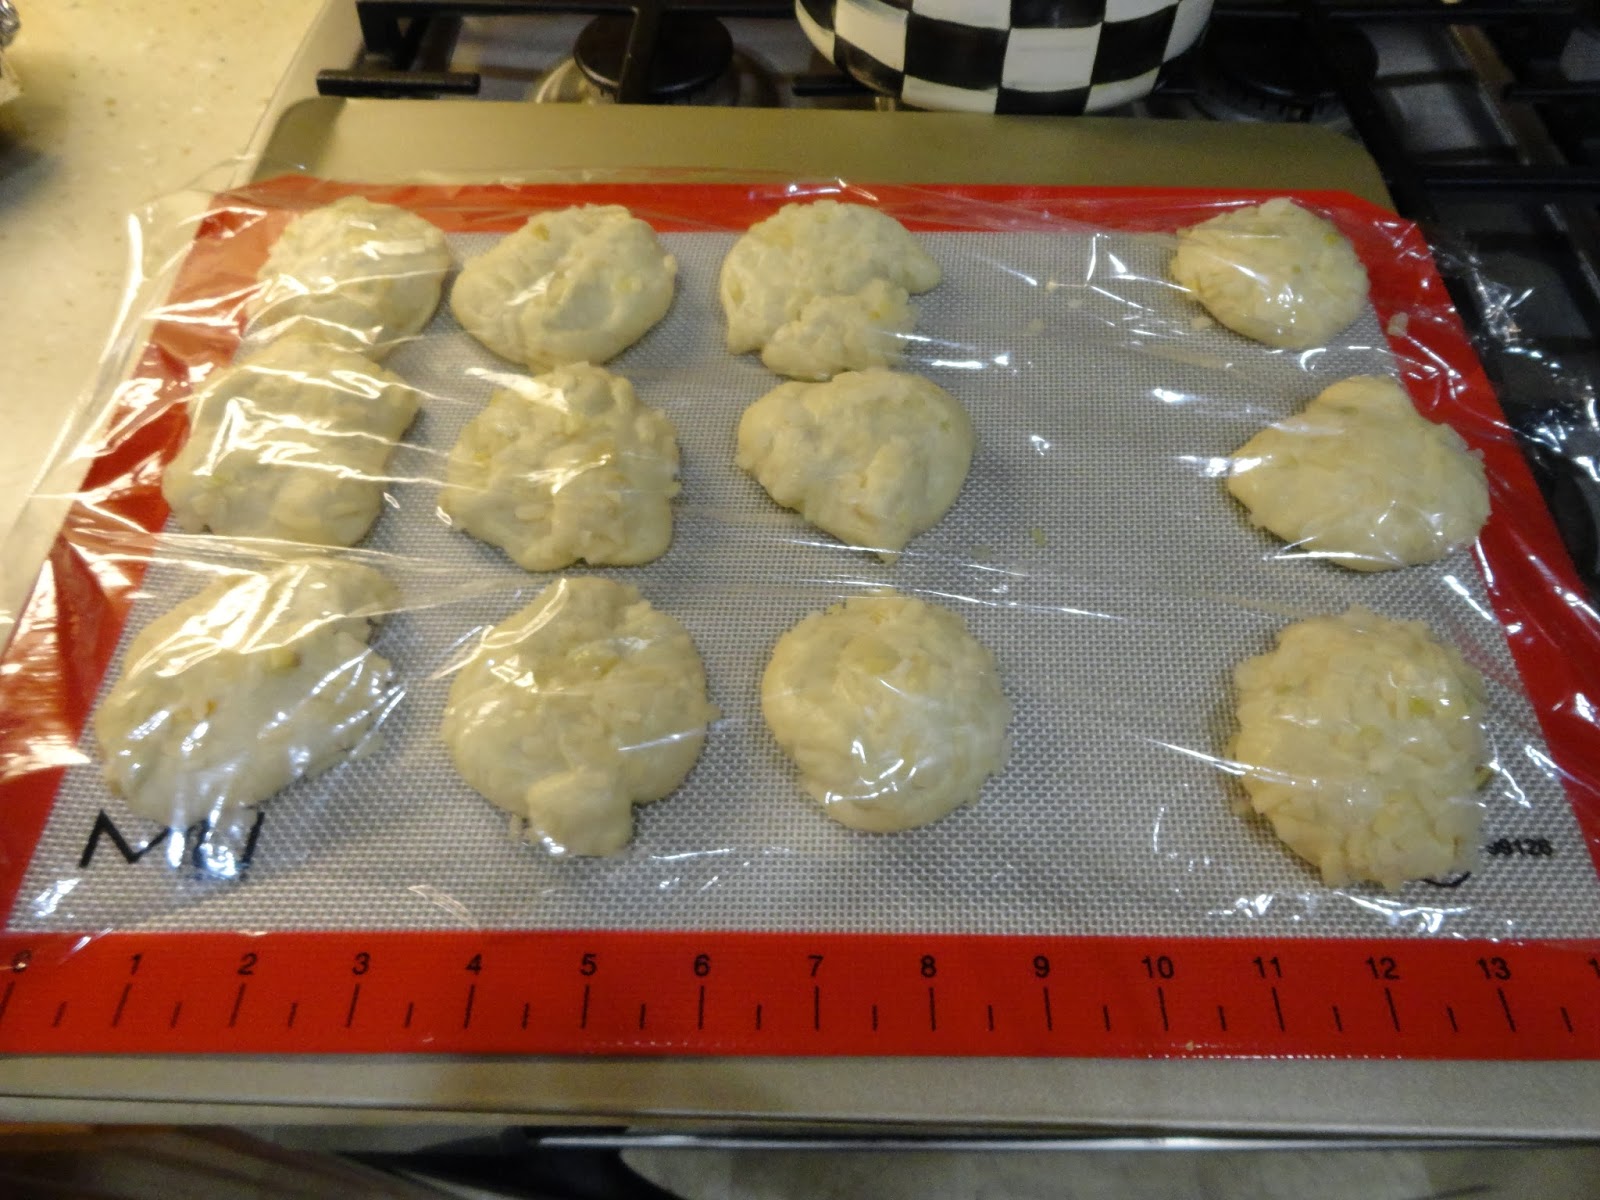
6. Slice dough into 1g piece and roll into balls.  Then squash the round balls with the heel of your hand into the hydrated onions until the balls are flattened to about 1/4-1/2 inch thick.

7. Place on a cookie sheet


8. Cover the cookie sheet with plastic wrap and let rise in a warm location for 1 hour.


9. Preheat oven to 400 degrees during the last bread proofing stage.   


10. Remove plastic wrap and bake until the tops are brown.  This is about 11 minutes in a convection oven and 15 minutes in a conventional oven.

They are done! They smell delicious! 


11. And… voila! Smells good! Freshly baked onion rolls!

As with most fresh breads, they do not store well.  They must be eaten within 2-3 days!  Not a problem in this carb-loving house!

You could always mix in poppy seeds, garlic, cheese, or whatever else you can think of to the mix!  

Hopefully this has inspired to you to bake your own bread for Thanksgiving!

This post was featured at Confessions of a Plate Addict. To see other great Thanksgiving ideas, go here!

I’ve linked up with The Scoop! Visit Confessions of a Plate Addict blog,Tablescape Thursday at ‘Between Naps on the Porch’, Wow us Wednesdays! at Savvy Southern Style, Open House Party at no minimalist here,Feathered Nest Fridayand Autumn Abounds Party at French Country Cottage, Seasonal Sundays & Oh the places I have been at The Tablescaper, and a stroll through life inspire me tuesday’s. 

Follow:

Cranberry Salsa Recipe!!

We use affiliate links in our posts and our site. This means if you make a purchase using these links, we may earn a small commission. You don’t pay a cent more than you would otherwise! Our full disclosure is available under About.

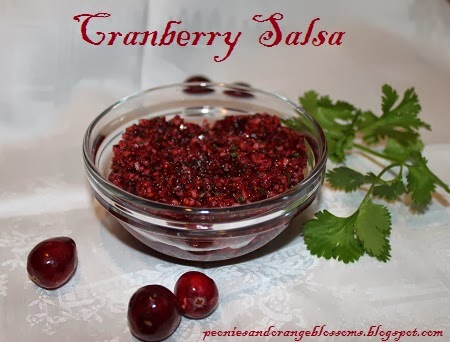
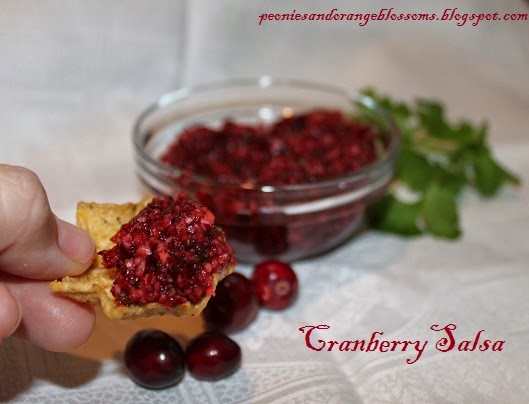
Cranberry Salsa… not your ordinary salsa!

My husband and I are hosting Thanksgiving for the first time this year… yep, the newlyweds are excited to play with all of the fancy kitchen gadgets our friends and family gave us for wedding presents.  I think they are excited not to be cooking this year!

We’ve been thinking up a Thanksgiving menu… scouring cookbooks, blogs, and pinterest.

Of course though, we have to make things and test them before we serve them to our guests.

Today, I am sharing with you a winner!

Cranberry Salsa! (printable recipe here)

Ingredients:

  • 12 ounch package of fresh cranberries
  • 1 jalapeno pepper
  • 1/4 cup fresh green onion, chopped
  • 1/4 cup fresh cilantro, chopped
  • 1/2 cup of sugar (you may add more or less, depending on your taste)
  • 1/4 teaspoon of cumin
  • the juice of 1 lime

Directions

1. Add the cranberries and jalapeno to the food processor.  Pulse until the cranberries are chopped, but still chunky (more chopping to come!).

2. Now add the remaining ingredients and mix together until it is pretty fine, but there are still some chunks in the salsa.

3. Enjoy!

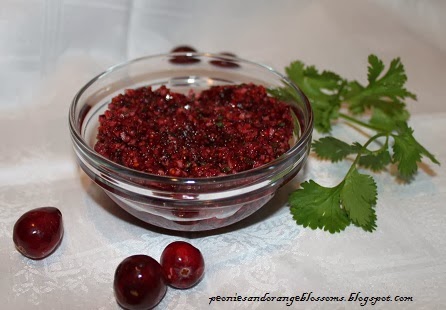
yum yum

This recipe was adapted from a bruschetta recipe (found here)… however, when we tasted it we thought it tasted better with tortilla chips!

Also, bruschetta takes up oven space.

And we all know oven space is always the limiting factor in Thanksgiving cooking.

That made this salsa a win!

It’s definitely not your average salsa… but since I live in California, I get sick of the average pico!

I’ve linked up with The Scoop! Visit Confessions of a Plate Addict blog,Tablescape Thursday at ‘Between Naps on the Porch’, Wow us Wednesdays! at Savvy Southern Style, Open House Party at no minimalist here,Feathered Nest Fridayand Autumn Abounds Party at French Country Cottage, Seasonal Sundays & Oh the places I have been at The Tablescaper, andlife of the party at the grant life, and the style sisters

Follow:

From the Shop

I may earn a small commission if you purchase with these links

Caning Natural Tote Handbag - Universal Thread™
The Hustler High Waist Fray Hem Ankle Bootcut Jeans
Le Panier Pliage Raffia Crossbody Bag
Extra Large Le Pliage Panier Tresse Straw Tote
The Bennet Buttondown Shirt by Maeve
T Monogram Perforated Leather Bucket Bag
Mellow Stud Mule
Le Pliage Marinière Recycled Nylon Canvas Travel Bag
Unseen Sunscreen Broad Spectrum SPF 40 PA+++
Maxine Stripe Cotton Button-Up Shirt
Citizens of Humanity Charlotte High Rise Straight Jeans
Navy Equestrian Traversee M Linen Tote
Cream Carrie Blouse
Ellison Natural
Jolene High Rise Vintage Slim
Citizens of Humanity Blue Jolene Jeans
Charlotte High Rise Straight Jeans
Le Pliage Filet Top Handle Bag
Vintage cotton crewneck T-shirt
Air Heart Sunglasses
Le Pliage Torchon XS Top Handle Bag With Strap
Santorini Raffia Basket Bag
Chuck Taylor® All Star® Lift High Top Platform Sneaker
Please note that I use ShopSense, LIKETOKNOW.it, Shareasale and Amazon affiliate links on this site. This means using them for purchases won’t cost you extra but may earn me a small commission.  Our full disclosure is available for viewing under About in the disclosure policy.
All rights reserved. Our graphics, images and text are all subject to copyright protection.