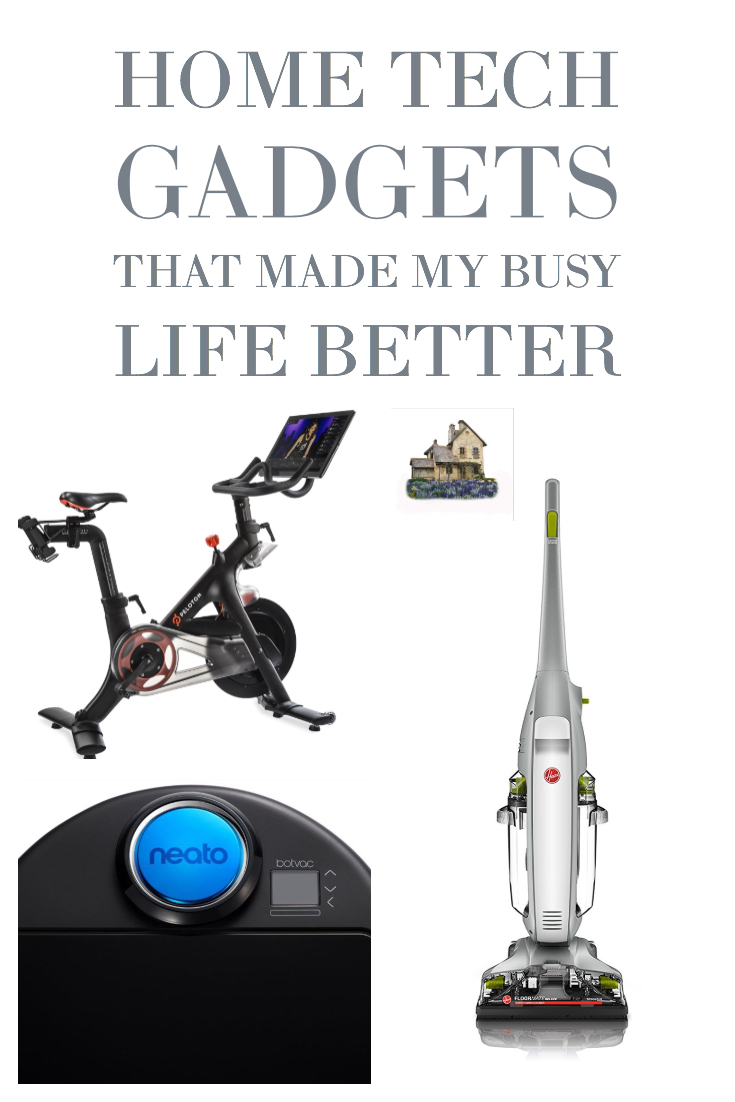
Happy New Year! With the new year everyone starts thinking about health and fitness. So I thought I would write about my favorite piece of exercise equipment: THE PELOTON BIKE!!!
We have had the Peloton Bike for almost 3 years and we love it. We initially purchased it because we were having trouble making time to go to the gym because of our busy lifestyle. I first wrote a review at 100 rides later which you can read here.
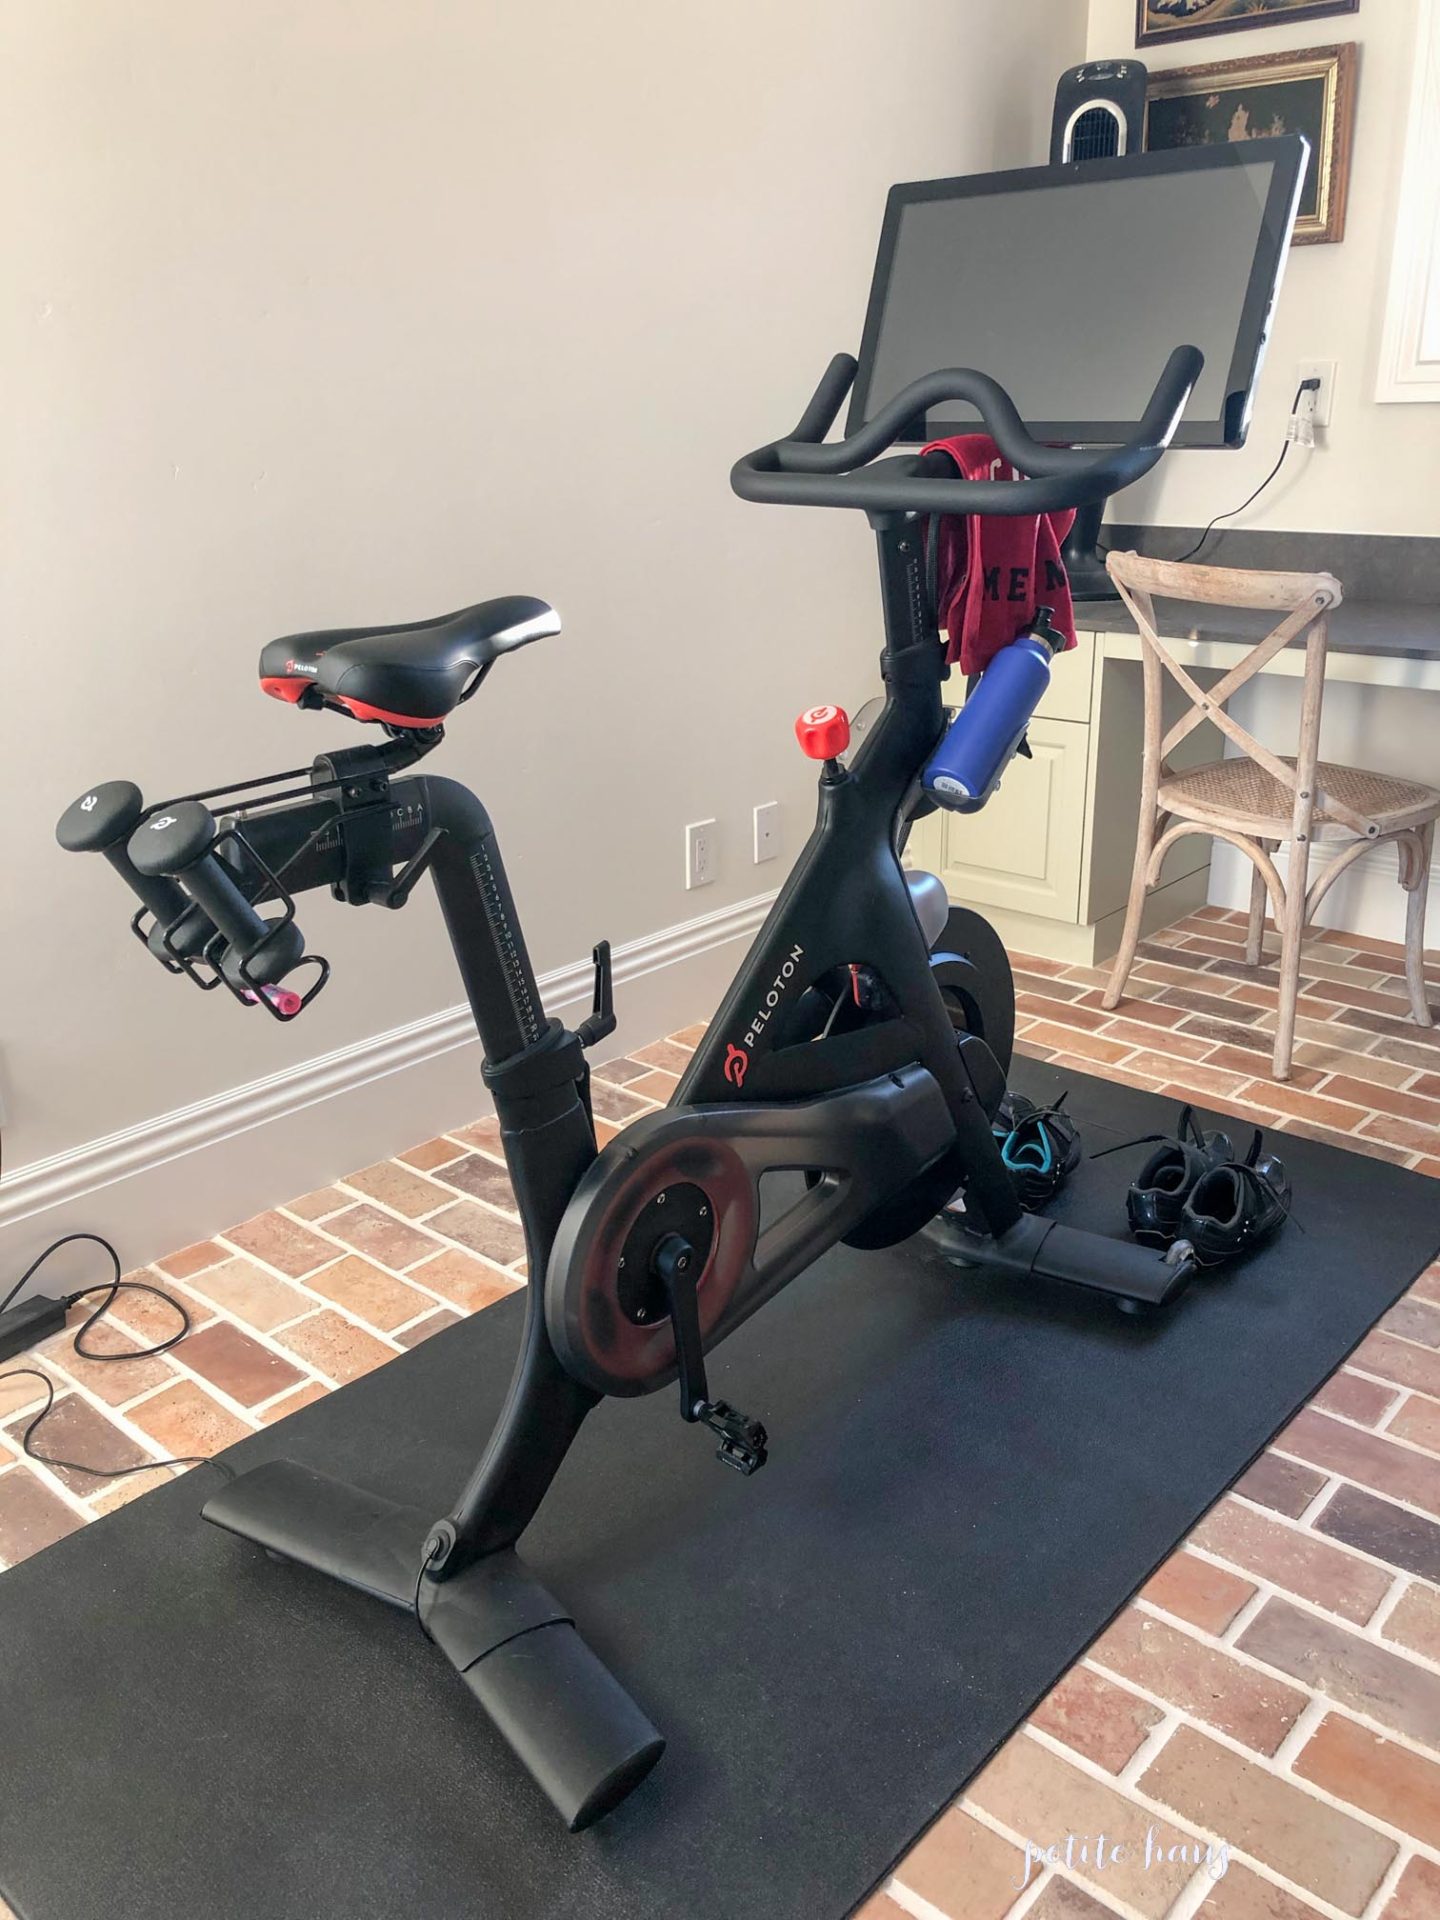
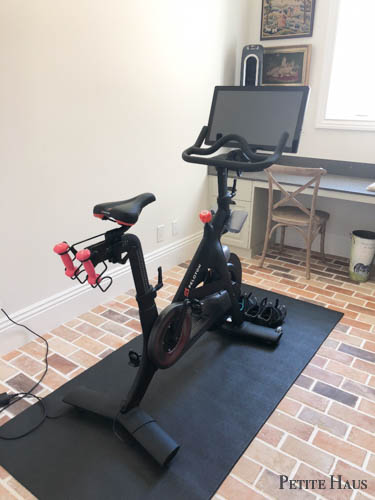
I thought I would show you have we have set up our bike at our house now since we’ve moved. These are pictures of our exercise area.
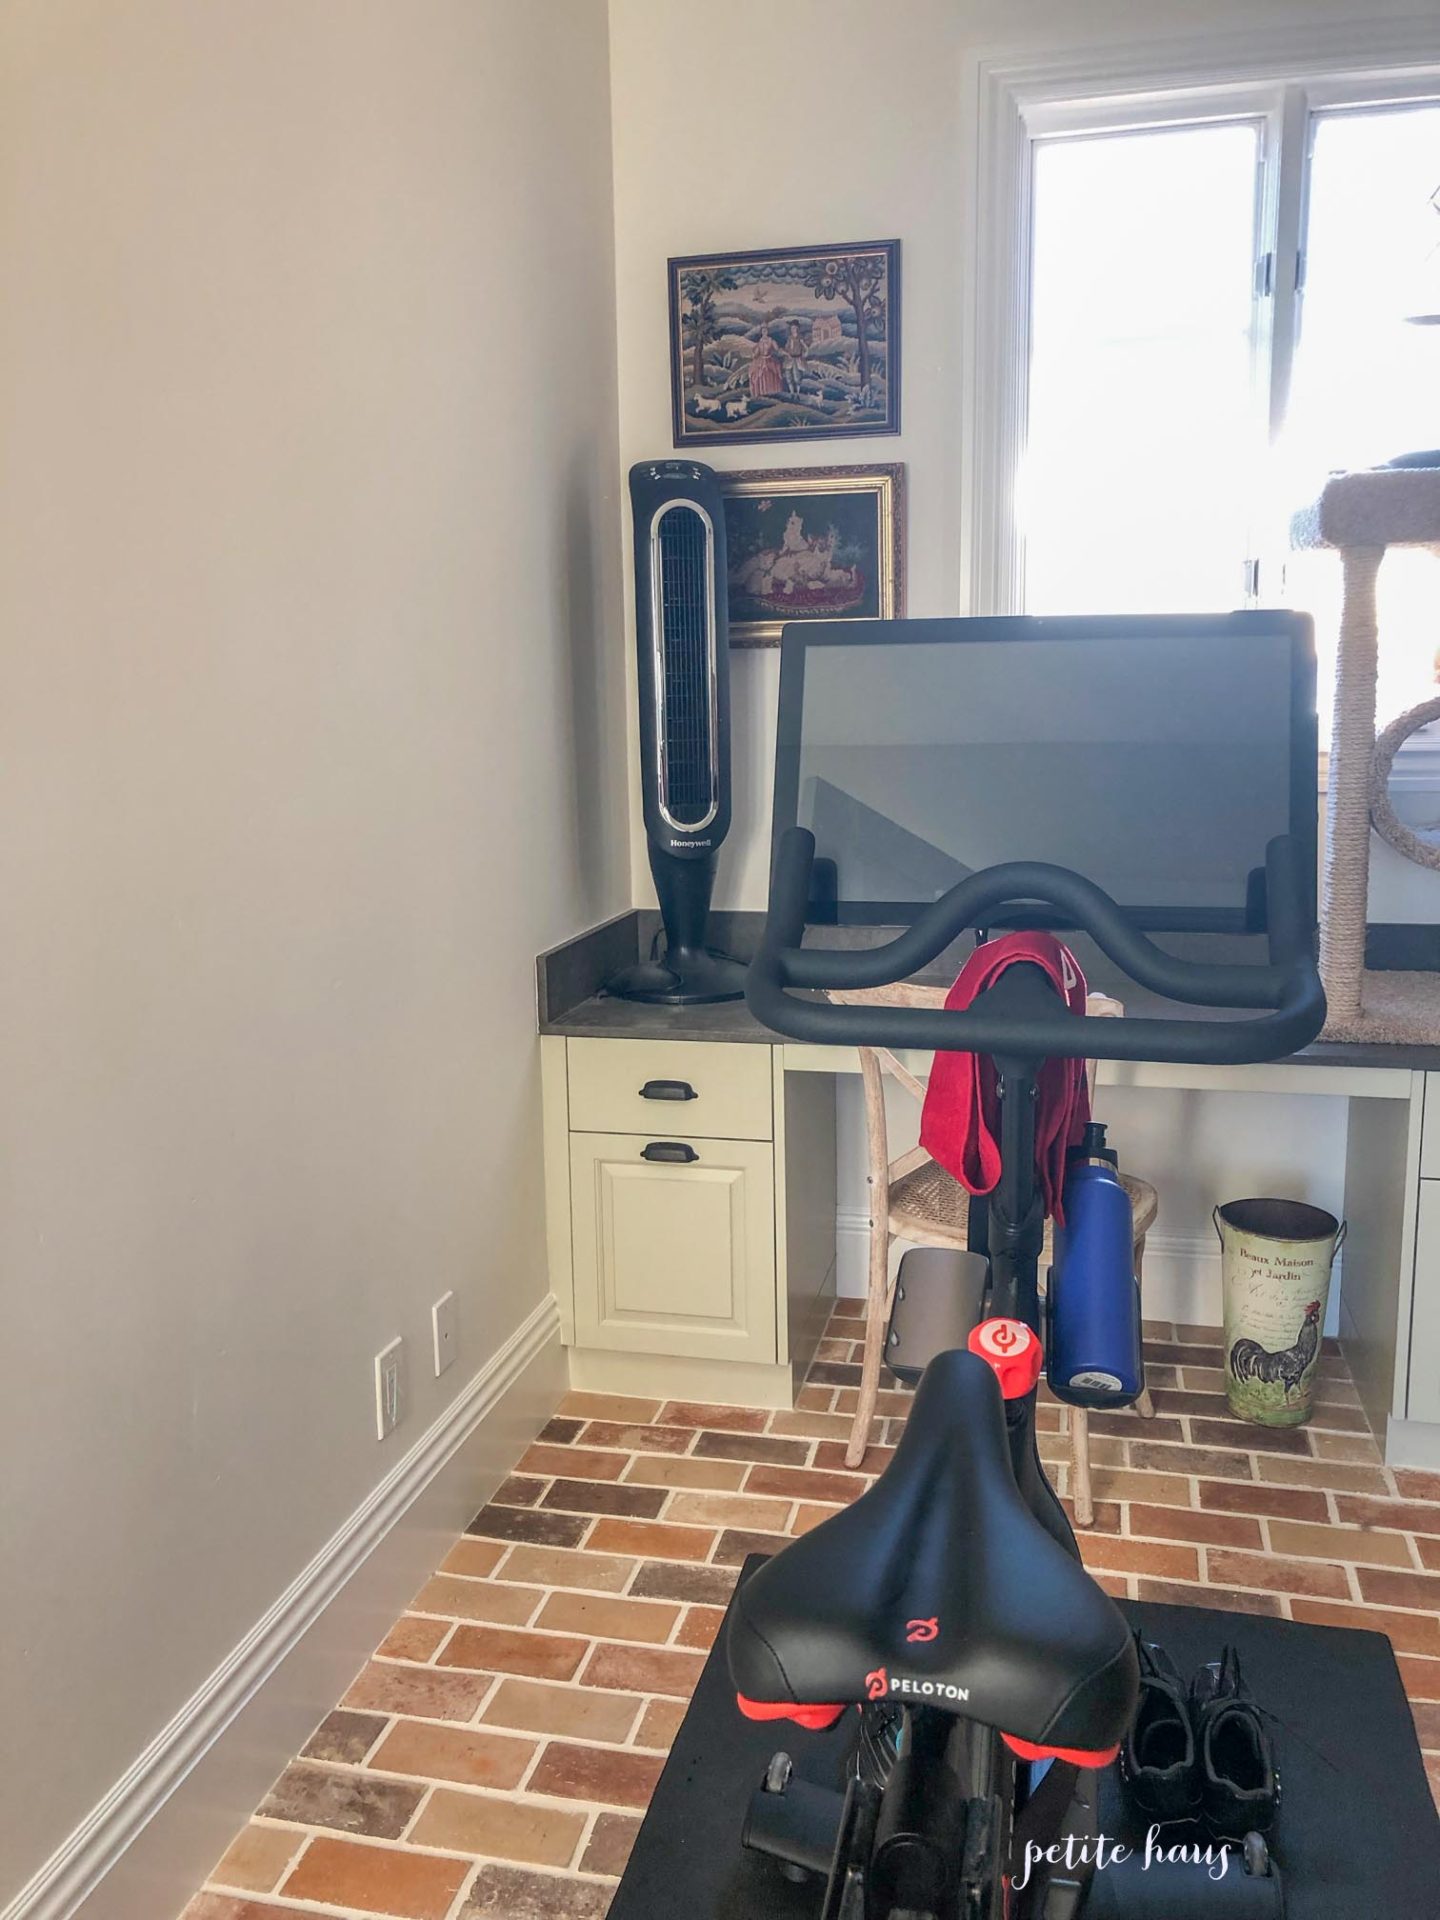
As you can see in the picture below we set up our tower fan to cool us while riding.
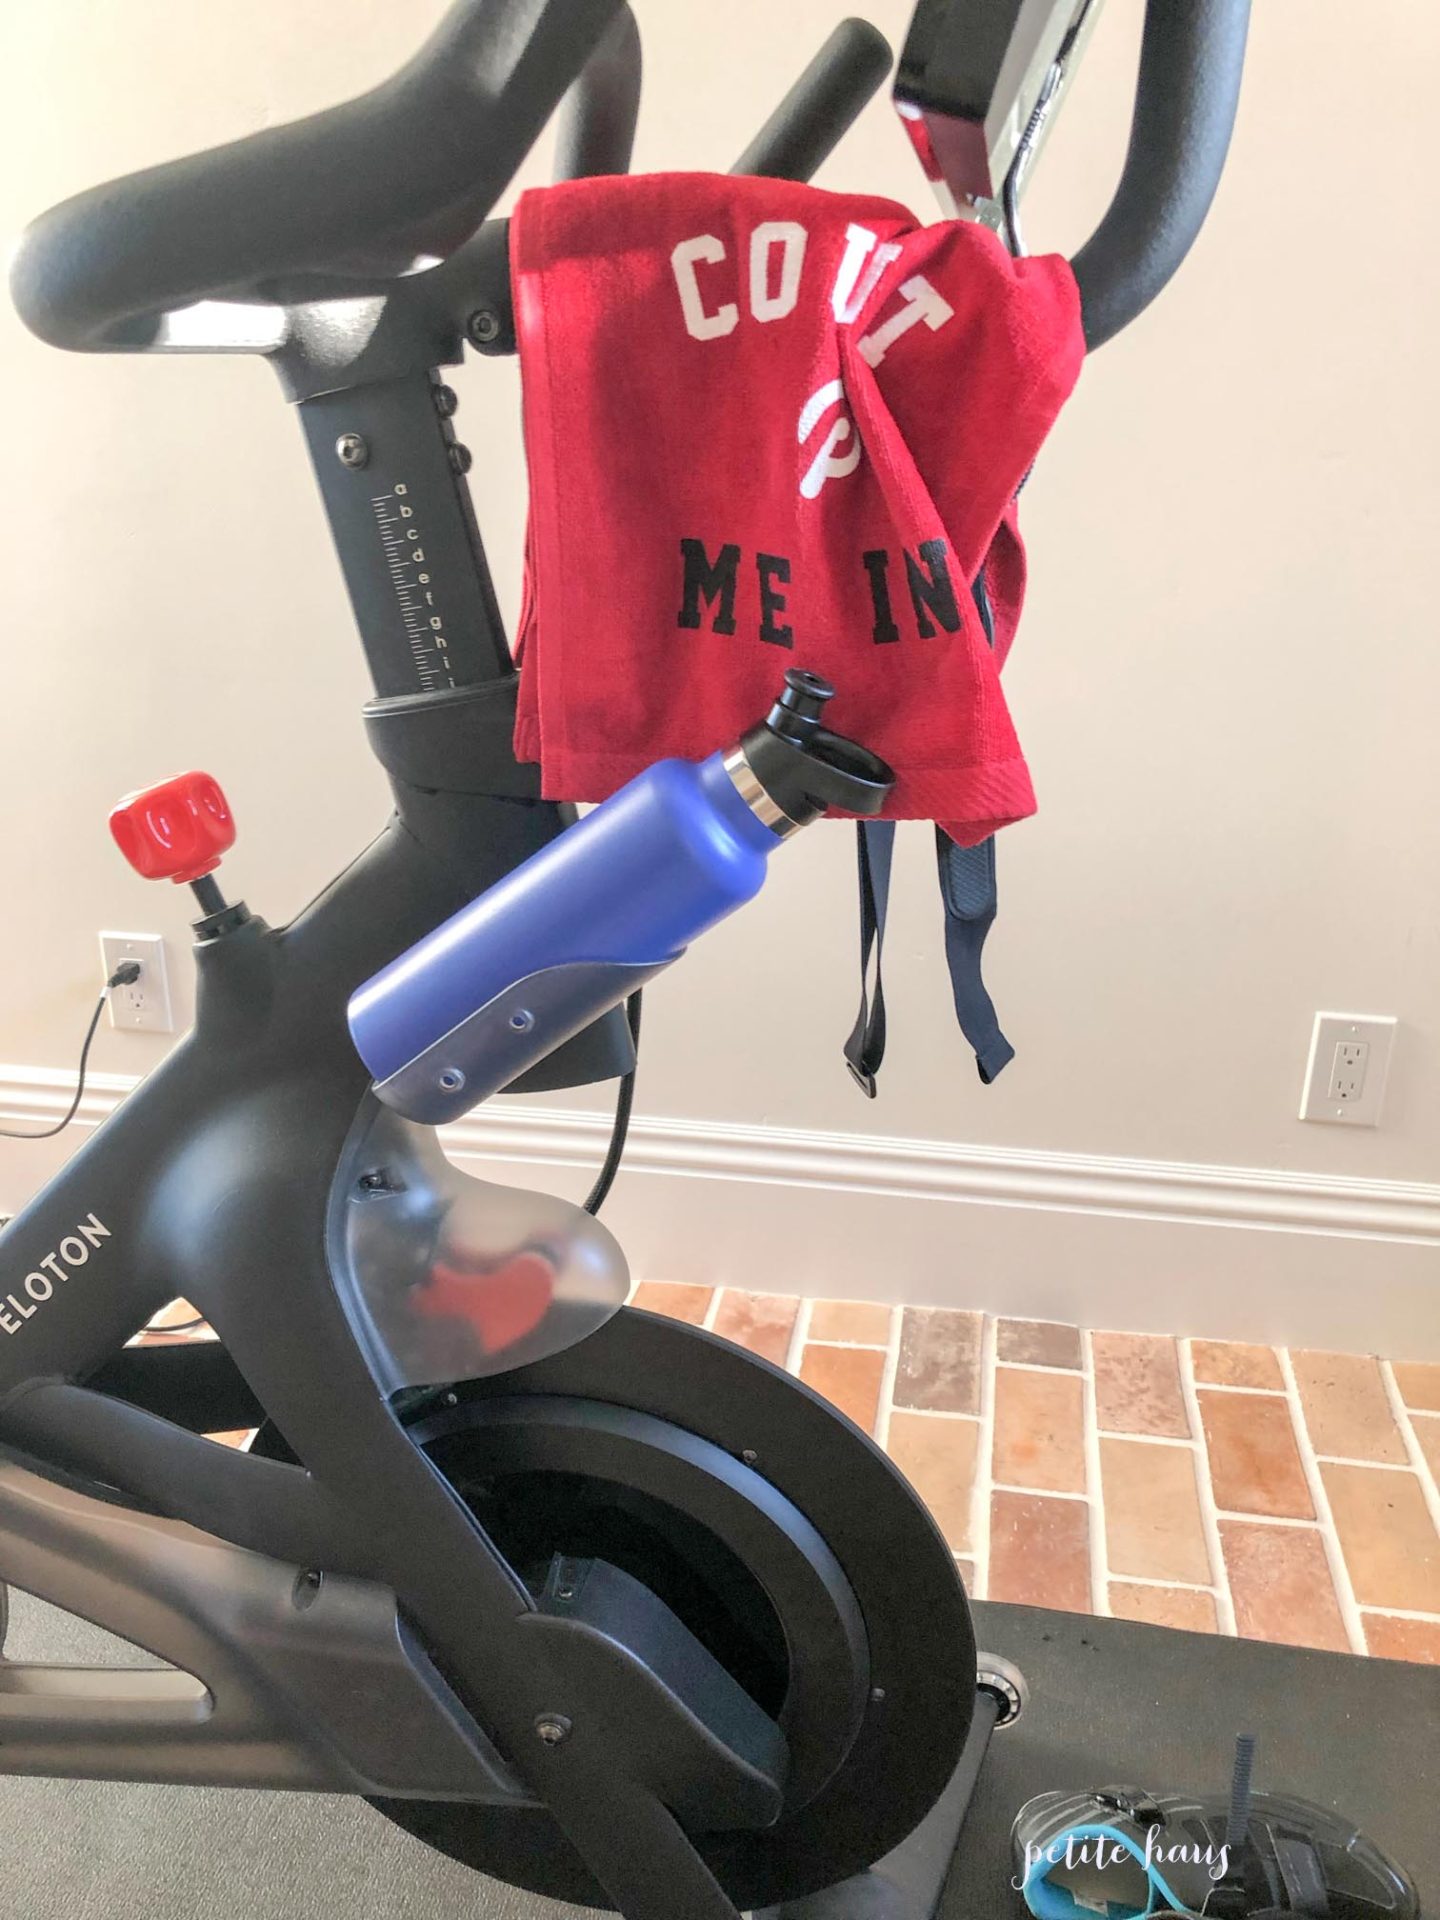
The bike holds 2 water bottles. When we are not working out we leave our towel and heart rate monitor to dry on the handle bars.
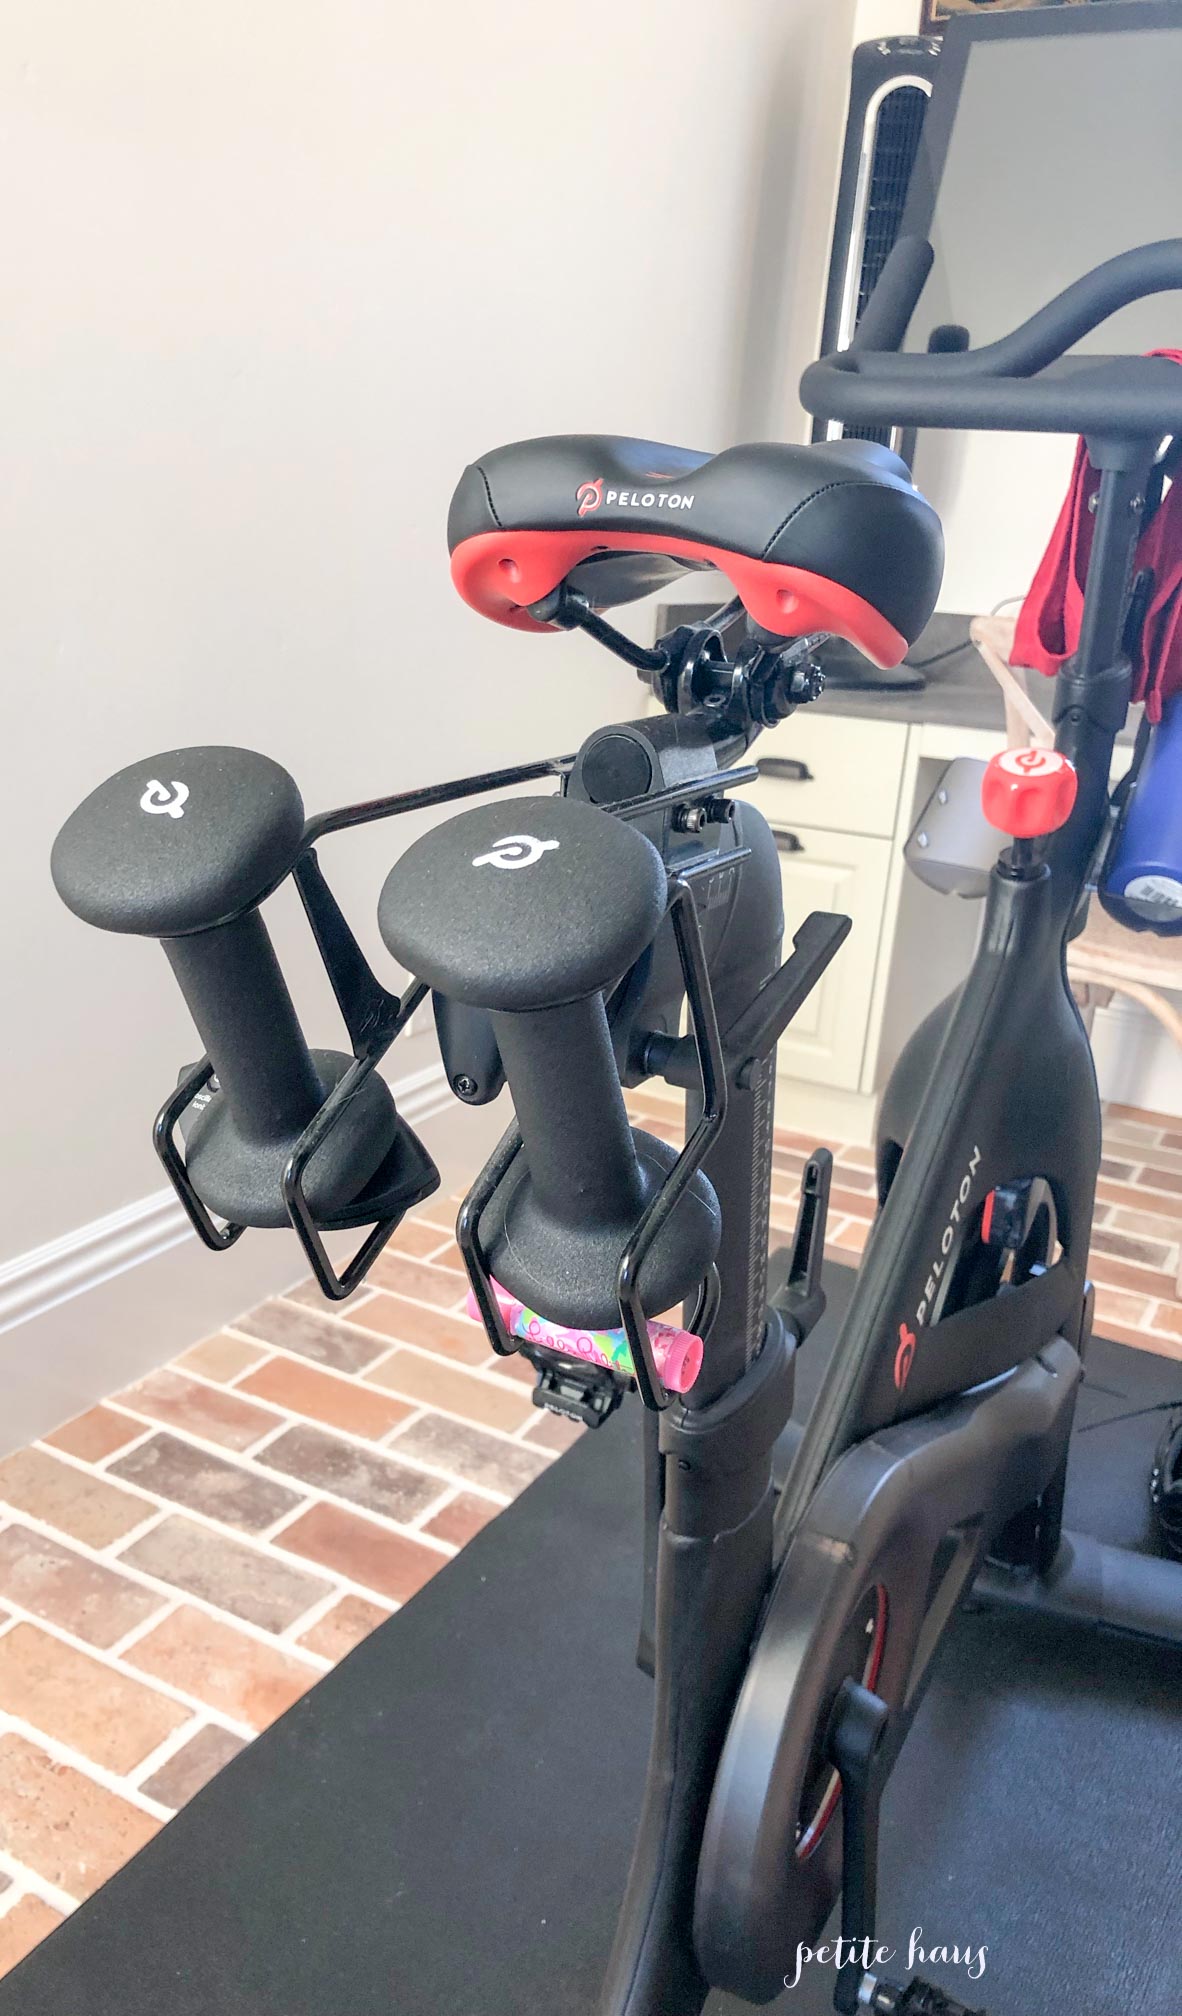
The bike holds the weights behind you. This is convenient as some of the cycling classes have an arms session.
We also keep our remove control for the fan and the much needed chapstick here.
We have an exercise mat underneath the bike to catch sweat because this bike will make you sweat!

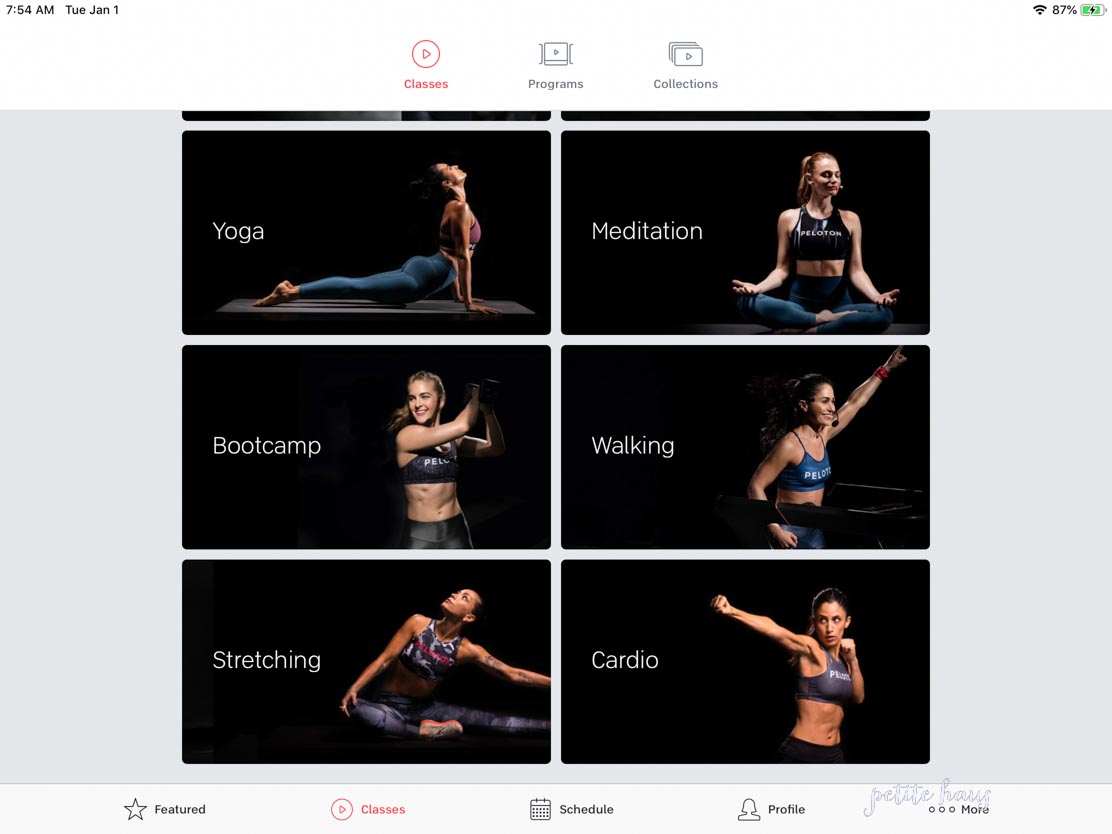
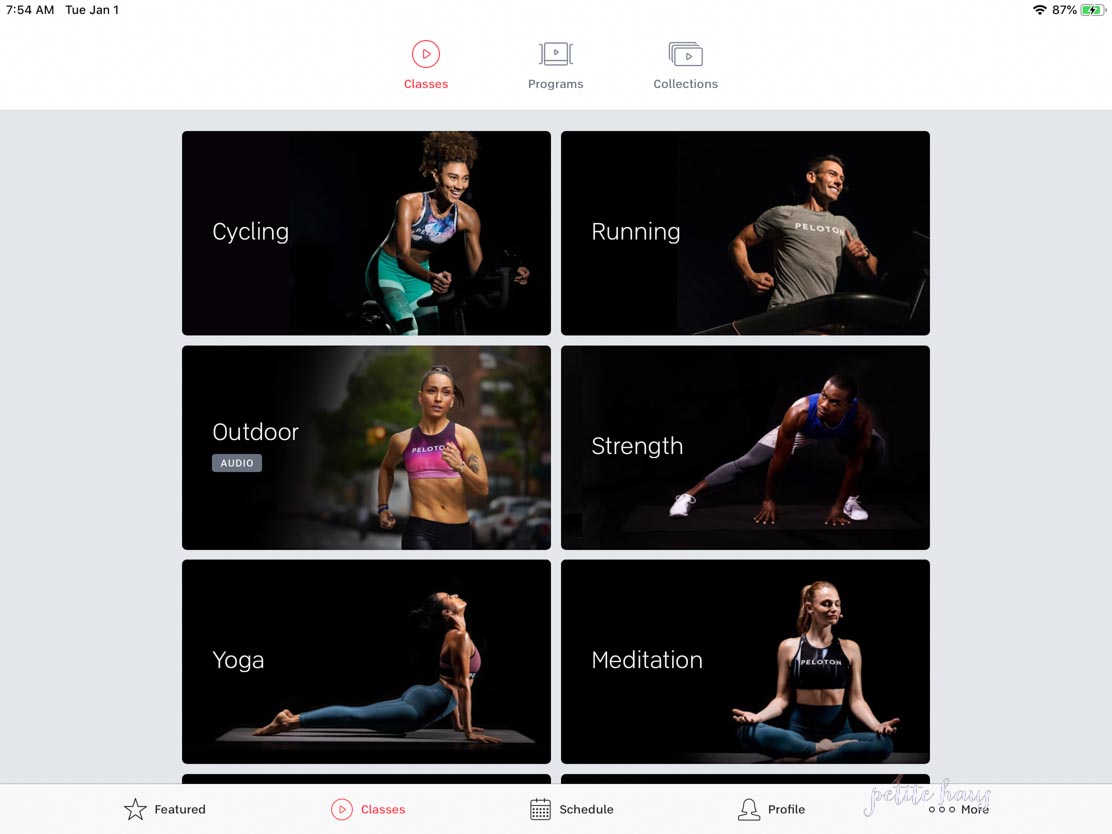
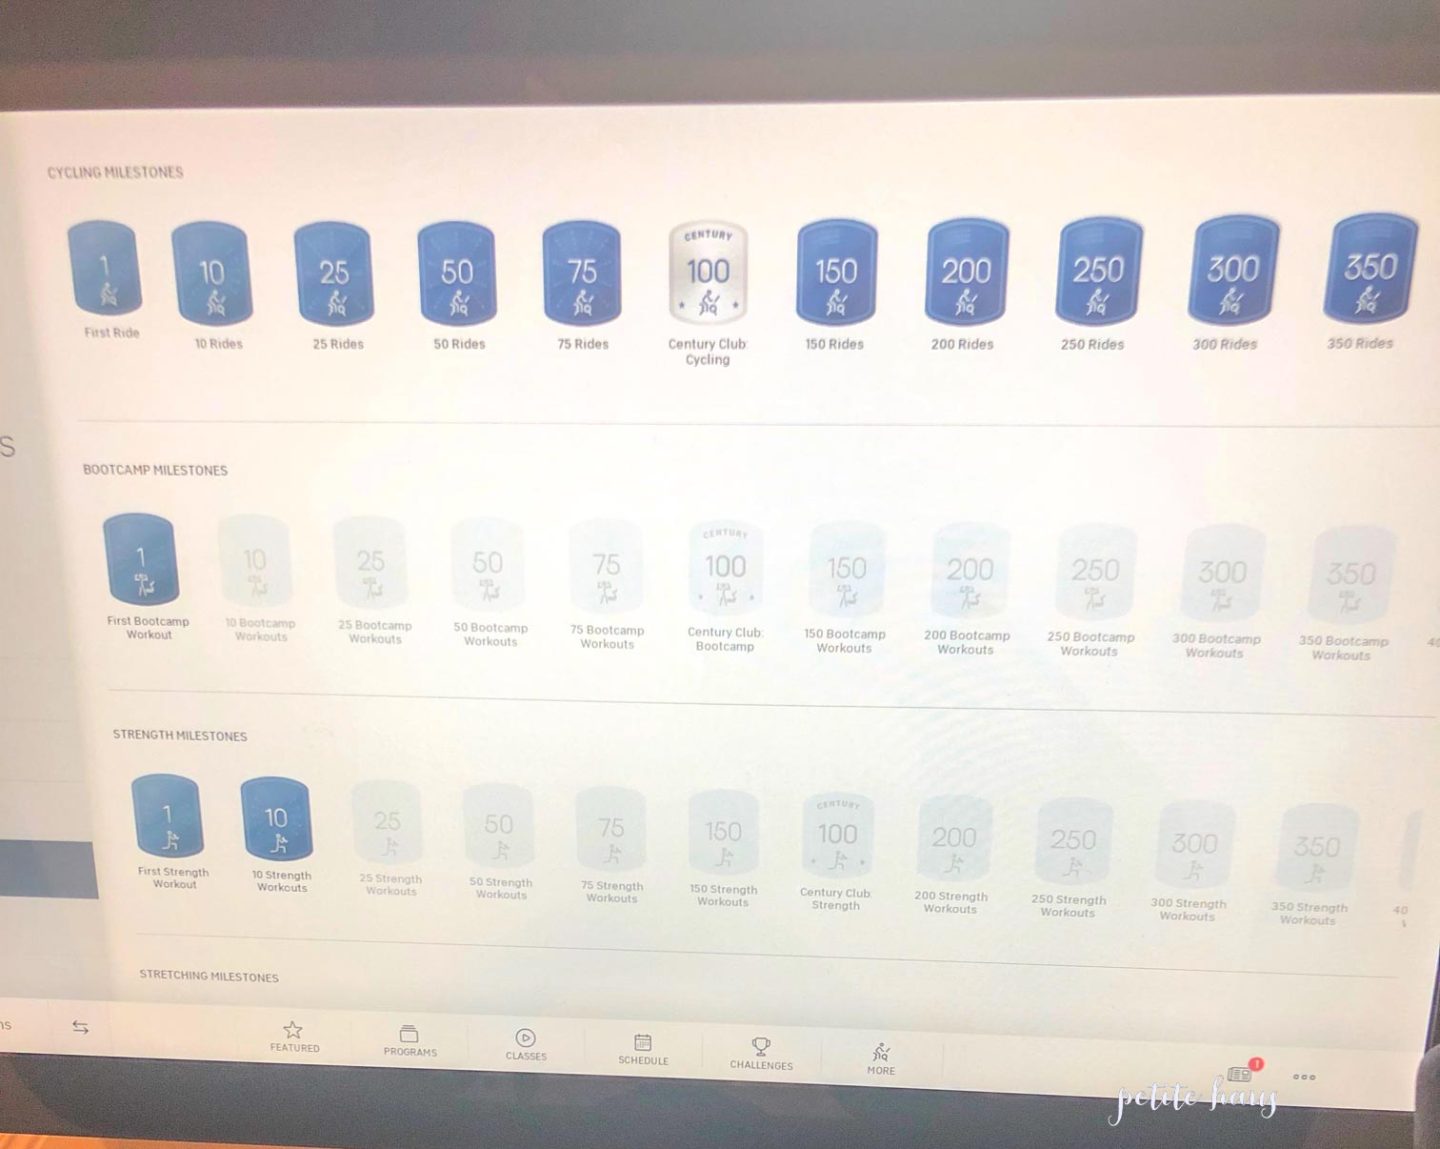
Below are some screen shots from the app but you can do the classes also on the bike. Since writing my previous review they have added many more exercise options such as boot camp, live yoga classes, running indoor and outdoor etc.
A new feature also includes training programs. I recently finished the 4 week Ride Tabata with Robin and it was great.

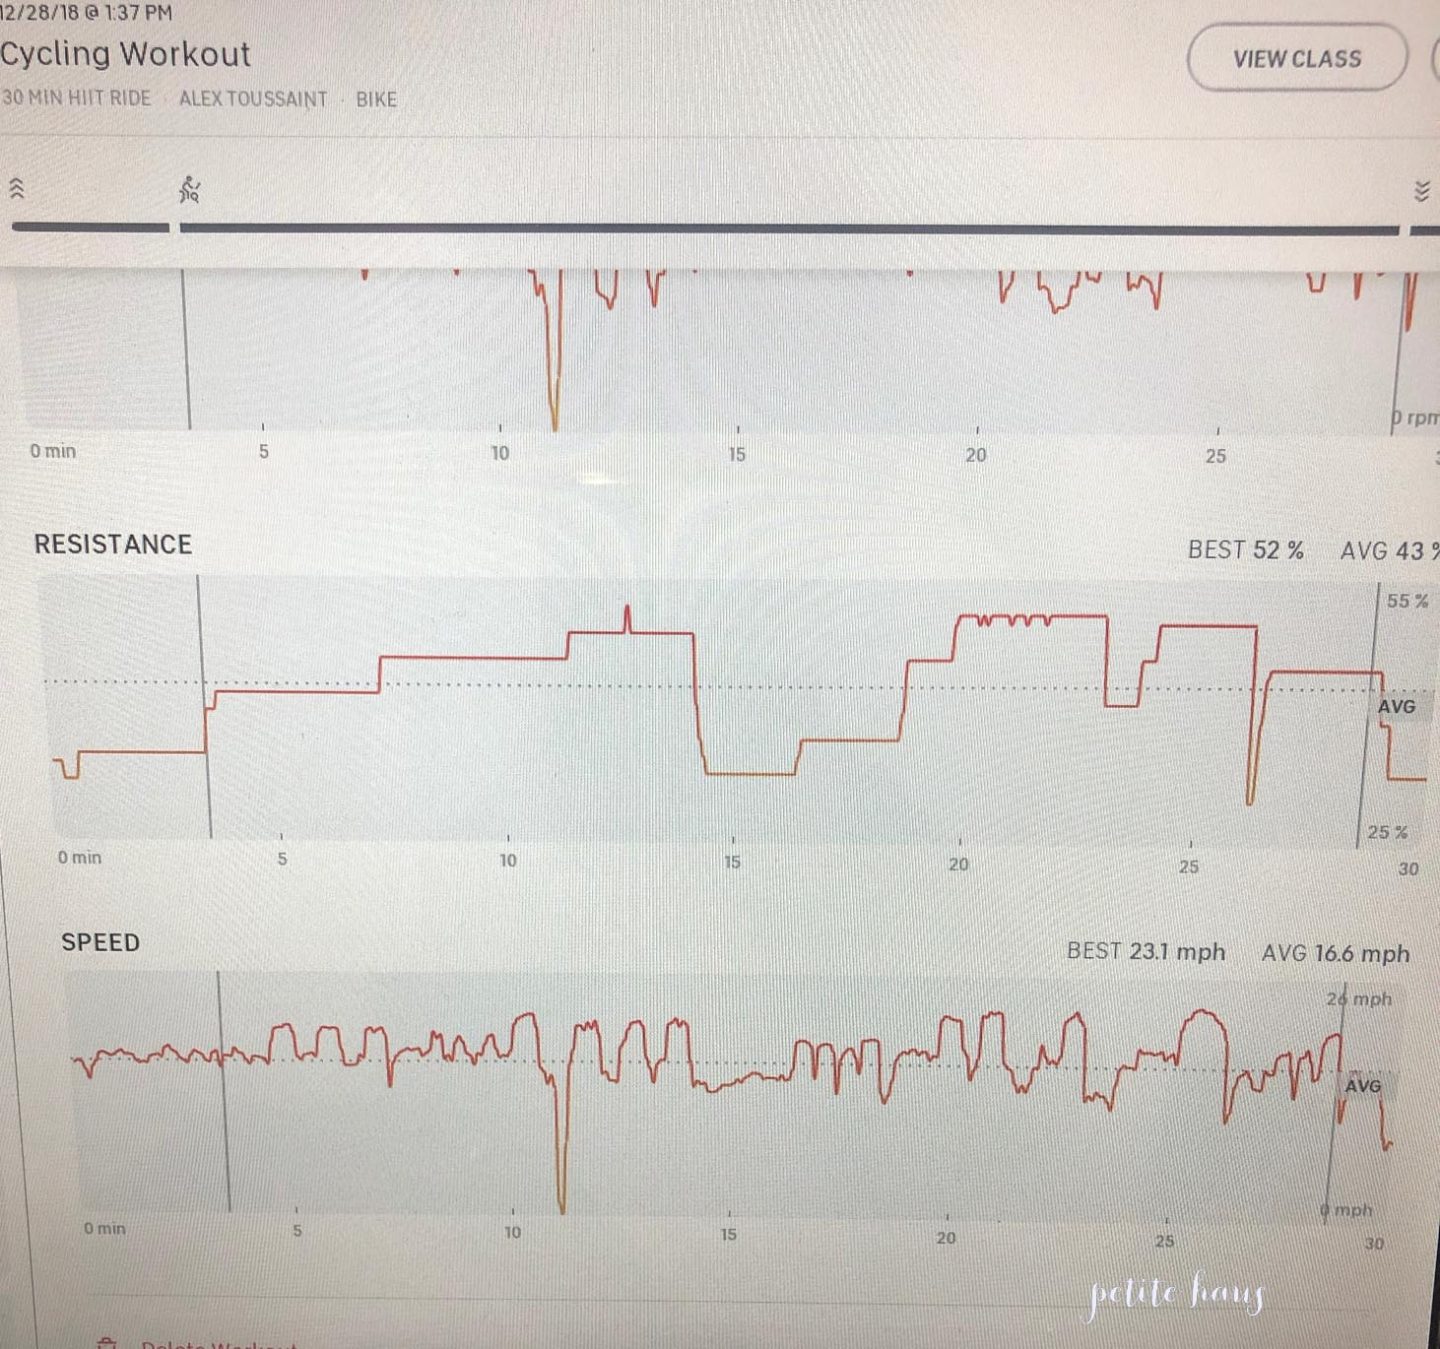
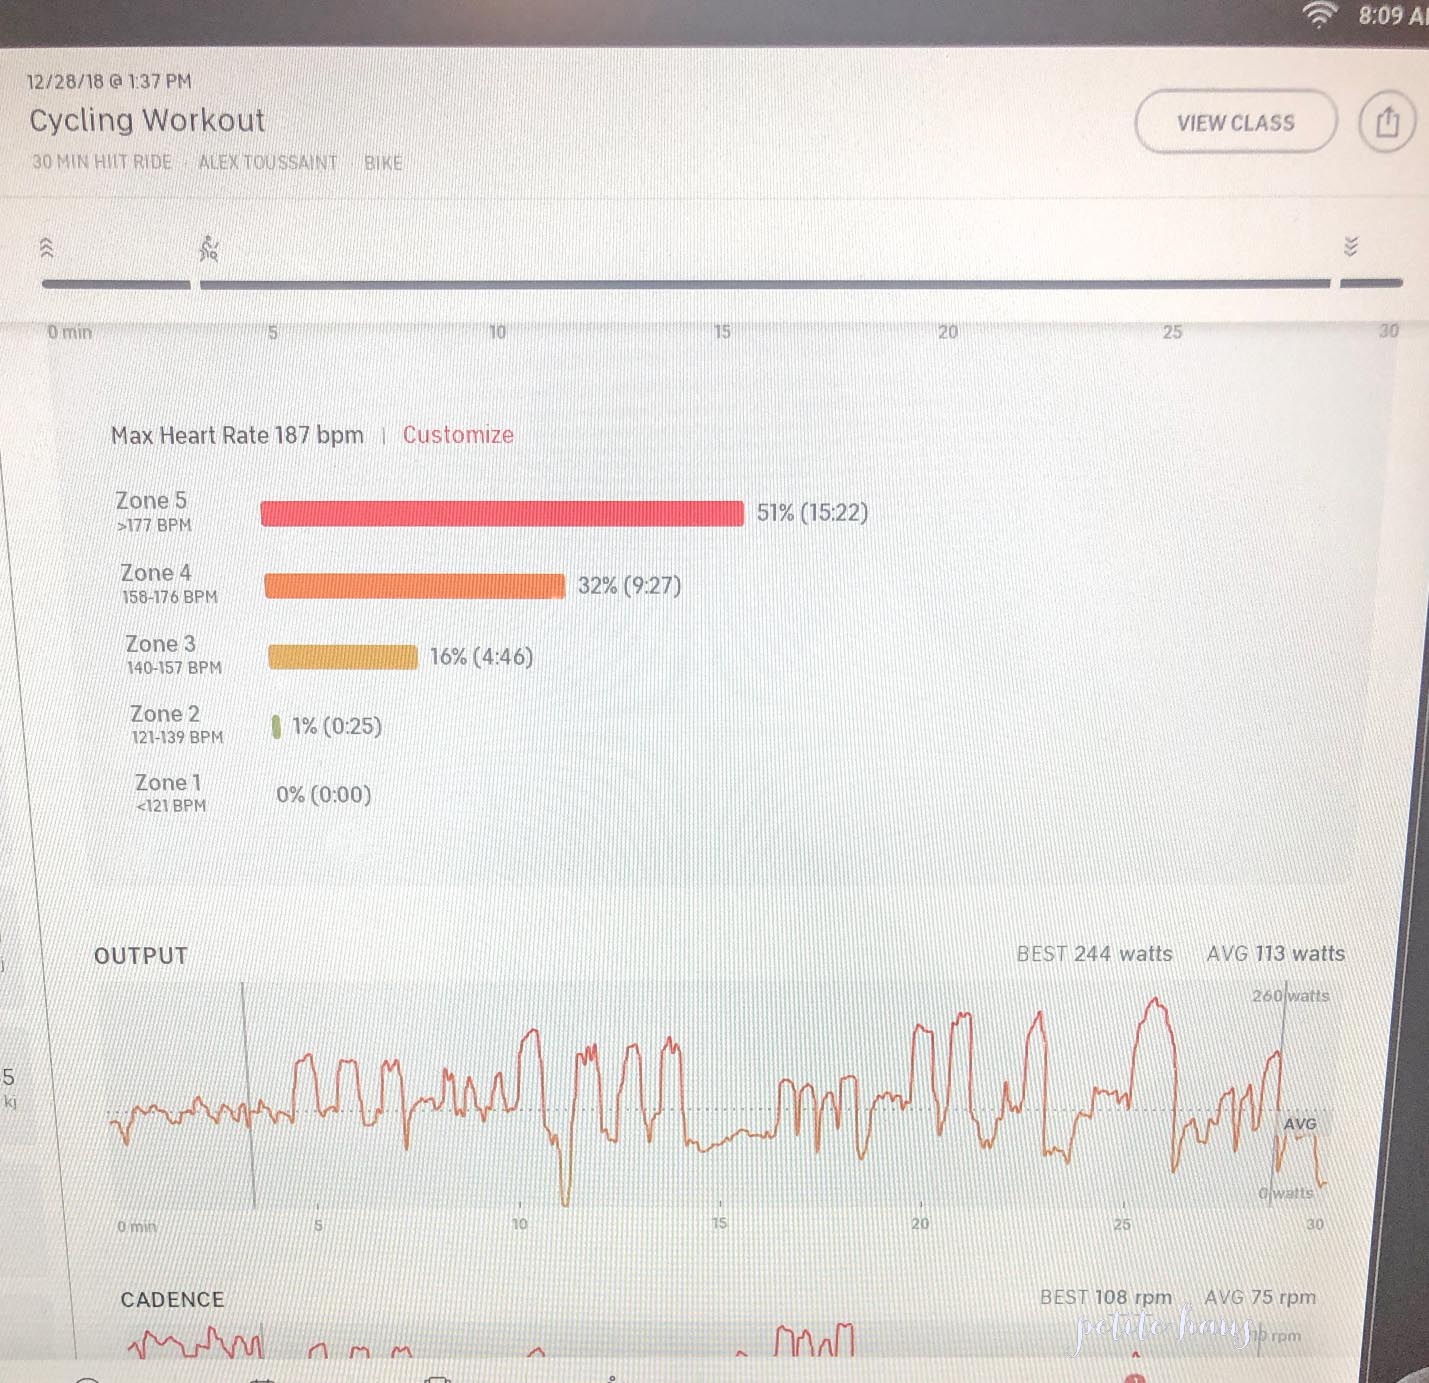
During each classes the bike measures many different metrics. I have includes a screen shot of one of my recent rides. These metrics include heart rate if wearing a compatible heart rate monitor, resistance, speed, cadence, and output based on wattage.
Also they have added new badges that you can earn. These are fun to collect. As you can see I don’t do any of the boot camps but I love riding.
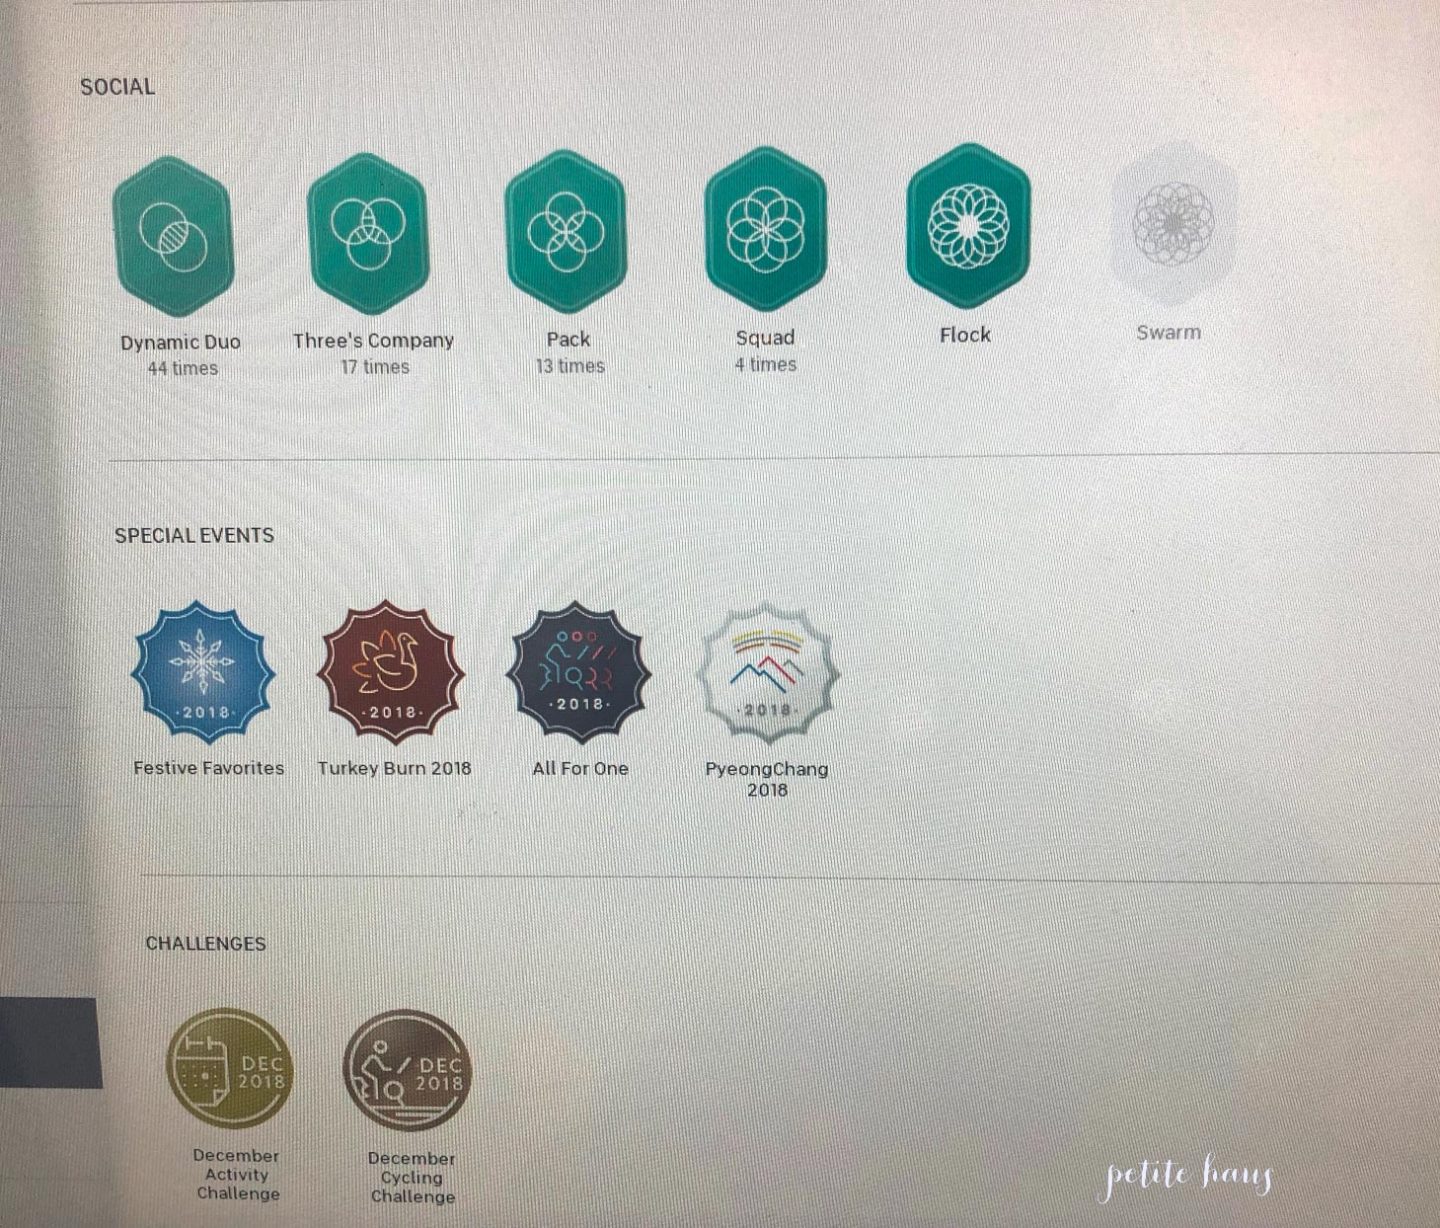
Another example of some of the badges. In December they added monthly challenges which is a good motivator. You can ride with friends and also earn badges as noted by these social badges below.
While you are riding you can “high five” other riders who are currently riding. This is nice especially during the hard parts of rides.
During our workouts our cat sits in her tower and sleeps while we are sweating to death.

You can also use the app on your iPad. We use this for core workouts and yoga. It is also great if you are traveling. If you don’t want to splurge on the bike you can first download the app to subscribe to see if this is something you are truly interested in.
While the bike is no where cheap at $2245, we felt it has been worth every penny and between my husband and I we use it nearly everyday. The peloton membership is $39 dollars a month.
They now have introduced a Treadmill too, called the Peloton Tread. We have been debating about it… but I hate running so I don’t know how much I’d use it. You certainly don’t have to run while using the treadmill – you can walk on it and there are walking programs in addition to programs for training for 5Ks and marathons!
My review earlier has more basic questions and answers and more of my favorite accessories – if you are seriously thinking about the bike you’ll want to read that review too! You can purchase the bike here.
Favorite Extra Equipment
Here is the equipment mat we use – cheaper than the Peloton one.
I love this sweat wicking temple tape headband.
Shoe clips – hang two pairs of cycling shoes on the back of the bike on the weight rack – perfect if you don’t have a lot of space! We just store our shoes in a cabinet in the room.
These are the clips you need for your cycling shoes if you don’t buy the Peloton branded shoes.
Love these weights – they fit in your bike weight holder (at least the 1 and 3 pound did!)
Highly recommend a tower fan with a remote control like this.
I have some of my favorite work out products here at my Amazon store.
You can use my referral code HMUX7R when you purchase the bike – this gives you and me $100 off at the Peloton boutique! win win!


 We use affiliate links in our posts and our site. This means if you make a purchase using these links, we may earn a small commission. You don’t pay a cent more than you would otherwise! Our full disclosure is available under About.


 We use affiliate links in our posts and our site. This means if you make a purchase using these links, we may earn a small commission. You don’t pay a cent more than you would otherwise! Our full disclosure is available under About.


 I’d appreciate it if you pinned a few pics!

 We use affiliate links in our posts and our site. This means if you make a purchase using these links, we may earn a small commission. You don’t pay a cent more than you would otherwise! Our full disclosure is available under About.


