google.com, pub-5426958118371358, DIRECT, f08c47fec0942fa0

Floral Arrangements in the Tulipiere

We use affiliate links in our posts and our site. This means if you make a purchase using these links, we may earn a small commission. You don’t pay a cent more than you would otherwise! Our full disclosure is available under About.

A while ago a blogged about tulipieres.  For my birthday this year I received a tulipiere from my parents!  (I think they read the blog post!).

I have enjoyed putting flowers in this wonderful vase.  You can break it down and have 3 separate vases OR you can have one tall vase!  That’s one of the reasons I love it.

Let’s take a look at some of the pictures I’ve taken through the Summer! 

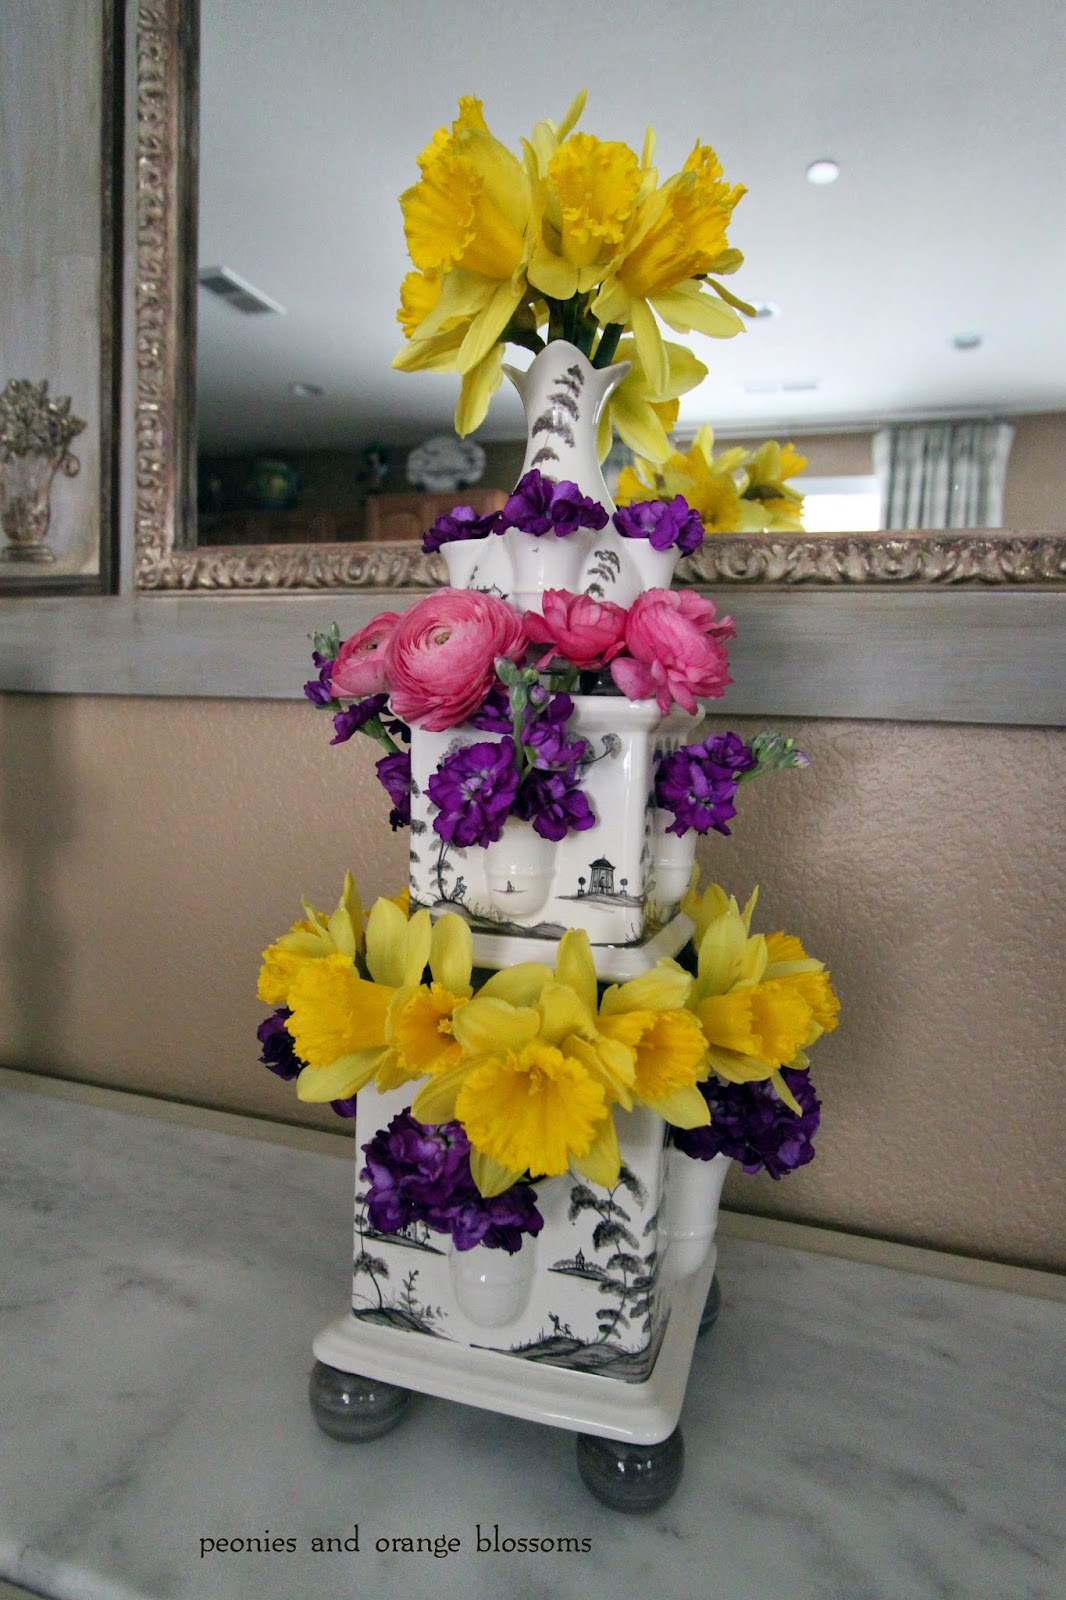
tulipiere with ranunculus, daffodils, and purple stalks

I had taken better pictures of the one below but I can’t find *any* of the pictures other than this crummy one from my phone. Oh well, you get the idea… I used mums and stalks. 

The tulipiere displaying… tulips! It takes about 3 dozen flowers to fill the thing up! 

What’s so neat about this vase is that you can create a HUGE impact with it.  Below is one that my husband had waiting for me when I got home from a trip! *awwww* He did a good job, didn’t he?

The tulipiere stands at almost 3 feet tall!  I LOVE it!  I love how full this arrangement is.  

a sunflower for the end of Summer!

I hope you enjoyed looking at my pretty flowers! I enjoyed having them!

Written at http://peoniesandorangeblossoms.blogspot.com

Linking up with these fabulous link parties: The Scoop! Inspire Me Tuesday, Wow us Wednesdays! What’s it WednesdaysCenterpiece WednesdaysCreative Ways,Tablescape ThursdayTreasure Hunt ThursdayHome Sweet Home Feathered Nest Fridays,G’day Saturdays,

Follow:

Potato Rosemary Pizza Recipe

We use affiliate links in our posts and our site. This means if you make a purchase using these links, we may earn a small commission. You don’t pay a cent more than you would otherwise! Our full disclosure is available under About.

I love potatoes. I love pizza. How about… potato… pizza. Potato pizza!  I was first introduced to this type of pizza at Katie’s Pizzeria in St. Louis.  However, I have since moved.  But… I still want the pizza!  This pizza has been a few years in the making.  My husband and I have been trying to figure out how to make it taste like our original.  I don’t know if this tastes *exactly* like the original, but what we’ve come up with is really good!

Potato. Rosemary. Pizza? Huh? Now, don’t wrinkle your nose yet.  Let me share some pictures first.

Potato Rosemary Pizza


See, doesn’t it look good? Or if you aren’t sold, maybe another view?  Below is pizza from a different day, but it is the same thing!

Or maybe some words to sell you?  This is my FAVORITE pizza. My husband (the master chef) is the pizza maker.  Whenever he asks what type of pizza I want, I always say potato. I think he might be sick of potato pizza.  (I just asked him, he says no).

Potato Rosemary Pizza

We bake the pizza on our outdoor grill because it gets hotter than our oven (and bonus – keeps the heat outside!).  We use this pizza stone.

Okay, ready for the recipe? It’s broken down into two parts. Crust and toppings.

POTATO ROSEMARY PIZZA RECIPE: (printable recipe here)

Our Basic Pizza Crust Recipe

Ingredients

  • 2 cups of regular flour (but if you want the best, use the 00 flour)
  • 1 cup of fine corn meal
  • 1 tablespoon of active dry yeast
  • 1 teaspoon salt
  • 1 tablespoon extra virgin olive oil
  • 3/4 cup plus 2 tablespoons lukewarm water
  • 2 tablespoons honey, optional

Directions

  1. Heat the water to lukewarm. Then add the olive oil. (for really yummy dough, add the 2 tbsp honey here)
  2. Dissolve the yeast in the warm water.
  3. Using your bread kneader mixing option on your mixer (we use the option on the kitchenaid), pour the yeast solution into the mixer and mix for 5 minutes.
  4. Now, add all of the dry ingredients to the mixer. Mix on low until it forms a ball.  If it does not form a ball, you need to add more flour or cornmeal.
  5. Once it has formed a ball, knead on low speed for 20 minutes.  I know this seems unnecessary, but it is the most critical part!
  6. After, cover and let the dough sit in a warm, dry place for 1 hour. This allows the dough to rise.  If you want to make your dough ahead of time, place the dough in the fridge overnight and take it out 1 hour before cooking time.
  7. Spread the dough into desired shape. This dough makes enough for two 10″ pizzas, so we separate the dough into two. This makes the shaping of the circular pizza dough a little easier!

Potato Rosemary Pizza Toppings


Ingredients

  • 2 small potatoes or 1 large potato (russet, yukon, fingerlings, your choice)
  • 1 parsnip, thinly sliced
  • 1/2 onion (usually yellow, but red is fine too)
  • Extra virgin olive oil, to spread on dough.
  • Mozzarella cheese, pre-shredded is easiest to use
  • Parmesan reggiano cheese
  • pepper to sprinkle on top
  • Fresh rosemary

Directions

  1. Preheat oven to 500F, best cooked with a pizza stone.
  2. Cook the potato prior. (Use the microwave for fastest results. You do not want the potato to be soggy or too-baked).  Now slice the potato into *thin* slices.
  3. Slice the parsnip and onion into thin slices.  You want them to be thin enough for just a crunch. (if you slice them too thick, it will be gross).
  4. Sprinkle olive oil on top of your shaped dough and rub it to cover the area of where the toppings will be.
  5. Place parsnips, onions, and potatoes on top. The KEY to this pizza is having potato in every single bite.
  6. Sprinkle mozzarella (as much as desired), then parmesan cheese (not as much as the mozzarella).
  7. Sprinkle some pepper on top.
  8. If you use a pizza peel (as I do), sprinkle coarse cornmeal on the bottom so the pizza will easily slide off the peel onto your stone.  This is a nice trick.
  9. Place in oven and cook for 8-12 minutes, until it looks done.
  10. Immediately after you take the pizza out of the oven, sprinkle rosemary on top.
  11. Enjoy!
A few things to note: 1. How thinly sliced everything is. 2. the coarse cornmeal on the pizza peel. 3. How there is potato in every bite.

One last close look… oh yum yum. I’m going to go eat some left-over pizza for dinner now.

potato rosemary pizza

Follow:

Macaron shop review: Sucree

We use affiliate links in our posts and our site. This means if you make a purchase using these links, we may earn a small commission. You don’t pay a cent more than you would otherwise! Our full disclosure is available under About.

I recently found a new macaron shop! Woohoo! Perfect for my macaron love affair, especially during the Summer when it’s too hot for me to run my oven.

What’s neat about this macaron shop is that they have a TON of different favors every single day.

They post them on Facebook every morning… That way you can see if you’re favorites are being made that day. They not only make sweet flavors, but savory ones as well.

I tried 6 different flavors.

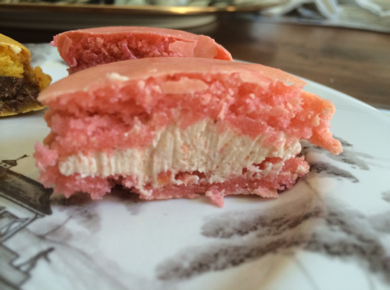
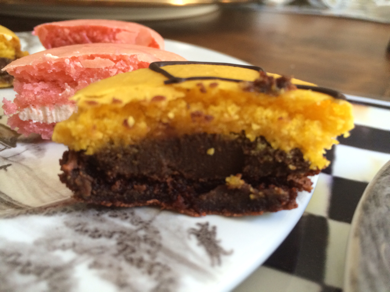
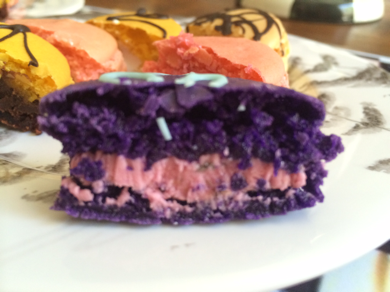
Sucree macarons
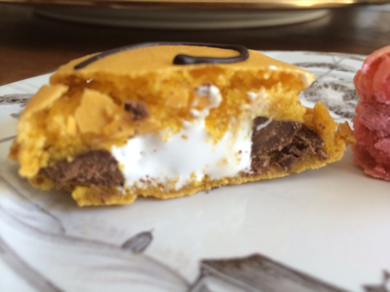
S’mores macaron

Smore’s: had marshmallow fluff in the middle, chocolate on the outside. Didn’t quite get the graham cracker taste from the shell, but this was good!

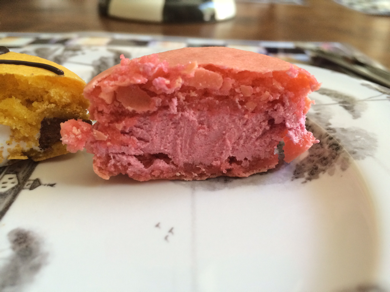
Raspberry Creme

Raspberry creme: just okay. I think I prefer to have a raspberry purée or jam filling.

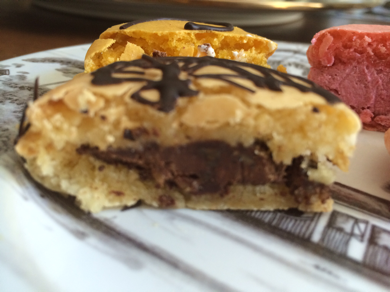
Chocolate almond: chocolately almond filling in an almond cookie. Of course this was good!!

Guava: delicious! This was my favorite one. When I was in Hawaii this Spring I ate a bunch of guava. I saw some guava jam for sale but it was too big to fit onto my liquid carry ons. I was pleasantly surprised with this flavor and may attempt to make my own!

Peanut butter chocolate: tasty filling. I had never had a peanut butter macaron. It was kind of odd having such an American flavor in this French cookie. But I like anything peanut butter so naturally I liked it.
Blueberry lavender: it tasted like lavender. I couldn’t really taste the blueberry. Interesting, but I think I’ll leave lavender for my potpourri.

Final thoughts: I thought their macaron shell was really nice. It had a little crunch on top and then was chewy in the middle. I found that at the other places I have reviewed that the shells are often too soft. And these shells also have the right look: cute little feet with flat tops. I wish there was more color variation in the ones I had ordered but oh well.

If I had to choose between macarons from Lette, Sucree, and Bottega Louie… I would choose macarons from Sucree!

To my knowledge, this is the only macaron shop in the Inland Empire. Check it out here.

Written at http://peoniesandorangeblossoms.blogspot.com

Follow:

French Quimper Plate Find!

We use affiliate links in our posts and our site. This means if you make a purchase using these links, we may earn a small commission. You don’t pay a cent more than you would otherwise! Our full disclosure is available under About.

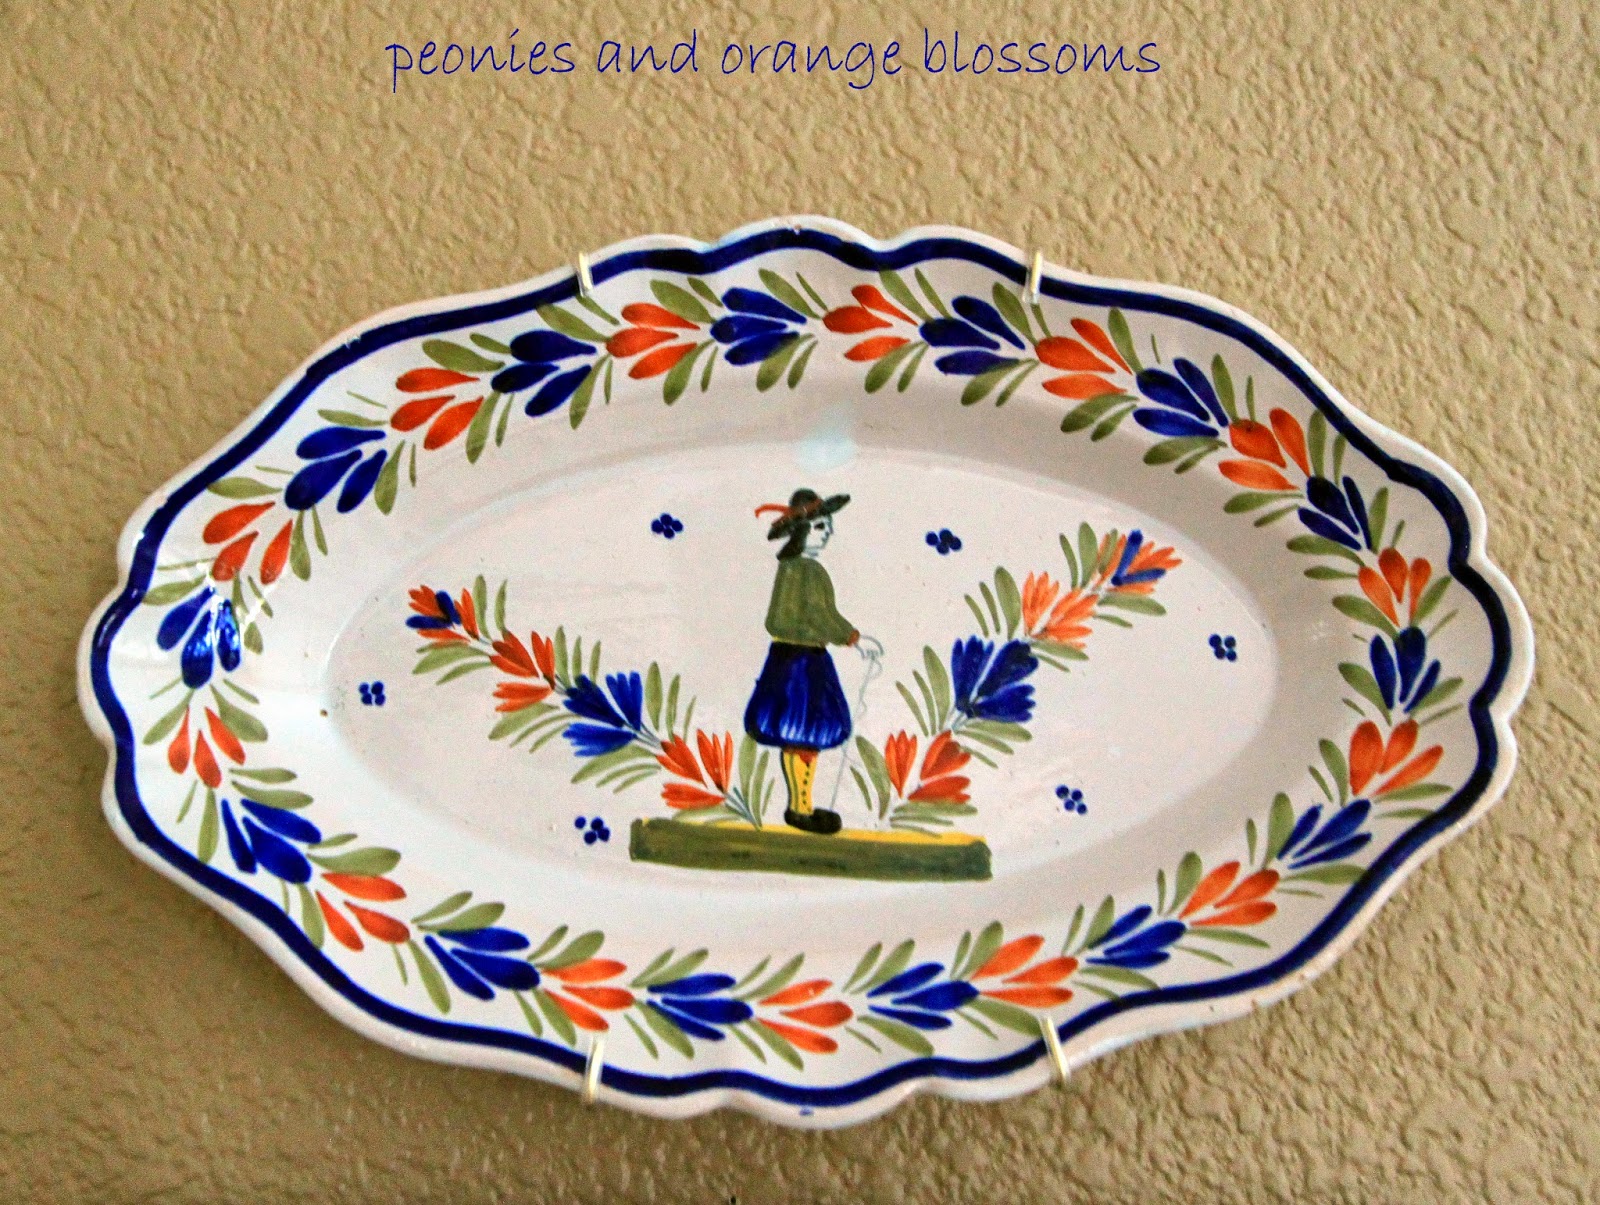
Recently at the Pasadena Flea Market I found… a Quimper plate!

French Quimper Plate

It was the first thing I bought at the show… and can you guess how much I paid for it?

$2! Yep! TWO DOLLARS!  That’s it! Can you believe it?

Based on the markings on the back of the plate, I believe it was made sometime between 1922-1968.  Not too bad! Not antique, but definitely not new!  

French Faience plates on the wall

I put the plate above this painting which is with my other Faience plates.  Now that I put it above the painting… I think I may need some more to go above the painting as well? What do you think?

Here’s a picture of what the other plates look like up close:  ( I remember we paid $40 for the set of four)

French faience plates

Hope you enjoyed my little flea market find.  

If you have Quimper plates and would like to know more about the marks, check out THIS WEBSITE which has all the different marks on it.

 I’ve linked up with:The Scoop! at Confessions of a Plate Addict/Stone Gable, Metamorphosis Monday’s at Between Naps on the Porch, Inspire Me Tuesday at a Stroll Thru Life, Do Tell Tuesday at a Vintage Zest,  Wow us Wednesdays! at Savvy Southern Style, What’s it Wednesdays at Ivy & Elephants, Centerpiece Wednesdays at The Style Sisters , Treasure Hunt Thursday at From My Front Porch To Yours, Feathered Nest Fridays at French Country Cottage,   Home Sweet Home at the Charm of Home, G’day Saturdays at Natasha in Oz Sunday Best Showcase at Twigg Studios. Be sure to check out all of these fabulous blogging parties! A big thank you to all of the wonderful hosts!

Written at http://peoniesnandorangeblossoms.blogspot.com

Follow:

Lemon Raspberry Macaron Recipe!

We use affiliate links in our posts and our site. This means if you make a purchase using these links, we may earn a small commission. You don’t pay a cent more than you would otherwise! Our full disclosure is available under About.
Lemon Raspberry Macaron Laduree Recipe

This post may contain affiliate links. See my disclosure policy.

Thought Macaron Mondays had ended last week? So did I… until I made some more!

I had intended just to make lemon macarons when it hit me as the meringue was whipping… what if I added… raspberry! *evil laugh*. I did. And it was good.

Lemon Raspberry Macaron Laduree Recipe

Time for the recipe.
It’s from this fabulous book: Laduree: The Sweet Recipes.  Let’s get started. 
Three recipes today: The macaron shells, the lemon filling, and the raspberry filling.
GET THE PRINTABLE RECIPE HERE


Materials needed:

  • a food scale (yes, you need this. I use this one)
  • a piping tip and piping bag (I like the ateco #806, I use these tips and piping bag
  • Food coloring (the gels or dry powder works best, not the liquid store stuff)
  • A macaron template (either make one or get one here or here. It makes piping easier)
  • food processor (for the cream filling, I use this one)

Laduree Macaron shell Recipe

275g ground almonds  

250g powdered sugar   

210g egg whites          

210g granulated sugar 

1.  Mix almond meal and the powdered sugar in a food processor. Be careful not to grind too long, otherwise it will form a paste.

2. Sift the almonds and powdered sugar. Set aside.

3. Weigh out granulated sugar.

4. Weigh the egg whites.  Beat them slowly on a low speed until foamy. SLOWLY add the granulated sugar to the egg whites as you beat.  Once all mixed, increase speed to medium and beat until a firm meringue forms.  You want a firm meringue with glossy peaks but not stiff peaks.  They should defy gravity and remain in the bowl if you turn it upside down.  If you tilt your bowl to the side and they are sliding out, keep beating.

5. Add the food coloring gel and mix.

6. Then fold in 1/3rd of the almond/sugar mixture into the meringue with a silicone spatula.  Once combined, add another third of the almond mixture. Add last bit.  This batter requires more deflation during this step since it creates such a poofy meringue.

7. Add the batter to a piping bag.  Pipe in rows using your template onto parchment paper.

8. Pick up the pan and beat until the counter.  The cookies need to rest on the counter between 30-60 minutes.  They are ready to go in the oven when they are dry to touch (the shell shouldn’t stick to your finger)

9.  Set the oven to 300F.

10. Bake the cookies for 13-15 minutes, one sheet at a time. They are done when they look kind of matte and seem firm when you lightly tap on them.  You can always rescue a slightly overcooked one with the maturation process that comes later, but you cannot rescue an undercooked one!!   

11. Remove from paper once completely cool. If they stick to the paper, they aren’t cool yet. Or you undercooked them.


Lemon Filling Recipe
Ingredients

  • 160g granulated sugar
  • zest of 1 lemon, grated (approx. 5 grams)
  • 5g cornstarch (cornflour)
  • 3 whole eggs
  • 110mL lemon juice (use fresh lemon juice)
  • 235g butter, softened

Directions
1. Prepare the lemon cream one day in advance.

2. In a bowl, mix together the sugar and lemon zest. Then add the cornstarch.

3. Add the eggs one at a time and then the lemon juice.

4. Pour this mixture into a saucepan and cook over low heat, stirring with a spatula until it simmers, allowing the cream to thicken.

5. Remove from heat.

6. Allow the cream to cool slightly for approx. 10 minutes so that is hot but not scalding (approx. 140 degrees Fahrenheit).  (Now, if you got egg white chunks in it like I did one time, just strain the lemon mixture before adding the butter).

7. Add the softened butter.

8. In a blender or food processor, blend the butter and cream together until mixed. 

9. Keep in airtight container for minimum of 12 hours so that the cream may become firm.


Raspberry Filling Recipe
Ready for this recipe: go buy seedless raspberry jam. Done!


Filling the cookie shells:
1. On one side of the cookie shell, fill one-half of the shell with lemon cream.  On the other cookie shell, fill one-half the shell with raspberry jam.  Twist the two shells together to get them to stick. 


2. Let cookies rest in the fridge for a minimum of 12 hours but preferably 24 hours.  This allows the “macaronnage” to occur. (basically, the ingredients all soak in together and make the cookie taste amazing!).

Lemon Raspberry Macaron Laduree Recipe

This is the end of Macaron Mondays (for now).  To check out my other macaron recipes, either click on the “recipe” link above or the macaron link below!

written at http://peoniesandorangeblossoms.blogspot.com
 I’ve linked up with:The Scoop! at Confessions of a Plate Addict/Stone Gable, Inspire Me Tuesday at a Stroll Thru Life, Do Tell Tuesday at a Vintage Zest,  Tickle my Tastebuds Tuesday,  Wow us Wednesdays! at Savvy Southern Style, What’s it Wednesdays at Ivy & Elephants, Centerpiece Wednesdays at The Style Sisters Feathered Nest Fridays at French Country Cottage,   Home Sweet Home at the Charm of HomeG’day Saturdays at Natasha in Oz Sunday Best Showcase at Twigg Studios.and worthwhile Wednesdays! Be sure to check out all of these fabulous blogging parties! A big thank you to all of the wonderful hosts!


This post was featured at The Scoop!, Tickle my Tastebud Tuesday’s feature at A Kitchen Hoor’s Adventure, and Do Tell Tuesday at Diane;s Vintage zest!  Thank you all for the features!

Follow:

Cherry Almond Macaron Recipe!

We use affiliate links in our posts and our site. This means if you make a purchase using these links, we may earn a small commission. You don’t pay a cent more than you would otherwise! Our full disclosure is available under About.

Sharing yet another macaron recipe as part of Macaron Mondays.  Today’s recipe is Cherry Almond macarons.  They are really good!

This post may contain affiliate links. See my disclosure policy.

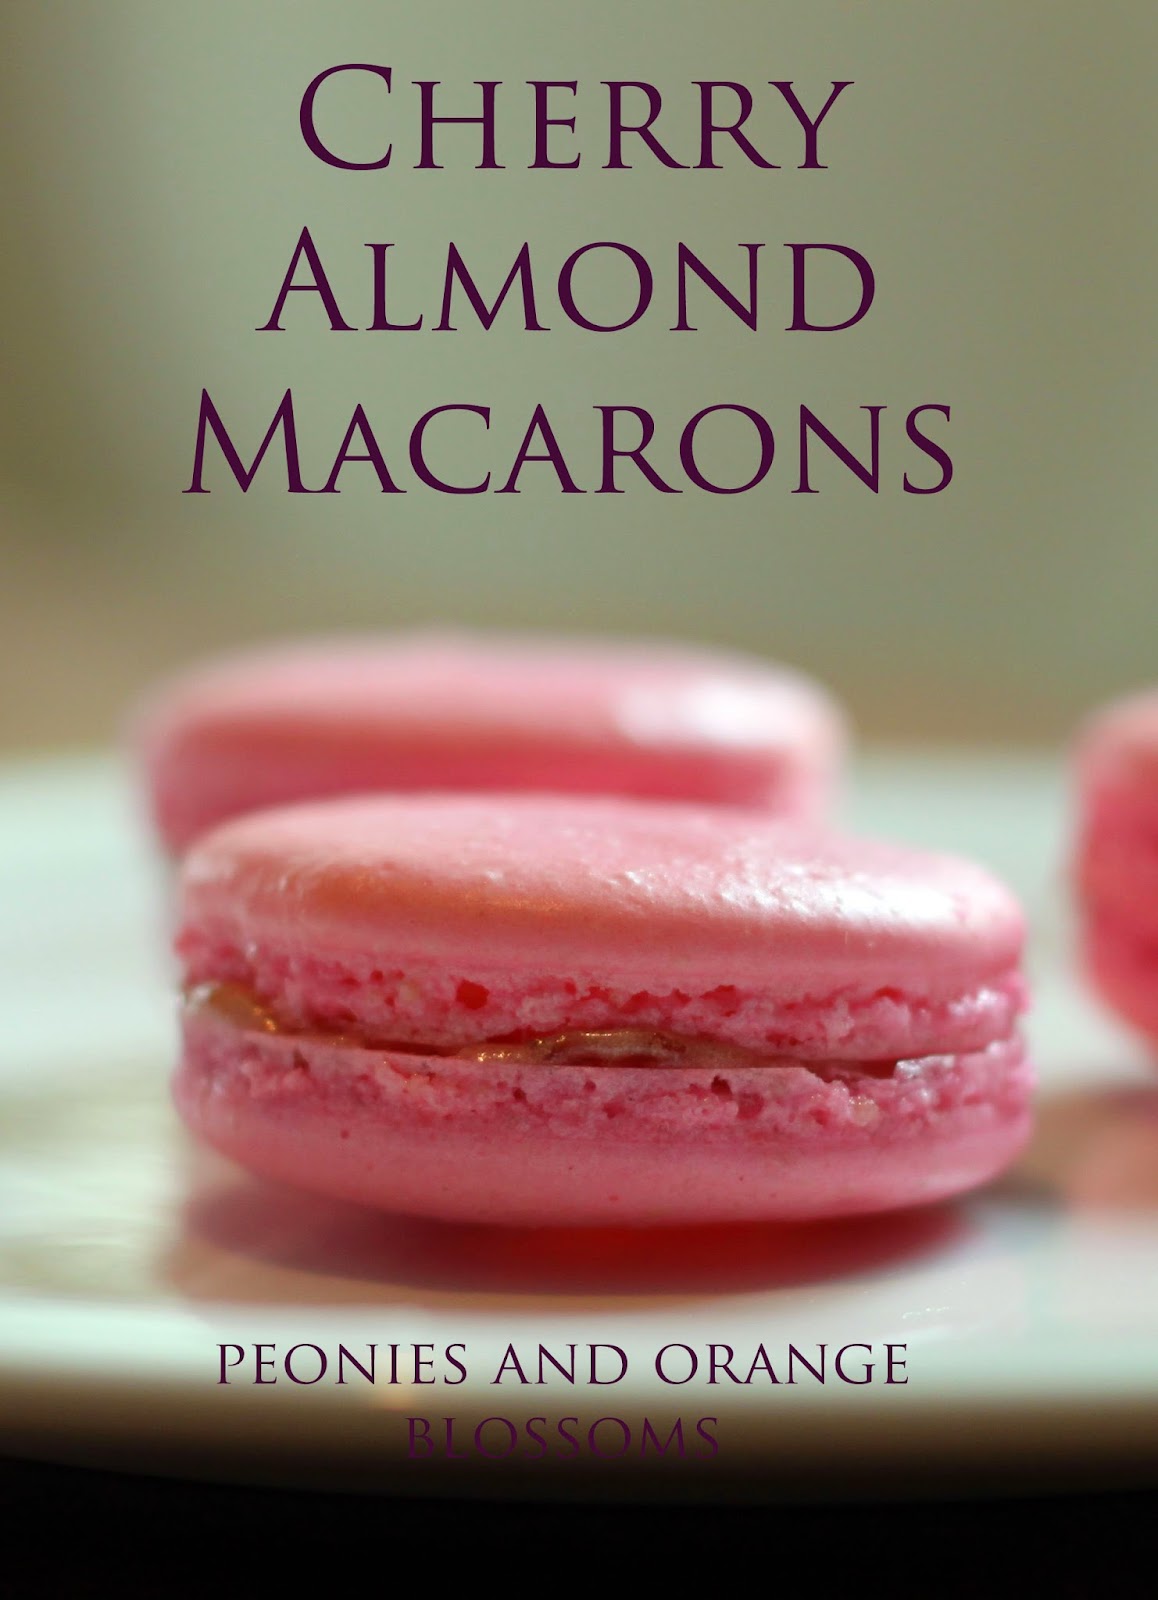
Cherry Almond Macarons Recipe

Cherry Almond Macaron Recipe – click HERE FOR THE PRINTABLE RECIPE

For the macaron cookie shell recipe, I use the Laduree macaron recipe.

Materials needed:

  • a food scale (yes, you need this. I use this one)
  • a piping tip and piping bag (I like the ateco #806, I use these tips and piping bag
  • Food coloring (the gels or dry powder works best, not the liquid store stuff)
  • A macaron template (either make one or get one here or here. It makes piping easier)
  • food processor (for the cream filling, I use this one)

Laduree Macarons Recipe –

275g ground almonds  

250g powdered sugar   

210g egg whites          

210g granulated sugar 

1.  Mix almond meal and the powdered sugar in a food processor. Be careful not to grind too long, otherwise it will form a paste.

2. Sift the almonds and powdered sugar. Set aside.

3. Weigh out granulated sugar.

4. Weigh the egg whites.  Beat them slowly on a low speed until foamy. SLOWLY add the granulated sugar to the egg whites as you beat.  Once all mixed, increase speed to medium and beat until a firm meringue forms.  You want a firm meringue with glossy peaks but not stiff peaks.  They should defy gravity and remain in the bowl if you turn it upside down.  If you tilt your bowl to the side and they are sliding out, keep beating.

5. Add the food coloring gel and mix.

6. Then fold in 1/3rd of the almond/sugar mixture into the meringue with a silicone spatula.  Once combined, add another third of the almond mixture. Add last bit.  This batter requires more deflation during this step since it creates such a poofy meringue.

7. Add the batter to a piping bag.  Pipe in rows using your template onto parchment paper.

8. Pick up the pan and beat until the counter.  The cookies need to rest on the counter between 30-60 minutes.  They are ready to go in the oven when they are dry to touch (the shell shouldn’t stick to your finger)

9.  Set the oven to 300F.

10. Bake the cookies for 13-15 minutes, one sheet at a time. They are done when they look kind of matte and seem firm when you lightly tap on them.  You can always rescue a slightly overcooked one with the maturation process that comes later, but you cannot rescue an undercooked one!!   

11. Remove from paper once completely cool. If they stick to the paper, they aren’t cool yet. Or you undercooked them.

Cherry-Almond Filling Recipe:

Makes enough for 40 small sandwiched macarons.

  • 4 ounces of almond paste***
  • 1 stick unsalted butter, cut into cubes, at room temperature
  • 1/2 pint of cherry preserves or cherry pie filling (I used cherry preserves from Trader Joe’s)
  • a pinch of salt
  • cinnamon 
  • nutmeg
  1. In a food processor, place the contents of the cherry preserves and start to grind until the large chunks of cherries are gone.  
  2. Add a little bit of cinnamon and a dash of nutmeg to taste.  Add more if you want it to be spicier tasting.  Set mixture aside.
  3. Now, in the bowl of an electric mixer with a paddle attachment, beat the almond paste on low speed to break it up.
  4. Slowly incorporate the butter while the mixture is running.  When the butter is completely incorporated the mixture will be smooth.
  5. Add the ground cherries in and a pinch of salt.  Mix until it appears well-mixed.
  6. You may store this cream if it is covered and in the fridge for up to 2 weeks.

Assembling the cookies:

  1. Add the filling to the macarons. I used a piping bag to pipe the filling in.
  2. Store the filled cookies in the refrigerator for at least 24 hours for the best results.

***If you don’t have any almond paste, here’s my recipe for almond paste:

Almond paste recipe:

  • 4 ounces of almonds (blanched. I used the pre-ground almonds from Trader Joe’s)
  • 4 ounces powdered sugar
  • 1/2 an egg white

1. Grind the almonds in a food processor.
2. Add the sugar and grind again.
3. Add the egg white and continue grinding. Keep grinding until it looks like a paste.

I adapted the cherry almond filling recipe from this wonderful book:

Les Petits Macarons: Colorful French Confections to Make at Home

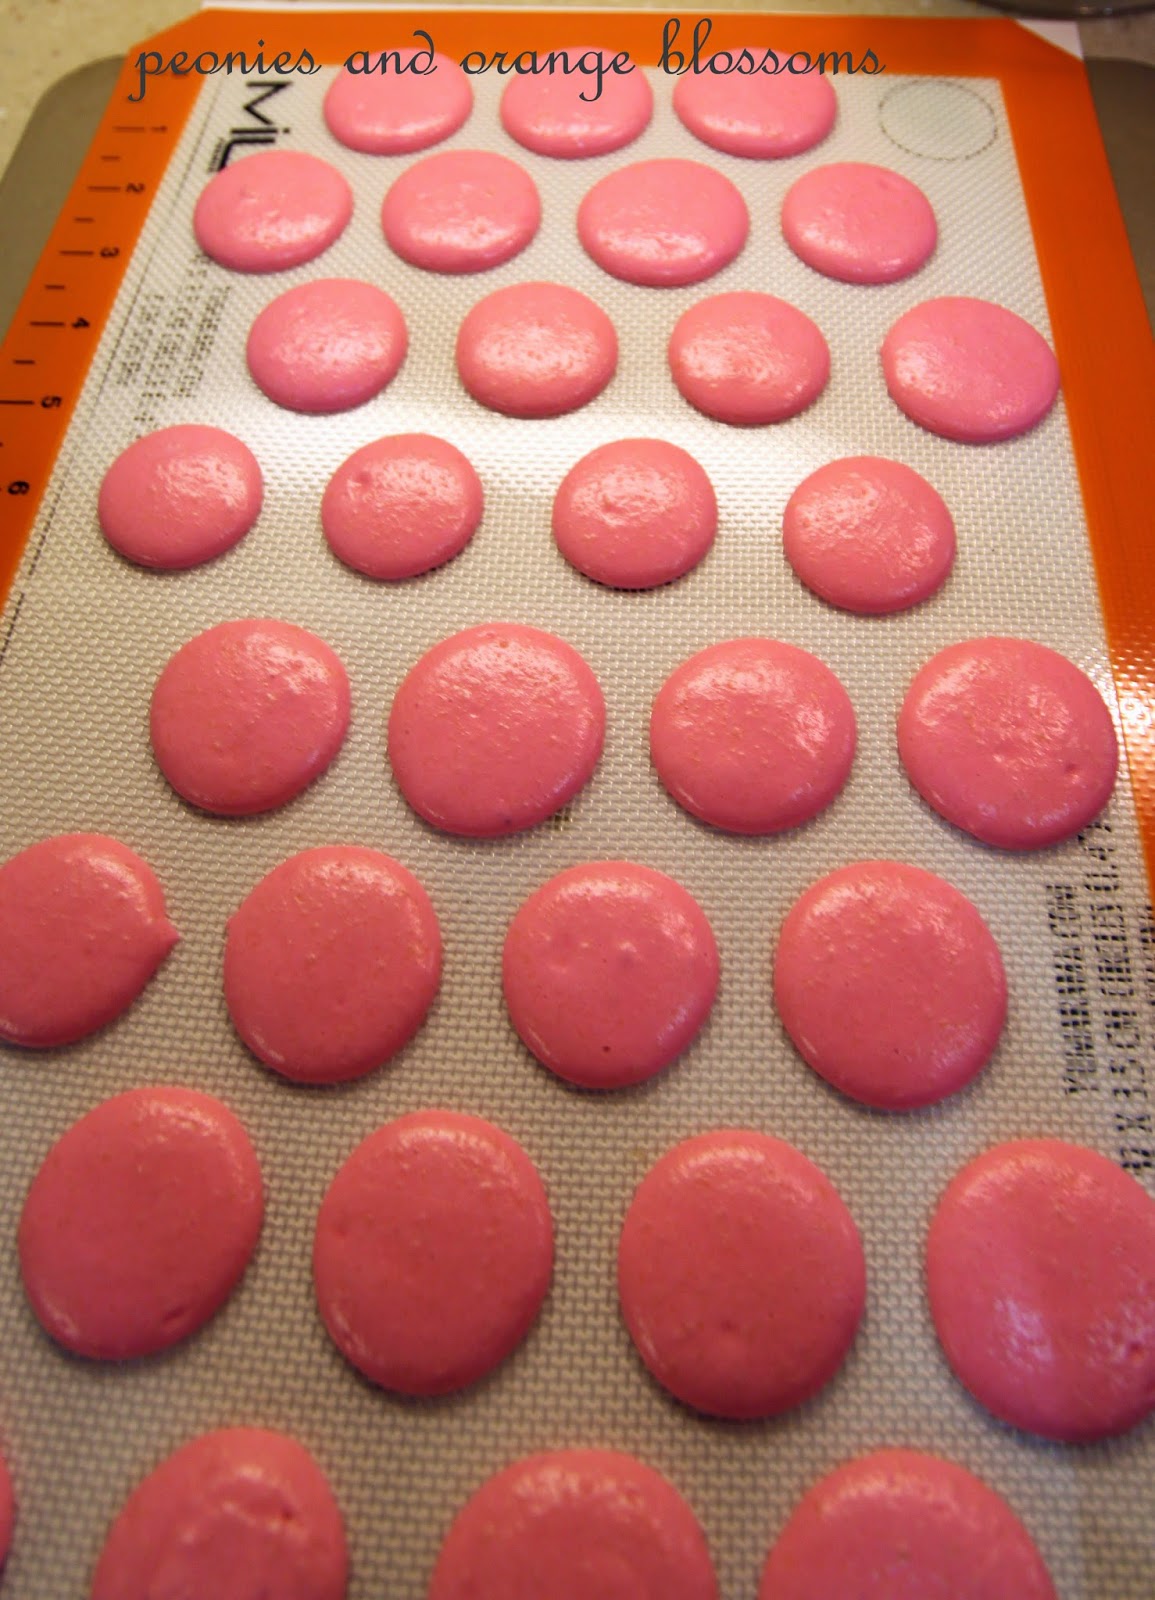
I want to point out below the different between not folding the almond mixture in enough and folding it in perfectly.  Notice the first ones I piped look like ice cream cones?  They are not mixed enough.  I then remedied the problem and folded my batter a few more times in order to get my cookies to lie flat.

macaron piping

See the difference?  These ones below are now perfectly folded and therefore lie nice and flat.

The cherry preserves I used:

The finished product…

cherry almond macaron recipe

Yum yum!

Cherry Almond Macaron Recipe

For my favorite product recommendations for making such delicate cookies, check out my amazon store

 I’ve linked up with:The Scoop! at Confessions of a Plate Addict/Stone Gable, Merry Mondays at my pinterventures, Inspire Me Tuesday at a Stroll Thru Life, Do Tell Tuesday at a Vintage Zest,  You’re Going to Love it Tuesday at Kathe with an E,  Tickle my Tastebuds Tuesday,  Creative Ways at Posed Perfection,   Wow us Wednesdays! at Savvy Southern Style, What’s it Wednesdays at Ivy & Elephants,  Feathered Nest Fridays at French Country Cottage, Sunday Best Showcase at Twigg Studios. Say G’day  Be sure to check out all of these fabulous blogging parties! A big thank you to all of the wonderful hosts!

Written  at http://peoniesandorangeblossoms.blogspot.com
This post may contain affiliate links.

Follow:

Orange Macaron Recipe

We use affiliate links in our posts and our site. This means if you make a purchase using these links, we may earn a small commission. You don’t pay a cent more than you would otherwise! Our full disclosure is available under About.

Did you try those lemon macarons?  Well, it’s easy to copy the same recipe with any citrus. I adapted the lemon macaron recipe for orange macarons!
This post may contain affiliate links. See my disclosure policy.

yum!

I use Laduree’s recipe.

Materials needed:

  • a food scale (yes, you need this. I use this one)
  • a piping tip and piping bag (I like the ateco #806, I use these tips and piping bag
  • Food coloring (the gels or dry powder works best, not the liquid store stuff)
  • A macaron template (either make one or get one here or here. It makes piping easier)
  • food processor (for the cream filling, I use this one)


Laduree Macarons Recipe – FOR A PRINTABLE RECIPE CLICK HERE

275g ground almonds  

250g powdered sugar   

210g egg whites          

210g granulated sugar 


1.  Mix almond meal and the powdered sugar in a food processor. Be careful not to grind too long, otherwise it will form a paste.


2. Sift the almonds and powdered sugar. Set aside.


3. Weigh out granulated sugar.


4. Weigh the egg whites.  Beat them slowly on a low speed until foamy. SLOWLY add the granulated sugar to the egg whites as you beat.  Once all mixed, increase speed to medium and beat until a firm meringue forms.  You want a firm meringue with glossy peaks but not stiff peaks.  They should defy gravity and remain in the bowl if you turn it upside down.  If you tilt your bowl to the side and they are sliding out, keep beating.


5. Add the food coloring gel and mix.


6. Then fold in 1/3rd of the almond/sugar mixture into the meringue with a silicone spatula.  Once combined, add another third of the almond mixture. Add last bit.  This batter requires more deflation during this step since it creates such a poofy meringue.


7. Add the batter to a piping bag.  Pipe in rows using your template onto parchment paper.


8. Pick up the pan and beat until the counter.  The cookies need to rest on the counter between 30-60 minutes.  They are ready to go in the oven when they are dry to touch (the shell shouldn’t stick to your finger)


9.  Set the oven to 300F.


10. Bake the cookies for 13-15 minutes, one sheet at a time. They are done when they look kind of matte and seem firm when you lightly tap on them.  You can always rescue a slightly overcooked one with the maturation process that comes later, but you cannot rescue an undercooked one!!   


11. Remove from paper once completely cool. If they stick to the paper, they aren’t cool yet. Or you undercooked them.

For the orange cream filling, I’ve adapted the lemon macaron recipe from Laduree’s Sucre Book.

Ingredients

  • 160g granulated sugar
  • zest of 1 lemon, grated (approx. 5 grams)
  • 5g cornstarch (cornflour)
  • 3 eggs
  • 110mL orange juice 
  • 235g butter, softened

Directions

**Prepare the orange cream one day in advance.

1. In a bowl, mix together the sugar and orange zest. Then add the cornstarch.

2. Add the eggs one at a time and then the orange juice.

3. Pour this mixture into a saucepan and cook over low heat, stirring with a spatula until it simmers, allowing the cream to thicken.

4. Remove from heat. Allow the cream to cool slightly for approx. 10 minutes so that is hot but not scalding (approx. 140 degrees Fahrenheit).

5. Add the softened butter.

6. In a blender or food processor, blend the butter and cream together until mixed.

7. Keep in airtight container for minimum of 12 hours so that the cream may become firm.

8. Add to the macaron shells. Let macarons sit in the fridge for at least 1 day until serving. It will taste better this way, I promise!!

HELPFUL HINTS:

  • Use fresh squeezed orange juice. If you can’t squeeze it yourself, then get a really good store brand like Simply Orange.
  • Do NOT use frozen orange juice. 
  • Let the macarons sit in the fridge for at least 1 day.
the orange cream

The finished product, the shells didn’t bake perfectly.  They little feet didn’t form AND they are a little too puffy.  But here’s the great thing about thesee macarons…they were delicious anyway!

For my favorite product recommendations for making such delicate cookies, check out my amazon store

I’ve linked up with:The Scoop! at Confessions of a Plate Addict/Stone Gable,  Merry Mondays at my pinterventures Inspire Me Tuesday at a Stroll Thru Life, Do Tell Tuesday at a Vintage Zest,  You’re Going to Love it Tuesday at Kathe with an E,  Tickle my Tastebuds Tuesday  Cottage Style Party at Lavender Garden Cottage, Creative Ways at Posed Perfection  Wow us Wednesdays! at Savvy Southern Style Treasure Hunt Thursday at From My Front Porch To Yours, Feathered Nest Fridays at French Country Cottage, Sunday Best Showcase at Twigg Studios. Be sure to check out all of these fabulous blogging parties! A big thank you to all of the wonderful hosts!

Written  at http://peoniesandorangeblossoms.blogspot.com

Follow:

Pistachio Macaron Recipe!

We use affiliate links in our posts and our site. This means if you make a purchase using these links, we may earn a small commission. You don’t pay a cent more than you would otherwise! Our full disclosure is available under About.

… the Macaron Monday madness continues. This week I present to you my FAVORITE macaron recipe. Pistachio macarons!
This post may contain affiliate links. See my disclosure policy.
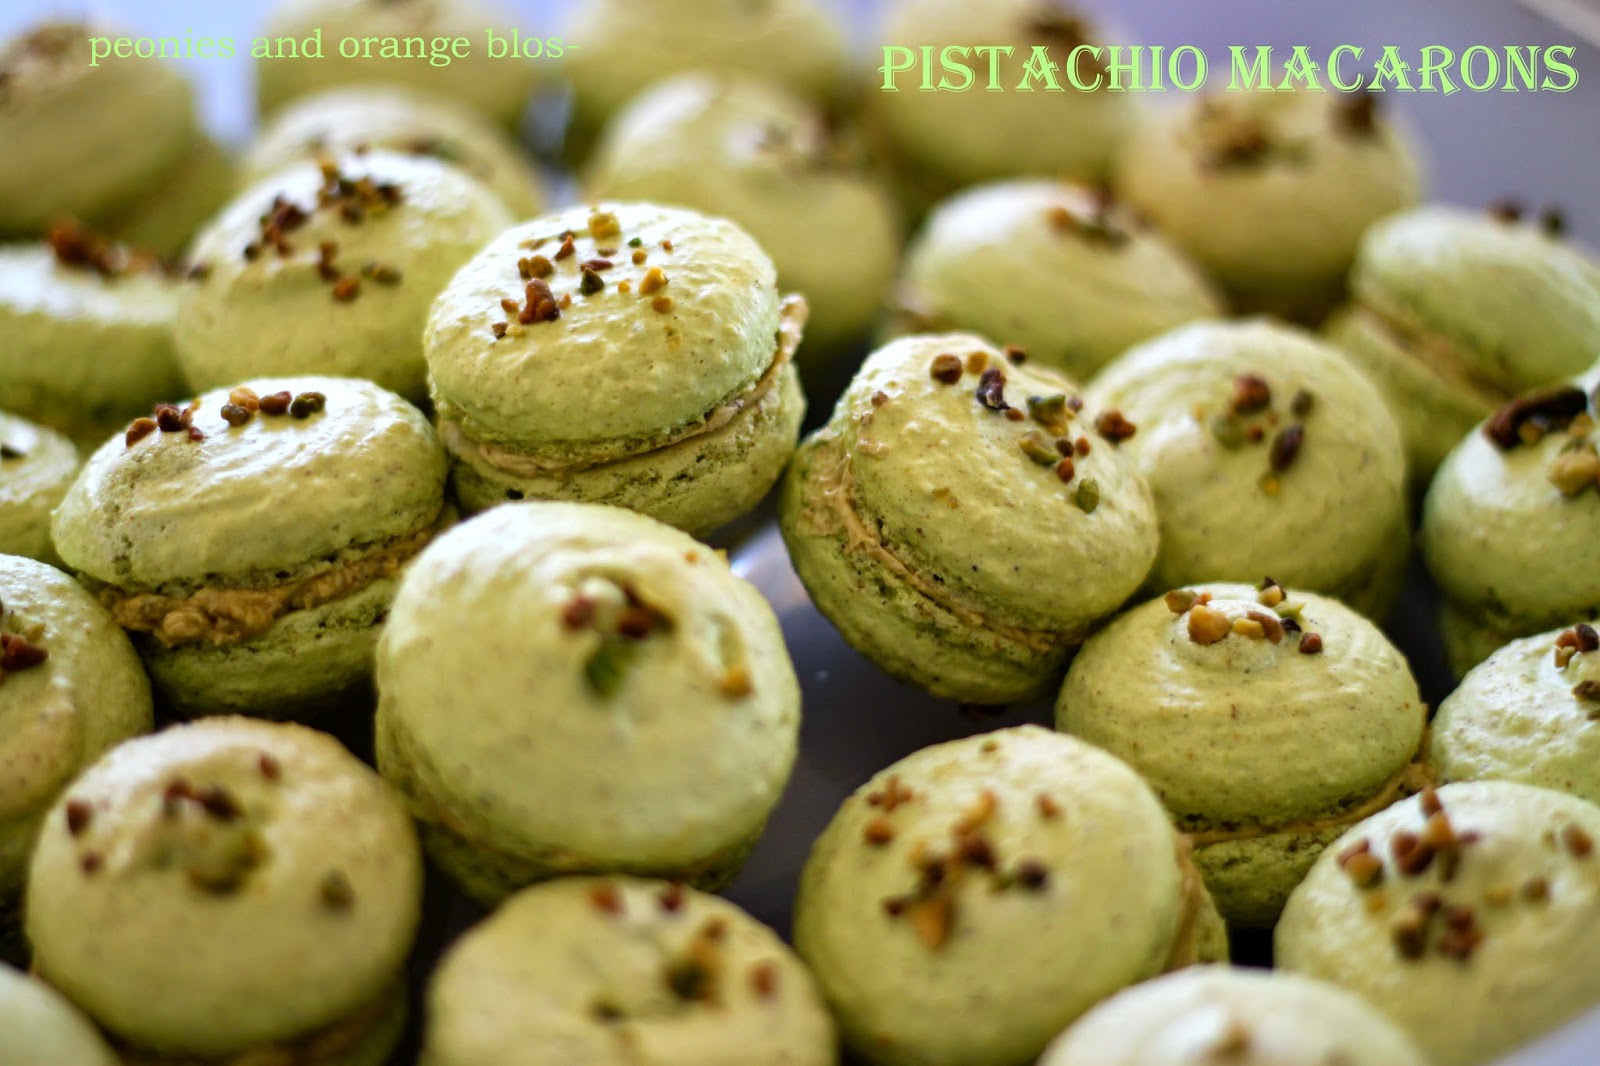
Pistachio macaron recipe

Now, this macaron shell recipe is different than the other macarons I’ve been making.  The key here is adding pistachio to the shell.

Materials needed

  • Materials needed:
    • a food scale (yes, you need this. I use this one)
    • a piping tip and piping bag (I like the ateco #806, I use these tips and piping bag
    • Food coloring (the gels or dry powder works best, not the liquid store stuff)
    • A macaron template (either make one or get one here or here. It makes piping easier)
    • food processor (for the cream filling, I use this one)

Pistachio Macaron Shell Recipe FOR A PRINTABLE RECIPE CLICK HERE

200g almond flour

75g pistachio flour (step 1)

250g powdered sugar

210g granulated sugar

6 egg whites (room-temperature)

1/8 cup chopped pistachios

food coloring (green is traditional color for this cookie)

1 Grind your unshelled pistachios (salted or unsalted, I prefer the salted) using a food processor. Be careful not to turn it into a paste. 

2 Sift almond flour, pistachio flour, and powdered sugar through a fine mesh screen into a bowl.

3 Whisk or using a beater, turn 6 egg whites to a foam.  Slowly add the granulated sugar to the egg whites as you beat.  Whip until the meringue has firm glossy peaks but not super stiff peaks. They should defy gravity and remain in the bowl if you turn it upside down.  If you tilt your bowl to the side and the meringue started to slide, keep beating.

4 Add your food coloring.

5 Then fold in 1/3rd of the almond/pistachio/sugar mixture into the meringue with a silicone spatula.  Once combined, add another third of the almond mixture. Then the last third. 

6 Add the batter to the piping bag.  Pipe in rows using your template onto parchment paper.

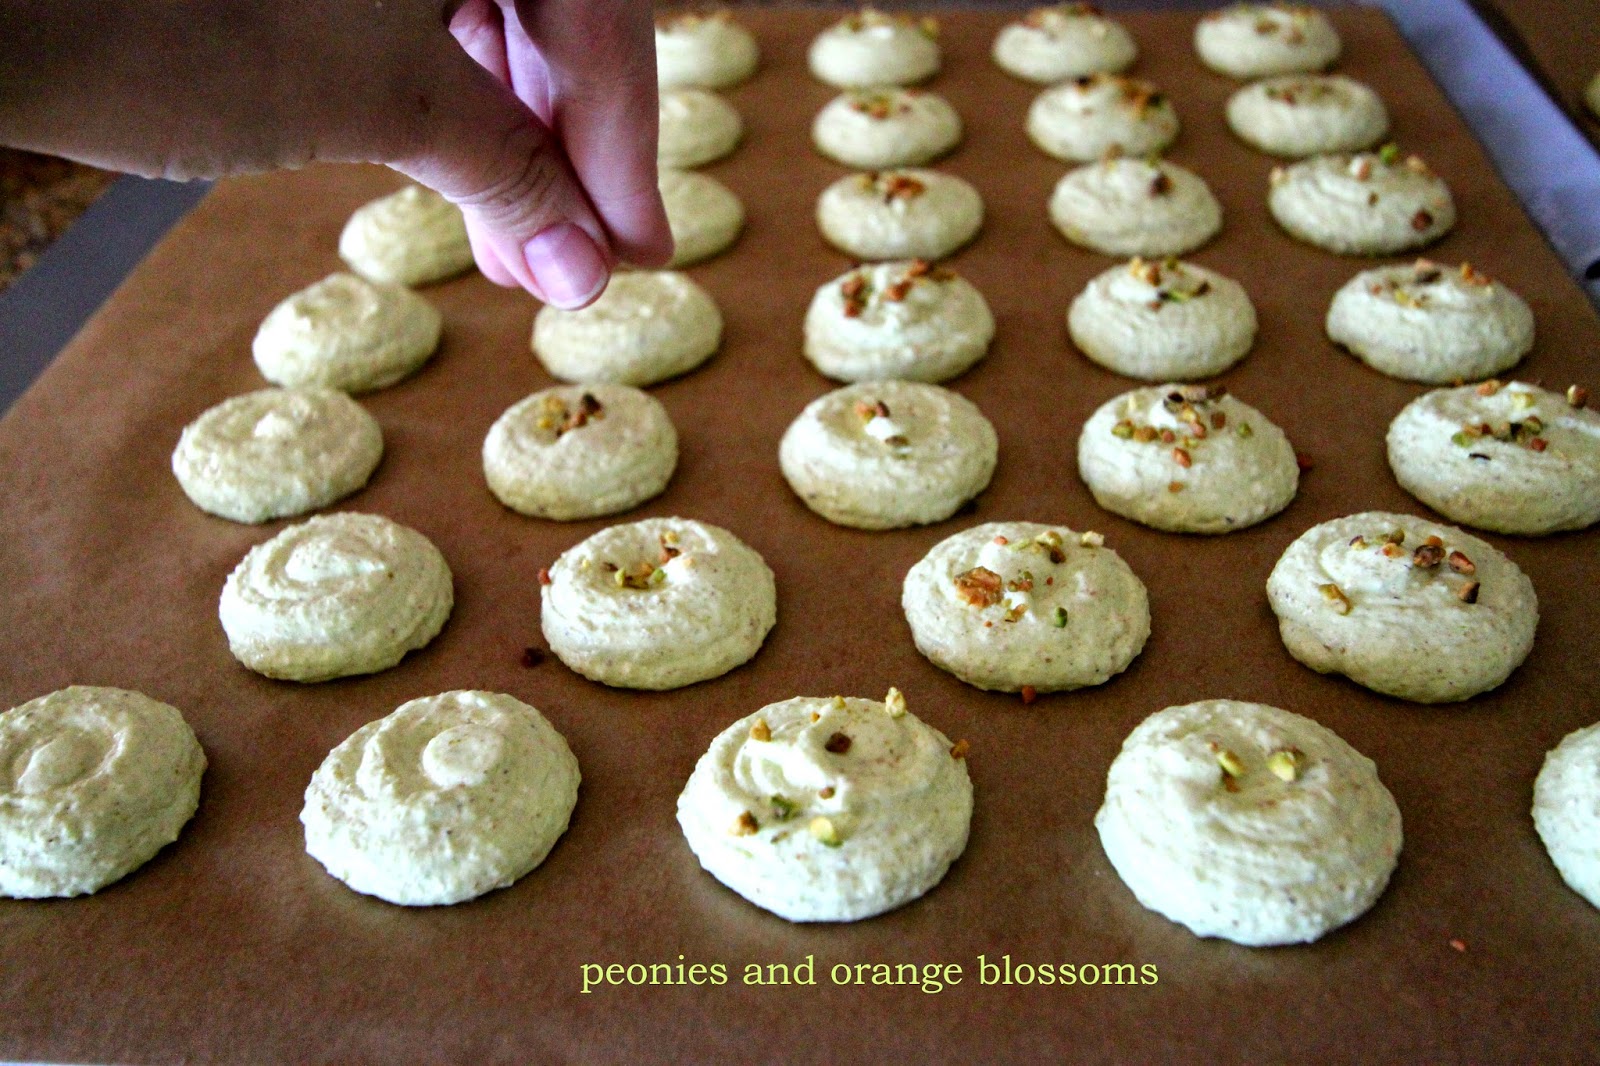
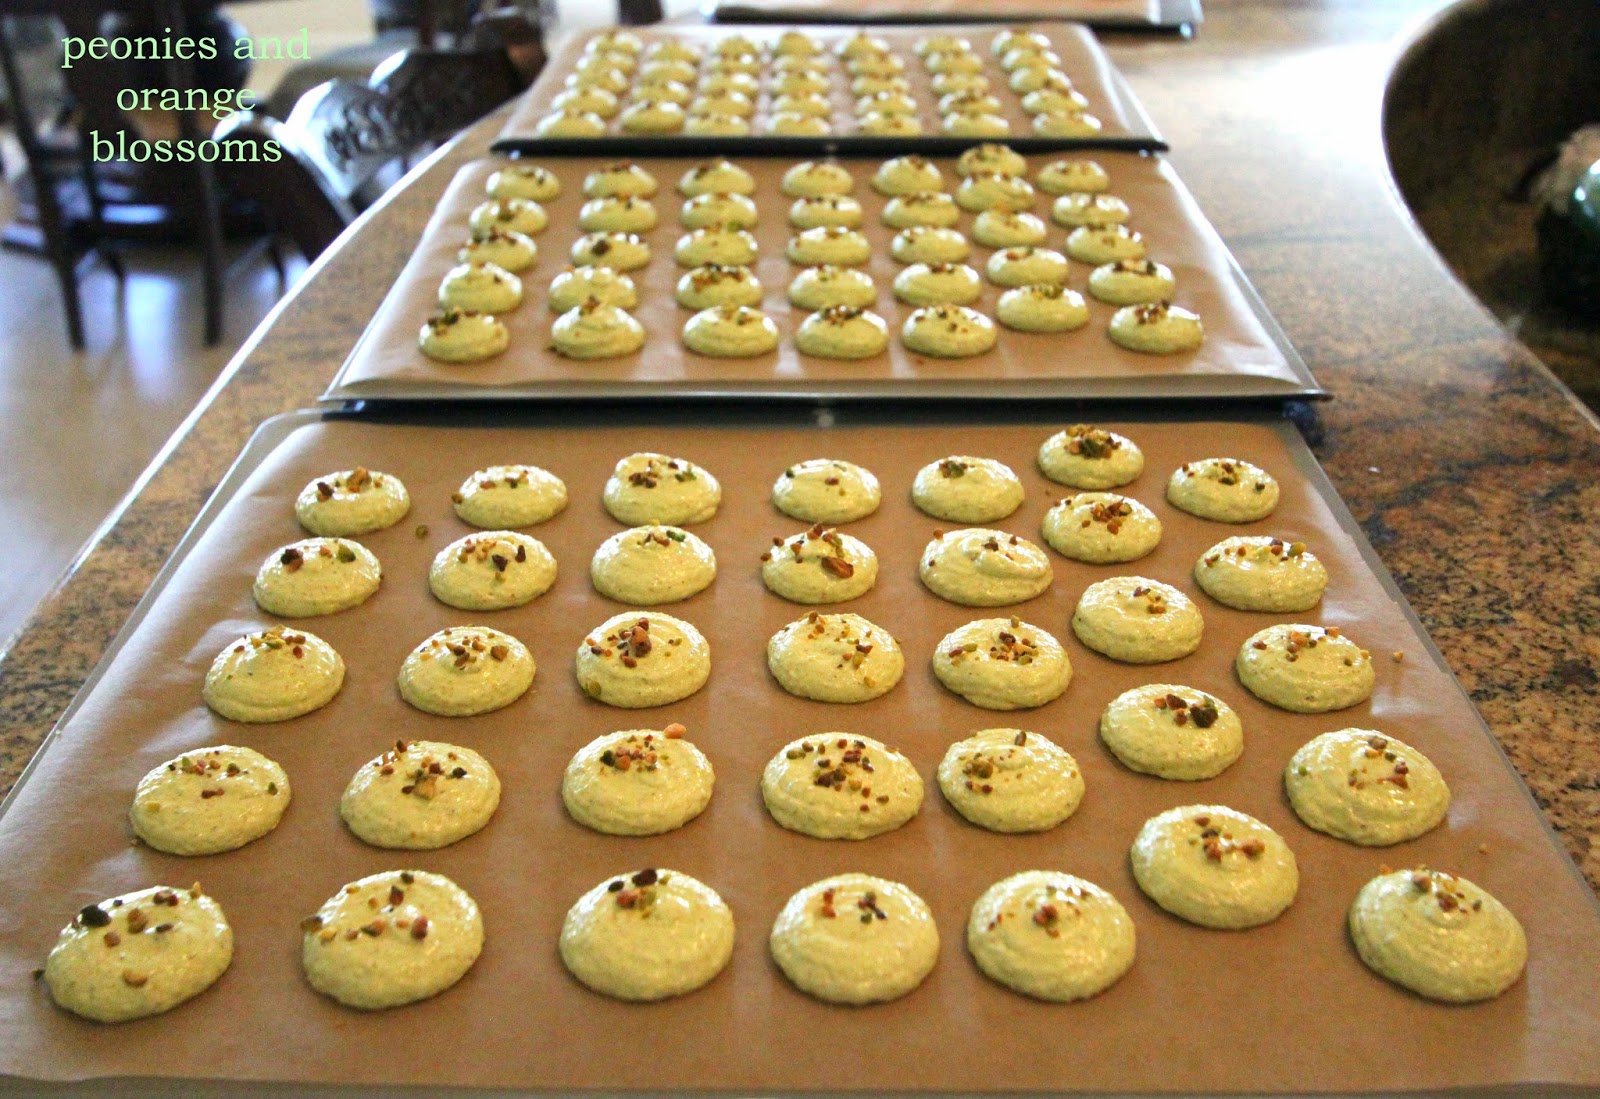
7 Pick up the pan and beat onto the counter.  Now sprinkle pistachio nuts on half of the cookies as a garnishment.

8 Preheat oven to 300 degrees.  The cookies need to rest on the counter between 30-60 minutes. They are ready to go into the oven when they are dry to the touch.  The shell shouldn’t stick to your fingers.

9 Bake the cookies for 13-15 minutes, one sheet at a time.  They are done when they look kind of matte and seem firm if you tap on them.  You can always rescue an overcooked cookie with the maturation process that comes later, but you cannot rescue an undercooked one!

10 Remove from the paper once completely cool.  If they stick to the paper, they either aren’t cool yet or you undercooked them.

11 Fill the cookies when cool with the filling below. 

12 Refrigerate overnight for best results.

Pistachio Paste Recipe

Ingredients

80g granulated sugar

25g water

1 whole egg

1 egg yolk

160g soft butter

1/4 cup shelled pistachios (grind in a cuisinart into a paste). 

Directions:

1 Mix the water with the sugar until the sugar dissolves and bring mixture to a boil in a small pan.

2 Heat sugar to 250 degrees.

3 Whisk whole egg with the extra yolk until it lightens.

4 When sugar mixture is 250 degrees, pour into the eggs.

5 Whisk until cool.

6 Then add butter and pistachio paste to the sugar mixture.

To assemble the macarons, add the filling to the shell side without the pistachio crumbled on top.  Then add the crumbled pistachio top.  Store in an airtight container for 24-48 in the refrigerator.  The cookies will taste better after you wait a day, I promise!

pistachio macaron recipe

These macarons are a little underfolded.  They should not form stiff peaks when you pipe them.  I should’ve mixed it a little more.
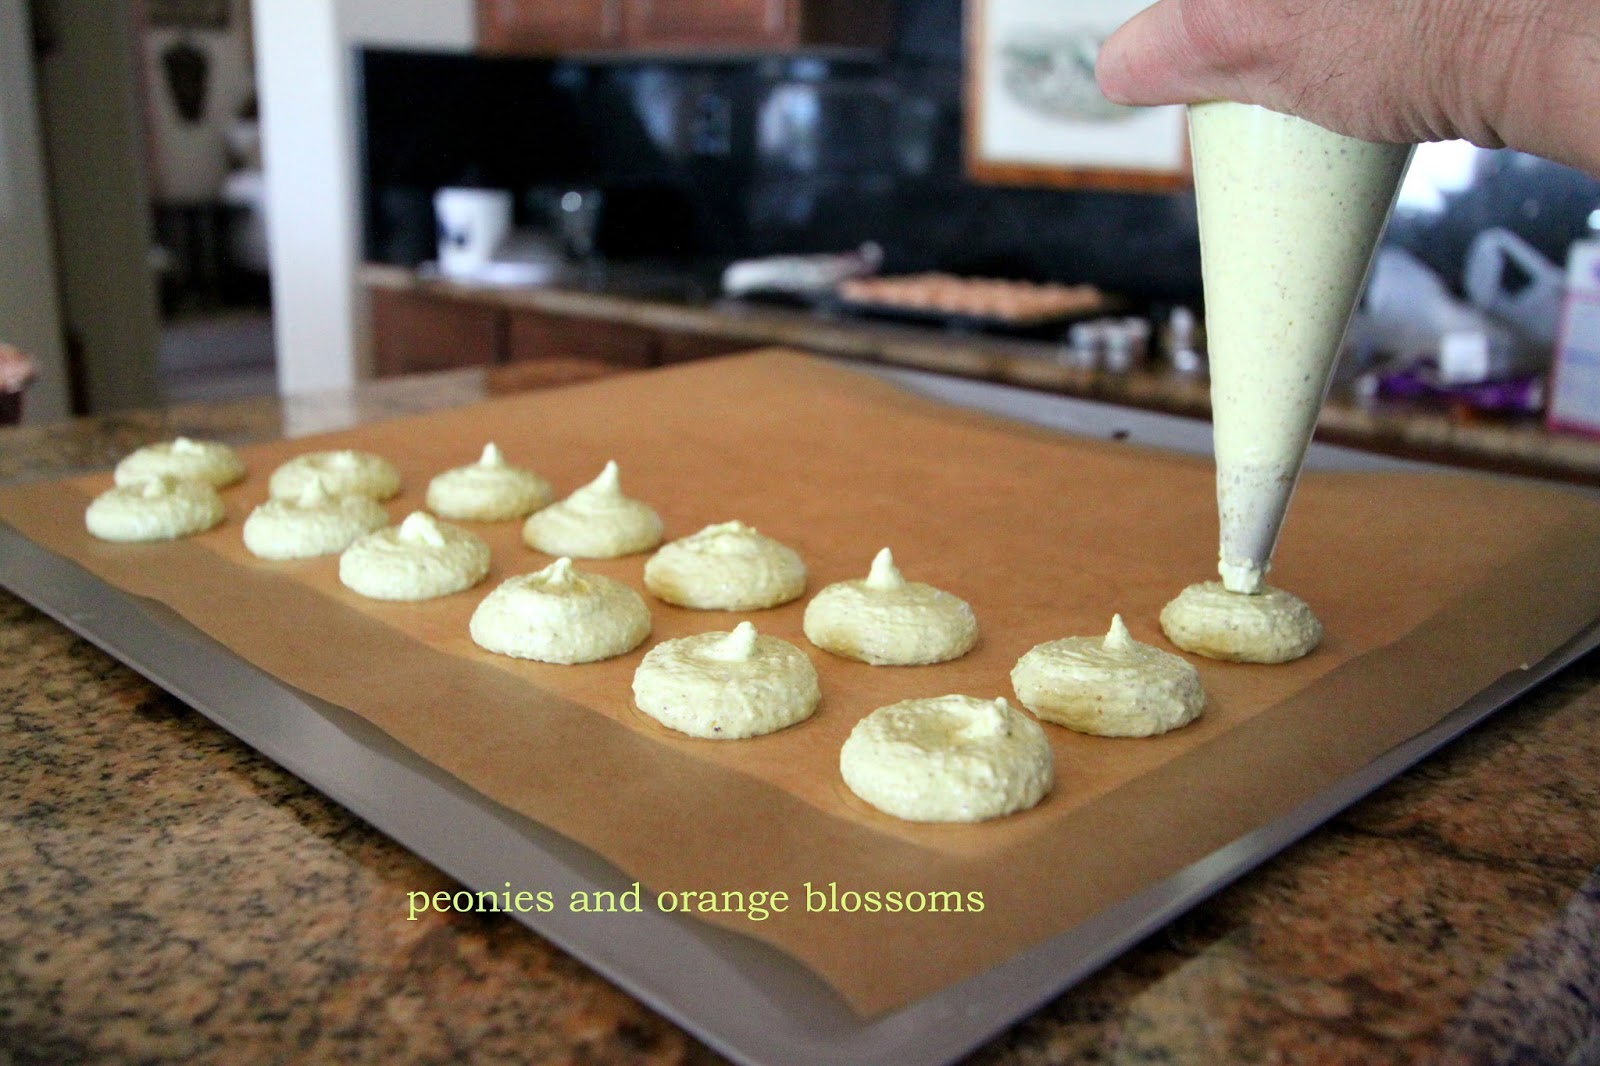
pistachio macaron recipe

I used the standard lime green dye by chefmaster.
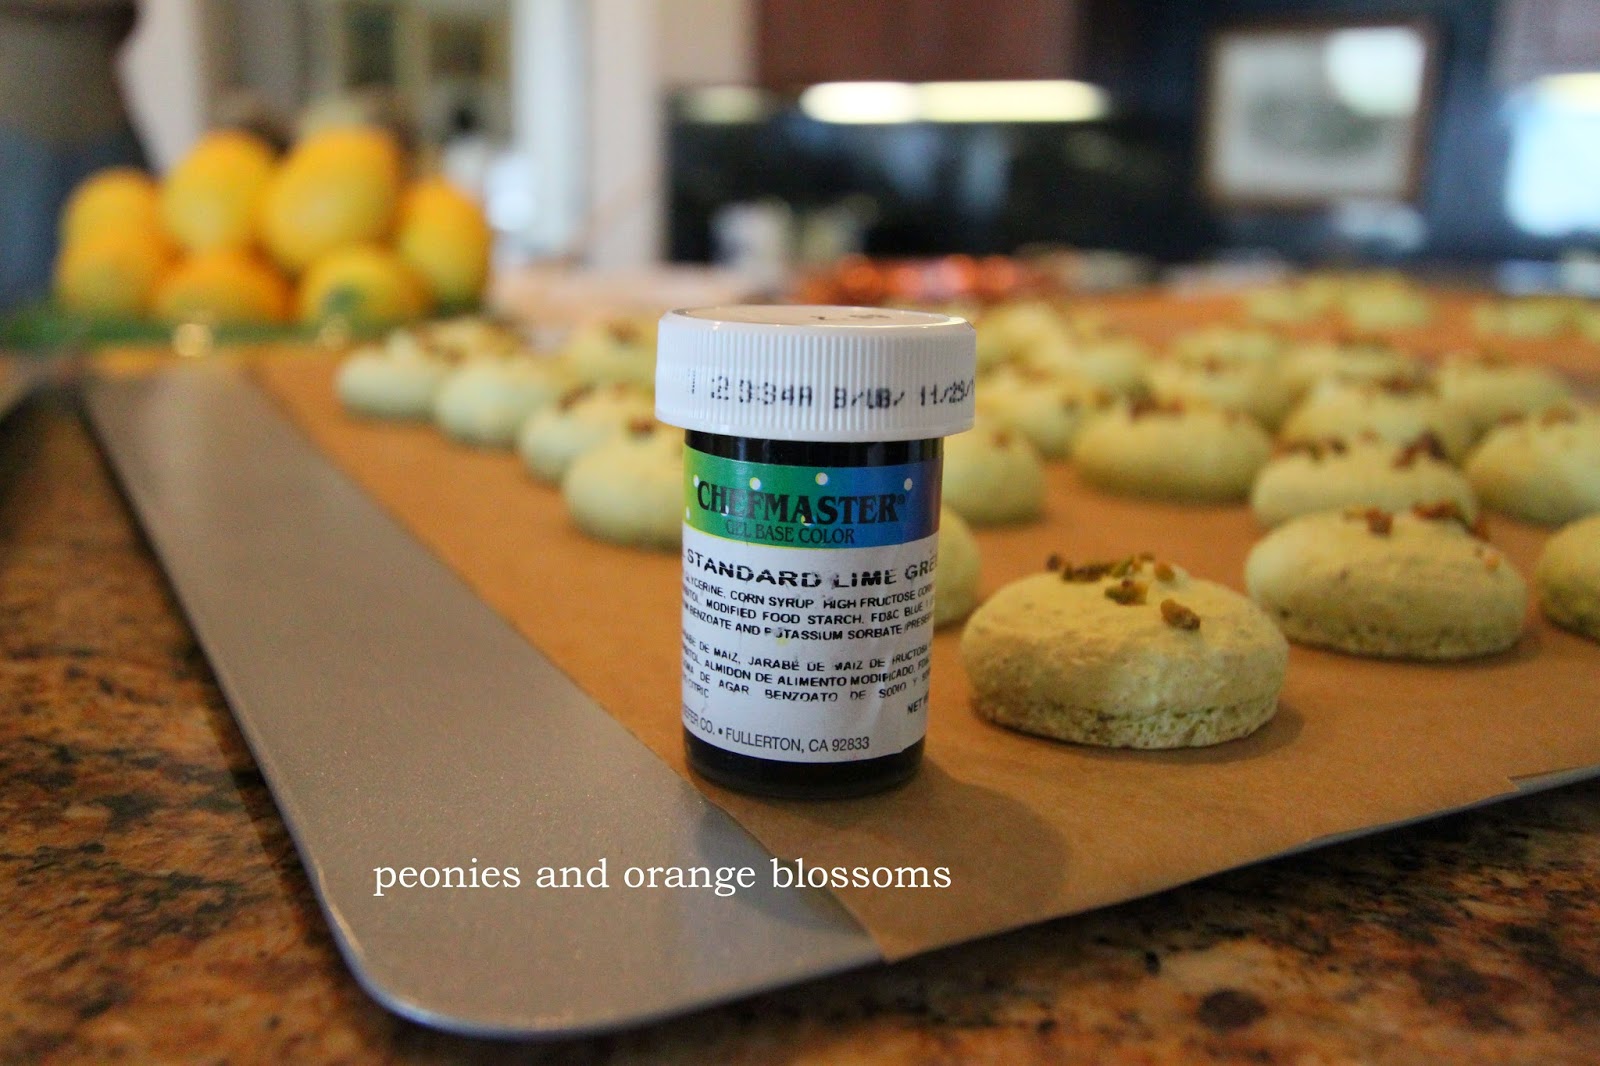
pistachio macaron recipe

Making of the pistachio paste… boiling the sugar…
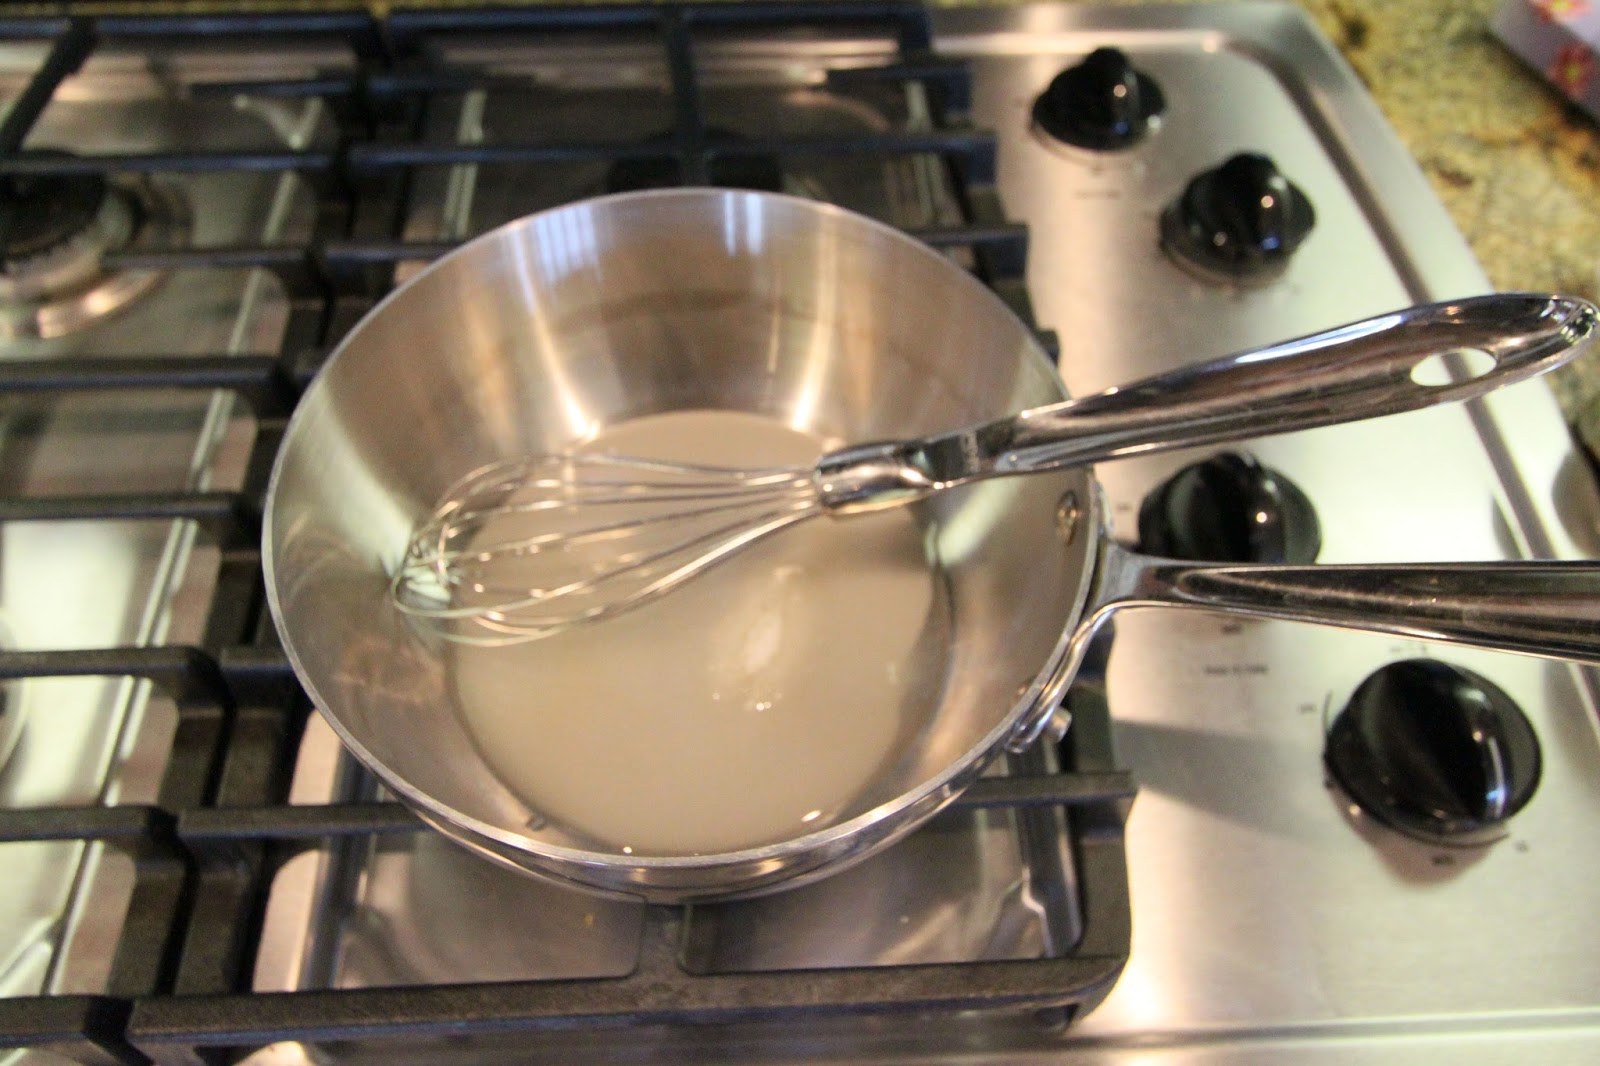
pistachio macaron recipe

 … the final pistachio paste. Looks gross. Tastes delicious.

pistachio macaron recipe

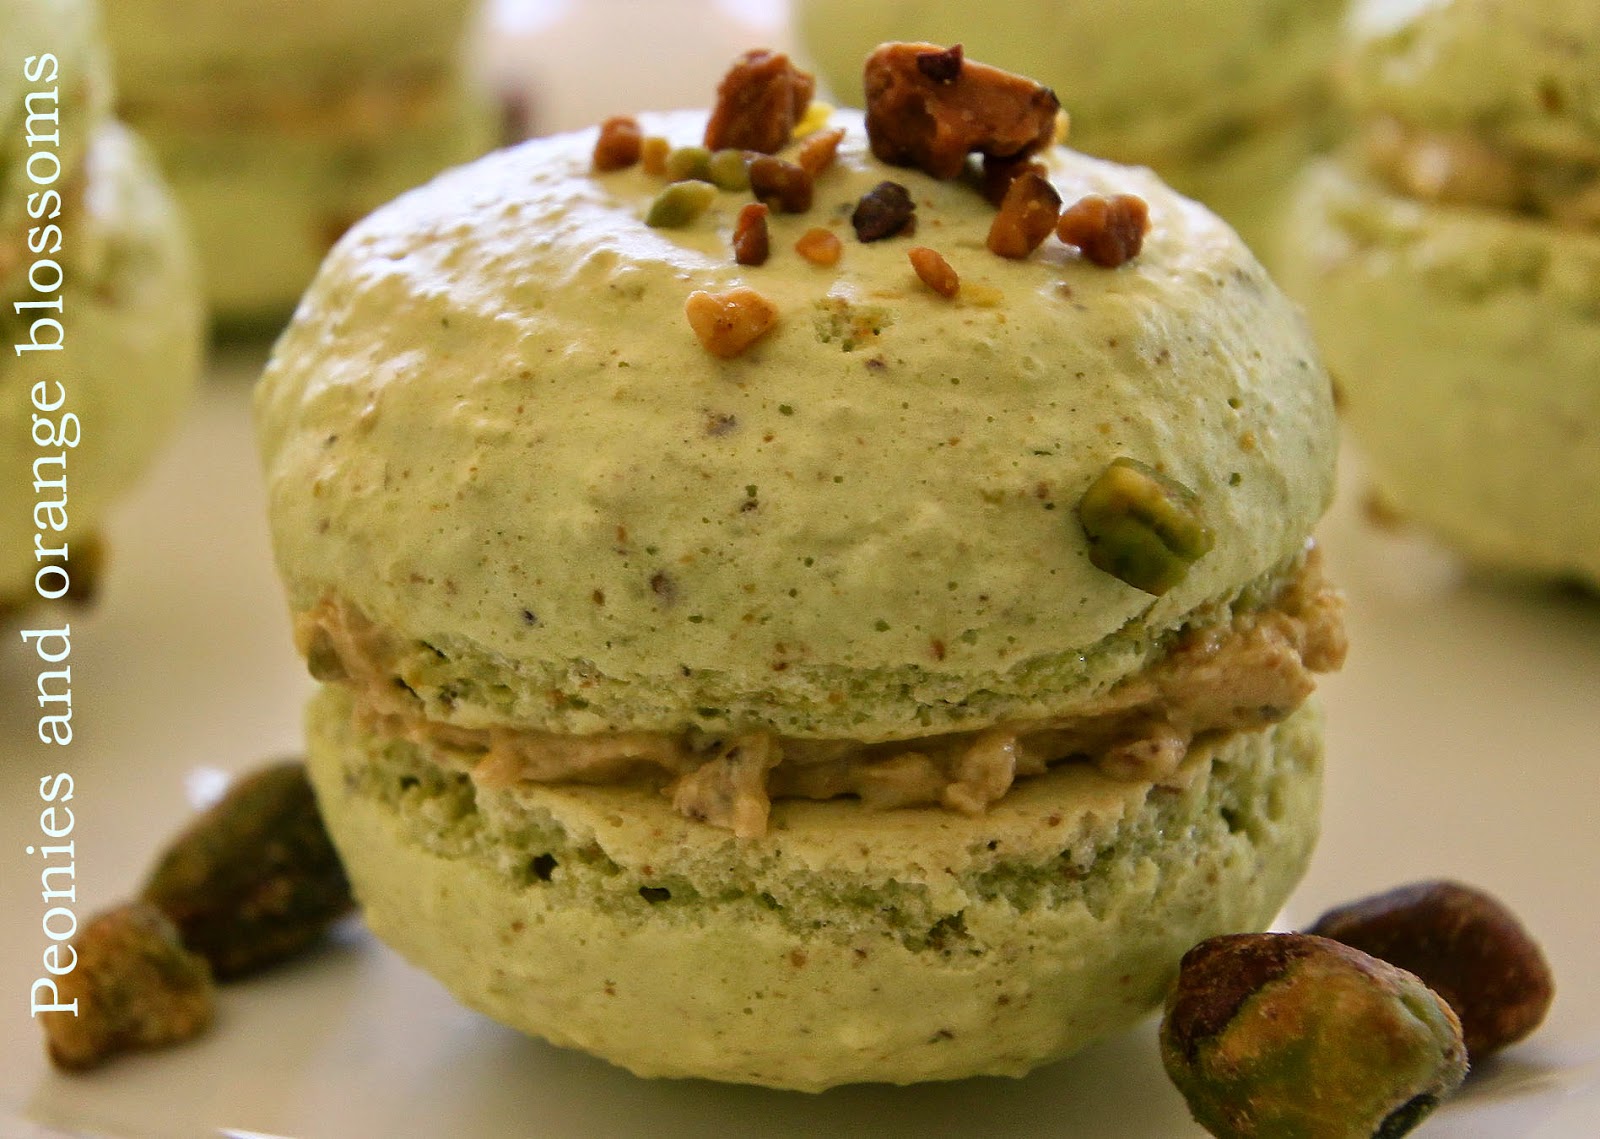
 The finished product:

pistachio macaron recipe

 YUM YUM. You need to try this recipe.

pistachio macaron recipe

This was another post as part of my series “Macaron Mondays”
So far I’ve made…
Salted Caramel Macarons
Lemon Macarons
Raspberry Macarons
Marionberry Macarons

For my favorite product recommendations for making such delicate cookies, check out my amazon store

I’ve linked up with:The Scoop! at Confessions of a Plate Addict/Stone Gable,  Merry Mondays at my pinterventures Inspire Me Tuesday at a Stroll Thru Life, Do Tell Tuesday at a Vintage Zest,  You’re Going to Love it Tuesday at Kathe with an E,  Tickle my Tastebuds Tuesday  Cottage Style Party at Lavender Garden Cottage  Wow us Wednesdays! at Savvy Southern Style, What’s it Wednesdays at Ivy & Elephants, Centerpiece Wednesdays at The Style Sisters Treasure Hunt Thursday at From My Front Porch To Yours, Feathered Nest Fridays at French Country Cottage, Sunday Best Showcase at Twigg Studios. Be sure to check out all of these fabulous blogging parties! A big thank you to all of the wonderful hosts!

Written at http://peoniesandorangeblossoms.blogspot.com
Follow:

Lemon Macarons Recipe!

We use affiliate links in our posts and our site. This means if you make a purchase using these links, we may earn a small commission. You don’t pay a cent more than you would otherwise! Our full disclosure is available under About.

Although I think “macaron citron” has a better ring to it!
This post may contain affiliate links. See my disclosure policy.
Today I’m sharing with you the recipe for lemon macarons! They are GOOD.

Ok. First we start with the basic macaron recipe I use Laduree’s recipe.

Materials needed:

  • a food scale (yes, you need this. I use this one)
  • a piping tip and piping bag (I like the ateco #806, I use these tips and piping bag
  • Food coloring (the gels or dry powder works best, not the liquid store stuff)
  • A macaron template (either make one or get one here or here. It makes piping easier)
  • food processor (for the cream filling, I use this one)

Laduree Macarons Recipe

275g ground almonds  

250g powdered sugar   

210g egg whites          

210g granulated sugar 

1.  Mix almond meal and the powdered sugar in a food processor. Be careful not to grind too long, otherwise it will form a paste.

2. Sift the almonds and powdered sugar. Set aside.

3. Weigh out granulated sugar.

4. Weigh the egg whites.  Beat them slowly on a low speed until foamy. SLOWLY add the granulated sugar to the egg whites as you beat.  Once all mixed, increase speed to medium and beat until a firm meringue forms.  You want a firm meringue with glossy peaks but not stiff peaks.  They should defy gravity and remain in the bowl if you turn it upside down.  If you tilt your bowl to the side and they are sliding out, keep beating.

5. Add the food coloring gel and mix.

6. Then fold in 1/3rd of the almond/sugar mixture into the meringue with a silicone spatula.  Once combined, add another third of the almond mixture. Add last bit.  This batter requires more deflation during this step since it creates such a poofy meringue.

7. Add the batter to a piping bag.  Pipe in rows using your template onto parchment paper.

8. Pick up the pan and beat until the counter.  The cookies need to rest on the counter between 30-60 minutes.  They are ready to go in the oven when they are dry to touch (the shell shouldn’t stick to your finger)

9.  Set the oven to 300F.

10. Bake the cookies for 13-15 minutes, one sheet at a time. They are done when they look kind of matte and seem firm when you lightly tap on them.  You can always rescue a slightly overcooked one with the maturation process that comes later, but you cannot rescue an undercooked one!!   

11. Remove from paper once completely cool. If they stick to the paper, they aren’t cool yet. Or you undercooked them.

For the lemon cream filling (also Laduree’s recipe, from the Sucre Book):

Ingredients for the Lemon Filling

  • 160g granulated sugar
  • zest of 1 lemon, grated (approx. 5 grams)
  • 5g cornstarch (cornflour)
  • 3 eggs
  • 110mL lemon juice (use fresh lemon juice)
  • 235g butter, softened

Directions


1. Prepare the lemon cream one day in advance.

2. In a bowl, mix together the sugar and lemon zest. Then add the cornstarch.

3. Add the eggs one at a time and then the lemon juice.

4. Pour this mixture into a saucepan and cook over low heat, stirring with a spatula until it simmers, allowing the cream to thicken.

5. Remove from heat.

6. Allow the cream to cool slightly for approx. 10 minutes so that is hot but not scalding (approx. 140 degrees Fahrenheit).

7. Add the softened butter.

8. In a blender or food processor, blend the butter and cream together until mixed.

9. Keep in airtight container for minimum of 12 hours so that the cream may become firm.

10. Add to the macarons. Let macarons sit in the fridge for at least 1 day until serving. It will taste better this way, I promise!!

the lemon cream filling

piped lemon shells

The finished product:

For my favorite product recommendations for making such delicate cookies, check out my amazon store

I’ve linked up with:The Scoop! at Confessions of a Plate Addict/Stone Gable, Metamorphosis Monday’s at Between Naps on the Porch, Inspire Me Tuesday at a Stroll Thru Life, Do Tell Tuesday at a Vintage Zest,  You’re Going to Love it Tuesday at Kathe with an E, Cottage Style Party at Lavender Garden Cottage  Wow us Wednesdays! at Savvy Southern Style, What’s it Wednesdays at Ivy & Elephants, Centerpiece Wednesdays at The Style Sisters Tablescape Thursday at Between Naps on the Porch, Oh the places I have been at the Tablescaper, Treasure Hunt Thursday at From My Front Porch To Yours, Feathered Nest Fridays at French Country Cottage, Seasonal Sundays at the Tablescaper, Sunday Best Showcase at Twigg Studios. And Tickle my Tastebuds Tuesdays Be sure to check out all of these fabulous blogging parties! A big thank you to all of the wonderful hosts!

Written by  http://peoniesandorangeblossoms.blogspot.com
this post may contain affiliate links

Follow:

Salted Caramel Macarons

We use affiliate links in our posts and our site. This means if you make a purchase using these links, we may earn a small commission. You don’t pay a cent more than you would otherwise! Our full disclosure is available under About.

Fleur de Sel Macarons (aka Salted Caramel Macarons)

This post may contain affiliate links. See my disclosure policy.

This is part of my Macaron Mondays feature! I hope you’ve been inspired to make some macarons!

For the basic macaron recipe I use the Laduree macaron recipe.

FOR A PRINTABLE RECIPE, CLICK HERE!!
Materials needed:

  • a food scale (yes, you need this. I use this one)
  • a piping tip and piping bag (I like the ateco #806, I use these tips and piping bag
  • Food coloring (the gels or dry powder works best, not the liquid store stuff)
  • A macaron template (either make one or get one here or here. It makes piping easier)
  • food processor (for the cream filling, I use this one)

Laduree Macarons Recipe

275g ground almonds  

250g powdered sugar   

210g egg whites          

210g granulated sugar 

1.  Mix almond meal and the powdered sugar in a food processor. Be careful not to grind too long, otherwise it will form a paste.

2. Sift the almonds and powdered sugar. Set aside.

3. Weigh out granulated sugar.

4. Weigh the egg whites.  Beat them slowly on a low speed until foamy. SLOWLY add the granulated sugar to the egg whites as you beat.  Once all mixed, increase speed to medium and beat until a firm meringue forms.  You want a firm meringue with glossy peaks but not stiff peaks.  They should defy gravity and remain in the bowl if you turn it upside down.  If you tilt your bowl to the side and they are sliding out, keep beating.

5. Add the food coloring gel and mix.

6. Then fold in 1/3rd of the almond/sugar mixture into the meringue with a silicone spatula.  Once combined, add another third of the almond mixture. Add last bit.  This batter requires more deflation during this step since it creates such a poofy meringue.

7. Add the batter to a piping bag.  Pipe in rows using your template onto parchment paper.

8. Pick up the pan and beat until the counter.  The cookies need to rest on the counter between 30-60 minutes.  They are ready to go in the oven when they are dry to touch (the shell shouldn’t stick to your finger)

9.  Set the oven to 300F.

10. Bake the cookies for 13-15 minutes, one sheet at a time. They are done when they look kind of matte and seem firm when you lightly tap on them.  You can always rescue a slightly overcooked one with the maturation process that comes later, but you cannot rescue an undercooked one!!   

11. Remove from paper once completely cool. If they stick to the paper, they aren’t cool yet. Or you undercooked them.

Salted Caramel Filling Recipe
(makes 1.5 cups of caramel)
1 cup of cream
1.5 cups of granulated sugar
2 tsp coarse salt (or 1tsp for a less salty flavor)
1 cup unsalted butter

Instructions:
1. Chop butter into small cubes and set aside.
2. Pour cream into the pan and add the salt. Bring to a low boil while stirring and remove immediately. Do not scald the cream.
3. Place the sugar into a new pan. Cook over medium hit while stirring constantly.
4. Stir until sugar is melted and has caramelized into a rich color. Remove from heat.  Do not burn the sugar.  If your caramel starts to burn, throw it away. You cannot rescue it.
5. Pour and stir the hot cream into the caramel mixture. BE CAREFUL!!! Add the cream VERY SLOWLY.  The caramel will spit and boil up, so stir while incorporating the cream into the caramel.
6. Let the caramel cool to 115 degrees (about 5 minutes later).
7. Whisk in the cubes of butter into the mixture until melted and mixed.
8. Pour caramel into a shatter proof bowl and refrigerate until cold.

To use the caramel:
1. Remove from the fridge.
2. Whisk the caramel mixture to stiffen to more of a butter/cream consistency. Do not over-whisk as the caramel will separate.

Once all assembled, put them in an airtight container and let them mature (yes, that’s the scientific word for this process) in the refrigerator for 24-48 hours.  


Now, these cookies won’t be bad if you eat them immediately, they will just be amazing if you want a day.  The theory is that the juices from the filling soak back into the cookie to make an AMAZING cookie. 

YUM!

 This caramel tastes good on other things too, not just macarons!

For my favorite product recommendations for making such delicate cookies, check out my amazon store

I’ve linked up with:The Scoop! at Confessions of a Plate Addict/Stone Gable, Metamorphosis Monday’s at Between Naps on the Porch, Inspire Me Tuesday at a Stroll Thru Life, Do Tell Tuesday at a Vintage Zest,  You’re Going to Love it Tuesday at Kathe with an E, Cottage Style Party at Lavender Garden Cottage  Wow us Wednesdays! at Savvy Southern Style, What’s it Wednesdays at Ivy & Elephants, Centerpiece Wednesdays at The Style Sisters Tablescape Thursday at Between Naps on the Porch, Oh the places I have been at the Tablescaper, Treasure Hunt Thursday at From My Front Porch To Yours, Feathered Nest Fridays at French Country Cottage, Seasonal Sundays at the Tablescaper, Sunday Best Showcase at Twigg Studios. Be sure to check out all of these fabulous blogging parties! A big thank you to all of the wonderful hosts!

Written at http://peoniesandorangeblossoms.blogspot.com

Follow:

Marionberry Macarons Recipe

We use affiliate links in our posts and our site. This means if you make a purchase using these links, we may earn a small commission. You don’t pay a cent more than you would otherwise! Our full disclosure is available under About.
Marionberry Macarons
This post may contain affiliate links. See my disclosure policy.


For how to make the macaron cookie shells,  I use the Laduree recipe.

Materials needed:

  • a food scale (yes, you need this. I use this one)
  • a piping tip and piping bag (I like the ateco #806, I use these tips and piping bag
  • Food coloring (the gels or dry powder works best, not the liquid store stuff)
  • A macaron template (either make one or get one here or here. It makes piping easier)
  • food processor (for the cream filling, I use this one)

Laduree Macarons Recipe GET THE PRINTABLE RECIPE HERE

275g ground almonds  

250g powdered sugar   

210g egg whites          

210g granulated sugar 

1.  Mix almond meal and the powdered sugar in a food processor. Be careful not to grind too long, otherwise it will form a paste.

2. Sift the almonds and powdered sugar. Set aside.

3. Weigh out granulated sugar.

4. Weigh the egg whites.  Beat them slowly on a low speed until foamy. SLOWLY add the granulated sugar to the egg whites as you beat.  Once all mixed, increase speed to medium and beat until a firm meringue forms.  You want a firm meringue with glossy peaks but not stiff peaks.  They should defy gravity and remain in the bowl if you turn it upside down.  If you tilt your bowl to the side and they are sliding out, keep beating.

5. Add the food coloring gel and mix.

6. Then fold in 1/3rd of the almond/sugar mixture into the meringue with a silicone spatula.  Once combined, add another third of the almond mixture. Add last bit.  This batter requires more deflation during this step since it creates such a poofy meringue.

7. Add the batter to a piping bag.  Pipe in rows using your template onto parchment paper.

8. Pick up the pan and beat until the counter.  The cookies need to rest on the counter between 30-60 minutes.  They are ready to go in the oven when they are dry to touch (the shell shouldn’t stick to your finger)

9.  Set the oven to 300F.

10. Bake the cookies for 13-15 minutes, one sheet at a time. They are done when they look kind of matte and seem firm when you lightly tap on them.  You can always rescue a slightly overcooked one with the maturation process that comes later, but you cannot rescue an undercooked one!!   

11. Remove from paper once completely cool. If they stick to the paper, they aren’t cool yet. Or you undercooked them.

Filling – for Marionberry Macarons

For these macarons, the easiest way for the filling is to buy seedless marionberry jam.  I used Harry & David seedless marionberry Jam. 

 Once the cookies are cool, add a dollop of your filling to one cookie and spread with a small knife, spoon, or icing spatula. 

Place the other cookie to your filling, press gently, and slightly twist the two together.

Once all assembled, put them in an airtight container and let them mature (yes, that’s the scientific word for this process) in the refrigerator for 24-48 hours.  

Now, these cookies won’t be bad if you eat them immediately, they will just be amazing if you want a day.  The theory is that the juices from the filling soak back into the cookie to make an AMAZING cookie. 


What is a Marionberry, you ask?

I realized that some people may not have had a marionberry.  The Marionberry is a type of blackberry, first bred by Oregon State University.  It was first grown in Marion County, Oregon (hence its name).  It is a little bit sweeter than the typical blackberry.  So in other words, it’s good.  Growing up in the Northwest, we would eat all kinds of berries.  They are seriously weeds up there. 


Marionberry macarons

Marionberry Macarons

Check back next week as I continue Macaron Mondays!


For my favorite product recommendations for making such delicate cookies, check out my amazon store

I’ve linked up with:
The Scoop! at Confessions of a Plate Addict/Stone Gable, Metamorphosis Monday’s at Between Naps on the Porch, Inspire Me Tuesday at a Stroll Thru Life, Do Tell Tuesday at a Vintage Zest,  You’re Going to Love it Tuesday at Kathe with an E, Cottage Style Party at Lavender Garden Cottage  Wow us Wednesdays! at Savvy Southern Style, What’s it Wednesdays at Ivy & Elephants, Centerpiece Wednesdays at The Style Sisters Tablescape Thursday at Between Naps on the Porch, Oh the places I have been at the Tablescaper, Treasure Hunt Thursday at From My Front Porch To Yours, Feathered Nest Fridays at French Country Cottage, Seasonal Sundays at the Tablescaper, Sunday Best Showcase at Twigg Studios. Be sure to check out all of these fabulous blogging parties! A big thank you to all of the wonderful hosts!


Written by Orange Blossom at http://peoniesandorangeblossoms.blogspot.com
This post my contain affiliate links.

Follow:

The Best Chocolate Chip Cookie Recipe EVER!

We use affiliate links in our posts and our site. This means if you make a purchase using these links, we may earn a small commission. You don’t pay a cent more than you would otherwise! Our full disclosure is available under About.

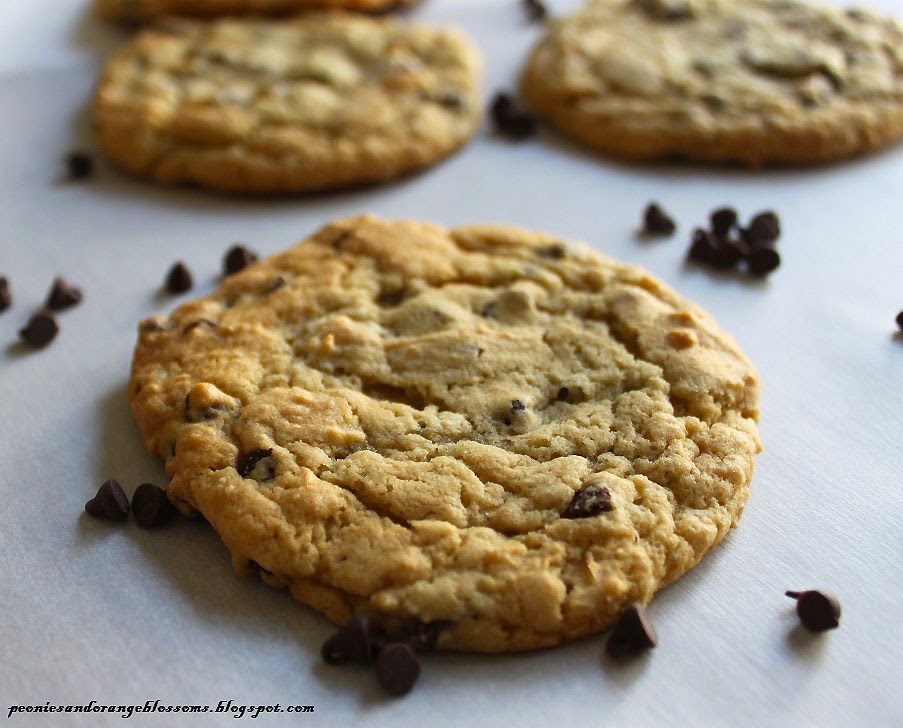
No, really. It is. It is the ONLY chocolate chip cookie recipe you will ever need to know from now on. Trust me. I can’t believe these cookies came out of my kitchen. They give the Girl Scouts a run for their money.

The BEST chocolate chip cookie recipe in the world!! 

printable recipe version here

  • 2 cups minus 2 Tbsp. cake flour (8 1/2 oz)
  • 1 2/3 cups bread flour (8 1/2 oz)
  • 1 ¼ tsp. baking soda
  • 1 ½ tsp. baking powder
  • 1 ½ tsp. coarse salt, such as kosher
  • 2 ½ sticks (1 ¼ cups; 10 oz.) unsalted butter, softened
  • 1 ¼ cups (10 oz.) light brown sugar
  • 1 cup plus 2 Tbsp. (8 oz.) granulated sugar
  • 2 large eggs
  • 2 tsp. vanilla extract
  • 1 ¼ pounds bittersweet chocolate chips, preferably about 60% cacao content, such as Ghirardelli (although I made mine with semi-sweet and they were still delicious)
  • Sea salt or kosher salt for garnishing

1. Combine flours, baking soda, baking powder, and salt in a bowl. Set aside.


2. Using a mixer fitted with paddle attachment, cream butter and sugars until very light and fluffy, about 3 to 5 minutes. Add the eggs, one at a time, mixing well after each addition. Mix in the vanilla. 


3. Reduce the mixer speed to low; then add dry ingredients, and mix until just combined, 5-10 seconds. Add the chocolate chips, and mix briefly to incorporate. Press plastic wrap against the dough, and refrigerate.  He recommends for 24 to 36 hours. The dough may be used in batches, and can be refrigerated for up to 72 hours.


4. When you’re ready to bake, preheat oven to 350°F. Line a baking sheet with parchment paper or a nonstick baking mat.


5. Scoop about 1/3 cup of six mounds of dough (golf-ball size) onto the baking sheet, making sure to space them evenly. Sprinkle lightly with sea salt, and bake until light golden brown but still soft, 15 to 20 minutes. 


6. Transfer the baking sheet to a wire rack for 10 minutes, then transfer the cookies onto the rack to cool a bit more.


Yield: 1.5 dozen 5 inch cookies.
Recipe from: NY Times Chocolate Chip Cookies


Tips:

  • Use the cake flour and all purpose flour. I honestly think this is the big difference between this cookie and normal chocolate chip cookie recipes.
  • Chill the dough.  As a scientist, I don’t buy the difference between 24-36 hours, and actually for that fact more than several hours.  Places I’ve read it says it allows the flavors to “hydrate the dry products and allow flavors to mix”. Frankly, if you’ve mixed it well with the mixer, chemically speaking, it is mixed.  I think chilling the dough just allows the batter to set-up, so when it’s time to bake it starts from a cooler temperature.  I chilled mine for 4 hours and 30 hours. I can’t taste the difference between the two.
  • These make bakery worthy sized cookies. Making them smaller I think would dry them out.
  • They taste better if you sprinkle the salt on it.
  • As with most cookies, take them out before they are completely done.  They will continue to cook on the pan. If you take them out when they’re done, they will be overdone by the time they are done cooling!   

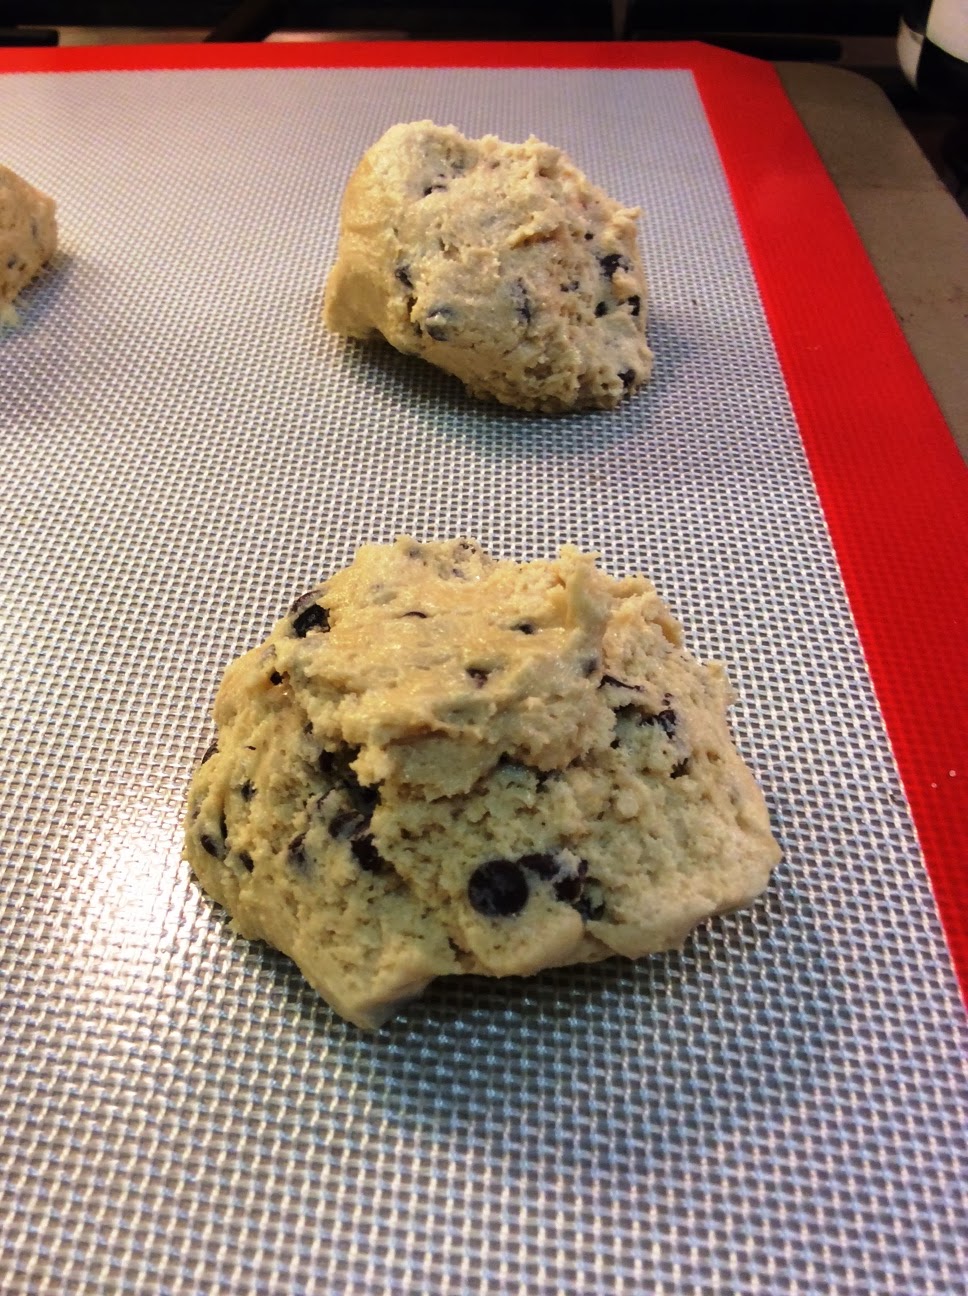
unbaked dough on the pan

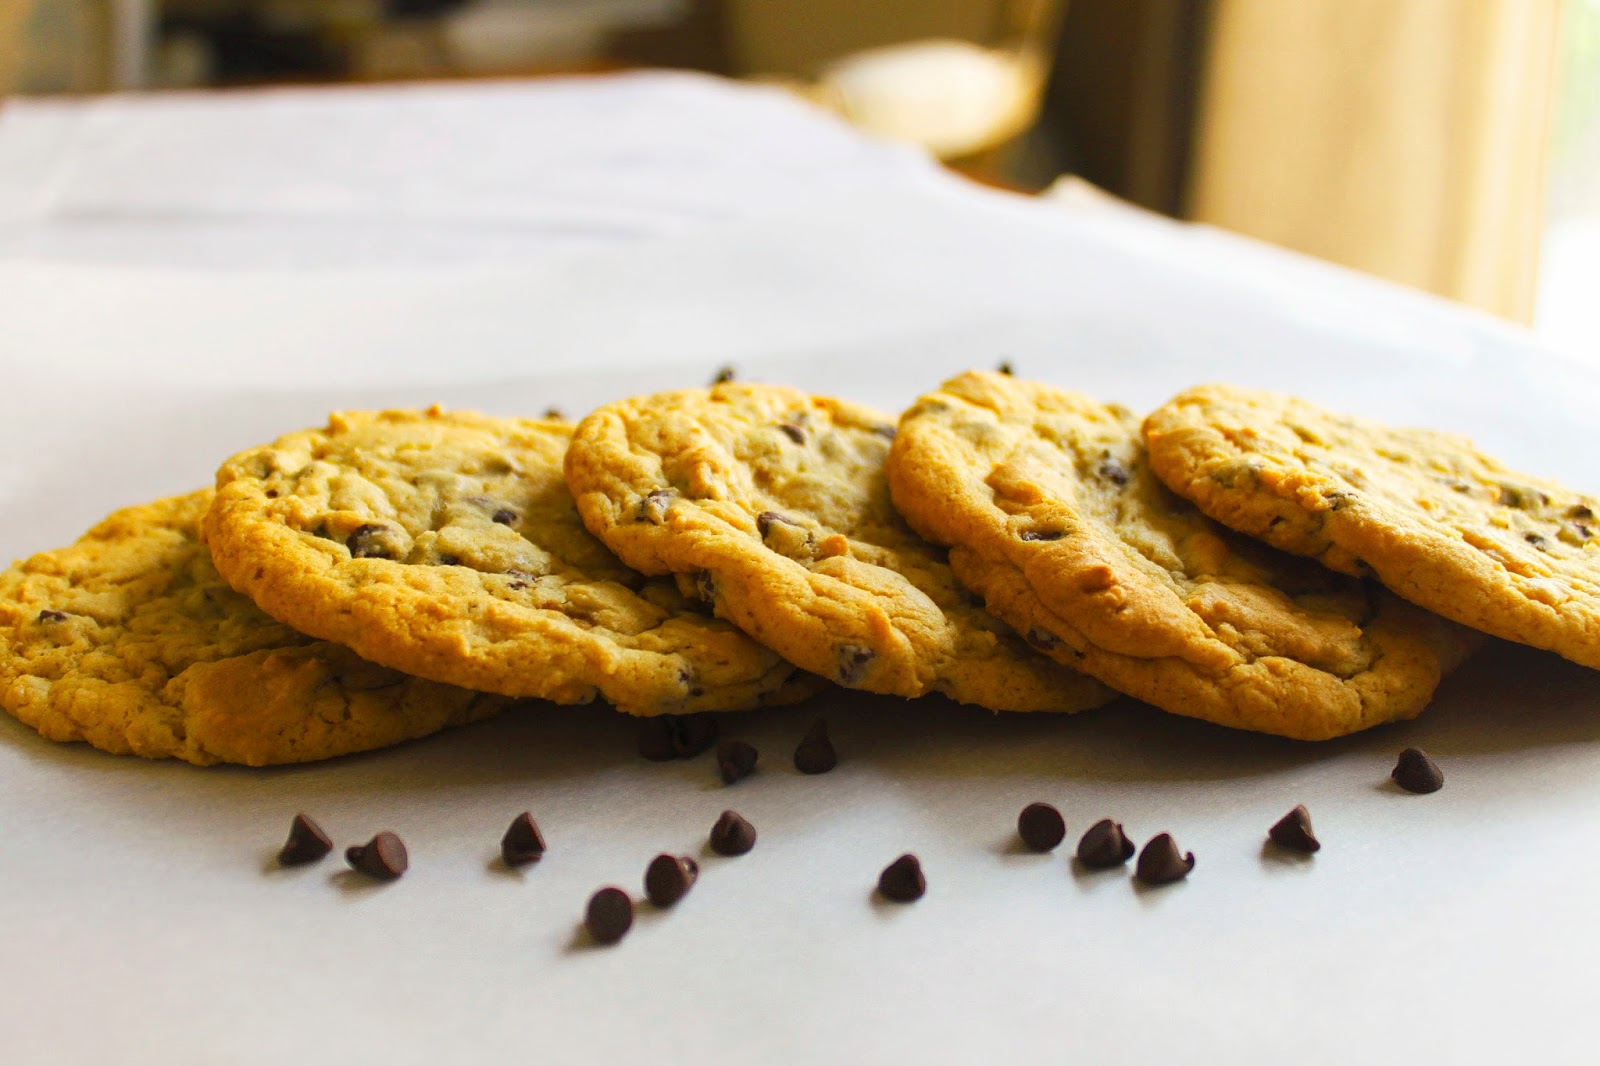
 Some cookies may not have survived the photography session. RIP in my stomach.

Update: This post was featured at Wow Us Wednesdays on 4/1/14!
Savvy Southern Style

I’ve linked up with The Scoop!, Tablescape ThursdayWow us Wednesdays!Open House Party Feathered Nest FridaysSeasonal Sundays & Oh the places I have been,  life of the party the style sistersFavorite Things Blog Hop, and What’s it Wednesdays. Tasty Tuesday’s! Be sure to check out all of these fabulous blogging parties! A big thank you to all of the wonderful hosts!

Written by Orange Blossom at http://peoniesandorangeblossoms.blogspot.com

Follow:

Best German Pretzel Bite Recipe!

We use affiliate links in our posts and our site. This means if you make a purchase using these links, we may earn a small commission. You don’t pay a cent more than you would otherwise! Our full disclosure is available under About.

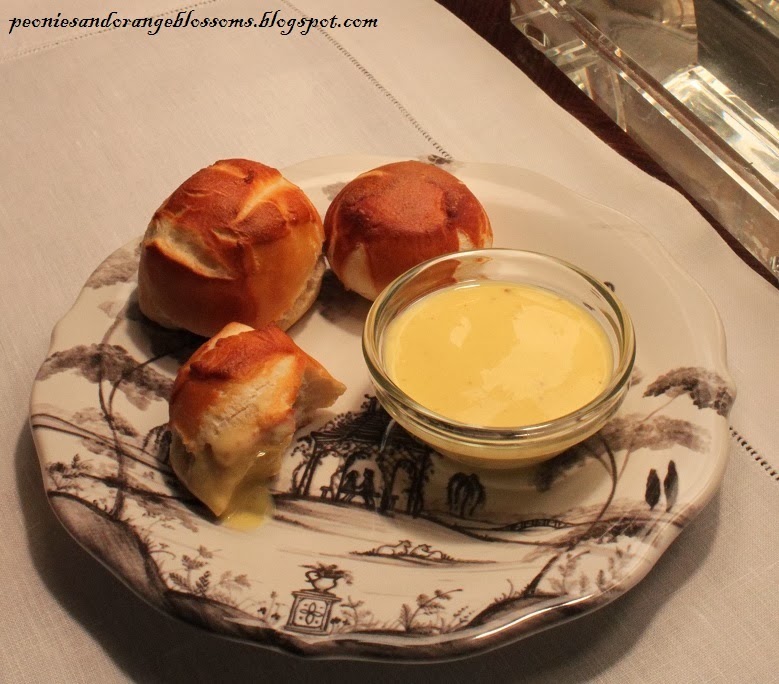
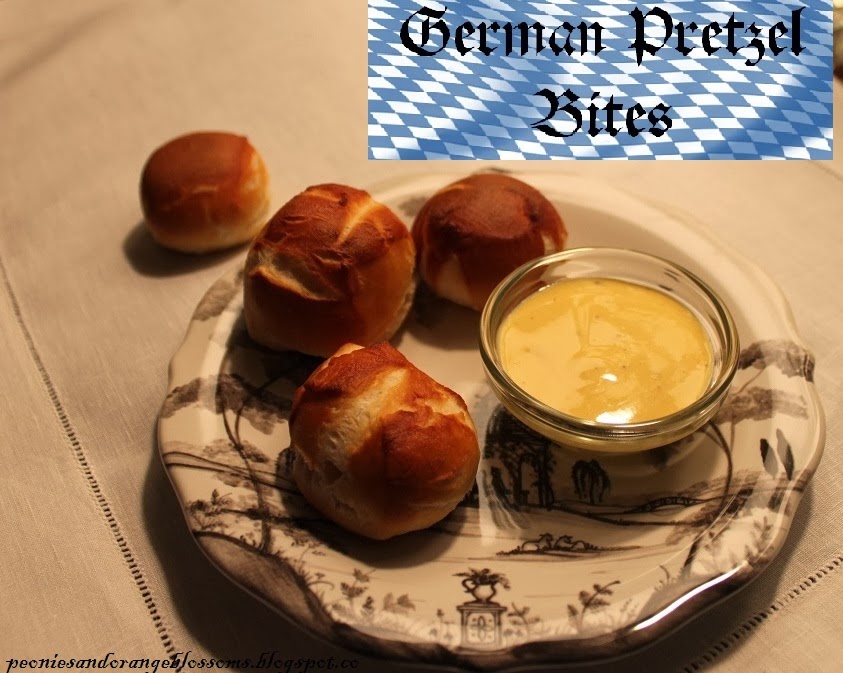
I had been craving a good fresh pretzel for a while.  After a bit of time, I finally have an excellent authentic German pretzel recipe to share!  I made pretzel bites with it as it is a little easier, but the same recipe will do for pretzels too!

yum!!

Here’s the recipe: (or get the printable version here)

Ingredients

  • 4 cups all-purpose flour
  • 1 1/2 teaspoons salt
  • 1 tablespoon sugar
  • 1 packet active yeast
  • 1 1/2 cups warm water
  • 1/2 cup baking soda
  • 2 quarts water for bath

Instructions

1. Add yeast to warm water.  Let it settle for about 5 minutes.  Then add the sugar and salt to the yeast and mix in.
2. Add the yeast, sugar, and salt mixture to the flour. Mix together. I used the dough hook on my kitchenaid and mixed for about 5 minutes on speed #2.  Let dough rest for 30 minutes.
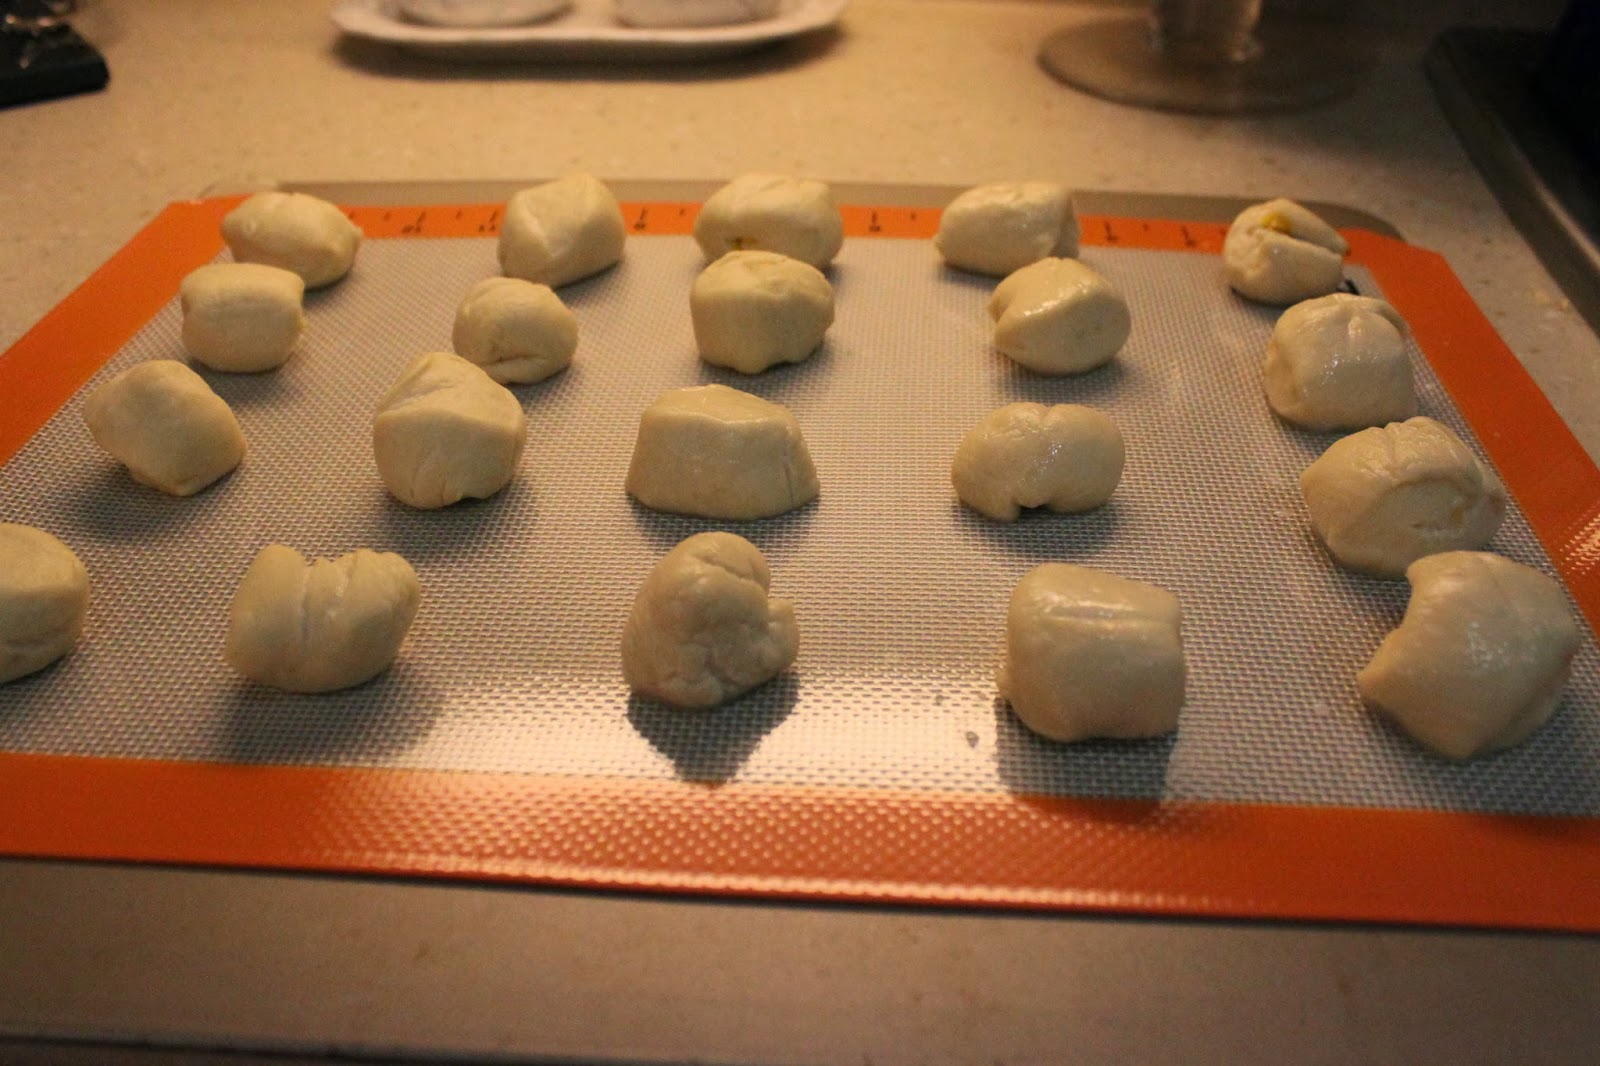
3. Cut dough into about 5-6 equal parts. Roll out on a clean surface.  Don’t need to flour the surface, the dough shouldn’t stick.  Roll the dough in a line until it is about 1 inch in diameter.  Cut 1.5-2 inch pieces and place on a lined baking sheet.
4. Place the baking sheet uncovered in the fridge for approx. 1 hour. This is key. This helps build a skin making it have that nice crust.
5. Preheat the oven to 425 degrees F.
6. Bring 2 quarts of water to boil. SLOWLY add in baking soda into the boiling water little bits at a time. *caution* this creates quite a bubbly reaction for a few seconds so stand back and don’t get burned!  It will eventually simmer down after a few seconds.  Then add more.  You have been warned!
7. Add the pieces of dough into the soda bath.  Let it sit for about 10-20 seconds and then remove. I used a pasta server to remove it and found it to be the perfect tool.
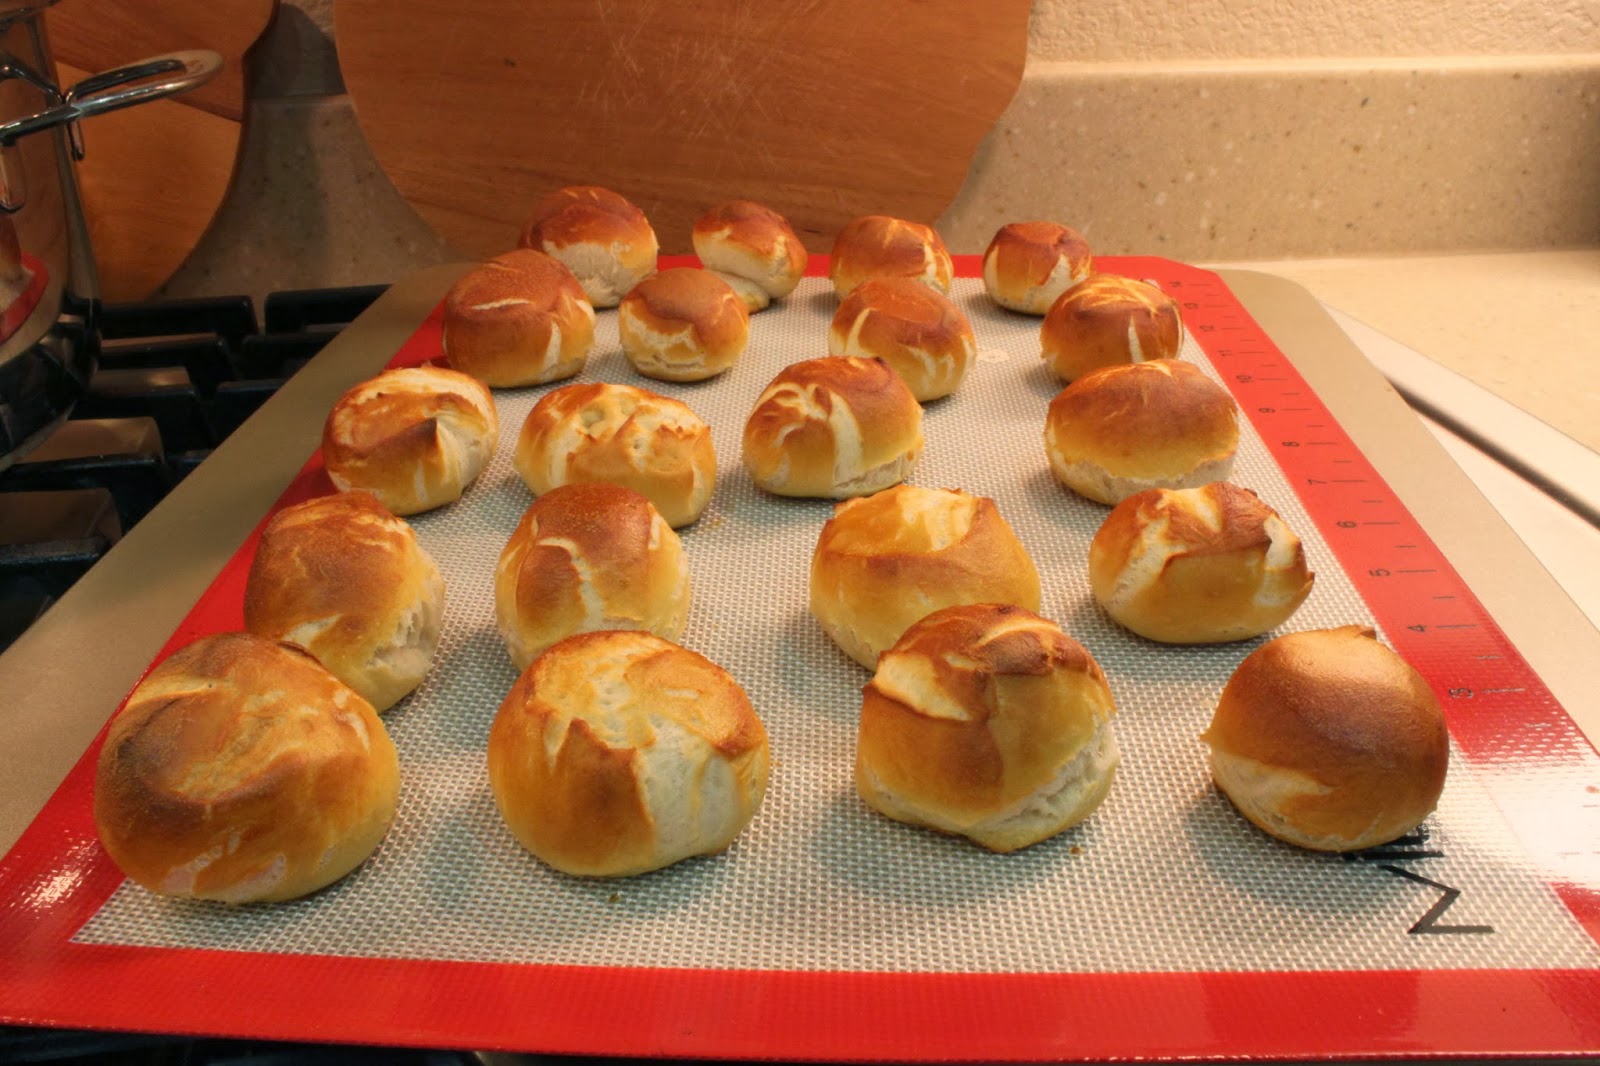
8. Sprinkle with coarse salt (I like mine unsalted, so I didn’t).  Bake the pretzels for 8-10 minutes until golden brown.  Move to a cooling rack. Grab some honey mustard, nacho cheese, or a slice of cheese and enjoy!

Pictures of the process:

the pieces freshly out of their soda bath!

 Look how nice and brown they turned out… too hot to eat!

nice and done!

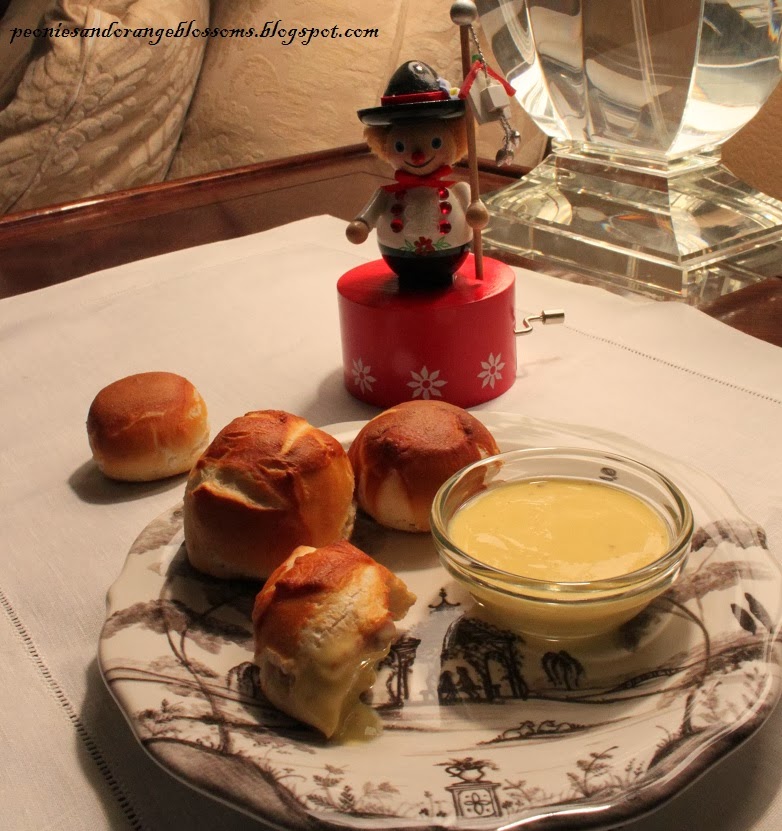
Now grab some honey mustard and enjoy!  My Bavarian figure loves to eat pretzels!

Now for some tips, tricks, and other info regarding German pretzels.

  • The traditional German recipe calls for a bath made of lye (yes, lye!!).  The baking soda is a safer alternative.  It tastes *almost* as good.  I’m not willing to go playing around with lye just to make my own pretzel.  Go figure, the real German pretzel is dangerous to make. 
  • Letting the dough rest in the fridge allows a nice skin to form which is key.
  • You can use this recipe to make pretzel shapes. Just row out about 20 inches of dough and then fold.
  • Some recipes call for an egg wash prior to baking.  I tested the pretzel bites with and without an egg wash.  I honestly couldn’t tell a difference in appearance or in taste.  Obviously not needed! 

I’ve linked up with The Scoop!, Tablescape ThursdayWow us Wednesdays!Open House Party Feathered Nest FridaSeasonal Sundays & Oh the places I have been,  life of the party the style sisters, Favorite Things Blog Hop, and What’s it Wednesdays. Be sure to check out all of these fabulous blogging parties! A big thank you to all of the wonderful hosts!

Follow:

Eggnog Latte

We use affiliate links in our posts and our site. This means if you make a purchase using these links, we may earn a small commission. You don’t pay a cent more than you would otherwise! Our full disclosure is available under About.

  Just featured at the Grant Life for “Easy Christmas Desserts!” So excited!

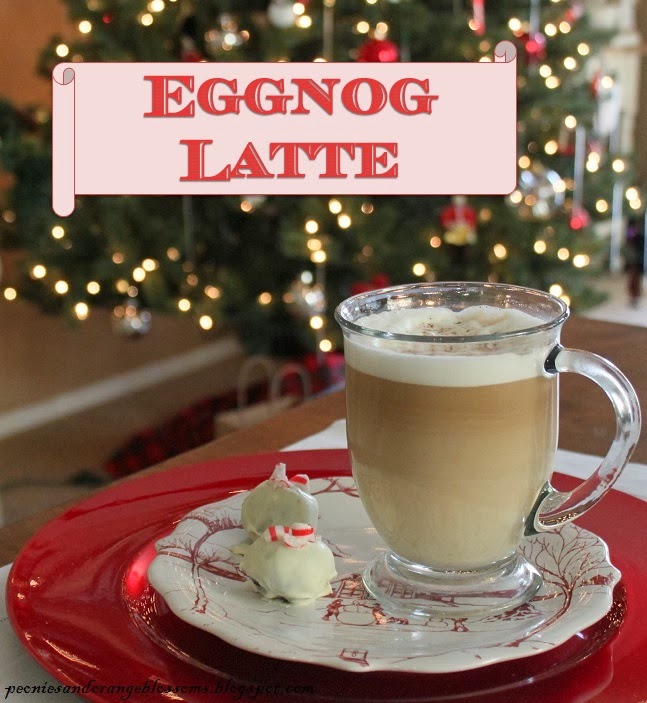
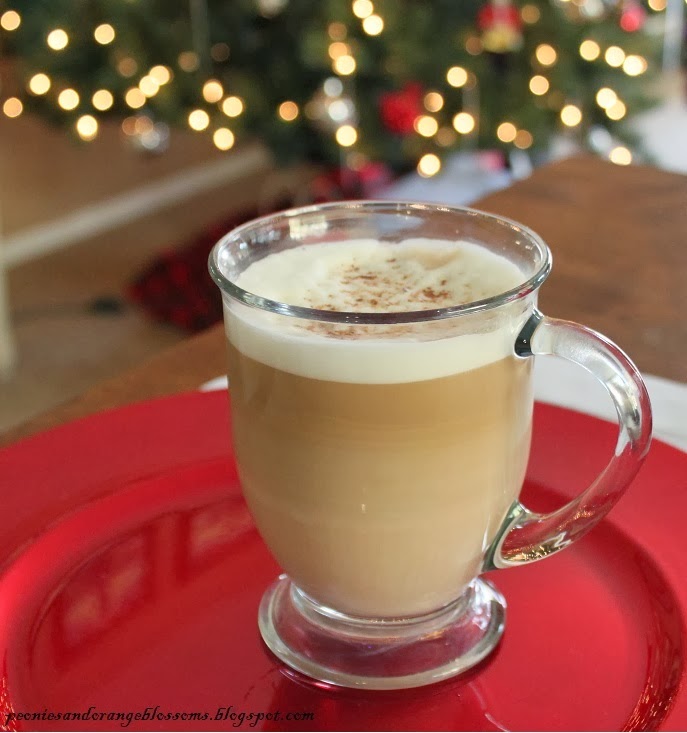
Easy DIY Eggnog Latte Recipe

Eggnog lattes are my favorite Christmas drink.  All of your favorite coffee shops charge $4-$5 for one.

They also have 400 calories in them too.

Not this one.

INGREDIENTS: PRINTABLE RECIPE HERE
– 1/4 cup of eggnog (either full fat or light fat)
– 3/4 cup of milk (either non fat, 1%, or 2%)
– Strong coffee
– Nutmeg for drizzle

For non-Nespresso users:

  1. Brew 1/2 cup of strong dark coffee.
  2. In the meantime, heat milk and eggnog together in the microwave until warm.  Whisk quickly to create a foam on top. 
  3. Mix the milk/eggnog and coffee together.  Adjust amount of eggnog to your own taste.
  4. Drizzle nutmeg on top. Enjoy!

For Nespresso users:

  1. Choose a pod type. To make the latte exactly as pictured I used the blue lungo, Vivalto.  I usually prefer the purple regular one, Arpeggio.
  2. Add eggnog and milk to the Aeroccino.
  3. Mix the two.
  4. Drizzle nutmeg on top. Enjoy!

To make the eggnog latte a bit more calorie friendly, use either less eggnog, use low-fat eggnog, as well as using non-fat milk.

This homemade eggnog latte is delicious, budget friendly, and friendlier to your waist line!

Follow:

Pumpkin Festival

We use affiliate links in our posts and our site. This means if you make a purchase using these links, we may earn a small commission. You don’t pay a cent more than you would otherwise! Our full disclosure is available under About.

Pumpkin Festival 2013 at Ludwigsburg Palace in Germany

Every year the Ludwigsburg Palace plays host to the “Kürbisausstellung” (aka pumpkin festival).  They have over 450,000 pumpkins on their property!  No they are not just scattered about, they are actually featured as sculptures! One year they had a Dinosaur theme, a Swiss theme, a botanical theme, and this year, a sports theme!
*warning, picture heavy post*


Can you find the word “Sports” hidden in the pumpkins?

Skiers! 

She is lighting the torch, I believe

Yes, this takes place surrounding the Ludwigsburg palace property! Look at the beautiful building!

Ever seen such funny look gourds?

What about these ones?

A different look at the skiers

They also had smaller figures too.  Some of these seem like you could try to replicate them at home for your own decorating.

A working Owl and Frog fountain! 

Whoooo goes there?
This parrot was very cute! 

A bicycle
A horse of course

The swan and alpine goat thing next to her
entire boxing match! 

Jamaica has a bobsled team

This is part of the festival.  The thing on the left in front of the pic was a 1st, 2nd, and 3rd place trophy winner stand that would play music when you stood on it.

They had rows and rows of pumpkins from all of the world.  What was interesting to learn was that a majority of the pumpkin types are from the USA.  

A basketbal player

Even a very large swimmer as you can see

I think this guy was my favorite

You can see white tents in the background with food

Not only did they showcase the pumpkins, but they had different booths with food featuring pumpkin.  We had the pumpkin soup which was delicious.  We also had pumpkin struedel which was also very good.

In addition to food, the day we were there they had… pumpkin boat racing!  I’m not kidding!  The racing occurred inside the large fountain in front of the palace!

The pumpkin boats. As you can see pumpkin boaters get very wet! 

go go go! Racing IN the fountain! 

close of up a very large gray pumpkin ‘boat’.  Never seen a large gray pumpkin before! 

More colorful gourds for purchase! 

Never seen these gourds, called “bishop hats”.

What was interesting is that they only had TWO jack-o-lanterns in the entire festival!  You would think with thousands of pumpkins they would have more jack-o-lanterns.  Guess that is more of an American thing!

If you’re curious about the palace… Here’s a view of the front of Ludwigsburg palace.  Can you believe this was originally built as a hunting retreat?  Boy, did those royals know how to spend money!!

It was just starting to rain when I took this picture… had to hightail it back to the car!

Ludwigsburg palace

If you ever make it out to Germany in the Fall, I recommend going here! It was a lot of fun! 

For those of you that can speak German, the official pumpkin festival website is here

The pumpkin festival runs from August 30 to November 3 this year.  

For more information about Ludwigsburg Palace, the English website is here.

Hope you enjoyed these pictures!  I have enjoyed sharing them with you!

Be sure to keep checking back, I have lots of cute Fall posts coming up this month!

Thanks for stopping by!

This post was featured at a Stroll Through Life!

I’ve linked up with The Scoop! Visit Confessions of a Plate Addict blog, Tablescape Thursday at ‘Between Naps on the Porch’, Wow us Wednesdays! at Savvy Southern Style, Open House Party at no minimalist here,  Feathered Nest Friday and Autumn Abounds Party at French Country Cottage, Seasonal Sundays & Oh the places I have been at The Tablescaper, and life of the party at the grant life!and the Autumn Abounds party


Follow:

From the Shop

I may earn a small commission if you purchase with these links

no products
Please note that I use ShopSense, LIKETOKNOW.it, Shareasale and Amazon affiliate links on this site. This means using them for purchases won’t cost you extra but may earn me a small commission.  Our full disclosure is available for viewing under About in the disclosure policy.
All rights reserved. Our graphics, images and text are all subject to copyright protection.