google.com, pub-5426958118371358, DIRECT, f08c47fec0942fa0

What to do with your Paperwhites after they bloom?

We use affiliate links in our posts and our site. This means if you make a purchase using these links, we may earn a small commission. You don’t pay a cent more than you would otherwise! Our full disclosure is available under About.

I grew paper whites for the first time last year for Christmas.  But I planted them way too soon and they were already done blooming before Christmas.
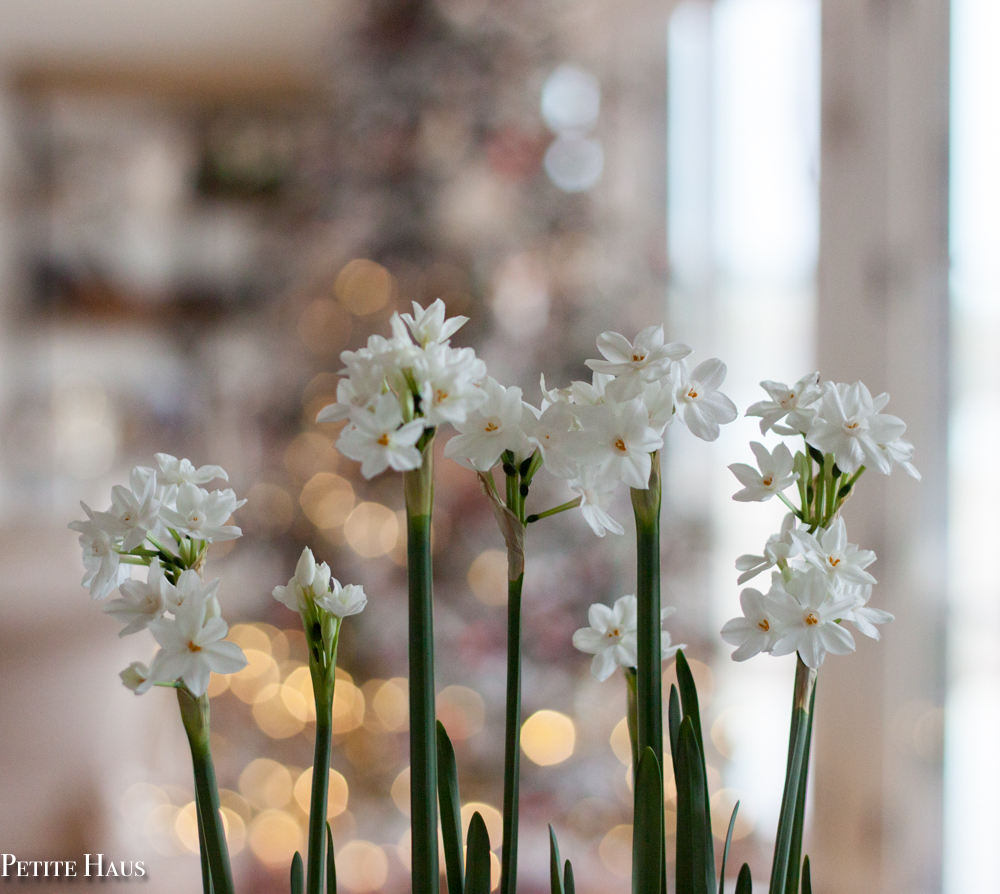
Christmas Paperwhites But I still have them sitting out on my counter. Just all lengthy green leaves with dead flowers.

It’s not pretty. I’m not showing you a picture.

So I set out to find… so what do I do with the bulbs? Ideally I’d like them to grow again next Winter.

It took a while to find some information.  Most places recommend just tossing them and buying new ones.  But I have some beautiful healthy bulbs so I want to try to save them for next year.

Well, first, you don’t cut the leaves.  You need to let the leaves die back naturally on their own. While the flowers are done blooming, the leaves provide nutrients to the bulb for next year.  I continue to water the bulbs every 2-3 days.

If you live in Zone 8 or higher, you can put the bulbs outside. Otherwise just keep them in the window.

After the last frost, you can transplant them into the garden outside. But apparently they may not bloom again for several years. (!!)
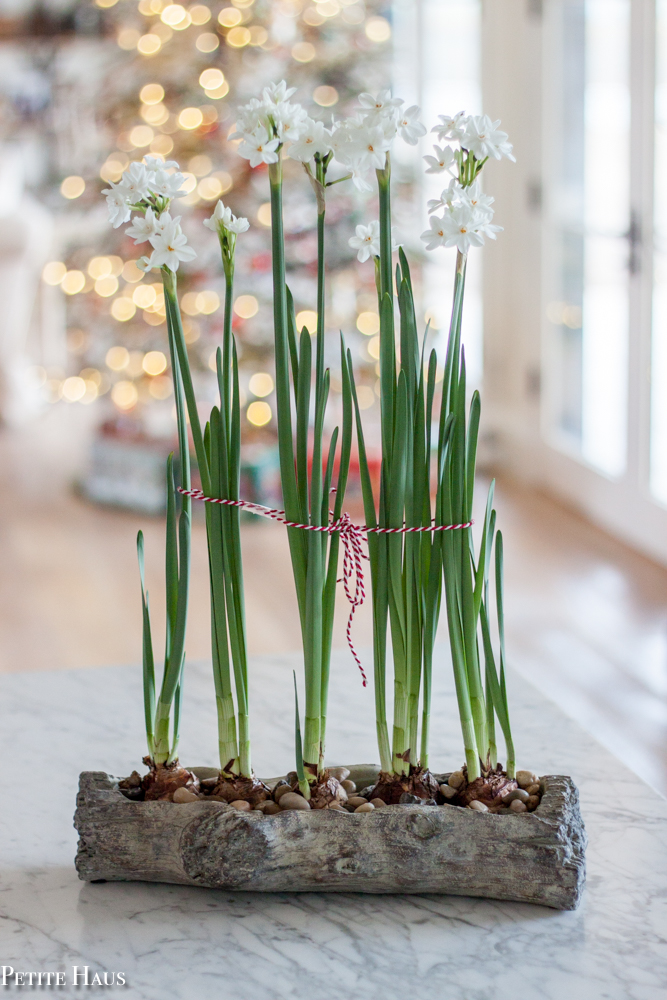
Christmas Paperwhites

But then I found this:

“Unlike many bulbs, paperwhites need no chilling to force blooms and are only hardy in USDA zone 10. This means that in California you can plant the bulb outdoors and you may get a bloom the next year if you fed it and let its foliage persist. More likely, however, you will not get a bloom for two or three years. In other regions, you will probably not have any success with a rebloom and the bulbs should be composted. It is quite common to grow paperwhites in a glass container with marbles or gravel at the bottom. The bulb is suspended on this medium and water provides the remainder of the growing situation. However, when bulbs are grown this way, they cannot gather and store any additional nutrients from their roots. This makes them energy deficient and there is no way you can get another bloom. In a nutshell, getting paperwhites to rebloom is not probable. The cost of the bulbs is minimal, so the best idea for flowering is to purchase another set of bulbs. Remember, paperwhite bulb reblooming in zone 10 may be possible, but even this ideal condition is not a sure-fire prospect. However, it never hurts to try and the worst that can happen is the bulb rots and provides organic material for your garden.

Read more at Gardening Know How: Can Paperwhite Flowers Rebloom: Tips On Getting Paperwhites To Rebloom https://www.gardeningknowhow.com/ornamental/bulbs/paperwhites/paperwhites-reblooming.htm

So, to answer my question, I should just throw them away.
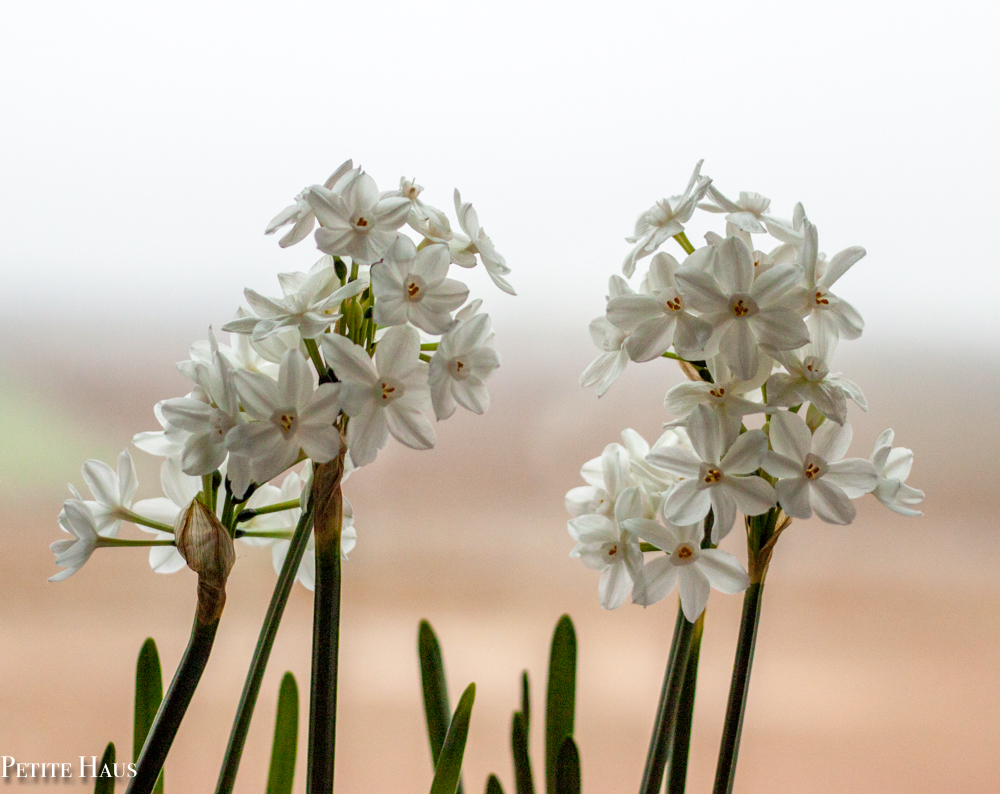
Christmas Paperwhites

SaveSave

Follow:

Grindelwald, Lauterbrunnen, and my favorite Swiss chocolate

We use affiliate links in our posts and our site. This means if you make a purchase using these links, we may earn a small commission. You don’t pay a cent more than you would otherwise! Our full disclosure is available under About.

In this post – Visiting Switzerland’s Grindelwald and Lauterbrunnen Valley and a review of Läderach chocolate.

I realized I have not done many posts of my trip to Switzerland last year! There has been so much going on with the house build that I forgot to write about our trip!

Above is a photo of Grindelwald, Switzerland. It is located in the Bernese Highlands (Berner Oberland) and it is one of the most beautiful spots in the world!

There are several towns to stay in the Berner Oberland – Grindelwald, Lauterbrunnen, and the auto-free Mürren and Wengen (only accessible by cable car), and the larger city of Interlaken down the hill by Lake Thun.

We chose to stay in Grindelwald because it was accessible by car (we had a car).  It is less touristy than Lauterbrunnen as well.  It had more dining options and more hotels than both Mürren and Wengen, which are located up on the cliffs.

As you can see, it is beautiful. We had views of the Eiger (the name of the big mountain) from our room!

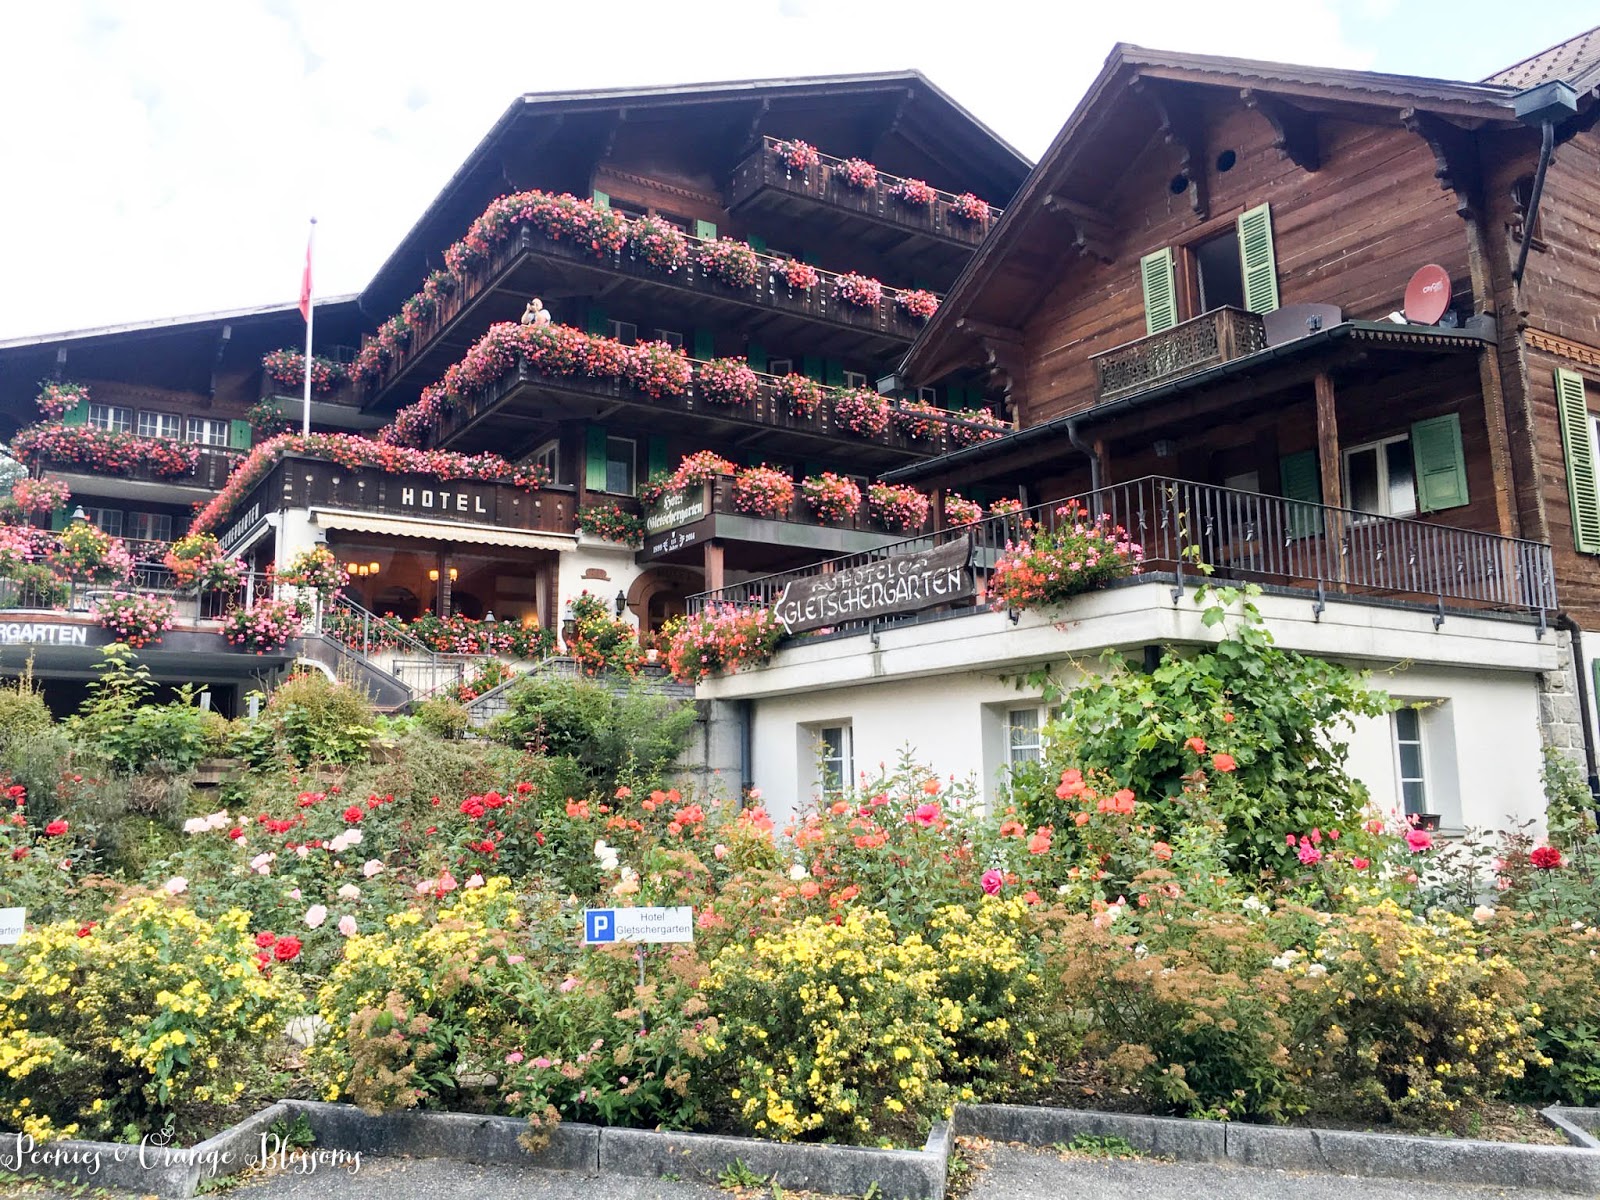
It was a cute town and this hotel below was gorgeous, but unfortunately booked when we were visiting.  

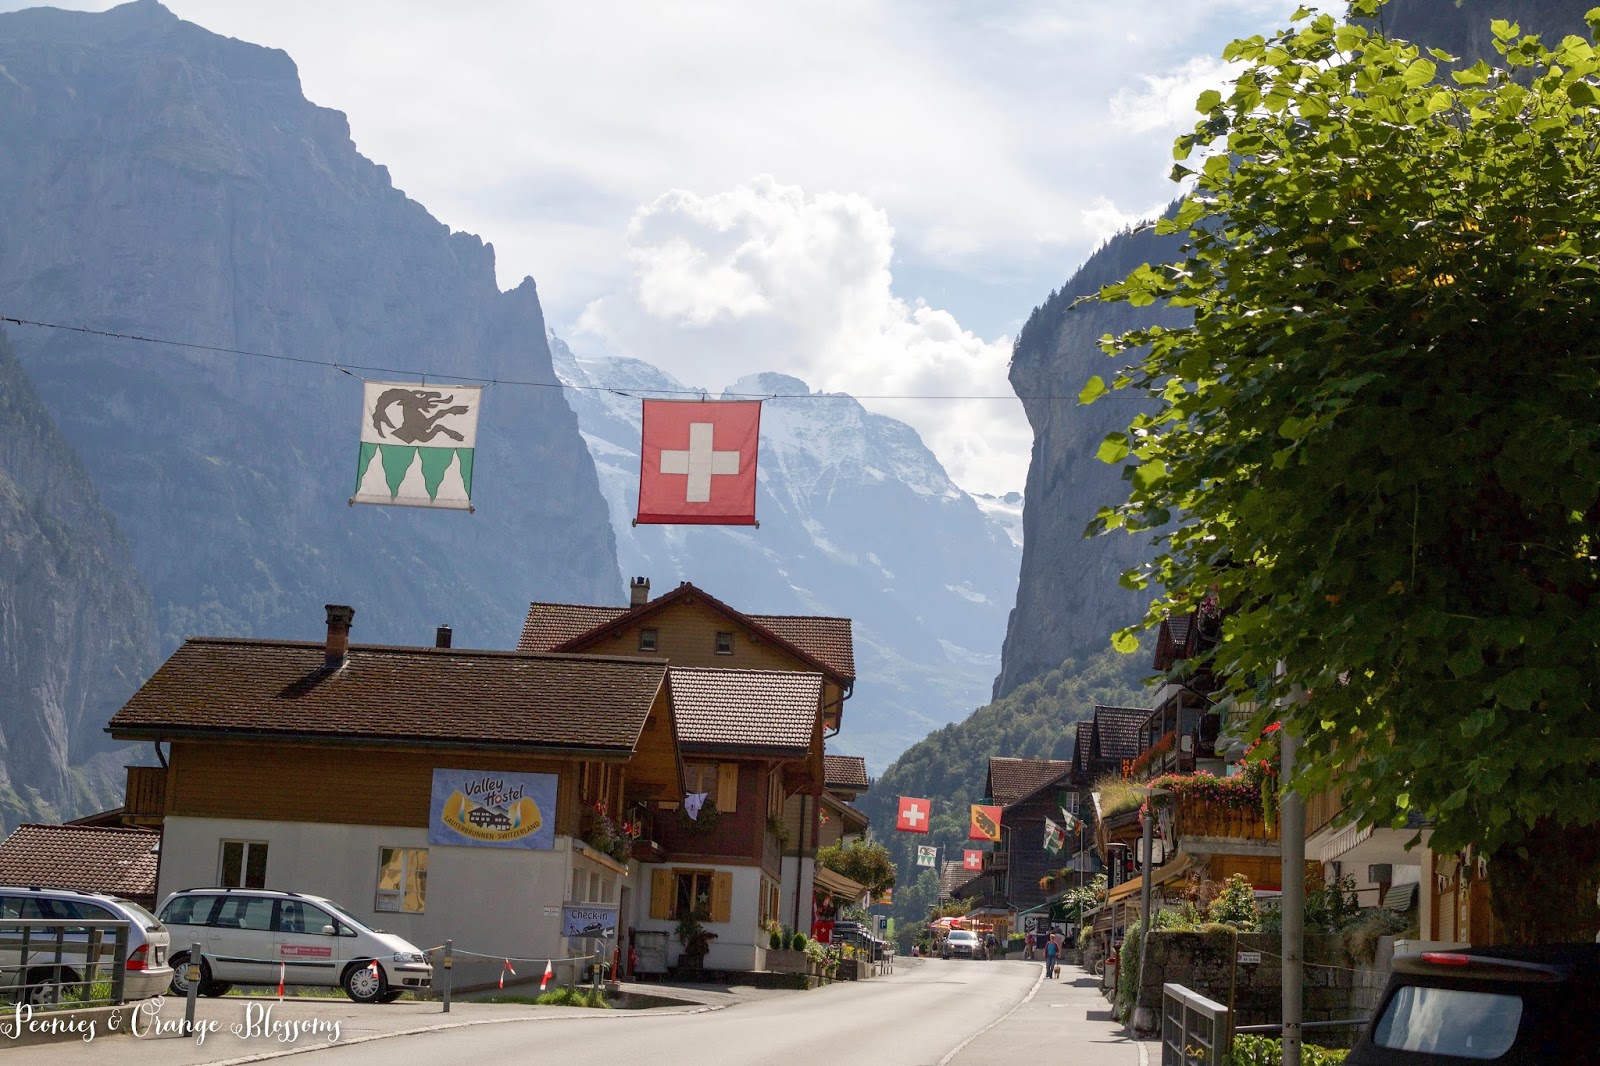
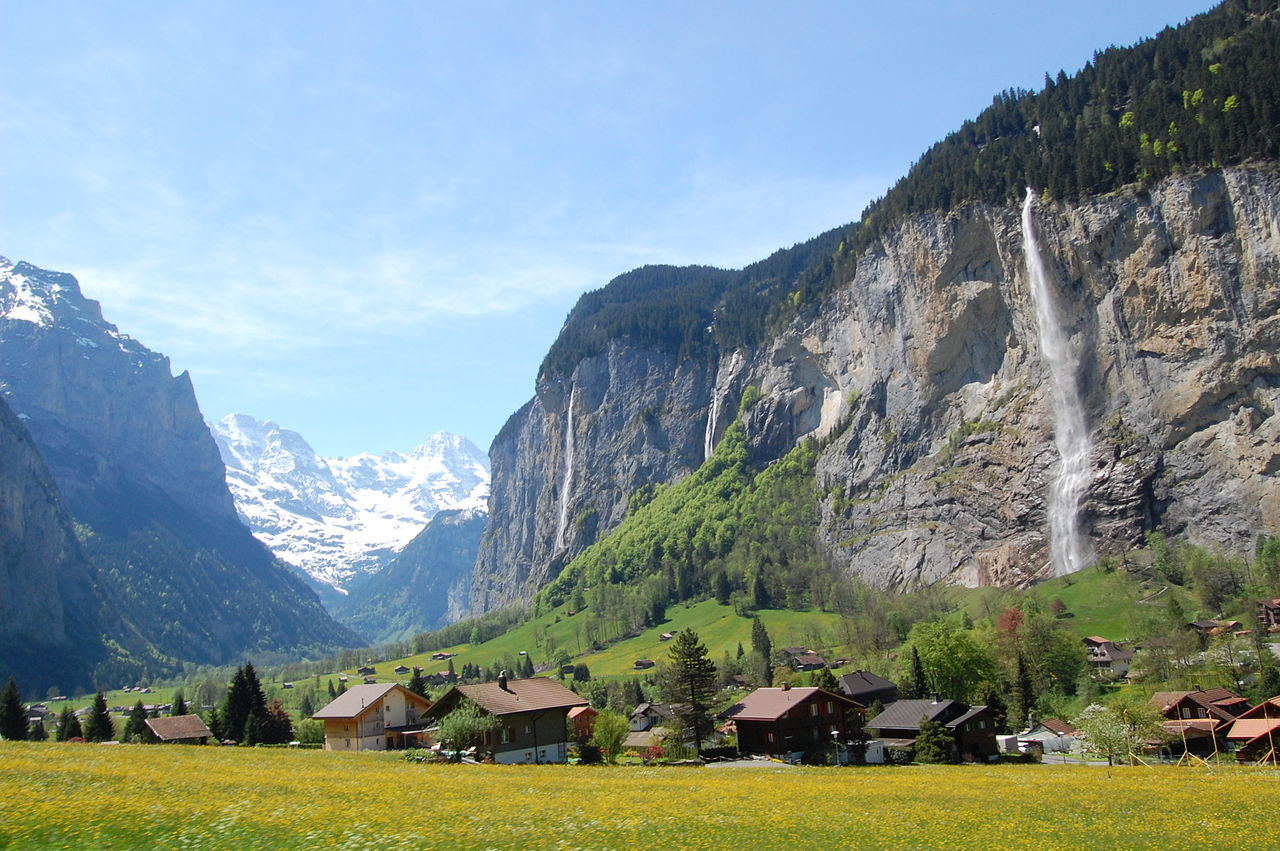
On the other side of the hill in the other valley is Lauterbrunnen.  Lauterbrunnen is beautiful as well, this is the view below when you enter the valley!

As you can see, everything you dream about when you think of a Swiss village in the Alps!

Waterfalls coming down the cliffs in this town. It is called the valley of 72 waterfalls – I guess in the Spring there are TONS of waterfalls!

 It reminded me a lot of Yosemite Valley… except it was populated!  This town is definitely full of tons of tourists in the day – it is a stopping point for a lot of tour buses so that they can take the train up to the Jungfraujoch.

Below is Staubbach Falls, here at the end of Summer it is still running! 

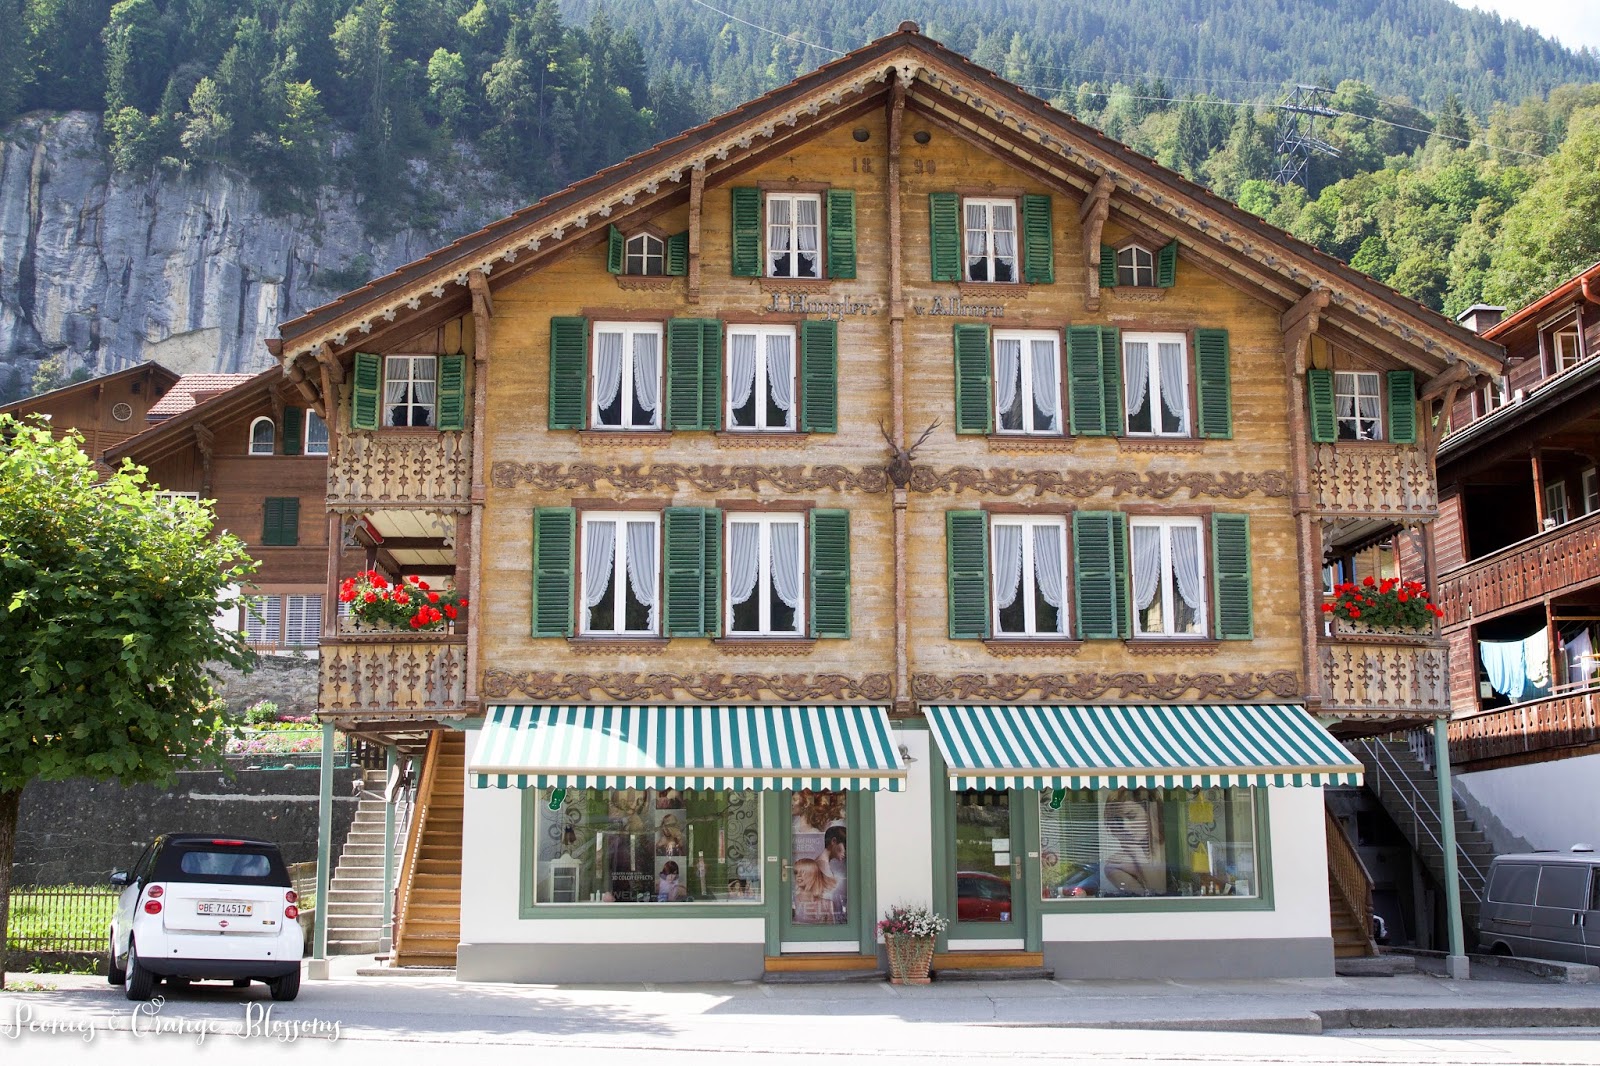
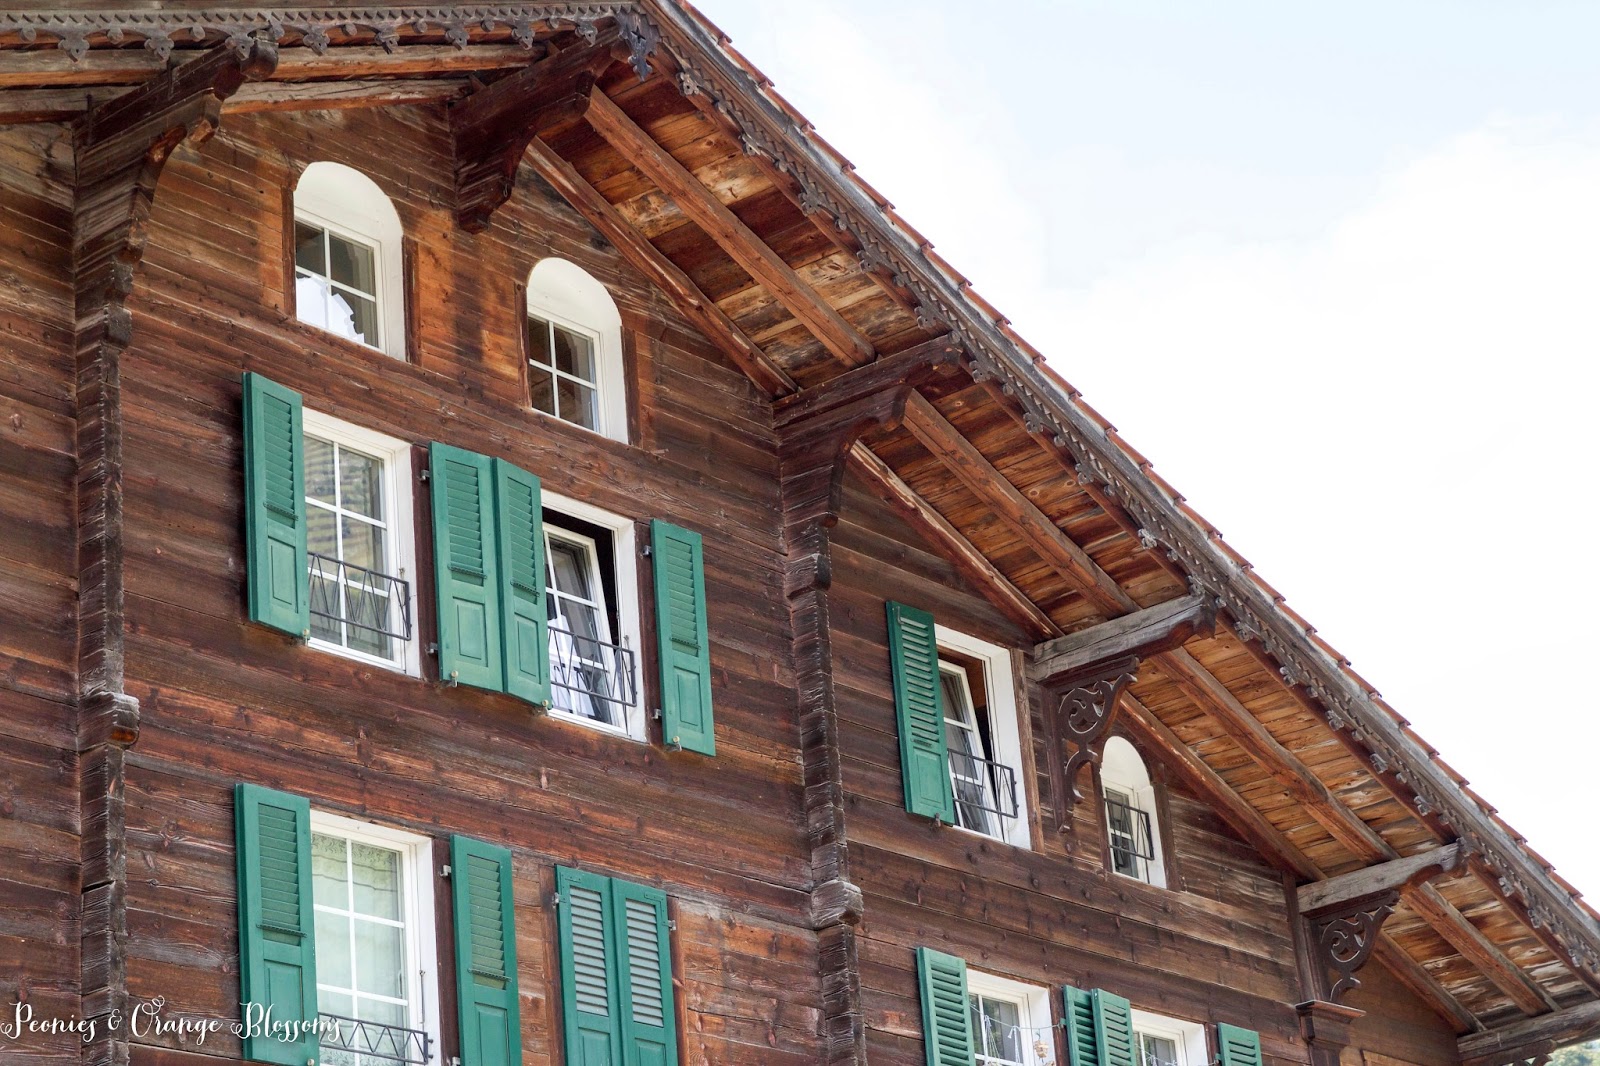
Lots of gorgeous Swiss chalets…

I loved all of their buildings! Designed to hide from the snow.

Also in Lauterbrunnen Valley are the Trummelbach Falls.  

These falls are unique because they are inside the mountain! You take an underground lift to the waterfalls and hike around in caves and pop out at viewpoints here and there to see the falls.

They carry water directly from the glaciers above.

I’ve included another picture (not mine) to show you all the beautify of Lauterbrunnen Valley with more waterfalls flowing!

Now, let’s talk about my FAVORITE chocolatier EVER: Läderach. 

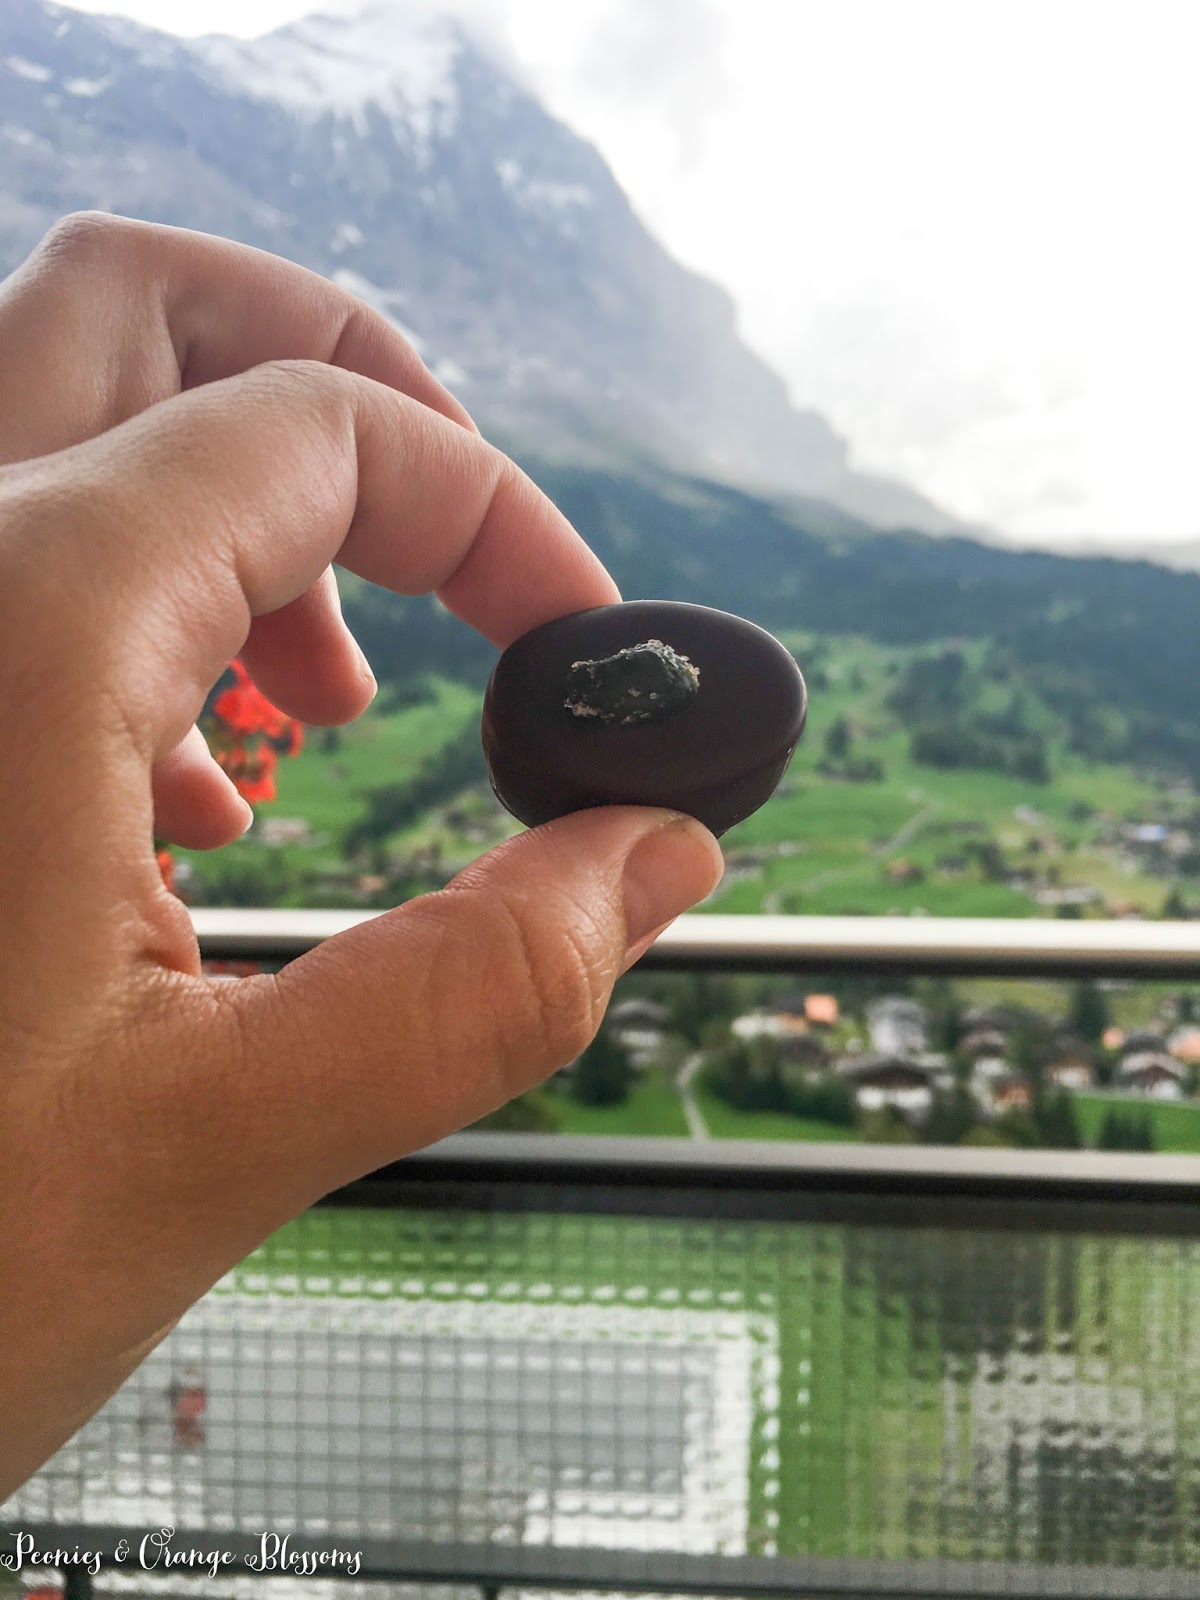
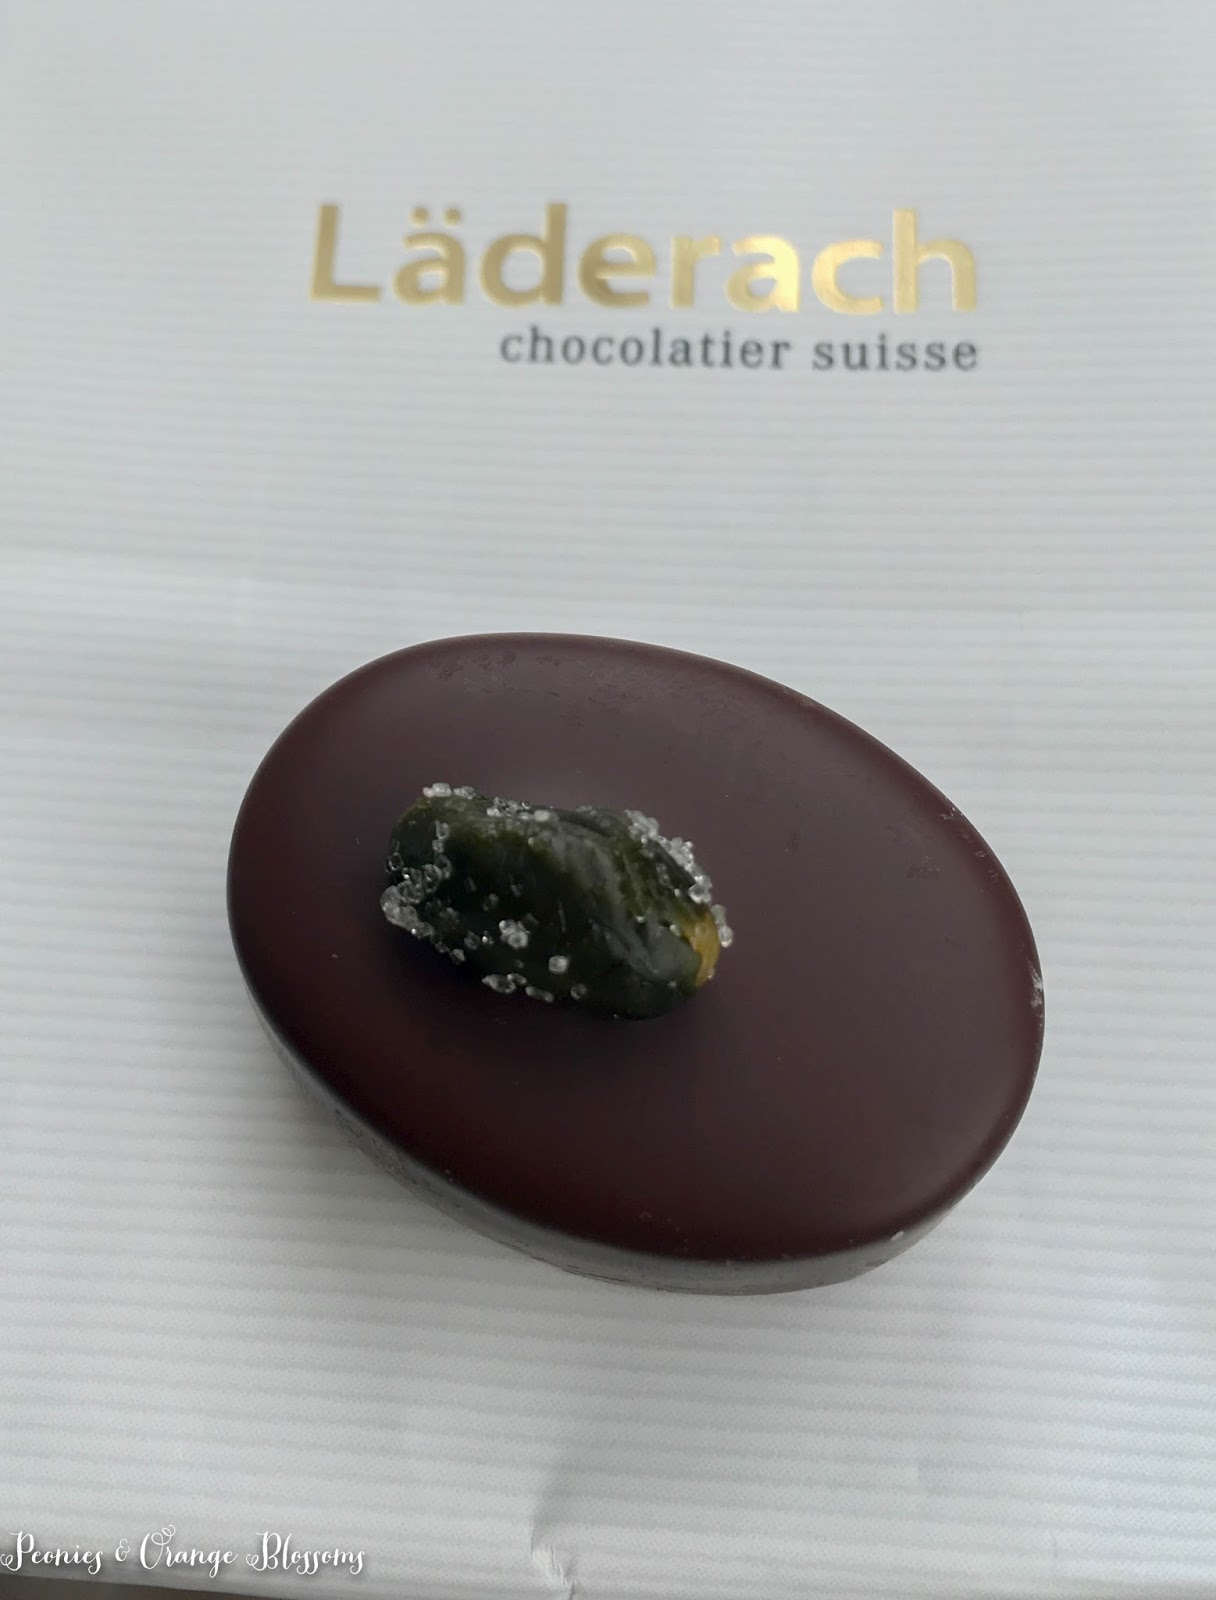
(Is it funny I still distinctly remember eating this piece of chocolate – it was a pistachio marzipan covered in dark chocolate and it was heavenly.

This chocolate is unique such that it is made fresh and served in sheets, just like below! You buy it based on weight.  

My favorites are: dark chocolate hazelnut which is amazing because they candied the hazelnuts! Blackberry dark chocolate is amazing too (pictured below), and then there was a chocolate orange which was made with fresh orange, and a triple nut as well.  

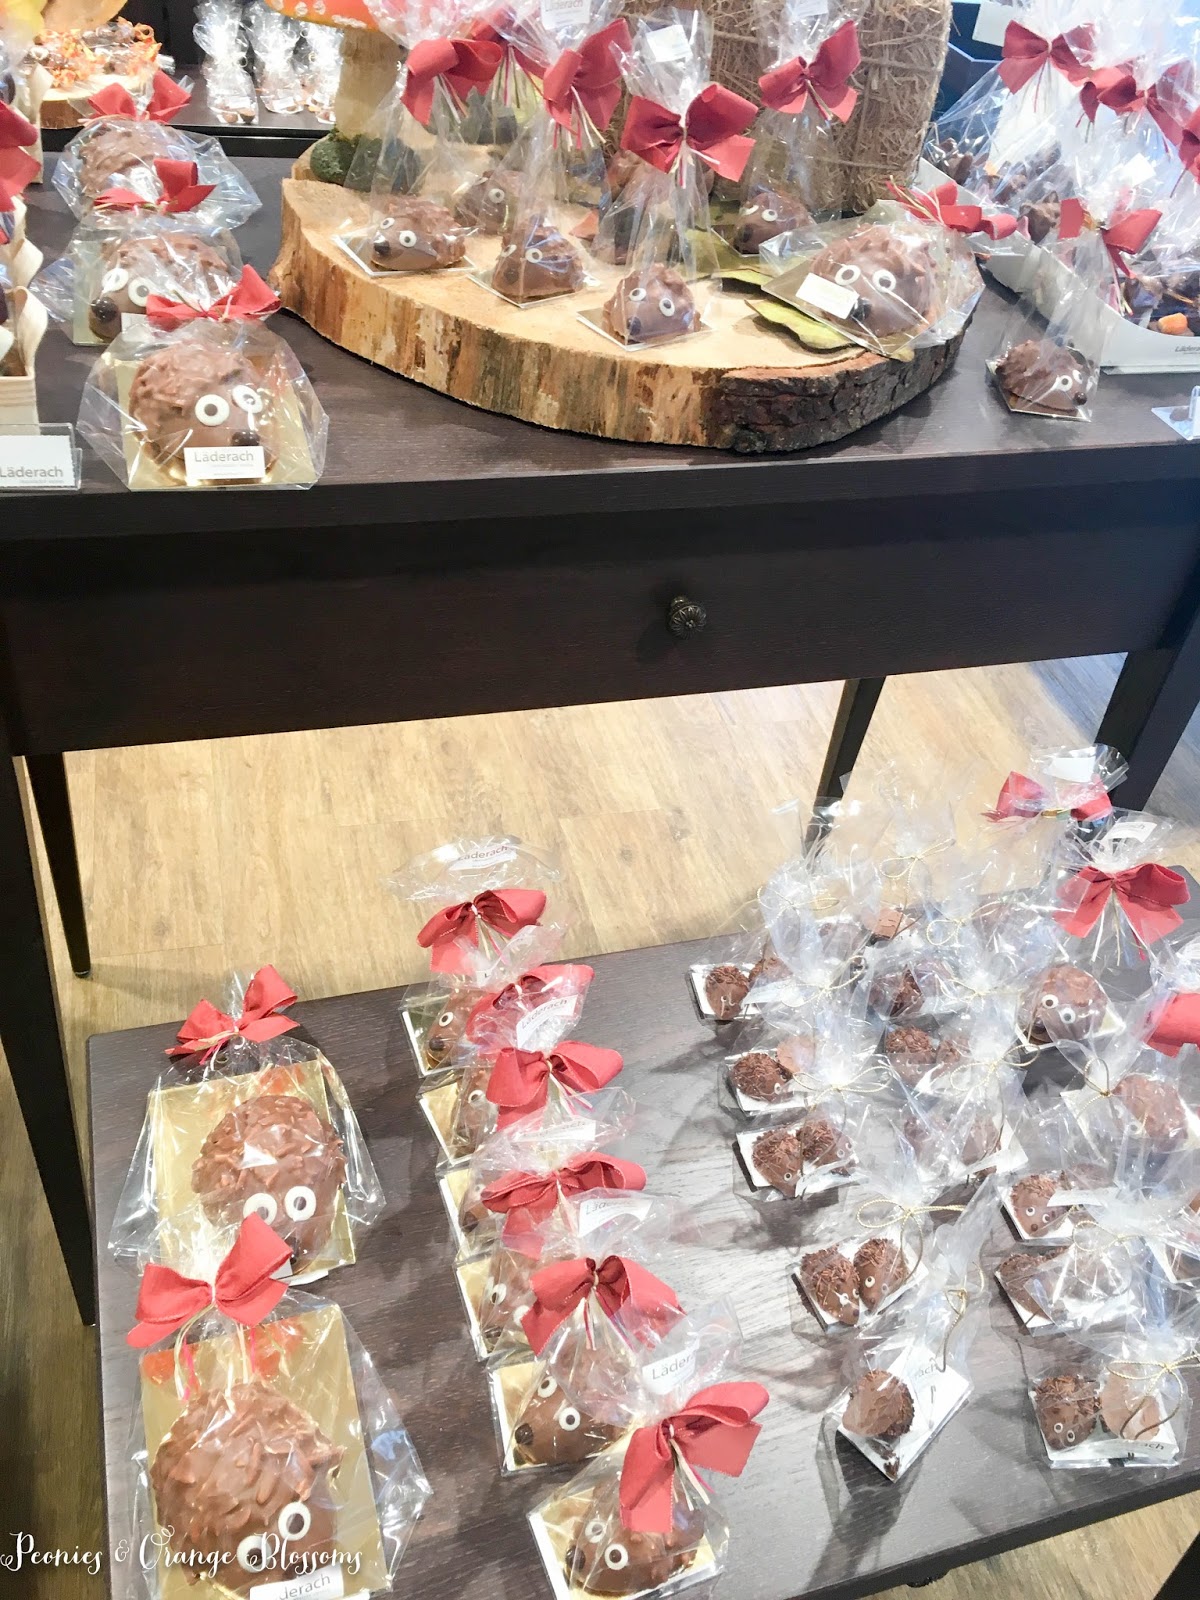
They had cute truffles in various shapes for the Fall, too!

But the cow chocolates were my favorite! Look at them! So cute!!

 I bought this Fall themed box of chocolate – and none of them made it back on the plane even! So tasty!

Unfortunately, Läderach does not have any stores located in the USA. But they do ship to the USA (but not in the Summer months – I tried! My husband bought me some for Valentine’s Day this year, how sweet!)

When I was reading on various message boards and books about how to choose which town to stay in when in the Berner Oberland, no one mentioned that Läderach was in Grindelwald… like seriously I would choose to stay in Grindelwald so that I may go pick fresh chocolate every day of my trip! 

Every town has a great view so that isn’t a deciding factor. In fact it is hard to take a bad picture in Switzerland because it is so beautiful.  The two towns that are pedestrian only are interesting but very small with limited dining options.

I find it fitting that I rambled on about how much I loved this Swiss chocolate – because the Swiss really do love their chocolate! They even had bags for sale of just “snacking” chocolate!  

Hope to return some day… maybe next year? 

Where I Party


http://peoniesandorangeblossoms.blogspot.com/

SaveSaveSaveSaveSaveSave

Follow:

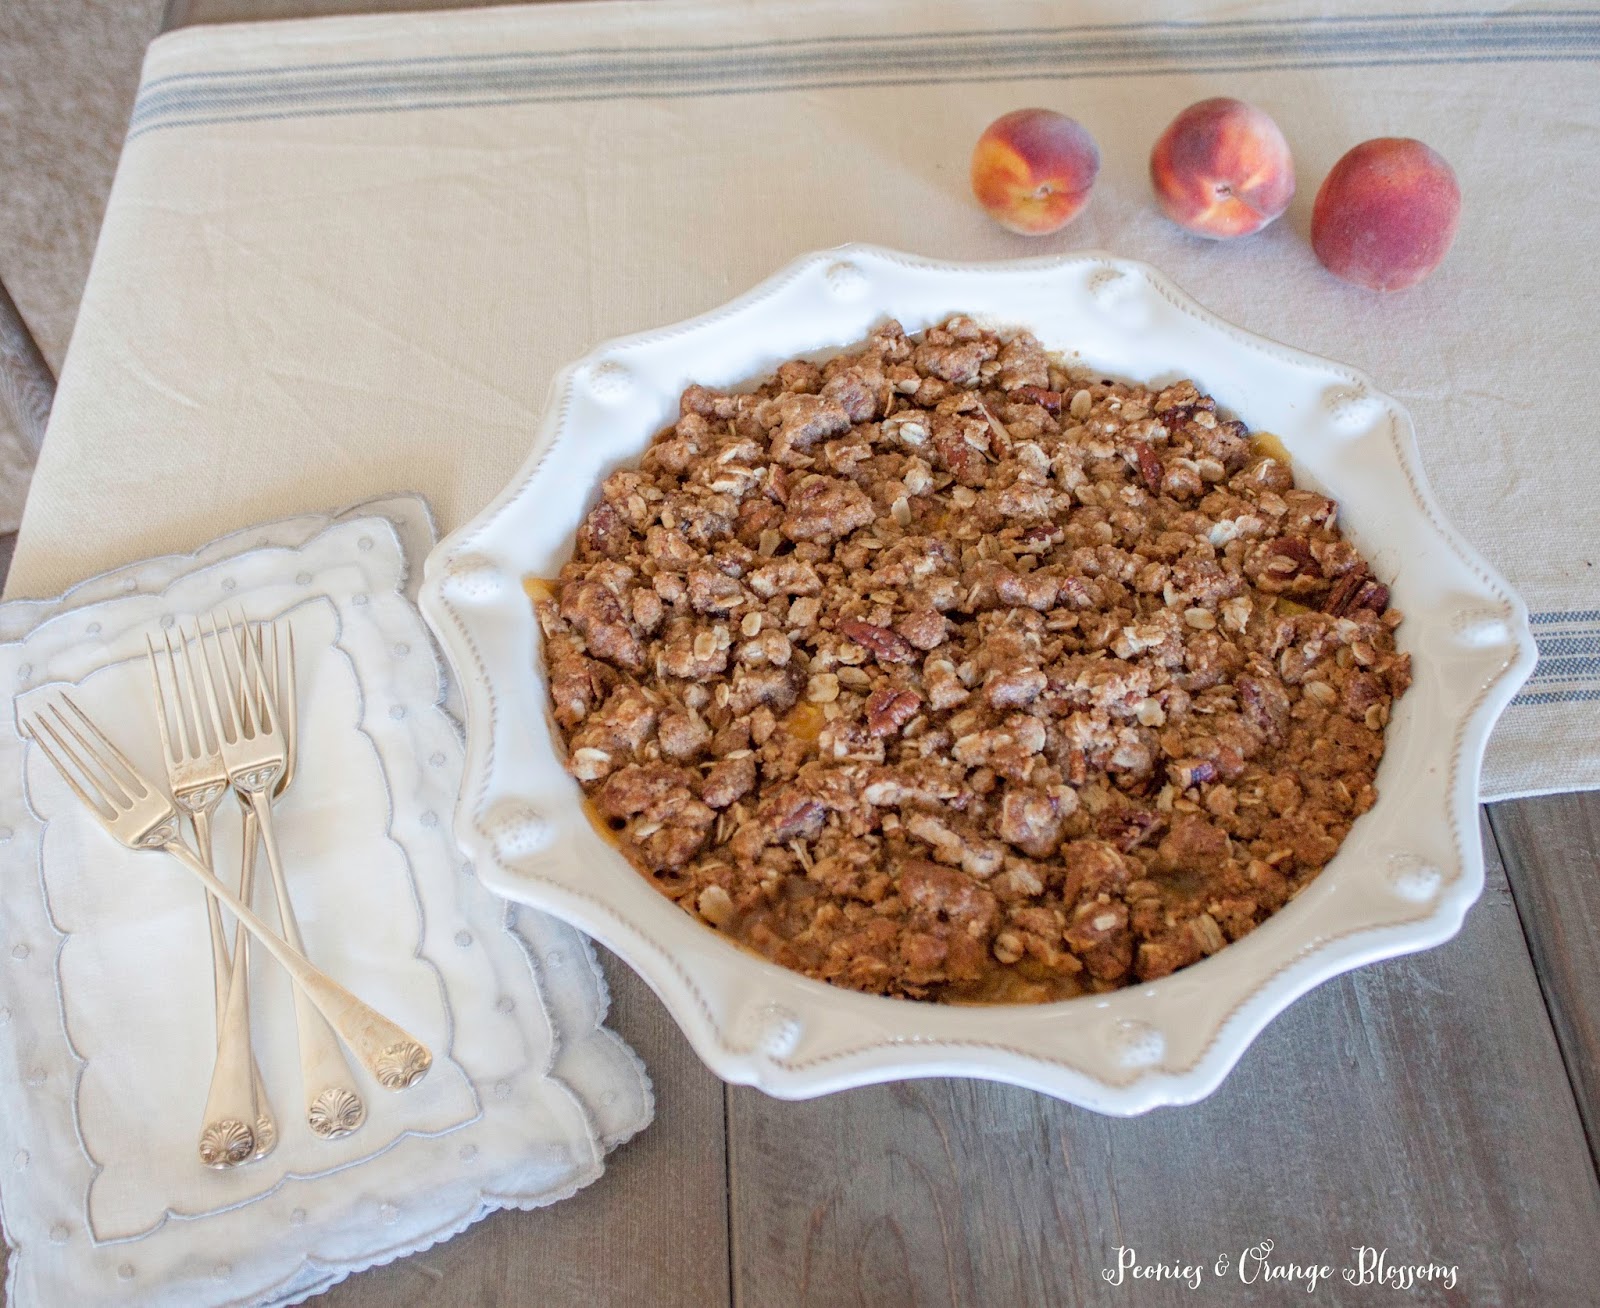
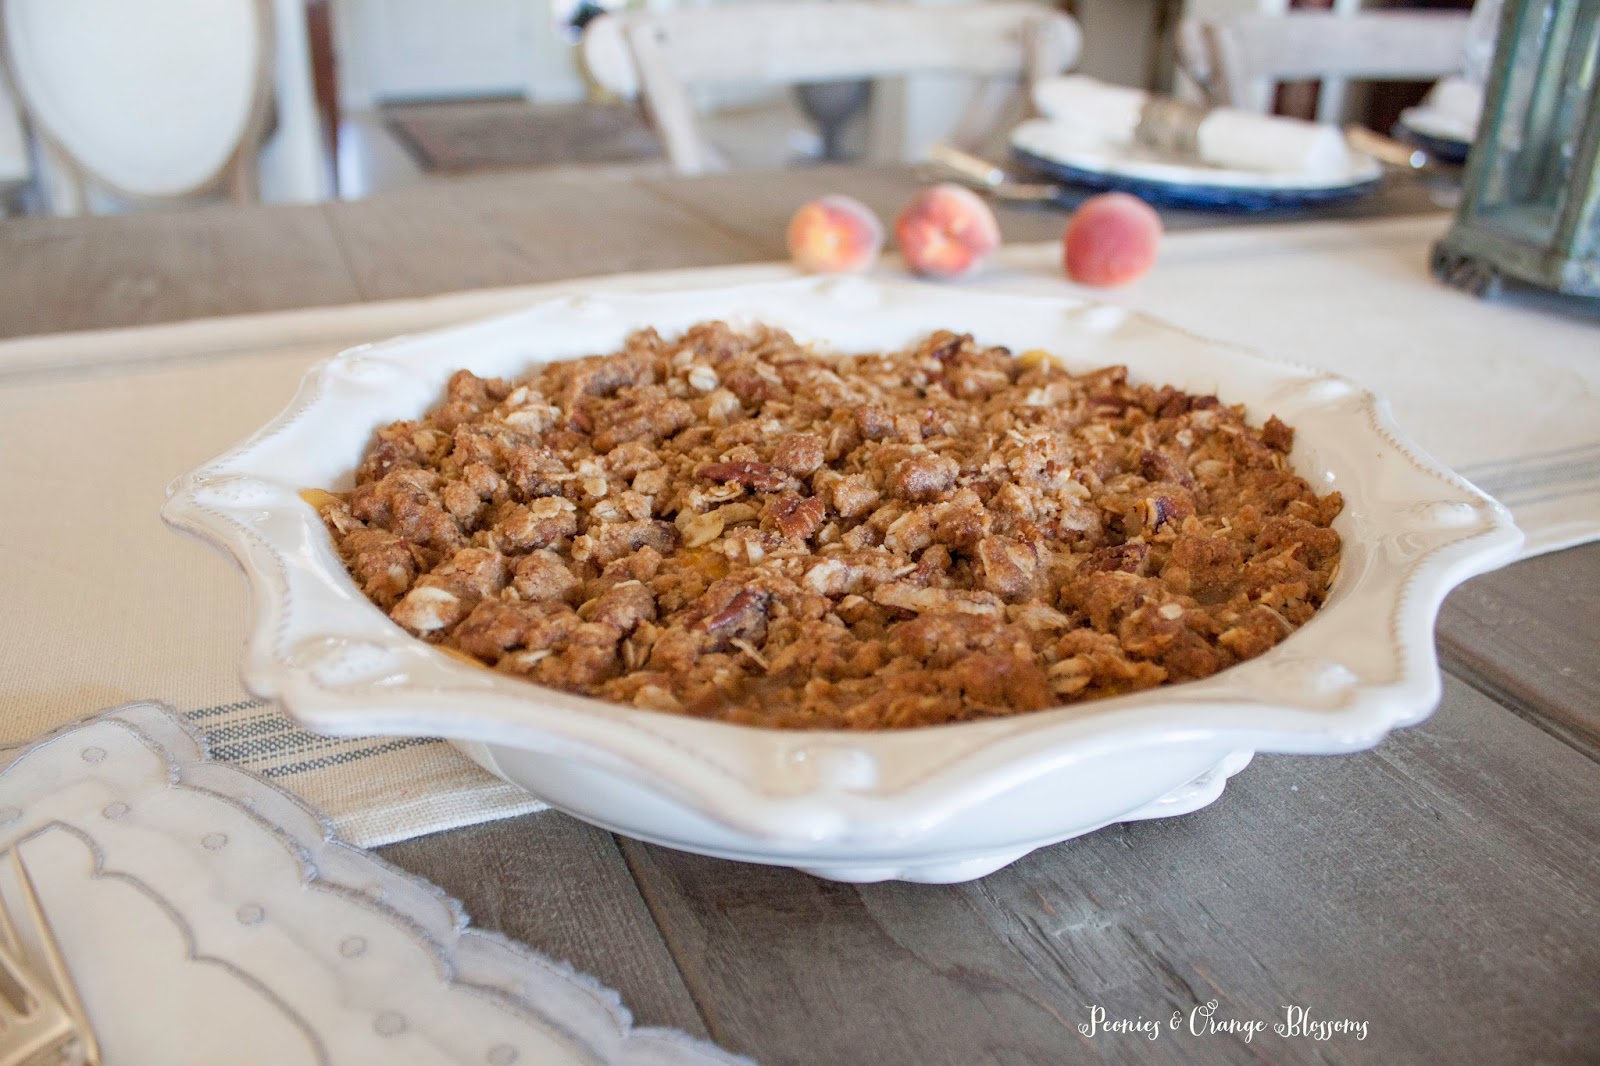
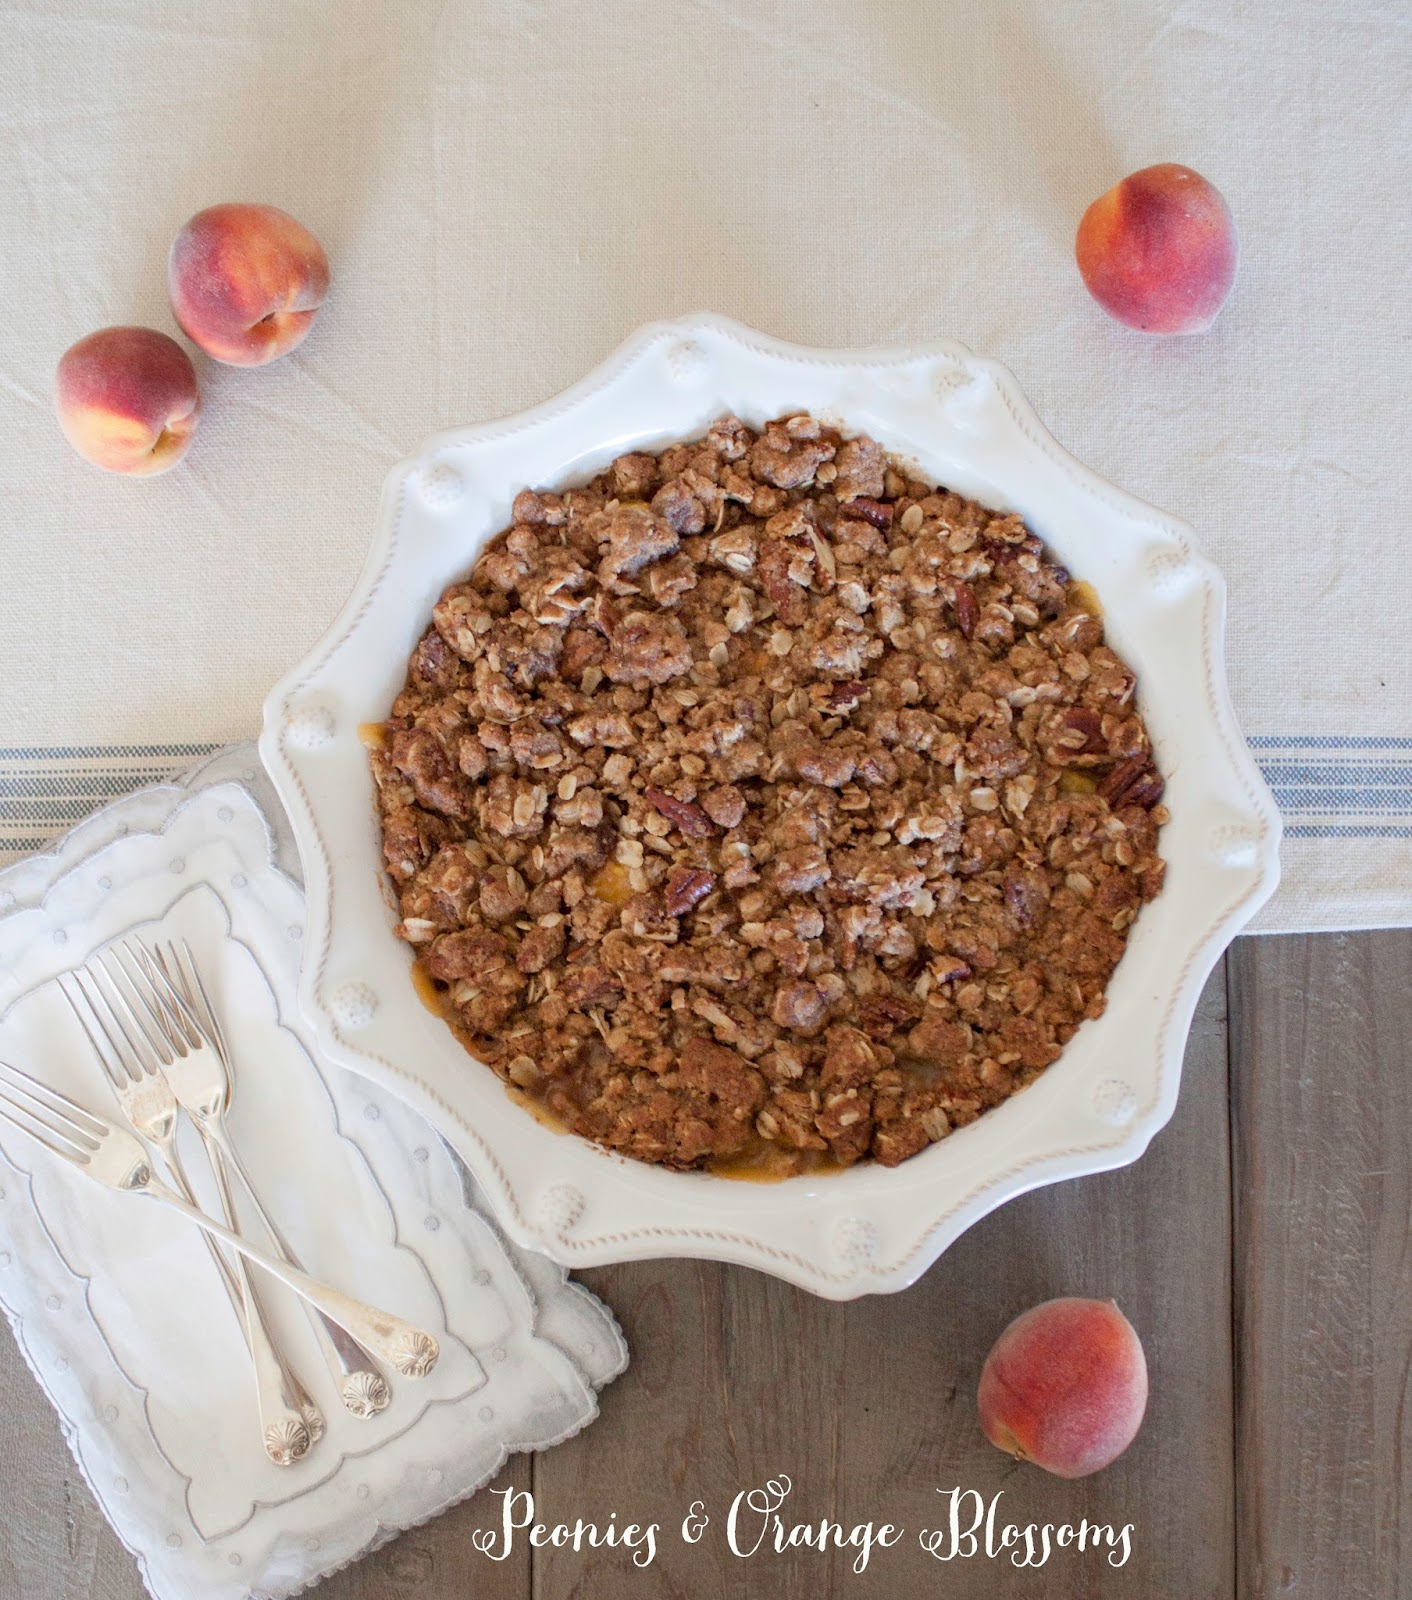
Delicious Peach Pecan Crumble Crisp Recipe

We use affiliate links in our posts and our site. This means if you make a purchase using these links, we may earn a small commission. You don’t pay a cent more than you would otherwise! Our full disclosure is available under About.

Hello, lovelies! 

Are you all enjoying this Summer?

I am! Our peach trees are exploding with peaches – we have peaches coming out of our ears! 

So what do you do with the excess peaches… bake them!

This post may contain affiliate links.

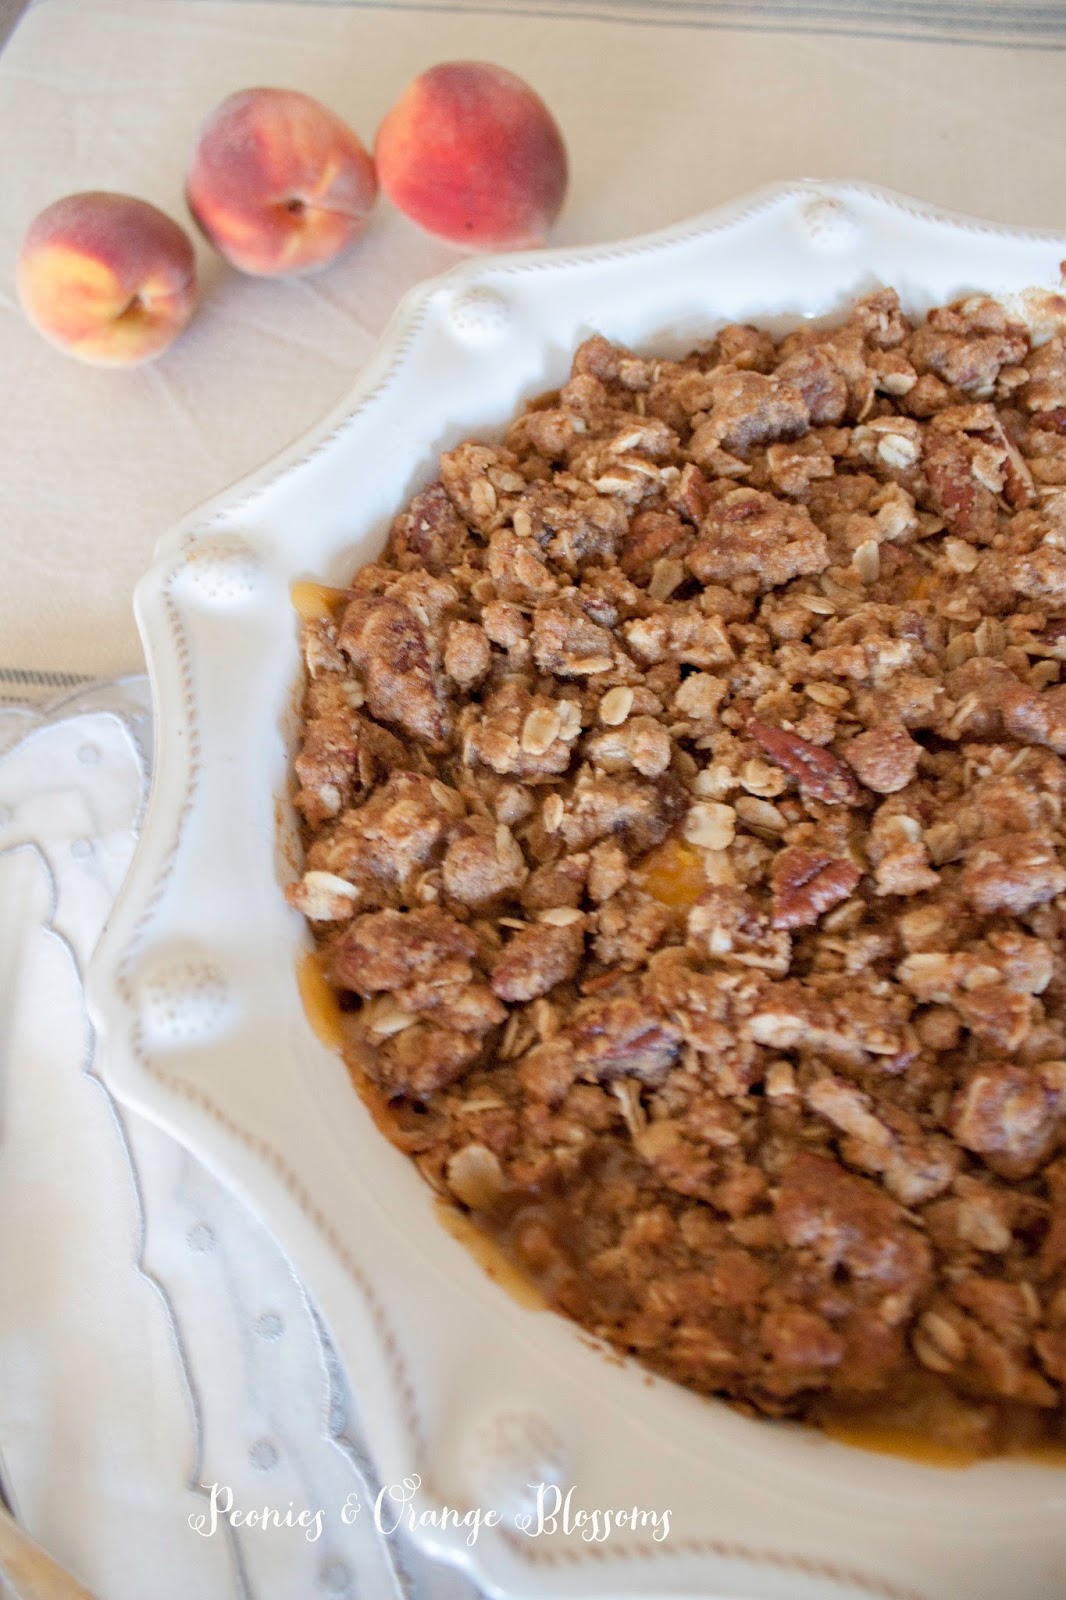
This isn’t your average peach crisp recipe.

I added some pecans into the crunchy crisp – which typically are associated with Fall foods. 

I thought, hmm, Georgia is known for peaches and pecans, so let’s try them both together!

I was pleasantly surprised! It was a hit!

Peach Pecan Crumbly Crisp Recipe

Filling 

Approx 5-6 cups of sliced and peeled peaches (about 6 medium peaches, I used about 10 peaches as they were very small)
1/4 cup all-purpose flour 
1/4 teaspoon salt
1/2 teaspoon vanilla extract
1 tbsp granulated sugar*

Topping

3/4 cup brown sugar
2/3 cup all-purpose flour
2/3 cup old-fashioned rolled oats or quick oats
1 teaspoon ground cinnamon
1/4 teaspoon salt
1/2 cup unsalted pecans, chopped or halved
1/2 cup (1 stick) unsalted butter, softened or melted


Directions

1. Preheat oven to 350F. Lightly grease an 8-9″ baking pan or pie pan.
2. Make your filling by combining the peaches, flour, salt, vanilla and sugar. Use a spatula to gently mix together as you don’t want your peaches falling apart! Pour into your prepared dish.
3. Prepare your topping by combing the sugar, flour, oats, cinnamon and salt. Mix those together. Then add in the pecans.  Pour your butter on top and mix until it is a crumbly mixture (it will turn to a darker color as the butter absorbs into the ingredients)
4. Evenly spoon the topping onto your peaches.  Bake for about 35-45 minutes until the mixture is browned on top and the peaches are bubbling at the edges.
5. Allow to cool.  This tastes best when it is warm served with vanilla ice cream, hint hint. If you have some leftovers the next day (the horror! You didn’t eat it all the first day?) just heat it up either in the toaster oven or in the microwave.

Bonus tips:

If you are peeling a lot of peaches like I did, you want to prevent the peaches from going brown. I toss my peaches with Fruit Fresh.

You can also used canned peaches.

You could always add more or less pecans as you wish.  

This was delicious and the topping could be used for any crisp – berry crisp, ooh, APPLE crisp! Now I am drooling…

peach pecan crumble crisp recipe

Sharing a few of my favorite pie dishes as well…

Where I Party


http://peoniesandorangeblossoms.blogspot.com/

SaveSaveSaveSave

Follow:

The Colors of Provence – What Color to Paint the House??

We use affiliate links in our posts and our site. This means if you make a purchase using these links, we may earn a small commission. You don’t pay a cent more than you would otherwise! Our full disclosure is available under About.

In this post – what color to paint a Provence French style house??

The time to paint the exterior of our house is around the corner…. and I am trying to pick out what color to choose!!

I’ve created this post as an inspiration and perhaps some of you readers may have some suggestions for me!!

Now, remember, my house is a Provence inspired house – think French Mediterranean not Haussmann Paris!

Provence has bright colors.  My friends who were just recently there said all of the new houses are painted in a deeper yellow – the older ones are a faded yellow.

I have tried color matching pictures via easyrgb.  It always picks up the shutter color and not the building color. Grrr!

I do really like the colors below.

source Cote de Texas

I do fear that it may turn too peachy orange. I don’t really want a peachy house. Or do I? Look how pretty this one is below.

Now a lot of the French houses just have their stone painted over – making the color a little different then painting onto stucco!

via Sharon Santoni

 Other houses are all stone without any paint. I tried not to include those in my pictures!

via Provence Poiriers

The houses also leans towards pink!

It seems to be either – yellow houses with blue shutters or pink houses with green shutters! Stone houses have white shutters or lighter blue-gray shutters.

Husband says NO pink house. Okay fine, but I’ll still include pictures!

Monet’s house in Giverny.

via French Larkspur

Penelope Bianchi’s house, love all of those gorgeous vines!

Penelope Bianchi’s beautiful house  via House Beautiful 

Love this house too, but I have to remind myself, no pink no pink.

Frederic Fekkai’s home via Architectural Digest


Below is a new build with more cream and grey-blue shutters. However, this house could actually be yellow but with the bright sun it fades out!

via Finton Construction

I really like the color of Sharon Santoni’s house although can’t figure out the color!

Sharon Santoni’s pretty house

Then there’s Vicki Archer’s gorgeous house too!

Vicki Archer’s Mas de Berard

I found these two color boards from the French Provincial Furniture blog.

They matched colors of Provence to Farrow and Ball colors.


They just seem so bright to me!  I am a little nervous painting the house so brigh

Sherwin Williams created this historic color palette for the restoration of the French Quarter in New Orleans.  I cannot find a larger picture of this anywhere but I think these would be the correct colors, right

I read somewhere that the proper French yellow is that of mustard – Grey Poupon mustard color, not French’s!

Below are two color samples on our house.

I am told the yellow WILL fade in the sun – so picking a brighter color now is okay because it will fade somewhat.  Below they are in the shade – in full sunlight they do wash out some.

Top color is BM Hawthorne Yellow HC-4. Bottom color is BM Fresh Butter 290.  We preferred the top color to the bottom color – the bottom color, Fresh butter seemed too… buttery!

Also considering (all colors are Benjamin Moore) Weston Flax HC-5 and Windham Cream HC-6 , Provence Creme 2021-60, golden honey 297, somerset peach 163moonlight 2020-60, fresh butter 290.

provence cream 2021-60
hc-6 windham cream
golden honey 297
weston flax hc-5
fresh butter 290
Somerset Peach 163
Valley View 214.
moonlight 2020-60

Now, looking at shutter colors too…

Palladian Blue by BM


Parma Gray by FB
soft chinchilla by BM


What’s odd about these blues on the screen is that they look a lot different in person.


Follow:

Pumpkin Festival 2015

We use affiliate links in our posts and our site. This means if you make a purchase using these links, we may earn a small commission. You don’t pay a cent more than you would otherwise! Our full disclosure is available under About.

Every year down at our local ranch they hold a pumpkin festival.  They actually hold several! One is a gourd festival and another is a Fall harvest festival. We went to both as it really is our biggest form of entertainment out here in the country!  I had fun looking at of all of the different pumpkins!!

 These pumpkins are actually REALLY BIG.  Probably *at least* 50 pounds.  I think they are fun! Maybe we’ll plant some of our next year!

Here is an assortment of all the ones they grow with their prices.

We grew our own Jarradales this year!

The “wolf” pumpkin below had HUGE stems. So much fun!

You can really see how big the “big max” is!

 Wolf pumpkins!

Cinderella pumpkins below, I think we will have to plant some next year!!

Written at http://peoniesandorangeblossoms.blogspot.com

linking up at: amaze me monday The Scoop!  Metamorphosis Monday’s Inspire Me Tuesday Wow us Wednesdays! Creative Ways  Share Your Style Thursday Favorite Things Home Sweet Home Feathered Nest Fridays Foodie Friday & Everything Else  Sunday’s Down Under

Follow:

Straw Festival – Strohfest

We use affiliate links in our posts and our site. This means if you make a purchase using these links, we may earn a small commission. You don’t pay a cent more than you would otherwise! Our full disclosure is available under About.

Today I am sharing with you a straw festival! A what? Yes, a festival of straw! The festival is held in Germany every year at my favorite “little” palace… Schloss Ludwigsburg.  This festival was  actually held this Spring, but for some reason I feel like it seems more fitting for Fall for some reason… maybe it’s because we decorate with hay bales around here for Fall?  The pictures were taken by my parents on their vacation… I am “borrowing” them 😉   

As you can see, all of the sculptures are made from straw!

I totally love the carrots and onions, aren’t they cute??

Of course, the snail is cute. Don’t mind the cherry blossoms, pink is okay for Fall too, right?? 

I hope you enjoyed the straw festival (Strohfest in German).  Schloss Ludwigsburg is seriously the best little palace over there… every Spring it hosts the straw festival and every Fall it hosts the pumpkin festival. If you’re ever in Germany… go there! So much fun!

Written at http://peoniesandorangeblossoms.blogspot.com

linking up at: amaze me monday The Scoop!  Metamorphosis Monday’s Inspire Me Tuesday Wow us Wednesdays! Creative Ways  Share Your Style Thursday Favorite Things Home Sweet Home Feathered Nest Fridays Foodie Friday & Everything Else  Sunday’s Down Under

Follow:

Fall House Tour 2015

We use affiliate links in our posts and our site. This means if you make a purchase using these links, we may earn a small commission. You don’t pay a cent more than you would otherwise! Our full disclosure is available under About.

Now since it’s October, I am finally ready to unveil my Fall House Tour for 2015! I know in blogland it seemed like house tours started September 1… but my pumpkins weren’t ready yet! 

So c’mon in and have a look around…

 My scary cat topiary actually died last Winter but we placed him in a planter box and planted some new ivy a month ago and voila! Looks like new! I thought the pumpkins stacked on the concrete urns were kind of cute!

Now that you’re inside, imagine the smell of Fall as I have a candle burning…
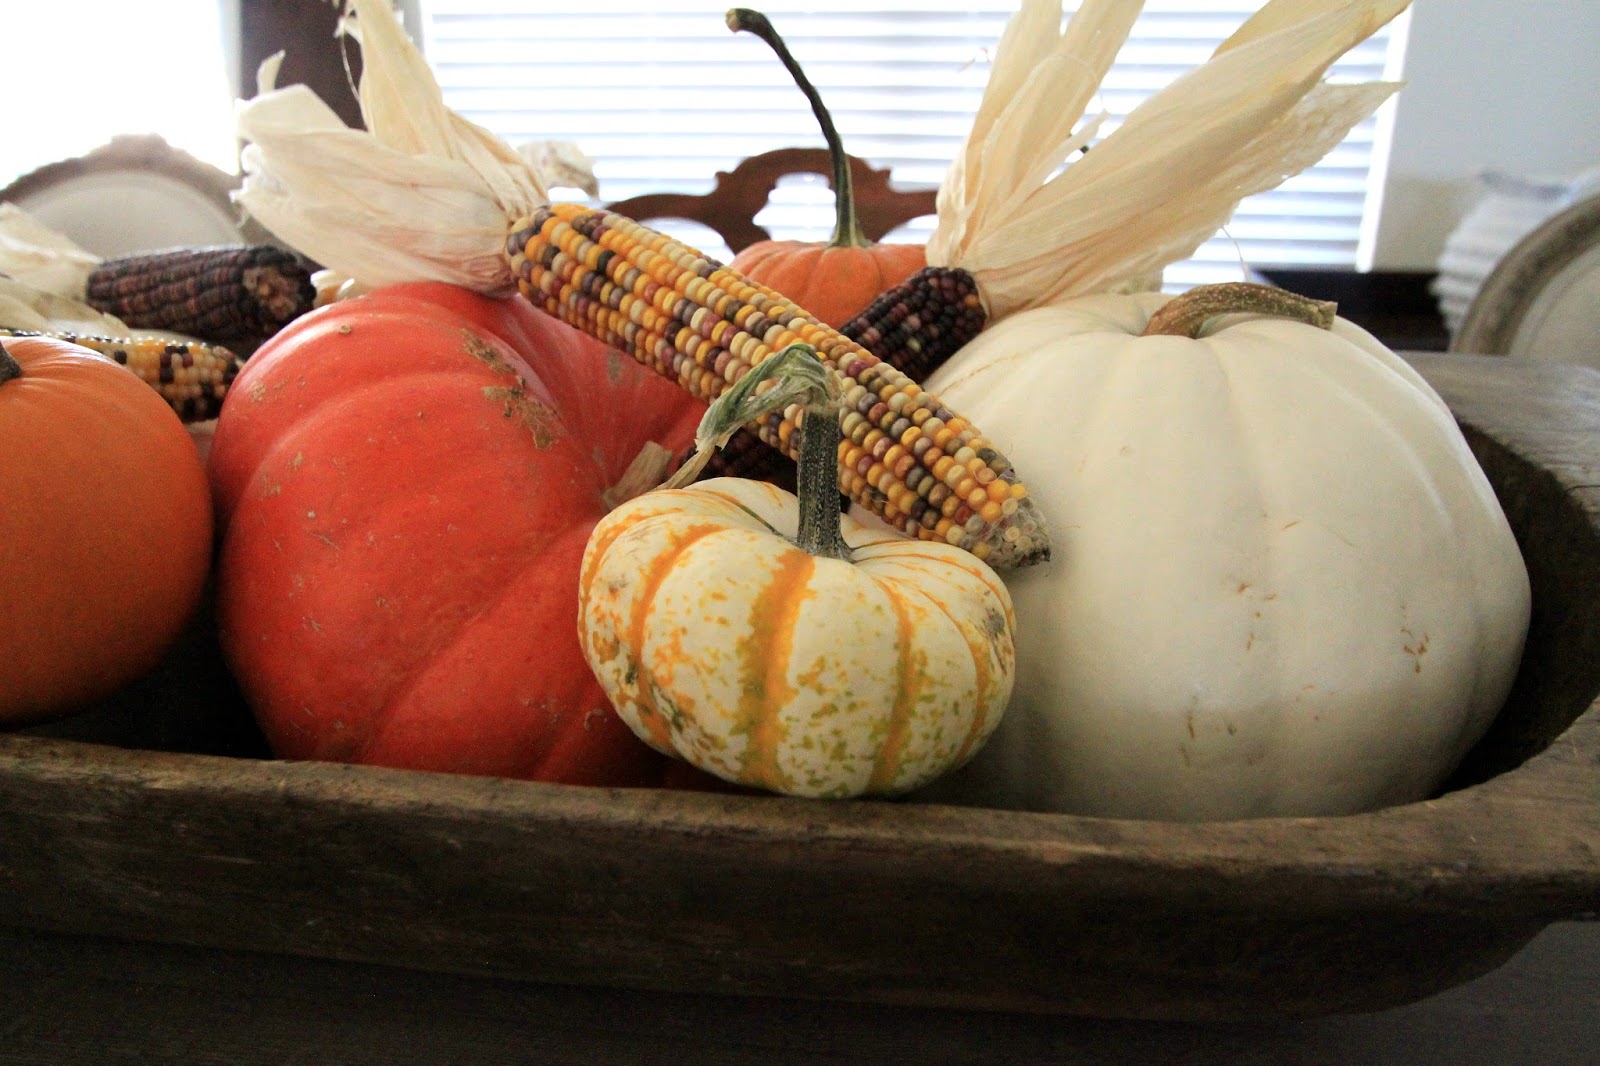
This dough bowl full of pumpkins is the first sign of Fall that you see in the house, but I’m saving my table scape for a whole other post so you only get a little preview today!

 I’ve put mums in the tulipiere and lined the halls with the mini pumpkins that we grew in our own garden!

Mr Swan is full of Fall foliage.  The pumpkin candles are new this year… thought they were fun.  Below the swan are DIY wool acorns… I’ll have a post dedicated to them too! I just love how colorful they are!

 The little birdies are having a chat about pumpkin spice lattes…

Off to the living room we go. I stacked the pumpkins on top of an anduze pot! Don’t you just love the cinderella pumpkin? I love the red-orange color! We will take a closer look at the hearth later…

 But first, hello Scary Cat and Pumpkin Bear! Today they are sitting on “the puzzle table”… where we often gather around and spend some time putting together puzzles, especially on blustery Winter days. I think I’ll will do a proper tablescape with them later…

Ah ha! I spy a velvet pumpkin patch! I just love the colors of these pumpkins.. they are so rich!

 In the hallway sits pumpkins and acorns on tiered cake plates from my wedding.

 Can’t forget to say hi to the owls in the kitchen, they are next to the cinnamon/nutmeg/fall smelling candles!

ok a closer look at the mantle… some faux foliage sits amongst baby pumpkins, mini candles (owl, squirrel, and hedgehog shaped). I used my antique staffordshire figurines that are with donkeys… I am pretending they are hauling a Fall harvest in. I placed the lanterns on the sides and filled them up with mini pumpkins. I love it!  

One last look at the fireplace and mantel. It’s too hot to turn the fireplace on… so no, the pumpkins won’t be baking in front of the fire! 

Thanks for stopping by and I hope you enjoyed the Fall House Tour of 2015!!  If you don’t follow me, click on any of my links in the side bar… as I’m sure you’ll love the Fall tablescape I’ve put together and the DIY acorn project! 

Written at http://peoniesandorangeblossoms.blogspot.com
linking up at: amaze me monday The Scoop!  Metamorphosis Monday’s Inspire Me Tuesday Wow us Wednesdays! Creative Ways  Share Your Style Thursday Favorite ThingsTablescape Thursday’s Home Sweet Home Feathered Nest Fridays Foodie Friday & Everything Else Sunday’s Down Under

Follow:

Blackberry and Peach Galette with Cinnamon Ice Cream Recipe

We use affiliate links in our posts and our site. This means if you make a purchase using these links, we may earn a small commission. You don’t pay a cent more than you would otherwise! Our full disclosure is available under About.

It’s that time of year when we have peaches coming out of our ears!  We have so many peach trees here out on the farm I decided to bake a galette for the first time.  A Galette (pronounced GAL-ette) is a type of free-form French tart.  It’s nice because there is no tart pan needed!  Now this isn’t to be confused with the Breton Galette, which is the buckwheat pancake.

Blackberry Peach Galette

While the traditional French tart has every piece of fruit and dough molded to perfection, the galette is much less fussy and closer to the American pie in taste.

Blackberry Peach Galette (get the printable recipe here.)


Ingredients

  • 1 premade pie crust
  • 5 peaches, peeled, pitted, and sliced
  • 1/3 cup fresh blackberries
  • 1/4 cup brown sugar
  • 2 tbsp honey
  • 1/2 tsp cinnamon
  • 1/2 tsp nutmeg
  • 2 tsp vanilla
  • 2 1/4 tbsp all-purpose flour
  • 1 egg 
  • turbinado sugar for dusting
  • sliced almonds for the crust

Directions

  1. Line a baking sheet with parchment paper.
  2. If you used a pre-made store pie crust, take it out from the freezer and let it thaw. (It should still be cold).  Remove from the pie pan and flatten into a circle on the parchment paper.  Don’t worry about it looking perfectly pretty, galettes are not perfect!
  3. In a bowl, combine peaches and vanilla.
  4. In a separate bowl, combine brown sugar, cinnamon, nutmeg, and flour.  Mix well to combine.
  5. Add the dry mixture to the peaches.  
  6. Pour in the honey and stir.
  7. Fold in the blackberries.
  8. Pour the fruit filling into the center of the crust, leaving a 2 inch border.  Now, working around the galette, fold the edges of the dough over the fruit.
  9. Place the galette into the freezer for 15 minutes.
  10. Preheat oven to 350F.
  11. Remove galette from freezer.
  12. Brush the folded edge of dough with the egg wash.
  13. Sprinkle the dough edge with slivered almonds and turbinado sugar.
  14. Bake for 30min to 1 hour.  The crush should be golden brown and the fruit insides should be bubbling when done.  
  15. Serve warm or cold, I suggest with ice cream.

I adopted the recipe from this website, tidy mom.

the fruit juices leak onto the paper while cooking… that’s okay and expected!

Want to know what this tastes good with? Cinnamon ice cream!!  I use an ice cream maker to make my own ice cream.  You could just serve it up with store bought vanilla too!

Easy Blackberry Peach galette with homemade cinnamon ice cream!

Cinnamon Ice Cream Recipe (printable recipe here)


Ingredients

  • 1 3/4 cups whipping cream
  • 1 1/4 cup whole milk
  • 1 tsp vanilla
  • 2 tsp ground cinnamon
  • 3/4 cup granulated sugar
  • *optional: 1/4 tsp xanthan gum (makes it a little thicker, optional ingredient)

Directions

  1. Add the cream and milk together and stir in the sugar.  Stir until the sugar dissolves.  This should be hand-stirred, if you use a mixer you could end up with butter.
  2. Add the vanilla.
  3. Slowly pour in the cinnamon so you don’t end up with cinnamon chunks.  If you are using the xanthan gum, slowly add it in as well so you don’t have chunks.
  4. Pour your mixture into your ice cream mixer and wait.
  5. When the ice cream mixer is done, either serve immediately or store in a freezer air-tight container.  To help decrease ice crystals, put some saran wrap directly on the ice cream and then close the lid.  This helps decrease the ice crystals that form!

Blackberry Peach Galette

Yum yum, doesn’t it look delicious? Well let me tell you… it was!  The four of us gobbled it up and left only one piece… for someone’s breakfast the next day.  Dessert for breakfast? I know you do that too, don’t lie 😉

You can also follow me by clicking on these: bloglovin, instagramtwitterpinterest, and google plus.


linking up at: amaze me monday The Scoop!  2 Bees in a Pod,  Metamorphosis Monday’s Inspire Me Tuesday Moonlight and Mason Jars Wow us Wednesdays! Creative Ways  Share Your Style Thursday Favorite ThingsYour Turn to Shine The Inspiration Gallery My Romantic Home  Home Sweet Home Feathered Nest Fridays Foodie Friday & Everything Else  Sunday’s Down Under Share it One More Time

Follow:

Starbucks Mobile Order and Pay Review

We use affiliate links in our posts and our site. This means if you make a purchase using these links, we may earn a small commission. You don’t pay a cent more than you would otherwise! Our full disclosure is available under About.

Ok, bonus post today! I love going to Starbucks. But sometimes it is so busy I don’t go. They aren’t worth 20-25 minutes to wait. I’m busy. Today they rolled out their new mobile order and pay. And I tried it.  Here is my review…

First this only works on the Starbucks app.  I am using my iPhone to order.  You have to have your location services turned on in the app for it to work.  You also have to be a member of my Starbucks rewards.  It’s free, so if you’re not a member you need to join as you get free drinks. Mobile ordering is not available for android. Sorry android users.

To order, click on the upper right hand order button in the app, as circled in yellow in the picture below.  I hid my address and account info in blue, so ignore the blue in all the pictures.

Next, place your order online…. You can customize how many pumps of syrup you want, whipped cream or no whipped cream, extra shots, type of milk, etc. You can also order food.
Then you pay. I used my Starbucks card.
And voila! Order ready in 2-5 minutes. So I headed off to Starbucks which is 2 min away.

We walked in and picked up our drinks. They were ready for us at the counter where you normally pick up the drinks. There were no lines and it was super easy to use.  I love this new idea from Starbucks. It took me about 6-8 minutes total… Basically the drive to and from home. I was inside Starbucks for less than 1 minute. It was super nice.  I wonder how this service will hold up on super busy Friday mornings.   I will use this in the future.  No lines, no wait. This was great! Finally, a new thing from Starbucks that I like… After all, I’m still a bit disappointed with their pumpkin scone fiasco and La Boulanges sucky food.  
 Review written at http://peoniesandorangeblossoms.blogspot.com
I was not compensated by Starbucks to write this post.

Follow:

Chocolate Ganache Macaron Recipe

We use affiliate links in our posts and our site. This means if you make a purchase using these links, we may earn a small commission. You don’t pay a cent more than you would otherwise! Our full disclosure is available under About.
Chocolate Ganache Macarons

I’ve been busy baking macarons again.  This time I’ve made chocolate ganache macarons, adapted from Laduree’s recipe.  They are GOOD.  These would be perfect to make for Valentine’s Day.  They will go fast!

chocolate ganache macarons

Materials needed:

  • a food scale (yes, you need this. I use this one)
  • a piping tip and piping bag (I like the ateco #806, I use these tips and piping bag
  • Food coloring (the gels or dry powder works best, not the liquid store stuff)
  • A macaron template (either make one or get one here or here. It makes piping easier)
  • food processor (for the cream filling, I use this one)


Chocolate Macaron Shell: PRINTABLE RECIPE HERE

260g almond flour

250g powdered sugar

15g cocoa powder

210g granulated sugar

210g egg whites


1.  Mix almond meal, cocoa powder, and the powdered sugar in a food processor. Be careful not to grind too long, otherwise it will form a paste.

2. Sift the almonds, cocoa powder, and powdered sugar. Set aside.

3. Weigh out granulated sugar.

4. Weigh the egg whites.  Beat them slowly on a low speed until foamy. SLOWLY add the granulated sugar to the egg whites as you beat.  Once all mixed, increase speed to medium and beat until a firm meringue forms.  You want a firm meringue with glossy peaks but not stiff peaks.  They should defy gravity and remain in the bowl if you turn it upside down.  If you tilt your bowl to the side and they are sliding out, keep beating.

5. Add the food coloring gel and mix.  To make mine a richer brown color, I used “chocolate brown” food coloring.

6. Then fold in 1/3rd of the almond/sugar mixture into the meringue with a silicone spatula.  Once combined, add another third of the almond mixture. Add last bit.  This batter requires more deflation during this step since it creates such a poofy meringue.

7. Add the batter to a piping bag.  Pipe in rows using your template onto parchment paper.

8. Pick up the pan and beat until the counter.  The cookies need to rest on the counter between 30-60 minutes.  They are ready to go in the oven when they are dry to touch (the shell shouldn’t stick to your finger)

9.  Set the oven to 300F.

10. Bake the cookies for 13-15 minutes one sheet at a time. They are done when they look kind of matte and seem firm when you lightly tap on them.  You can always rescue a slightly overcooked one with the maturation process that comes later, but you cannot rescue an undercooked one!!  

11.  Remove from paper once completely cool. If they stick they stick to the paper, they aren’t cool yet. Or you undercooked them.


Chocolate Ganache

290g chocolate (minimum 70% cacao solid)

1 cup + 2 tbsp heavy cream

60g butter

1.  Finely chop the chocolate and place in a large bowl.

2.  In a saucepan, bring the cream to a boil.  Pour the hot cream in 3 parts over the chopped chocolate, mixing with a wooden spoon between each addition.

3.  Cut the butter in small pieces and stir into the ganache until spoon.

4.  Transfer to a baking dish and cover with plastic wrap.  Allow the ganache to cool at room temperature and then refrigerate for 1 hour until it is thick and creamy.

5.  After the cookies and ganache are cooled, fill the cookies with ganache.

6.  Store in the refrigerator for 24 hours before enjoying.

Linking up with these fabulous link parties: The Scoop!, Inspire Me Tuesday,Wow us Wednesdays!Feathered Nest Fridays, Home Sweet Home

http://peoniesandorangeblossoms.blogspot.com

This post may contain affiliate links.

Follow:

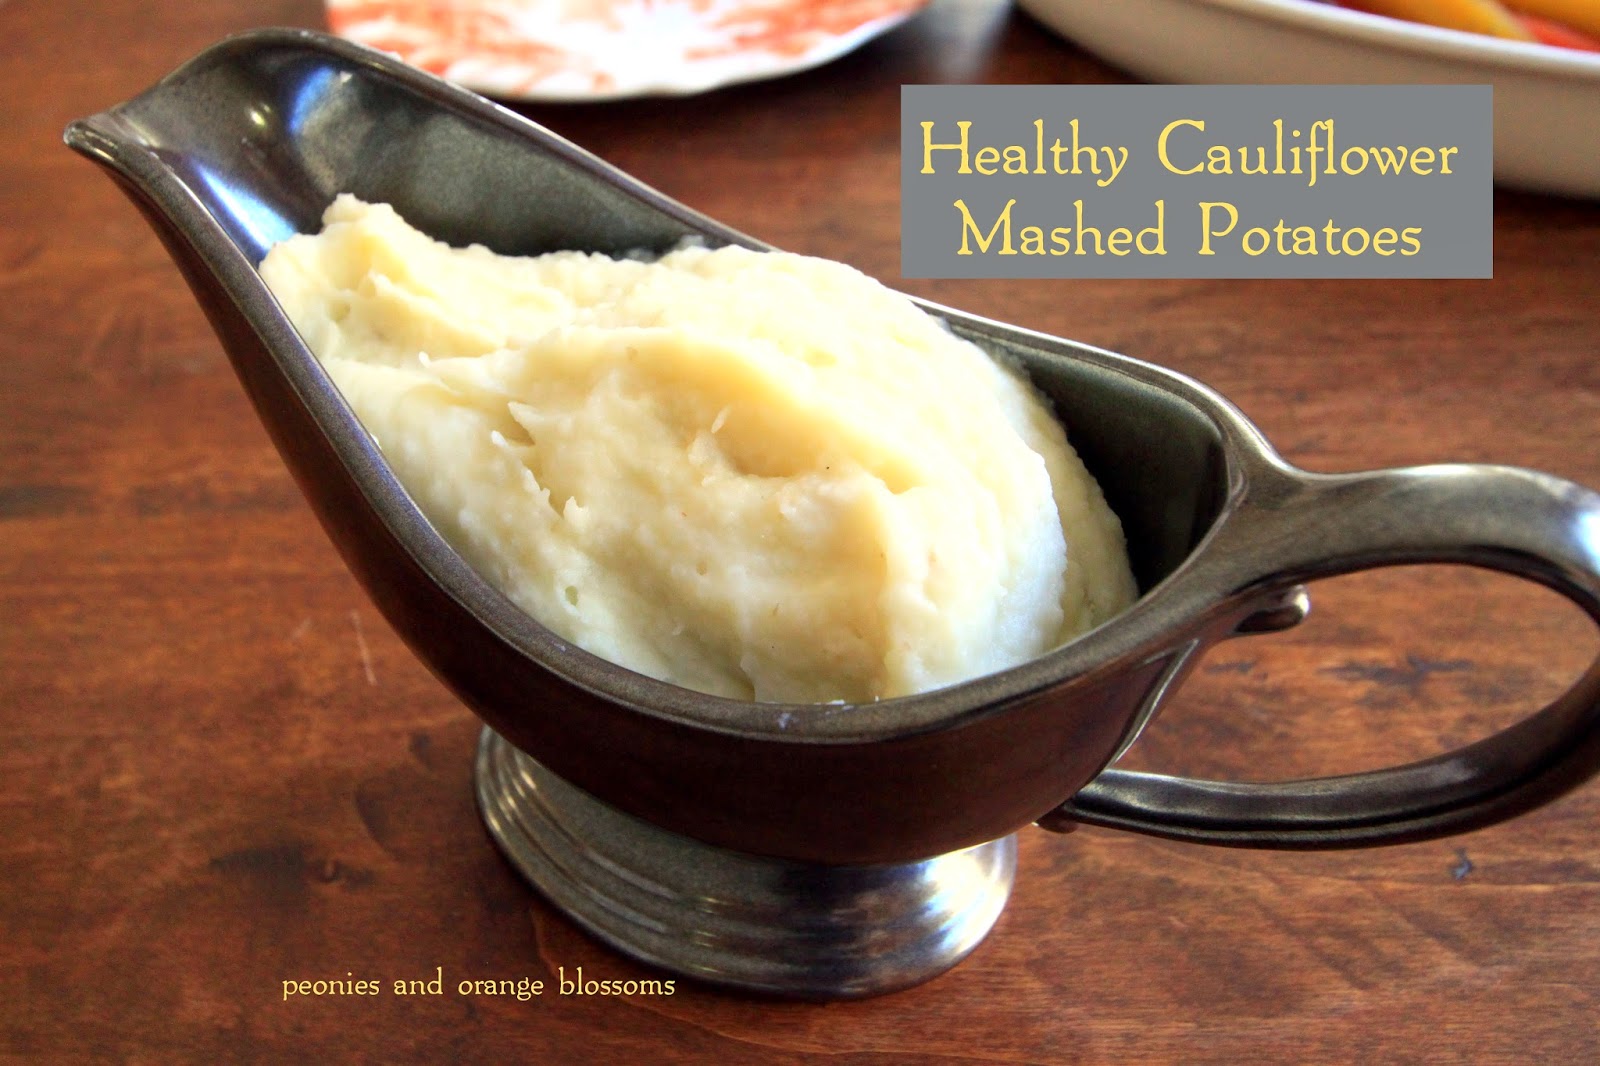
Healthy Cauliflower Mashed Potatoes

We use affiliate links in our posts and our site. This means if you make a purchase using these links, we may earn a small commission. You don’t pay a cent more than you would otherwise! Our full disclosure is available under About.

With Thanksgiving just around the corner, I’ve been looking for some healthier alternatives to Thanksgiving Dinner.  While I LOVE mashed potatoes, I know they are full of carbs and fat.  I have been playing around with some cauliflower mashed potato recipes and came up with one that I think is really good AND could fool your guests too!!

Healthy Cauliflower Mashed Potato Recipe

I think the secret to this mashed cauliflower recipe is that it actually includes potato with the mashed cauliflower.  So many of the recipes that contain only cauliflower don’t quite taste right.

Ingredients:

  • 1 small head cauliflower that is trimmed, cored, and cut into small florets.
  • 1-2 small red or golden potatoes, chopped
  • 1 tbsp fat free sour cream
  • 2 tbsp skim milk
  • 1-2 tbsp light butter
  • salt and pepper to taste

Directions
1. Bring a pot of water to boil.  Add the cauliflower and potato to the water.
2. Reduce heat to a simmer. Cover and cook for approximately 20 minutes until vegetables are cooked through.
3. Drain well and move to your food processor. Process until smooth.
4. Return the cauliflower/potato puree to a hot pan on medium high heat.  Stirring frequently, you will need to cook off the excess liquid. This takes about 5 minutes or so.  Once excess water has evaporated, stir in the sour cream, milk, and butter.
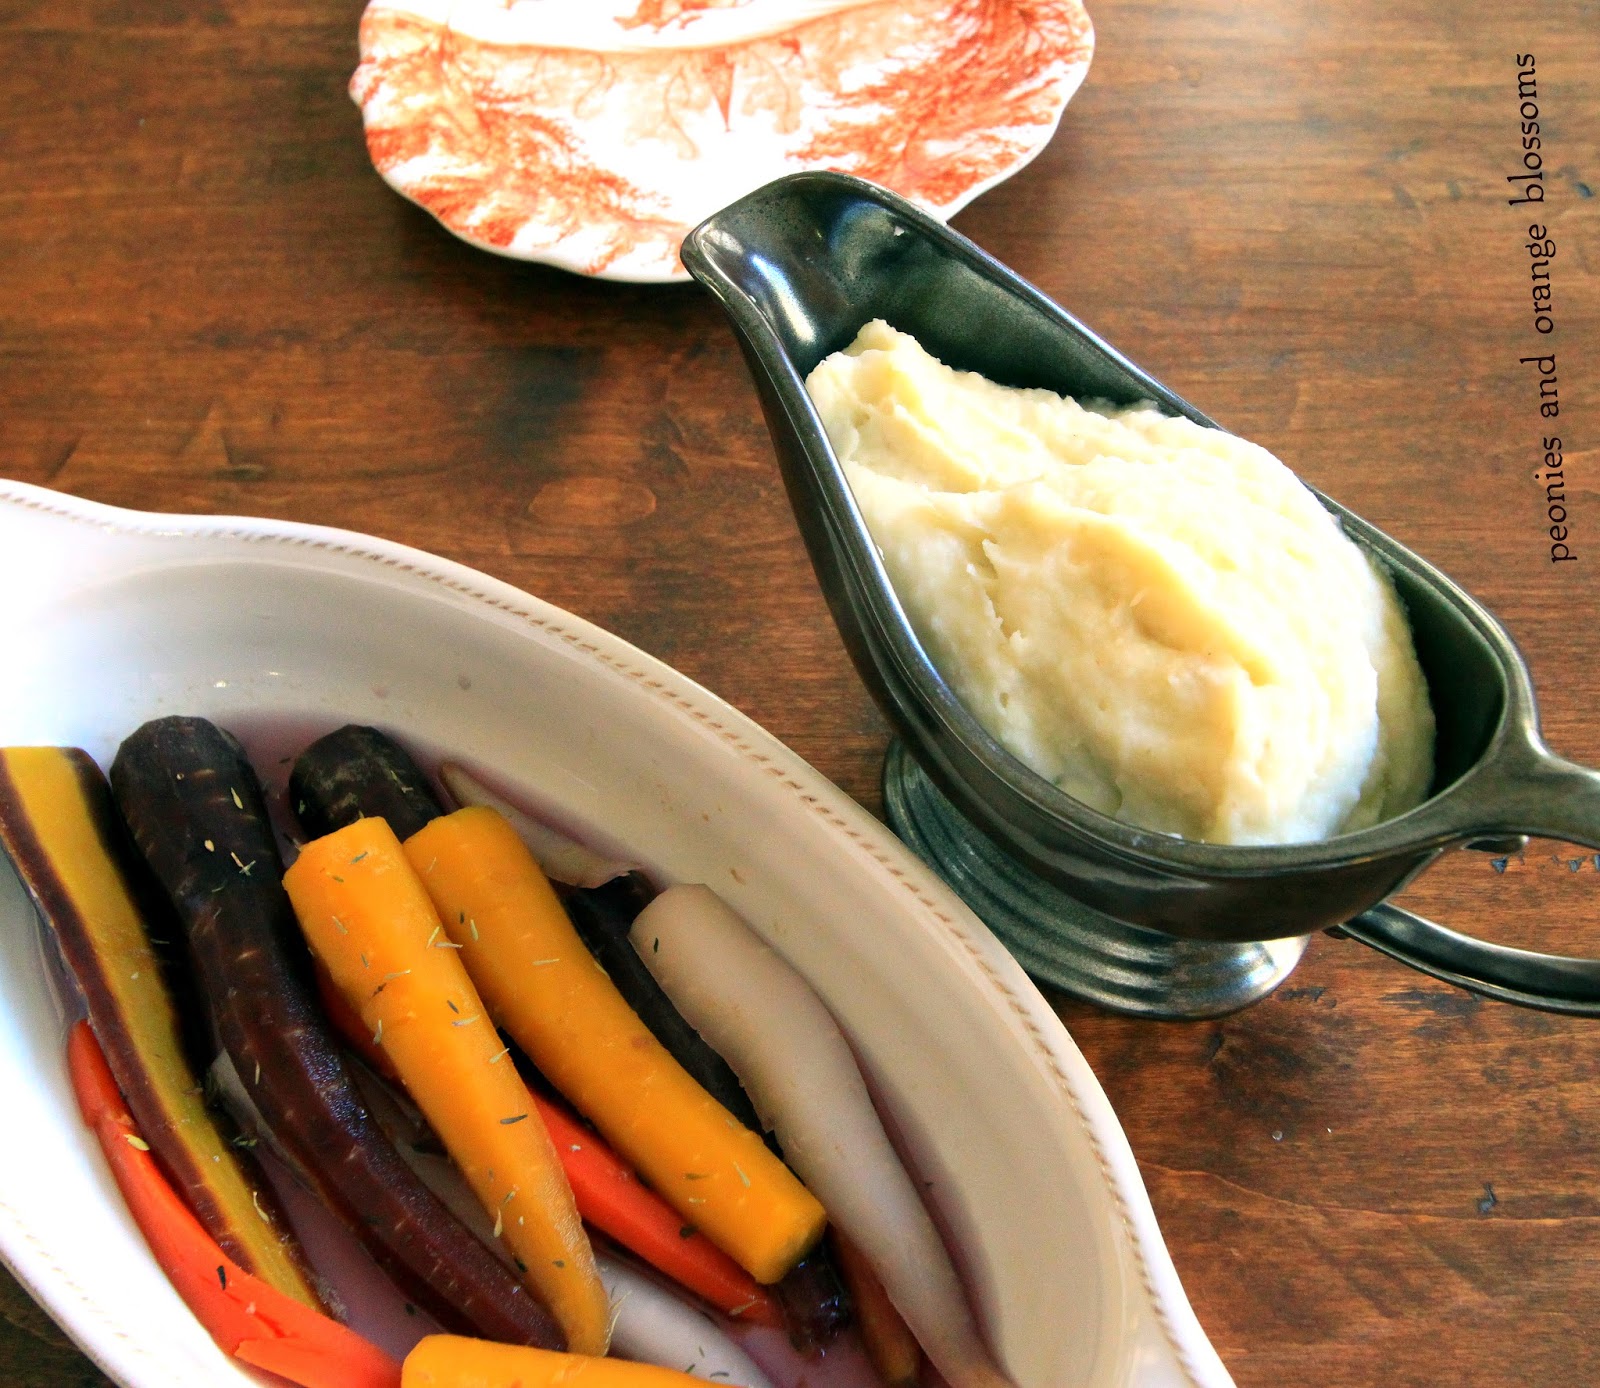
5. Add salt and pepper to taste.  Then garnish with green onions, rosemary, or thyme! Enjoy!

My husband wasn’t too keen on this “faux” mashed potato recipe when we were making it.  Then he ended up liking it when we were done!  The great part it is that it tastes good and you won’t feel guilty with seconds!

Linking up with these fabulous link parties: The Scoop!,   Inspire Me Tuesday,Wow us Wednesdays!Foodie Friday

written at http://peoniesandorangeblossoms.blogspot.com

Follow:

Oh My, Apple Pie!

We use affiliate links in our posts and our site. This means if you make a purchase using these links, we may earn a small commission. You don’t pay a cent more than you would otherwise! Our full disclosure is available under About.

We went apple picking not too long ago.  The intention was to pick apples and then use the apples to bake an apple pie.  Well… there were no baking apples left!  Apple pickin’ in Southern California is not like apple pickin’ in Washington (remember… Washington is a major apple growing state!).

So… we settled for store bought apples.

Check out our masterpiece:

The Best Apple Pie Recipe!

My husband and I have NEVER made an apple pie before.  Can you believe we made this??
We used a recipe from Williams Sonoma.  I copied the recipe here with the alterations we made:

The BEST apple pie recipe: (printable version here)

For the dough:

  • 2 1/2 cups all-purpose flour
  • 1 tsp. salt
  • 2 tsp. granulated sugar
  • 16 Tbs. (2 sticks) cold unsalted butter, cut into 1/2-inch dice
  • 3 to 4 Tbs. ice water

For the filling:

  • 2 lb. Granny Smith apples, peeled, cored and cut into slices 1/4 inch
      thick
  • 2 lb. Honey Crisp apples, peeled, cored and cut into slices 1/4 inch thick
  • 1/2 cup firmly packed light brown sugar
  • 1/4 cup granulated sugar
  • 1/2 tsp. ground cinnamon
  • 1/4 tsp. salt
  • 1/4 tsp. freshly grated nutmeg
  • 4 tsp. cornstarch
  • 1 Tbs. fresh lemon juice
  • 1 egg white, beaten with 1 tsp. water
  • 2 tsp. granulated sugar

Directions:

To make the dough, in a food processor, pulse the flour, salt, and granulated sugar together until combined, about 5 pulses. Add the butter and process until the mixture resembles coarse meal, about 10 pulses. Add 3 Tbs. of the ice water and pulse 2 or 3 times. The dough should hold together when squeezed with your fingers but should not be sticky. If it is crumbly, add more water 1 tsp. at a time, pulsing twice after each addition. Turn the dough out onto a work surface, divide in half and shape each half into a disk. Wrap the disks separately in plastic wrap and refrigerate for at least 2 hours or up to overnight.

On a lightly floured work surface, roll out half of the dough into a 12-inch round about 1/8 inch thick. Fold the dough in half and then into quarters and transfer it to a 9-inch deep-dish pie dish. Unfold and gently press the dough into the bottom and sides of the dish. Trim the edges flush with the rim of the dish. Refrigerate for 30 minutes.

On a large sheet of lightly floured parchment paper, roll out the remaining dough disk into a 12-inch round about 1/8 inch thick. Using leaf pie cutters, make rows of cutouts in the dough, spacing them 1/2 inch apart and leaving a 1-inch border along the edges, to create a lattice appearance. Reserve the cutouts for decorating. Reroll the dough scraps to make more cutouts. Refrigerate the lattice top and cutouts for 30 minutes.

Meanwhile, make the filling: In a large Dutch oven, stir together the apples, brown sugar, granulated sugar, cinnamon, salt, nutmeg and cornstarch. Set over medium heat, cover and cook, stirring occasionally, until the apples are just tender but not mushy, about 20 minutes. Uncover and cook until the liquid has thickened and become glossy, 5 to 7 minutes more. Remove from the heat, stir in the lemon juice and let cool to room temperature, about 30 minutes.

Position a rack in the lower third of an oven, place a baking sheet on the rack and preheat the oven to 400°F.

Let the pie shell, lattice top and leaf cutouts stand at room temperature for 5 minutes. Transfer the apple filling to the pie shell, then gently invert the lattice top over the pie. Trim the edges flush with the rim of the dish and press the top and bottom crusts together to seal. Brush the underside of the leaf cutouts with egg wash and gently press them onto the edges of the piecrust, overlapping the leaves slightly. Decorate as desired with the remaining leaves. Brush the entire top crust with egg wash and sprinkle with the granulated sugar.

Place the pie dish on the preheated baking sheet. Bake until the crust is crisp and golden brown, about 1 hour, covering the edges with aluminum foil if they become too dark. Transfer the pie to a wire rack and let cool for at least 1 1/2 hours before serving. Serves 8.
Williams-Sonoma Kitchen.
Action shots:
Here is our lattice top.  Here is a link to the cut outs WS sells this year: here and here

 The cut outs:

The Masterpiece:

 Closer look at the edge of our pie:

Now top with some vanilla ice cream and enjoy!

Written at http://peoniesandorangeblossoms.blogspot.com

Linking up with these fabulous link parties: The Scoop!,  Metamorphosis Monday’sInspire Me Tuesday,Wow us Wednesdays! What’s it WednesdaysCenterpiece WednesdaysCreative Ways Treasure Hunt ThursdayHome Sweet Home Feathered Nest Fridays, Foodie Friday

best apple pie recipe
#applepie
williams sonoma apple pie recipe

Follow:

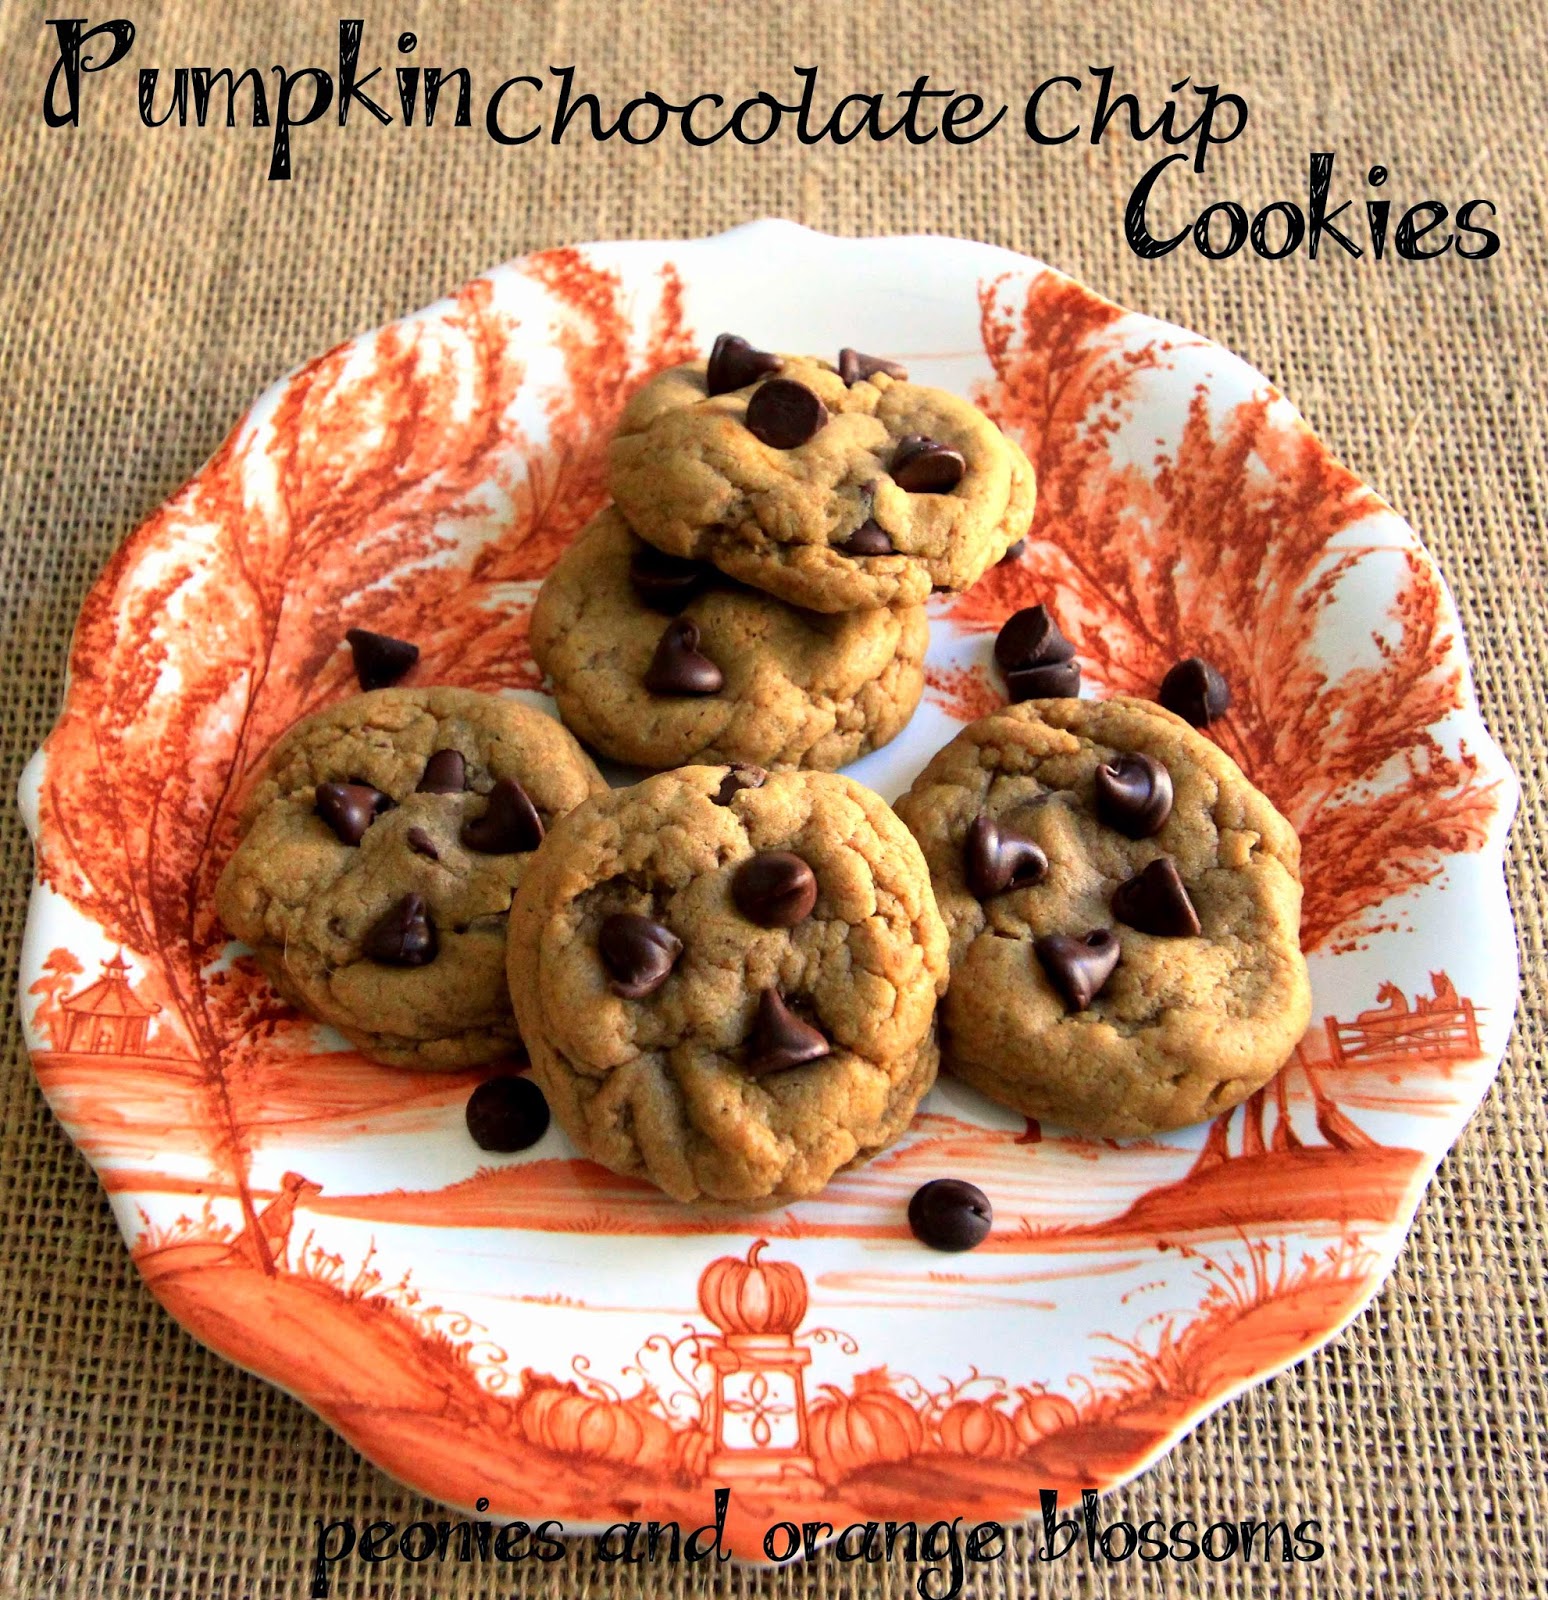
Pumpkin Chocolate Chip Cookies

We use affiliate links in our posts and our site. This means if you make a purchase using these links, we may earn a small commission. You don’t pay a cent more than you would otherwise! Our full disclosure is available under About.

I had been hankering for something pumpkin-y that was not a latte.  I finally found a recipe on pinterest that I decided to try. And it was SO GOOD I just had to share it again with you all.

pumpkin chocolate chip cookies

The nice (for my tongue, not my waist) part of these cookies is that they aren’t TOO sweet. Which means you can eat more. Gulp.

I’m munching on these as I type this. Better wipe my crumbs of the keyboard…
The recipe is NOT mine. To be a curteous blogger, I will not post the full recipe here.  You will have to check out Sally’s Baking Addiction for the full recipe.  She made them. She deserves all of the praise. I just had to share them with everyone.

Some tips:

  • definitely chill these before you bake them.
  • let them cool down before you eat.  They get BETTER with age. Whaaat?
  • You can eat three. If you make them small enough they’re only like 80-100 calories each. So they’re practically healthy, right??
Pumpkin chocolate chip cookies

Be sure to check out Sally’s Baking Addiction for the full recipe! 

Linking up with these fabulous link parties: Linking up with these fabulous link parties: The Scoop!,  Inspire Me TuesdayWow us Wednesdays!

Follow:

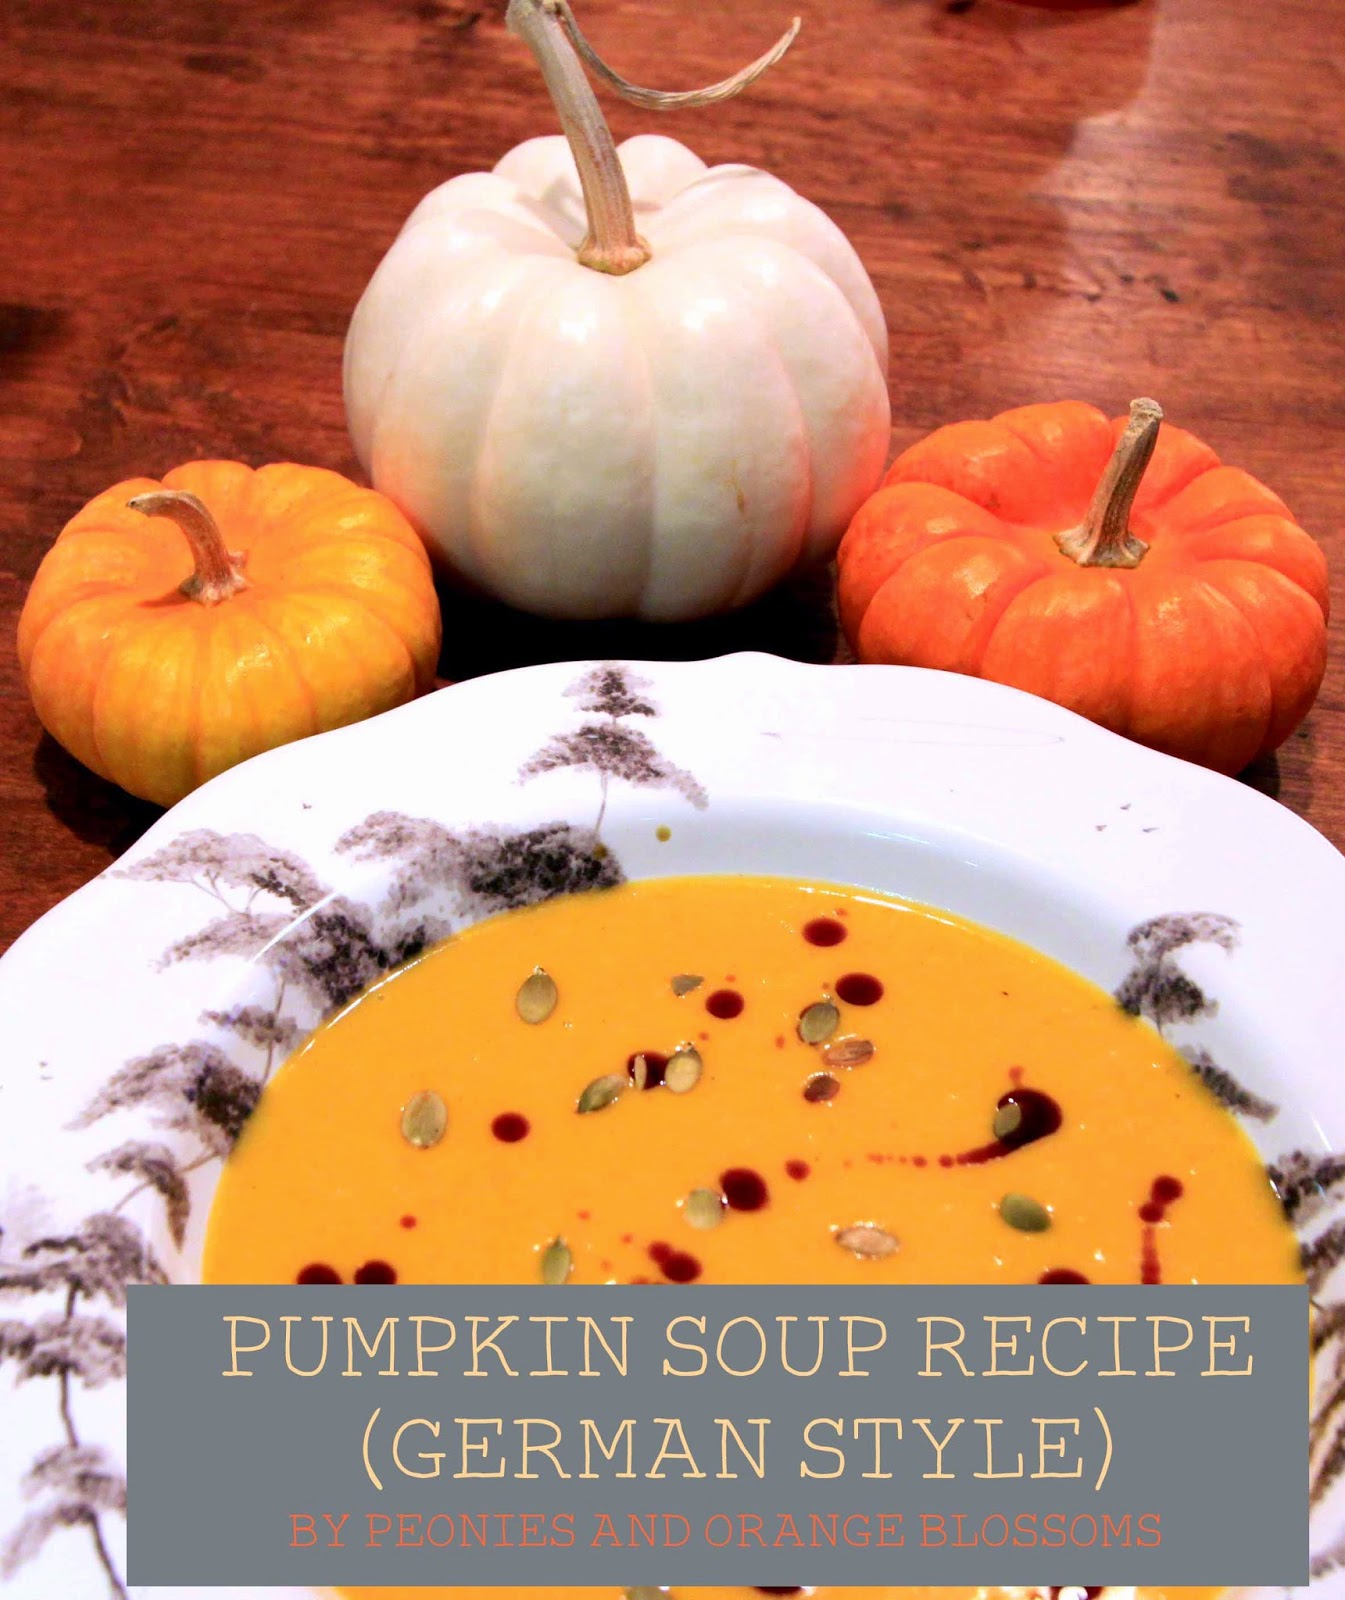
Delicious German Pumpkin Soup Recipe

We use affiliate links in our posts and our site. This means if you make a purchase using these links, we may earn a small commission. You don’t pay a cent more than you would otherwise! Our full disclosure is available under About.

Ever since I went to that fabulous pumpkin festival in Germany that I keep talking about, I have been just dying for some pumpkin soup.  The pumpkin soup I had there was the BEST pumpkin soup I’ve ever had.  I have been searching for months trying to find an authentic German recipe that I think was very similar to the soup I fell in love with.  I read recipes in German and English.  I came up with my own, which is a combination of about 10 recipes I read!

German Pumpkin Soup Recipe
*THE* pumpkin soup I’ve been dying to eat.  Guess I need to go back to Germany??

German Pumpkin Soup Recipe

German Pumpkin Soup recipe, authentic Kürbissuppe rezept
Get the PRINTABLE recipe here


Ingredient

  • 1-2 small baking pumpkins*** (see notes)
  • 1 large potato, cubed largely about 1×1 inch
  • 1 large onion, large cubes as well
  • 2 tbsp salted butter
  • 1 liter water
  • 4 cube vegetable broth bouillon
  • 1/2 tsp pumpkin pie spice
  • 5 twists of cracker pepper
  • 1 tsp salt
  • 1/2 cup heavy cream (optional)
  • pumpkin seed oil****
  • pumpkin seeds

Directions

  1. Cut off both ends of the pumpkin. Then slice pumpkins in half and scoop out the seeds.  If it is too tough to cut, we microwaved each half in the microwave for approx. 3 minutes until the pumpkin was cooked.  You will only need to do this if your pumpkin skin is inedible or too tough to cut.
  2. Take butter and melt in pan or stock pot. Place sliced potatoes and onion inside the pan. Place lid on pan and cook on medium heat for 15 minutes. 
  3. In a separate pot, add the the liter of water with 4 vegetable broth bouillon cubes and bring to a boil. 
  4. Add pumpkin to the potato and onion. Next, add the pumpkin pie spice, salt, and pepper. Stir together, then allow to cook for 5 minutes. 
  5. The water should be boiling now.  Once it is boiling, pour into the already cooking vegetable mixture. 
  6. Cook on medium heat for 30 minutes, stirring occasionally.
  7. Purée your soup either in a normal blender or a handheld immersion blender. 
  8. Stir in cream. 
  9. Top with pumpkin seed oil (this really makes the dish).  Garnish with pumpkin seeds. 

***Notes on pumpkins
The Germans tend to cook with Hokkaido pumpkins, which are readily available there.  The nice thing about that pumpkin is you can eat the skin.  Here, I hadn’t found any Hokkaido pumpkins.  I did find a golden nugget squash, which appeared very similar.  It tasted about the same.  Regular baking pumpkins should be fine too.  Just remember, if it’s a “pie pumpkin”, it may be a little bit sweeter.  I have not tried this recipe with canned pumpkin.

About our specific pumpkins used in this recipe: Each pumpkin uncooked was 1 pound. We used two golden nugget squash.  The skin was very tough and we had to microwave the pumpkin halves in order to slice them.

The Hokkaido pumpkin, AKA red kuri squash
the golden nugget squash, AKA Oriental pumpkin

****Notes on Pumpkin Seed Oil 

This REALLY makes this dish in my opinion.  You NEED to get some.  Here’s where I got my Pumpkin Seed Oil and I can say it is delicious.  This is not something you can easily find here in the US.  I searched 6 grocery stores (specialty ones included) and had no luck.  It is hard to get here because it is grown and made in a very specific region in Austria.  It’s everywhere in Germany and Austria… but not here! Boo!

the amazing Pumpkin Seed Oil!
 

This soup isn’t like your American version of pumpkin soup. It’s WAY better. I don’t really even like pumpkin soup… but this is delicious. Especially with that pumpkin seed oil!

German Pumpkin Soup Recipe
Authentic German Pumpkin Soup Recipe
German Pumpkin Soup Recipe
Oh SO delicious!! 

Linking up with these fabulous link parties: The Scoop!,  Metamorphosis Monday’sInspire Me Tuesday,Wow us Wednesdays! What’s it WednesdaysCenterpiece WednesdaysCreative Ways Treasure Hunt ThursdayHome Sweet Home Feathered Nest FridaysG’day SaturdaysFoodie Friday
Written at http://peoniesandorangeblossoms.blogspot.com

Follow:

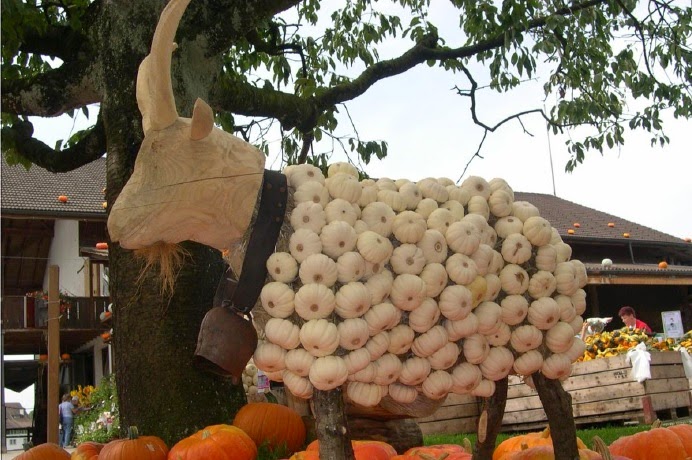
Pumpkin Animals

We use affiliate links in our posts and our site. This means if you make a purchase using these links, we may earn a small commission. You don’t pay a cent more than you would otherwise! Our full disclosure is available under About.

Last year I blogged about a fabulous pumpkin festival I went to in Germany.  Each year, they have different themes for the festival.  I found some pictures from one year when they did a farm animal themed festival.  Let’s take a look!

horses

I love these black and white cows.

Each year they move the various sculptures around to different parts in Germany/Austria/Switzerland… this is moved to somewhere along a lake.

How cute is this tractor?

Of course a German cow would have a cute bell!  Also, like how the udder is made of gourds?

I think this goat is just adorable!

A pig and piglets!

How cute is this??

One more cow to end…

I thought this festival was so incredibly cute!  I wish I had gone during that year instead of the sports themed year last year.  Which one is your favorite?  I think I like the goat the best.

Be sure to check out my trip last year.  They have over 450,000 pumpkins!!

Written at http://peoniesandorangeblossoms.blogspot.com

Of note, I saved this pictures a while ago on my computer and unfortunately don’t have the sources.  If you recognize these pictures as yours, please let me know and I am very happy to give you credit!!

Linking up with these fabulous link parties: The Scoop!,  Metamorphosis Monday’sInspire Me TuesdayWow us Wednesdays! What’s it WednesdaysCenterpiece WednesdaysCreative Ways Treasure Hunt ThursdayHome Sweet Home Feathered Nest FridaysG’day Saturdays,

Follow:

From the Shop

I may earn a small commission if you purchase with these links

no products
Please note that I use ShopSense, LIKETOKNOW.it, Shareasale and Amazon affiliate links on this site. This means using them for purchases won’t cost you extra but may earn me a small commission.  Our full disclosure is available for viewing under About in the disclosure policy.
All rights reserved. Our graphics, images and text are all subject to copyright protection.